Alocasia Regal Shield Repotting Guide: When, How, Pot Size
Alocasia Regal Shield Repotting Guide: When, How, Pot Size
Alocasia Regal Shield Repotting Guide: When, How, Pot Size
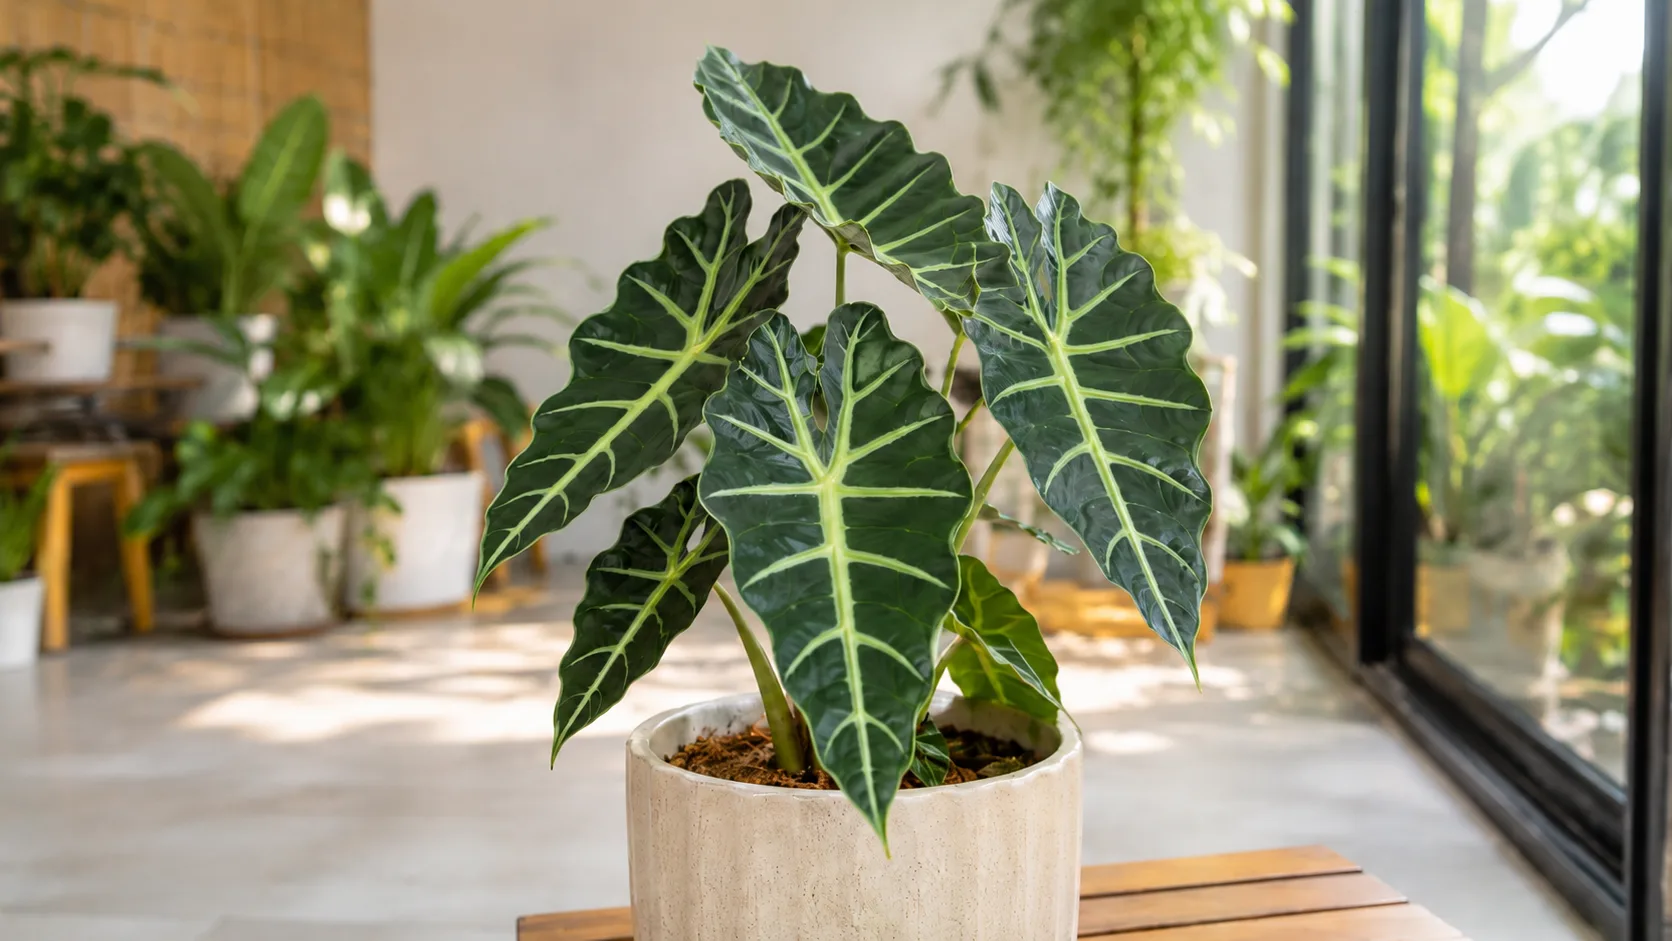
Alocasia Regal Shield repotting is a corm decision, not a calendar chore. Alocasia odora × reginula ‘Regal Shield’ — the upright jewel alocasia sold as Elephant Ear Regal Shield — stores energy in a thick underground corm while its broad, shield-shaped leaves transpire at a steady pace. Disturb roots at the wrong time or into an oversized wet pot, and you trade a thirty-minute job for weeks of wilting, yellow leaves, or root rot. Done in spring with one modest pot upgrade and the same chunky aroid mix the plant already likes, repotting resets exhausted substrate and gives you a clean chance to divide offsets.
This guide covers when Regal Shield actually needs repotting, why it differs from fast trailers like Heartleaf Philodendron, the best season, pot size and material, a numbered step-by-step, corm and offset handling, post-repot recovery, and mistakes that trigger chronic slow growth when mix has broken down.
Why Regal Shield Repotting Is Different From Generic Alocasia Advice
Regal Shield is a compact hybrid jewel alocasia, not a floor-sized A. macrorrhizos. The Royal Horticultural Society Alocasia growing guide describes the genus as tropical forest understory plants that evolved large foliage to capture filtered light — loose organic litter over mineral soil that drains fast after rain and never stays logged. That habitat explains why repotting into dense peat-heavy mix or a pot two sizes too large fails so predictably indoors.
NC State Extension on Alocasia describes the genus as tuberous perennials preferring a shaded site with slightly acidic, moist, well-drained, humus-rich soil. Regal Shield’s root mass stays modest relative to its dramatic leaf span, and the plant tolerates — even prefers — a slightly snug pot compared with fast rhizomatous alocasias.
Corm storage and why root disturbance costs reserves
The corm sits at or just below the soil surface. It is the plant’s battery through dormancy and after leaf drop. Teasing apart every root hair or bare-rooting the ball strips fine absorptive tissue the corm must regrow before new leaves unfurl. University of Wisconsin Extension on healthy houseplant roots notes that healthy roots are white or tan and firm — your inspection target at repot time. Damaging those roots without cause is the main avoidable trigger for post-repot collapse on Regal Shield.
Wear gloves when handling the plant during repot. NC State and the RHS both note irritant sap in Alocasia; skin contact can cause dermatitis on sensitive growers.
Shield leaves versus a modest root mass
Regal Shield’s large, deeply veined leaves look like they need a huge root system, but the corm and feeder roots underneath are compact. That mismatch is why growers overpot: the visual weight of the foliage suggests a bigger container than the root zone can actually colonize. Extra soil volume holds moisture the corm cannot use, leaving it in anaerobic conditions — the classic post-repot overwatering setup even if you water carefully.
When to Repot Alocasia Regal Shield
Repot when the root zone or substrate fails, not because a date arrived. Inspect each spring while the plant is pushing new growth; most healthy Regal Shields need a full repot every 12 to 24 months, but a settled plant in a 15–20 cm pot with fresh mix behavior can go two full growing seasons.
Signs the root zone actually needs upgrading
Schedule a full repot — not just top-dressing — when two or more of these appear during active growth:
- Roots circling the bottom of the ball or emerging from drainage holes
- Water runs straight through without wetting the root mass, then leaves droop within days anyway
- Mix dries at the surface in under a day while the lower third stays damp for a week — collapsed pore structure
- New leaves unfurl smaller than the previous batch despite good light and watering
- Sour-smelling or salt-crusted mix, chronic fungus gnats, or mold on soil
- Emergency: mushy roots, soft petioles at soil level, or foul odor — repot immediately regardless of season after trimming rot (see root rot guide)
The RHS flags fast post-watering dry-down as a pot-bound signal — compost that cannot hold moisture because roots replaced substrate. Orchid bark in aroid mixes breaks down within 12 to 18 months in active conditions, which is why refresh cycles matter even before roots circle.
When you can wait another season
A Regal Shield with firm corm, steady new leaves at normal size, and mix that accepts water evenly does not need repotting just because spring arrived. Waiting is smart when:
- The plant was repotted within the last ten months and growth is strong
- You are correcting other stressors — recent move, pest treatment, light change — and stacking repot would add unnecessary shock
- Scraping the top 2–3 cm of mix and replacing it with fresh aroid blend refreshes the upper root zone without a full upgrade
Top-dressing alone is enough when only the surface is salt-crusted but roots are white and water soaks in normally. If dry-down stays extreme after top-dressing, upgrade to a full spring repot.
Best Time of Year to Repot Regal Shield
Mid-spring through early summer is the safest window — after dormancy breaks and new spears appear. The RHS recommends checking for overcrowded roots and repotting in spring when necessary, using fresh peat-free compost with added grit for drainage. Alocasias also need a cooler, drier winter above 10 °C / 50 °F to rest; repotting into fresh wet mix during that low-metabolism phase raises corm rot risk sharply.
The Penn State Extension repotting houseplants guide agrees: spring is the best time because roots grow into new mix as the plant enters seasonal growth. In a climate-controlled home, repot when you see active leaf and root growth, not when the pot looks empty after dormancy.
Spring active growth vs emergency winter repot
In a climate-controlled home with grow lights, phenology matters more than the calendar: repot when you see active leaf and root growth, not when the pot looks empty after dormancy. If winter repot is unavoidable — active rot, cracking pot from root pressure, contaminated nursery mix — keep the plant warm (18–26 °C / 65–80 °F), in bright indirect light, water conservatively, skip fertilizer for six weeks, and accept likely leaf drop. Do not discard a dormant-looking pot; a firm corm can push new growth in spring.
Choosing Pot Size, Material, and Drainage
Pot choice controls how long mix stays damp around the corm — often more important than the repot day itself.
Why one size up protects the corm
Move up only 2–5 cm (1–2 inches) in pot diameter. The RHS advises a pot only about 5 cm (2 in) larger each repot to avoid overpotting problems. Extra soil volume holds moisture the small root system cannot use, leaving the corm in anaerobic conditions.
Position the rootball so the top sits just below the rim with room to water without overflow. Every pot needs open drainage holes; never let a saucer hold standing water more than ten minutes. The Missouri Botanical Garden Plant Finder on Alocasia summarizes the genus as needing consistently moist, organically rich, well-drained soils — drainage holes are non-negotiable for that balance indoors.
Terracotta, plastic, or glazed ceramic for Regal Shield
Terracotta breathes and pulls moisture through walls — a useful safety net if you tend to overwater or keep Regal Shield in a humid bathroom. Plastic holds moisture longer, which suits dry indoor air or growers who underwater. Glazed ceramic behaves like plastic but adds weight for top-heavy leaf fans. Match material to your watering rhythm: terracotta in humid rooms, plastic in dry heated flats.
Soil Mix at Repot Time
Do not repot Regal Shield into straight houseplant compost. Use the same chunky aroid blend from the Alocasia Regal Shield soil guide: roughly equal parts moisture base (coco coir or peat-free potting mix), aerator (perlite or pumice), and structural chunk (orchid or pine bark), plus a small amount of horticultural charcoal. The RHS suggests peat-free houseplant compost with about one part horticultural grit to three parts compost as a minimum drainage upgrade.
Why standard potting mix fails Regal Shield
Standard indoor potting soil is engineered to hold water — exactly the wrong trait for a corm-based aroid. Dense peat collapses within weeks of regular watering, and once structure fails, even careful watering cannot save the corm. The Clemson University Home & Garden Information Center on indoor plant soil mixes recommends bark- and perlite-heavy blends for houseplants that need both moisture retention and aeration — the same structural tension Regal Shield requires.
Refresh with the same chunky aroid recipe
At repot, replace all exhausted mix — not just the sides. Old bark that has collapsed into a fine sponge is why water bypass and corm rot return within months. A reliable DIY recipe by volume:
- 2 parts orchid bark or pine bark fines
- 1 part coarse perlite
- 1 part coco coir or peat-free potting mix
- 0.5 part horticultural charcoal
- 0.5 part worm castings (optional)
Lightly moisten the mix before potting so components bind. If your room is very humid or you use plastic pots, lean bark and perlite heavier; if terracotta and dry air crisp leaf edges, add slightly more coir at the next repot.
Step-by-Step: How to Repot Alocasia Regal Shield
Plan 30–45 minutes once mix is ready. Rushing causes unnecessary root snaps.
Prep, unpot, and inspect roots
- Water lightly 24 hours before repotting so roots flex rather than snap.
- Prepare the new pot: mesh over the drainage hole, 2–3 cm fresh mix in the bottom.
- Tip the pot sideways, support the base, squeeze or tap to loosen, and slide the rootball out — never yank petioles.
- Shake off loose old mix; tease circling roots gently with fingers. A brief soak in room-temperature water helps if the ball is compacted.
- Inspect roots: firm white-to-tan tissue is healthy; black, mushy, sour-smelling roots need cutting back to clean tissue with sterilized shears.
The Penn State Extension repotting houseplants guide recommends moistening potting mix before use and gently teasing matted roots so they grow outward into fresh substrate.
Position, backfill, and first watering
- Set the plant at the same depth as before — corm top just below the soil line, never buried deeper.
- Backfill with fresh mix in layers, tapping the pot to settle without compressing bark structure.
- Water until drainage runs clear, then discard saucer water.
- Place in bright indirect light, away from direct sun and cold drafts.
- Skip fertilizer for four to six weeks while root hairs re-establish.
Dividing Corms and Offsets at Repotting
Repotting is the natural moment to separate offsets or dormant corms. NC State Extension notes Alocasia can be propagated by division of offsets — each section needs at least one growth point.
Work soil away from the base until you see where pups connect to the parent rhizome. Small offsets pull apart by hand; larger fused sections need one clean cut with a sterilized knife. Dust cuts with cinnamon, air-dry 20–30 minutes, and pot divisions into small containers of fresh aroid mix. Keep warm, humid, and in bright indirect light until new growth appears — usually 2–3 weeks for rooted offsets. For leafless corms, see the Alocasia Regal Shield propagation guide for sphagnum-moss rooting details.
First Six Weeks After Repotting
Losing one or two oldest leaves in the first two weeks is normal as the corm redirects energy to root regrowth. Widespread collapse usually means overpotting, crown buried too deep, winter repotting, or mix that stays wet too long.
Keep humidity above 60 percent, maintain steady light, and water only when the top 2–3 cm of mix is dry — the same checkpoint from the watering guide. Watch for a new spear before changing anything else. If soil smells sour or petioles soften at the base, inspect immediately for root rot.
When to use this page vs other Alocasia Regal Shield guides
- Alocasia Regal Shield overview — Start here for whole-plant context before deep-diving this topic.
- Alocasia Regal Shield problems hub — Jump to symptom-specific fix guides when repotting alone does not resolve the issue.
- Root rot on Alocasia Regal Shield — Escalate here when repotting reveals mushy corm tissue or post-repot collapse continues.
Related Alocasia Regal Shield guides
- Alocasia Regal Shield overview
- Alocasia Regal Shield watering
- Alocasia Regal Shield light
- Alocasia Regal Shield soil
- Alocasia Regal Shield fertilizer
- Alocasia Regal Shield propagation
- Root rot on Alocasia Regal Shield
- Alocasia Regal Shield problems
Conclusion
Repot Alocasia Regal Shield with restraint: spring active growth, one pot size up, chunky aroid mix from the soil guide, corm at soil level, and no fertilizer for four to six weeks. The corm — not the calendar — decides timing; firm roots, normal-sized new leaves, and even dry-down mean wait. Disturb roots gently, wear gloves for irritant sap, and watch for a new spear rather than panicking over one dropped old leaf. A careful spring repot resets substrate for two more growing seasons and is often the fastest path out of chronic slow growth when bark has broken down.