How to Store a Lawn Mower for Winter Safely
Storing a mower outside for winter? Use this type-by-type checklist to keep fuel, batteries, blades, and the deck from becoming spring repairs.
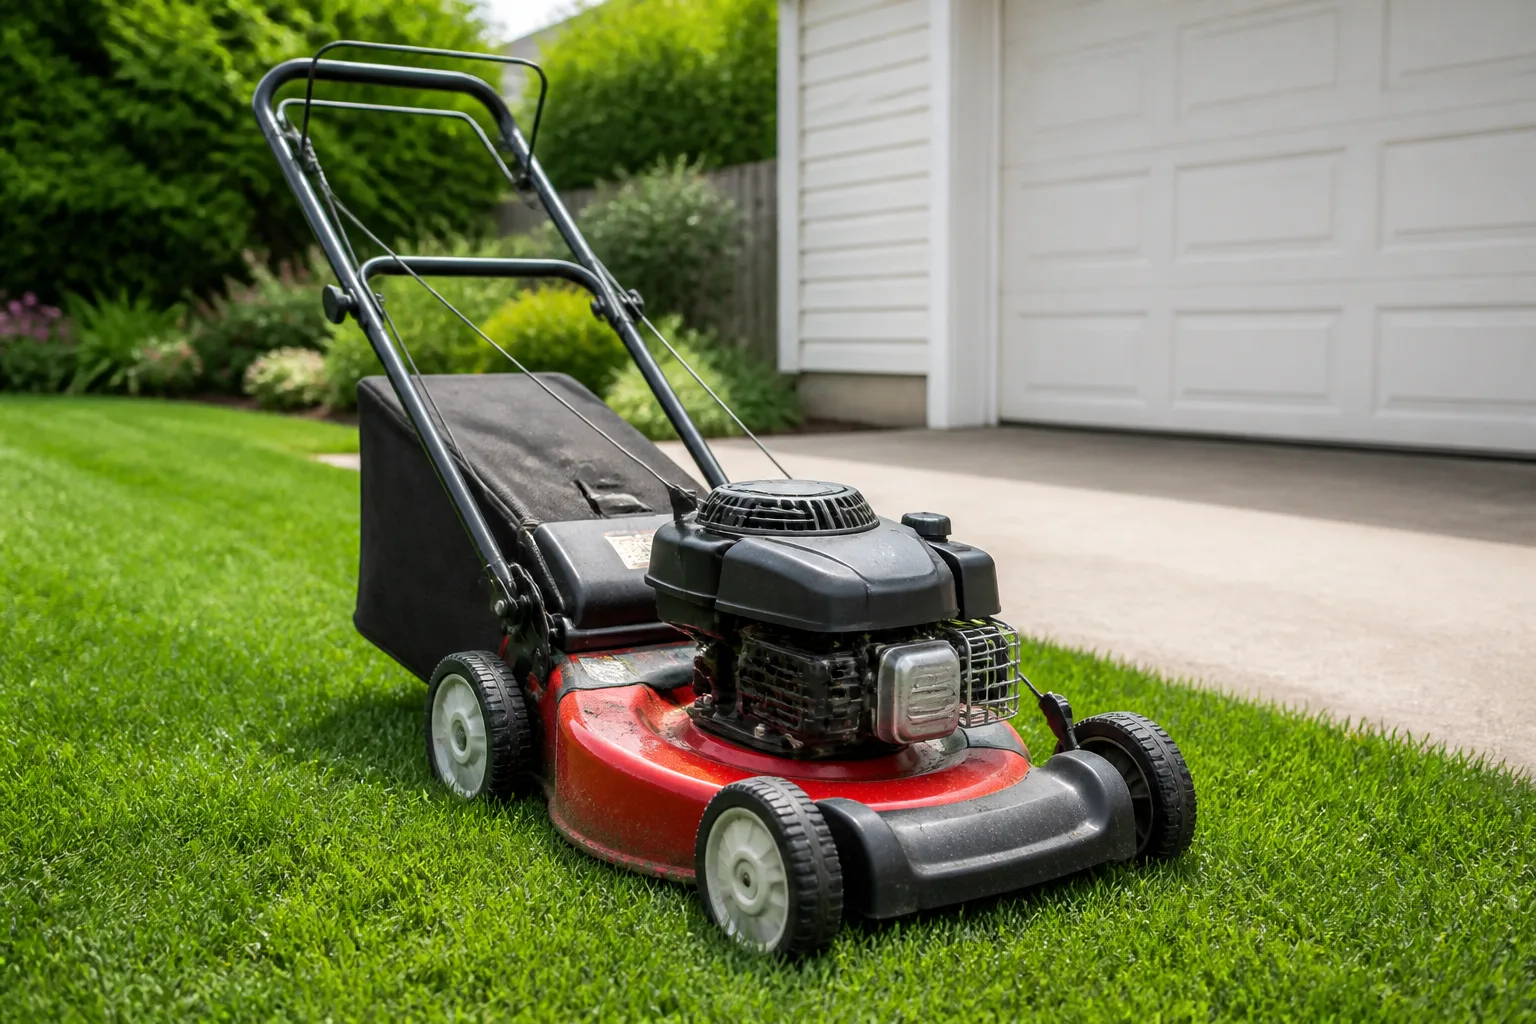
The biggest winter-storage mistake is not simply leaving a mower outdoors. It is covering a dirty, damp mower and trapping that moisture against the deck, blade, fasteners, and electrical parts. A tarp can keep off falling snow while still turning wet grass clippings into a long, cold corrosion experiment.
The safest order is simple: choose the driest available location, clean and dry the machine, service the parts that can deteriorate while idle, then cover it in a way that sheds water without sealing in condensation. If the mower must stay outside, you can reduce the damage—but you cannot make outdoor storage equivalent to a dry garage.
The short answer: keep the mower dry and protected
If you have a garage, enclosed shed, or other dry, ventilated structure, use it. A covered space removes most direct rain and snow, reduces wet-dry freeze-thaw cycling, and makes it easier to keep the mower away from sun, wind, and animals. Briggs & Stratton’s winterizing guidance also treats a dry storage area and a protective cover as the basic finish after maintenance. (Briggs & Stratton)
An outdoor spot can be a reasonable fallback only when it has a roof or weather-shedding shelter, good drainage, and enough airflow for the machine to dry. Put the mower on a stable raised surface, keep the cover from touching wet metal, and check the setup after wind or heavy snow. A lawn mower sitting directly on soil, leaves, or a damp concrete corner under a loose plastic sheet is the high-risk version of outdoor storage.
The goal is not to keep the mower warm. Most mowers can tolerate cold better than they tolerate standing moisture, condensation, fuel deterioration, and neglected corrosion. Prioritize dryness and serviceability over wrapping the machine as tightly as possible.
Which mower types tolerate outdoor storage?
No mower benefits from months of exposure, but the weak points differ. Use the type of mower to decide what must move indoors even if the mower itself cannot.
Gas push and self-propelled mowers
A gas push mower has more mechanical tolerance than an electric mower, but it still has a steel or aluminum deck, an engine air intake, fuel-system passages, a spark plug, and often cables or bearings that dislike moisture. The engine may survive a cold shed while the deck quietly rusts from wet clippings underneath it.
Gas mowers also create the most important storage fork: the manual may instruct you to drain the fuel, or it may specify fresh fuel treated with stabilizer. Do not choose by habit or by the label on a different brand. Clean the machine first, follow the engine maker’s procedure, and keep any fuel-handling work outside or in a well-ventilated area away from ignition sources.
Corded electric and battery-powered mowers
Electric mowers avoid stale gasoline and engine oil, but their motors, switches, wiring, battery contacts, and chargers are not improved by a wet winter. A corded mower should be unplugged, with the cord cleaned, dried, loosely coiled, and stored where it cannot sit in water or become a rodent nest.
For a battery mower, the battery is usually the part to bring inside. The mower body can occupy a covered shed, but a removable lithium-ion pack should not spend the season damp, frozen, or connected to a charger in an unheated space. If the battery cannot be removed, give the entire mower the most protected location you have and follow the model’s storage temperature and charging instructions.
Riding, zero-turn, and reel mowers
Riding mowers are difficult to move, so owners often accept outdoor storage too quickly. Their larger decks, belts, pulleys, steering components, seat, tires, and starting battery create more surfaces for water and pests to find. Store the battery separately when the design allows, protect the seat from rain and sunlight, and inspect belts and tire pressure before spring.
Zero-turn mowers need the same protection, with an extra warning: do not improvise a high platform or unstable jack arrangement simply to get the tires off the ground. If you need to lift one for maintenance, use the manufacturer’s lift points and equipment rated for its weight.
Reel mowers are simple and easy to carry indoors, which is a major advantage. Their exposed steel reel and bed knife can rust even though they have no fuel, battery, or spark plug. Brush off debris, dry the cutting assembly, apply the lubricant specified by the manufacturer, and store the reel mower in a dry place rather than assuming simplicity makes it weatherproof.
Before you move it: finish the season safely
Do the preparation after the last mowing session, but not while the engine or muffler is hot. Let a gas mower cool completely before cleaning or handling fuel. Remove the ignition key where fitted, disconnect the spark-plug boot on a gas mower when the manual permits, and remove the battery or safety key from an electric model before touching the deck.
Wear work gloves when scraping or removing a blade, and use eye protection if dried debris may break loose. The blade can move even when the engine is not running if the machine is rolled, tilted, or turned by hand, so never rely on the throttle position as your only safety measure. If the manual gives a different service procedure, use it.
Do not start a gas mower inside a garage, shed, basement, or other enclosed space. Carbon monoxide is invisible, and fuel vapors can collect near ignition sources. Move the machine outdoors for any engine run time, and keep smoking, flames, heaters, and sparks away from fuel.
Clean the deck, underside, and discharge chute
This is the step most likely to be skipped and the one most likely to explain a rusty deck next spring. Grass, mud, and leaves cake onto the underside, hold water against the metal, narrow the discharge path, and keep the surface damp long after the outside of the mower looks dry. Exmark puts full cleaning first for the same reason: debris left inside or outside the mower becomes a moisture and corrosion problem during storage. (Exmark)
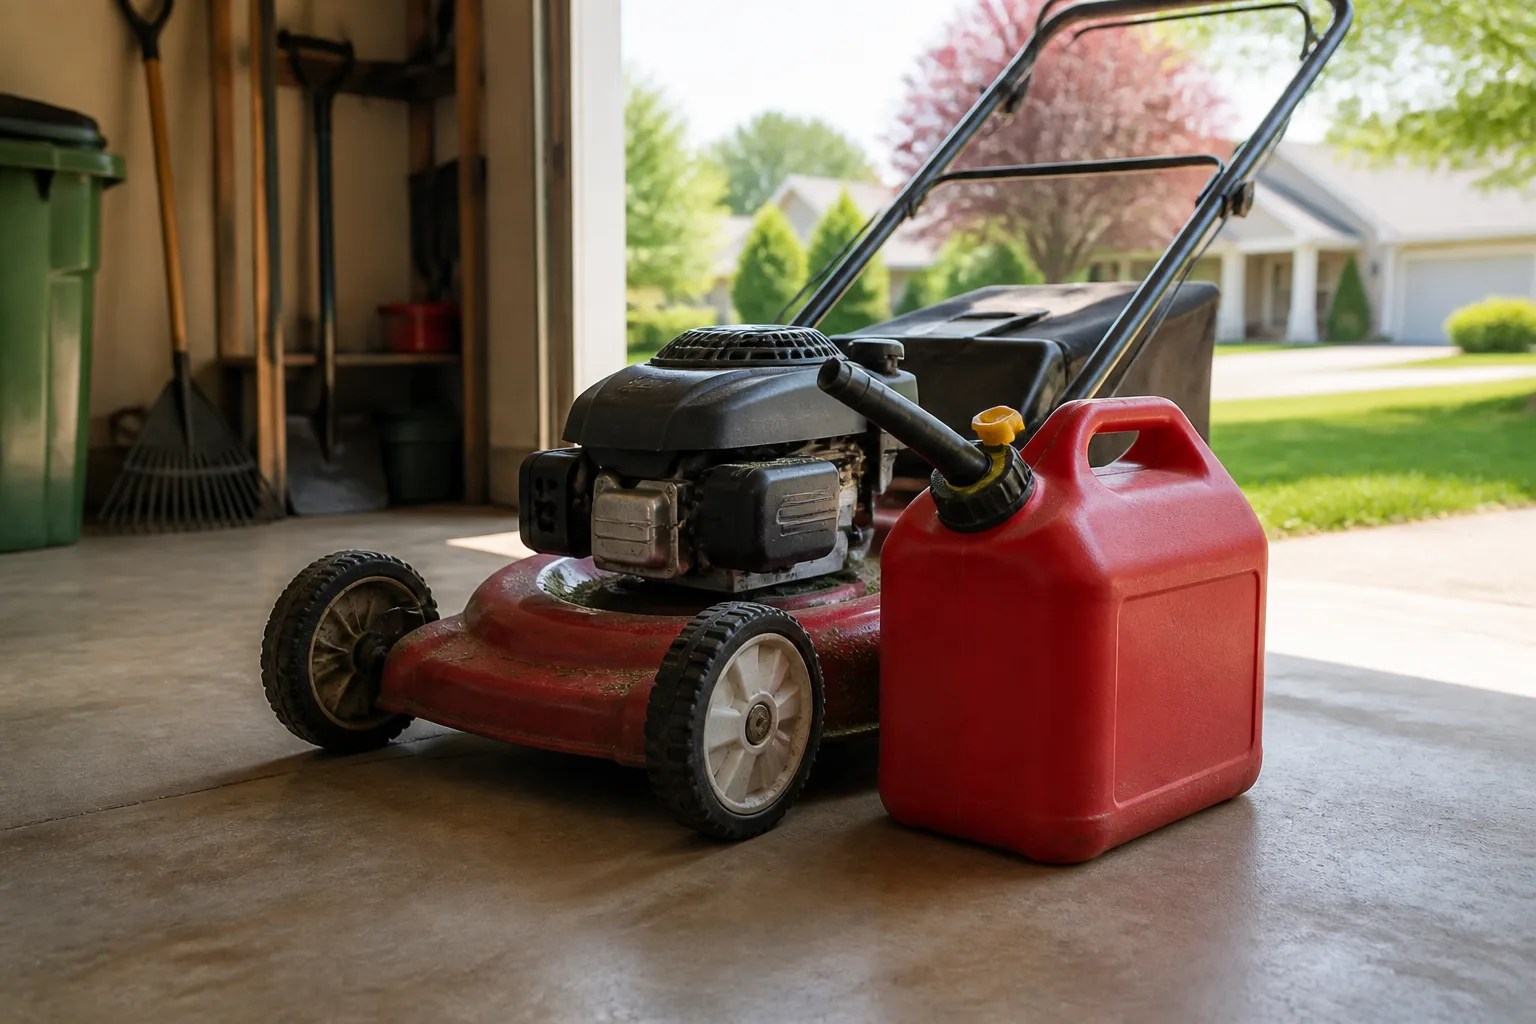
Start with a brush, putty knife, or dull scraper rather than forcing a sharp tool toward the blade. Clear the discharge chute, wheel wells, height-adjustment points, and the seam where the deck meets its guard. If you use water on a gas mower, keep it away from the air intake, carburetor, muffler, and controls; on an electric mower, remove the battery first and avoid spraying electrical ports, switches, and connectors.
When the machine is cool and disconnected, tilt a walk-behind mower only in the direction specified by its manual. Many small-engine guides recommend keeping the air filter and spark-plug side facing up so oil does not run into the filter housing or carburetor. Gardening Know How gives the same air-filter-up caution when tilting a mower for deck access. (Gardening Know How)
Let the deck, wheels, chute, and fasteners dry fully before storage. Wipe the engine housing and controls with a dry cloth, then apply only the lubricant or rust protection the manufacturer allows to exposed metal and pivot points. Do not hide a wet mower under its cover and hope airflow will solve it later.
Handle gas, oil, and batteries separately
Winterization is not one universal recipe. A gas engine, a lead-acid riding-mower battery, a lithium-ion battery pack, and a corded mower each have different storage needs. Separate the jobs so a shortcut for one type does not become unsafe advice for another.
Gas: drain or stabilize according to the manual
Start by checking the operator’s manual. Some engines are designed to be stored with the fuel tank drained and the carburetor run empty; others are stored with fresh fuel treated with the correct dose of stabilizer. Exmark describes both choices, while Briggs & Stratton specifies fresh stabilized fuel, circulation through the fuel system, and a full tank for the engines covered by its guide. (Exmark) (Briggs & Stratton)
If the manual says to stabilize, use fresh fuel, not gasoline that has already sat in a can or tank for months. Add the product at the label rate, run the engine for the time the manual recommends so treated fuel reaches the system, then complete the prescribed top-off step. A stabilizer slows deterioration; it is not a way to turn stale, contaminated fuel back into fresh fuel. Family Handyman also warns that adding stabilizer to old gas does not restore it. (Family Handyman)
If the manual says to drain, work outdoors with the engine cool. Use an approved fuel container, never a glass jar, and never siphon gasoline by mouth. Do not pour old fuel onto soil, down a drain, or into household trash; use your local household hazardous-waste or fuel-recycling instructions. Amherstburg Fire Services advises storing gasoline only in approved containers, away from ignition sources and living areas, and keeping the container sealed and out of children’s reach. (Amherstburg Fire Services)
Do not store a gasoline can in a basement, bedroom, or other living area just because the mower is outside. If you are unsure whether the fuel system is safe to drain, if fuel is leaking, or if the tank cap or line is damaged, stop and use a small-engine service shop.
For gas mowers, change the engine oil when the manual’s service interval calls for it—often at the end of the season. Warm oil drains more easily, but the mower must still be stable and cool enough to handle safely. Refill with the specified oil and amount; do not guess from a generic chart or overfill because the machine is going into storage.
Inspect the air filter, spark plug, fuel line, and fuel cap while you are there. Replace damaged or saturated filters, cracked plugs, brittle hoses, or missing seals before storage. You do not need to replace every part every winter, but you do want to find a cheap failure before it becomes a spring no-start or fuel leak.
Battery: remove, clean, and store it correctly
Remove a detachable battery before putting a cordless mower in an unheated shed. Wipe the pack and contacts dry, inspect the casing for cracks, swelling, leaks, or impact damage, and store it in a cool, dry location away from direct sun, water, heaters, furnaces, and gasoline. Briggs & Stratton gives the same cool, dry, heat-free direction for mower batteries. (Briggs & Stratton)
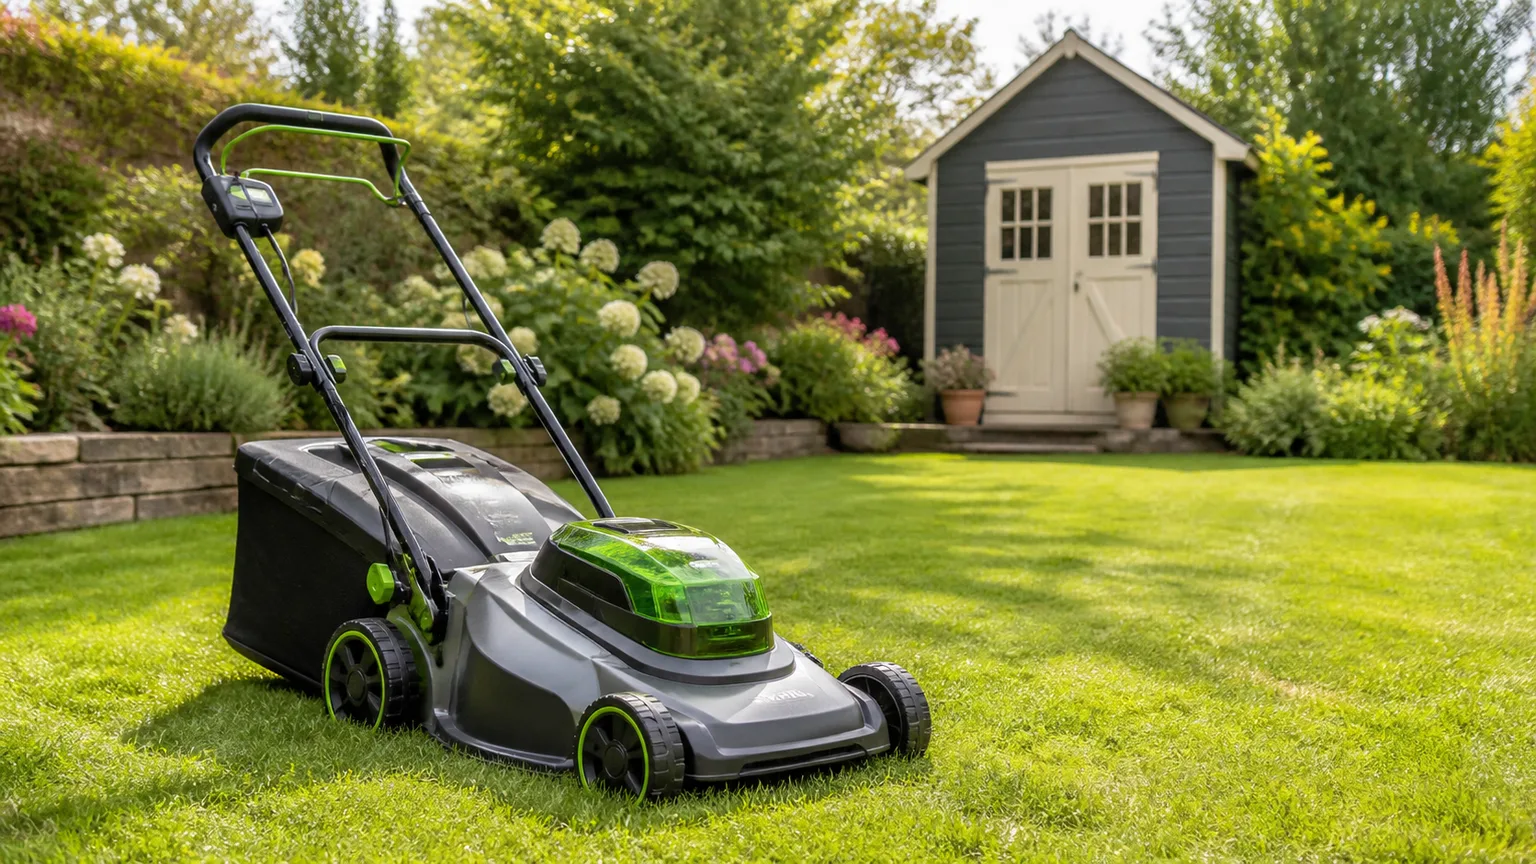
The right charge level depends on the battery chemistry and model. A general magazine recommendation is to store many lithium-ion mower batteries partly charged—Popular Mechanics describes a 40–60 percent range—but the owner’s manual takes priority, especially for proprietary packs and chargers. (Popular Mechanics) Do not charge a battery that is wet, damaged, or still below the charger’s permitted temperature range. Bring a cold battery into a dry, moderate-temperature place and follow the manufacturer’s instructions before charging.
Riding mowers often use a separate lead-acid starting battery. Disconnect it in the order specified by the manual, clean corrosion from the terminals without spreading residue, and store or maintain it with a charger designed for that battery type. Keep it away from gas cans and heat. If you cannot identify the battery type or charger setting, take a photo of the label and ask the equipment dealer rather than guessing.
Protect the blade, cables, and exposed metal
The blade should not spend winter dirty and wet. With the power source disconnected and the mower stabilized, remove it if the manual permits, scrape off stuck clippings, inspect for cracks, deep nicks, a bent profile, or excessive wear, and sharpen or replace it as needed. The existing blade-sharpening guidance in a mower maintenance routine emphasizes disconnecting the spark-plug boot or removing the electric battery before touching the blade. (Lawn Chick)
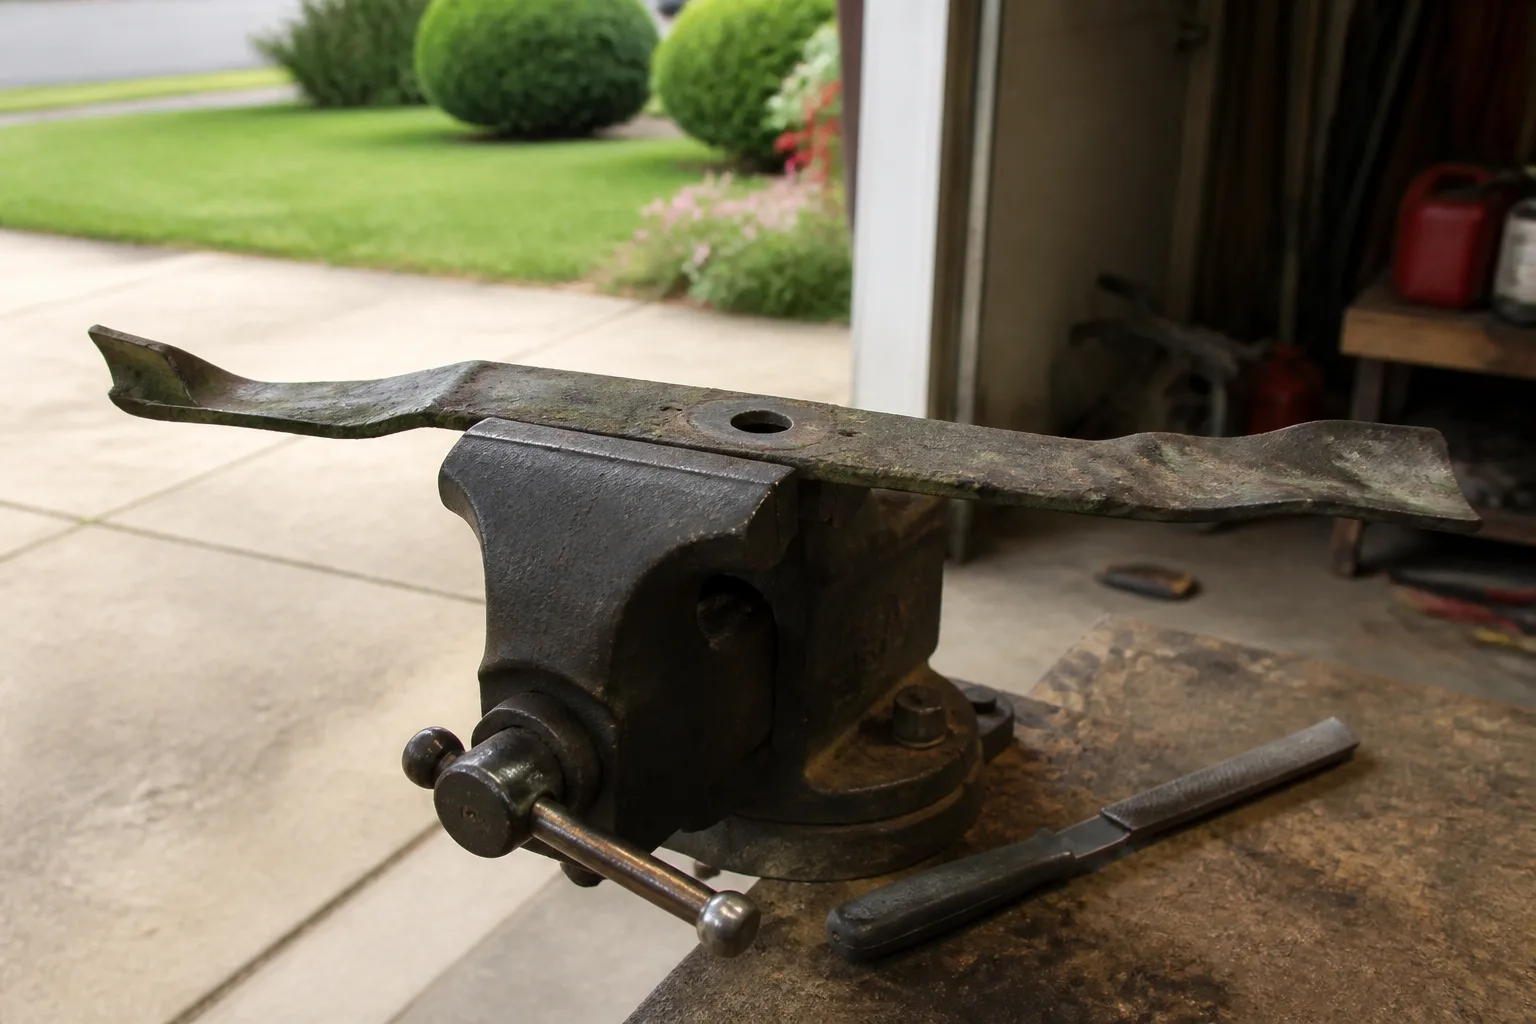
If you remove the blade, mark its orientation or take a photo before loosening the fastener. Store the sharpened blade dry and protected if you are waiting until spring to reinstall it. A blade that is merely dull is a maintenance task; one that is cracked or badly bent is a replacement decision, not a sharpening project.
Wipe exposed metal dry and inspect the wheel axles, height-adjustment brackets, cable ends, fasteners, and discharge hardware. Use a thin film of the manufacturer-approved lubricant or corrosion protectant, then wipe away excess so it does not become a sticky dust trap. Never spray lubricant onto a belt, brake surface, electrical connector, or any area the manual says must remain dry.
For a riding mower, inspect the drive belt, deck belt, steering linkage, brake, and seat. Inflate pneumatic tires to the manual’s pressure before storing, and avoid leaving the machine where one tire sits in a puddle or soft ground. If the seat is cracked, a cover can slow further weathering, but it cannot repair water that is already reaching the foam.
Build an outdoor storage setup that sheds water
If a garage or enclosed shed is truly unavailable, build layers of protection instead of relying on one tarp. The preferred arrangement is a roof or lean-to that blocks falling precipitation, a level surface that drains, a stable raised platform, and a fitted breathable cover or weather cover that cannot flap against the machine. Leave enough clearance for air to move around the mower.
Do not wrap the mower tightly in plastic film. A sealed wrap can hold condensation from temperature swings against the deck and controls, especially when daytime sun warms the outside faster than the metal dries. A cover should shed rain and snow while allowing wet air to escape; it should not act like a plastic bag.
Elevate the mower without creating a tipping hazard
Raising a walk-behind mower off soil, leaf litter, or a wet slab improves drainage and reduces the chance that the deck sits in standing water. Use a sound pallet, treated platform, or other surface that is wide enough for the wheels and stable enough that the mower cannot roll or tip. Chock the wheels if needed, fold the handle only as the manual allows, and keep the blade from contacting the platform.
For a riding or zero-turn mower, do not substitute loose bricks, scrap wood, or an improvised stack for rated stands. If the machine must be lifted for a service task, use the approved lift points and weight-rated supports; for storage, a dry, level surface under a roof is safer than chasing extra elevation with an unstable setup.
Cover only after the mower is dry and cool. Keep openings, cooling vents, the exhaust area, charger ports, and battery compartments accessible as the manual requires. Anchor the cover or shelter so wind cannot lift it, then check it after storms for tears, pooled water, snow load, and contact points where wet fabric is rubbing against painted or bare metal.
Prevent trapped condensation, UV damage, and rodents
Winter weather is not only snow. Repeated thawing can create condensation, sunlight can age plastic and rubber, and a quiet sheltered machine can look like a nesting site to mice. A good cover reduces exposure, but it does not replace inspections.
Once every few weeks, look under the cover without starting the mower. Check for damp fabric, pooled water, new rust, chewed wiring, nesting material, droppings, leaves packed around vents, and a platform that has shifted. Remove debris with the power disconnected. If rodents are active, focus on sealing the shed and removing food or nesting material; do not place loose poison where children or pets can reach it.
Keep the mower away from fertilizer bags, wet cardboard, corrosive chemicals, and heat-producing appliances. Exmark specifically recommends separating stored equipment from fertilizers and other corrosive materials, while fire-safety guidance stresses keeping gasoline away from ignition sources. (Exmark) (Amherstburg Fire Services)
Do not periodically run a covered mower just to “keep it healthy.” Starting an engine in cold conditions can add moisture and fuel-handling risk without solving the storage problem, and an electric mower does not benefit from being activated under a damp cover. If the manual requires a particular battery-maintenance cycle, follow that instruction; otherwise, finish the service once and leave the machine undisturbed.
Spring restart: inspect before the first mow
When mowing season returns, do not pull the cover off and start immediately. First move the machine into open air, uncover it, and let any dampness dry. Look for nests, chewed wires, corrosion, leaking fuel, cracked hoses, a swollen battery, loose fasteners, and a blade that is still removed or installed upside down.
Then work through this order:
- Clear the deck, cooling fins, air intake, exhaust area, wheels, and discharge chute.
- Reconnect the spark-plug boot, battery, safety key, blade, and guards only as the manual directs.
- Check engine oil, fuel condition, battery charge, tire pressure, cables, belts, and controls.
- Confirm that the blade can turn only through the intended control and that guards and fasteners are secure.
- Start a gas mower outdoors with the blade disengaged, then listen for abnormal vibration, smoke, fuel smell, or oil leaks.
- Test a battery mower without cutting first, and stop if the pack, charger port, motor, or wiring becomes hot or behaves unexpectedly.
If the mower was stored outside and you find surface rust, clean and assess it before use. Light cosmetic rust may be a maintenance job; deep pitting around blade mounts, cracked welds, damaged wiring, a swollen battery, fuel leakage, or a seized engine calls for a service professional. It is cheaper to lose one mowing day than to turn a questionable machine into a blade, fire, or carbon-monoxide hazard.
Conclusion
The best way to store a lawn mower for winter is to clean it completely, service the parts that deteriorate while idle, and keep it in a dry, ventilated structure. If outdoor storage is unavoidable, the winning combination is a raised, stable surface, a roof or lean-to, a breathable weather cover, and occasional inspection—not a dirty mower sealed under plastic.
Let your mower type decide the details: follow the engine manual for draining or stabilizing fuel, bring removable batteries into a dry moderate-temperature space, disconnect power before deck work, protect exposed metal, and keep gasoline away from living areas and ignition sources. In spring, inspect first and start only after the machine is dry, intact, and safe to run. That sequence addresses the real winter enemy—trapped moisture and neglect—before it becomes a repair bill.



