How to Dry and Store Fresh Garden Herbs for Flavor
Learn when to harvest, which herbs dry best, how to air-dry or dehydrate them, and how to store whole leaves so they stay aromatic without molding.
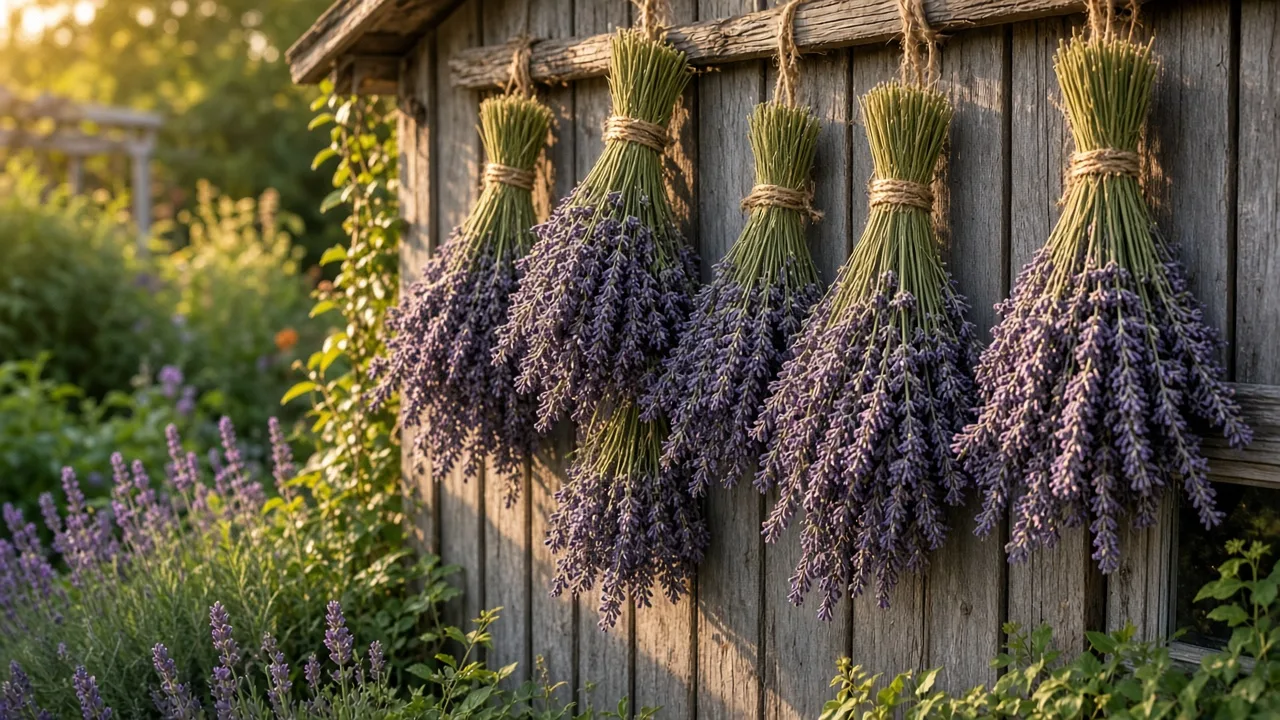
The best method depends on the herb and the air in your home. Hang small bunches of rosemary, thyme, oregano, and similar sturdy herbs in a warm, dry, dark place; spread thicker leaves such as sage on a screen; and use a low-temperature dehydrator or the freezer when tender leaves like basil or cilantro need to be preserved quickly. A clean harvest, enough airflow, and a fully brittle finish matter more than a particular number of days.
For a small, dry-weather harvest, air-drying is simple and inexpensive. In a humid kitchen or with a basket of juicy leaves, controlled heat is more dependable. Oregon State University Extension and Penn State Extension both emphasize low heat, complete drying, and airtight storage; the practical guide below helps you choose a method before moisture or flavor becomes a problem.
Decide whether to dry, dehydrate, or freeze each herb
Drying removes water, concentrating the flavor that remains and making herbs convenient for soups, sauces, rubs, and tea. It also changes the texture and can dull the fresh, green notes of some delicate herbs. Preservation is not one-size-fits-all: choose the method that suits the flavor you want, the herb’s leaf structure, and the time available.
| Best suited to drying | Can be dried, but often better frozen for fresh flavor | Usually best frozen for a fresh-tasting result |
|---|---|---|
| Rosemary, thyme, oregano, marjoram, summer savory, sage, bay, lavender | Basil, mint, lemon balm, parsley, dill leaves | Cilantro, chives, tarragon, chervil |
This is a quality guide, not a rigid rule. Mint is easy to dry for tea, parsley is useful in cooked dishes even when its aroma fades, and basil can be dried if you will use it in a simmered sauce. UMass Extension likewise separates herbs that keep well dried from those whose flavor is better protected by freezing.
Best herbs for air-drying
Rosemary, thyme, oregano, marjoram, savory, and bay have relatively sturdy leaves or stems and are forgiving when hung in small bunches. Sage can also be hung, although large, thick leaves dry more evenly when spread out on a screen. Lavender flowers, mint, and lemon balm are also common air-drying candidates, particularly for tea, potpourri, or a seasoning whose finished flavor does not need to taste exactly like a fresh leaf.
Tender herbs that are better frozen
Basil, cilantro, chives, parsley, tarragon, and dill fronds are often used for their bright, leafy flavor. Freezing chopped leaves in a thin layer or in a small amount of water preserves that character better than slow room-temperature drying, though the thawed leaves will be soft and unsuitable for garnishing. The Old Farmer’s Almanac also recommends choosing preservation by herb, noting that several delicate herbs hold their sprightly flavor better frozen.
If you mainly cook sauces, soups, stews, or beans, dried basil or parsley may still be useful. If you make pesto, chimichurri, salads, or dishes where a just-picked flavor is the point, freeze the harvest instead or keep a small plant growing indoors.
Harvest clean, healthy growth at the right time
For leafy herbs, harvest in the morning after dew has dried but before the day’s heat has wilted or warmed the foliage. Choose healthy stems just before flowering when possible; many herbs have a stronger leaf flavor before flowering, although this is a quality cue rather than a safety cutoff. If you are preserving a seed crop, wait until the seed heads mature instead of following the pre-bloom rule for leaves.
Use sharp scissors or pruners and cut above a leafy node so the plant can branch again. Illinois Extension’s herb-harvest guidance recommends removing about one-third of a perennial herb’s growth at a time; some established annuals tolerate more, but a young, stressed, or container-grown plant should get a lighter cut. Harvest several smaller batches as plants regrow rather than stripping a whole plant bare before winter.
Pick dry, undamaged stems and keep each type labeled as you harvest because rosemary and thyme become harder to distinguish when dry; discard leaves with disease spots, yellowing, insect damage, or soil splashes. If the plant has been treated with a pesticide, use only foliage labeled for edible crops and observe the product’s label instructions and preharvest interval; Illinois Extension cautions that some garden pesticides are not cleared for herb leaves intended for food. Drying does not make a recently sprayed plant ready to eat.
For dill seed or coriander seed, the harvest cue is different from a leaf harvest. Let the umbels mature until the seeds have formed and begun to dry, then cut them into a paper bag before the seeds scatter. Chamomile and other culinary flowers also need their own harvest stage, so do not apply the leaf-herb timing rule automatically to flowers or seeds.
Wash only when needed and remove surface moisture
Start by sorting the harvest and removing insects, dust, or damaged leaves. A clean garden harvest usually needs a gentle shake or a quick inspection rather than a bath; unnecessary rinsing adds water that the drying process must remove. If you do need to wash herbs, use cool running water, then shake, spin, or blot them and spread them in a single layer until the surface is completely dry.
Do not tie wet stems straight into a bunch or put damp leaves directly into a jar. Water tucked between leaves slows drying and creates the moist pocket where mold can begin. In a humid climate, allow washed herbs extra time in an airy room or choose a dehydrator rather than trying to compensate with a larger bundle or more heat.
Remove discolored, bruised, slimy, or diseased material before drying. It will not regain quality once the water is gone, and it can make a finished batch smell stale. Keep the work surface, screen, and jars clean and dry; preservation starts with the condition of the harvest, not just the appliance.
Choose a method that matches the air, herb, and batch
Think about three things before you start: how thick or juicy the leaves are, whether your drying room feels humid or still, and how much you need to process. A small bunch of thyme can hang for days without much attention; a large pile of basil in a damp kitchen needs quicker, more even airflow. If you cannot give the harvest a dry, ventilated place, do not force room-air drying.
| Method | Best use | What to watch |
|---|---|---|
| Hanging bunches | Woody stems and a modest harvest in a dry room | Keep bunches small, dark, and separated |
| Mesh tray or paper bag | Loose leaves, thick leaves, and seed heads | Spread leaves in one layer; vent bags |
| Food dehydrator | Tender leaves, humid weather, or a larger batch | Use a low herb setting and check early |
| Oven or microwave | A small amount when other options are unavailable | Heat is less even and can reduce aroma or color |
For room drying, moving air and low humidity are the controls you can actually improve: use a spare room, pantry, or shaded shelf with space around each bunch. Avoid a bright windowsill, a steamy spot over the stove or kettle, a bathroom, or a damp basement. A fan can help circulate room air, but set it to move air across the space rather than blowing leaves off the stems.
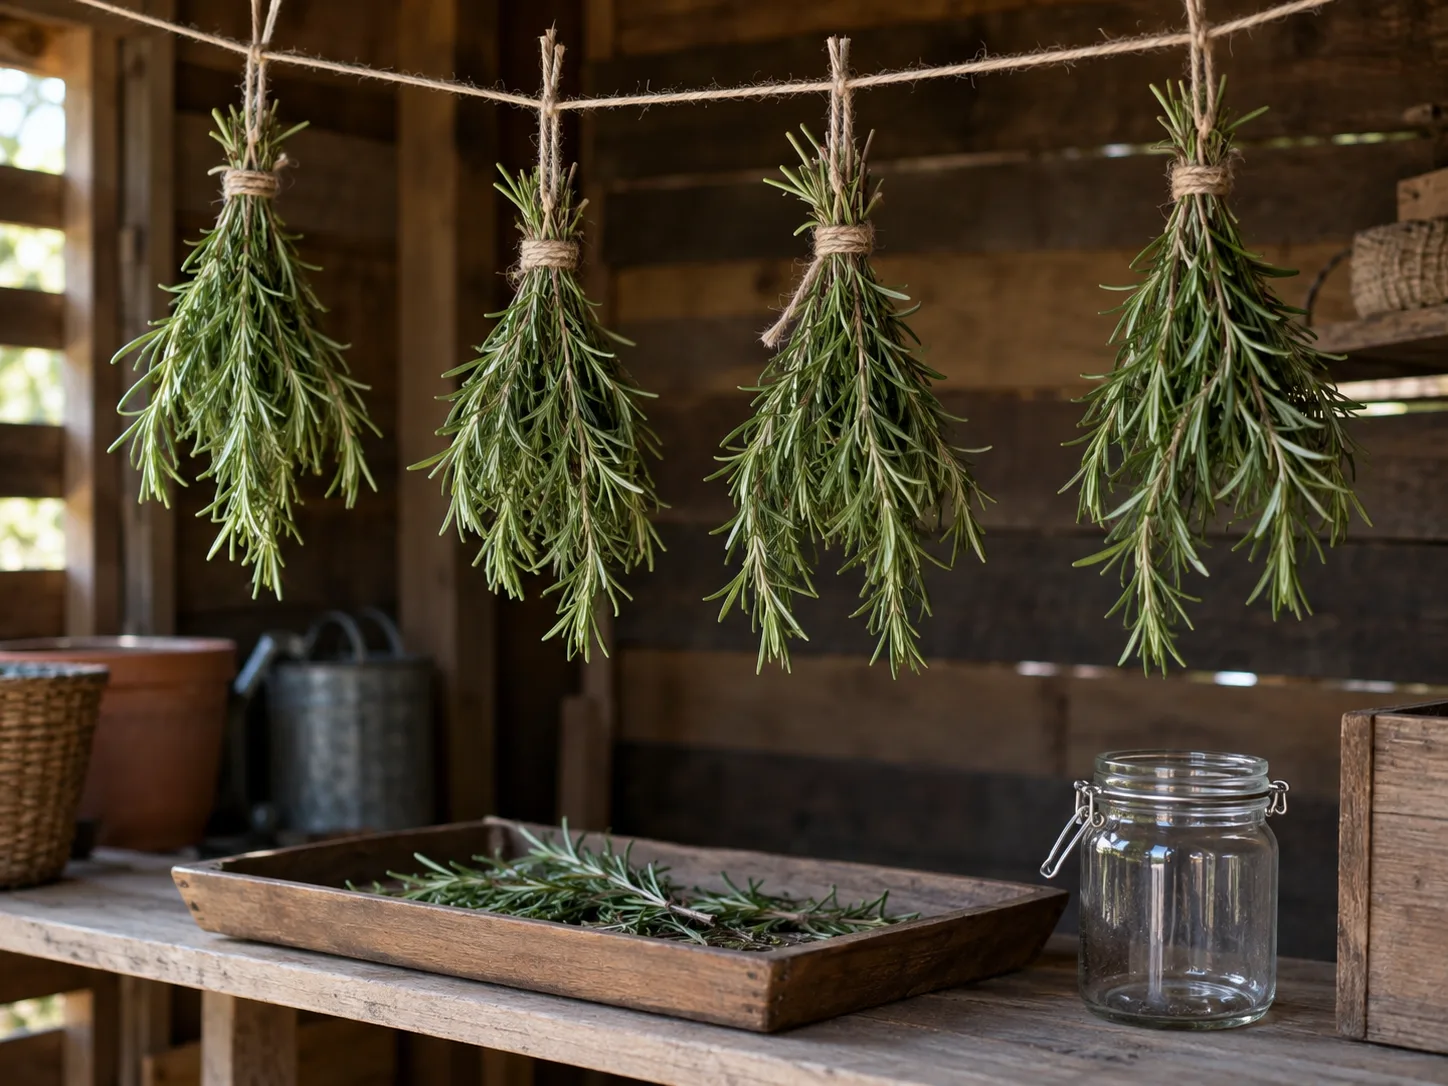
Air-dry woody herbs in loose bunches
Strip leaves from the lower few inches of each stem so the tied section does not sit crowded, then gather a small handful—about four to six substantial stems is a useful starting point—and secure the cut ends with a rubber band. Bands stay snug as stems shrink; if you use string, check that it has not loosened, and make each bundle smaller in a humid house or when the leaves are broad and thick.
Hang bunches upside down in a dark or shaded spot with free air moving around them. Leave space between bundles, and do not hang them above a sink, stove, dishwasher, or kettle where steam can re-wet the crop. A paper bag with a few large ventilation holes can protect the leaves from dust and catch anything that falls, but the bag must breathe; an unvented plastic bag traps moisture.
Air-drying may take several days or a few weeks depending on the herb, bunch size, temperature, and humidity, so use the calendar only to decide when to check. The leaves should feel crisp and crumble easily, and the stems should snap when bent; if the bundle still feels cool, soft, or leathery inside, give it more time or finish it on a tray or in a dehydrator.
Dry leaves flat or catch them in a paper bag
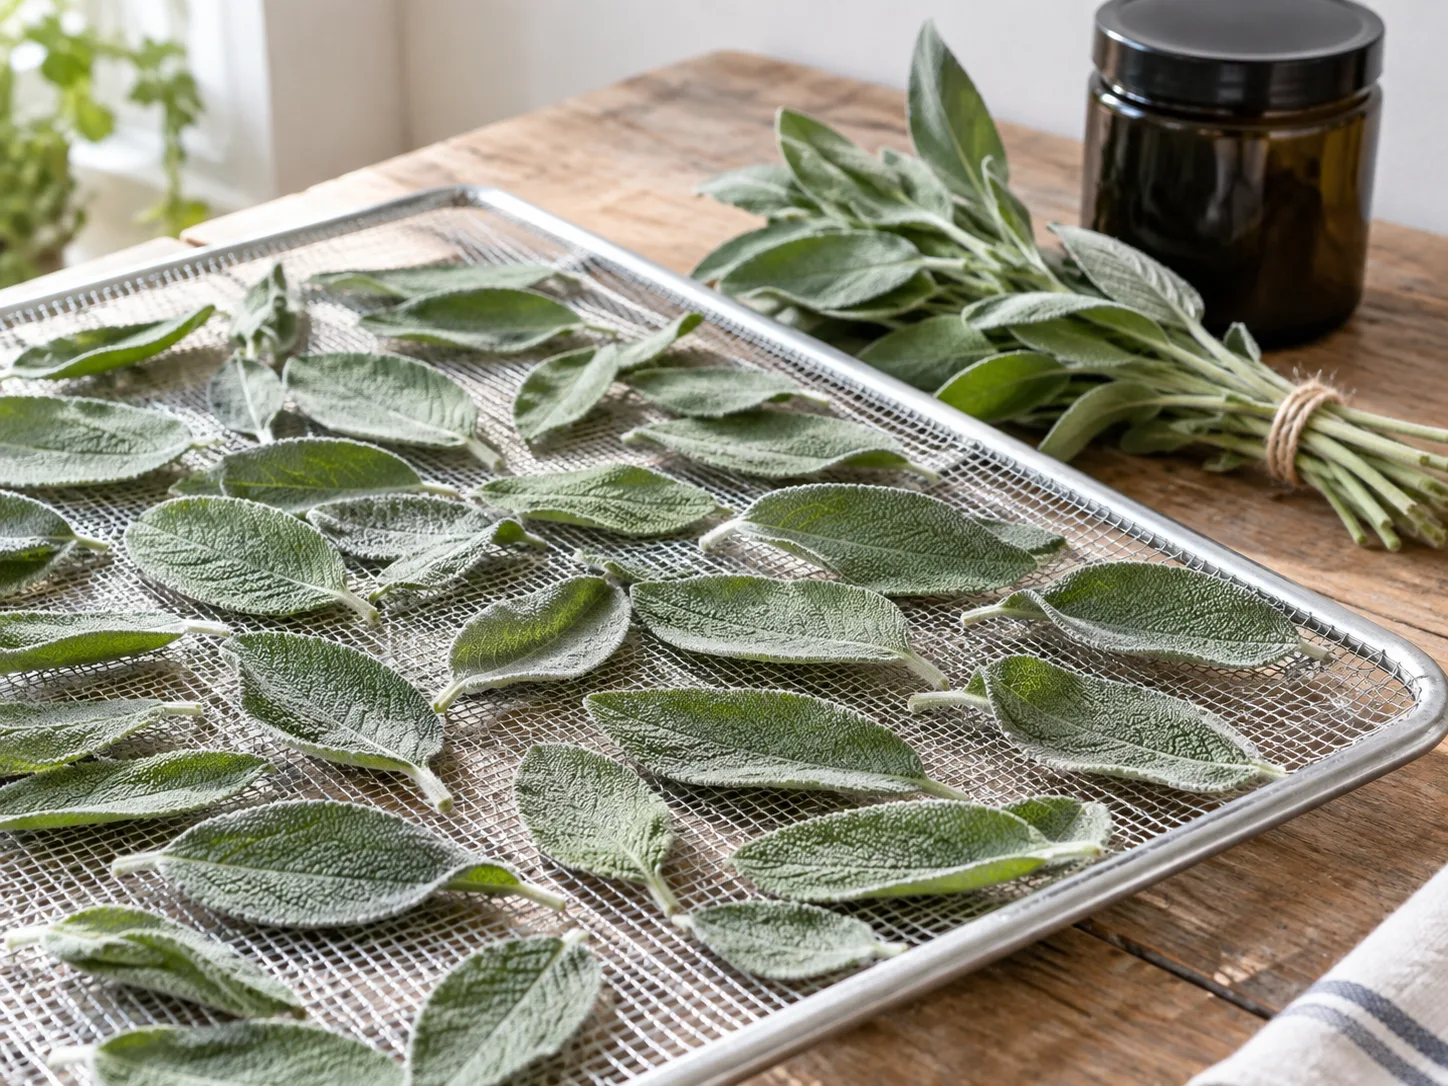
Flat drying is often a better choice than hanging for wide leaves such as sage, detached bay leaves, or leaves that would overlap in a bunch. Place them in a single layer on a clean mesh screen or tray so air can reach both sides; raise the screen slightly to improve circulation underneath. Turn or rearrange leaves as needed, especially if the tray rests on a solid surface.
A paper bag works well for small bunches of mint or for seed heads that shed as they dry. Put the stems inside, leave room for air to circulate, and cut or punch generous holes in the sides and top before closing the bag around the stems. The bag keeps loose material contained; it does not make a damp or crowded bunch safe to dry.
Avoid piling herbs on paper towels or a solid tray in a thick layer. If a screen is unavailable, spread leaves on a clean, dry surface and turn them regularly, but expect slower drying. Gardenary’s practical guide similarly stresses small bundles, a dry shaded place, and checking that stems and leaves are brittle before storage.
Use a dehydrator for tender leaves and humid weather
A food dehydrator is the most predictable option when room humidity is high, the harvest is large, or the leaves are thick and juicy. Oregon State University Extension recommends preheating to 95°F to 115°F (35°C to 46°C); in higher humidity it says temperatures as high as 125°F (52°C) may be needed. This is a gentle range, not a race: strong heat can flatten aroma and darken leaves before the inside is dry.
Rinse only if needed, remove surface water, and arrange leaves in a single layer with no overlap; small-leaved herbs such as thyme can remain on their stems, while larger leaves are easier to check individually. Start checking after about an hour and continue at short intervals, removing finished leaves while thicker pieces continue; Oregon State gives one to four hours as a common range, but dehydrator design, batch depth, and humidity can shift it.
Use the appliance’s herb or lowest setting if its manual provides one, and avoid stacking trays so tightly that airflow is blocked. If your machine cannot maintain low heat or moves leaves around, adjust the spacing or use mesh liners intended for food drying. Do not use a dehydrator as a way to rescue herbs that have already developed visible mold or a musty odor.
Oven and microwave methods for tiny batches
An oven is a compromise, not the first choice for herbs: most ovens run hotter than a low-temperature dehydrator and have less consistent airflow. Extension advice differs: Iowa State University Extension describes an oven method, while Penn State’s drying-herbs handout says oven drying is generally not recommended for herb quality and describes it only as a backup using the lowest setting, no more than 180°F (82°C), with the door open. The temperature ceiling is not a target; if your oven cannot hold a low setting safely, use another method.
For a tiny amount, microwave drying can be faster, but it is easy to scorch a few leaves while others stay damp. Follow your appliance’s instructions, spread a small quantity in one layer between plain, unprinted paper towels, and use brief bursts with frequent checks. Oregon State warns against recycled paper towels because tiny metal fragments can spark; stop as soon as leaves crumble, then let them cool fully before sealing, and never walk away from a running microwave or try to dry a large pile at once.
If neither appliance gives you gentle, even drying, freeze tender herbs instead. A dependable harvest in the freezer is more useful than a cooked or mold-prone jar made by forcing an unsuitable method.
Change the method for basil, mint, sage, and other herbs
Species and leaf shape affect both drying speed and how satisfying the result will be. The categories below are starting points; cultivar, harvest condition, and room humidity still matter. For example, one small-leaved basil may dry more readily than a thick-leaved type, but freezing remains the better bet if you want a fresh basil aroma.
- Rosemary and thyme: Hang small, spaced bunches or use a dehydrator. Strip brittle leaves from stems after drying, then store the leaves whole so you can crush them at cooking time.
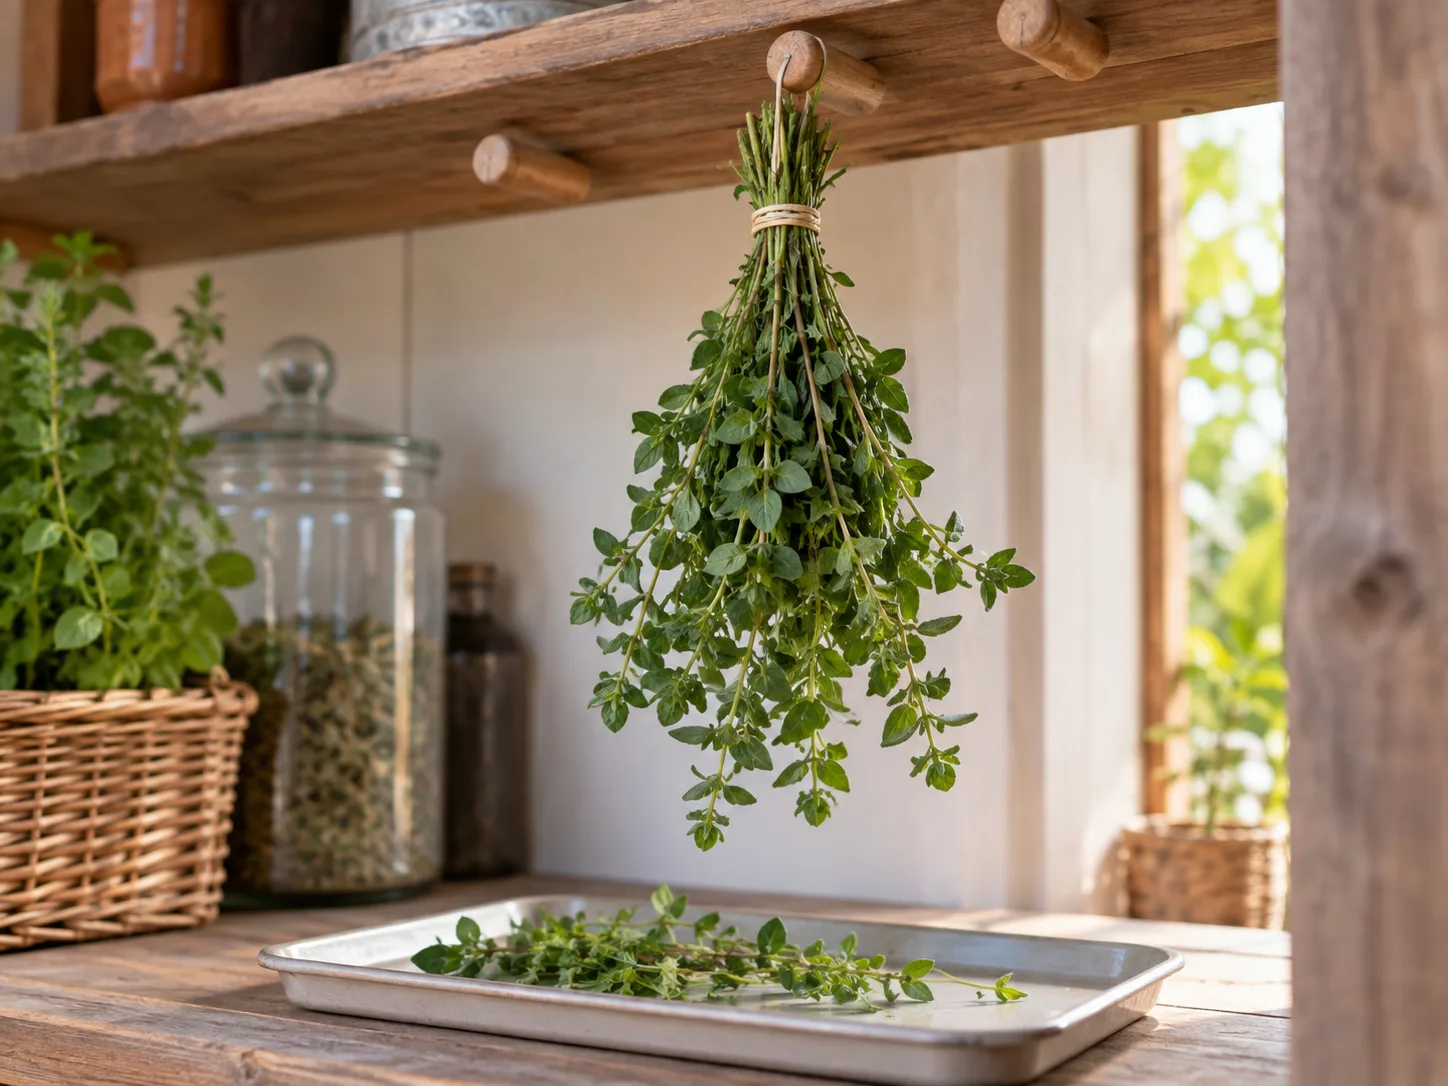
- Oregano, marjoram, and savory: These are dependable drying herbs. Hang short stems with room around each bunch; strip the leaves only when crisp. Keep oregano and marjoram in separate, labeled batches because their dried leaves can look alike.
- Sage: Its broad, velvety leaves can take longer to dry than narrow leaves. Use a mesh tray or a dehydrator when the room is humid, and make sure the thick midrib is brittle before storage.
- Bay: Dry individual leaves flat or hang small branches. Bay leaves can retain a little flexibility after the first drying pass, so test the thicker central rib rather than relying on a crisp edge.
- Mint and lemon balm: Both dry well for tea, especially in loose bunches or on a screen. In damp weather use the dehydrator; if you want a brighter taste for savory dishes, freeze instead.
- Basil: Choose a quick, gentle method such as a dehydrator, with the leaves laid separately. Dried basil is useful in cooked sauces but often loses the fresh fragrance valued in pesto; freeze it if that aroma matters.
- Parsley and cilantro: Drying makes convenient seasoning, but the fresh, grassy character fades. A dehydrator is more consistent than a large hanging bunch; freeze leaves if they will be used as a finishing herb.
- Dill: Freeze the fronds for the clearest flavor. If you want dill seed, let the seed heads mature and dry them inside a vented paper bag so falling seeds are caught.
- Chives and tarragon: Their delicate flavor often suffers when dried. Freeze chopped chives or tarragon in a shallow layer or in small portions instead of investing time in a jar that may taste faint.
For herbs grown for flowers or seed, dry the part you actually plan to use. Lavender flowers are best kept intact until crisp, chamomile flower heads should be spread in a single layer, and mature dill or coriander seed heads benefit from a bag that catches seed. Label these batches by plant and plant part; “dried herbs” is not a useful label when the jar contains a mixture of leaves, flowers, and seeds.
Test for complete dryness before filling a jar
Do not store herbs because the outside feels dry or because a timer has ended; cool a sample first, then rub a leaf between your fingers. It should crumble rather than fold or feel leathery, and a stem should snap cleanly instead of bending; thick leaves, stem joints, and the center of a bunch are the slowest places to dry, so test one of those rather than the thinnest leaf on the edge.
If any part is pliable, return the batch to the tray or dehydrator; separate leaves that still cling together and give them more airflow. Herbs that are truly dry should not feel cool or damp inside, and no drops or fog should appear on the wall of a clean jar after the herbs have cooled and been placed inside; if you see condensation, remove the herbs promptly and continue drying, and discard the batch if you also find mold or a musty smell.
Drying time is not a substitute for this test. A sunny, low-humidity room and small bunch may finish quickly; a damp apartment, thick sage leaf, or crowded tray can take much longer. More heat is not the right fix for a slow batch—reduce crowding, improve airflow, or move to a controlled dehydrator setting.
Store whole leaves away from heat, light, and humidity
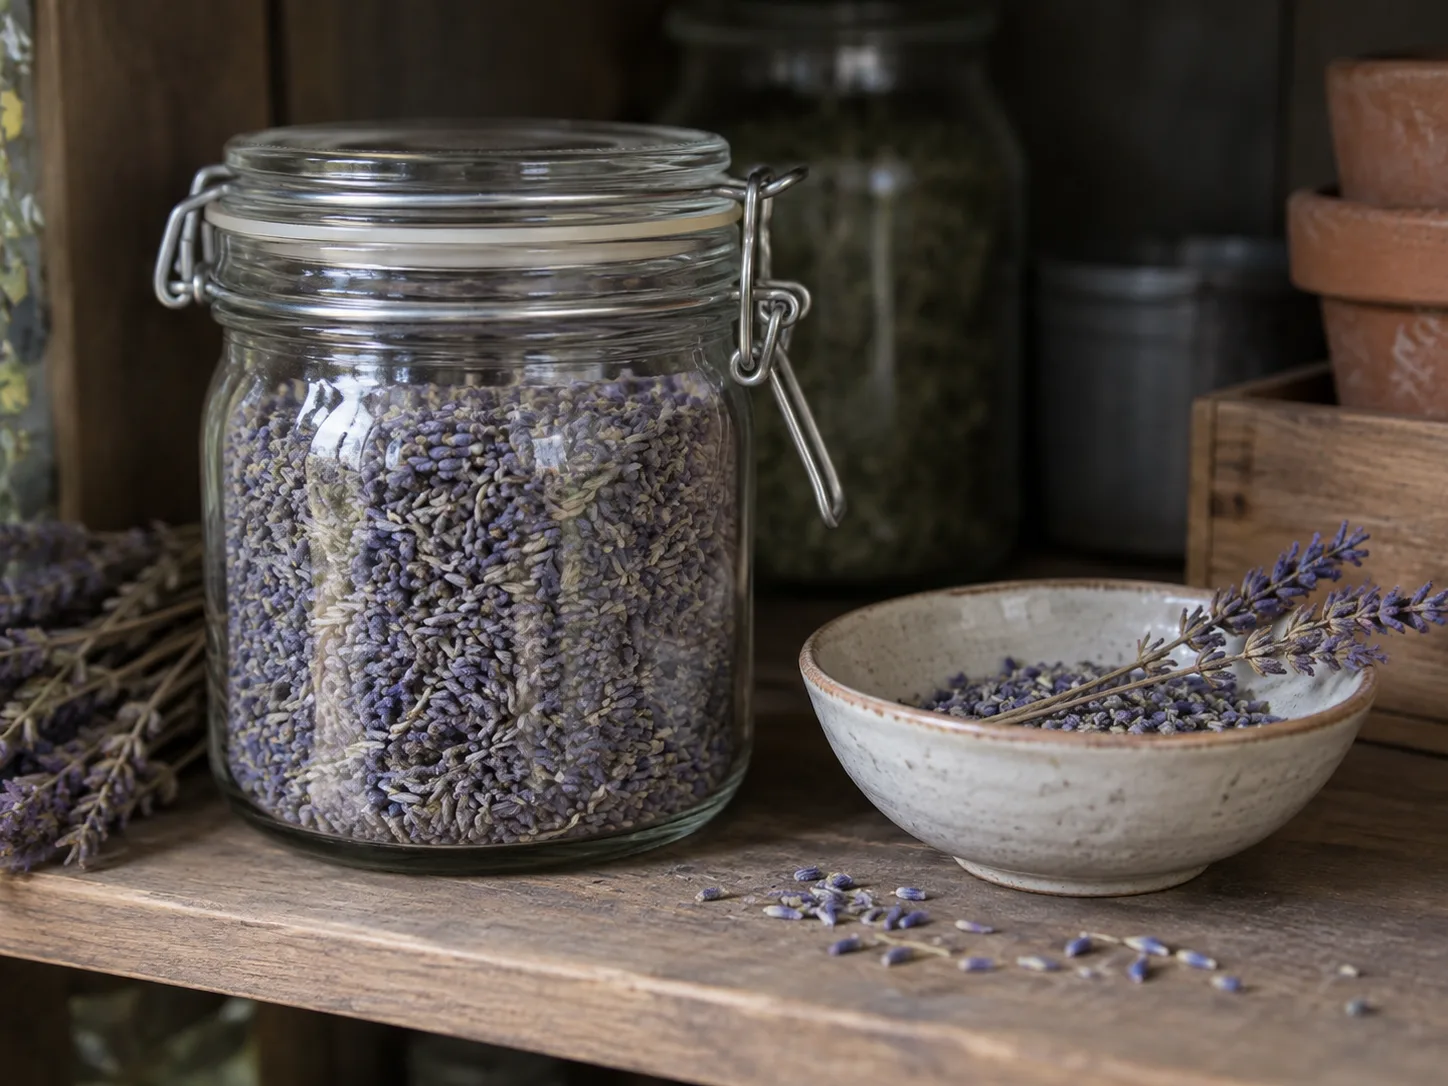
When the herbs are fully dry and cool, strip leaves from stems if convenient and store them whole in clean, dry, airtight containers. Whole leaves expose less surface area than crumbled or ground herbs, so they lose aroma more slowly. Use small jars for the herbs you reach for often and keep the rest sealed until needed.
Label each container with the herb name and harvest date before you forget what it is. Store jars in a cool, dry, dark cupboard away from the stove, sink, dishwasher, sunny shelf, and other sources of steam or heat. A dark pantry is more protective than a row of clear jars beside a bright window; amber glass is optional if the storage spot is already dark.
For best flavor, plan to use dried leaves within about six months to one year. They may remain dry after that, but their aroma and taste fade, so smell a crushed pinch before adding an old jar to a dish. Oregon State and Penn State Extension both place the best-quality window around a year and recommend keeping the herbs whole until use.
If you keep a large surplus in the freezer, divide it into small airtight portions. Cold storage can preserve quality, but repeatedly moving a cold jar into a warm, humid kitchen can form condensation; let a sealed portion warm before opening it. For everyday use, a pantry jar is simpler and avoids that temperature swing.
Troubleshoot mold, fading color, and weak flavor
Mold or a musty smell usually means the harvest was wet, bundles were too dense, or the drying room was too humid for slow air-drying. Discard herbs with visible mold, damp clumps, or a musty odor rather than picking out the bad-looking piece; the rest of the jar may have shared the same moisture. For the next batch, harvest after dew dries, make smaller bunches, spread leaves in a single layer, and use a dehydrator when the room stays damp.
Brown, black, or dull leaves often point to direct sun, excessive heat, or a slow start after washing. Color is not a perfect measure of flavor, but it helps flag handling that may have driven off aroma. Keep future batches shaded, remove surface water before drying, and use the lowest practical heat; do not raise the temperature just to finish sooner.
A bland jar may come from harvesting after flowering, drying herbs that naturally lose their best fresh character, crushing the leaves before storage, or keeping the jar near heat and light. If the leaves are dry and smell clean but weak, there is no method that can restore the original aroma. Use the jar in a long-cooked dish where a gentler seasoning is acceptable, or compost it and switch to freezing for that herb next time.
A jar that softens after storage has likely taken on moisture from a poor seal or a humid cupboard. If the herbs are still clean and odor-free, spread them out and dry them again immediately; do not return them to the same damp location. If condensation has sat for a while or any mold appears, throw the batch away and clean the container before reusing it.
Dust, fallen leaves, or mixed-up herbs are preventable handling problems. Use a vented paper bag when loose leaves or seeds may fall, keep each species in a separate bundle, and label it before hanging. A simple tag saves more frustration than trying to identify a jar of nearly identical dried leaves months later.
Use dried herbs well in the kitchen
As a starting point, use one teaspoon of dried leaves for one tablespoon of chopped fresh herbs. The Iowa State University Extension and Penn State Extension give the same general 3-to-1 conversion; the exact amount still depends on the herb, how finely it was crumbled, and how strong the batch smells. Taste and adjust rather than treating a conversion as a guarantee.
Crush or rub leaves just before adding them to release aroma. Dried rosemary, thyme, oregano, and bay usually benefit from time in a simmering soup or sauce, while fresh herbs are often added near the end for a sharper finish. Powdered herbs are more concentrated than coarse leaves, and dry herbs cannot replace the fresh texture of a salad topping, pesto, or garnish.
Store a small working jar near your cooking area only if it stays away from steam and heat. Keep the bulk of the harvest sealed in a darker cupboard, then refill the working jar in small amounts. That way you can cook with garden herbs all year without repeatedly exposing the entire harvest to kitchen humidity.
Conclusion
Start by sorting herbs into three groups: sturdy leaves that air-dry well, tender leaves that need quick controlled drying, and delicate herbs whose best flavor survives freezing. Harvest clean foliage after dew dries, keep stems or leaves spread out, and wait until both the leaf and its thicker parts are brittle before sealing anything.
Small bunches, a dry shaded place, and an airtight labeled jar are enough for rosemary, thyme, oregano, and many other sturdy herbs. When the weather is humid or the leaves are juicy, use a dehydrator or freeze the harvest instead. The goal is not the fastest drying time; it is a batch you can identify, store confidently, and still enjoy when the garden is resting.



