How to Install a Yard Hydrant Safely
A safe yard hydrant installation starts with the right location and bury depth. Learn how to check utilities, drainage, potable-water protection, and leaks.
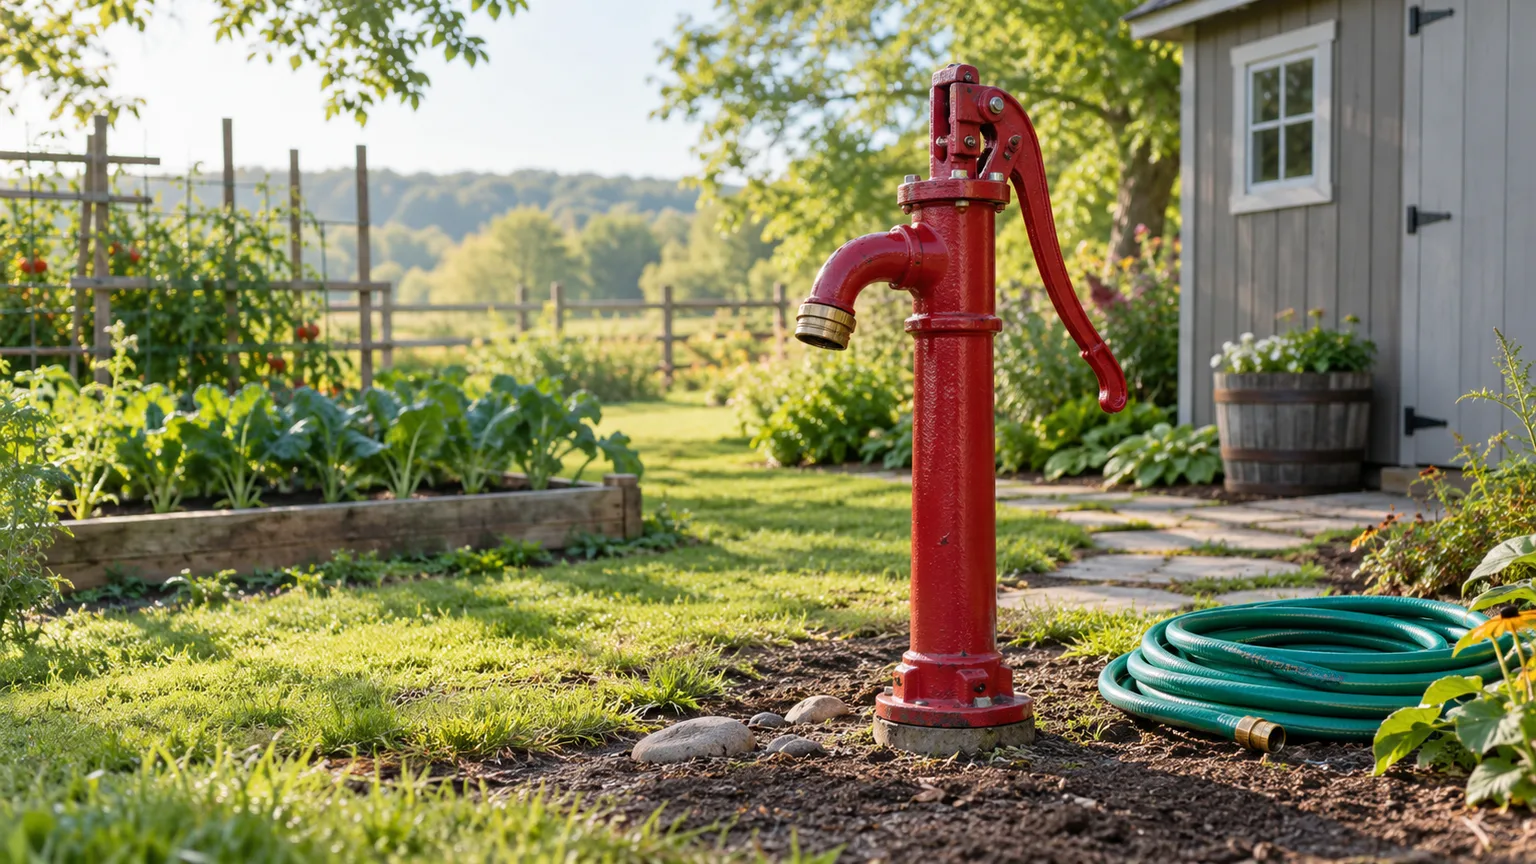
Choose a frost-free hydrant for your actual use
A yard hydrant makes sense when you need a durable water outlet away from a house—at a vegetable garden, barn, orchard, greenhouse, or livestock area. Before buying one, decide whether it will serve a potable-water system, an irrigation system, or a private well, and whether the water must remain available through freezing weather. Those answers affect the permitted hydrant design, backflow protection, materials, and maintenance access.
“Frost-free” describes a mechanism, not a guarantee. A standard soil-draining model can empty only if it is installed at the right depth, its drain opening stays clear, and water can move into the surrounding soil. A sanitary or no-drain model may be necessary where water is meant for drinking or local rules do not allow a stop-and-waste valve to discharge into the ground. Confirm the exact model and intended use before you dig.
Understand the drain that makes it frost-free
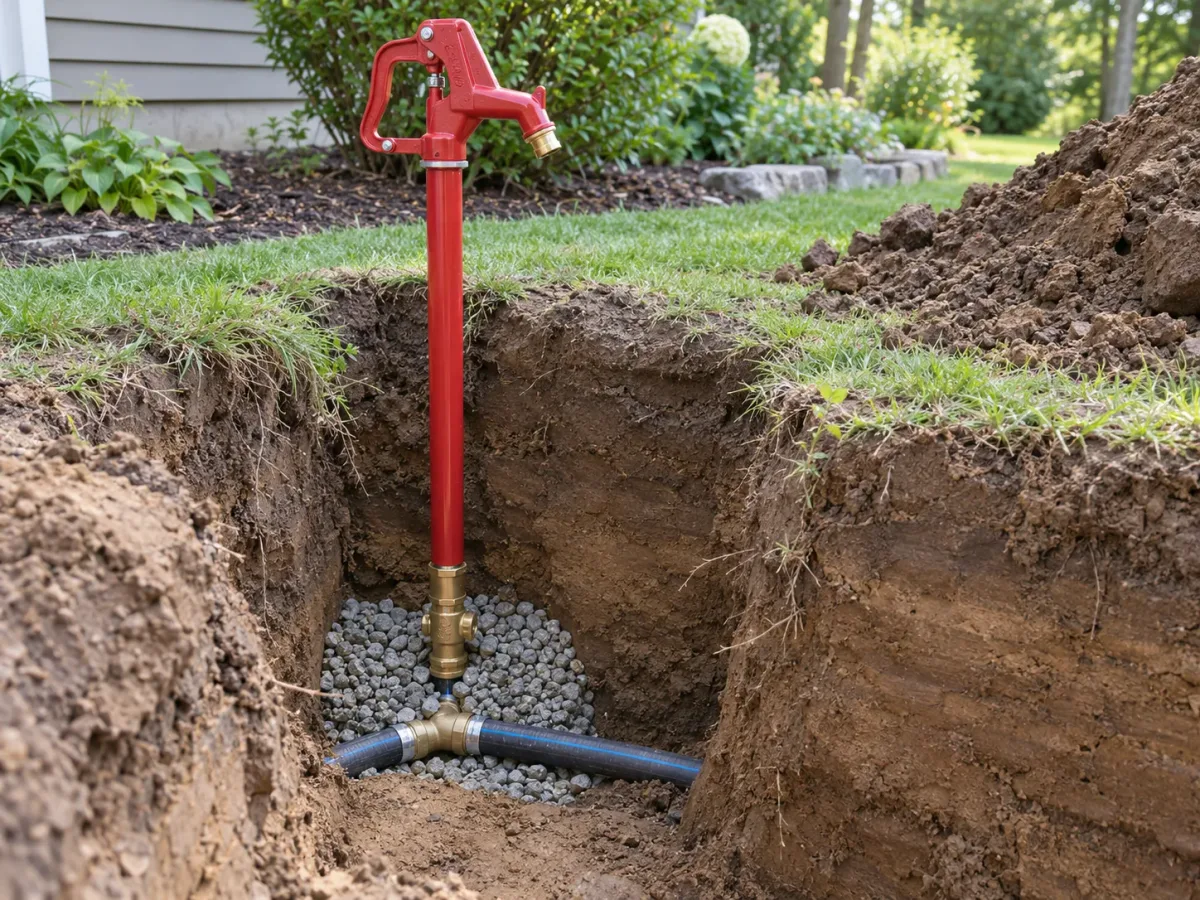
On a common frost-free hydrant, the handle moves a long operating rod to a valve near the bottom of the buried standpipe. When you close the hydrant, the supply valve shuts and a small drain port opens. Water left in the riser then runs into a gravel drainage area below the local frost line; if the riser retains water or the drain sits in saturated soil, it can freeze despite the product label.
That design creates two installation conditions that must both be true: the hydrant’s drain opening must be below the depth at which the ground freezes, and the drain field must have somewhere to release the water. Do not confuse the hydrant’s advertised “bury depth” with total length or assume it measures the final elevation of every fitting. Check the product’s diagram and installation sheet to identify the drain location relative to finished grade and the supply-line connection.
Decide whether this is a DIY plumbing project
The excavation and setting work can be manageable for a homeowner with experience, equipment, and a clear route. The water connection is a different question. Work that branches a municipal potable-water service, modifies indoor plumbing, crosses an irrigation system, enters a well system, requires a permit, or needs a testable backflow assembly is a good point to bring in a licensed plumber or the relevant water-system professional.
Stop and get professional help if you cannot identify the pipe material or source, if the proposed tap would be downstream of chemical injection or irrigation valves, if the well line is near a pressure tank or well casing, or if the trench crosses utilities or structures. A plumber can confirm approved materials, pressure and flow capacity, shutoff placement, code-required protection, and whether the selected hydrant may legally discharge into soil. A private-well owner may also need advice from a well contractor or local health department; requirements can differ from public-water rules.
| Situation | Safer next step |
|---|---|
| Clearly identified, dedicated nonpotable line and permitted design | Confirm pipe compatibility, depth, flow, and manufacturer steps before DIY work |
| Public potable service or a new branch from indoor plumbing | Ask the water provider and plumbing authority about permits and required backflow protection; hire a licensed plumber when the design is not already approved |
| Private well or a hydrant that drains into soil | Check well-protection rules and use a well professional or licensed plumber if the health and backflow requirements are unclear |
| Unknown underground pipe, high groundwater, or an unstable/deep trench | Do not proceed until a qualified locator, excavator, plumber, or inspector resolves the risk |
Choose a route and outlet location
Place the hydrant where a hose can reach the work without crossing a driveway, walking path, gate, or mower route. Think through winter access, livestock or vehicle impacts, room to swing the handle, drainage away from foundations, and whether the ground around the head stays clear of snow and mulch. Keep the nozzle high enough for the buckets or equipment you actually fill, using the manufacturer’s above-grade dimensions rather than guessing from a photo.
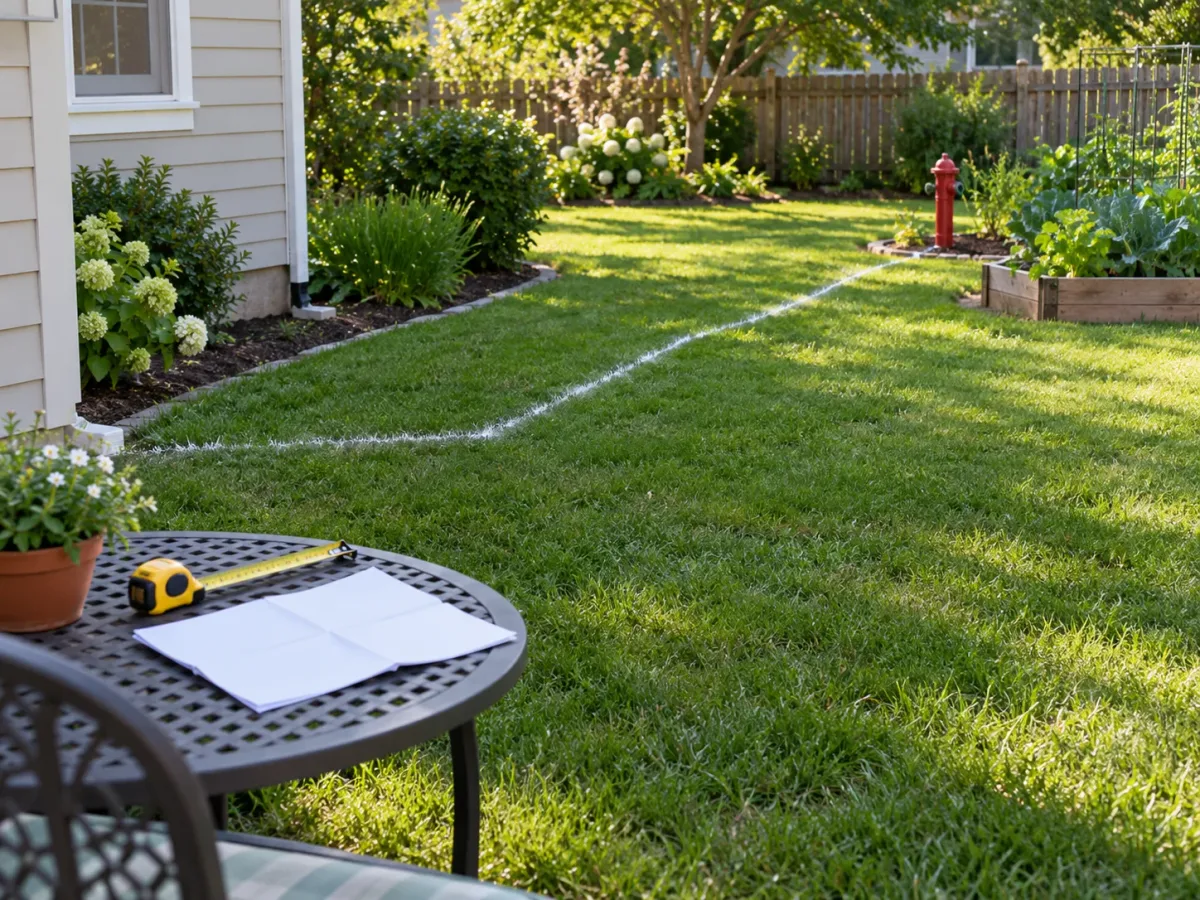
Map a continuous route from the approved water source to the hydrant and mark the intended excavation area before requesting utility locates. Practical installer guidance from Seppmann Enterprises also emphasizes deciding on the water demand, route, and access before choosing or setting the unit. Minimize unnecessary elbows and avoid tree roots, septic components, retaining walls, and low spots where water could collect. Make the proposed hydrant reachable for repairs, and plan where the shutoff and any required backflow equipment will remain accessible for inspection and service.
Confirm frost depth and hydrant bury depth
Ask your local building department, plumbing inspector, or water provider for the applicable frost depth and any required service-line cover. The correct number depends on the jurisdiction and site, and a web frost map is only a planning clue. Select a model whose drain port—not merely its inlet or the top of its buried valve body—will sit below the required frost depth when installed at finished grade.
The full supply route must also stay protected if it will remain pressurized through winter. A shallow line can freeze even when the hydrant valve itself is deep enough. If you only need seasonal water and the route cannot be placed below the locally required depth, design an accessible shutoff and a documented drain-down or winterization method; do not treat a standard shallow line as a frost-free installation.
Manufacturer dimensions are model-specific. For example, Woodford’s installation instructions call for the covered hydrant’s drain hole to be below the frost line, a hole deeper than the selected bury depth, and a gravel bed around its valve. A practical installation account from From Scratch Farmstead likewise stresses matching the model’s bury length to local frost depth and checking trench depth along the route. Other product families may use different clearances, drain arrangements, or sanitary designs, so use the instructions supplied with the exact unit and resolve any conflict with the local authority before setting it.
Set the potable-water and backflow plan first
A soil-draining hydrant can create a cross-connection: the drain port opens to soil, and pressure changes in the supply system can potentially draw contaminated water back toward potable plumbing. EPA guidance on cross-connections and backflow explains that unprotected backflow can introduce chemical or microbiological contamination and that state and municipal programs set different requirements. A garden hose left in a pesticide bucket, trough, or other contaminated water is another familiar backflow pathway, so never rely on ordinary water pressure to keep contaminants out.
Do not assume that every frost-free hydrant is approved for drinking water, or that a small hose-thread vacuum breaker at the nozzle satisfies the code for a buried drain-to-soil hydrant. Some jurisdictions permit a soil-draining model only with approved upstream protection and a permanent nonpotable label; others restrict these models on public or well water and require a sanitary/no-drain design. New York’s 2025 residential code and Michigan EGLE guidance illustrate how different the rules can be. Ask your plumbing authority and water provider which listed assembly or model is allowed, where it must be installed, who may install or test it, and what signage is required.
If the hydrant is for livestock, washing tools, or irrigation, its water may still originate from potable plumbing; the use at the nozzle does not erase the cross-connection risk. Keep any required backflow device accessible, protected from freezing and flooding, and maintained or tested on schedule. If you cannot explain how the selected hydrant and upstream protection meet the local rule, let a licensed plumber specify the assembly before the trench is dug.
Plan the branch, shutoff, and line size
Identify the source line, its material, nominal size, pressure, and what else it serves. A sprinkler main may be shut off by a controller or valve, may have limited capacity, or may receive fertilizer or other treatment; a branch from that line is not automatically suitable for a dependable yard hydrant. Avoid tapping downstream of irrigation zones or chemical injection equipment unless a qualified designer confirms an approved separation and protection strategy.
Do not choose pipe size from a generic article. A longer run, elevation change, small existing service, simultaneous household demand, and hydrant model can all affect flow and pressure. Match compatible pressure-rated and locally approved materials to the existing line, and have a plumber calculate the branch when the hydrant must fill tanks, supply livestock waterers, or serve multiple outlets. A connection that produces a weak stream can be hard to distinguish from a partially closed valve or a leak after burial.
Plan an accessible isolation shutoff upstream so the hydrant can be serviced without shutting down the entire property. Manufacturers recommend an upstream shutoff for convenient maintenance on some models. The valve and any backflow device still need to be protected from freezing and placed according to their own instructions; do not bury an ordinary valve or create a trapped section that cannot drain. Your plumber or inspector can determine whether an additional drain, union, test ports, or valve box is required.
Gather compatible tools and materials
The materials depend on the selected model and the existing pipe, but a typical project may involve a hydrant of the correct bury depth, matching water-service pipe and fittings, an approved tee or branch assembly, shutoff and backflow components specified for the site, washed gravel, pipe supports, and the correct pipe primer or thread sealant. Use fittings rated for the pressure and intended water service; do not mix joining methods or sealants because they happen to fit.
Tools may include a shovel, measuring tape, level, pipe cutter, wrenches, primer and cement applicators, a bucket, and temporary bracing. A trencher or excavator can speed the job but cannot replace utility clearance or careful hand excavation near marked facilities. Read the pipe, cement, hydrant, and backflow instructions before opening the supply. Check cure times, temperature limits, required thread engagement, and the wrench points that may be tightened without twisting the hydrant assembly.
Call 811 and locate private lines before digging
In the United States, submit a locate request through 811 before every digging project, even a small one. PHMSA’s Call Before You Dig guidance says affected facility operators need the state-specific waiting period to respond, and you must wait for the marks, respect them, and dig carefully. The waiting period and ticket validity vary by state, so use your local one-call center’s instructions rather than a generic number of days.
An 811 ticket does not necessarily identify every line on private property. PHMSA notes that customer-owned lines downstream of a utility connection are often outside the one-call process. Arrange a private locator for buried water service, septic wiring, landscape lighting, irrigation controls, propane piping, or other owner-installed systems that could cross the route, and consult property plans or the water provider if the service path is uncertain. From Scratch Farmstead’s installation guide also advises locating the source line and confirming what it serves before making a branch.
Mark the proposed work area as required by your local ticket process and leave utility flags and paint visible. Do not start because one operator has marked the site if other responses remain pending. Where excavation approaches a marked facility, follow the tolerance-zone rules and use the required soft-dig or hand-dig methods; stop if the actual line location differs from the mark, an unmarked pipe appears, or the trench shows signs of collapse or water intrusion.
Excavate and trench with utility marks in view
After clearance, expose the connection point and dig the hydrant pit and supply trench to the depth on your approved plan. Keep excavated soil and equipment away from the trench edge, avoid entering a deep or unstable excavation, and use an experienced excavator when the soil, depth, access, or water conditions make hand digging unsafe. A trench is not a place to improvise around utilities or to work alone without a safe way out.
Check depth at several points along the route, not just at the hydrant. Remove sharp stones that could damage the selected pipe, maintain the required cover, and avoid dips that can trap water in a seasonal line. If the trench is too shallow in one place, a slope in the landscape does not compensate for inadequate frost protection. Before cutting an existing pipe, verify that it is the intended supply, that it is isolated and depressurized, and that the opening will not compromise another system.
Install and connect the branch line
Close the correct upstream shutoff and verify that the line is depressurized. Cut in the tee or other approved branch connection using the joining procedure for the existing pipe. If the system uses solvent-welded PVC, follow the cement manufacturer’s surface-preparation, application, alignment, and cure-time directions; do not substitute an unapproved saddle or clamp simply to avoid making a proper connection. Leave enough working room to support and align the fitting without twisting nearby joints.
Before attaching the hydrant, flush construction debris from the new supply line as its manufacturer directs. Grit, plastic shavings, and gravel can interfere with a valve seat or prevent the hydrant from closing. Connect the branch to the hydrant’s specified inlet with the compatible adapter and thread sealant, using wrenches only at approved flats. Keep the planned nozzle direction in mind before tightening threaded elbows; overtightening the standpipe can damage internal parts or leave the head facing the wrong way.
Do not glue or permanently bury a connection that has not cured for the full time stated on the product label. Keep joints clean while assembling and protect open pipe ends from soil. If the route includes a shutoff, backflow assembly, different pipe materials, or a change from potable to nonpotable service, confirm the sequence against the plumbing plan before closing the excavation.
Set the hydrant plumb and provide support
Lower the hydrant carefully so its drain port sits at the planned elevation below frost depth and its supply inlet lines up without putting strain on the branch pipe. Hold the riser vertical in two directions with a level. Set the nozzle and handle orientation for use and maintenance while the fittings can still be adjusted.
A vertical hydrant takes side load when a hose is pulled or the handle is worked. If the supply pipe cannot hold it steady, use the support method allowed by the manufacturer, such as a driven support beside the hydrant. Do not let rebar, a stake, or a support bracket puncture the water line or interfere with the operating rod. Temporary braces are useful while testing and backfilling; they should not force the hydrant out of plumb as soil settles.
Build the drain field around the valve
The drain field must accept the water that empties from the riser after each use. Use the clean, washed aggregate and clearances specified for your model, keeping the drain opening free of soil and debris. Woodford’s installation sheet for the covered models specifies 1/2-inch gravel at least 3 inches above the brass drain-valve body; that is a manufacturer instruction for those units, not a universal gravel recipe for every hydrant. Seppmann Enterprises similarly recommends washed rock and notes that fine or clay-heavy soil can require more drainage capacity.
Soil conditions matter as much as the amount of stone. Saturated clay, a high water table, a low spot, or seasonal flooding can leave the drain hole submerged and stop the riser from emptying. The manufacturer warns in its installation instructions that saturated drain fields can cause freezing and may require a larger pit or a remote drain field; the sheet describes a separate drain route for installations in concrete or inside a structure. If water naturally ponds at the site, move the hydrant or have a professional design an approved drain path instead of assuming extra gravel solves standing water.
Keep fine backfill from washing into the washed-rock pocket, and never connect a drain tube to a sewer or storm line unless the product and local code expressly allow that arrangement. A drain path that stays wet or becomes clogged defeats the freeze-protection mechanism and can introduce a contamination concern. Inspect the drain arrangement while it is still visible.
Test before covering the trench
Keep the pit open until every connection has passed a leak check. Let the joining system cure as directed, reopen the upstream supply slowly, and inspect the tee, every adapter, the hydrant inlet, the shutoff, and any backflow assembly. Look and feel around each joint; a small leak can saturate the drain field, undermine the hydrant, or create a costly underground repair later.
Operate the hydrant through its full travel according to the manual. Confirm that flow starts and stops cleanly, the handle closes firmly, the head remains plumb, and water does not continue running from the nozzle after shutoff. With the hose removed, verify the model’s drain behavior and watch for surface ponding. Do not pour water into the drain port as a test or adjust the operating rod while the system is pressurized unless the manufacturer specifically directs that procedure.
If the hydrant is supplied from potable water, complete any required inspection and backflow testing before backfill. Some assemblies must be accessible for certified testing; a buried or frozen assembly cannot be serviced as intended. Record test results, model and serial information, and the location of each shutoff before restoring the yard.
Backfill and document the buried route
Once the system is leak-free and approved, backfill around the hydrant and fittings carefully so they do not shift. Follow the pipe and hydrant instructions for the bedding material and compaction method. Add native soil in manageable layers, keeping debris and large sharp rocks away from the pipe; do not compact so aggressively that the riser leans or a fitting takes a side load.
Recheck plumb and handle operation as the soil rises. Leave required access to the shutoff, backflow assembly, drain outlet, and service parts. Shape the surface so rain and hydrant drainage move away from foundations, paths, and low spots, and restore sod or mulch without covering the operating head or required nonpotable signage.
Photograph the open trench from several angles and record measured distances from fixed landmarks before it disappears. Save the hydrant model, bury depth, pipe route, utility ticket, permit, backflow test record, and the location of the upstream shutoff with your house documents. Those records make future repairs and landscaping far safer than relying on memory.
Operate and winterize the hydrant correctly
Use the handle through the full open and closed positions; partially closing some hydrants can prevent the internal mechanism from working as designed. Disconnect the hose after every use so water cannot remain trapped in the hose or obstruct the hydrant’s outlet and drainage. Follow the model instructions for operating time, flow, and any sanitation or flushing requirement, particularly if the outlet will supply drinking water or animals.
A correctly selected and installed frost-free hydrant is intended for cold-weather use, but the attached hose, exposed fittings, upstream shutoff, and backflow assembly may not share that protection. Remove accessories and winterize any separate line or exposed valve according to its instructions. For a seasonal shallow line, close its designated shutoff before freezing weather and drain the line using the planned method; do not assume closing the hydrant handle drains an upstream pipe that is trapped between valves.
At the beginning and end of each cold season, inspect for a leaning head, loose handle, persistent nozzle drip, surface wetness, or a change in flow. Fix a small problem before freeze-thaw cycles enlarge it. Do not use a torch or open flame on a frozen hydrant, and do not keep operating a handle that feels jammed; isolate the line and call a plumber if the valve or drain mechanism may be damaged.
Troubleshoot a hydrant that leaks or freezes
If the hydrant freezes, first check whether the attached hose was removed and whether the handle reached its full closed position. Next consider whether the drain port is clogged, the drain field is saturated, the drain sits above the local frost depth, or the standpipe has shifted during backfilling. A frost-free body can still freeze when the water has nowhere to drain, so repeatedly thawing the head without correcting the buried cause only treats the symptom.
A nozzle that drips while the handle is off can indicate incomplete closure, wear, or debris at the valve seat. A wet patch or continuously damp soil may point to a buried supply leak, a drain that is not functioning normally, or an upstream connection that was not sealed. Compare the location and timing of wetness with the hydrant’s use, then isolate the branch and check whether the water meter or well pump behavior changes; do not excavate blindly before rechecking utility marks.
Low flow can come from a partly closed shutoff, a clogged screen or valve, a small or long supply branch, pressure loss elsewhere, or a leak. Check simple accessible valves first, then have a plumber diagnose underground components and backflow devices. If water from a potable system has been exposed to questionable contamination or the hydrant is not approved for drinking, stop using it for consumption and ask your water provider or health authority what testing or corrective action is appropriate.
Conclusion
A dependable yard hydrant starts with four decisions made before excavation: choose a model approved for the water source and use, put its drain below the locally specified frost depth, protect potable plumbing against backflow, and give the drain water a place to go. The manufacturer’s instructions and local plumbing authority control the exact dimensions, fittings, backflow assembly, and inspection steps; no single pipe size, burial depth, or gravel amount fits every property.
Call 811, arrange private-line locating, and bring in a licensed plumber or well professional when the supply source, cross-connection rules, permit, trench, or backflow design is uncertain. Test every joint and the drain mechanism while the trench is still open, then record the route and shutoff location. That sequence is what makes an outdoor water point easier to use and far easier to repair.