How to Make a Pond: A Step-by-Step Backyard Guide
Learn how to make a backyard pond with a sound plan for depth, liner size, wildlife access, pumps, and upkeep, plus essential safety checks before digging.
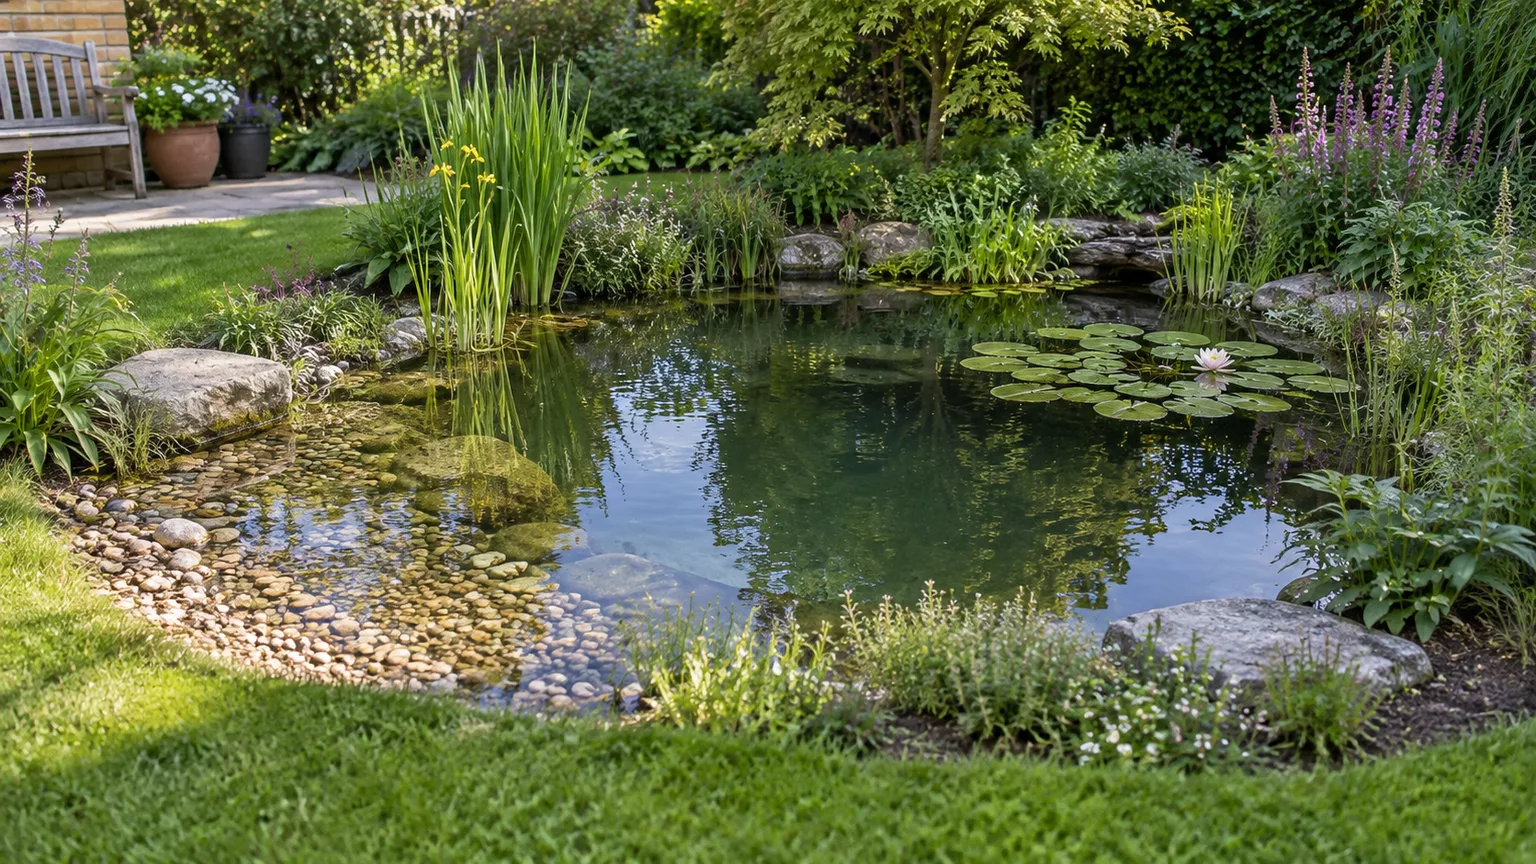
A backyard pond is easiest to build when you decide what it must do before you dig. A wildlife pond, planted water garden, and fish pond need different depths, equipment, planting, and care.
This guide focuses on a small in-ground pond made with a flexible liner. Confirm local rules and utility locations before breaking ground, then shape a stable basin, protect the liner, and choose equipment for your pond’s purpose. A watertight tub or basin is an easier container alternative, but it still needs a stable wildlife ramp.
Start by choosing what the pond is for
Write down the main job of the pond: wildlife habitat, a quiet planted water garden, or a home for fish. That decision determines how much open water you need, whether you need a pump and filter, which plants belong there, and how often you will be maintaining equipment. Trying to design for every use at once can produce a costly pond that is too small for fish but too deep and steep-edged for easy wildlife access.
A wildlife pond can be still and planted, with broad shallow margins, varied depths, regional plants, and nearby cover; a pump is optional unless you want moving water. Penn State Extension notes that a small backyard wildlife pond can attract animals without a pump or filter, while fish and waterfalls change equipment and care needs (Penn State Extension’s backyard pond guidance).
A fish pond is a different commitment: fish create waste, need adequate oxygen, and may outgrow a small basin, so filtration and seasonal planning are often necessary. If fish are the priority, choose species and dimensions with a local aquatic specialist before digging.
If you mainly want the sound of water, a recirculating fountain or pondless feature may be simpler. A container pond also provides water and habitat in a compact yard, but needs safe placement and a wildlife ramp.
Choose a site that will be safe and easy to maintain
Choose a visible spot you can reach with a hose, net, and pruning tools. Level or gently sloping ground makes an even rim easier and lowers the chance that rain will wash soil, fertilizer, mulch, or lawn chemicals into the water. Keep downspouts and uphill runoff out of the basin; dirty inflow adds nutrients and can overwhelm an unplanned edge.
Give the pond some sun, but consider afternoon shade in hot climates and for small basins that heat quickly. The right balance depends on the local climate and the plants you choose. The Royal Horticultural Society advises shading part of a wildlife pond while leaving part sunny, which supports different habitat conditions and can reduce algae pressure (RHS wildlife-pond design guidance).
Avoid large tree roots and heavy leaf fall where practical; both complicate repairs or add decomposing debris. Do not place the pond over a septic system, against a retaining wall, or where overflow could reach a foundation or neighboring lot. Have a professional assess steep, unstable, or waterlogged sites before digging.
Plan a wheelbarrow route for excavated soil and keep pump outlets, filters, and valves accessible after planting. If you want a waterfall, decide where its raised spillway and return tubing will go before digging.
Design the basin, depths, and edges
Lay out a proposed outline with a garden hose or rope, then look at it from the places where you will view it. Smooth curves are easier to fit with flexible liner than narrow points or sharp corners. Mark the intended waterline, the overflow direction, and any shallow shelf before you start moving soil.
Plan different contours rather than digging a simple bowl. A plant shelf gives pots a stable place to sit; a gently sloped “beach” on one side lets small wildlife reach the water and climb out.
If you are making a wildlife pond, the Natural History Museum notes that most pond life uses shallow water, while deeper areas can help reduce drying or silt buildup (Natural History Museum guide to a small wildlife pond). Depth recommendations vary by habitat, fish species, climate, and freezing conditions, so a single number cannot serve every pond.
Plan a level perimeter shelf for edging stone and a lower shelf for aquatic pots. If young children can reach the yard, decide on a protective barrier before digging; a shallow wildlife beach does not make open water child-safe.
Estimate water volume and liner size
Volume matters when choosing a pump, filter, or water treatment. For a roughly rectangular basin, multiply average length × width × depth in feet, then multiply cubic feet by 7.48 for estimated U.S. gallons.
An irregular basin holds less than a box with the same outside dimensions, so use a water meter or measured fill for a final figure. This measured volume is the better basis for selecting equipment or treating water.
For a flexible liner, start with the pond’s maximum length and width and add twice its maximum depth plus an allowance for anchoring at the top. A useful minimum estimate is liner length = pond length + (2 × maximum depth) + 2 feet, and the same formula for width.
The extra two feet gives about one foot of working material on each side; increase that allowance if you have wide shelves, a sloped site, a waterfall, or a deep anchor trench. For example, a 6-by-8-foot basin with a maximum depth of 2 feet needs at least a 12-by-14-foot liner by this formula; measure the actual contours before ordering and buy larger if the fit is close.
This estimates liner material, not water-surface dimensions. Measuring only the opening leaves too little material to reach and secure the rim; follow the manufacturer’s sizing and seam instructions if they differ.
Check permits and underground utilities before digging
A small ornamental pond may be treated differently from a deep pond or water-retention basin, but rules depend on your city, county, and property. Ask the planning or building office about depth, fencing, setbacks, drainage, electrical work, wetlands, water rights, and stormwater; check HOA and insurance requirements before renting equipment.
In the United States, request a utility locate through 811 before excavation, even for hand digging. Contact the local one-call center, wait for marks, respect them, and dig carefully (PHMSA’s Call Before You Dig guidance). Private irrigation, landscape-lighting cable, septic components, and owner-installed lines may not be included, so locate those separately; elsewhere, use the official local service.
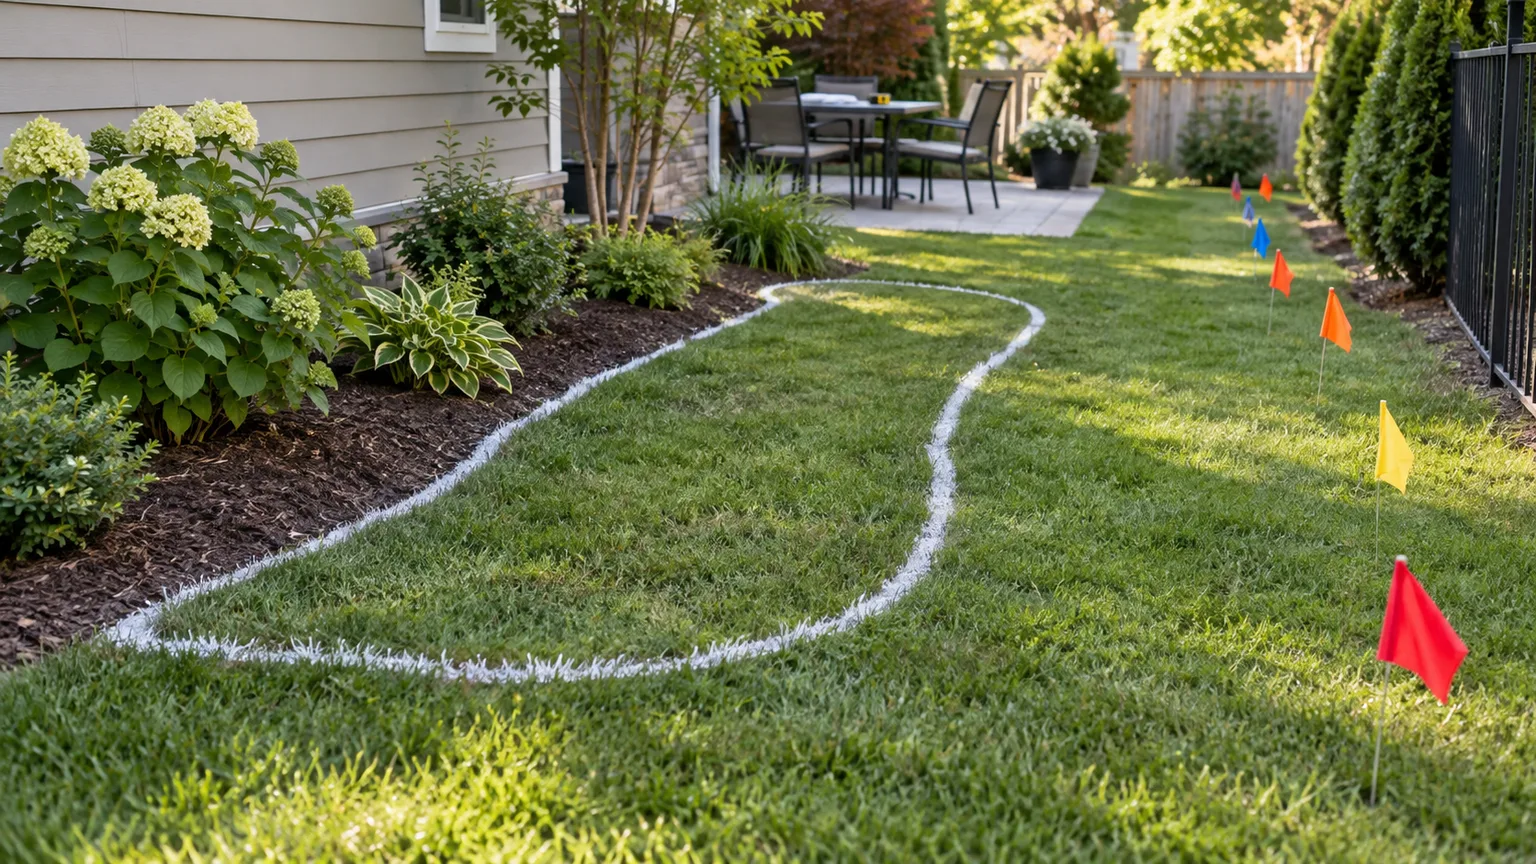
Treat a pond pump or underwater lighting as outdoor electrical equipment, not as a casual extension-cord project. Use equipment listed for outdoor/pond use and have a qualified electrician install or assess the required outdoor GFCI-protected supply and local-code details.
The U.S. Consumer Product Safety Commission explains that GFCIs are intended to protect people from severe electric shock (CPSC GFCI safety fact sheet); stop and get professional help if a breaker trips, a plug or cord is damaged, or the outlet is exposed to water.
Gather tools and pond materials
For a modest hand-dug pond, gather a hose or rope, measuring tape, line level, marking paint, shovels, wheelbarrow, gloves, and a way to move the soil. A hand tamper firms the basin, and a second person helps position a large liner. For rented machinery, plan access and soil disposal, and use only equipment you can operate safely.
Core materials are a pond-rated liner, compatible underlayment, stable edging, and liner-specific repair products. Add aquatic baskets and planting medium for potted plants, or stable stones and a rough ramp for wildlife. A fish pond or waterfall may also need a pump, filter, tubing, guarded intake, and professionally installed outdoor power.
Do not assume that black sheeting, roofing membrane, pool liner, or salvaged carpet is suitable. Confirm that the product is made for ponds and compatible with fish or plants if needed; budget for the liner before decorative stone.
Excavate the pond and shape the basin
Once permits and utility marks are resolved, remove turf and topsoil separately so you can reuse them in the surrounding garden. Dig the deepest central area first, then work outward through the planned shelves and shallow beach. This leaves room to move soil and helps you maintain the outline without turning the entire basin into a steep-sided hole.
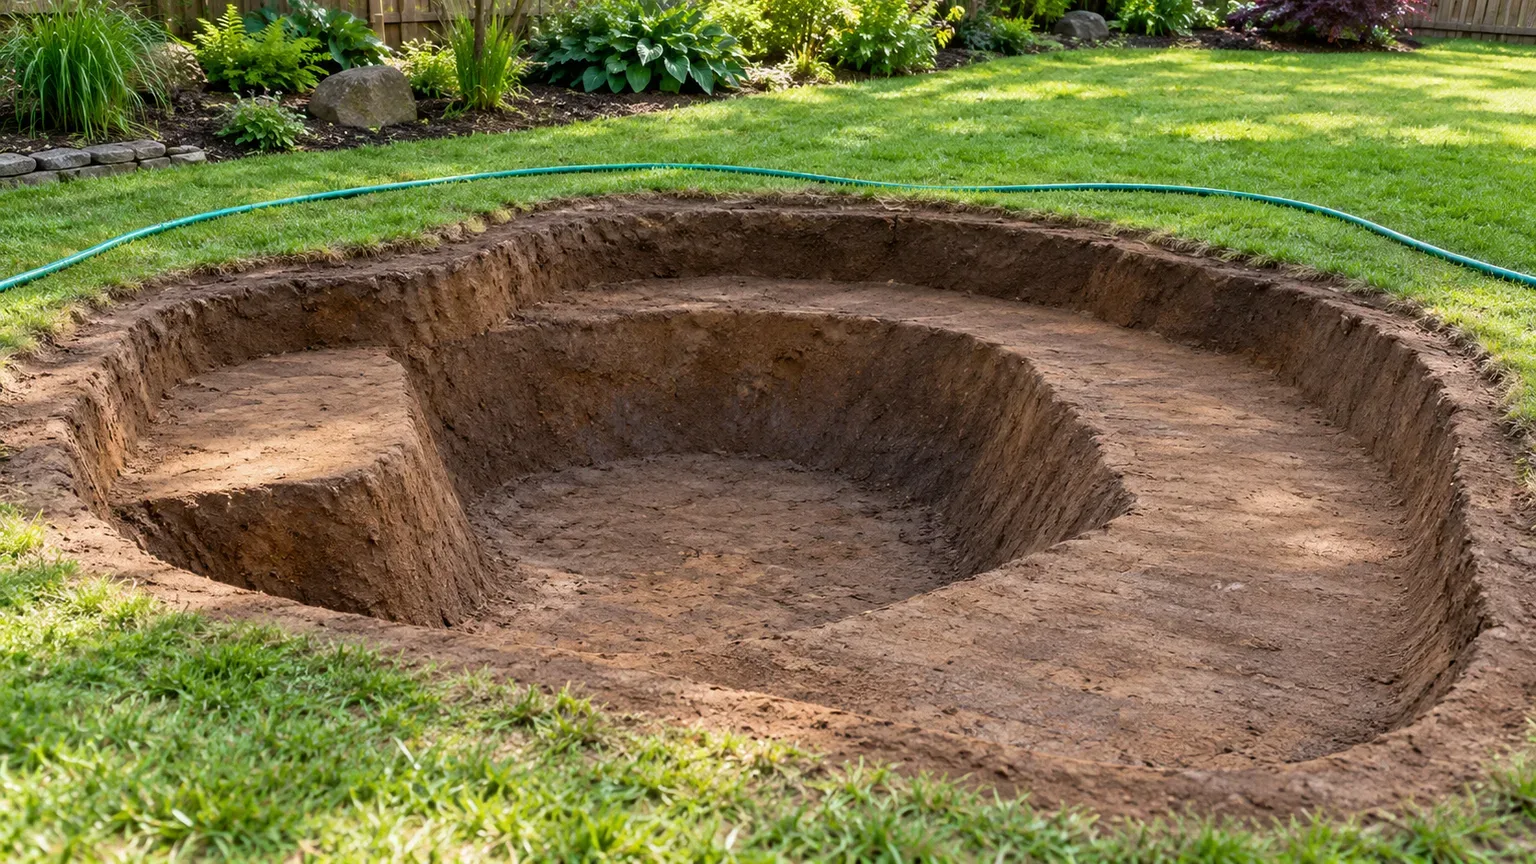
Keep spoil away from the rim so loose soil does not fall back in, and never stand beneath unstable sides. Stop if the excavation slumps, groundwater enters unexpectedly, you uncover a utility or pipe, or the hole is larger than you can safely handle. Deep excavations, heavy clay, boulders, rocky ground, and machine digging can warrant a contractor even when the finished pond is small.
Make each shelf level and the pond rim even
Check depth and width at each shelf as you go. The shelf should be wide enough for the aquatic pot, stone, or basket it must support; a narrow ledge can collapse or leave the pot tilted. Keep the low wildlife entry broad and shallow instead of building a decorative but slippery wall of stones that animals cannot climb.
The top perimeter must be level all the way around. Stretch a taut string across the pond in several directions or use a long straightedge and level; shave down high spots and add firmly compacted soil where needed.
Oklahoma State University Extension warns that an uneven rim can leave one side exposed while water approaches overflow on the other (Oklahoma State Extension’s water-garden construction notes). Correcting that before the liner goes in is far easier than hiding it with more stone later.
Choose a liner or a tested soil-sealing method
A flexible pond liner gives you control over the shape and is usually the most forgiving choice for a small DIY basin. A rigid preformed shell is quicker to install in a compact space, but its fixed contours can limit shelf depth and wildlife access; you may need to add a safe ramp. The RHS describes flexible liners as useful for custom pond shapes and recommends checking the build method against your garden and budget (RHS pond construction guidance).
EPDM and other pond-rated flexible membranes differ in thickness, flexibility, fish compatibility, seam products, cold-weather handling, and warranty. Follow the manufacturer’s instructions rather than relying on a generic brand claim. The important installation principle is the same: eliminate sharp points below the liner, support it continuously, leave slack in corners, and retain enough material above the maximum waterline to make a secure edge.
A clay or bentonite seal is not a sprinkle-on shortcut: success depends on soil texture, moisture, compaction, and correct placement. USDA Natural Resources Conservation Service guidance treats these as engineered, site-specific practices (USDA NRCS pond-sealing handbook). Ask a soil or pond professional to assess a natural seal; a rated liner is usually easier to inspect and repair.
Install the underlayment, liner, and edge restraint
Firm the floor and shelves, then remove roots, stones, sticks, and anything else that could press a hole into the liner. Cover the basin with a pond-rated underlayment and carry it over the rim.
Where pieces meet, overlap them according to the manufacturer’s directions. Fine Gardening’s water-garden planning guide explains that the protective layer cushions the liner against stones and other sharp material below it (Fine Gardening’s water-garden planning guide).
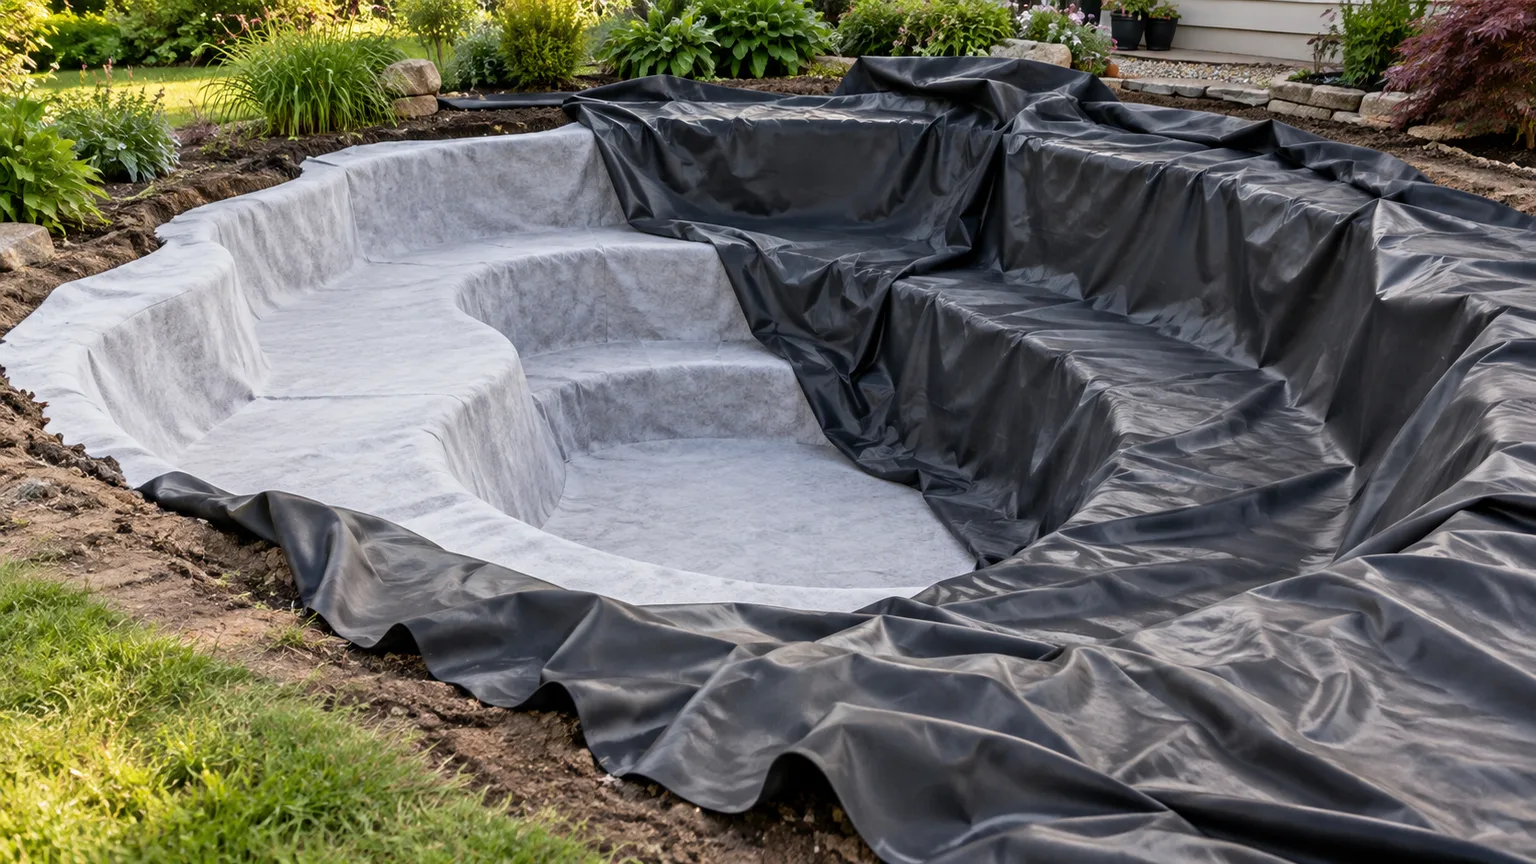
Choose a warm, calm day if possible, because a flexible membrane is easier to position when it is not stiff from cold. Spread the liner loosely over the hole, center it, and ease it down from the deepest point outward.
Do not pull it taut over shelves or sharp inside corners. Make relaxed pleats rather than trying to force one perfectly flat sheet; the water’s weight will press it into the basin as you fill.
Add a few inches of water, pause, and adjust large folds. Leave enough liner above the planned waterline to secure it beneath cap stones or in an anchor trench; the RHS method uses at least 6 inches (15 cm) of overlap, while some designs or manufacturers call for more.
After water settles the liner, anchor it in a shallow trench or beneath stable coping stone, and slope surrounding soil away from the pond. Do not trim excess until the edge is finished. Keep soil, mulch, and turf from bridging the waterline to a lower bed, where they can wick water out.
Fill slowly and check the pond for leaks
Fill gradually, smoothing folds without stretching the liner and keeping the overflow clear. Clean rainwater can work when suitable; for tap water, check whether it contains chlorine or chloramine and use the appropriate conditioner before adding fish or sensitive aquatic life. Do not transfer water or organisms from natural ponds or streams, which can introduce contaminants or unwanted species.
Pause near the waterline and mark it while the pond sits undisturbed. Evaporation, splash, and wicking can mimic a leak, so look for a wet patch, exposed liner, or water behind the edge; if the level stops falling, inspect the liner and plumbing around that height first.
Test a pump and waterfall before concealing tubing or finalizing decorative stone. Watch every return for splash-out and confirm that any water leaving the pond flows back into the lined basin. A waterfall that throws water onto soil can make a sound liner look as though it is leaking.
Add circulation only when the pond needs it
Still water is not automatically a failed pond. A planted wildlife pond with few or no fish can work without a pump, and leaving out electrical equipment reduces cost, noise, maintenance, and the chance that small animals are drawn into a pump intake. Penn State Extension says a pump is optional for a wildlife pond unless you want a water feature; the pond’s location, planting, and fish load influence maintenance.
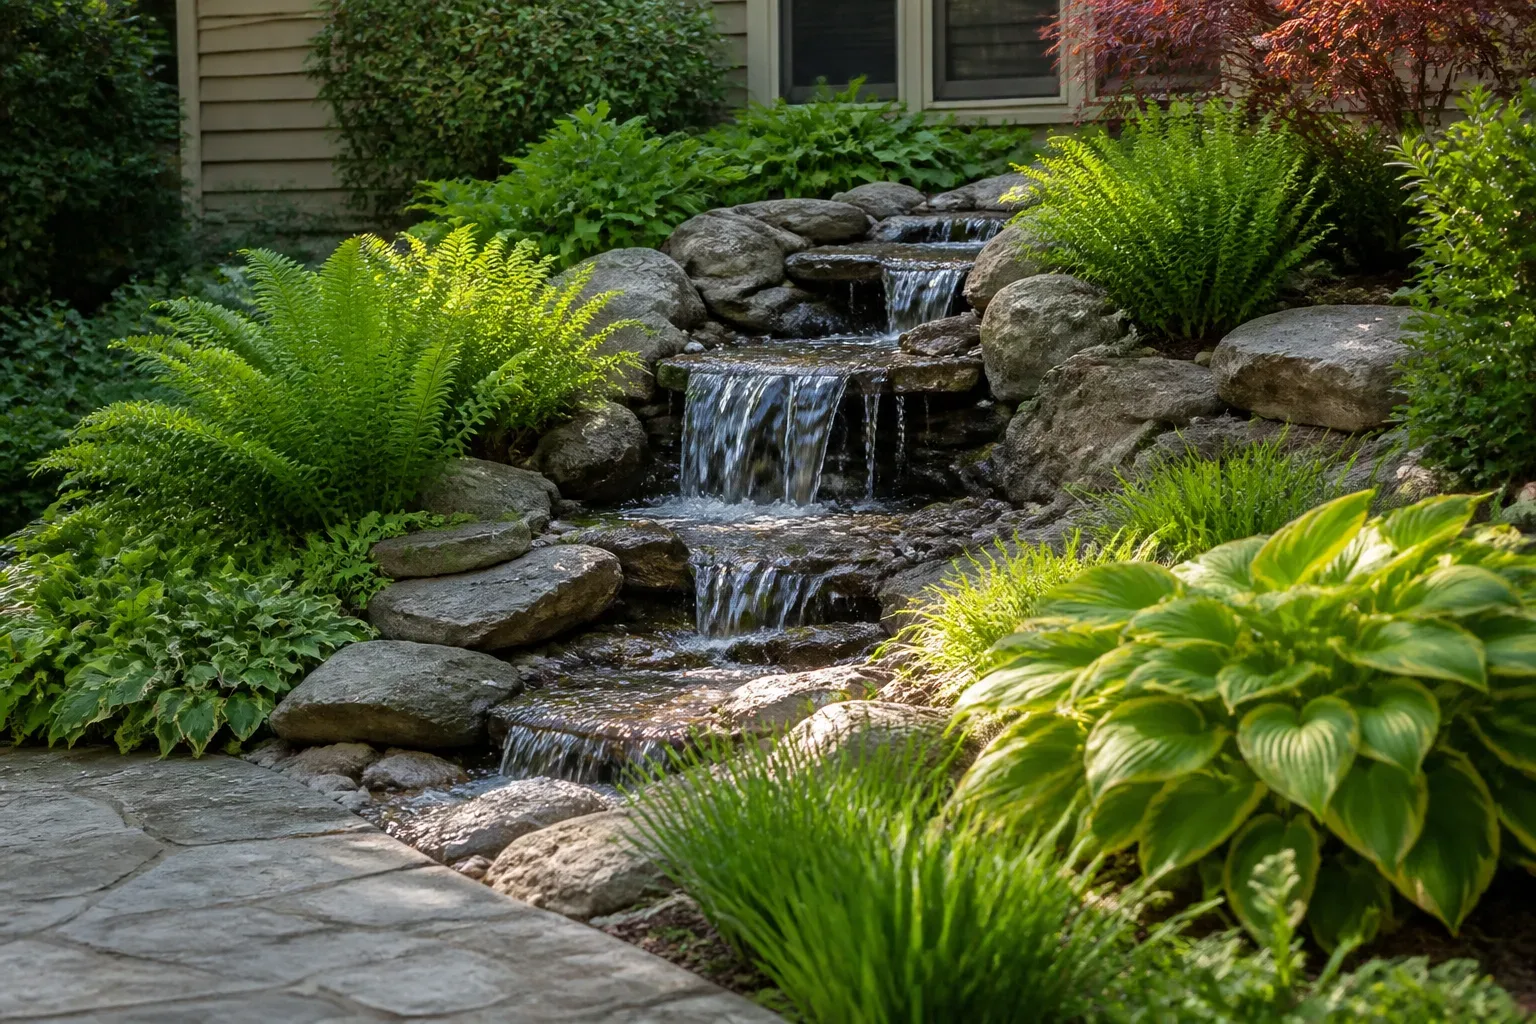
A pump is useful when you want a fountain or waterfall, need to move water through a filter, or have a fish system whose design depends on circulation. Moving water can help exchange oxygen at the surface, but a fountain alone does not make an overstocked or poorly filtered fish pond healthy. An oversized feature can also splash water out, increase top-ups, and disturb the quiet shallows that wildlife use.
Match pump and filter to water volume and use
Estimate the actual pond volume before choosing equipment. Then match the pump to the filter, waterfall height, tubing length, fittings, and desired flow; the advertised maximum gallons per hour is not necessarily the flow you will get at the installed height. Penn State Extension notes that pump sizing depends on pond volume, the height and distance water must travel, and whether the pump must feed a filter.
Fish add a separate sizing question: the filter needs capacity for the expected fish and feeding load, not just a nominal number of gallons. Biological filtration depends on living microbes and takes time to establish, so running a new filter briefly is not the same as having a mature system.
The RHS explains that filter choice depends on pond volume and the number and type of fish, and that beneficial biological media needs time to develop (RHS pond-filter selection guide). Follow the pump and filter manufacturer’s flow and cleaning limits; ask a pond specialist if you are stocking fish or building a large cascade.
Place the pump where it can be lifted for cleaning, but keep its intake screened or otherwise protected so it cannot trap tadpoles and other small pond animals. Route cables and tubing so they are not a trip hazard and can be inspected. If electrical protection trips repeatedly, switch the equipment off and have the installation checked; do not bypass the protection to keep the waterfall running.
Plant for water balance and wildlife
Add aquatic plants after the basin and equipment are working. Use regionally appropriate species and keep aggressive spreaders contained in baskets.
Choose plants for the depth at which their crowns or pots will sit, then put pots on stable shelves or blocks that will not settle into soft soil. Leave a long shallow ramp or gravel beach open; a pond edge crowded with heavy rock can hide the liner but remove the easiest route in and out.
Plants provide shade and cover, and they use some of the nutrients that would otherwise feed algae. Begin with a modest selection of submerged, floating, and marginal plants rather than filling every shelf in one weekend. The Oklahoma State University low-management water-garden guide describes how balancing plants, fish, and nutrient inputs affects algae (Oklahoma State’s low-management water-garden guidance); removing excess leaves and avoiding fertilizer runoff are more dependable first controls than treating every green-water episode with chemicals.
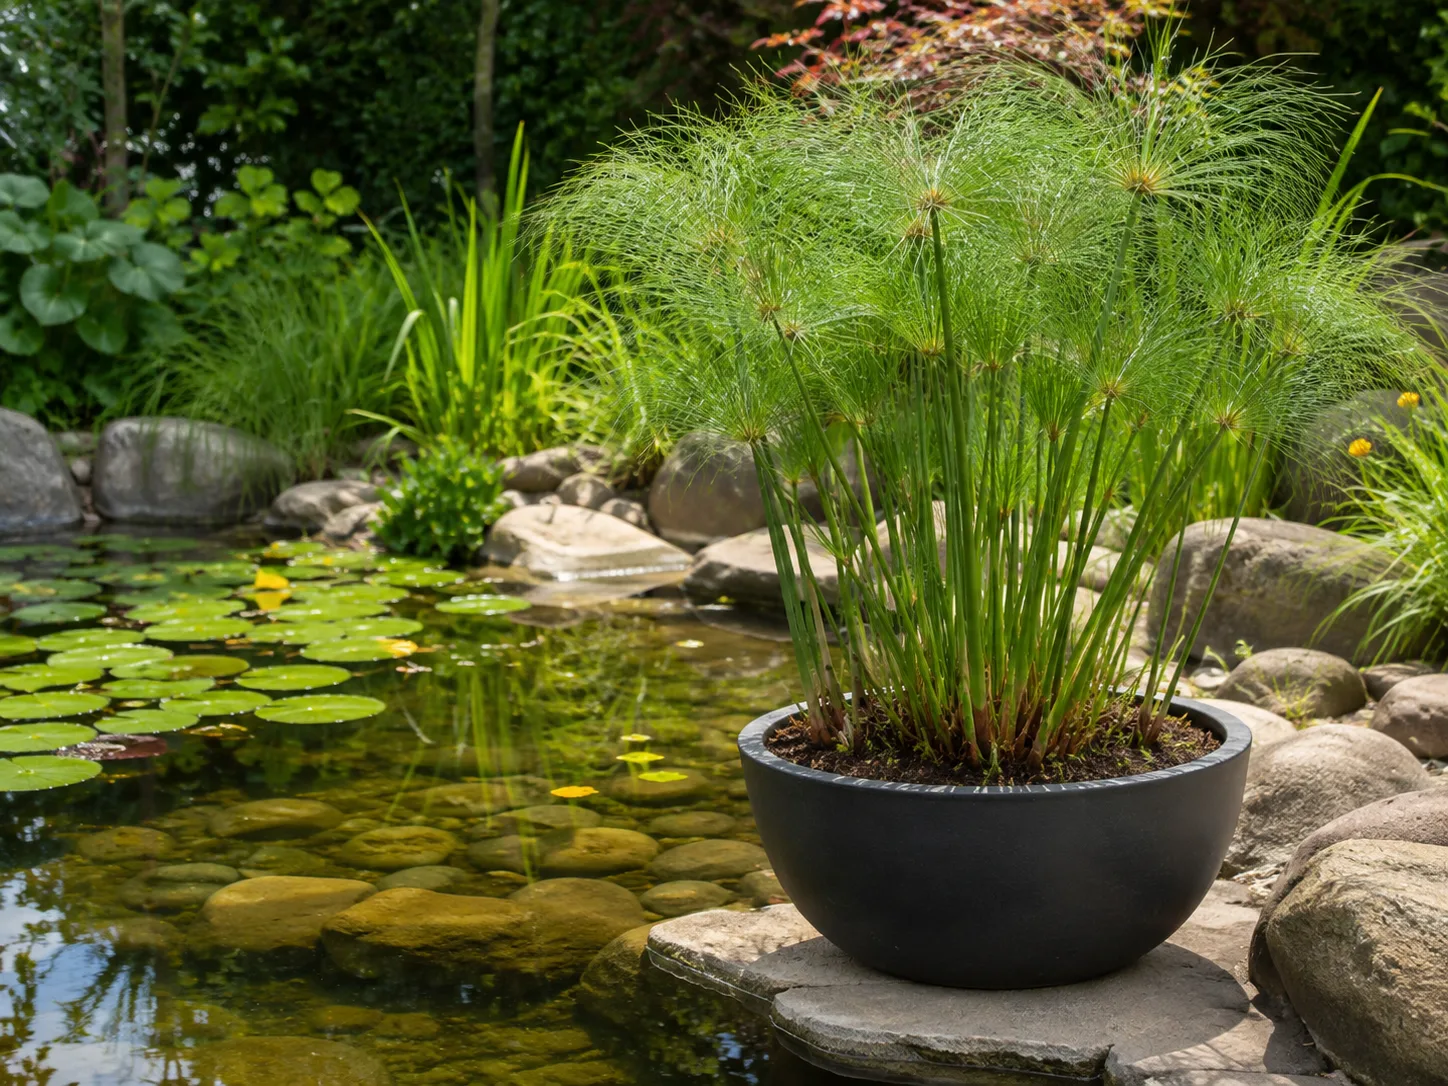
For a wildlife pond, add cover around the water as well as in it. A few low grasses, logs, and stones give amphibians shelter and help birds approach the water. Keep plants and wildlife sourced responsibly: do not release unwanted fish, plants, or aquarium water into local waterways, and check local invasive-species guidance before buying floating plants.
Protect children, pets, and wildlife around the pond
Any open body of water can be dangerous for a young child, even when it looks shallow. Supervision is essential; it is not replaced by a shallow shelf, stepping stones, or a pump.
If children can access the yard, add a barrier, cover, or properly installed grid designed for the pond and local requirements, and keep the approach clear so the protection remains usable. The Natural History Museum recommends considering a barrier or heavy mesh for a larger garden pond and notes that shallow sides reduce—but do not eliminate—risk.
Consider how a dog or other pet will approach the edge and whether the liner could be torn by claws or shifted by a large animal. A secure fence or protected viewing edge may be more practical than relying on decorative stones. Keep pump cords, extension leads, and outdoor outlets away from standing water, and use a qualified electrician for permanent power.
Wildlife needs a way out as well as a way in. A broad, gently sloping pebble beach is ideal; a fixed rough-textured ramp can work where the rest of the pond has steep sides.
If you use a pump, choose a protected intake designed to reduce the risk of small aquatic animals being sucked in. A pond built for wildlife should not become a trap simply because the liner is smooth or the pump is convenient.
Maintain the pond and troubleshoot common problems
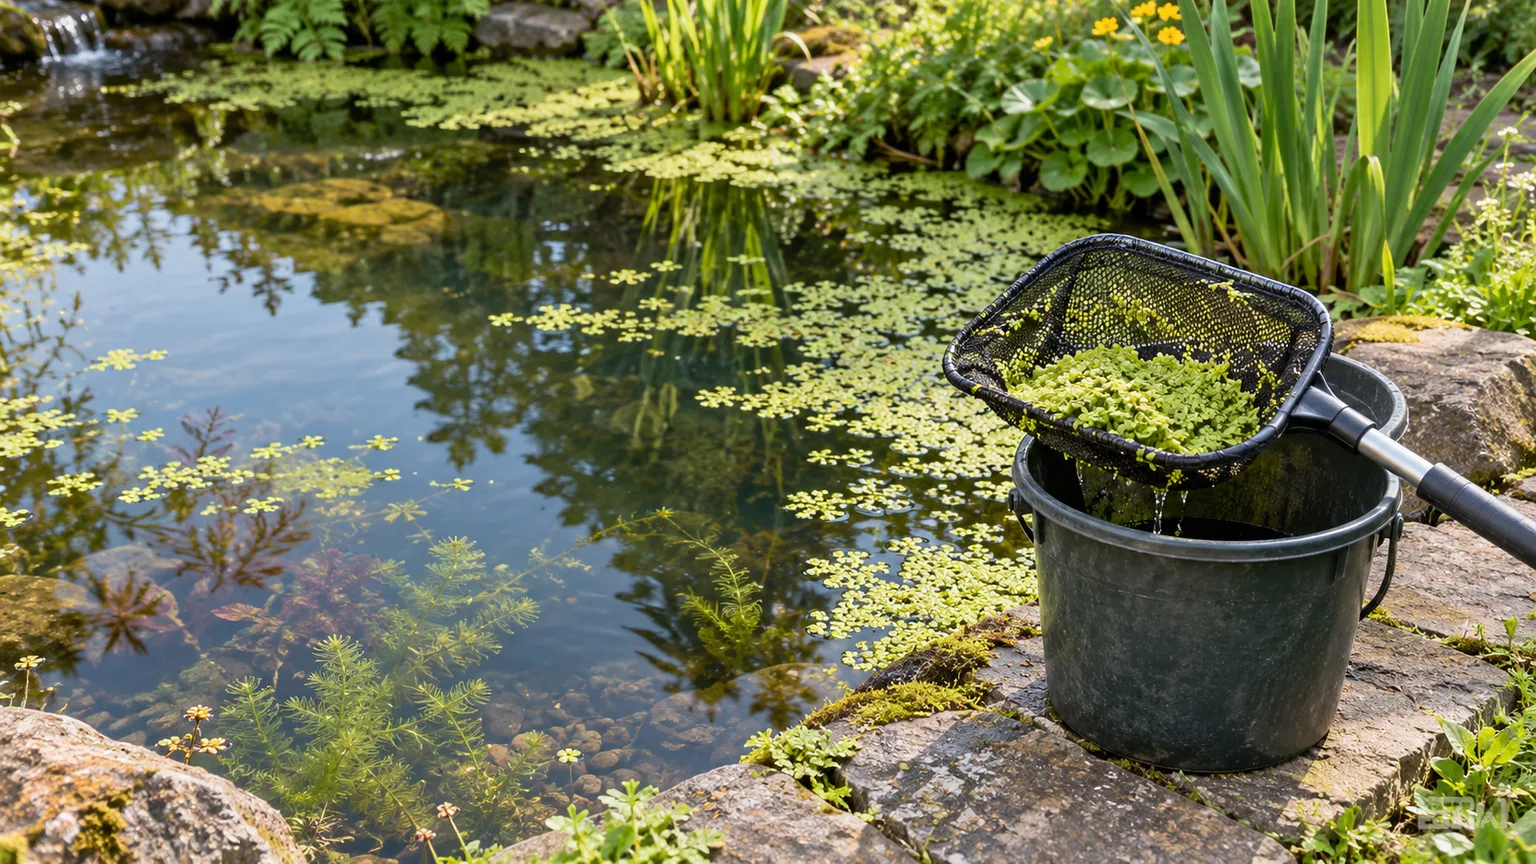
Plan on light, frequent care rather than waiting for a large cleanup. In warm months, skim leaves and loose algae, remove dead plant material before it sinks, and top up water as needed.
In autumn, use a net over the pond if nearby trees shed heavily, then remove it before winter; do not allow a blanket of leaves to decompose in the basin. Keep the overflow and wildlife ramp clear after storms.
Some green water or string algae can appear while a new pond settles. Do not immediately drain and refill it or apply an algaecide: algae use nutrients, and killing a large mass at once can leave decaying material that depletes oxygen.
First remove accumulated leaves, redirect nutrient-rich runoff, check that fish are not overfed or crowded, and allow plants to establish. Oklahoma State Extension warns that treating algae with herbicides can harm fish and plants if used incorrectly and that decomposing algae can reduce oxygen.
If water drops faster than expected, separate evaporation and splash from a leak. Check whether the drop is faster during hot, windy weather; inspect the liner edge for a wick of soil or turf, then check the waterfall, hoses, filter, and pump unions.
Turn off the pump briefly if safe to do so and see whether the waterline stabilizes; if the level continues to fall, inspect the liner at that height before draining the whole pond. Patch only with a product compatible with the liner material, and follow its surface-preparation instructions.
Clean mechanical filters when flow falls or the manufacturer’s schedule calls for it, but do not sterilize biological media unnecessarily. Watch fish behavior, water level, pump flow, and filter condition; test water if fish show stress. Do not add fish, dyes, fertilizers, salt, or algae treatments without confirming they suit the species and system.
Winter care depends on the local freeze, depth, fish, pump, and plant species. Do not assume a tiny pond will overwinter fish safely just because some water remains unfrozen. Follow species-specific advice about moving or overwintering fish, and follow pump instructions for freezing temperatures; if a filter’s beneficial biology must remain active, shutting it off for a prolonged period can damage the system.
Know when to call a pond professional
Get help before building if the site is steep, rocky, close to a foundation or retaining wall, near a septic system, or likely to intersect a utility or drainage easement. A contractor can assess whether an excavator is appropriate, where spoil can go, how to contain runoff, and whether the project needs a retaining detail or engineered overflow. If the pond will be large, deep, connected to natural drainage, used for swimming, or stocked with valuable fish, it has moved beyond a simple garden DIY project.
Use a licensed electrician for permanent outdoor pond power, and follow local permitting for any trenching or new circuit. Hire a pond specialist if you need a complex waterfall, bottom drain, large biological filter, or fish system with little margin for error. Paying for a site visit before digging is cheaper than discovering that the planned basin cannot be lined, drained, kept safe, or maintained in the chosen location.
Conclusion
To make a pond that lasts, begin with its purpose, site, depth, and safety plan—not the shovel. Check local rules and buried utilities, shape a level basin with a wildlife-friendly edge, protect and correctly size the liner, then add only the circulation and filtration the pond actually needs.
Fill slowly, test the edge and equipment before hiding them, and give plants time to establish. A smaller pond that fits your climate, household, and maintenance habits will be more useful than an ambitious basin whose water, wildlife, or equipment you cannot manage.



