Termite Damage vs. Wood Rot: How to Tell
Termite damage vs. wood rot can look alike. Learn the strongest clues, safe inspection steps, repair order, moisture fixes, and when to call a pro.
Soft wood around a window, porch, crawl space, or basement does not automatically mean termites. It may be fungal decay from a leak, drainage failure, or trapped humidity; it may be termite feeding; it may be carpenter ants or an older repair that never addressed the source. Because the remedies are different, the first job is to gather evidence without making the condition harder or less safe to assess.
The safest working rule is simple: treat suspicious damage as unconfirmed until the wood pattern, moisture path, insect evidence, and building location agree. A homeowner can document and screen the area. A licensed pest-management professional, qualified contractor, or structural engineer may be needed to determine whether there is an active colony, how much strength the wood has lost, and what repair is appropriate.
The fastest safe answer
Termite damage is caused by insects consuming cellulose and excavating galleries through wood. Wood rot is fungal decay that needs favorable moisture conditions; it can soften, discolor, split, or crumble the wood even when no insect is present. Both can leave a surface weak, hollow-sounding, or hidden behind intact paint, so no single touch test or smell is a diagnosis.
The best early clue for subterranean termites is a combination of soil-associated evidence and wood damage: a fresh-looking shelter tube, mud in a crack or gallery, live workers or soldiers, discarded wings indoors, and tunnels that follow the grain. The best early clue for rot is a coherent moisture story: damage below a leaking window or roof, around a plumbing fixture, under a bad downspout, or in a crawl space that stays damp, plus a decay pattern such as spongy fibers or cubical cracking.
That distinction is a triage tool, not permission to certify the cause yourself. NC State Extension advises homeowners to look for both termite activity and conditions that support it, while recognizing that a professional inspection is the reliable way to find problems before they become expensive structural damage. (NC State Extension)
What both problems can make wood look like
Termites and rot can both produce soft spots, discoloration, peeling or blistered paint, cracks, sagging finishes, and a hollow or dull sound when tapped. Severe damage from either cause can weaken a floor, wall, porch, roof, or deck support. A damp area can also support more than one problem: decay may weaken the wood first, then termites or carpenter ants may exploit the accessible fibers.
Paint is especially misleading. It can stay relatively intact while moisture or insects hollow the wood behind it. Conversely, a dark stain or musty odor can identify a moisture concern without identifying the fungus or proving that the wood has lost structural capacity. Think of these signs as reasons to inspect, not as labels to put on the damage.
Why a cluster of clues beats one telltale sign
Give more weight to physical evidence that explains both what happened and how the condition is being maintained. A shelter tube connecting soil to a sill or pier is more informative than a hollow tap. A soft window sill directly under failed flashing is more informative than a dark patch elsewhere. Fresh insects emerging from one wall are more informative than a few winged insects around an open porch door.
You can use this quick sorting rule while you document the area:
- Insects, shed wings, mud, or soil inside galleries: move termites higher on the list and arrange a pest inspection.
- A leak, wet soil, condensation, or poor drainage aligned with soft or cracked wood: move fungal decay higher on the list and trace the moisture source.
- Soft wood with both mud evidence and a clear moisture problem: do not choose between them; both may be present.
- Weakness in a beam, joist, post, rafter, stair, or subfloor: stop treating it as a cosmetic repair and arrange a building-safety assessment.
Know what each problem is doing to the wood
Understanding the mechanism makes the visible clues easier to interpret. It also prevents a common mistake: assuming that “dry” termite damage and “dry rot” describe the same process. They do not.
How termite damage develops
Termites feed on cellulose, the structural carbohydrate in wood. Subterranean termites usually live in soil or protected colonies and travel to food through soil, cracks, utility routes, or shelter tubes made from soil and colony materials. In the eastern United States, the eastern subterranean termite is a common structural species, but the relevant species and inspection priorities vary by region and construction.
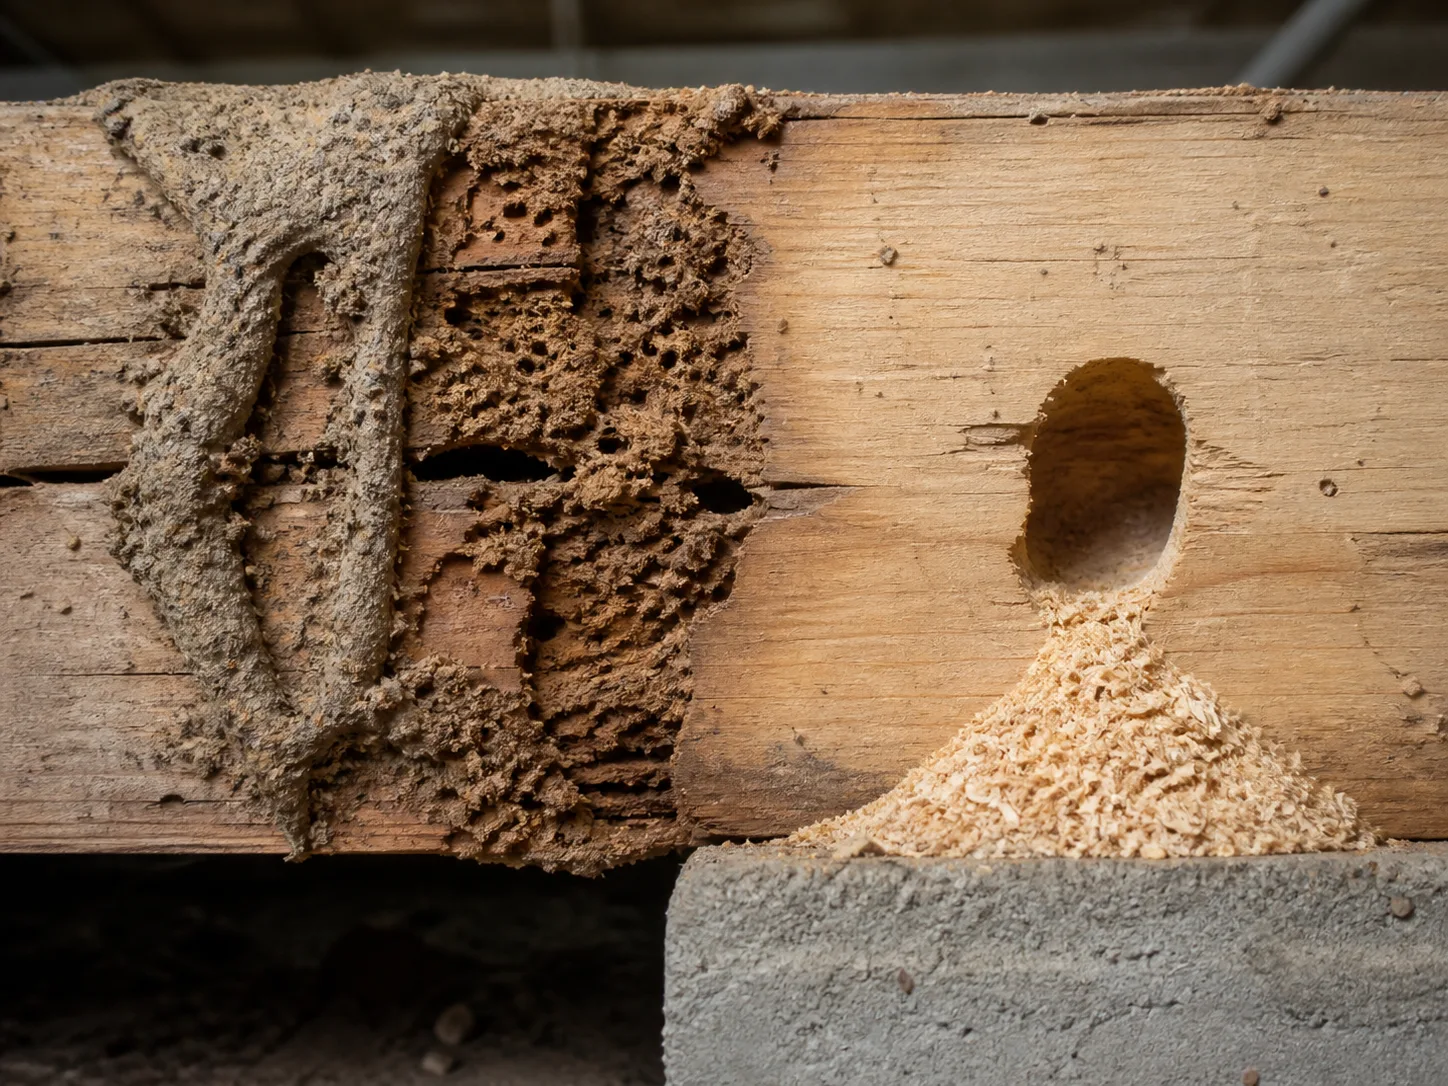
The feeding pattern can be hidden because the insects often consume the softer portions of the wood and leave a thin outer surface or harder grain behind. Galleries may run lengthwise, look layered or honeycombed, and contain mud or grit when the insects are subterranean. The damaged piece may feel hollow and break along long, weak planes rather than crumble into a uniform powder.
NC State entomology reporting explains why termites are easy to miss: workers can tunnel underground and through wood, and a homeowner may not notice the colony until swarmers emerge. It also recommends focusing on moisture, wood-to-soil contact, firewood, debris, and mulch as conditions that make a home easier to reach. (NC State News)
Do not infer the termite species from a photograph of a damaged board. Drywood termites can infest wood without a soil connection, dampwood termites favor persistently wet wood, and subterranean termites can use concealed routes that make an apparently high or dry spot part of a larger pathway.
How fungal wood rot develops
Wood rot is a broad household term for deterioration caused by wood-decay fungi. The fungus needs a suitable combination of moisture, temperature, oxygen, and time; dry wood is less susceptible, but a single moisture reading does not tell you whether decay is present, which organism is involved, or how much strength remains.
A peer-reviewed review of wood–water relationships describes moisture as a key prerequisite for fungal degradation and emphasizes that the relevant minimum moisture conditions vary with the wood, fungus, and measurement method. That is why a meter can help you find a wet zone without proving “rot” from a number alone. (Applied Microbiology and Biotechnology)
The visible pattern depends on the decay type and stage. Brown rot can leave wood brown, brittle, and split into roughly cubical pieces. White rot can make wood pale, soft, spongy, or stringy. Soft rot is a separate group that can develop in challenging wet conditions and may be less obvious early on. UC IPM describes these as pattern clues while warning, in its landscape-tree context, that visible decay or a fruiting body does not reveal the full extent of internal weakness. (UC IPM)
“Dry rot” is a particularly unhelpful household phrase if it makes you think moisture is no longer relevant. Advanced decay may look dry and crumbly after the original wetting event, but the conditions that allowed the fungus to establish still need to be found and corrected. Replacing the visible piece while leaving the leak, drainage failure, or condensation in place is an invitation to repeat the damage.
Compare the evidence before you repair
Before you reach for filler, pesticide, paint, or a pry bar, compare the evidence in four dimensions: pattern, material in the galleries, moisture path, and activity. The more dimensions that point in the same direction, the more useful the first inspection becomes. Even then, a visual comparison cannot certify hidden framing or load capacity.
Patterns that point toward termites
Look along the foundation, inside the crawl space, around porch and deck supports, beneath siding, at floor-wall joints, and where pipes or cables enter the building. The strongest clues include:
- Shelter tubes: pencil-sized or irregular earthen tubes connecting soil, masonry, or a protected void to wood. A broken tube may be old or abandoned; a repaired or moist-looking tube is more concerning, but only a professional assessment can establish activity.
- Mud or soil in the wood: subterranean termites maintain a protected environment, so their galleries may contain dirt, grit, or mud. Clean, smooth galleries without soil point to other possibilities, though the distinction is not absolute.
- Grain-following galleries: termites often remove softer wood along the grain, leaving layered, shelved, or honeycombed sections and a thin surface skin.
- Insects or wings: pale workers, darker swarmers, or equal-length discarded wings near a window, baseboard, wall seam, or crawl-space opening. Keep in mind that winged ants can shed wings too.
- Damage without an obvious leak: the absence of a visible leak is not proof of termites, because moisture can be concealed; it simply increases the value of looking for insect or soil evidence.
If you see a shelter tube, do not immediately scrape it off and spray the wall. Photograph it in place, note its height and location, and tell the pest professional whether it was intact, damp, recently repaired, or interrupted by landscaping. Removing evidence can make a later inspection less informative.
Patterns that point toward wood rot
Start at the moisture pathway rather than at the softest spot. Check the underside of a roof edge, the bottom of a window or exterior door, a deck ledger or stair tread, the perimeter of a basement, the sill plate above a foundation, and the framing below a bathroom, kitchen, laundry area, or water heater. Bob Vila’s practical home-maintenance guidance highlights these concealed locations because wood can remain damp behind trim, wallboard, siding, or flooring. (Bob Vila)
Rot becomes more plausible when several of these observations line up:
- wood is spongy, stringy, friable, or visibly losing fibers rather than showing a distinct gallery system;
- the wood has cubical cracks, brittle brown fragments, or pale, softened fibers;
- there is a leak, overflow, condensation path, standing water, wet insulation, or poor airflow nearby;
- staining, swollen trim, peeling paint, or a musty odor traces back to the same wet area;
- no insects, wings, mud, or frass are present after a careful inspection.
The last item is only negative evidence. Termites can be hidden, and a dry or dormant area may not show insects during your visit. Likewise, the presence of a moisture source does not exclude termites; subterranean termites prefer protected moisture, and damp wood can become more accessible to several wood-damaging pests.
Why location and smell can mislead
Location helps you choose where to look, but it does not identify the cause. Foundation wood can rot when grade or drainage keeps it wet. A roof or upper window can have termite damage if drywood termites or a concealed route is involved. A crawl-space musty smell may signal moisture without telling you whether the wood is structurally sound.
The screwdriver tap is similarly limited. Termite galleries and advanced rot can both sound hollow. A solid-sounding painted board can still hide a cavity behind the surface. Color is weak evidence because weathering, stains, old preservative, smoke, mold, and paint can change how sound wood looks.
A third-party pest article from Dodson Pest Control makes the useful practical point that termite and rot damage can be confused and that the right next step is to evaluate the cause before spending on treatment or replacement. It also notes carpenter ants as a separate wood-damaging possibility: they excavate galleries and leave coarse frass rather than feeding on wood as termites do. (Dodson Pest Control)
Inspect damaged wood without creating a new hazard
Your first inspection should be documentary and non-destructive. The goal is to preserve clues, identify the likely moisture route, and decide who needs to see the area. It is not to open a wall, remove a joist, or prove that a house is free of pests.
Preserve evidence and check moisture
Take wide photographs that show the room or foundation, then close photographs of the damage, insect evidence, mud, cracks, and nearby water path. Include a ruler or another scale object only if you can place it without touching fragile wood. Write down the date, weather, whether the area was wet, and what changed recently—roof work, plumbing, landscaping, a flood, a new deck, or a swarm.
If winged insects are present, save a few in a sealed container if you can do so safely. Do not handle unknown insects with bare hands or climb into an unsafe crawl space for a better photograph. A clear image of the body, wings, antennae, and where the insects emerged is more useful than a blurred close-up of one crushed specimen. NC State Extension notes that indoor swarms warrant prompt contact with pest professionals, while outdoor swarmers do not by themselves prove that the structure is infested. (NC State Extension)
Next, inspect the moisture path. Follow water down from roof valleys, gutters, and flashing; out from plumbing cabinets, tubs, showers, appliances, and condensate lines; and inward from grading, window wells, foundation cracks, or a wet crawl-space floor. A moisture meter may help you compare a suspicious area with nearby sound-looking wood, but readings change with species, temperature, salts, fasteners, and the instrument. Use it as a screening aid, not as a fungus detector or structural-capacity test.
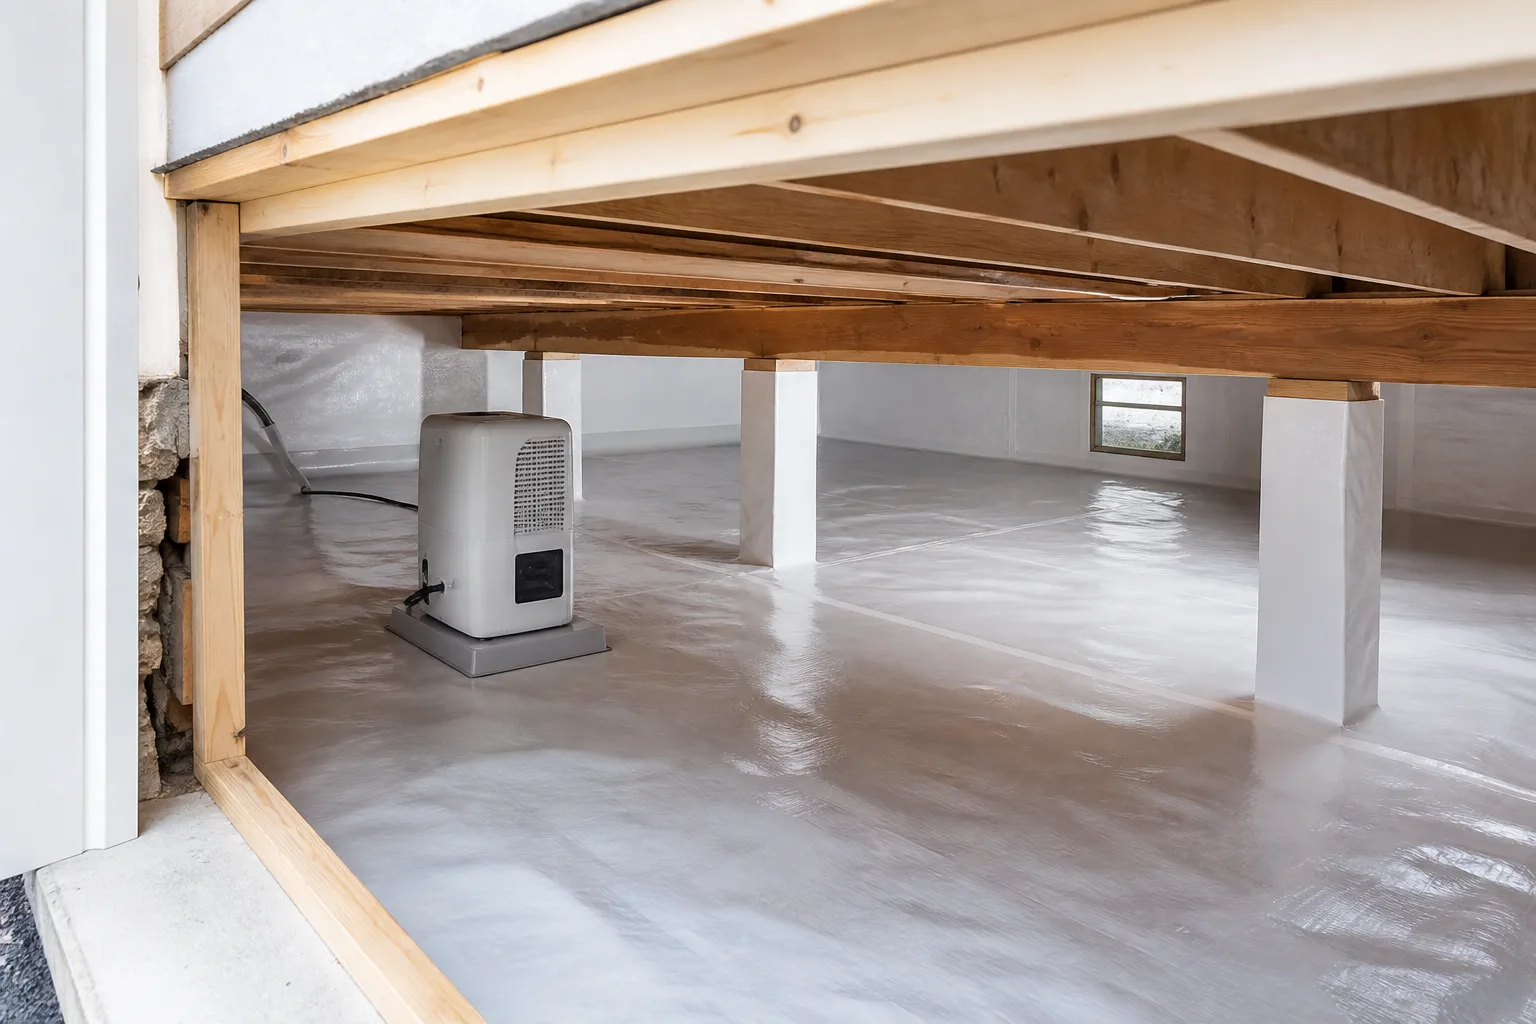
If the crawl space has standing water, exposed wiring, sewage, unstable supports, or contaminated insulation, stop. Do not treat the photograph as permission to enter. Arrange the appropriate building, waterproofing, electrical, or pest professional, and tell them exactly what made the area unsafe.
Probe only accessible, nonstructural wood
On an exposed, nonstructural piece such as a small section of trim or a replaceable deck board, a gentle probe with a screwdriver can show that the surface has lost resistance. Stop as soon as the wood gives way. Do not use the test on a beam, joist, rafter, post, stair stringer, subfloor, sill plate, finished cabinet, painted historic trim, or any area that may conceal plumbing or electrical wiring.
Even a probe that sinks into wood answers only one question: this spot is weak. It does not tell you whether the cause is termites, rot, carpenter ants, water, or a combination. A probe that does not sink does not clear the member either; damage can be localized, internal, or hidden behind a skin of sound material.
Do not cut away a load-bearing member, pull down a ceiling, lift flooring, drill into a wall cavity, or remove a mud tube solely to satisfy curiosity. If the area is structurally important, the safest “test” is a professional assessment that can map the damage and specify temporary support or opening procedures when needed.
Choose the response that matches the evidence
The repair order matters. If you repair the wood before dealing with an active termite colony, the replacement may be exposed to the same problem. If you treat the visible wood but leave the leak or wet soil, fungal decay may continue behind the new surface.
If termites are possible
Call a licensed pest-management professional when you find live termites, indoor swarmers, fresh shelter tubes, mud-filled galleries, repeated wing evidence from one part of the building, or unexplained damage near foundations and framing. Ask for a written report that distinguishes active evidence from old damage, identifies likely termite type if possible, maps affected areas, notes conducive moisture or wood-to-soil conditions, and explains what treatment and follow-up the proposal covers.
Do not choose a product from a shelf based on the word “termite.” Contact sprays can kill insects they reach without finding a colony. Soil treatments, bait systems, wood treatments, drilling, trenching, and wall-void work are site- and label-dependent; they can also interact with drainage work, construction, wells, pets, and existing service agreements. Do not apply pesticide to a wall cavity, electrical area, food surface, or crawl space unless the product label and a qualified professional make that use appropriate.
If you want to compare providers, NC State Extension’s termite guidance recommends getting multiple inspections or proposals and comparing the method, cost, and warranty terms rather than assuming one treatment fits every home. Do this after preserving the evidence. In most cases, waiting a short period to compare qualified proposals is safer than rushing into an unplanned treatment, but an indoor swarm, rapidly worsening structural weakness, or a safety hazard deserves prompt attention. (NC State Extension)
Once the pest scope is known and the colony is addressed, have damaged beams, joists, sill plates, posts, subflooring, or roof framing evaluated by a qualified repair professional. Pest control and structural repair are different jobs; one does not certify the other.
If moisture and rot are more likely
Start with the water. Repair the roof, flashing, gutter, downspout, plumbing, window seal, grading, ventilation, or condensation pathway that keeps the wood wet. Drying may involve airflow or a dehumidifier, but equipment is a bridge while the cause is repaired, not a substitute for fixing it.
Do not seal, paint, or fill over damp wood. Do not install a new trim board over a soft sill or close a crawl-space access opening before the surrounding area has been inspected. If the decay is limited to accessible, nonstructural wood, a qualified repairer can determine whether sound material remains and whether a repair or replacement is appropriate. Soft or crumbling wood is not restored by paint, caulk, or cosmetic filler.
For a beam, joist, post, rafter, stair support, roof deck, or subfloor, do not cut out the damaged section yourself. The repair may require temporary shoring, sistering, replacement, or an engineered detail, and the correct choice depends on span, loads, connections, species, moisture history, and local requirements. A contractor or structural engineer should decide that scope.
If the moisture source is difficult to trace, use the right specialist rather than assuming the first visible stain is the origin. A roofer, plumber, drainage contractor, building-envelope specialist, waterproofing professional, or home inspector may each be the right first call depending on the location. If insects or mud are also present, involve a pest professional before closing the area.
Know when damaged wood becomes a safety issue
Call for professional help promptly when the damage affects a load-bearing part or when the building shows movement. Red flags include a sagging floor or ceiling, a porch or deck that feels unstable, a leaning post, a stair that shifts, a door or window that suddenly binds, a joist or beam with a deep loss of section, a soft floor over a crawl space, or roof decking that flexes underfoot.
Leave the area if there is active collapse, falling material, standing water near electrical equipment, a sewage or flood-contamination issue, or an unsafe crawl space. Keep children and pets away. Do not climb onto a roof, deck, or attic floor to inspect a questionable member, and do not place your weight on wood that has already failed a gentle visual check.
The correct professional depends on the question. A licensed pest professional assesses termite activity and treatment. A qualified contractor repairs or replaces building components after the scope is known. A structural engineer evaluates load paths and remaining capacity when the damage is significant, uncertain, or in a critical member. A home inspector can document visible conditions, but an inspection report is not the same as a pest treatment plan or engineering certification.
Prevent both problems with a maintenance loop
Prevention is more reliable when it makes the home dry, visible, separated, and easy to revisit. It lowers the conditions that support rot and removes some of the concealed access routes termites use, but it cannot guarantee that a home will never have termites or wood decay.
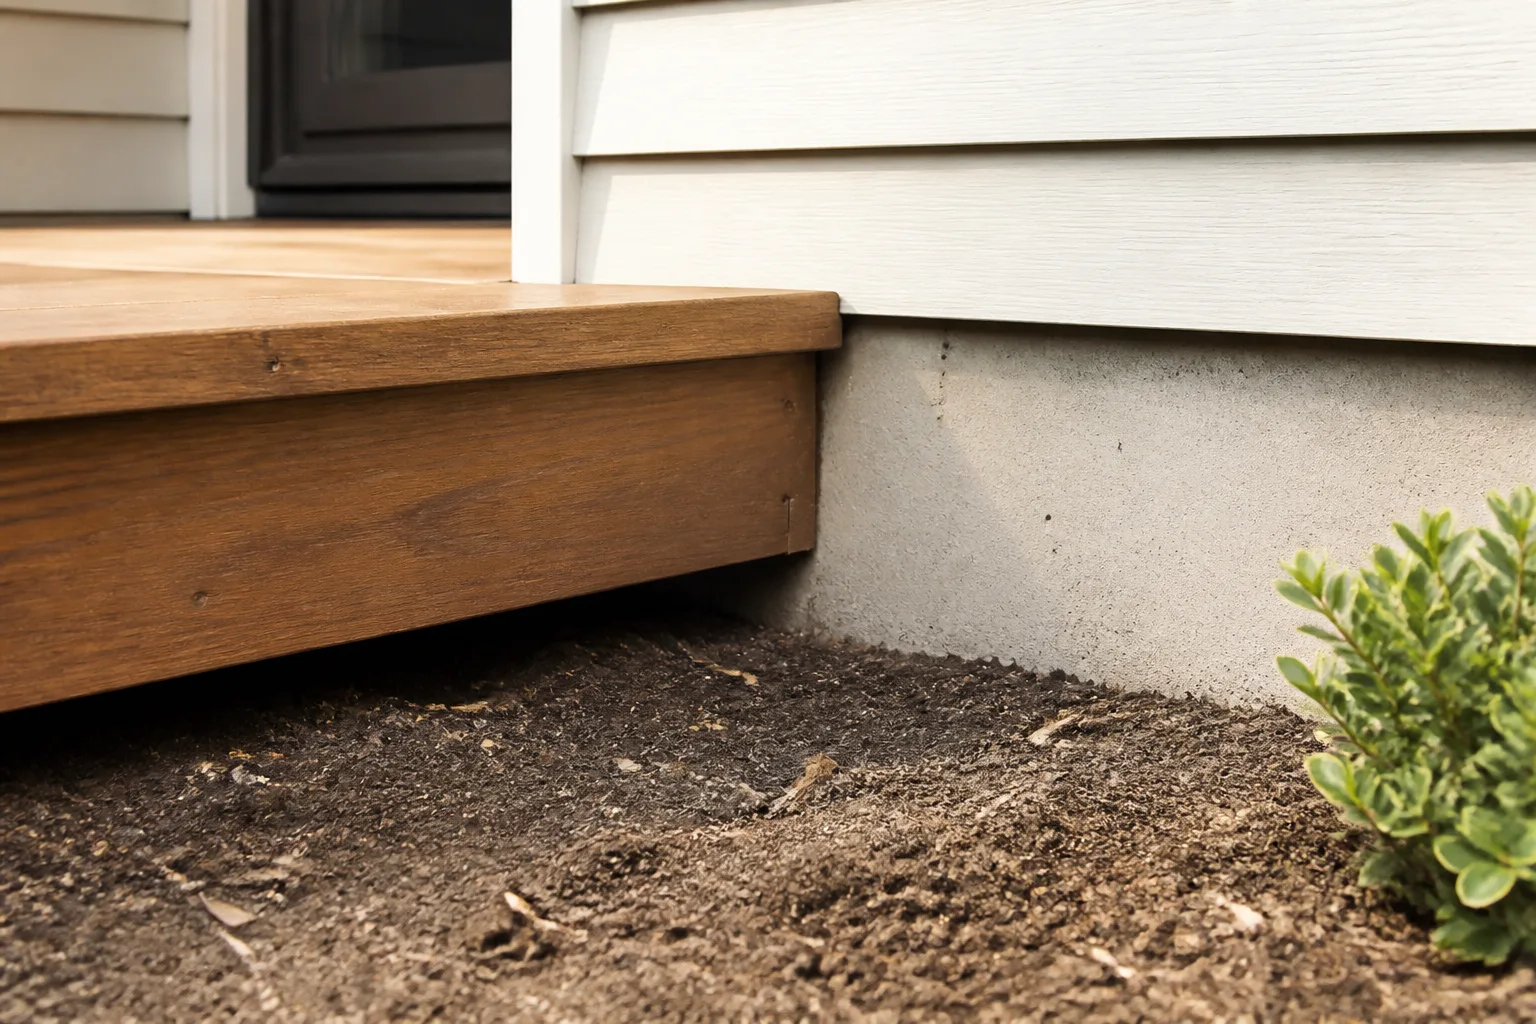
Use this recurring loop:
- Keep wood visible above grade. Maintain a clear inspection line at foundations and lower siding. NC State Extension advises keeping siding at least six inches above grade where possible and not letting beds or mulch hide the wall. Do not add soil to solve a low-clearance problem; raise or redesign the landscape instead. (NC State Extension)
- Keep mulch and debris from bridging the wall. Mulch can be useful in a garden, but a thick, wet layer against siding or masonry can hide tubes and retain moisture. Keep firewood, cardboard, stumps, old pallets, and scrap lumber off the soil and away from the house.
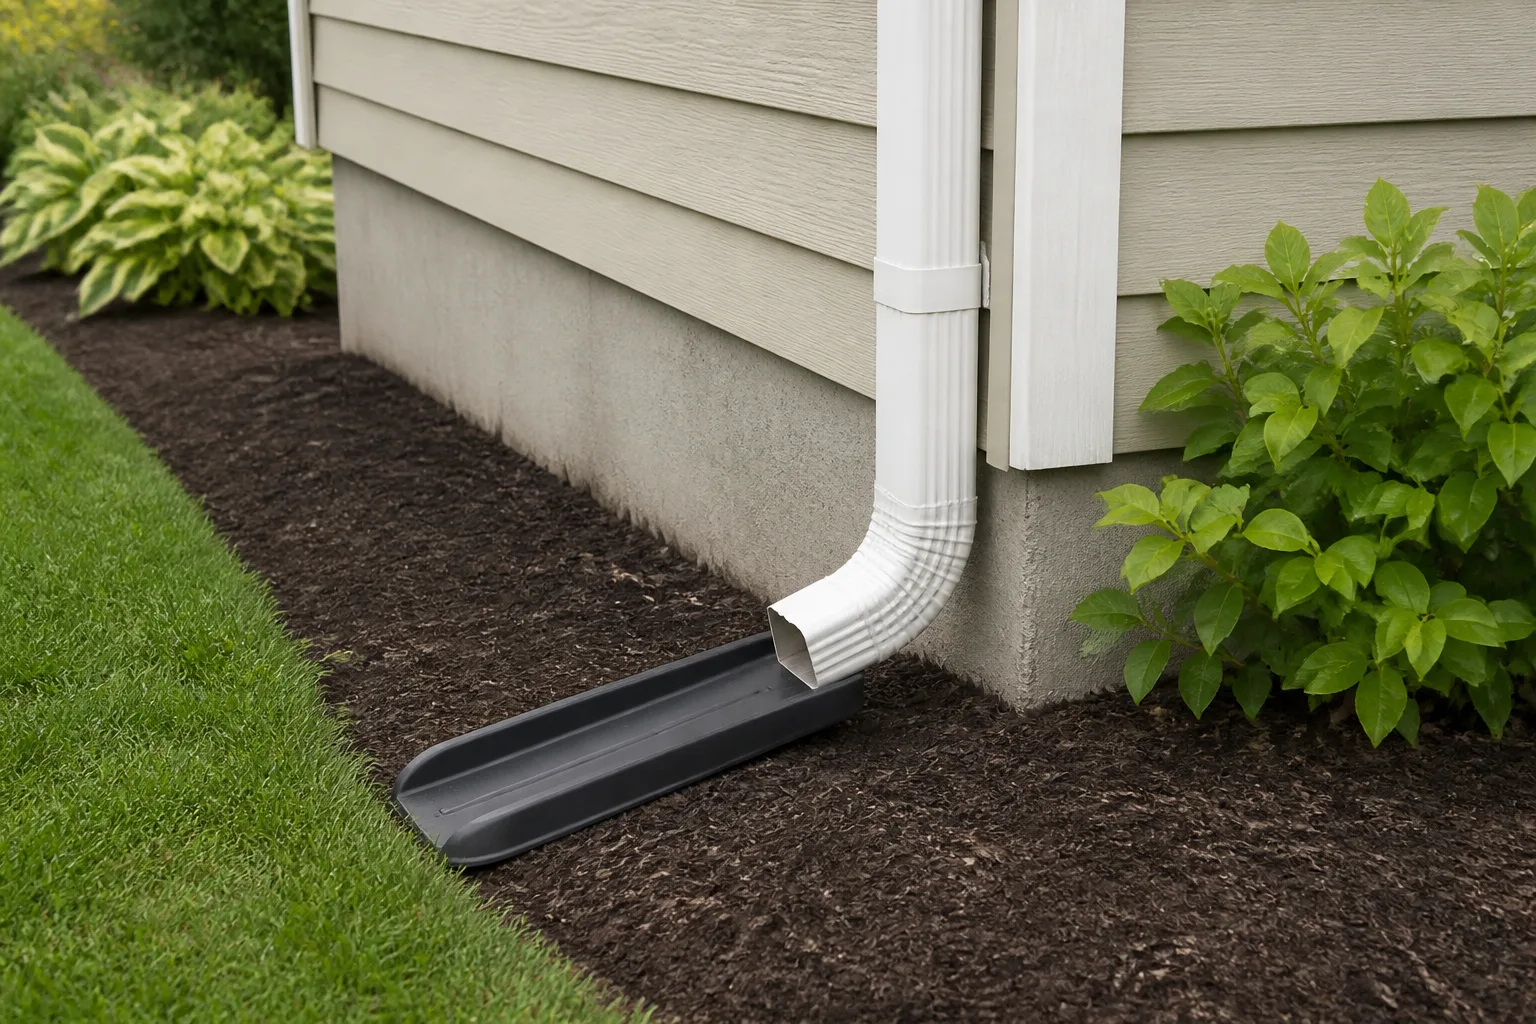
- Send water away. Clean gutters, extend downspouts, repair roof and plumbing leaks, adjust irrigation, and check hose bibs, condensate lines, window wells, and foundation grading after heavy rain. Photograph any recurring wet strip before burying it in fresh soil or stone.
- Manage crawl-space and basement conditions. Remove wet debris, keep access clear, and use a moisture-control plan suited to the building and local requirements. A vapor barrier, drainage, ventilation, or dehumidifier may be appropriate in different designs; none is a universal cure, and drainage changes can affect existing termite treatments or service agreements.
- Inspect after changes. Walk the perimeter in spring and after storms, roof or plumbing work, landscaping changes, flooding, or a swarm. Look at foundations, porch and deck supports, window and door trim, attic edges, plumbing walls, sill plates, and accessible crawl-space framing.
- Escalate based on risk. Prior termite history, a warm or humid region, inaccessible framing, recurring moisture, structural movement, or unexplained insect evidence lowers the threshold for a licensed inspection.
The purpose of the loop is not to turn every homeowner into a pest diagnostician. It is to catch the shared setup—wet wood, hidden foundation lines, standing water, and delayed repairs—while the problem is still visible and the next professional can work from good evidence.
Conclusion
Termite damage and wood rot can look alike because both weaken wood, hide behind intact finishes, and often occur where a homeowner cannot see the full structure. Termites become more plausible when insect, mud, soil, wing, and grain-following gallery evidence agree. Rot becomes more plausible when a persistent moisture path aligns with spongy, brittle, stringy, or cubically cracked wood. Neither conclusion is safe from one smell, tap, color, or moisture-meter reading.
Photograph first, trace the water, preserve insect or tube evidence, and avoid probing or cutting structural members. If termites are possible, start with a licensed pest professional; if a leak and nonstructural decay are clear, correct the moisture source and arrange the appropriate repair. When the wood carries a load, the building moves, the area is unsafe, or both termite and rot clues appear together, stop guessing and bring in the qualified professionals who can assess the hidden condition.