How to Save a Houseplant That Looks Dead
A struggling houseplant may not be dead. Use this symptom-led guide to tell underwatering from root rot, reset care, and watch for real recovery.
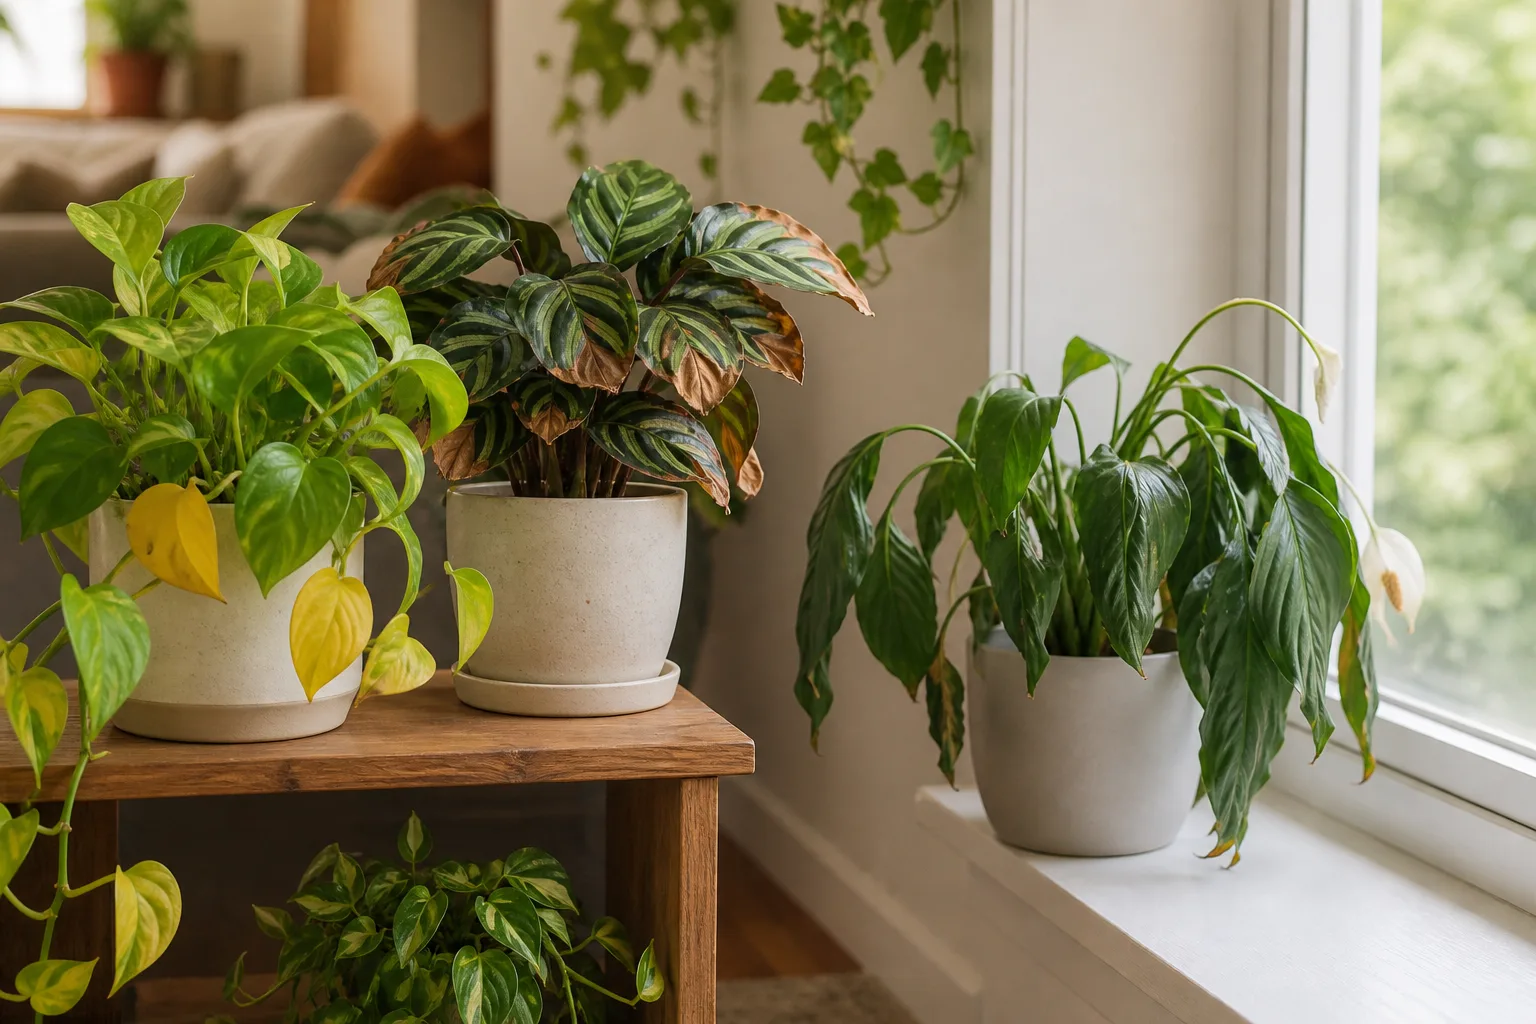
If your houseplant has yellow leaves, a limp canopy, brown tips, or bare stems, do not start by pouring on more water. Start by asking a more useful question: is the plant thirsty, drowning, starved of light, damaged by pests, or simply resting? The same wilt can come from bone-dry soil or roots that are sitting in wet, airless mix.
Many plants can recover if the crown, stem, or a portion of the roots is still alive. Your job is not to make every damaged leaf look new; those tissues will not turn green again. Your job is to protect living tissue, remove the condition causing the decline, and give the plant a stable environment long enough to make new growth.
Is the Houseplant Dead, or Is It Dormant?
A truly dead plant has no living tissue left to work with: roots are dry and brittle or completely mushy, stems are hollow or collapse when gently squeezed, and there are no firm buds or green tissue near a node or crown. If a stem is still flexible and green under a tiny scrape of the outer surface, or if the root ball contains firm roots, recovery may still be possible.
Do not confuse a seasonal rest with death. Some houseplants, bulbs, and tuberous plants naturally lose leaves or stop growing when light, temperature, or day length changes. Check the care requirements for that exact plant before cutting a dormant crown apart or keeping it constantly wet. A resting plant normally has firm storage organs or roots; a dead one does not.
The safest test is the least destructive one. Look for a firm stem, a live crown, a swelling bud, or roots that are pliable rather than brittle or slimy. If none exists, compost only disease-free material and discard a plant that died from a suspected pest or disease so you do not spread the problem through a collection.
Do a 5-Minute Triage Before You Water
The Royal Horticultural Society’s houseplant troubleshooting guide recommends starting with a close look at the growing conditions rather than reaching for routine treatments. This order helps you avoid the most common rescue mistake: adding a second problem while trying to fix the first.
Check Soil, Pot, and Roots at the Surface
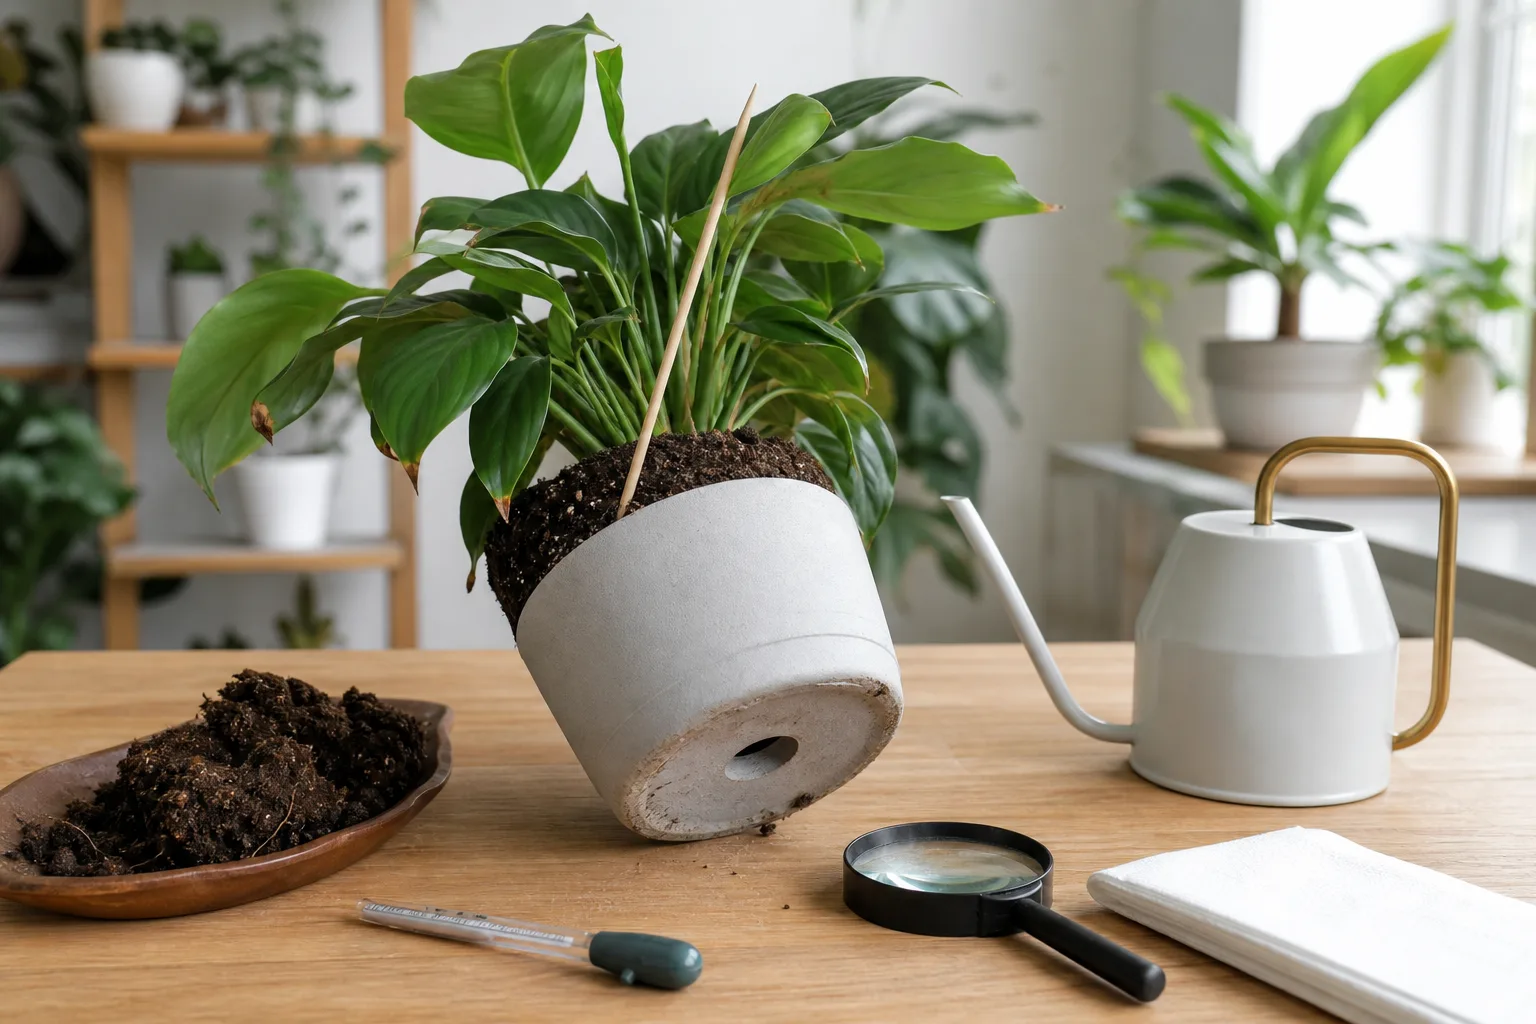
Push a finger or wooden skewer several inches into the mix, not just across the surface. A crusted top can hide wet soil below, while a dry-looking surface can sit above a compacted, still-moist root zone. Note whether the pot feels unusually light, whether water runs straight down the sides, and whether the drainage hole is blocked.
Then inspect the container. A decorative cachepot with no drainage, a saucer full of old runoff, or a pot much larger than the root ball can keep mix wet for too long. A plant that dries within a day or two, has roots circling the outside of the root ball, or has roots emerging from the drainage hole may have a crowding problem instead of a simple watering problem.
Do not use a moisture meter as a verdict on its own. Probe more than one spot, compare the reading with the pot’s weight and the plant’s normal needs, and remember that meters can read differently in bark-heavy, compacted, or very small pots.
Read Leaves, Stems, and Location Together
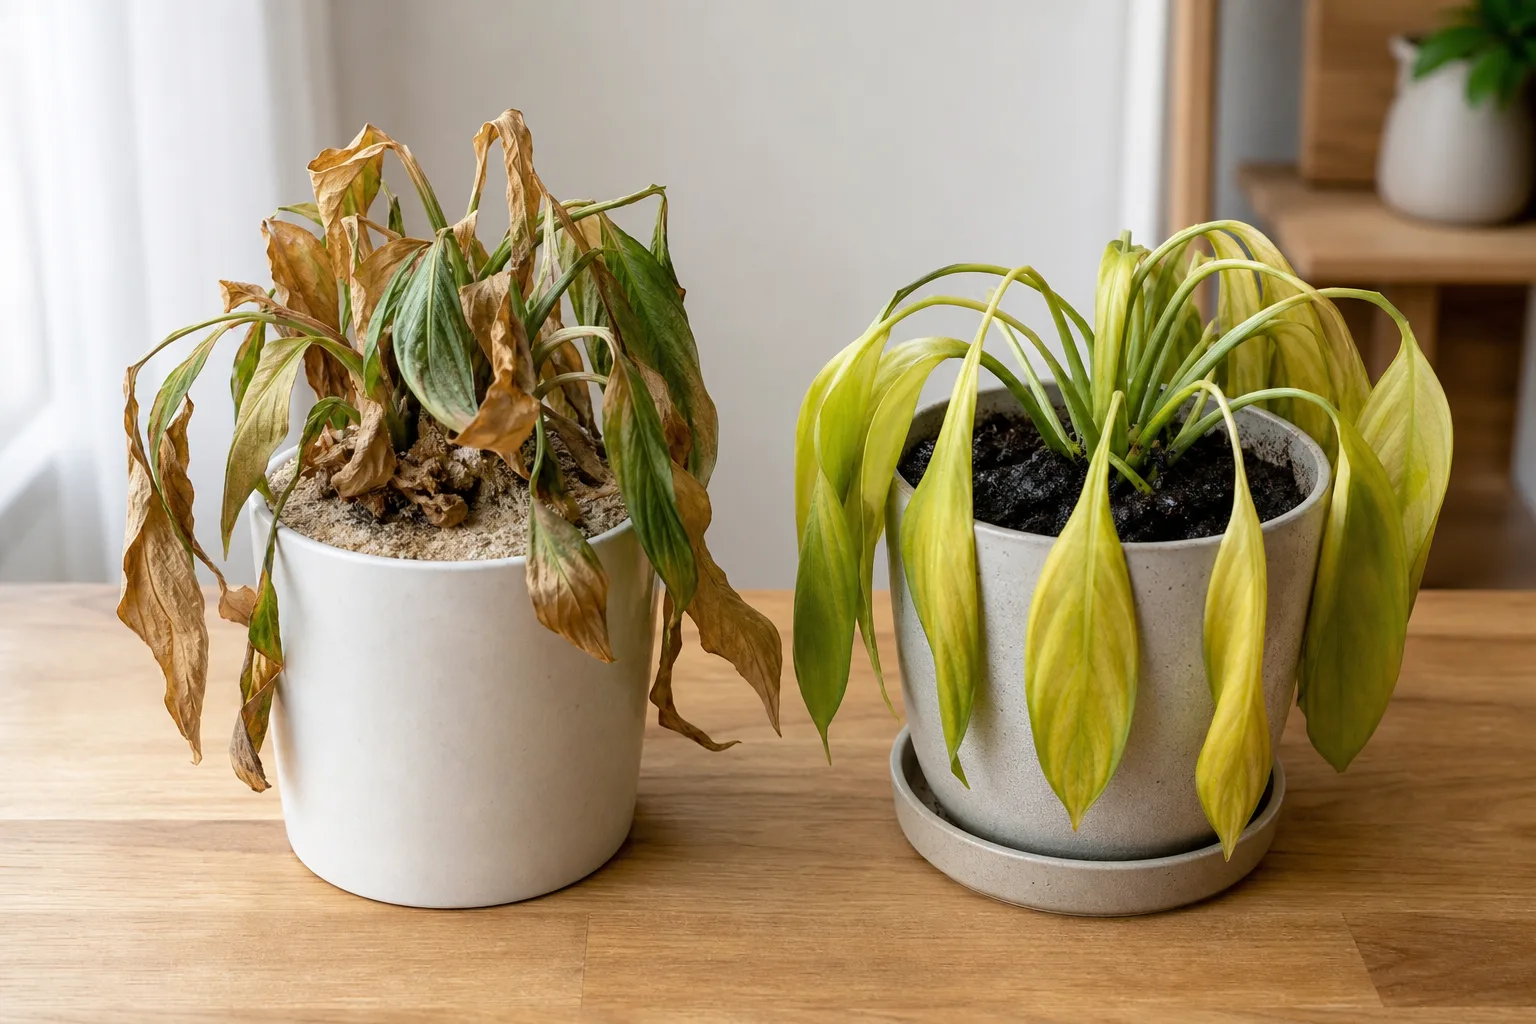
One old yellow leaf at the base is often normal aging. A pattern of several leaves changing at once is more useful: older leaves yellowing first can fit drought stress, while old and new leaves yellowing together alongside wet mix, stem softness, or mold points more strongly toward excess moisture or root trouble. The pattern matters more than the color by itself.
Feel the leaves without bending them hard. Dry-stressed foliage is often limp, thin, papery, curled, or crispy at the edges; waterlogged-root foliage can also wilt, but it may feel soft, heavy, or strangely yellow while the mix stays wet. Brown patches on the window-facing side can indicate excess sun, while stretched stems and small new leaves usually point toward inadequate light.
Look at the plant’s address. A recent move, a cold window, a heating vent, a hot conservatory, a closed curtain, or a sudden change from nursery shade to direct sun can explain a decline that looks like a watering failure. The RHS specifically flags low light, direct heat, drafts, cold windows, dry air, and hard-water deposits as separate causes of leaf damage.
Scan for Pests and Recent Changes
Inspect leaf undersides, stem joints, new growth, and the soil line with a bright light or hand lens. Fine webbing and stippled leaves suggest spider mites; white cottony clusters suggest mealybugs; brown bumps that stay attached can be scale; sticky residue often accompanies sap-feeding insects. Fungus gnats around the soil are a clue that the mix stays damp, but adult gnats alone do not prove that the roots are rotting.
If pests are present, move the plant away from healthy plants while you identify and manage them. Also write down what changed in the last month: watering frequency, fertilizer, pot, location, shipment, pruning, repotting, or a new plant nearby. A timeline often reveals the trigger better than a single snapshot.
Match Symptoms to the Most Likely Cause
Use the table below as a starting point, not a diagnosis. SummerWinds Nursery’s recovery checklist makes the same practical point: similar symptoms can come from different causes, so identify the most likely one and make one meaningful change before layering on more interventions.
Yellow Leaves
Yellowing can follow aging, low light, underwatering, overwatering, root damage, nutrient stress, or pests. If one lower leaf is yellow and the rest of the plant is firm and producing growth, remove the leaf when it is fully yellow and monitor. If many leaves are yellowing while the mix is wet, check drainage and roots before watering again.
If yellow leaves are accompanied by slow growth and very pale new foliage, evaluate light before reaching for fertilizer. In low light, a plant may not use water or nutrients at the same rate it did in a brighter season. Moving it into brighter indirect light may help, but make the change gradually so a shade-adapted plant does not scorch.
Brown, Crispy, or Curling Leaves
Dry, crispy edges usually mean that water is leaving the foliage faster than the roots can replace it. Common triggers include a genuinely dry root ball, low humidity, hot airflow, salt buildup, root damage, or direct sun. A pebble tray may slightly improve the immediate microclimate for some humidity-loving plants, but it cannot repair a dry root ball or root rot; the pot must still sit above the waterline.
Brown patches that are sharply bleached or concentrated on the sun-facing side fit light scorch more than thirst. Brown deposits that wipe away can be mineral residue from hard water. Do not scrub aggressively or coat leaves with oil; wipe them gently with a soft, damp cloth and correct the environmental cause.
Cutting off the brown part is cosmetic. Use clean, sharp scissors to follow the leaf’s natural outline, but keep a partly green leaf if it is still contributing energy. Remove a leaf at its base only when it is fully dead, diseased, or so damaged that it is no longer useful to the plant.
Wilting, Squishy Leaves, or Leaf Drop
If the soil is dry deep into the pot and the plant perks up after a thorough drink, underwatering is likely. Water slowly until the root ball is evenly moistened and excess drains from the bottom, then empty the saucer. If water runs around a shrunken root ball without wetting it, rehydrate gradually rather than flooding a severely dried plant all at once.
If the soil is wet and the plant still wilts, stop watering and investigate roots. A damaged root system cannot move water normally, so the canopy can look thirsty while the pot is saturated. Squishy leaves, a soft stem base, sour odor, persistent yellowing, and dark roots make root damage more likely, but wilt alone does not prove root rot.
Sudden leaf drop can also follow cold shock, a draft, relocation, or a large light change. Remove only leaves that are fully dead and stabilize the plant before pruning healthy growth. Plants recover more reliably from one corrected stress than from a drastic haircut followed by three new care routines.
Confirm Root Rot Before Treating It
The only dependable home confirmation is a root inspection. Gardening Know How explains why root rot resembles underwatering: rotten roots cannot absorb water even though the surrounding mix is wet. That is why adding more water to a wilted plant can accelerate the decline.
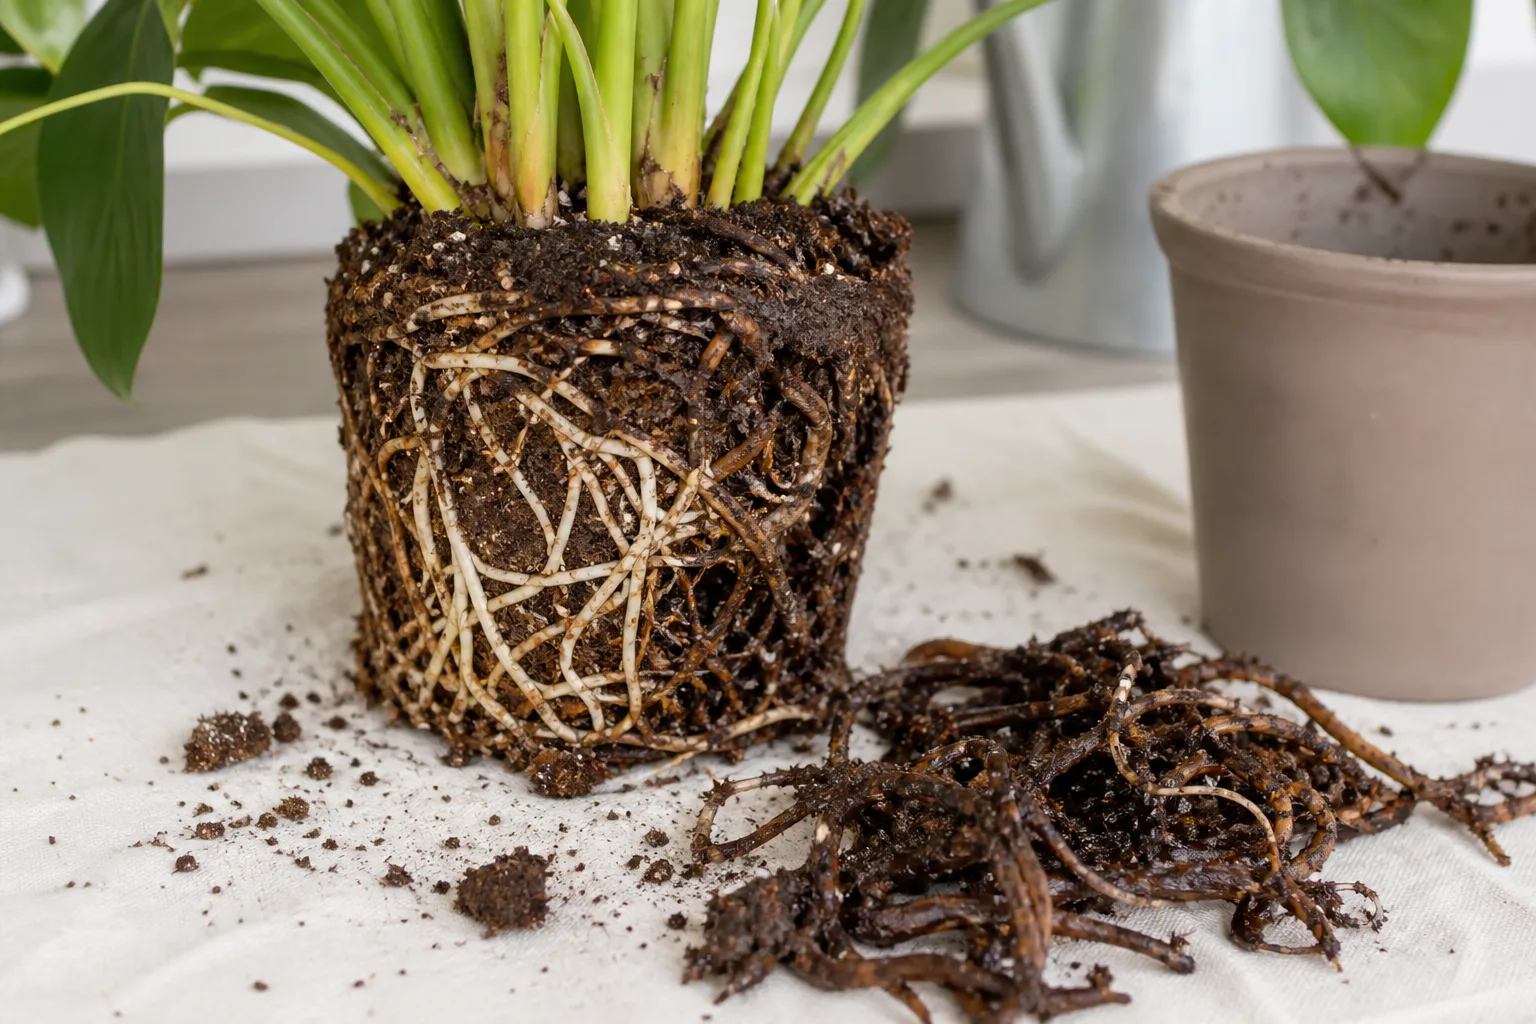
Slide the plant from its pot with the soil intact if possible. Healthy roots are generally firm and pliable; they may be white, tan, or darker depending on the plant and potting mix. Rotten roots are often brown to black, soft, slimy, foul-smelling, or so degraded that the outer tissue slips away with a gentle touch.
Do not call every dark root diseased. Roots stained by wet soil can still be firm, and some plants naturally have darker roots. If you cannot tell, rinse a small section gently and compare texture, not color alone. Also inspect the crown and lower stem: if the base is soft, collapsing, or discolored, the prognosis is worse than if only a few feeder roots are damaged.
Root rot and waterlogging overlap. RHS root-rot guidance notes that above-ground symptoms are not specific and that laboratory testing may be needed to distinguish a named pathogen such as Phytophthora from damage caused by saturated soil or another root problem. For a home rescue, the useful first response is the same: improve drainage, remove decayed tissue, and avoid reusing contaminated mix.
Reset a Root-Damaged Plant
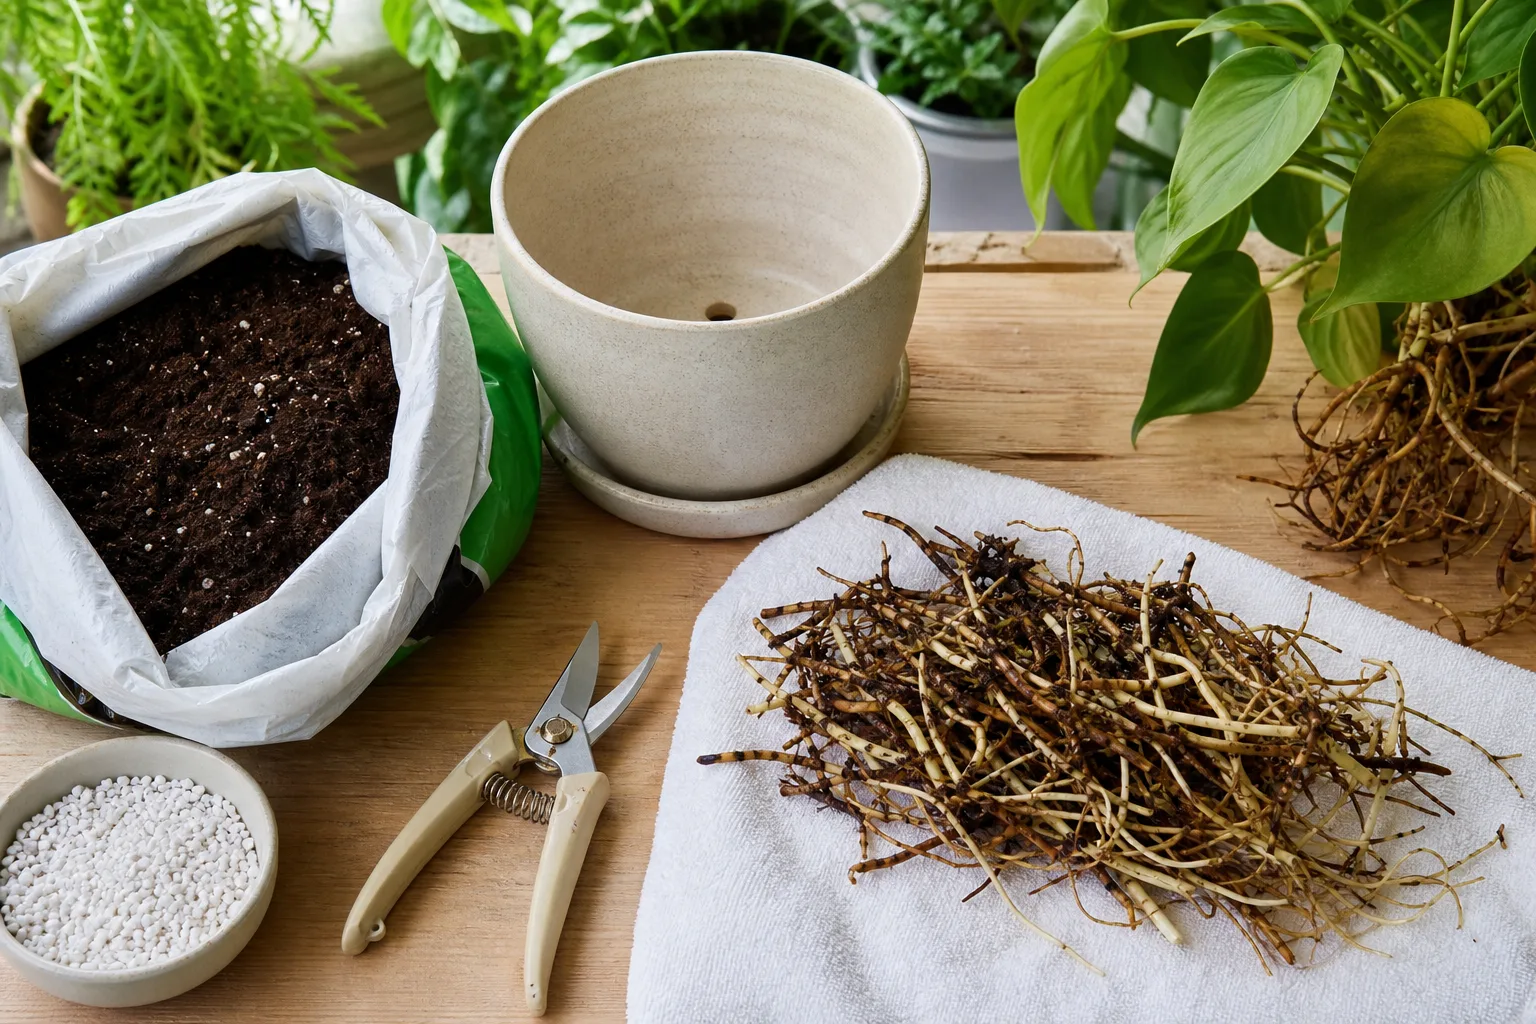
Rescue is most realistic when the plant has a living crown, a firm stem, or enough healthy roots to support a reduced canopy. Work on a clean surface, keep the plant separate from others, and prepare a clean pot with drainage holes and fresh mix before you begin.
Prune Only What Cannot Recover
Remove the old mix carefully and rinse away residue so you can see the root system. With sterilized scissors, cut back roots that are clearly mushy, hollow, or detached. Wipe or re-sterilize the blades between cuts if the rot is extensive, and do not reuse the old potting mix in another container.
If you removed a large share of the roots, reduce the leaf load proportionally by removing the worst damaged leaves and a little excess foliage. This is not a challenge to make the plant small; it is a way to keep a suddenly smaller root system from trying to support a full, stressed canopy. Never strip every green leaf unless the crown or stem requires it.
Avoid home remedies that promise to sterilize a sick plant. A fungicide is not a universal cure for root damage, and product labels differ by country, plant, and pathogen. The RHS says there are no chemical treatments available to home gardeners for controlling Phytophthora root rot; prioritize sanitation, drainage, and correct cultural conditions.
Repot, Water Once, Then Pause
Wash the old container thoroughly before reusing it, or choose a clean pot only slightly larger than the remaining root ball. Homes & Gardens recommends fresh, fast-draining mix, an appropriate container, and sterilized tools or pots when treating root rot. Do not put a small rescued root ball into a huge pot: the extra wet mix can recreate the problem.
Set the plant at its former depth, with the crown or stem base above the mix. Fill around the roots without compacting the soil into a dense plug. Water once to settle the mix and confirm that it drains freely, then empty the saucer and let the surface begin to dry according to the plant’s requirements.
After repotting, provide bright but gentle light, stable warmth, and good airflow. The plant may lose another leaf from the stress of being handled; that is not the same as failure. Do not fertilize while roots are being repaired, and do not keep the pot constantly wet in an attempt to encourage new roots.
Correct the Care Routine Without Overcorrecting
Once the immediate cause is addressed, resist the urge to optimize every variable. Recovery is easier to read when the plant gets a stable baseline: appropriate light, a draining pot, a suitable mix, and watering that responds to moisture rather than a calendar.
Repair the Water-and-Light Balance
Water thoroughly when the upper portion of the mix has dried to the level appropriate for that species. There is no universal weekly rule: a small terracotta pot in a bright, warm room may dry quickly, while a large plastic pot in low light may stay wet for weeks. SummerWinds notes that terracotta dries faster than plastic or glazed ceramic, and the RHS advises checking moisture rather than watering at set intervals.
Pair moisture with light. A plant in dim light uses water slowly, so a schedule that was safe beside a bright window may become overwatering after a move. A plant under strong sun or a grow light may dry faster, but increasing light does not excuse leaving it in a blocked cachepot. Improve one limiting factor at a time and check the response.
Move a stressed plant gradually toward brighter indirect light. Protect shade-adapted foliage from hot afternoon rays, and keep the plant away from radiator blasts, air-conditioning vents, and cold glass. If the room is genuinely too dim, a grow light can help; place it according to the fixture’s instructions and watch the plant for heat or bleaching.
Stabilize Air, Fertilizer, and Pests
Low humidity can make edges crisp, but humidity is not a substitute for root function. Grouping plants, using a correctly filled pebble tray, or running a clean humidifier can help some tropical plants when paired with airflow. Avoid keeping leaves constantly wet or crowding plants so tightly that fungal problems spread.
Hold fertilizer while the plant is actively wilting, losing roots, or recovering from a major repot. Fertilizer salts can add stress to damaged roots, and a weakly lit plant cannot use a heavy feeding program well. Resume a dilute, species-appropriate fertilizer only after you see healthy new growth and the plant is taking up water normally.
For pests, start with isolation, identification, and physical removal where practical. Rinse or wipe leaves if the plant tolerates it, remove heavily infested tissue, and use only a product labeled for indoor plants and the pest you have identified. Follow the label, protect pets and children, and keep monitoring because one treatment rarely reaches every life stage.
Track Recovery and Know When to Let Go
Recovery is measured in new, functioning growth—not in old leaves returning to their former color. A firm stem, a bud that swells, new roots, leaves that hold their shape, and a pot that dries at a sensible pace are better signs than a single day of perkier foliage.
Take one photo each week from the same angle and note the watering date, soil feel, light change, pest observations, and new growth. This simple record tells you whether the plant is actually improving or only cycling between drought and saturation. It also prevents the common mistake of changing the care routine every time one leaf drops.
Give a mild stress several weeks to show a trend; root damage or a major repot can take longer. The exact timeline depends on plant type, season, temperature, light, and how much living tissue remains. If the plant continues to decline despite firm drainage, correct moisture, suitable light, and pest control, inspect the crown again.
Let go when the entire crown or stem base is soft, every root is dead, and there are no viable nodes, buds, or offsets to propagate. Discard suspected pest- or disease-infected material rather than composting it, clean the container and tools, and wait before replacing it in the same spot. A dead plant is not a personal verdict; it is useful evidence about the conditions that did not fit that species.
Prevent the Next Crash
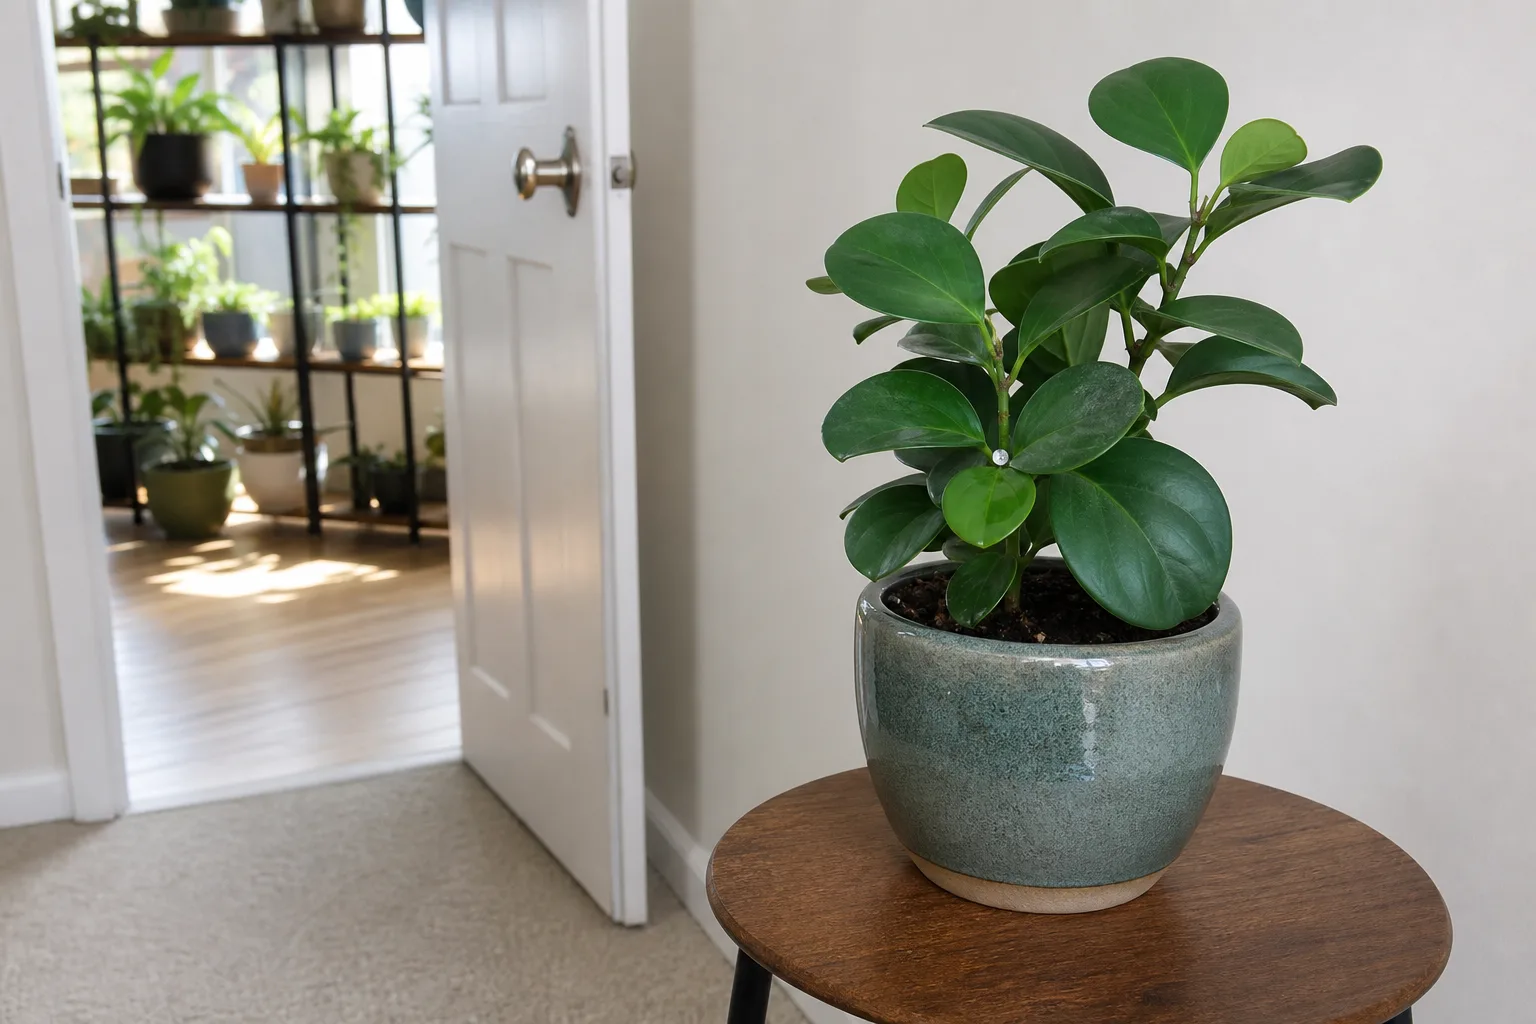
Choose a plant whose light and watering needs match the room you can actually provide. A plant that needs bright filtered light will not become a low-light plant because the label says “easy,” and a drought-tolerant succulent will not appreciate the same moisture routine as a thirsty fern. The best beginner plant is the one that fits your window, pot, schedule, and willingness to monitor it.
Build a small weekly inspection rather than a weekly watering appointment. Look under leaves, feel the mix, lift the pot, empty saucers, check the newest growth, and scan for pests. Dusting leaves gently also gives you a regular chance to spot scale, webbing, sticky residue, or a change in leaf texture before an infestation becomes severe.
Use a pot with open drainage, a mix appropriate to the plant, and a container size that matches the root ball. Quarantine new plants long enough to inspect them, keep sick plants apart, and clean tools between plants. In winter or during a dark, cool spell, expect many plants to use water more slowly; in hot, bright weather, check more often rather than automatically watering more.
The most reliable rescue habit is restraint. Diagnose first, correct the most likely cause, and give the plant time to respond before adding fertilizer, repotting again, moving it across the room, or applying a treatment that does not match the problem.
Conclusion
To save a houseplant that looks past saving, check for life before you check the leaves. Feel the soil, inspect the pot and roots, compare the symptom with the plant’s location, and look for pests or a recent change. If the roots are firm, correct the environment; if some roots are rotten, prune the dead tissue and repot into a clean, draining setup; if the crown is fully dead, stop trying to force a recovery that the plant cannot make.
A rescued plant may never look perfect again, and damaged leaves will not become new leaves. Success is a stable root system and fresh growth. Water by evidence, match light to the species, feed only after recovery begins, and let patience—not panic—do the final part of the work.



