Should You Remove Dead Plants From the Garden?
Should you remove dead plants from the garden? Use this simple triage guide to prevent disease, compost safely, and preserve useful wildlife habitat.
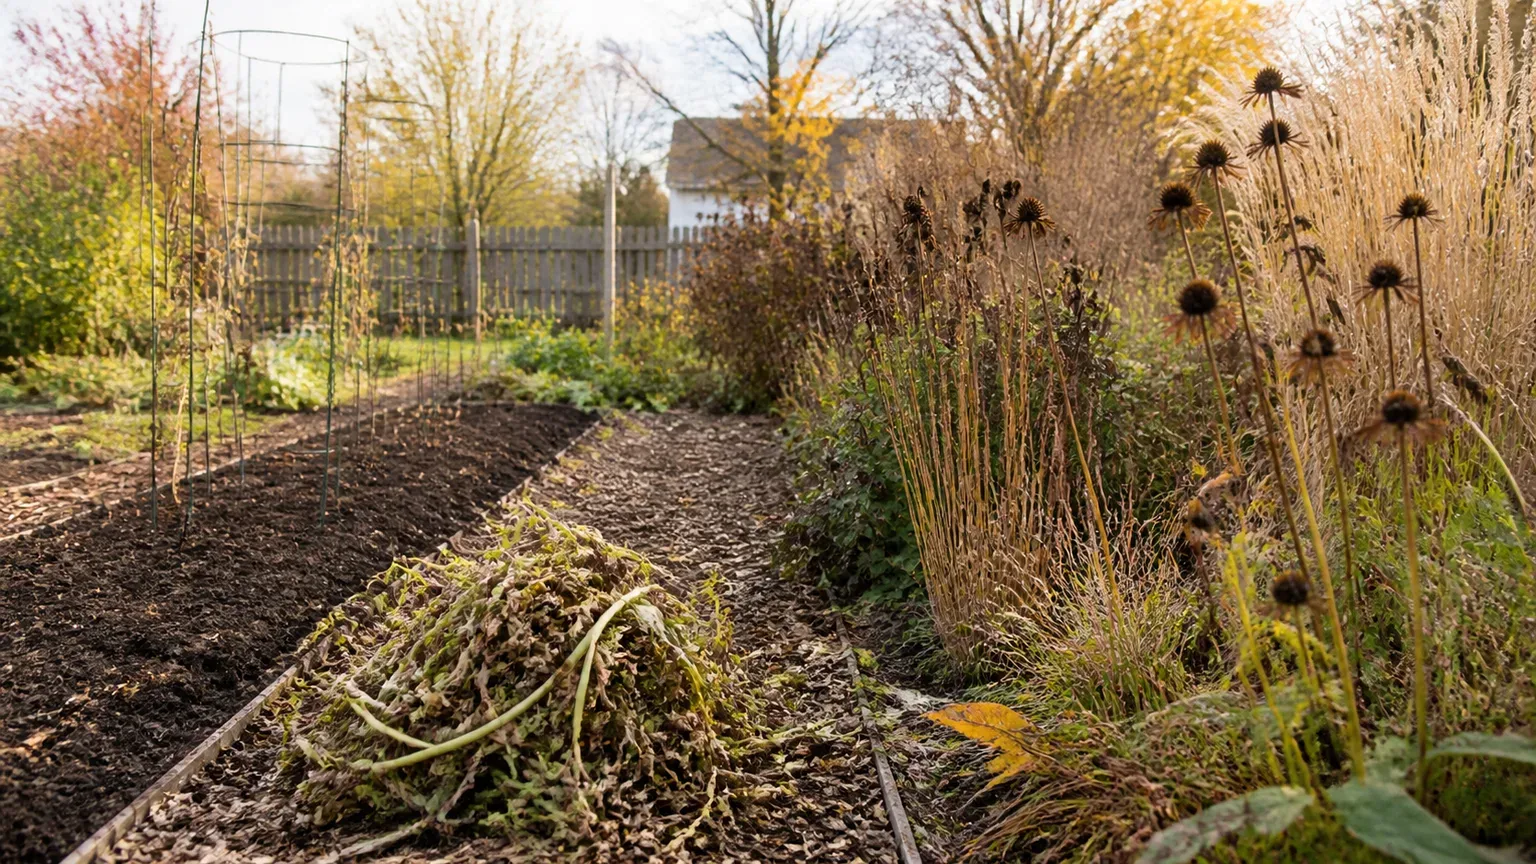
Dead plants are not automatically garden waste. Remove dead plants from the garden when they are diseased, heavily infested, full of unwanted seed, smothering vulnerable plants, or creating a safety problem. Healthy stems, seed heads, roots, and leaves can often stay because they protect soil, feed birds, shelter insects, and return organic matter to the bed.
The useful question is not “Should I clean up everything?” It is “What job is this dead material doing now?” A collapsed tomato vine with leaf spots is a possible disease reservoir. A dry coneflower standing over a perennial border is winter food and structure. Treating those two plants alike either preserves risk or throws away habitat.
This guide gives you a repeatable way to decide what to pull, what to cut, what to leave, and where each kind of debris should go. The goal is a healthier garden, not a bare one.
The short answer: remove risks, keep useful habitat
Start with three buckets. Remove material that shows disease, harbors a known pest, bears rotten fruit, or will spread unwanted seed. Compost or reuse healthy, non-seeding material that will break down without causing trouble. Leave standing or in place clean stems, seed heads, roots, and leaves that protect soil or support wildlife.
This selective approach reconciles two sound gardening ideas that can seem contradictory. Garden sanitation interrupts some pest and disease cycles, while restrained cleanup protects the organisms and soil processes a garden needs. The condition, location, and structure of the plant determine which principle matters more.
Do not wait for a calendar date if a plant is actively spreading trouble. Remove a diseased annual, pest-filled vine, or rotting fruit as soon as you identify it. Healthy ornamental stems can wait through winter, while spent but clean vegetable plants can be cleared when harvest ends and the bed is ready for its next crop or cover.
Why dead plants sometimes become next year’s problem
Dead tissue no longer has a plant’s active defenses, but it still contains food, protected crevices, and sometimes infectious structures. The University of Arkansas System Division of Agriculture defines garden sanitation as removing material that can harbor pests and notes that reducing debris can limit opportunities for pests and pathogens to reproduce.
Cleanup is risk reduction, not sterilization. Some pathogens survive in soil, some spores arrive on wind, and mobile insects can fly in from elsewhere. Removing the right debris lowers the local starting pressure and makes monitoring easier; stripping every bed to bare soil does not guarantee a problem-free season.
Disease survives on infected debris
Many fungal and bacterial problems persist on infected leaves, stems, fruit, or crowns between seasons. Powdery mildew, for example, can form overwintering structures on plant debris. Leaf spots, blights, cankers, rots, and wilts differ biologically, but visible disease is enough reason for a home gardener to isolate suspicious material instead of treating it as harmless mulch.
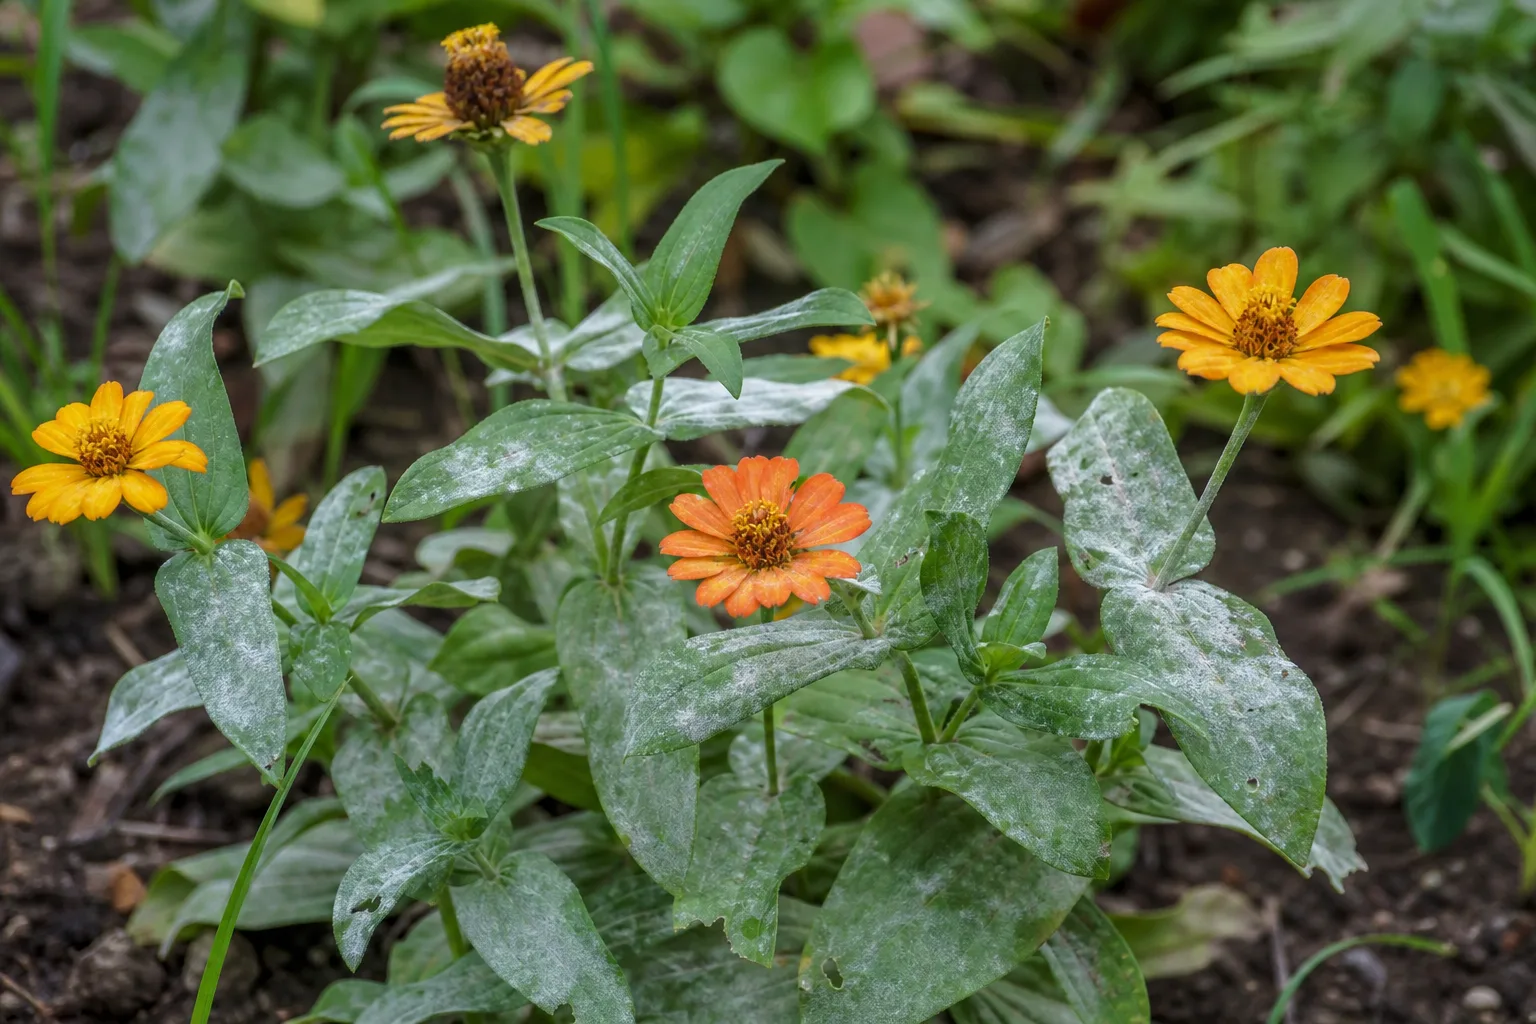
Look for repeated spotting with yellow halos, dark sunken lesions, fuzzy or powdery growth, blackened stems, soft rot, cankers, unusual mosaics, or a plant that collapsed while neighbors stayed healthy. A correct diagnosis is ideal, especially for recurring problems, but you do not need laboratory certainty before taking a conservative disposal route.
Bag or contain suspect debris where it lies before carrying it past healthy plants. Raking a brittle, infected vine across the bed can scatter leaves and spores. Afterward, remove stuck soil and plant fragments from pruners, cages, stakes, and footwear before moving to another bed.
Pests use stems, crowns, fruit, and litter as shelter
Spent plants can hold pest eggs, pupae, larvae, or adults. The important distinction is between a known pest reservoir and general habitat. A squash vine that hosted borers, fruit containing larvae, or a brassica stalk covered with pest eggs deserves removal. A clean native perennial stem may shelter beneficial or harmless insects and can remain.
Inspect before you pull. Split a few suspect stems, look beneath dried leaves near crowns, and check old fruit and curled foliage. Concentrated feeding damage, egg masses, webbing, frass, galleries, or a pest you battled all season shifts that plant into the removal bucket.
Do not assume every insect in litter is an enemy. Predators and decomposers also overwinter in protected places. Selective removal focuses effort on plants with a documented problem instead of erasing habitat across the entire yard.
Self-seeding can sabotage crop rotation
Dead plants can cause a different kind of problem: too many volunteers. Tomatoes, tomatillos, squash, lettuce, herbs, and many flowers may scatter enough seed to crowd the next planting. Volunteer seedlings can also act as unplanned hosts for pests and disease while confusing your rotation records.
Crop rotation is based on plant families, not merely crop names. Tomatoes, peppers, eggplants, and potatoes all belong to the nightshade family, so moving from tomato to pepper in the same bed is not a meaningful rotation. Clemson Cooperative Extension recommends separating susceptible crops in time and notes that a three-year interval is a minimum for many soilborne pest problems, with four or five years offering a stronger break where space permits.
Remove seed-laden fruit and mature heads from plants you do not want to reproduce. If volunteers appear next season, treat them as part of the previous crop family and remove them early rather than letting convenience dictate the bed plan.
Remove these plants promptly
Prioritize removal when any of these conditions applies:
- Disease symptoms are visible or strongly suspected. Include infected leaves on the soil and mummified or rotten fruit, not just the main stem.
- A known pest completed part of its life cycle on the plant. Remove infested vines, stalks, crowns, fallen fruit, and nearby concentrated debris.
- The plant is an aggressive or unwanted seeder. Cut seed heads before moving the rest so you do not shake seeds across the bed.
- The material is blocking air or trapping moisture around vulnerable crowns. Dense, wet mats around peonies, irises, strawberries, and other rot-prone plants deserve thinning even if they look clean.
- It creates a practical hazard. Remove thorny canes over paths, brittle stalks at eye level, material touching siding, and dry vegetation where local fire guidance calls for defensible space.
Vegetable beds generally merit a stricter standard than ornamental borders because crops are often planted densely, watered regularly, and grown in related families year after year. Tomatoes, cucurbits, and brassicas are not inherently dirty, but a spent crop with a season-long disease or pest history should not remain merely because it is technically biodegradable.
When a perennial died for an unknown reason, examine the crown and roots before disposal. Healthy-looking roots with obvious drought or accidental damage may be suitable for ordinary compost. Mushy roots, galls, foul odor, vascular discoloration, or unexplained neighboring losses justify containment and a local extension diagnosis before replanting the spot.
Healthy dead plants you can leave standing
A dead stem that is upright, clean, and structurally useful is not neglect. It may hold seed, catch snow, protect a crown, or provide shelter. Good candidates include coneflowers, sunflowers, ornamental grasses, goldenrods, asters, bee balm, and other sturdy annuals or perennials that remained healthy through the season.
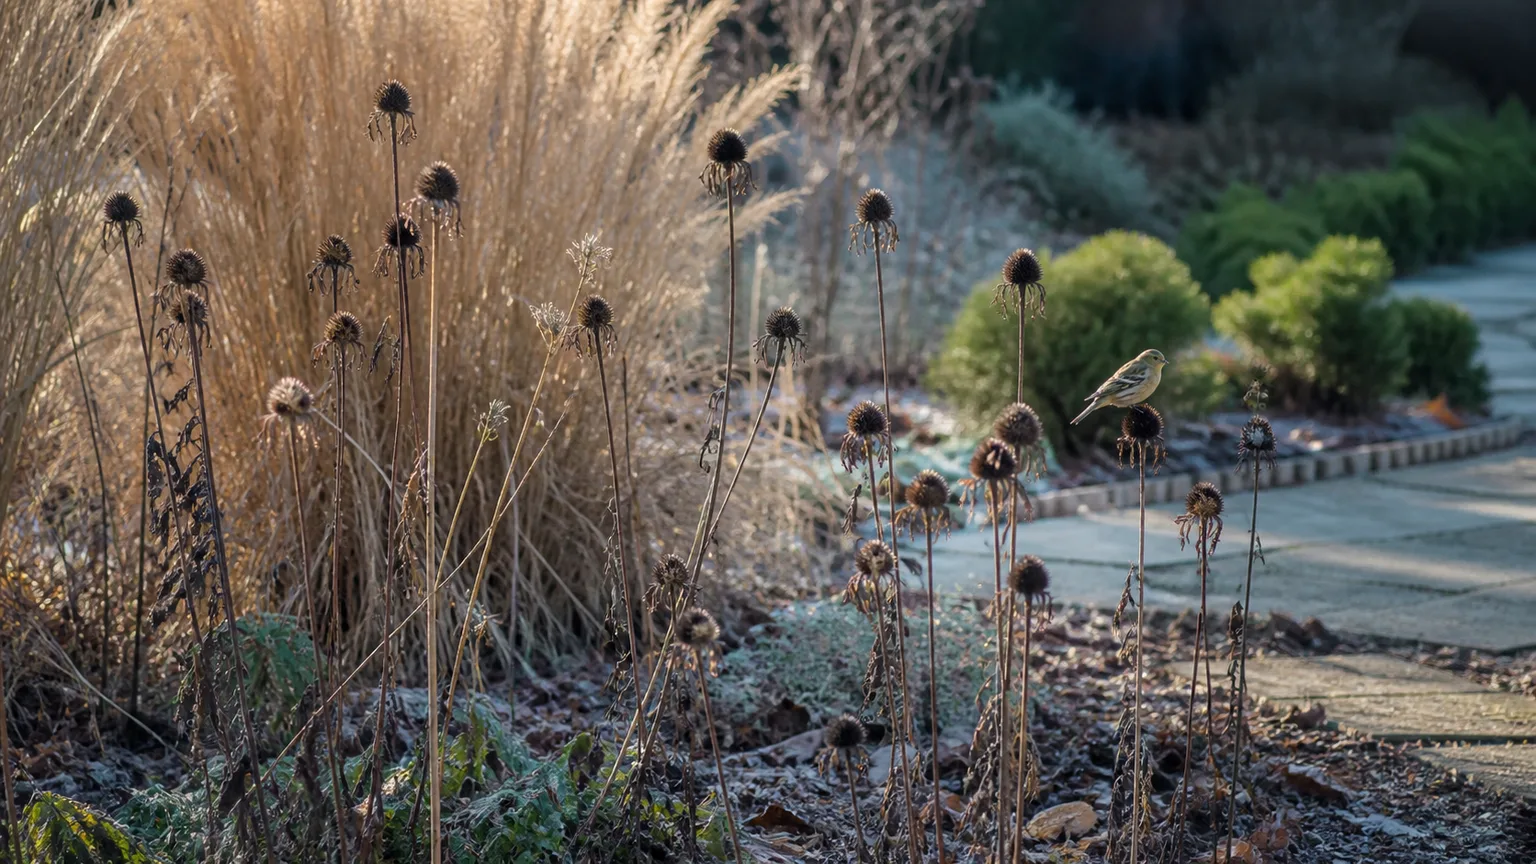
Keep the choice intentional. Leave clusters where they will not flop across paths, block drainage, or press against disease-prone foliage. A tidy edge around a wilder interior often preserves ecological value while making the garden look managed.
Seed heads feed birds and add winter structure
Dry seed heads extend the garden’s season. Finches, sparrows, and other seed-eating birds can forage from standing plants, while ornamental grasses and sturdy perennials hold texture after flowers fade. Leaving several connected patches is generally more useful than saving one isolated stem in an otherwise cleared yard.
Keep seed heads only where volunteers are welcome. A desirable native perennial in a meadow-like bed is different from an aggressive plant beside a vegetable plot. If you want the structure but not the seedlings, remove mature seed heads and leave the lower stems.
Snow and rain will eventually bend some plants. Move fallen, healthy stalks into a loose brush pile or chop them for surface mulch if they begin blocking paths. Ecological cleanup can still be orderly and responsive.
Hollow and pithy stems can become nesting habitat
Some solitary bees use cavities in standing or cut stems. Stems become useful only when cavities are naturally present or exposed and when they remain dry enough to function. Leave a range of sturdy diameters rather than pulverizing every perennial into tiny fragments in fall.
Spring timing matters because insects may still occupy last year’s stems after new growth begins. Instead of shredding everything on the first warm day, cut old stems to varied heights and loosely place the upper portions in a sheltered part of the garden. They can finish weathering while the new season’s growth hides the transition.
A Way to Garden’s conversation with ecologist Doug Tallamy also emphasizes that leaf litter and coarse woody debris participate in a food web rather than functioning as mere mess. That practical ecological lens is useful, provided diseased and hazardous material remains an exception.
Roots and leaves protect soil when they are clean
Healthy annual roots can often remain in the soil. Cut the top at ground level and let fine roots decay in place, where they leave channels and add organic matter without disturbing soil structure. Pull the whole root system when you need to inspect disease, remove a perennial weed, or prepare for a root crop that requires a clear seedbed.
Clean fallen leaves can protect bare soil from rain impact, temperature swings, and weed germination. Move leaves off lawns, drains, and dense evergreen crowns, then spread them in beds in a loose layer that does not smother low plants. Shredding speeds decomposition but may also destroy insects sheltering in intact leaves, so leave at least some whole-leaf refuge where habitat is a priority.
Do not dig raw, woody stems deeply into a bed just before planting. Buried high-carbon material can decompose slowly and temporarily compete for available nitrogen near the incorporation zone. Use chopped clean material as surface mulch, compost it first, or allow enough lead time before planting.
Use this five-minute triage test
Stand over each spent plant and ask five questions in order:
- Was it healthy? If no or uncertain because of unusual lesions, rot, wilt, or pest evidence, remove and isolate it.
- Will it reproduce where I do not want it? If yes, remove fruit and seed heads before they shed.
- Does its structure provide a benefit? Upright seed heads, hollow stems, soil-holding roots, and loose leaves may stay.
- Could it create a site problem? Material that blocks a path, airflow, irrigation, drainage, or fire-safe clearance should move.
- Do I have a safe destination for it? Clean debris can be composted or reused; suspect debris needs an accepted municipal stream or trash route.
This sequence prevents appearance from becoming the only criterion. Brown does not mean dangerous, and green does not mean healthy. A still-green vine with bacterial wilt may be a greater risk than a fully dry grass clump.
Use a “when in doubt, contain it” rule for unusual disease, invasive weeds, or regulated pests. Photograph symptoms, bag a sample if a local extension office requests one, and avoid moving soil or debris around the property until you know what you are handling.
How to remove dead plants without spreading problems
Work when foliage is dry so material is less likely to stick to tools and clothing. Place a bag, tarp, or container next to the plant, then cut brittle or infected tops into manageable sections over that surface. Lift debris rather than dragging it through adjacent plants.
Remove fallen leaves, fruit, and obvious stem fragments from the immediate area. You do not need to excavate every speck of organic matter, but the concentrated debris associated with the affected plant is the priority. If roots look diseased, lift the root ball with minimal soil movement and avoid shaking it over the bed.
Brush or wash soil and plant fragments from tools before applying any disinfectant, because dirt can shield organisms and reduce contact. Follow the disinfectant label for dilution, contact time, rinsing, and metal safety; never improvise mixtures. Clean stakes, cages, ties, and reusable pots associated with a confirmed problem before storage.
Finish by recording the crop, bed, symptoms, and date. A simple phone photo and map are enough. Next spring, that record helps you rotate plant families, watch the right area early, and distinguish a recurring pattern from a one-off weather injury.
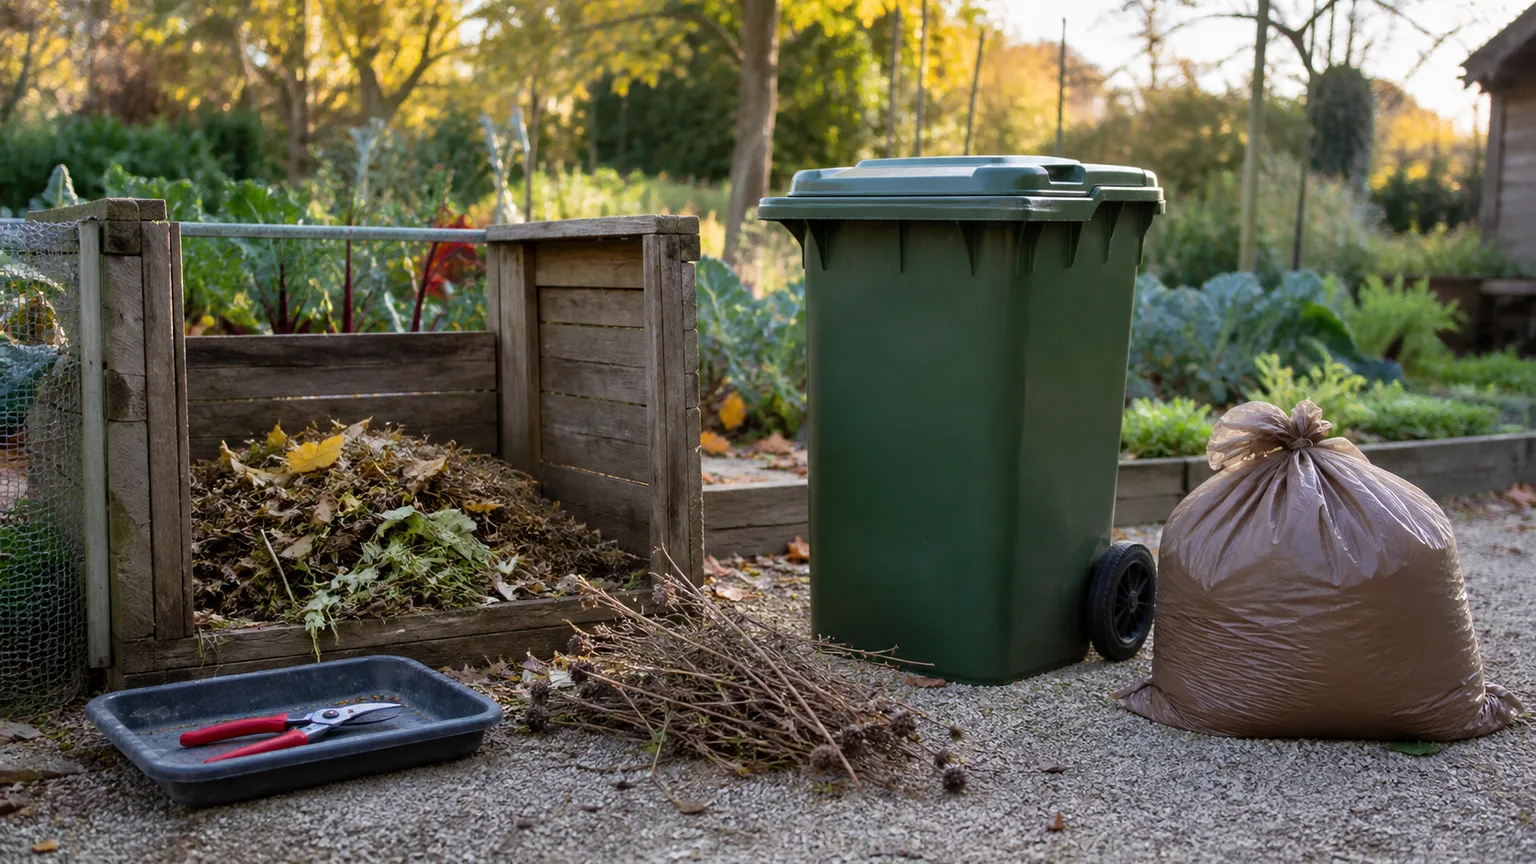
Compost, municipal collection, trash, or on-site reuse?
The right destination depends on the debris and the process available to you.
| Material | Best destination | Why |
|---|---|---|
| Healthy, seed-free soft growth | Home compost | It breaks down readily and returns nutrients and organic matter. |
| Healthy dry stems and leaves | Compost, surface mulch, or habitat pile | These carbon-rich materials balance fresh compost inputs or protect soil. |
| Visible disease or heavy infestation | Accepted municipal green-waste program or trash | Home piles may not expose every piece to sanitizing heat. Check local rules. |
| Mature weed seeds or plants that root from fragments | Municipal program or trash | Casual composting may spread seeds or viable pieces. |
| Fallen fruit without disease | Managed compost, buried according to local guidance, or municipal collection | Prompt removal discourages pests and unwanted seedlings. |
| Invasive or regulated plant material | Route specified by local authorities | Disposal rules differ by species and location. |
Penn State Extension’s home composting guide advises excluding plant material with visible disease or insect infestation from a home pile. It notes that a properly sized pile can reach roughly 140–160°F, but temperature alone is not a casual guarantee: the pile also needs the right size, moisture, aeration, mixing, and time, and cooler outer material must reach the active center.
Municipal composting may use larger, monitored systems that accept material a backyard pile should not. Acceptance varies, so check your local program before filling a bin. Do not burn diseased debris unless local law and fire authorities explicitly permit it; burning creates smoke and fire risks and is prohibited in many places.
For clean material, chop-and-drop mulch is the shortest recycling loop. Cut soft stems into small pieces and spread them thinly on the same bed, keeping them away from crowns and seedling rows. Thick, wet piles turn slimy and can shelter slugs or rodents, so use a loose layer and combine juicy green material with dry leaves or stems.
Why crop rotation still matters after cleanup
Removing infected tops does not reset the soil. Some pathogens, nematodes, and insects persist below ground or survive on alternate hosts. Rotation deprives host-specific problems of a suitable crop, while sanitation reduces infected material above ground; the methods support each other but are not interchangeable.
Rotate by family and keep beds physically distinct where possible. Moving soil on a tiller, shovel, wheelbarrow, or footwear can move pathogens and nematodes between beds, a limitation Clemson Extension specifically highlights. Clean visible soil from equipment before moving from a problem bed to a clean one.
Rotation also has limits. Windborne spores, insects arriving from outside the garden, and diseases with hundreds of host species may ignore a neat schedule. Pair rotation with resistant cultivars, healthy transplants, appropriate spacing and watering, weed control, and early scouting.
If you have only one raised bed, use containers for one plant family, grow a non-host cover crop, or skip a highly affected crop for several years. A small garden cannot always achieve a textbook four-year sequence, but even partial separation plus good records is better than unknowingly planting the same host in the same soil.
The best timing for fall and spring cleanup
Remove active disease, infested fruit, and collapsing crops when you notice them; sanitation does not need to wait for frost. Clear healthy annual vegetables after their final harvest if you need the bed for a fall crop, compost application, mulch, or a cover crop. In frost climates, the first killing frost creates a convenient checkpoint, not a universal deadline.
In mild-winter regions, use plant condition rather than frost. Once an annual stops producing and begins declining, decide whether it has habitat value or is simply occupying productive space. Wet climates may favor earlier thinning where dense debris traps moisture, while dry, fire-prone regions may require stricter removal near structures under local guidance.
Delay ornamental cleanup where healthy stems and leaves are serving wildlife. In spring, work gradually rather than choosing one weekend to flatten the garden. Cut back sections as new growth emerges and conditions become consistently mild, while leaving some stems and leaf litter in sheltered areas longer.
Timing also depends on your next task. Sow cover crops soon enough to establish before growth slows, mulch exposed soil before erosive winter weather, and finish diseased-bed cleanup before installing clean supports or transplants. The sequence matters more than achieving a magazine-perfect yard on a specific date.
Common cleanup mistakes that create more work
The biggest mistake is using one rule everywhere. Clearing every stem sacrifices food and shelter; leaving every stem preserves avoidable problems. Divide the garden into production beds, ornamental borders, habitat zones, paths, and defensible space, then set a different cleanup standard for each.
Another mistake is spreading contamination while trying to remove it. Do not run a mower over diseased foliage, shred an unknown infestation, drag vines across beds, or move dirty stakes straight into storage. Contain first, clean tools and reusable structures, then move to healthy areas.
Do not confuse dead plants with cover crops. A deliberately sown cover crop is selected and managed to protect soil, compete with weeds, and add biomass; random dead crop residue may be diseased, seedy, or too patchy to cover the bed. If you want living winter cover, choose a species and termination plan suited to your climate and planting schedule.
Avoid leaving soil bare after a thorough cleanup. Replace removed biomass with clean leaf mulch, finished compost, straw, or a suitable cover crop. The aim is to remove the biological risk while retaining soil protection.
Finally, do not assume a hot compost pile has sanitized everything because one reading was high. Weed seeds and pathogens survive when outer material never reaches the hot center or the pile cools too quickly. Unless you actively monitor and turn the pile, use a conservative disposal route for suspect material.
A practical bed-by-bed cleanup plan
Begin with diseased and pest-affected areas while you are fresh and attentive, but use dedicated tools or clean them before entering healthy beds. Photograph the problem, contain debris, collect fallen fruit and leaves, inspect roots when relevant, and label the bag if local disposal requires separation.
Next, clear finished vegetable beds. Remove unwanted seed and old produce, leave clean roots where they will not interfere, and route healthy tops to compost. Record the crop family, then cover the soil with mulch, compost, or a planned cover crop.
Move to ornamental borders last. Cut only diseased, collapsed, hazardous, or poorly placed growth. Leave clean seed heads and sturdy stems in clusters, move loose leaves into beds without burying crowns, and create a discreet habitat pile from clean woody material if space allows.
Finish with infrastructure. Clean and dry supports, empty irrigation lines where freezing is a concern, store reusable materials off the soil, and clear drains and paths. Then review the garden map and choose next year’s rotations while the season’s pest and disease history is still easy to remember.
Conclusion
Dead plants cause bigger problems only when their condition or placement gives disease, pests, unwanted seed, moisture, or fire a useful foothold. The best garden cleanup is therefore selective: remove confirmed risks promptly, compost only clean material through a process you understand, and keep healthy habitat where it does real work.
Walk each bed with the same five questions—health, seed, habitat, site risk, and destination. You will remove less material blindly, catch genuine problems earlier, and enter the next season with protected soil, better records, and a garden that still has life in it through winter.



