Autumn Joy Sedum: Plant Care & Growing Guide
Autumn Joy sedum care made practical: choose the site, prevent floppy stems, water new plants, divide clumps, root cuttings, and protect bloom quality.
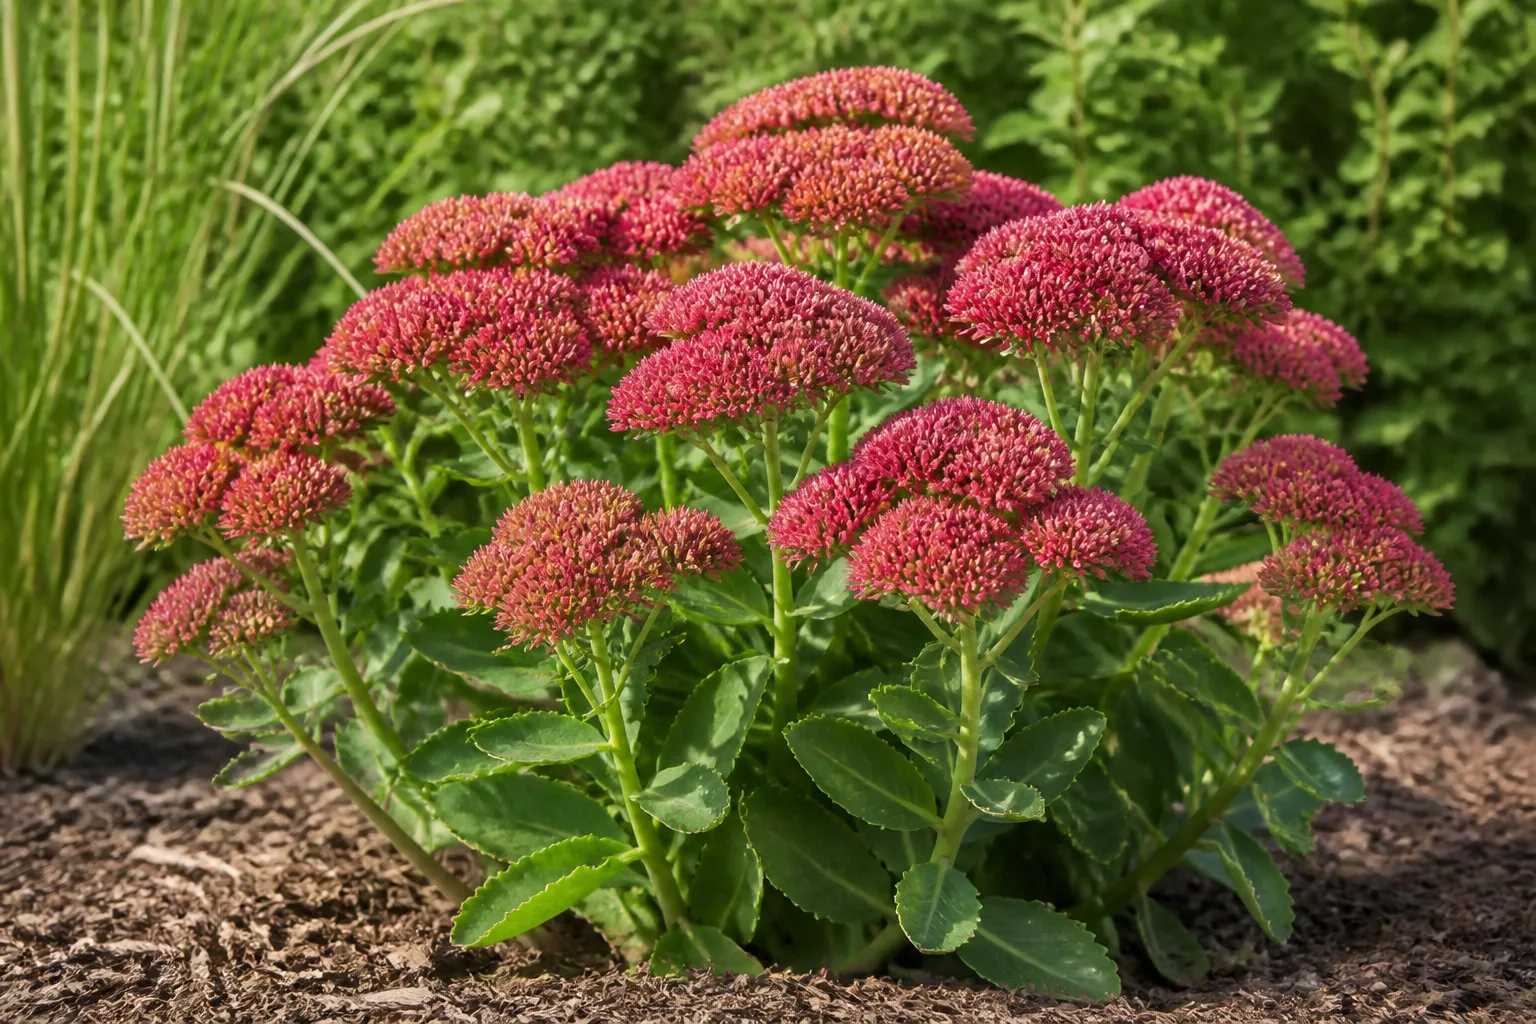
Autumn Joy sedum is at its best when you give it full sun, sharp drainage, and a light hand with water and fertilizer. The clump stores water in its fleshy leaves, so it can handle dry spells once established; it does not forgive a site that stays wet or a rich bed that produces soft, top-heavy stems.
The plant’s other great advantage is seasonal timing. It starts with compact basal growth, sends up upright stems, and then carries flat clusters of flowers from pink buds through deep rose and coppery-rust tones in late summer and fall. Set up the roots correctly and most of the “care” becomes knowing when to leave the plant alone.
What Autumn Joy sedum is—and why the name can confuse
Autumn Joy is the familiar garden name for the upright stonecrop sold today as Hylotelephium (Herbstfreude Group) ‘Herbstfreude’. Plant tags may still call it Sedum ‘Autumn Joy’, Sedum spectabile ‘Autumn Joy’, or Sedum telephium ‘Herbstfreude’. These are not four different plants to care for; they are older and newer names surrounding the same widely grown cultivar. The Royal Horticultural Society profile lists those synonyms, while the Cambridge University Botanic Garden records the cultivar’s history and its place in the autumn garden.
It is a clump-forming, herbaceous perennial in the Crassulaceae family, not a creeping groundcover. Missouri Botanical Garden lists a typical mature size of about 1.5 to 2 feet tall and wide, with gray-green succulent-like leaves and flower heads roughly 3 to 6 inches across. The Missouri Botanical Garden plant profile also places it in Zones 3–9, although your local winter exposure, drainage, and container conditions still matter more than a zone number by itself.
The upright habit explains why this sedum works so well in a mixed border, gravel garden, rock garden, or container. It also explains why the plant can lean when light, soil, water, or crowding pushes the stems to grow faster than their support can handle.
Quick care checklist
Use this table as a diagnostic baseline before changing several variables at once.
| Care factor | Best starting point | What tells you to adjust |
|---|---|---|
| Light | Six or more hours of direct sun | Sparse stems or few flowers suggest insufficient light |
| Soil | Well-drained, average-to-lean soil; sandy or gravelly is fine | Soil still wet several days after rain is a root-risk signal |
| Water | Deep water while newly planted; established plants only during prolonged dry spells | Wrinkled leaves during active growth mean the root zone is truly dry |
| Fertilizer | Usually none; avoid high-nitrogen feeding | Soft, lush stems and flopping often follow excess fertility |
| Spacing | About 18–24 inches for a mature clump, adjusted for the cultivar and bed | Crowding traps moisture and reduces airflow |
| Pruning | Optional spring pinch; clean up after frost or leave seedheads | Choose based on height, disease, wildlife, and winter interest |
| Hardiness | Commonly listed for Zones 3–9 | Containers have less root insulation than garden soil |
| Bloom | Late summer into fall; buds progress from greenish-pink to rosy and coppery | Shade, rich soil, or transplant stress can delay or reduce bloom |
NC State Extension describes Hylotelephium as a low-maintenance, drought-tolerant group that prefers full sun and good drainage, and notes that the genus is useful in rock gardens, borders, slopes, containers, and pollinator plantings. The NC State Extension Gardener profile is useful for the broader group, while the Missouri profile above is the better match for Autumn Joy’s mature size and cultivar-specific behavior.
Choose the right planting site

Start with the ground, not the plant’s eventual flower color. Pick a spot that receives at least six hours of direct sun during the growing season and does not collect runoff from a downspout, roof edge, or frequently irrigated lawn. Morning sun plus bright afternoon light can work, but a bed that is shaded for most of the day will usually give you thinner stems and fewer flower heads.
In a very hot climate, some light afternoon shade can reduce heat stress without turning the plant into a shade perennial. That is a narrow compromise: dappled relief is different from a position under a dense tree canopy. If stems stretch toward the brightest gap or the plant produces leaves but almost no flowers, move the light higher on your troubleshooting list.
Drainage is the non-negotiable. Autumn Joy handles clay better than many people assume if water can move through it, but planting the crown into a low, compressed pocket of soil is a common way to create root problems. On heavy ground, plant slightly high, build a low raised mound, or improve the bed’s structure across a broad area rather than filling one hole with a small pocket of loose material that drains differently from the surrounding soil.
Do not make the soil “better” by adding a large dose of compost or fertilizer. Both the RHS and Missouri Botanical Garden recommend moderately fertile or lean, well-drained conditions; the RHS cultivation guidance specifically pairs full sun with well-drained soil and drought resistance. For this plant, poor but breathable is often more useful than rich but wet.
Plant Autumn Joy sedum without burying the crown
Spring is the easiest planting window in cold climates because new roots can establish before winter, but a healthy nursery plant can also be planted in early fall while the soil is still workable. Avoid planting into frozen ground, a heat wave, or soil that is saturated after several days of rain. The goal is to give the root ball time to settle without forcing it to cope with two stresses at once.
Dig a hole about as deep as the root ball and wider than it. Slide the plant out, loosen only circling roots, and set the top of the root ball level with the surrounding soil or just slightly above it. Never pile soil or mulch over the basal crown where the stems emerge; that traps moisture against the tissue you most need to keep dry.
Backfill with the soil you removed unless it is severely compacted or contaminated. Firm it gently so there are no large air pockets, then water thoroughly once to settle the roots. Leave a small clear ring around the crown instead of creating a wet mulch volcano, and label the cultivar if you are growing several sedums with different mature heights.
Space plants according to the mature width, not the size of the nursery pot. A gap of roughly 18 to 24 inches usually gives an Autumn Joy clump room to fill without immediately pressing leaves and stems into its neighbors. If you want a solid mass, stagger several plants rather than planting them shoulder to shoulder; airflow still matters after the spaces disappear.
Water by establishment stage, not a calendar
For the first growing season, check the soil near the root ball every few days during hot or windy weather. Water deeply when the upper few inches have dried, then allow the soil to drain before watering again. Newly planted sedum needs more help than an established clump because its roots have not yet explored the surrounding bed; “drought tolerant” describes the settled plant, not a rootless transplant.
After the roots spread, stop treating rainless weeks as an automatic watering command. Push a finger or a narrow trowel into the soil several inches away from the crown, and water when the root zone is genuinely dry during a prolonged hot spell. A deep soak is more useful than repeated sips at the surface, but do not soak a bed that is already cool and damp.
Missouri Botanical Garden classifies Autumn Joy’s water needs as dry to medium and warns that rotting can occur in wet or poorly drained conditions. That is why a fixed “every two weeks” schedule can be too much in clay, too little in a sandy container, or unnecessary after a rainy week. Match the interval to soil texture, rainfall, temperature, wind, and the plant’s stage of establishment.
Water at the soil line when possible. Wetting the foliage is not automatically harmful, but repeated evening irrigation that leaves dense growth damp can make spotting and mildew more likely. A container needs special attention because a pot can dry rapidly in sun yet remain waterlogged if the drainage hole is blocked or the mix is too fine.
Fertilizer: lean soil beats lush feeding
Autumn Joy is not a houseplant that needs regular liquid fertilizer to keep producing leaves. In ordinary garden soil, skip routine feeding. The plant’s strongest display usually comes from enough light, a dry-down between waterings, and roots that are not sitting in a heavily amended pocket.
If a soil test shows a real nutrient deficiency or the plant is growing in an unusually depleted container, use a modest, balanced feed in spring according to the product label. Do not keep adding fertilizer because the plant looks small in May; early growth is naturally compact, and excess nitrogen can create tall, soft stems that collapse when the flower heads swell.
Do not diagnose pale leaves as hunger before checking light and roots. Shade, waterlogged soil, root damage, and normal seasonal senescence can all change leaf color, while feeding a stressed root system can add salt or more lush growth without fixing the cause.
Prune for a sturdier clump
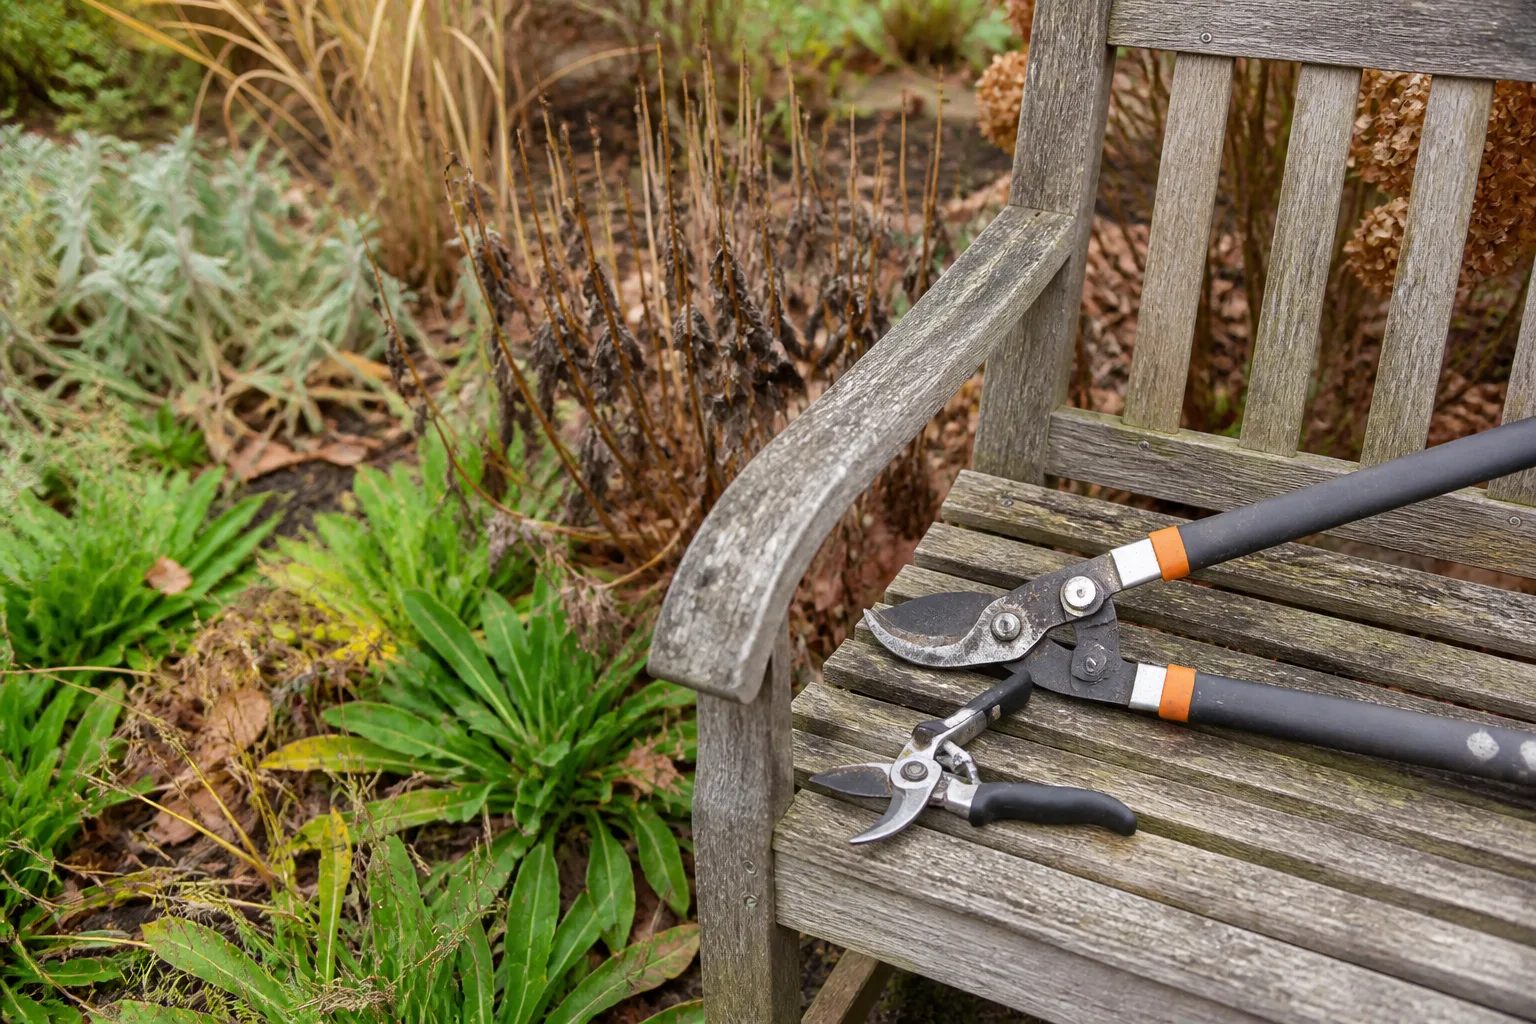
Pruning is optional for health but useful for shape. Remove broken or diseased material whenever you notice it, disinfecting pruners between plants if you are cutting through suspicious spots. For a clean, compact plant, wait until spring growth is several inches tall so you can see where the new stems are emerging.
Spring pinching and fall cleanup do different jobs
A spring pinch removes the growing tips before flower buds form and encourages branching lower on the stems. This can shorten the plant and spread the flower load across more branches, but it may delay bloom slightly. Pinch only healthy, actively growing stems; do not pinch a plant that is still recovering from transplanting, drought, or winter damage.
If the clump is already too tall, cut stems back selectively in late spring rather than shearing everything at ground level. Leaving some stems taller creates a more natural form and lets you compare whether light and soil changes are correcting the problem. Missouri Botanical Garden notes that late-spring cutback can control height, while Gardening Know How explains that spring pruning or pinching can encourage bushier, sturdier growth in top-heavy sedums (its guidance on top-heavy sedums).
Fall cleanup is a choice, not a rule. Once the foliage has died back, cut stems near the base if the bed needs a tidy winter appearance or if diseased tissue needs to leave the garden. Otherwise, leave the dried flower heads standing: the structure adds winter texture, and NC State Extension notes that upright sedum flowers persist and attract butterflies while dried seed stalks remain decorative through winter.
When you do cut back, choose a dry day, use sharp tools, and remove visibly diseased debris rather than composting it casually. Do not confuse a healthy copper-brown seedhead with active rot; color, texture, spreading spots, and the condition of the lower stems tell you more than “brown” alone.
How to propagate Autumn Joy sedum
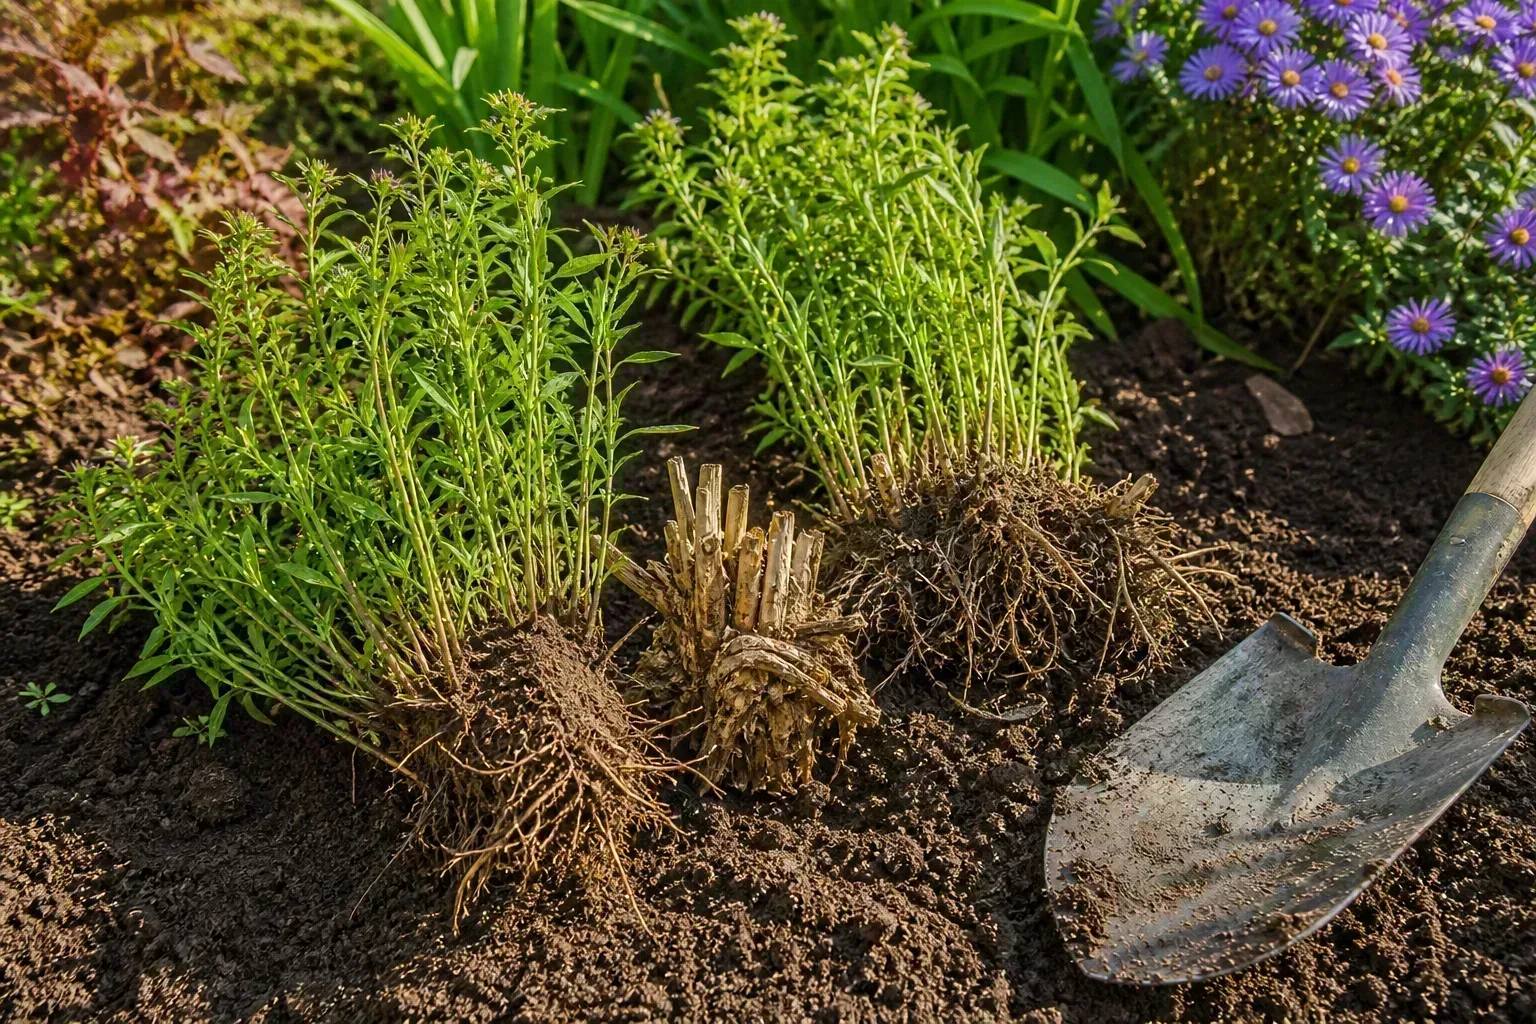
Propagation is easiest when you work with a vigorous plant that is well watered but not saturated. You can make new plants by division, stem cuttings, or—less predictably—leaf pieces. Division is the fastest way to turn one crowded clump into several established sections; cuttings let you multiply a plant without lifting the whole root mass.
Divide an established plant
Divide in spring as new shoots appear, or during dormancy when you can see the clump’s structure and the weather is mild. Gardening Know How recommends dividing sedums every three to four years when the plant is crowded or has begun to lose vigor, while the RHS propagation guidance lists spring division as a suitable method.
Water the plant a day or two before dividing if the soil is dry. Cut old stems down enough to work safely, dig around the clump, and lift the root mass with a spade. Shake off loose soil, then separate it into sections with healthy roots and several shoots or buds. Use a clean knife if the crown is too tight to pull apart; do not make tiny pieces with no roots simply to increase the count.
Replant each section at the same depth, with the crown exposed and the soil firm around the roots. Water once to settle the bed, keep the soil lightly and evenly moist while new growth resumes, and then reduce watering as the divisions establish. Gardening Know How’s sedum-division guide notes that new divisions often recover quickly, but the first priority is root contact and drainage—not constant wetness.
Root stem cuttings
Take a 2- to 4-inch piece from a healthy, non-flowering stem in late spring or early summer. Use clean pruners, make the lower cut just below a leaf node, remove leaves from the bottom portion, and let the cut end dry briefly if it is very juicy. The A Cook And Her Books propagation method uses short stem sections with leaves and places them in soil, a simple approach that suits a pass-along plant.
Insert the cutting into a small pot of gritty, well-drained mix so at least one node is below the surface. Keep it in bright light without baking it in harsh afternoon sun, and water sparingly enough that the medium never stays soggy. A cutting has no established root system to use excess water, so a damp, airless pot can rot the very stem you are trying to root.
After a few weeks, test for resistance with a gentle tug rather than unpotting it every few days. New growth is a better sign than a fixed deadline. Once roots have filled the small pot and the cutting holds itself upright, acclimate it to outdoor sun over several days before planting it into the bed.
Leaf propagation can work with sedums, but it is slower and less predictable for a gardener who simply wants more Autumn Joy plants. If you try it, place a healthy detached leaf on barely moist, gritty medium and wait for roots and new growth before disturbing it. Never bury a leaf in wet soil and assume it will produce a plant.
Get more flowers and less flopping
Flopping is usually a growing-condition problem wearing a floral costume. The heavy flower heads make the weakness visible, but the weakness often began earlier with insufficient light, excess water, rich soil, or stems packed too closely together. Gardening Know How identifies rich or soggy soil and low light as common causes of top-heavy sedums; Missouri Botanical Garden likewise recommends full sun, leaner conditions, and spring pinching to reduce the risk.
Use this order of operations:
- Check the light. If the plant receives less than six hours of direct sun, improve the site before staking.
- Check the soil. If it stays wet, solve drainage and reduce irrigation rather than adding more feed.
- Check the crowding. Divide an old, congested clump in spring so stems have room and foliage dries faster.
- Pinch next spring. A modest early-season pinch can build a shorter, branched framework.
- Stake only as a temporary support. A discreet ring or neighboring plants can hold flower heads while you correct the cause, but staking does not cure weak growth.
Autumn Joy may still lean a little after heavy rain; that is not the same as a collapsing, soft-stemmed plant. If stems are firm and the flower heads simply arc outward, accept the relaxed habit or use a low support. If stems are dark, mushy, splitting at the base, or falling with yellowing leaves, move to the troubleshooting section instead of tying the plant upright and walking away.
Diagnose yellow leaves, spots, and collapse
Look at the whole pattern before choosing a treatment. Note whether the damage starts at the crown or the tips, whether spots are dry or water-soaked, whether insects or chewing are visible, and whether nearby plants show the same issue. A single old lower leaf is a different problem from a clump that turns soft after a week of rain.
Brown spots, holes, and powdery foliage
Small holes or scalloped edges point you toward chewing insects, slugs, snails, or occasional browsing rather than a watering deficiency. Inspect the undersides of leaves and the soil surface at dusk. RHS lists slugs, snails, and vine weevil among possible pests, while NC State describes the genus as generally problem-free but vulnerable to root rot in poorly drained soil.
Gray, tan, or brown spots that spread during humid, wet weather can involve fungal or fungal-like problems. A recent Ask Extension response about brown-spotted Autumn Joy sedum flagged powdery mildew or gray mold, insect feeding, and crowding as overlapping possibilities—not a single guaranteed diagnosis. That is a good reason to improve spacing and airflow, remove dead or dying leaves with clean tools, and avoid overhead watering before reaching for a spray.
Powdery white growth on leaves is different from a pale waxy coating that naturally occurs on some sedums. Compare new and old leaves, check whether the coating rubs off, and look for distorted or declining tissue. If disease keeps returning despite dry foliage, better airflow, and removal of affected material, take a clear photo to a local extension service or qualified horticulture professional; random pesticide use can damage pollinators and still miss the cause.
Yellow, soft, or collapsing stems
Yellowing that begins low on the plant, followed by soft stems or a sour-smelling root zone, is a drainage emergency. Stop watering, inspect the bed or container, and unpot only if you need to confirm the roots. Healthy roots are firm; mushy, dark tissue should be trimmed away with a clean tool before the plant is replanted in dry, freely draining medium.
If the soil is dry and the leaves are wrinkled rather than soft, drought stress is more plausible. Water the root zone deeply once, then wait for the soil to dry partially before watering again. Do not compensate for a drought-stressed plant by feeding it heavily or keeping the crown constantly wet.
Weak, pale stems with otherwise firm tissue usually point back to low light or excess fertility. Correct one variable at a time and give the plant time to respond; cutting it back immediately can hide the pattern you need to diagnose. Remove stems that are truly collapsing, and do not propagate from diseased or insect-infested tissue.
Containers, wildlife, and safety
Autumn Joy grows well in a container if the pot has a drainage hole, the mix drains freely, and the container is heavy enough not to tip under a two-foot plant. Choose a pot only modestly larger than the root ball, because a huge volume of damp mix dries slowly around a small root system. Use a gritty container mix rather than garden soil alone, and place the pot where it receives the same strong light the plant would want in a border.
Container roots are more exposed to winter cold and summer heat than roots in the ground. In cold climates, overwinter a pot in a protected, unheated location or move it into the ground before severe winter if practical; do not bring it into a warm, dark room and continue watering as if it were actively growing.
The flower heads are valuable late-season forage for bees and butterflies. NC State Extension calls upright sedum a pollinator plant, and the NCSU overview of versatile sedums notes that ‘Autumn Joy’ flowers attract bees and that dried stalks provide winter structure. Avoid broad insecticide use on open blooms; identify the pest and use the least disruptive option that fits the situation.
Keep children and pets from chewing the plant. NC State lists Hylotelephium as having low-severity poison characteristics, which is more useful as a caution than as a reason for alarm. Do not serve the plant as food, use its sap as a home remedy, or assume that “low severity” means harmless to every person or animal; contact a medical or veterinary professional if a child or pet has eaten plant material and develops symptoms.
Autumn Joy through winter
In the ground, Autumn Joy is normally left outside through winter in its hardiness range. The above-ground stems die back after hard freezes while the crown rests below the soil, then fresh basal growth returns in spring. A winter that looks like failure can therefore be normal dormancy.
Choose your cleanup timing based on the garden’s needs. Leave intact seedheads for winter texture, wildlife value, and a visual marker for where the dormant crown is located. Cut the stems near the ground in late winter or early spring before new shoots make the job awkward. If the plant had a serious disease problem, remove affected debris in fall and clean tools before moving to another clump.
Do not wrap the crown in plastic or keep it wet for “protection.” The most useful winter protection is good drainage, a stable planting depth, and a light layer of loose mulch in climates where freeze-thaw cycles heave shallow roots. Keep mulch off the crown, and remember that a container may need more insulation than a plant growing in the ground.
Conclusion: give it sun, drainage, and room to age
The reliable formula for Autumn Joy sedum care is simple: plant it high enough to drain, give it full sun, water it more during establishment than after it settles, and avoid rich, wet soil. If stems flop, inspect light, moisture, fertility, and crowding in that order before staking. If flowers fade into coppery seedheads, decide whether you want winter structure or a tidy cutback rather than assuming every spent flower must be removed.
Divide crowded clumps in spring, root short stem cuttings in a gritty medium, and treat spots or yellowing as clues rather than diagnoses. With those few decisions right, Autumn Joy returns each year as a sturdy, low-maintenance perennial that earns its place in the late-season border.



