Budget Garden Path Ideas That Look Finished, Not Temporary
Thirteen cheap DIY garden path ideas with real cost tiers, base-prep rules, and material picks for slopes, wet soil, and heavy foot traffic—so you build once.
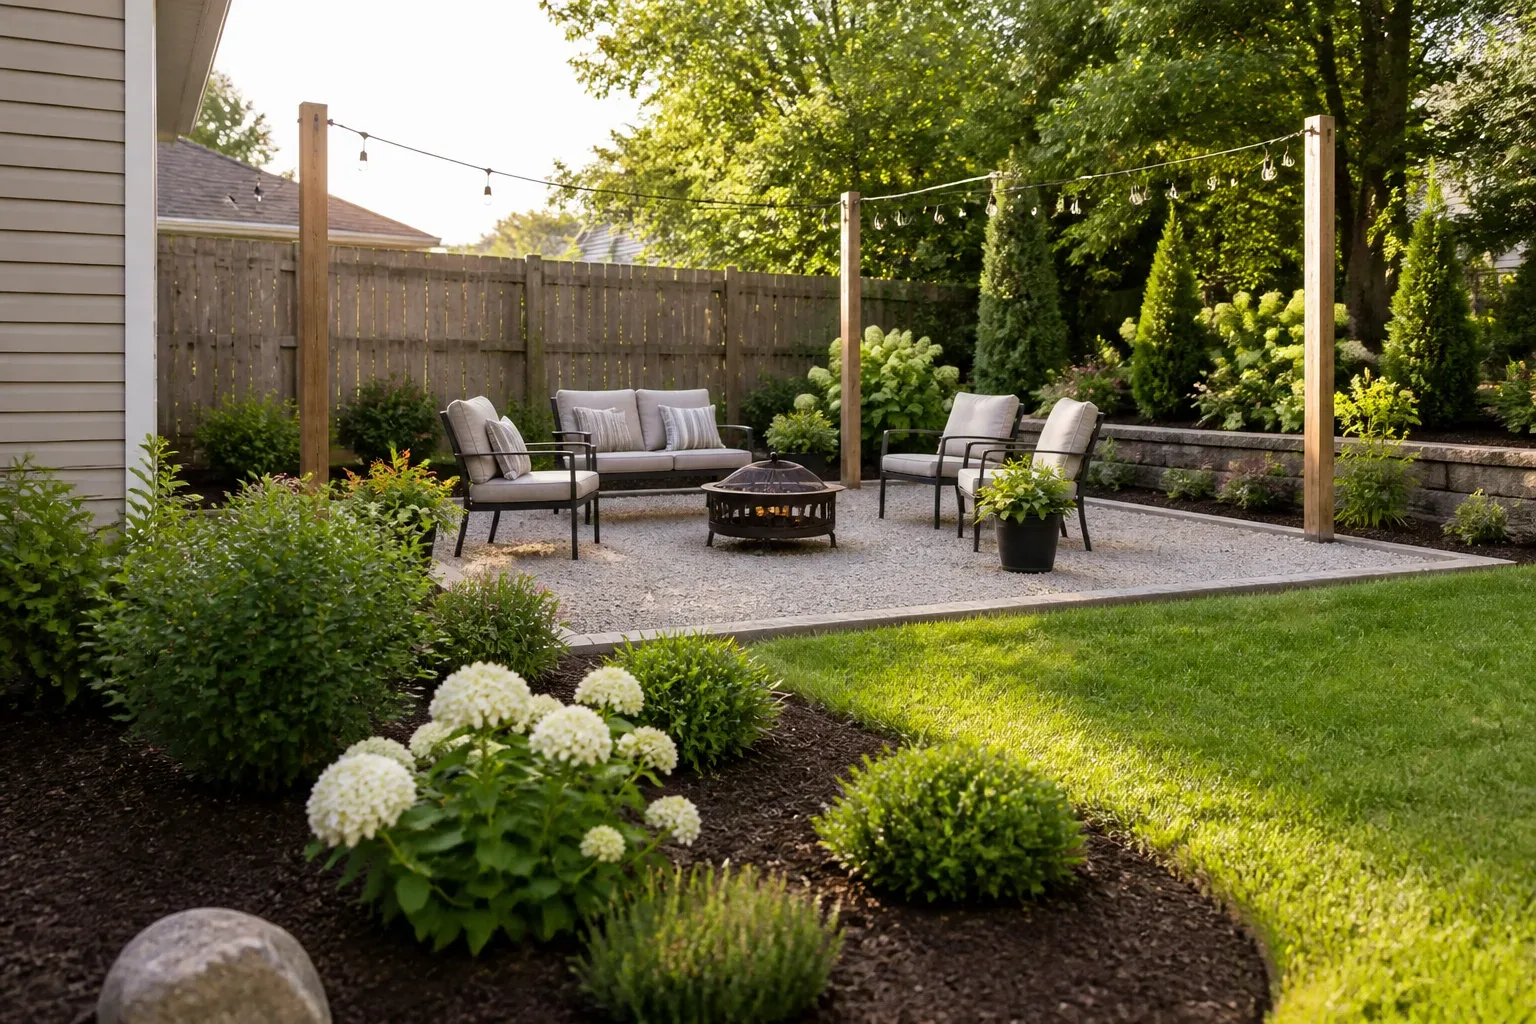
A garden path fails quietly. Gravel wanders into lawn. Stepping stones tilt after one freeze-thaw cycle. Mulch vanishes into mud by October. The fix is not buying prettier stone—it is matching material, base prep, and width to how your yard actually drains and how often you walk the route. The thirteen ideas below are ranked from fastest weekend wins to projects that need a free Saturday and a borrowed tamper, with honest notes on what each costs and where it breaks down.
Plan Your DIY Garden Path Before You Shop
Start with a hose or spray paint outline on the ground. Walk it twice—once alone, once with a wheelbarrow if this path serves vegetable beds. Note where water pools after rain and whether the route crosses a slope. UF/IFAS landscape planning guidance stresses knowing sun, soil, and how people move through the space before you buy a single bag of gravel (UF/IFAS ten planning tips for design). A path that ignores drainage becomes a mossy rut within a year.
Path width, slope, and drainage rules
Secondary garden paths (one person, low traffic) work at 30–36 inches. Main paths where two people walk side by side or you push a wheelbarrow need 42–48 inches—roughly 3 to 4 feet minimum for comfortable tool access (Plant And Pest path width guidance). Stepping-stone accent routes can be 18–24 inches between stone centers because you walk single file.
Keep cross-slope under 5% (about 1 inch drop per 20 inches of run) on loose gravel or mulch. Steeper grades need steps, retained edges, or a surface that packs hard—loose pea gravel will slide downhill after the first heavy rain. If the path sits in a low spot, raise the center slightly or add a French drain before you pave over a puddle.
Call 811 before digging anywhere in the United States. A shallow trench can still nick irrigation or cable lines.
Weekend budget tiers: $50, $200, and $500
| Tier | Typical project | What you get |
|---|---|---|
| ~$50 | 15–20 ft stepping-stone trail | 6–10 precast or field stones, mulch infill, hand tools |
| ~$200 | 30–40 ft pea gravel path, 3 ft wide | Fabric, steel edging, 2–3 tons gravel, tamper rental |
| ~$500 | Flagstone or brick accent path | Stone from landscape supply, base gravel, sand, edging |
Labor is DIY in those numbers. Professional hardscape often runs $8–$20+ per square foot installed for stone and brick—fine if you need ADA-compliant slopes and mortar work, but not required for a charming garden connector.
For broader yard sequencing, see our landscape design for beginners and landscaping on a budget guides.
Base Prep: Fabric, Edging, and When to Add Gravel Underlay
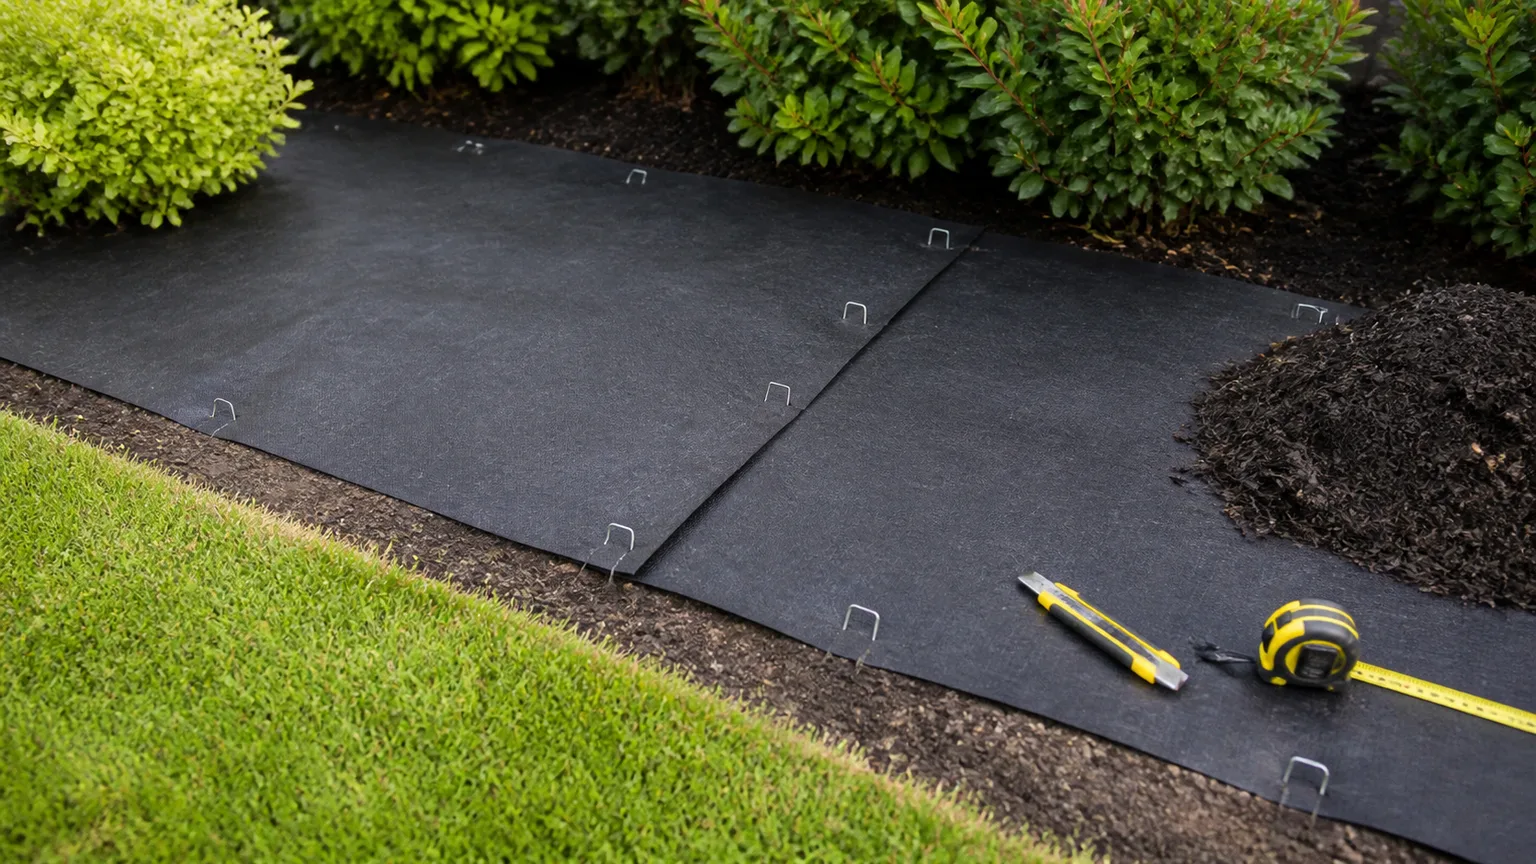
Excavation depth depends on material. Loose gravel and decomposed granite: dig 3–4 inches, add 2–3 inches of compacted stone after fabric. Flagstone with a permanent base: 4–6 inches total depth with crushed gravel and a sand setting bed. Stepping stones on occasional-use routes: 1–2 inches per stone to level—no full base required if stones are thick and traffic is light.
Landscape fabric under gravel or DG blocks weeds and slows sinking into soil. It is not magic—organic mulch on top of fabric still breaks down into soil on the surface. Use woven geotextile, not thin plastic, and overlap seams 6 inches. Our best landscape fabric guide compares types if you are buying by the roll.
Edging is the difference between a path and a gravel spill. Steel landscape edging flexes around curves; brick or stone set on edge looks formal. Without a border, pea gravel migrates into beds within one season—exactly the problem metal-edged paths (Idea 8) solve.
Compaction matters for DG and crushed stone. Hand tamp every 2 inches of lift, or rent a plate compactor for paths longer than 20 feet. Walk on pea gravel after spreading to settle it; top off once.
Idea 1: Stepping Stones with Wood Mulch
Best for: Low-traffic shortcuts through shade beds, cottage gardens, and renters who want reversible hardscape.
Cost / skill: $40–$120 for a 20-foot run; beginner-friendly in an afternoon.
Lay stones on your outline one natural stride apart (18–24 inches). Dig each stone 1–2 inches into soil so the top sits ½ inch above grade for drainage. Fill gaps with 2–3 inches of shredded bark mulch—not whole nuggets, which float and wash away.
Pros: Cheapest finished look; mulch suppresses weeds between stones; easy to reset. Cons: Mulch breaks down and needs refresh every 1–2 years; stones sink in clay without a gravel pad; high foot traffic bare spots the mulch fast. Use thicker flagstone (1.5–2 inches) if you set directly on soil—thin pieces crack under repeated weight.
Idea 2: Pea Gravel Between Raised Beds
Best for: Kitchen gardens, cut-flower rows, and any path that must stay permeable and mud-free.
Cost / skill: $2–$4 per square foot DIY for materials; one weekend for a 30-foot path.
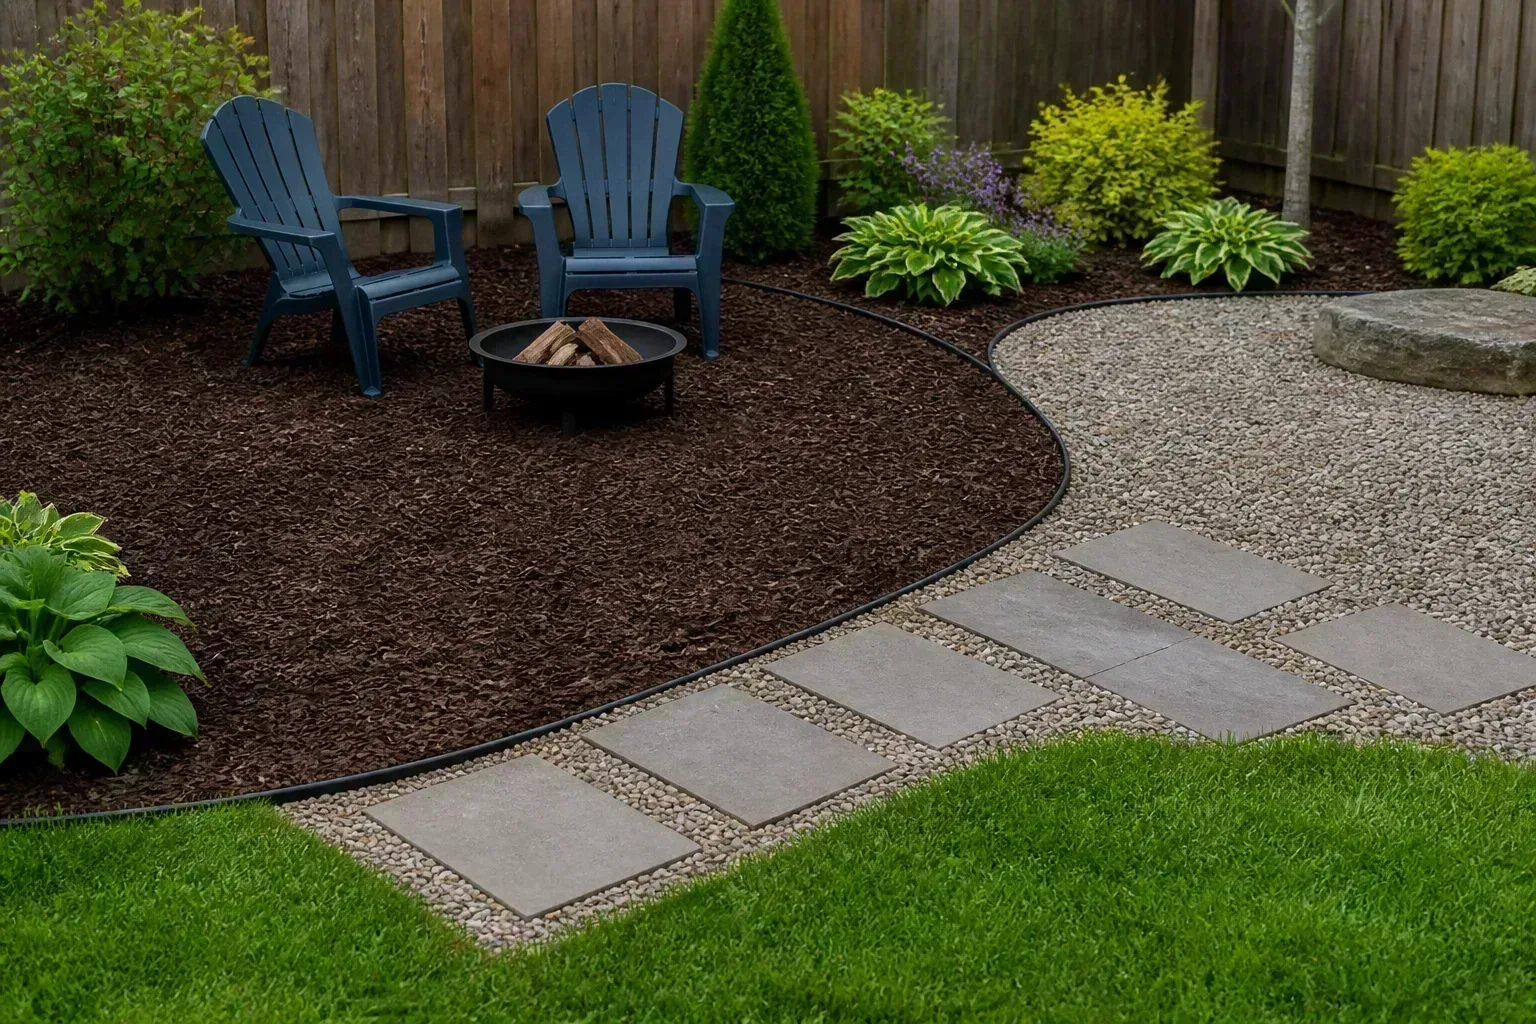
Dig 3–4 inches, install fabric and edging, then spread 2–3 inches of ⅜-inch pea gravel. Pea gravel runs roughly $40–$60 per cubic yard at landscape yards—far cheaper than bagged big-box stone. The rounded shape is comfortable underfoot but rolls more than angular crushed stone.
Pros: Excellent drainage; easy to rake level; pairs visually with raised cedar beds. Cons: Tracks into the house on shoes; weeds in top layer without fabric; poor choice on steep slopes. Connect the look to bed layout ideas in our raised garden bed layouts guide if you are building beds and paths together.
Idea 3: Poured Concrete Slab Steppers
Best for: Modern or minimalist gardens wanting uniform pads without buying retail steppers.
Cost / skill: $3–$6 per square foot in bagged concrete; intermediate—mixing, formwork, and cure time.
Build 12–18 inch square molds from melamine or plywood. Pour 2-inch-thick slabs with rebar mesh or fiber mix for crack resistance. Cure 48–72 hours before walking. Set slabs on a 1-inch sand bed over compacted gravel if the route is daily traffic.
Pros: Custom size and color (integral dye or stain later); extremely durable. Cons: Heavy; irreversible without a sledgehammer; cracked slabs look worse than cracked natural stone. Not ideal on shifting clay without a full base.
Ideas 4–5: Flagstone with DG Joints and Solid DG Paths
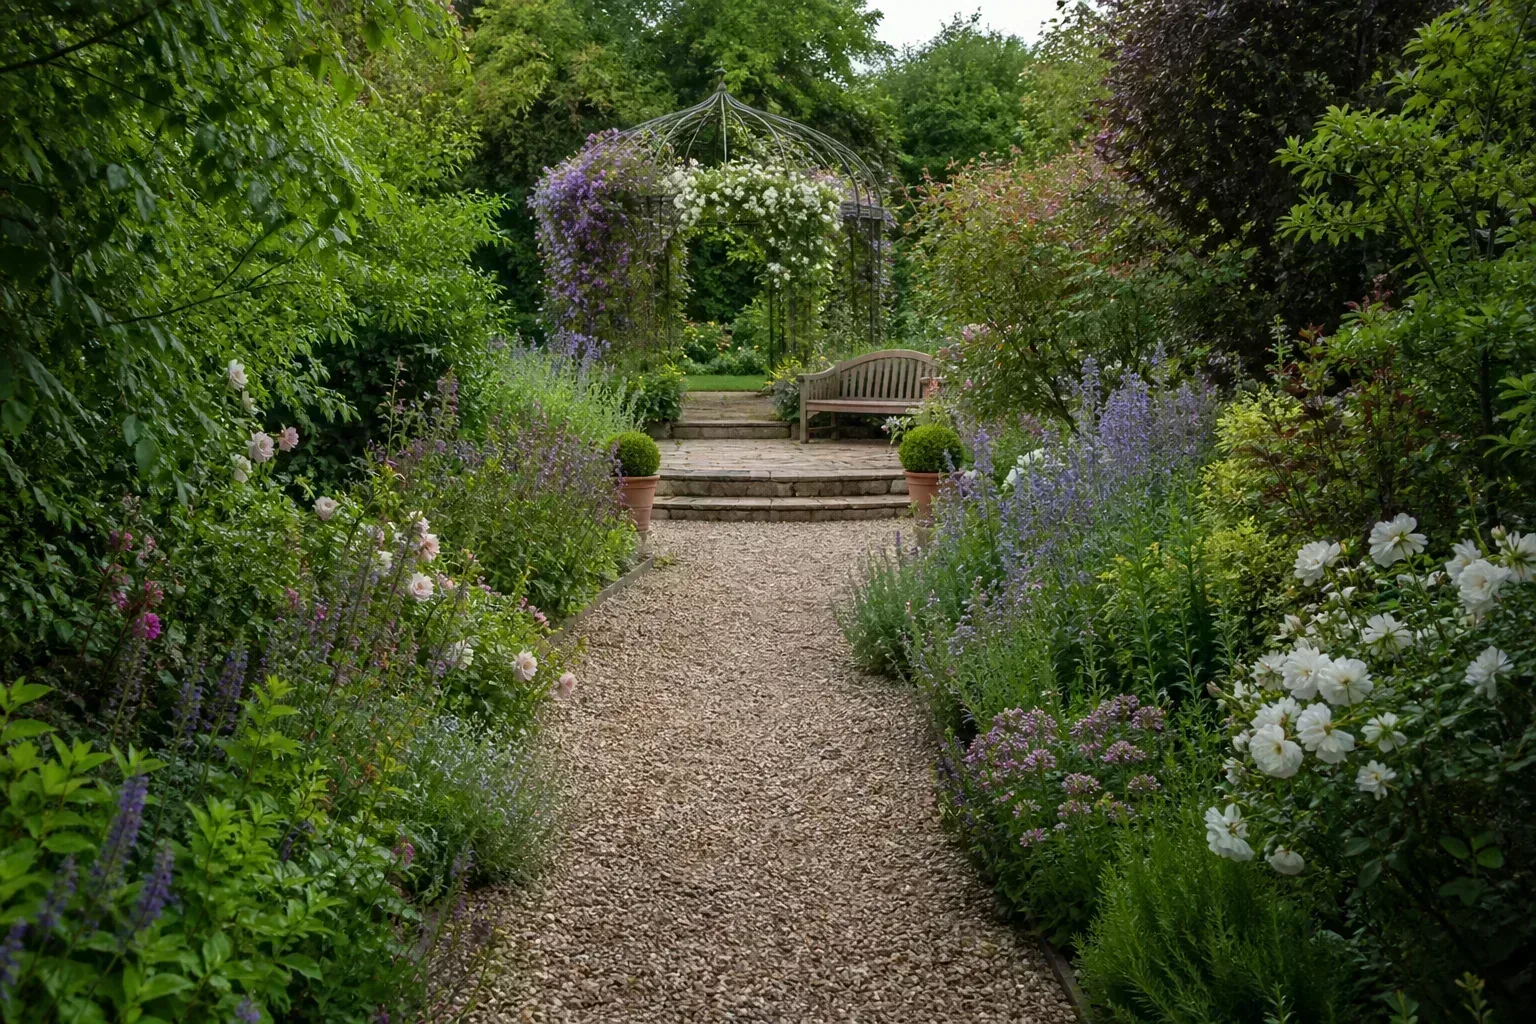
Flagstone with decomposed granite (DG) joints delivers a natural, tight mosaic. Excavate 4–6 inches, compact 2–3 inches crushed gravel, add 1 inch coarse sand, then set irregular flagstone with ½–1 inch gaps. Sweep DG stabilized with a fine mist of water into joints and compact. Natural flagstone costs more than concrete pavers but reads higher-end (Epic Stoneworks flagstone vs pavers). Expect $4–$8 per square foot for stone at a landscape supply yard—not big-box patio kits.
A solid DG path skips the stone: fabric, edging, 3 inches DG, compact in lifts, then roll or tamp until the surface is firm enough that a heel does not sink more than ¼ inch. DG paths feel informal and pack to a tan or gray ribbon through plantings. Refresh the top ½ inch every 2–3 years.
Pros: Flagstone+DG is long-lived and weed-resistant when joints are packed. Solid DG is cheaper than stone and handles gentle curves. Cons: DG creates dust in dry summers; flagstone on skimpy base heaves in frost; both need edging.
Ideas 6–7: Flagstone with Moss; Brick Treads with Gravel
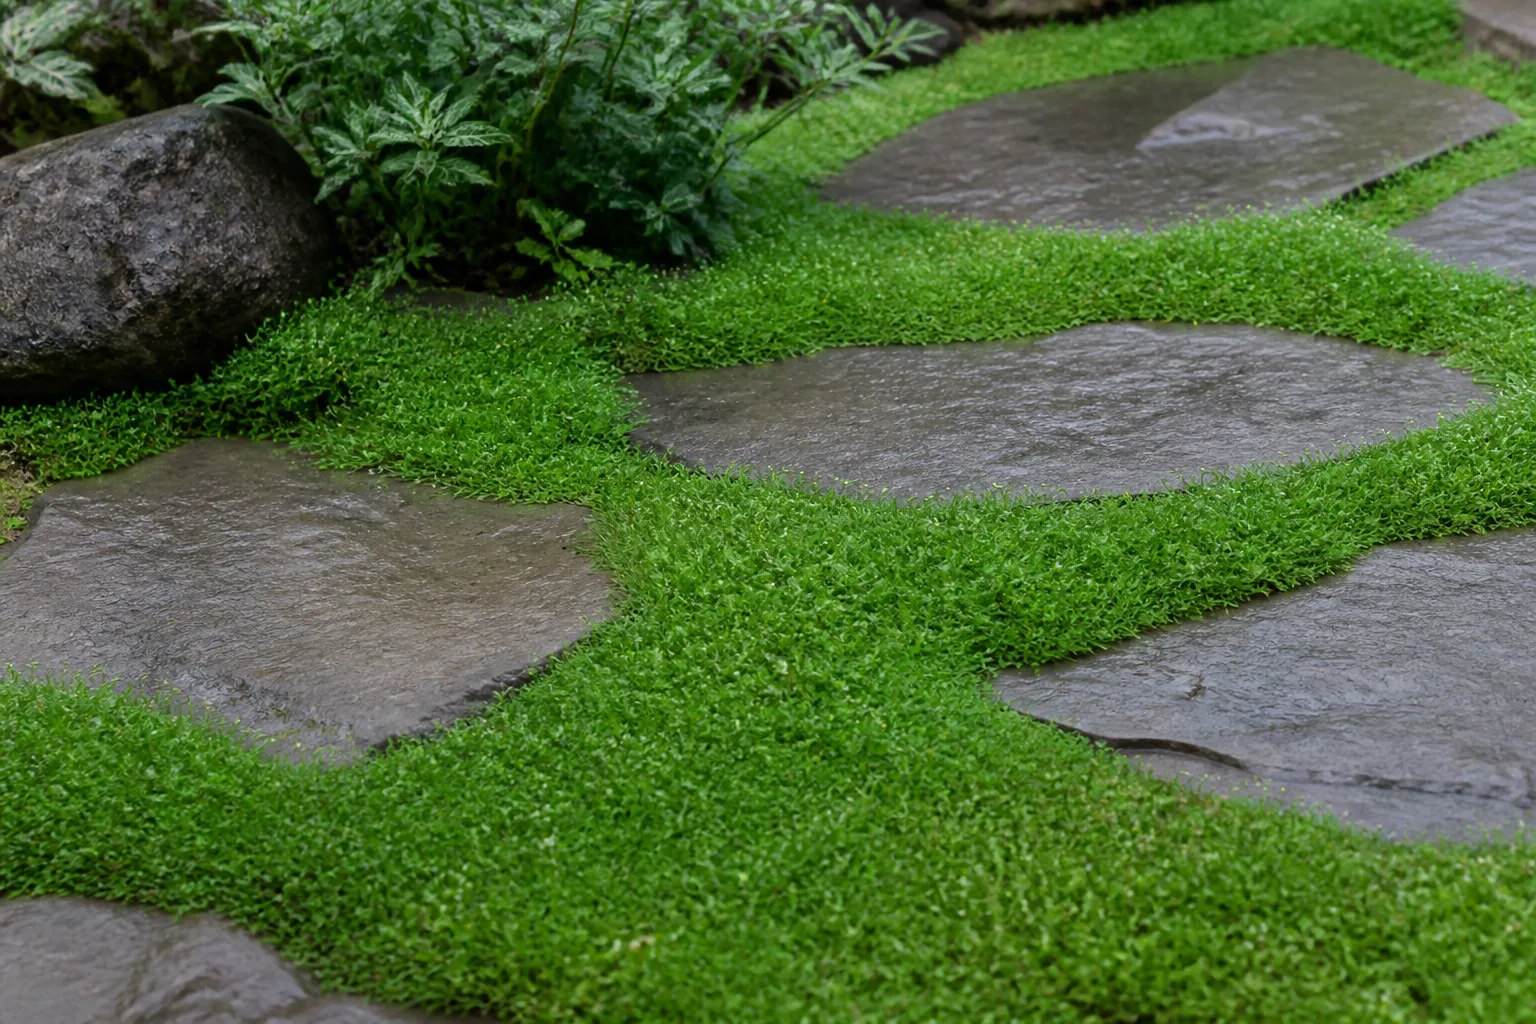
Flagstone with living joints—moss, creeping thyme, or Irish moss—suits shady, moist sites where mortar would look harsh. Leave 2–3 inches of soil between stones, plant plugs, and keep joints watered until established. Avoid salt de-icers in winter; they kill ground covers.
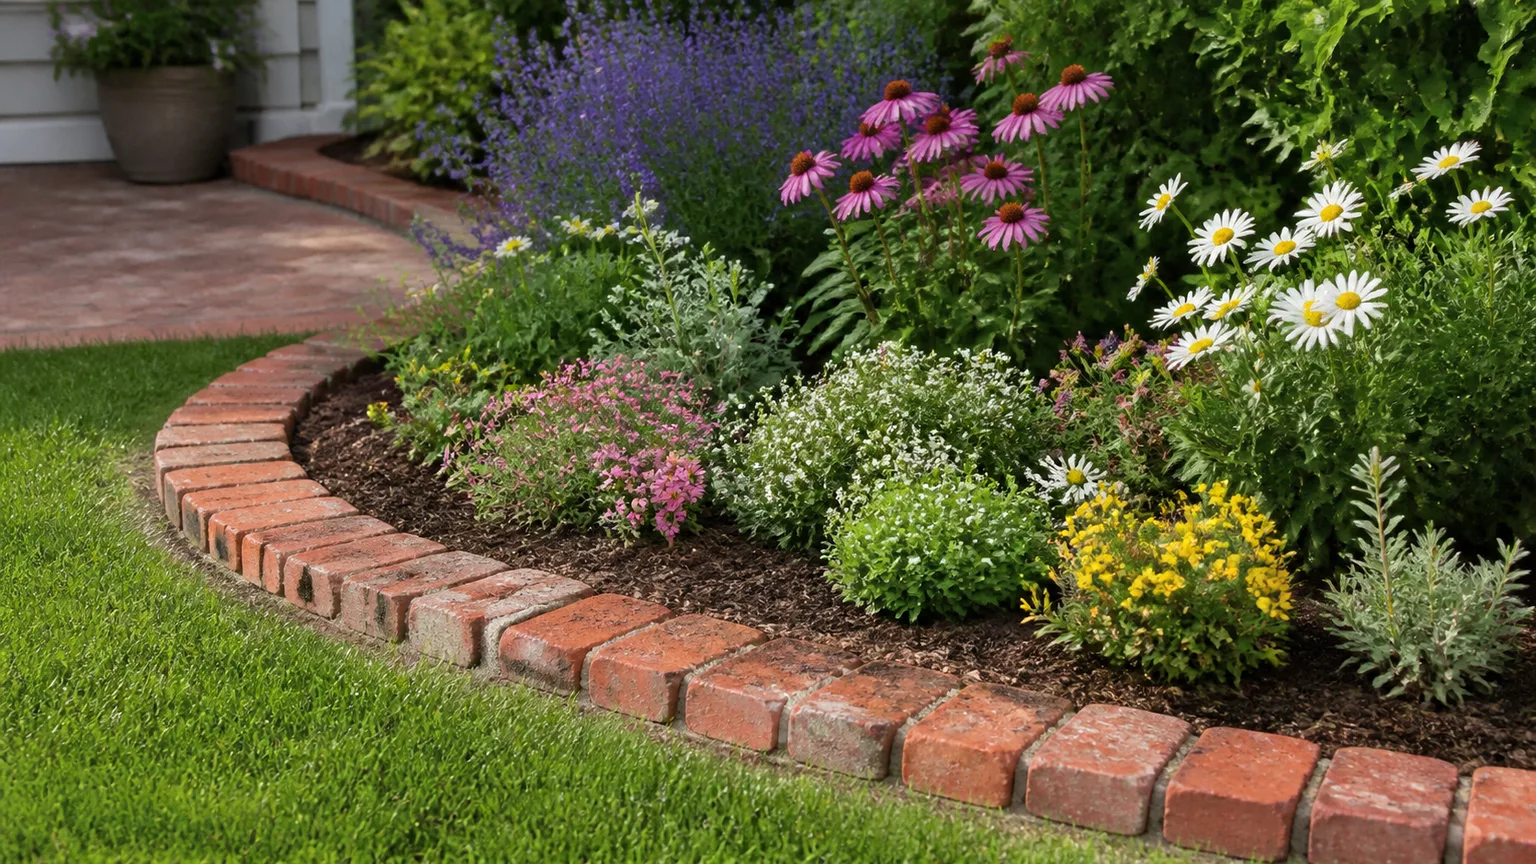
Brick treads on gravel split the labor: hire or DIY brick steps on a slope where level changes matter, then fill landings and runs with pea gravel you can spread yourself. Reclaimed brick cuts material cost; new clay pavers run higher. Budget $600–$800 in brick alone for a formal 40-square-foot patio-scale path—still cheaper than full mortared brick if gravel carries the long straightaways. See brick edging ideas for setting brick on edge as a border that matches the treads.
Ideas 8–9: Metal-Edged Pea Gravel; Flagstone with Grass Joints
Steel or aluminum edging pinned every 4–6 feet creates a crisp channel for pea gravel. This is the professional fix when gravel otherwise invades lawn. Top the edge ½ inch above gravel so wheels and feet feel the boundary.
Flagstone with grass joints works in sunny lawns where you accept mowing between stones. Set stones flush or slightly below mower blade height. Expect to overseed after installation damage. Grass joints need more water than DG or thyme; skip them under dense shade where turf thins anyway.
Ideas 10–11: Brick Mosaic and Classic Crushed Gravel
Brick and paver mosaic—a circular feature with radiating brick spokes—delivers English-cottage charm. Dry-lay on sand for DIY; mortar for permanence. Mix salvaged brick with concrete pavers to cut cost. This is the slowest project on the list: layout time dominates.
Classic crushed gravel (angular ¾-inch minus, not pea gravel) locks together better underfoot and reads more formal. Same base as Idea 2 but choose angular stone in gray or tan. It is louder under wheelbarrows but stays put on modest slopes better than round pea gravel.
Ideas 12–13: Gravel with Pavers and DG Steps on a Slope
Gravel with scattered pavers stretches expensive pavers: lay a 3-foot-wide gravel path and set 12–16 inch concrete pavers only where you stand most—gate, faucet, compost bin. You get visual rhythm without paving the whole run.
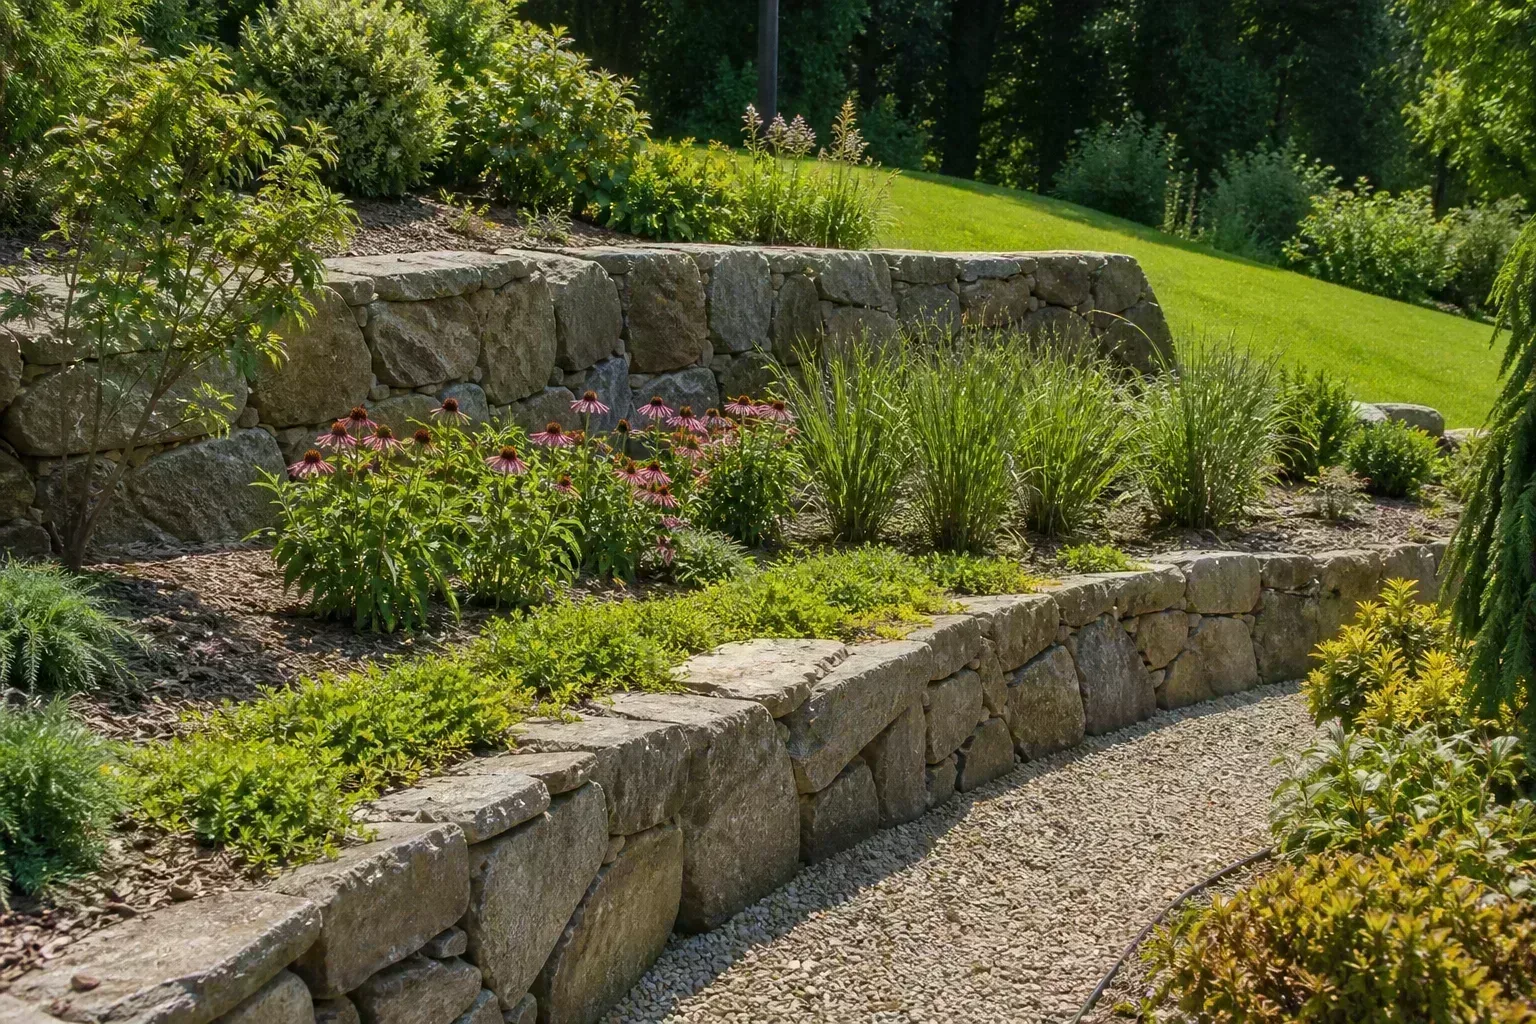
DG steps on a slope replace sliding gravel. Cut 6–8 inch risers into the hill, retain with timber or metal edging, fill treads with compacted DG, and add a non-slip rough broom finish if you pour concrete nosings. Wood edging rots in wet climates—use galvanized steel or stone. This is the right answer when the path must climb more than 8–10% grade.
Compare Materials: Cost, Durability, and Maintenance
| Material | Installed DIY cost (materials) | Durability | Maintenance |
|---|---|---|---|
| Mulch + stepping stones | $ | Low–medium | Refresh mulch yearly |
| Pea gravel | $–$$ | Medium | Rake; top off every 2–3 yr |
| Crushed angular gravel | $–$$ | Medium–high | Occasional top-dress |
| Decomposed granite | $$ | Medium–high | Recompact; refresh surface |
| Flagstone | $$–$$$ | High | Reset heaved pieces; refill joints |
| Brick / pavers | $$$ | Very high | Re-sand joints; reset heaves |
| Concrete DIY slabs | $$ | High | Patch cracks |
Traffic rule of thumb: Daily main routes deserve base gravel and edging. Occasional stepping-stone trails can sit on leveled soil if stones are thick.
Climate rule: In freeze-thaw zones, floating stone on dirt heaves unless you excavate below frost line or accept yearly leveling. In arid climates, DG paths need occasional misting during install and may dust without stabilizer.
Pair path work with bed upgrades from budget front yard landscaping ideas if the walkway is part of a larger curb-appeal refresh.
Conclusion
The cheapest garden path is not always the fastest: stepping stones and mulch win on upfront cost, while pea gravel with steel edging wins on mud-free utility between beds. Flagstone, brick, and DG cost more because stone and labor compound—but a 40-foot gravel path with proper fabric and edging still finishes many yards under $200 in materials. Lay out width and slope first, dig once, edge before you pour, and pick the idea that matches your traffic—not the one that looked best in a photo. Build the base your heaviest use case needs, and the pretty part will still be level next spring.



