How to Lay Out a Raised Garden Bed for Maximum Growth
Lay out raised garden beds for higher yields—width, depth, path spacing, sun maps, trellis placement, and sample 4×8 planting plans from extension research.
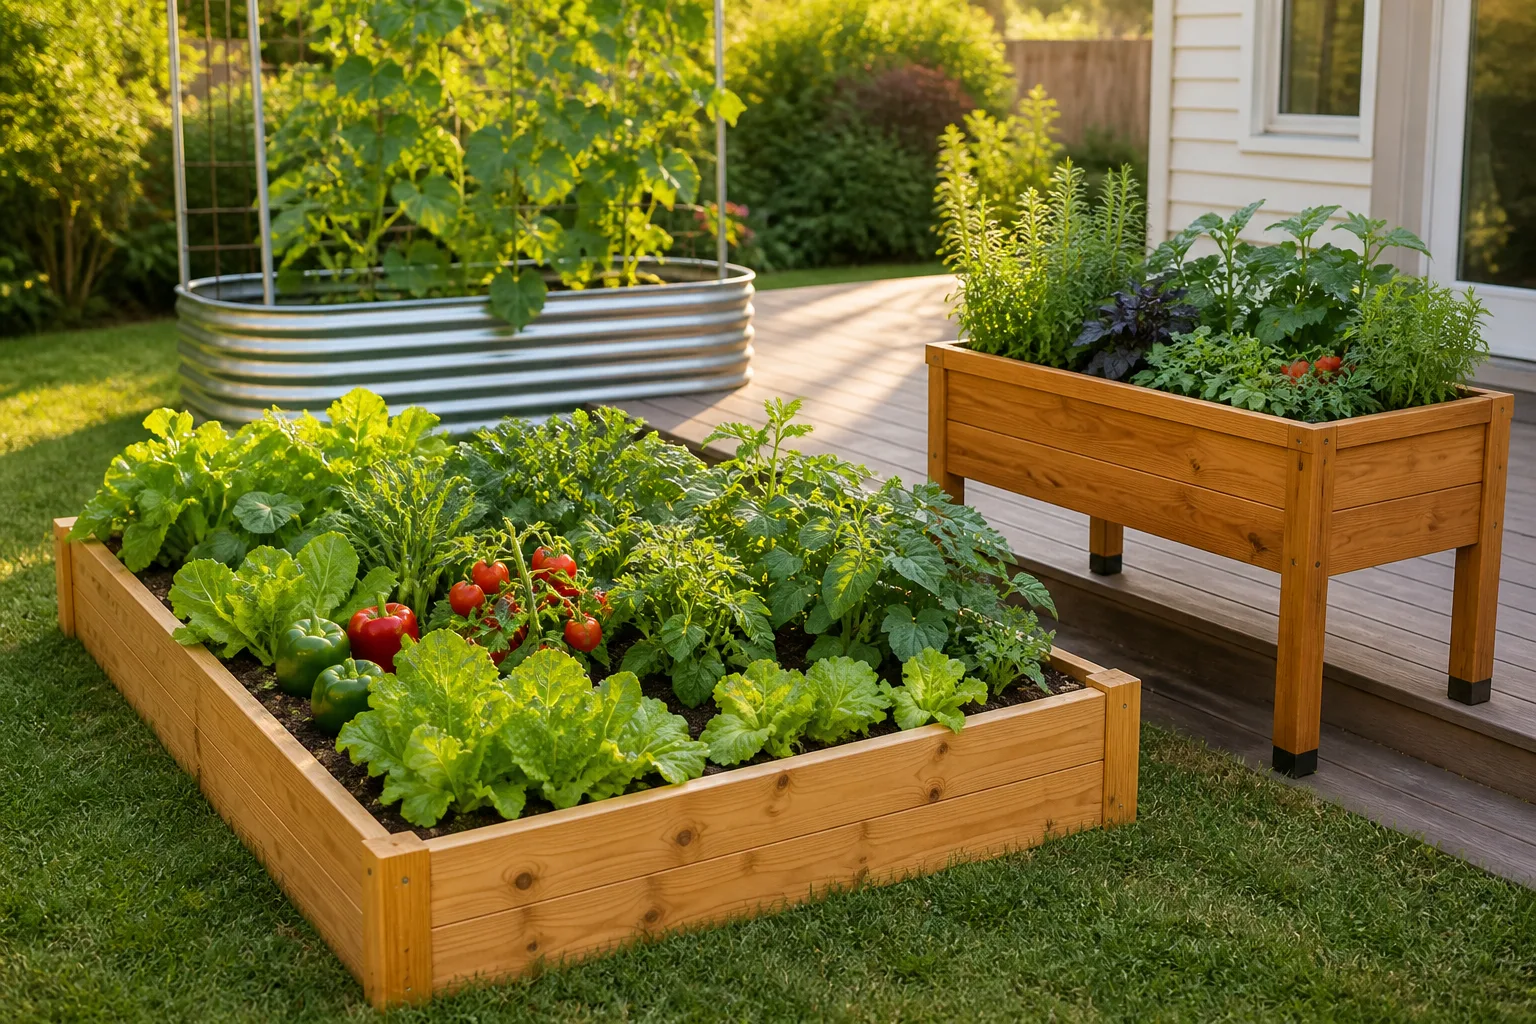
You can build the prettiest cedar box on the block and still harvest less than the neighbor with scrap lumber—if their raised garden bed layout puts tall crops where they belong, paths wide enough to walk in August, and every square foot within arm’s reach. Layout is not a finishing detail. It is the decision that controls sun, spacing, rotation, and whether you ever step on soil and undo the drainage you paid for.
This guide walks through bed dimensions, walkway spacing, bed-type choices, sun mapping, planting zones inside the box, and two sample 4×8-foot plans you can copy or adapt. For how deep to build the frame and how much fill to order, see our raised garden bed depth guide. For whole-garden rotation and row orientation across a yard, pair this page with how to plan a vegetable garden layout.
Why Layout Decides Your Harvest Before the First Seed
Raised beds win on drainage, warmer spring soil, and the chance to import quality mix instead of fighting native clay. Those advantages only show up when you can reach the center without stepping in, keep paths passable when tomatoes leaf out, and place trellises where they help—not where they shade half the bed by July.
The RHS notes that raised beds make crop rotation and season-extension covers easier because each box is a discrete unit. That is true only if you planned enough beds—and enough space between them—to rotate families without rebuilding. Measure once on graph paper; moving filled beds later is a weekend you do not get back.
Dimension Rules That Keep Every Inch Reachable
Bed size is a ergonomics problem disguised as a carpentry project. Width controls reach. Length controls irrigation runs and rotation blocks. Depth controls which crops are even on the menu.
Width: Two-Sided vs One-Sided Access
Rule: If you can walk around all four sides, keep beds 3 to 4 feet wide (90–120 cm). That is the distance most adults can reach to the center from either edge without kneeling on soil. The RHS recommends widths under 1.5 m (about 5 feet) for the same reason—anything wider and the middle becomes a weed museum.
Beds against a fence, wall, or deck rail are one-sided access. Cap width at 2 to 2.5 feet. Wider single-sided beds look efficient on paper; in practice the back row gets neglected, under-watered, and skipped at harvest.
Length: When Several Shorter Beds Beat One Long Run
Length is flexible. Common builds are 4×4, 4×8, and 4×12 feet because lumber and drip lines come in standard cuts. You can run a single bed 20 feet or longer, but long monoliths make rotation clumsy and turn one irrigation leak into a long walk.
Better default: multiple 8-foot beds with paths between them. Separate units simplify crop rotation—tomatoes in Bed A this year, legumes in Bed B—and let you close or cover one bed without draping plastic over an entire row. If space is tight, two 4×8 beds often outproduce one 4×16 bed because you can actually maintain both sides all season.
Depth: Usable Soil vs Frame Height
Do not confuse frame height with root zone. Shallow-rooted greens can manage 6 inches of quality mix if the bed sits on improved native soil roots can explore below. Most mixed vegetable beds want 12 to 18 inches of usable soil inside the frame; deep carrots, indeterminate tomatoes, and beds on concrete or pavers need the full depth inside the box—nothing below counts.
The RHS suggests 30 cm (1 ft) minimum for salads and strawberries, and 45 cm (18 in) or more for fruit bushes and deeper crops. Our raised garden bed depth guide breaks down fill math by crop and surface type so you are not guessing at soil volume after the frame is built.
Path Spacing Between Beds
Path width is the most underestimated line on the plan. Advice to tuck beds 6 to 12 inches apart works only for static herbs—not for tomatoes that swallow walkways by August.
Minimum Widths for Harvest Season
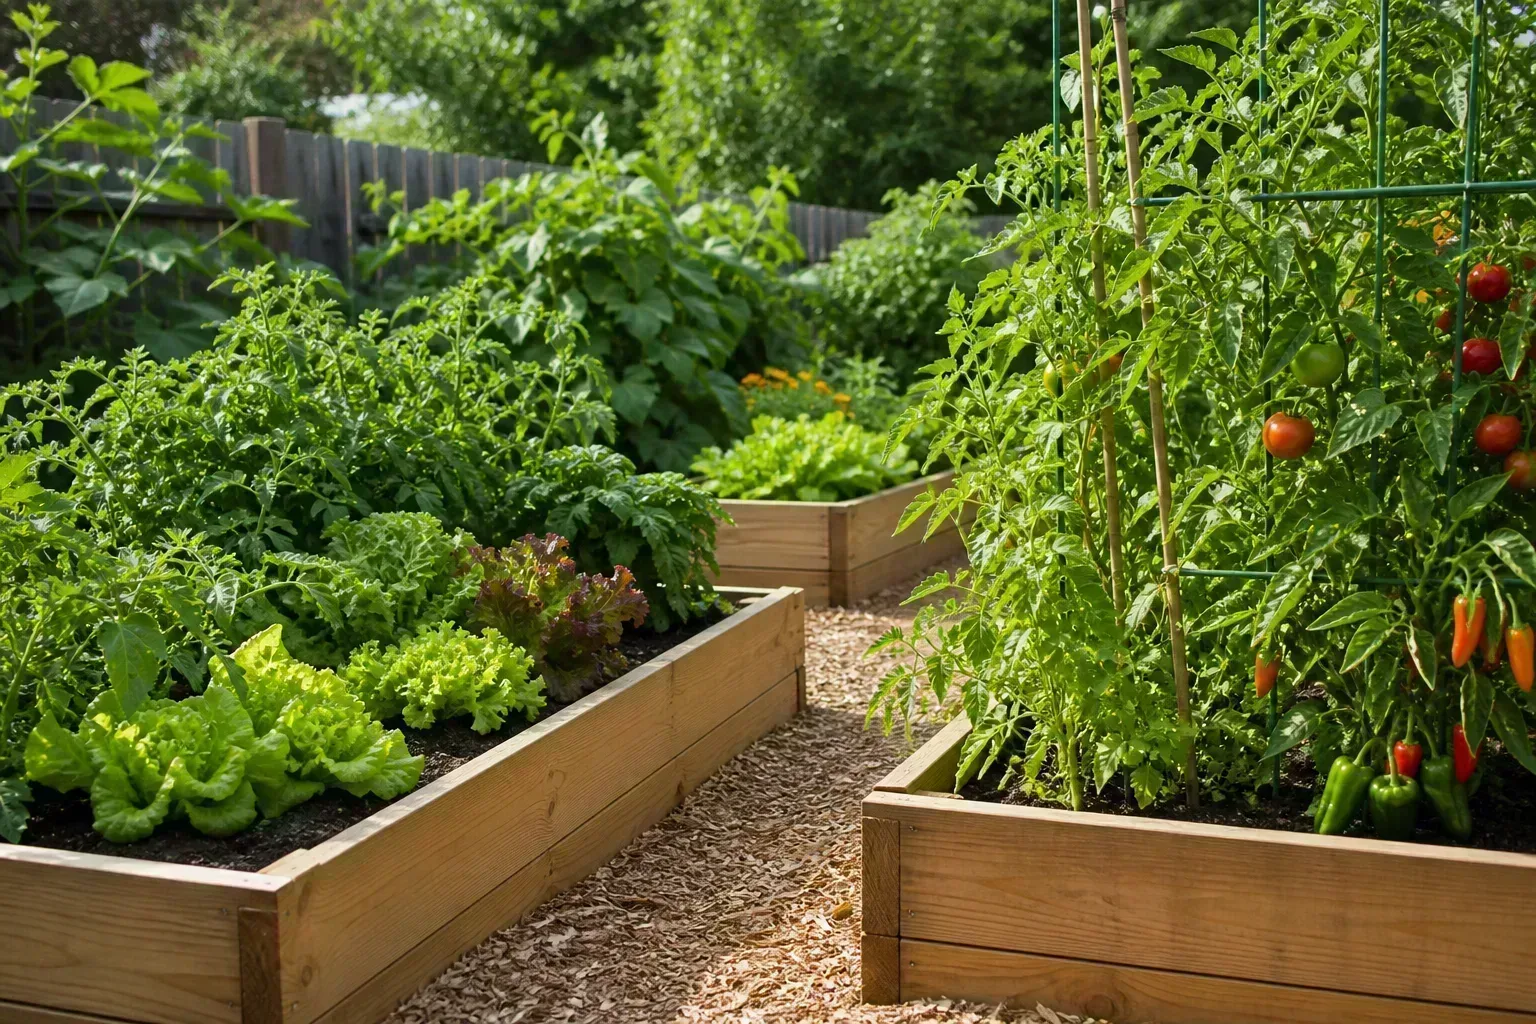
18 inches (45 cm) is a bare minimum between low beds if you accept brushing past foliage. 24 to 36 inches is more realistic for daily harvest, knee pads, and a bucket beside your feet. For comfortable two-way traffic and plants spilling slightly over the rim, plan 3 to 4 feet between beds—wide enough for a wheelbarrow and the hose loop you forgot you needed.
Hobby Farms contributor J. Keeler Johnson describes planting tomatoes in adjacent beds separated by roughly 18 inches; by peak season the path had vanished and two beds had merged into one green wall. That is not a planting problem—it is a layout problem chosen in winter when stems were pencil-thin.
Planning for Wheelbarrows and Mowers
If you will haul compost by cart or keep paths trimmed with a walk-behind mower, carve at least one 3-foot utility lane through the garden. You do not need every aisle that wide—just one route from gate to the farthest bed without lifting bags over frames.
When beds must sit close together, build from the back forward: place the rear bed, fill it, then install the next bed outward so you are never wheeling over empty frames to reach the back row. Future-you will not volunteer for that job.
Choose a Bed Format That Matches Your Site
Layout starts with container type. The right format depends on mobility, depth needs, and whether the bed is permanent.
Portable and Small-Scale Beds
Grow bags, fabric planters, and deep window boxes suit balconies, rented yards, and crops that move with the sun. Keep each unit small enough to water daily in heat—large bags dry from the top while the base stays soggy. Radishes, lettuce, bush basil, and patio tomatoes fit here.
Use portable beds to test sun before committing to timber. Track which corner gets six hours in June; that beat guessing from a catalog photo.
Stock Tanks and Prefab Metal Kits
Galvanized stock tanks and bolt-together metal kits give 18 to 24 inches of depth without stacking lumber—excellent for carrots and bush varieties on patios. Drill drainage holes along the lowest point of the bottom; standing water rots roots faster than thin metal heats soil.
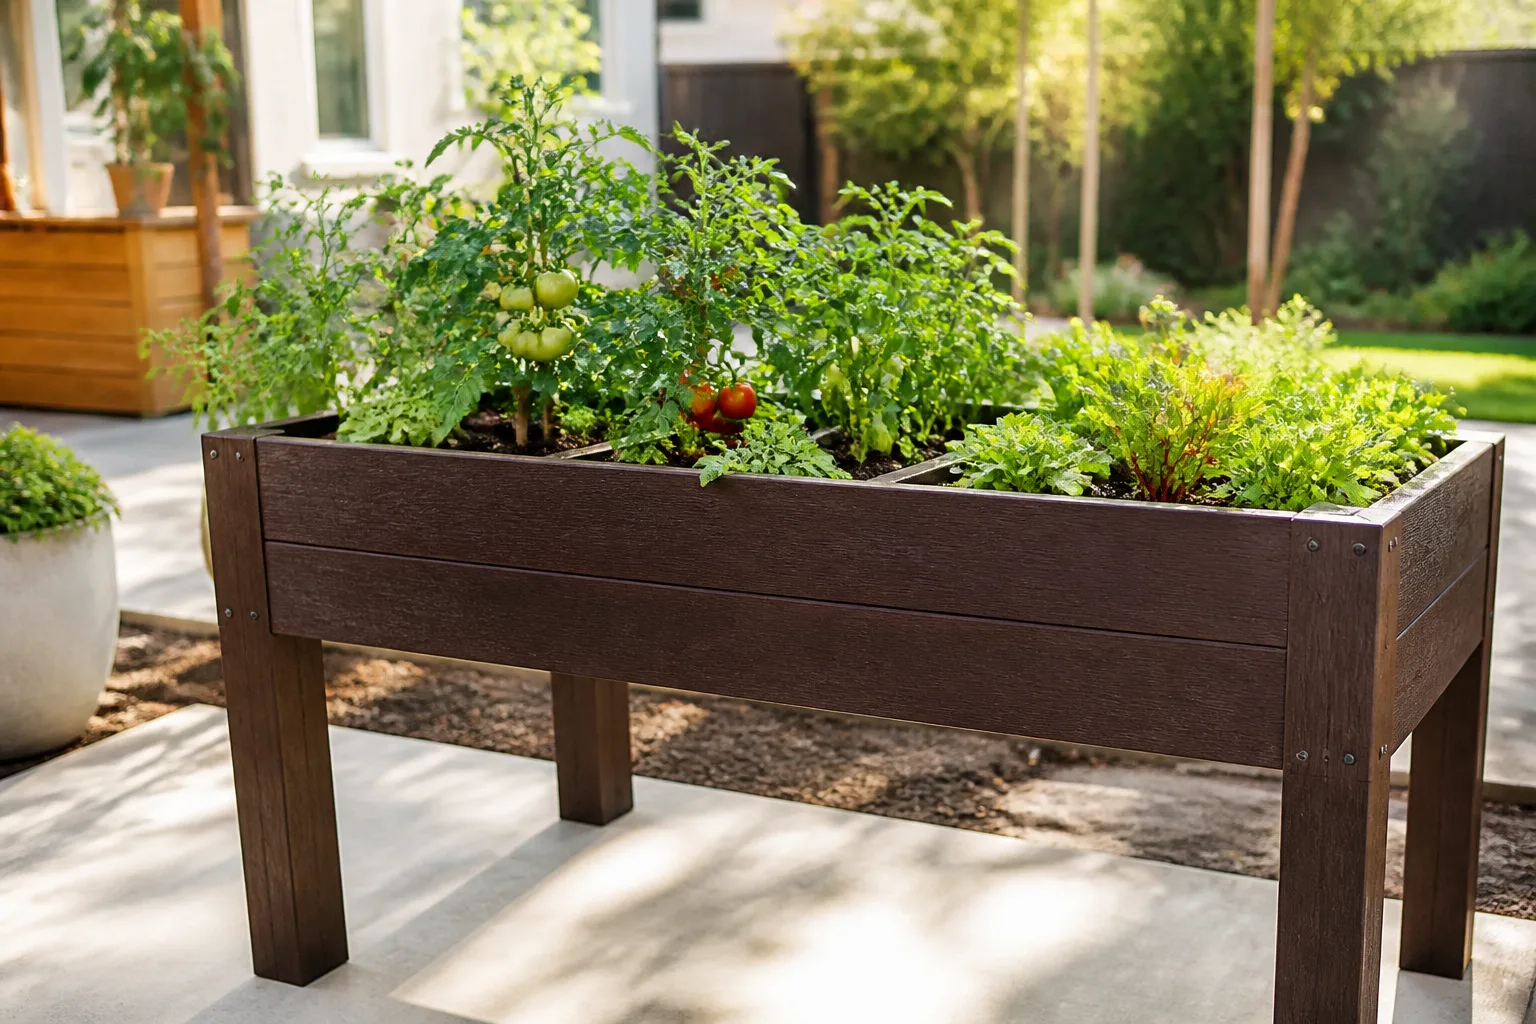
Leave 2 to 3 feet around tanks on at least one long side for hose access and harvest. On pavers, treat the full root depth as inside the tank only—see our depth guide for hardscape rules.
Custom Timber Frames for Large Gardens
DIY timber frames offer the most flexibility for odd yards and multi-bed grids. Rectangular boxes use soil efficiently; L-shaped beds fit corners but complicate drip layout.
Rot-resistant cedar or redwood lasts longest untreated. Pressure-treated softwood is cheaper; the RHS advises lining the interior with plastic or landscape fabric so preservatives do not leach into edible soil. Never use old railway sleepers treated with creosote in food gardens.
For budget framing ideas and fill shortcuts that do not steal root space, see inexpensive raised garden bed ideas.
Map Sun and Drainage Before You Set Frames
Vegetables and sun-loving flowers want six to eight hours of direct sun daily. Fruiting crops—tomatoes, peppers, cucumbers—sit at the top of that range; leafy greens tolerate less but still need honest light, not just bright shade.
On a clear day near planting season, note whether direct sun hits your chosen spot at 9 a.m., noon, and 4 p.m. Add the hours. Morning sun is gentler; all-day west-facing reflected heat can stress cool-season crops. Avoid placing beds under tree driplines where roots and future shade compete.
Drainage matters as much as beams. If water pools after rain, raise bed height or choose a higher spot. Call 811 (or your local utility locate service) before digging posts or deep anchoring in new beds. Slope and wind exposure belong on the same sketch—trellises need anchor points when summer storms arrive.
Orient Beds and Crops for Even Light
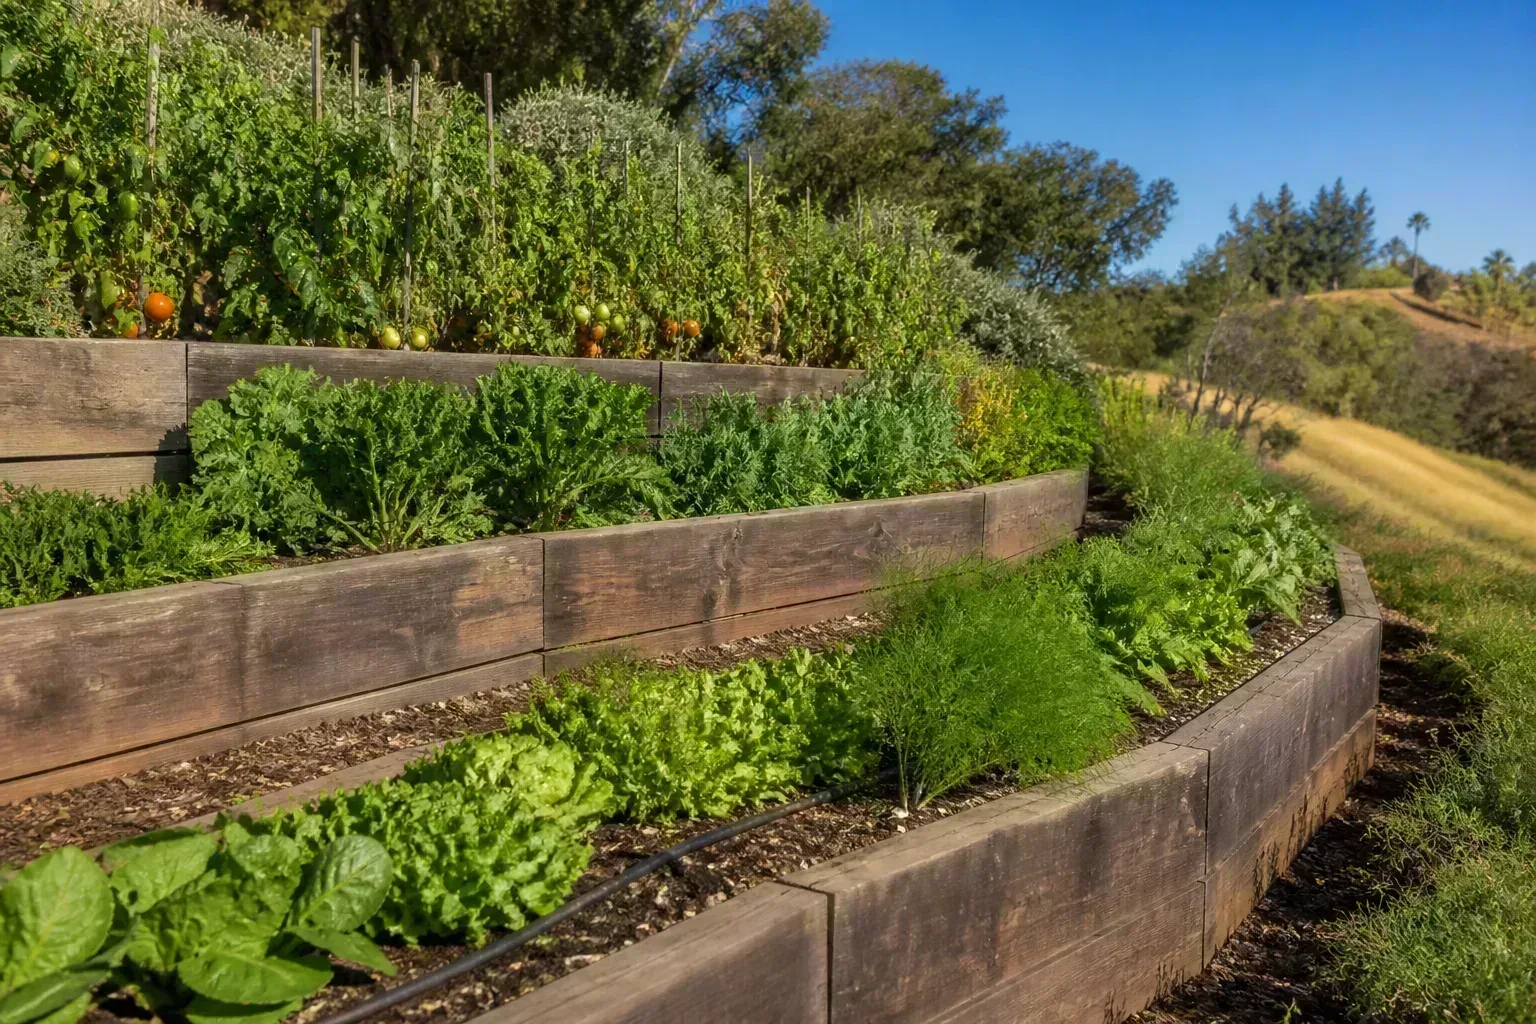
In the Northern Hemisphere, run bed long axes north to south when possible so rows on both sides receive even light through the day. Place tallest crops on the north edge of each bed—or the north side of the garden—so they do not cast afternoon shade on lettuce and carrots.
On sloped ground, prioritize contour placement to slow runoff over strict compass alignment. A bed slightly off north-south but level beats a perfectly oriented bed that erodes every storm.
Inside the box, think in height zones: tall (trellised tomatoes, pole beans, corn) north; medium (peppers, bush beans, broccoli) center; short (radishes, onions, herbs) south. Colorado State University Extension’s sample raised-bed planting guide uses four-foot-wide beds with rows running across the width—a block style that pairs well with intensive spacing.
Intensive Spacing Inside the Box
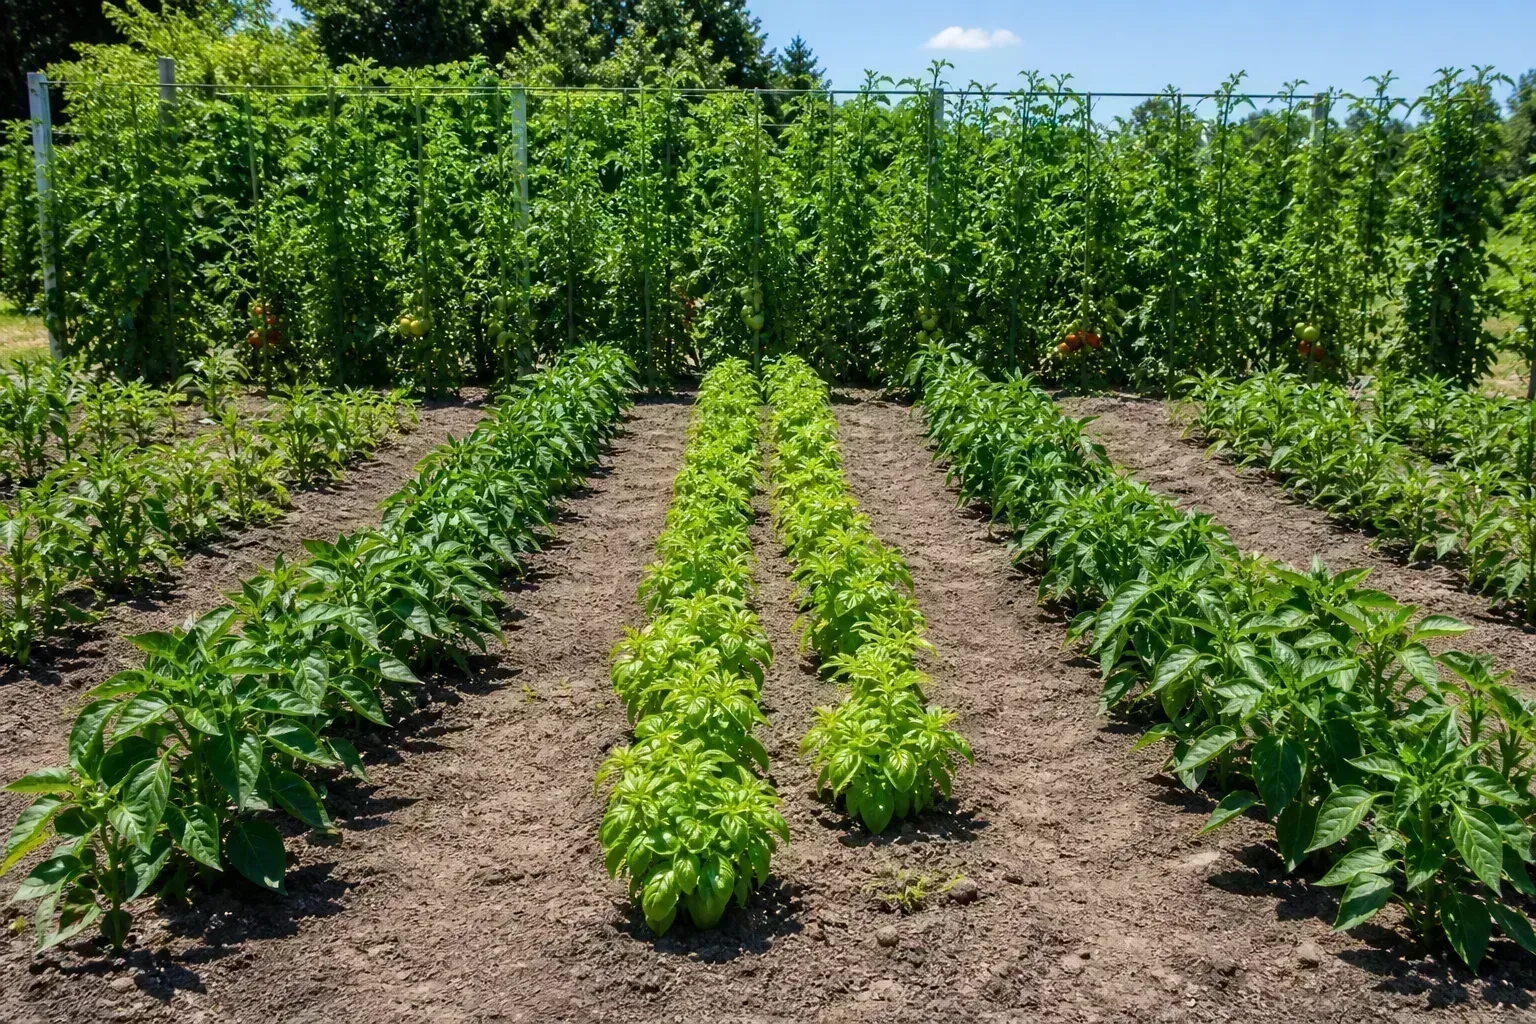
Raised beds reward closer spacing than traditional row gardens because you never walk on the planting area. French intensive methods plant two to five times tighter than field rows—but only when soil is rich, watered consistently, and replenished every season.
Block and Square-Foot Layouts
Square Foot Gardening divides the surface into 1-foot squares and plants by density per square (one tomato, nine bush beans, sixteen carrots) instead of long rows with wasted aisles inside the bed. Block planting runs short rows across the bed width, as CSU demonstrates, which simplifies drip lines and harvest paths.
Read seed packets for mature spread, not just seed spacing. A tomato labeled “24 inches apart” still needs a trellis plan and air space; cramming without vertical support invites blight. Our tomato plant spacing guide covers indeterminate vs determinate realities in tight beds.
Relay Cropping and Succession Slots
Relay cropping slips a fast crop between a slow one. Classic pair: radishes between carrots. Radishes mature in three to four weeks; carrots are still small below. Harvest radishes before carrot tops need the space.
Leave empty squares or short rows in your spring map for July sowings—bush beans after peas, fall kale after garlic. Intensive layout is a schedule, not a one-day planting binge.
For succession timing by crop, see companion planting vegetable garden layout for neighbor rules that keep intensive beds healthy.
Trellises, Vines, and Vertical Space
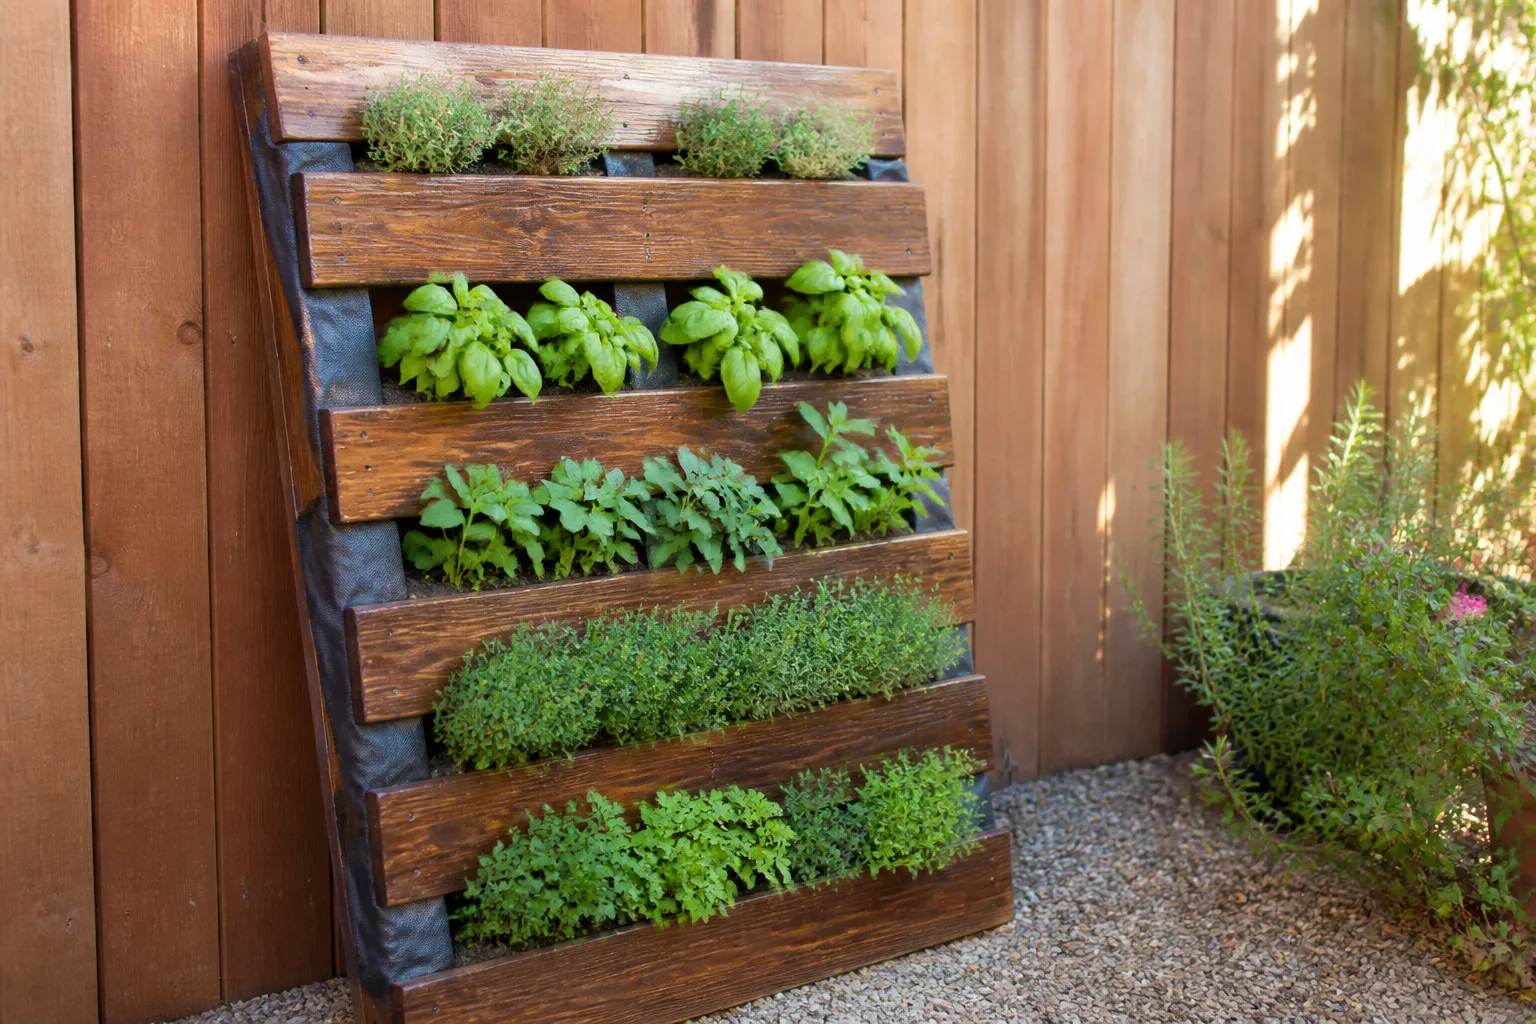
Cucumbers, pole beans, and small-fruited squash want the bed edge so vines can trail over the rim without smothering neighbors. Better: a trellis on the north side of the bed or a cattle-panel arch between two beds that turns a path into production space.
Growing In The Garden recommends 6 to 7 foot trellis height for most vines, anchored to posts or bed brackets so wind does not topple them. Train tendrils early weekly; a neglected July vine is a knot you cut, not untie.
Vertical growing adds square footage without widening paths—if you planned the arch footprint when paths were still empty.
Sketch the Layout on Paper (Then Walk It)
Measure the yard: fences, gates, hose bibs, AC units, and the dripline of mature trees. Draw beds to scale on graph paper or a free planner app. Mark sun arcs, path widths, trellis shadows, and a main drip manifold along the garden edge before soil arrives.
Angela Judd at Growing In The Garden suggests laying weed fabric cut to bed size on the ground and walking paths with a wheelbarrow and hose before screwing lumber. Adjust until turns feel natural and no bed blocks the gate.
Lock spacing with temporary spacers between frames as you level and square corners. Run irrigation stub lines into each box before fill—retrofitting under mature tomatoes is miserable.
Sample 4×8 Planting Plans for Spring and Summer
These plans assume four-foot width, eight-foot length, six to eight hours of sun, and 12+ inches of soil. Adjust dates to your frost calendar.
Plan A — Cool spring / early summer (block rows across width)
| Zone (north → south) | Crop | Spacing notes |
|---|---|---|
| North row | Peas on short trellis | One row along north edge |
| Middle | Lettuce, spinach, arugula | Cut-and-come-again bands |
| South | Radishes + carrots relay | Radishes harvest first |
| Ends | Green onions or herbs | Fill corner gaps |
Plan B — Warm season
| Zone (north → south) | Crop | Spacing notes |
|---|---|---|
| North | Indeterminate tomato (1–2) or pole beans | Stake or trellis north |
| Middle | Peppers (2–3), bush basil | 18–24 in. between peppers |
| South | Bush beans or beets | Shorter crop to south |
| South edge | Cucumber (1) trailing over rim | Pollination access from path |
Rotate families next year: nightshades (tomato/pepper) → legumes (beans/peas) → roots/brassicas (carrot/kale). CSU’s block tables show how four-foot beds scale to family harvest quantities when spacing is disciplined.
Layout Mistakes That Shrink Yields
Beds too wide — Middle never weeded; soil compacts at edges where you lean.
Paths too narrow — Harvest stops in July; fungal issues spike in cramped air.
Tall crops on the south — Shade steals half the bed.
Skipping the sun map — “Full sun” tags on plants that get four hours.
One giant bed — Rotation and cover cloth become all-or-nothing.
Irrigation as an afterthought — Hand-watering works until August travel.
Treated wood without liner — Risk you do not need on edibles.
Filling before leveling — Water pools at one end; plants drown and dry in the same box.
Conclusion
A raised bed layout that maximizes growth is reachable soil, honest paths, sun mapped in spring, tall crops to the north, and intensive spacing backed by rotation—not the longest bed your lumber store will cut. Pick width first (three to four feet, or two feet against a wall), carve paths you can still walk when foliage explodes, choose a bed format that matches depth and mobility needs, then plant from a paper map that includes July’s empty squares.
Build the frame once. Layout is how you make that frame pay rent every season.



