31 Inexpensive DIY Raised Garden Bed Ideas
Build a raised garden bed without overspending: 31 easy DIY ideas, material safety rules, depth by crop, and how to cut soil costs on tall frames.
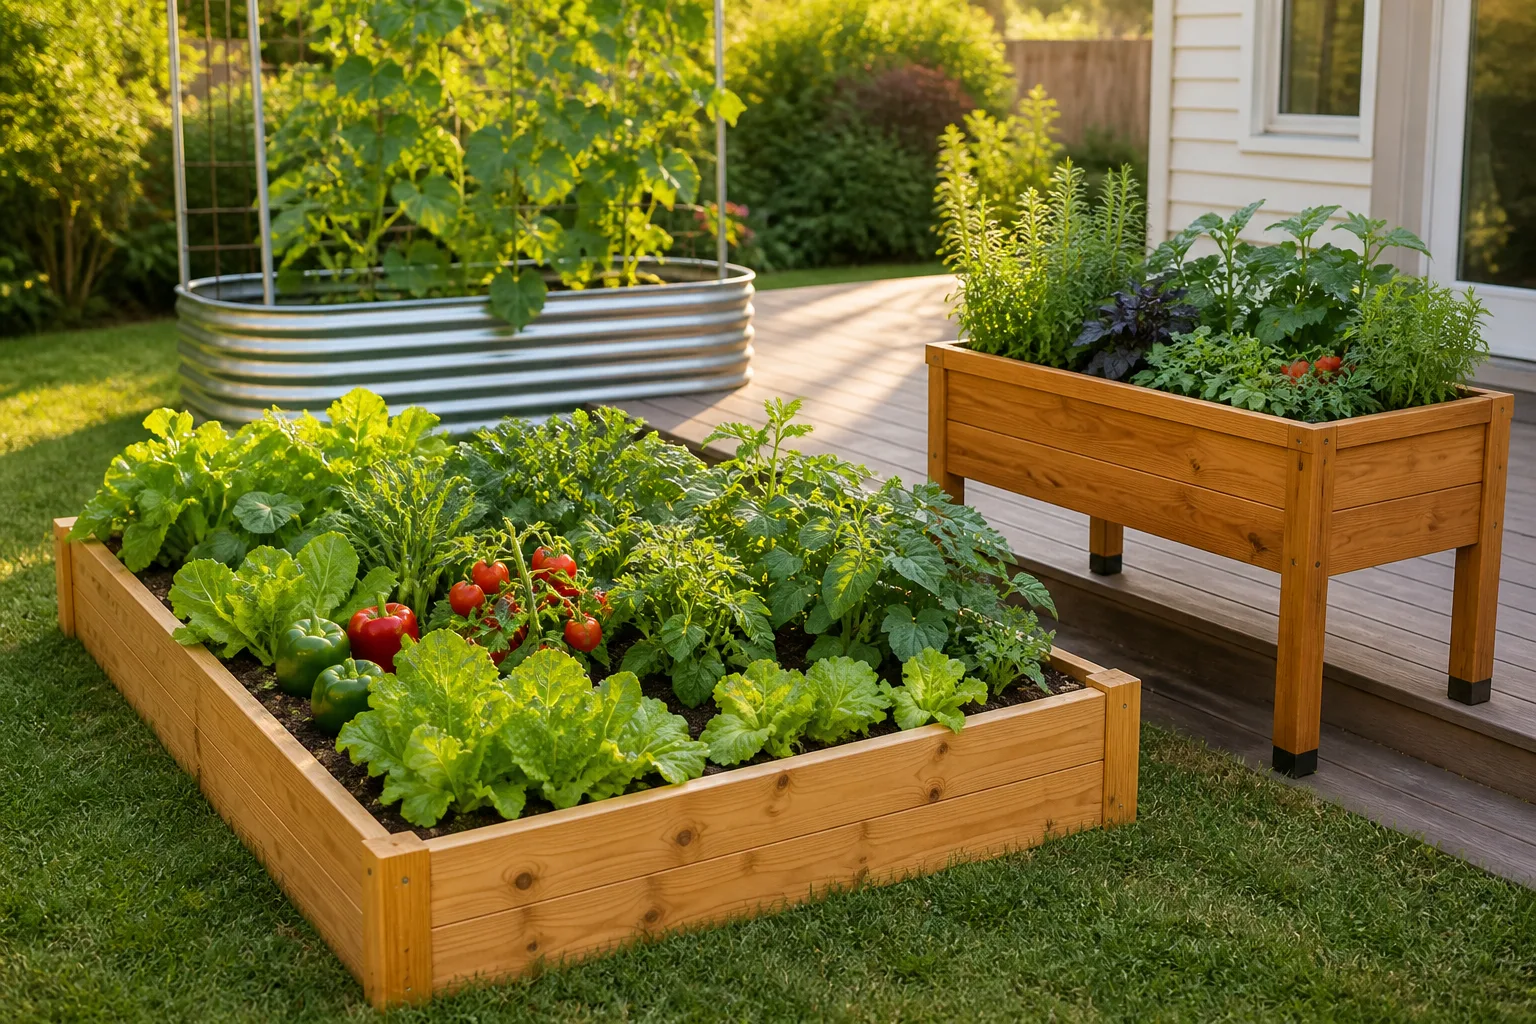
A raised garden bed does not have to mean a $400 cedar kit and three cubic yards of bagged soil. The inexpensive builds that last are usually simple rectangles, repurposed containers, or block frames filled smartly—not the most photogenic idea on a design blog. This guide groups 31 practical DIY raised bed ideas by what you are actually trying to solve: flat-yard vegetables, patio herbs, slope terracing, vertical crops, or critter pressure. Each idea includes what it costs, what can go wrong, and how deep the soil needs to be before you buy a single board.
Start With Budget Math, Not the Inspiration Photo
Before you copy a tiered cedar bed with an arched trellis, price three numbers: frame, fill, and hardware.
Multiply inside length × width × planned soil depth in feet to get cubic feet of growing medium. Divide by 27 for cubic yards. A 4×8-foot bed filled 12 inches deep holds 32 cubic feet—roughly 1.2 cubic yards. Bagged raised-bed mix often runs $5–$8 per cubic foot in retail bags, which is why a “cheap” wood frame can still become a $250 project the moment you fill it.
Frame cost depends on material more than shape. A basic 4×8 untreated fir box built from two 2×10 boards and four corner braces can land under $80 in lumber at big-box prices, while the same footprint in cedar fence boards may double that. Cinder blocks cost more per running foot than rough lumber but need no saw. Used galvanized stock tanks trade woodworking for drainage planning and sometimes a used-market hunt.
If the frame will be taller than 16 inches, budget for a layered fill in the lower half—logs, branches, leaves, and compost—rather than premium mix all the way up. Our guide to what to fill a raised garden bed with walks through safe layering; the short version is that filler belongs below the root zone, not mixed into the seed-starting layer.
Why Raised Beds Save Money Over Time
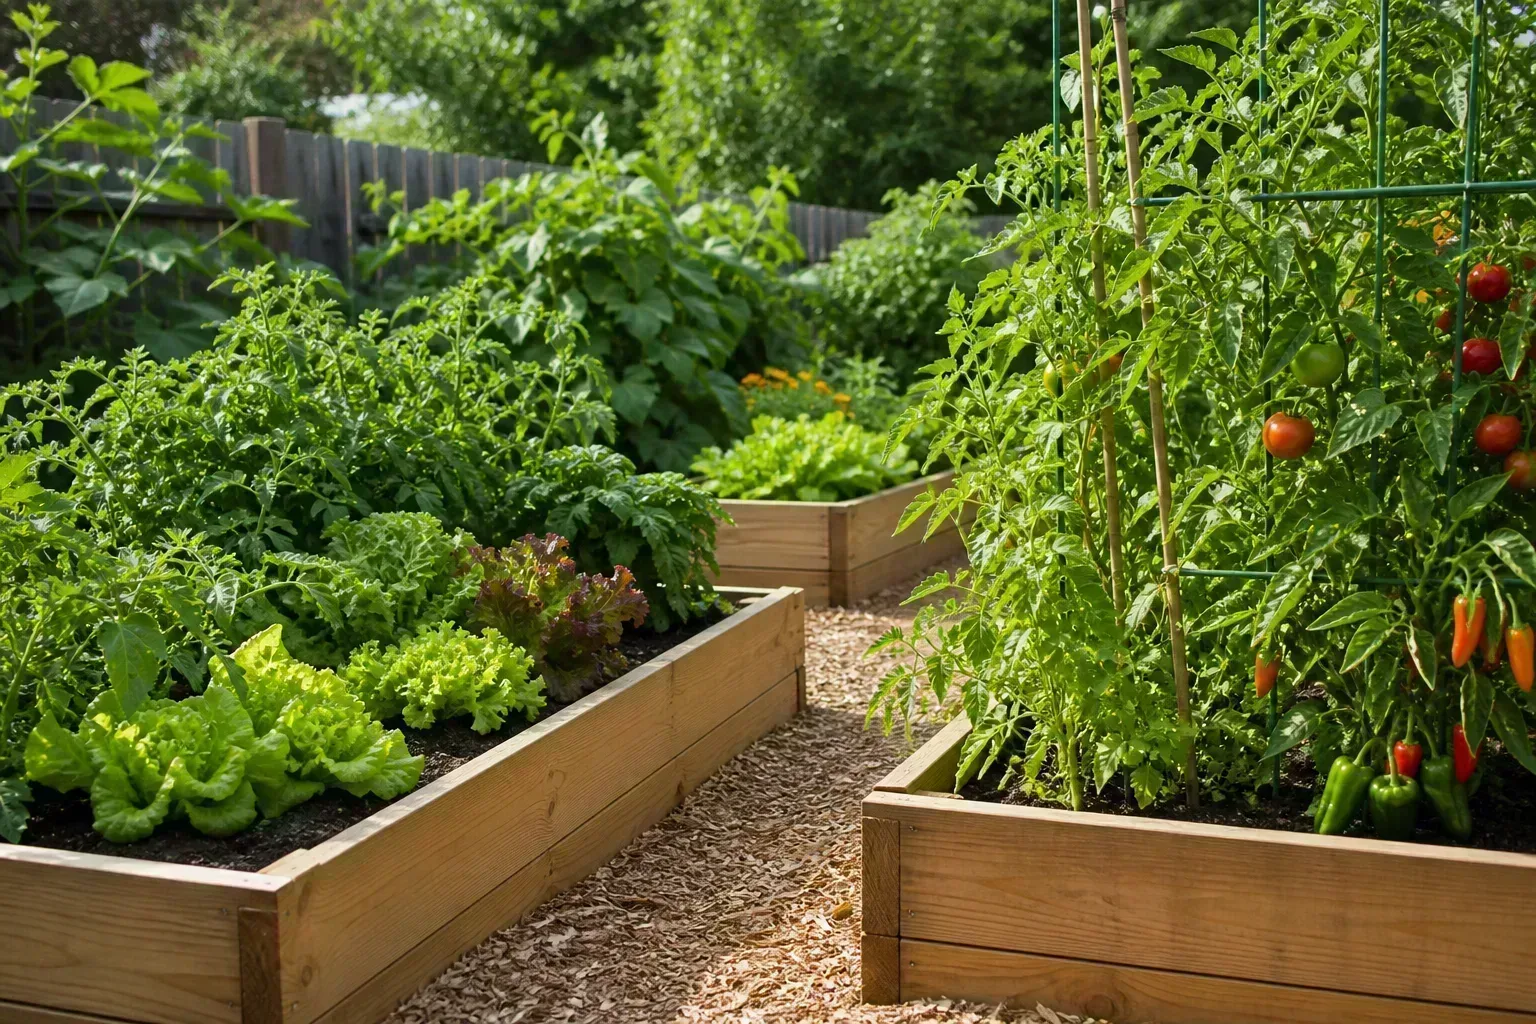
NC State Extension frames raised beds as a way to improve drainage, soil structure, and access in yards where native soil is compacted, wet, or full of rocks. You are not buying better dirt for the whole property—you are concentrating good soil where roots actually live.
That concentration pays off in several ways:
- Less wasted amendment. Lime, compost, and fertilizer go into a defined volume instead of leaching across a large in-ground plot.
- Faster warm-up in spring. Raised soil drains and warms sooner than surrounding ground, which can shorten the gap between “too cold to plant” and first harvest in cool climates.
- Easier weed control. A defined edge plus cardboard or fabric at the soil interface beats fighting lawn runners in a flat bed.
- Ergonomic access. Even a 12-inch lift reduces bending; 24-inch beds and stock tanks at knee height matter if back or knee strain is part of your gardening math.
When a Raised Bed Is the Wrong Investment
Skip or downsize the project if:
- The site stays wet for days after rain. Raising soil does not fix a high water table; it can make roots colder and wetter at the base. Improve drainage or choose another spot first.
- You are on a rental deck without load approval. A filled 4×8 bed can exceed 1,000 pounds. Elevated planters and small herb boxes are the safer category; compare options in our best raised garden beds roundup before loading a deck.
- You need the bed planted tomorrow in a shallow frame. Deep organic filler needs settling time and can temporarily tie up nitrogen. Shallow beds should be filled with stable mix, not fresh logs.
- Your only “free” wood is mystery pallets or old railroad ties. Contaminated or creosote-treated lumber costs more in health risk than it saves in lumber.
The Five-Step Build Sequence Every DIY Bed Shares
Every idea below still follows the same skeleton. Skipping a step is how budget builds fail in year two.
- Clear and level the footprint. Remove sod, rocks, and perennial weeds. A level frame drains evenly; a twisted box gaps at corners and stresses screws.
- Build or place the frame. Wood: pre-drill, use exterior screws or galvanized brackets, and keep end grain off bare soil when possible. Blocks: stagger joints and dry-fit before moving soil. Tanks: drill overflow holes 1–2 inches above the intended gravel base if the bottom is solid.
- Line the bottom only when it helps. Open-bottom beds on soil rarely need plastic. Cardboard suppresses weeds for a season and breaks down. Landscape fabric under gravel beneath a tank is reasonable; plastic sheeting under an open wood bed on clay can trap water.
- Fill in layers. Coarse organic material low, finished compost and planting mix high. Water each layer as you build so the bed does not collapse when you first irrigate.
- Top-dress and plant. Leave room at the rim for mulch and seasonal compost. Allow a tall hugel-style bed a few weeks to settle—or plant nitrogen-hungry leafy greens in year one while wood decomposes.
Step 1: Site, Sun, and Drainage
Vegetables want six or more hours of direct sun for fruiting crops; leafy greens and herbs tolerate a bit less. Walk the yard at mid-morning and mid-afternoon before you commit lumber.
Check where water goes after a hard rain. If puddles form inside the future footprint, loosen native soil, add a slight crown toward the center, or move the bed. University of Minnesota Extension emphasizes that raised beds succeed when drainage matches the crop—material choice matters less than water behavior.
Leave 18–24 inches of path on at least one long side so you can kneel or roll a wheelbarrow. Against a fence, build no wider than you can reach halfway from the front—usually 3–4 feet for adults.
Step 2: Match Bed Depth to Your Crops
Effective depth is the soil column roots can use this season—not the outer height of the prettiest photo.
| Crop examples | Minimum useful soil depth |
|---|---|
| Lettuce, radish, basil, bush beans | 6–8 inches |
| Carrots, beets, peppers, bush tomatoes | 10–12 inches |
| Indeterminate tomatoes, asparagus, artichoke | 16–18+ inches |
| Deep-rooted perennials, cutting-garden dahlias | 18–24 inches |
If the frame is only 8 inches tall, do not bury logs in the bottom—there is no room for both filler and roots. Oklahoma State University Extension specifically warns that short hugel-style fills may not leave enough planting medium above decomposing wood.
Cheapest Frame Materials (Ranked Honestly)
Untreated Cedar, Fir, and Fence Boards
Cheapest honest wood path: structural-grade fir or pine 2×10s or cedar fence pickets with galvanized corner braces and exterior screws. Cedar and redwood resist rot longer; fir is cheaper and may last 5–8 years in contact with moist soil before replacement.
Pressure-treated lumber: Modern residential treated boards (micronized copper azole, ACQ) are widely used for outdoor structures. Many gardeners accept them for ornamental beds; others avoid them for edibles. If you use treated wood, do not burn scraps, keep cuts sealed, and do not use unknown reclaimed treated timbers of uncertain age. When in doubt, choose untreated cedar or fir and plan on maintenance.
Avoid for food beds: railroad ties, old CCA-treated salvaged lumber you cannot date, and black walnut wood—Oklahoma State Extension lists walnut among species that can inhibit sensitive plants as it breaks down.
Cinder Blocks, Pavers, and Free-Standing Edges
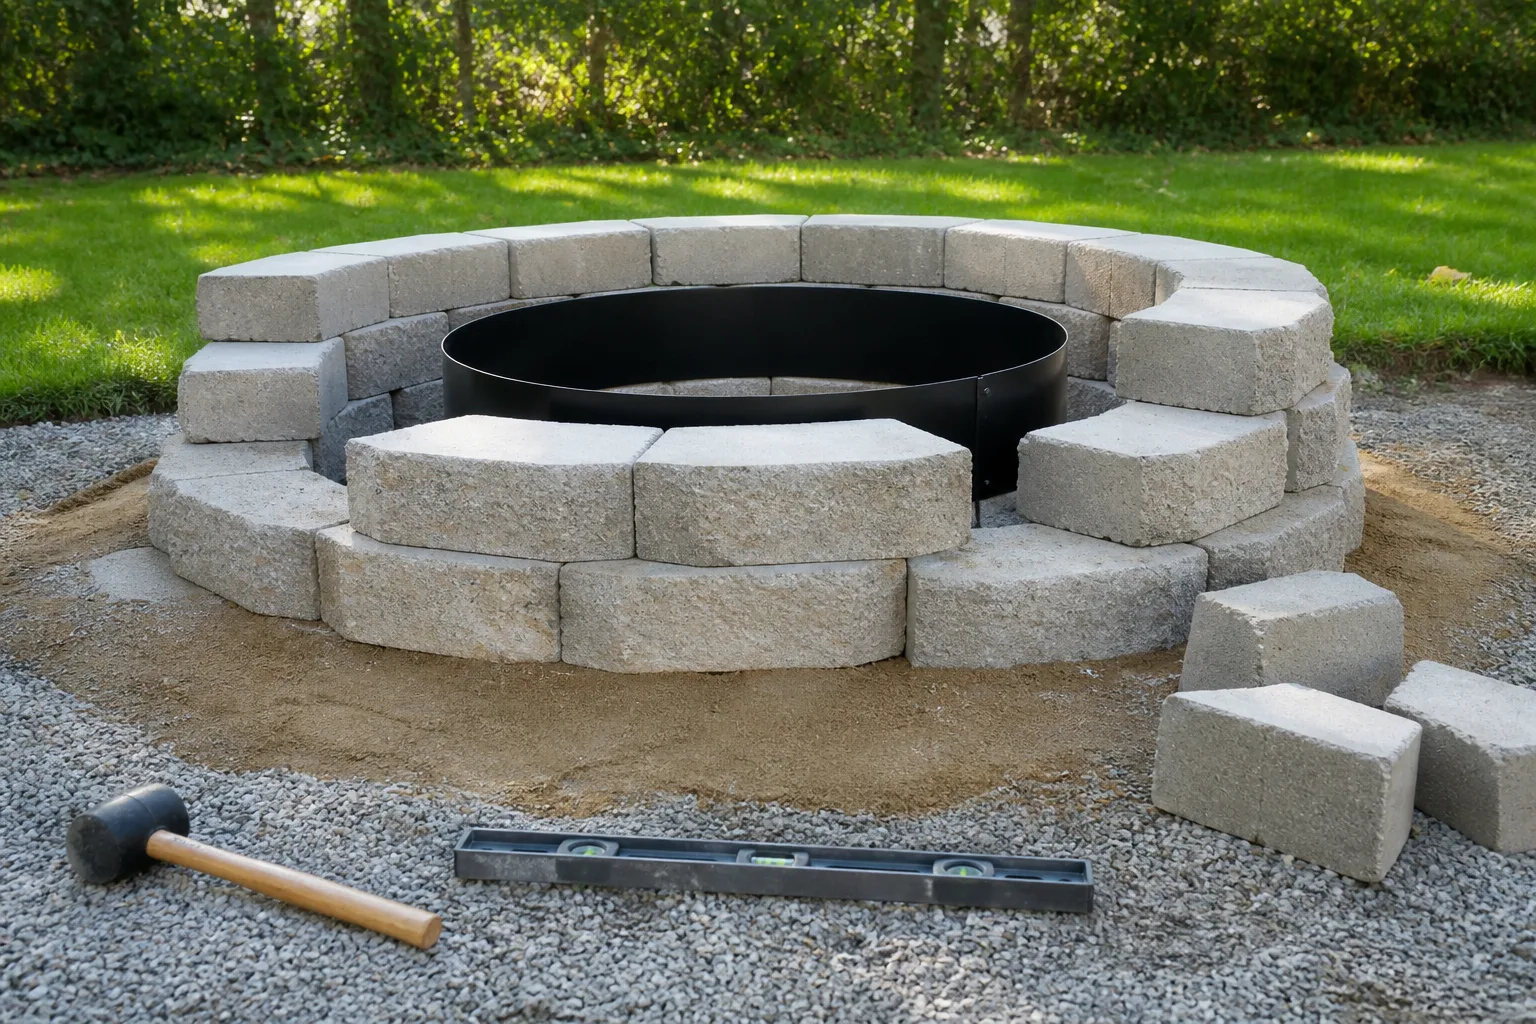
Concrete blocks are fast, level-friendly, and require no saw. A single-block-high 4×8 perimeter uses 32 blocks plus cap optional—often $80–$120 in materials, more than rough lumber but durable.
Pros: Critter-resistant height when stacked two high, thermal mass that moderates soil temperature, easy to reconfigure.
Cons: Heavy to move, industrial look unless capped or painted, and fly ash content concerns lead some gardeners to line the interior with food-safe barrier or use blocks only on ornamental beds. For vegetables, many gardeners use blocks anyway; if you are cautious, seal the inner face or choose wood.
Dry-stack on level gravel or sand; use construction adhesive only if local frost heave is minimal. Leave weep gaps or omit mortar on the bottom course so water does not pool.
Galvanized Stock Tanks and Feed Troughs
Used livestock tanks and new ornamental troughs are the fastest “no carpentry” raised bed. Prices swing from $50 used to $250+ new depending on length.
Drainage is non-negotiable. Drill ½-inch holes every 12 inches along the lowest sidewall or bottom, then set the tank on 2–3 inches of gravel. Without holes, roots drown.
Food safety: New galvanized stock tanks are commonly used for food gardens. Very old tanks with flaking zinc or unknown prior chemical storage should be avoided. Rinse new tanks; some gardeners add a liner if the metal taste concerns them for acidic soil mixes.
31 Inexpensive DIY Raised Bed Ideas by Category
The ideas below are numbered for reference. Costs assume US big-box pricing in 2025–2026 and exclude soil unless noted.
Simple Wood Frames and Corner-Braced Boxes (Ideas 1–8)
1. Single-layer 2×10 rectangle — Fastest wood build. Two 8-foot boards ripped or stacked for a 4×8 bed; four corner brackets. Cost: $60–$100. Best for: first-time vegetable gardeners.
2. Cedar fence-picket skin over 2×4 posts — Pickets for looks, cheap posts for structure. Cost: $90–$140. Best for: visible front-yard beds.
3. Narrow side-yard runner (2×8 feet) — Fits beside driveways where narrow inspiration photos often show tomatoes. Cost: similar per foot as #1. Best for: indeterminate tomatoes with external stake.
4. L-shaped corner bed — Two rectangles joined to wrap a patio corner. Cost: 20% more lumber, same skill. Best for: maximizing planting line on small lots.
5. Douglas fir driveway beds — Fir 2×12s along an unused hardscape edge; line with cardboard, fill deep for asparagus or tomatoes. Cost: $80–$130. Best for: heat-reflecting paved margins.
6. Matching fence-board bed — Reuse the same picket style as an existing fence for visual cohesion. Cost: depends on fence stock. Best for: HOA-visible yards.
7. Grid-divided bed with PVC flat trim — One 4×8 box sectioned into 1-foot squares for square-foot spacing; PVC trim is cheaper than wood lattice. Cost: +$15–$25. Best for: salad greens and organized beginners.
8. Family afternoon 4×4 bed — Two 8-foot 2×8s cut in half; kids help screw corners. Cost: under $70. Best for: cherry tomatoes, marigolds, and chili peppers in year one.
Trellis-Integrated and Vertical Beds (Ideas 9–14)
Vertical structure belongs in the plan before you screw the last corner—trellis loads pull on frames.
9. Cattle-panel arch between two beds — Two 4×8 beds with a hog/cattle panel arched and bolted to outer rails. Cost: panel $25–$40 plus lumber. Best for: cucumbers, pole beans, decorative archways.
10. Flat livestock-panel trellis on T-posts — Panel zip-tied to driven posts at the north edge of the bed so it does not shade crops. Cost: $40–$60. Best for: heavy vining crops without weakening the box sides.
11. DIY pine tomato cage with finial cap — Vertical 2×2 cage screwed to the bed corner; finial is optional flair. Cost: $20–$35 per cage. Best for: single indeterminate tomato per cage.
12. Tiered cedar bed with built-in trellis back — Back wall trellis doubles as rigidity brace. Cost: $120–$180. Best for: small yards that need height without footprint.
13. Stick-and-twine cottage cages — Free prunings lashed with jute over pea or flower plantings. Cost: nearly $0. Best for: light climbers, cottage aesthetics.
14. Reclaimed fence-post tomato trainers — Aged posts set at corners with wire between. Cost: salvage. Best for: farmhouse gardens with existing post stock.
Repurposed, Pallet, and Upcycled Builds (Ideas 15–20)
Repurposing saves money only when you know the material history.
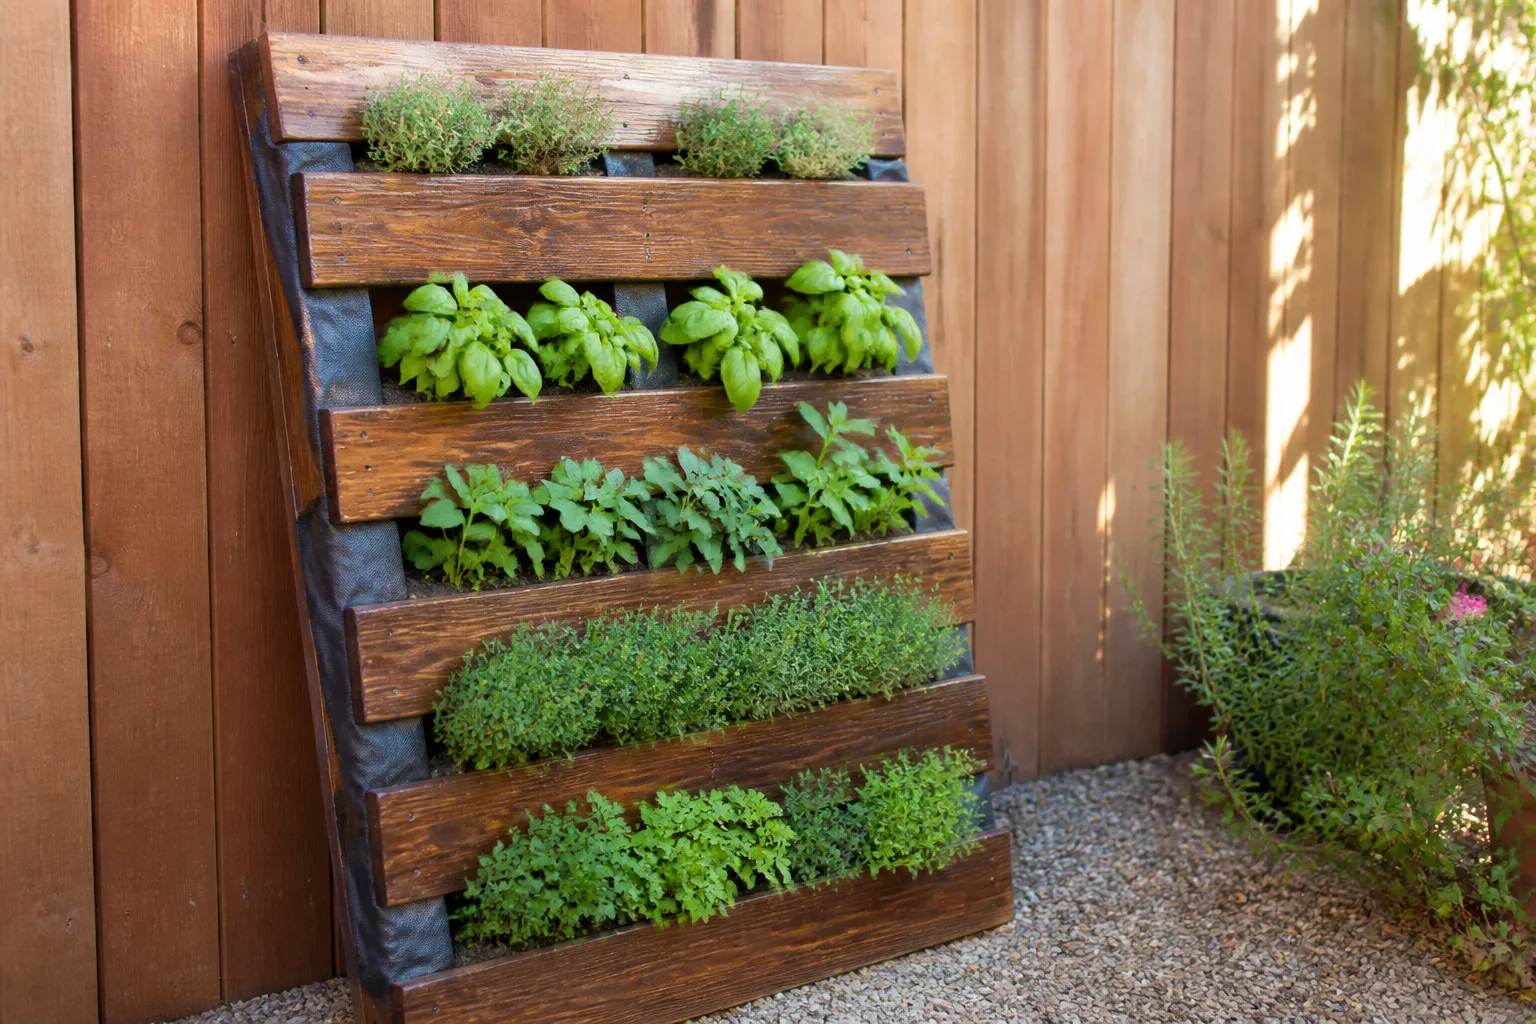
15. Heat-treated pallet wood box — Use pallets stamped HT (heat-treated), not MB (methyl bromide). Dismantle, remove nails, and line interior with landscape fabric if slats are rough. Cost: $0–$20 hardware. Best for: herbs and flowers if pallet origin is clean.
16. Pallet wood on castors — Mobile bed for patio; add heavy-duty locking casters rated for wet soil weight. Cost: casters $30–$50. Best for: renters; watch total weight.
17. Wine-barrel half planter — Saw a used barrel or buy a pre-cut half. Drill drainage; set on gravel. Cost: $40–$90. Best for: dwarf blueberries, strawberries, or single shrub.
18. Leftover decking or fence scraps — Uniform-length offcuts screwed into a shallow 3×6 box. Cost: $0 marginal. Best for: shallow-root crops only.
19. Cottage reclaimed-fence surround — Rustic pickets of mixed width for a perimeter bed, not a precise rectangle. Cost: salvage + posts. Best for: ornamental cutting flowers.
20. Beach-stone or painted rock markers — Not a bed frame, but pairs with any box for zero-cost labeling. Cost: $0. Best for: teaching kids and tracking succession plantings.
Stock Tanks, Barrels, and Premade Shortcuts (Ideas 21–26)
When carpentry is not in the budget, containers trade labor for drainage design.
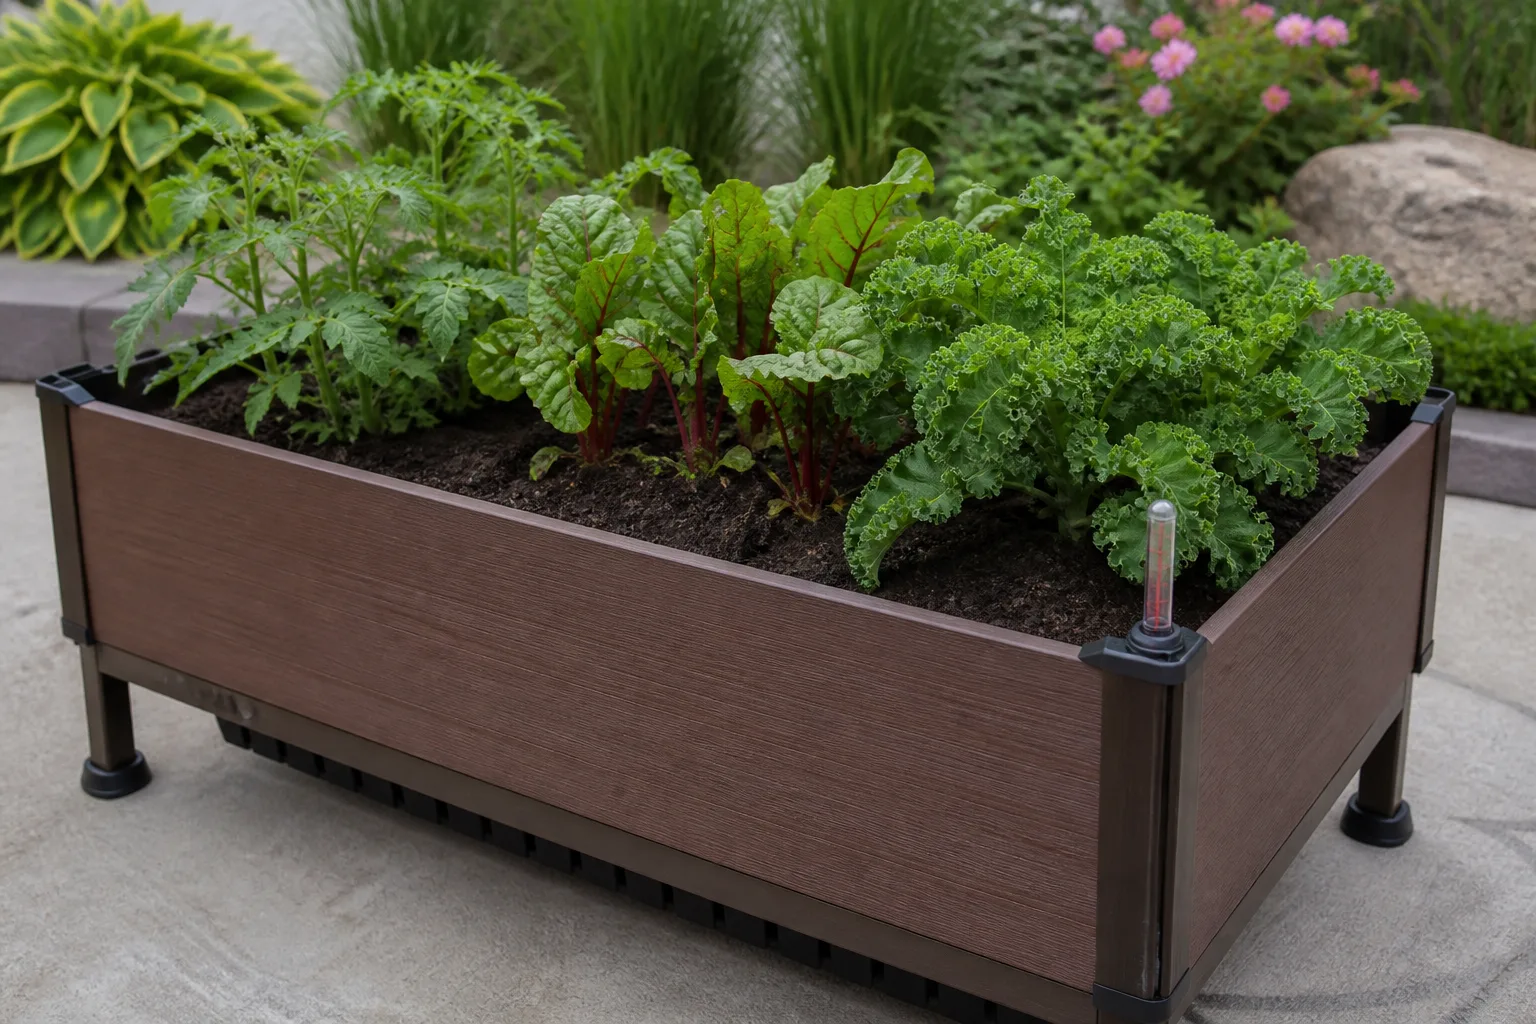
21. Single 2-foot stock tank — Tall enough to discourage rabbits; kneel-free for many adults. Cost: $120–$220 new. Best for: herbs and compact vegetables on patio stone.
22. Spaced multi-tank layout — Three tanks with 3-foot paths for wheelbarrow access. Cost: scales linearly. Best for: organized potager look without building walls.
23. Gravel-lined tank on weed fabric — Fabric under gravel under tank reduces patio weeds. Cost: +$30 base materials. Best for: hardscape installs.
24. Premade raised planter with storage shelf — Store tools under an elevated box; add knobs for hanging gloves. Cost: $100–$200 kit. Best for: balcony gardeners who want one purchase.
25. Premade boxes + potted color — Buy flat-pack beds, surround with inexpensive nursery pots for vertical color. Cost: beds $60–$120 each. Best for: instant English-garden feel without trellis work.
26. Herb coffee-table planter — Low plywood box with drainage doubles as patio table; see our herb garden ideas for planting combinations. Cost: $60–$90 DIY. Best for: mint, thyme, and basil near outdoor seating.
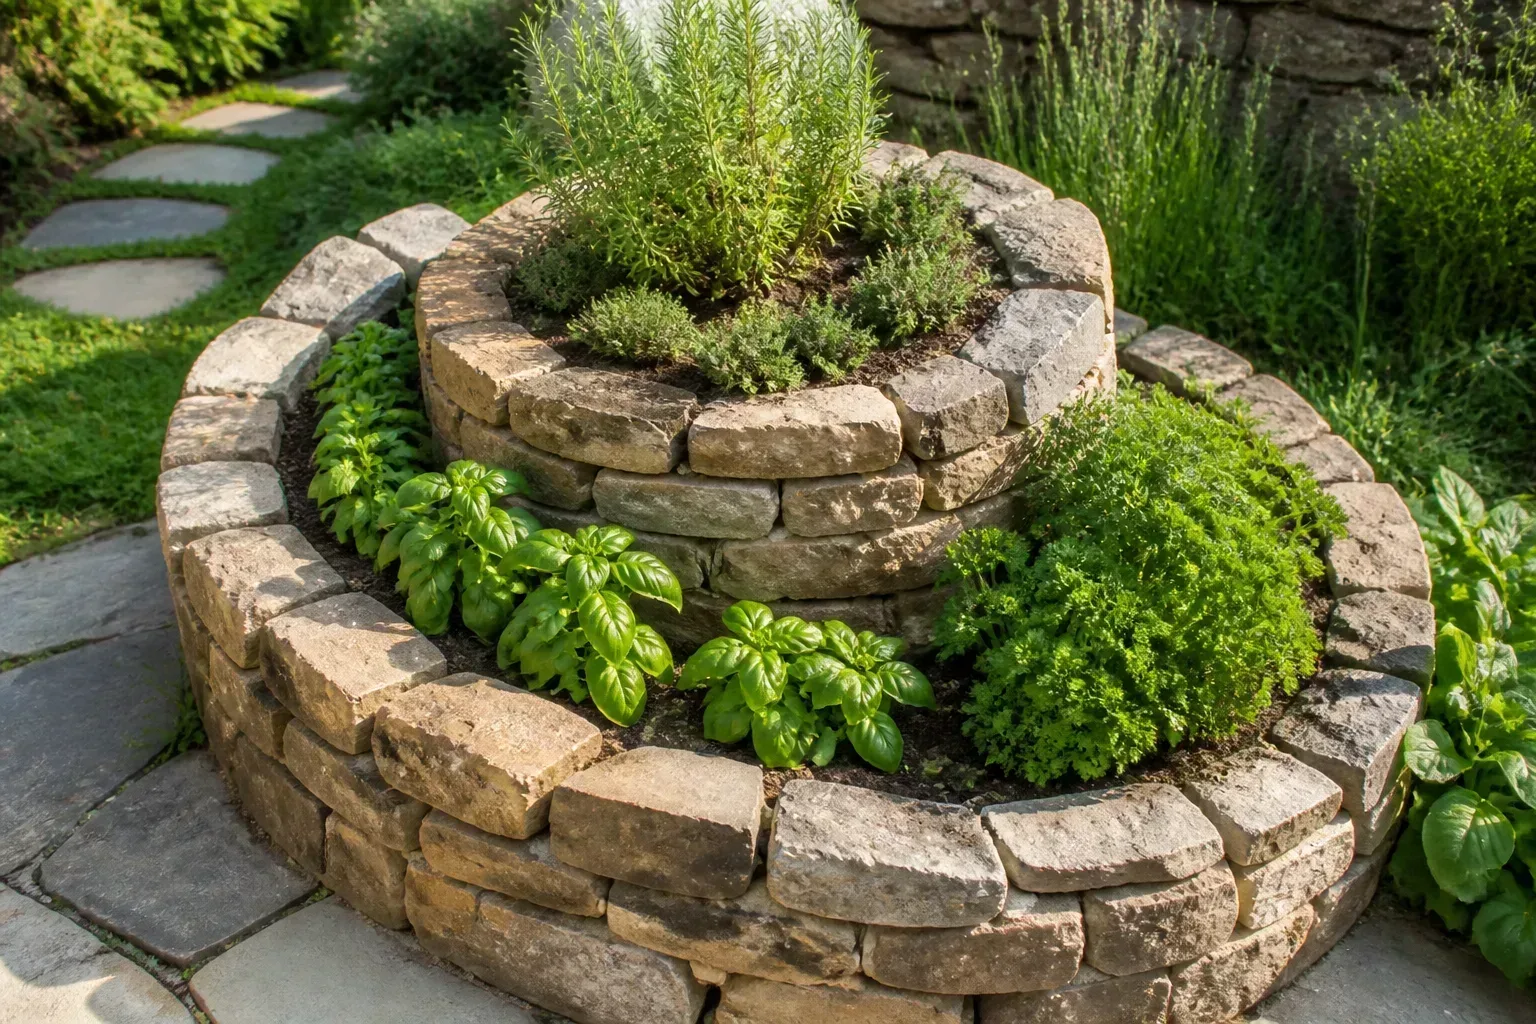
Sloped Sites, Enclosures, and Small-Space Beds (Ideas 27–31)
27. Terraced stair-step beds on a slope — Three boxes at increasing heights cut into grade; back wall retains soil. Cost: $200+ total but fixes erosion. Best for: hillside yards; pair with drainage swales between tiers.
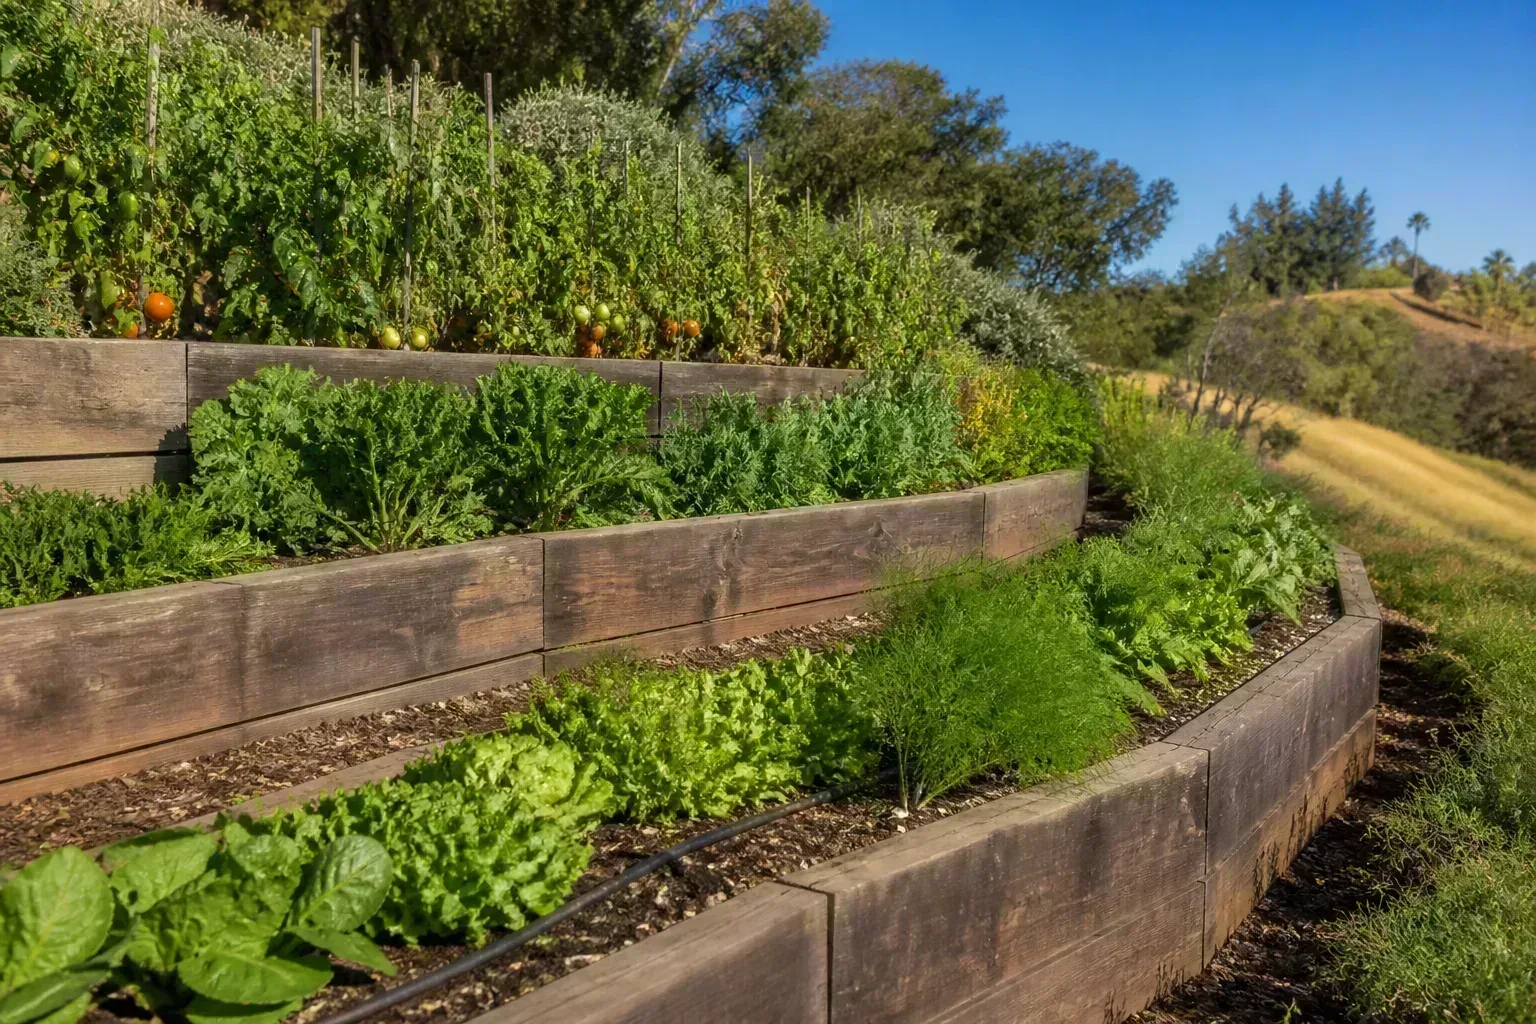
28. Sub-irrigation terrace with cardboard liner — Terraced beds lined with cardboard on the uphill side to slow washout. Cost: moderate. Best for: clay slopes.
29. Picket fence perimeter around grouped beds — Low fence defines space; add ½-inch hardware cloth at soil line for rabbits. Cost: $2–$4 per foot. Best for: cottage style plus critter defense.
30. PVC hoop shade over transplants — Short hoops with row cover on a wood bed for hardening off seedlings on hot decks. Cost: $25–$40. Best for: spring starts and deck microclimates.
31. Hardware-cloth cage lid on a wood bed — Hinged frame of 1×2 with chicken wire for squirrels and birds. Cost: $35–$55. Best for: strawberries and young brassicas.
For vertical growing on fences when floor space is zero, see DIY vertical garden ideas—different structure, same goal of more harvest per square foot.
Fill the Frame Without Buying a Truckload of Soil
The most expensive mistake on this list is filling a 24-inch-tall bed entirely with bagged premium mix. Hugelkultur-style layering—dead untreated logs, branches, leaves, and compost capped by 12–18 inches of planting soil—can cut purchased soil volume by 40–60% on tall frames.
Epic Gardening’s hugelkultur guidance stresses that the finished surface must stay level and deep enough for roots; mounding is optional in ground-level hugel beds but raised frames usually need a flat planting plane.
Rules that keep filler cheap and productive:
- Put only dead, untreated wood below the root zone. No black walnut, no green fresh logs if you need to plant immediately, no mystery treated lumber.
- Leave at least 8–12 inches of stable soil above filler for most vegetables; root crops want more.
- Expect settling and nitrogen draw in year one. Top-dress with compost or use a nitrogen source if leafy plants yellow while wood decomposes. The RHS notes that carbon-rich material can temporarily lock nitrogen while microbes break it down.
- Cardboard on the native soil smothers weeds for a season; it is not a substitute for soil depth.
Shallow elevated planters and coffee-table herbs should not use log filler—use consistent potting mix throughout, as explained in our raised bed fill guide.
Mistakes That Turn a Cheap Bed Into an Expensive Do-Over
Undersized drainage on tanks and barrels — One hole is not enough. Drill a row.
Using MB pallets or painted unknown wood — Chemical exposure is not worth the savings.
Building wider than you can reach — Four-foot width sounds modest until you cannot harvest the center without stepping in soil.
Skipping the soil math — Calculate cubic feet before you fall in love with a 30-inch-tall frame.
Rock layer “for drainage” — A coarse layer under fine soil can create a perched water table. Fix site drainage instead.
Ignoring winter maintenance — Empty beds benefit from cover crops or leaf mulch; see should you cover raised beds for winter if you garden in cold zones.
Conclusion
Inexpensive raised garden beds are less about finding one magic material and more about matching the frame, depth, and fill to your site and crops. Fir boxes with corner braces, cinder-block perimeters, and drained stock tanks all work when drainage, soil depth, and material safety are handled upfront. Use the 31 ideas above as a menu—not a shopping list—and build the version that fits your sun, slope, budget, and back. Price the soil before you price the lumber, layer organic filler only when the bed is tall enough, and you will end up with a productive bed that stays cheap long after the first season.



