6 Organic Materials to Fill a Raised Garden Bed
Learn what to fill a raised garden bed with: six organic materials, a safe layer order, root-zone depth, and fixes for settling, nitrogen tie-up, and weeds.
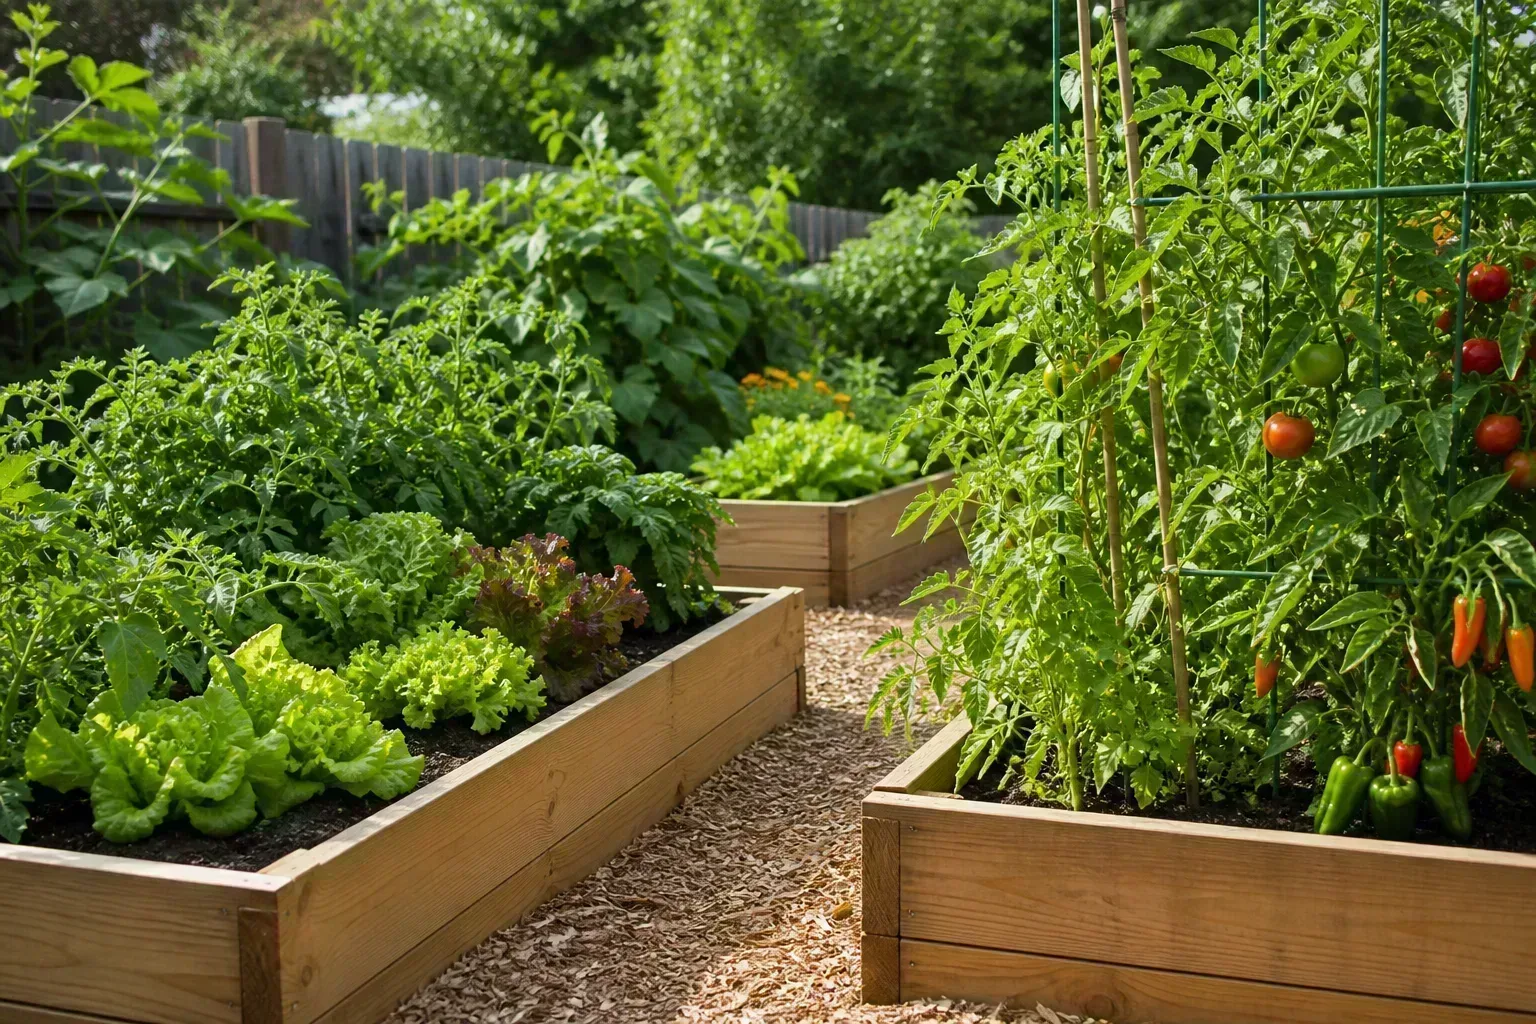
Deep raised beds are comfortable to work in, but they can swallow an uncomfortable amount of soil. The economical solution is not to replace the planting layer with whatever organic material is available; it is to put the right material in the right zone and reserve stable, fertile soil for the roots.
The six useful organic materials are logs, branches, untreated arborist wood chips, straw, leaf mold, and finished compost. The first four are mainly space-filling materials for a tall bed, leaf mold is a soil conditioner, and finished compost belongs closest to the planting surface. Their value comes from decomposition, but decomposition is also why a new bed can settle, draw nitrogen, or become unstable if it is planted too soon.
The Short Answer: Fill Below the Root Zone, Not Inside It
For a raised bed at least about 17 inches tall, a practical approach is to fill the lower portion with dead, untreated woody material and softer organic matter, then leave the upper half for planting soil mixed with finished compost. Oklahoma State University Extension describes this as a framed-bed variation of hügelkultur and specifically cautions that shorter beds may not leave enough room for both the decomposing layer and a useful planting medium.
This does not mean that every deep bed needs logs. If your frame is 8 to 12 inches tall, or if you need to plant a crop today, buying or mixing a stable raised-bed medium is usually the better decision. Large pieces of wood and loose leaves take up space, but they do not give a seedling the fine, evenly moist, rootable environment it needs on day one.
Think of the bed as two systems. The lower fill is a slow composting structure that reduces the volume of purchased soil; the upper root zone is the finished growing medium that supports germination, anchorage, water management, and harvest now. Organic fillers save money only when those jobs stay separate.
Start With the Bed, Site, and Crop
Measure the inside length, width, and height of the frame in feet, then multiply the three numbers to estimate cubic feet. Divide by 27 for cubic yards. A 4-by-8-foot bed that is 24 inches high holds 64 cubic feet, or about 2.37 cubic yards, before you account for settling.
That number tells you how much volume you need, but the crop tells you how much finished soil you need. Lettuce, radishes, and many herbs can grow in a shallower root zone than carrots, tomatoes, peppers, asparagus, or perennial flowers. Plan the soil cap around the deepest crop you will grow, not around the empty height of the frame.
The bed should normally be bottomless and sit on reasonably draining ground. Remove sod and perennial weeds, loosen compacted soil, and check whether the site stays wet after rain. A layer of gravel does not cure a high water table, and mixing fine soil above a coarse rock layer can slow water at the boundary rather than speed it up. Gardenary’s raised-bed guidance explains this “perched” water problem clearly; fix the site or choose a better location instead of hiding the drainage issue beneath the bed.
If the bed has a solid bottom, treat it more like a large container. It needs drainage openings, a way for excess water to leave, and a lighter medium than a ground-connected frame. Do not fill a sealed planter with heavy logs simply because the bed is deep; the weight, water behavior, and eventual collapse are harder to manage.
1. Logs for a Slow, Structural Base
Logs are the most useful filler when the bed is genuinely tall and you have clean material from your own property. Large pieces create a stable base, occupy more volume than twigs, and decompose slowly enough to keep the lower part of the bed from disappearing in one season.
Choose dead, untreated wood that is already beginning to weather. Place the largest pieces at the bottom, side by side, and use smaller material to close the major gaps. The goal is not to make a watertight raft; it is to make a stable, irregular foundation that can hold the layers above it without leaving huge air pockets.
Wood species matter because you are burying the material beside food crops. Oklahoma State University Extension lists suitable hardwood examples such as alder, aspen, birch, cottonwood, maple, oak, and poplar, while warning against black walnut, wood that resists decay such as cedar, green wood that may sprout, and lumber with antifungal or antimicrobial treatments. If you cannot identify the wood or know its history, do not bury it in an edible bed.
Black walnut deserves a specific caution because its roots, leaves, and wood contain juglone-related compounds that can inhibit some plants. The safest practical rule is to keep black walnut logs out of beds used for vegetables, herbs, or sensitive ornamentals rather than trying to calculate how much of the compound might remain after decomposition.
Logs also have a water trade-off. Dry wood can absorb a surprising amount of water at first, so a new bed may need attentive irrigation while the logs become saturated. Later, decomposing wood can help hold moisture, but it does not replace checking the root zone with your finger or a moisture meter, especially during the first growing season.
Do not use logs to fill a shallow bed. If you put a thick log layer into a 12-inch frame, you may leave only a few inches of actual soil, and the surface can drop below the frame as soon as the smaller material collapses. Logs earn their place when the frame is tall enough to carry both the structure and a deep cap.
2. Branches and Brush to Fill Gaps
Branches are the transition between whole logs and fine organic material. They fill the spaces around the large base pieces, add a little more surface area for decomposers, and help prevent the upper layers from slumping directly into the biggest voids.
Use dry or dead branches from suitable, untreated trees. Cut long pieces into manageable lengths and remove thorny sections that could work back toward the surface. Arrange thicker branches across the logs, then add smaller sticks and brush over them; this coarse-to-fine pattern makes the fill more stable than tossing every size into a single loose pile.
Branches break down faster than logs, so expect them to contribute to early settling. That is useful if you are building in autumn for spring planting, but it is inconvenient if you need a perfectly full bed for immediate seeding. Water the branches as you place them and press them down gently with a garden fork or your hands; eliminate gaps without crushing the layer into an airless mass.
Fresh green branches are a poor shortcut. Some species can root or sprout when buried, and green material also changes the moisture and nitrogen balance of the fill. Let questionable prunings dry and die before using them, or send them through a composting or municipal green-waste system.
Branches alone are not a planting medium. They should be below a root-zone cap, not mixed through the soil where carrots, onions, or young transplants need consistent contact. If you can see sticks when you make a planting hole, the cap is too thin or the fill is in the wrong place.
3. Untreated Arborist Wood Chips for Smaller Voids
Arborist wood chips are a useful middle layer because they contain a mix of chips, bark, small twigs, and sometimes leaves. They settle into spaces that logs and branches cannot fill, while remaining coarse enough to leave some air movement during decomposition.
Ask a local tree service what is in the load before accepting it. A clean load from a known, untreated tree job is very different from a pile containing painted lumber, demolition waste, pressure-treated scraps, plastic, or an unknown mix of landscape chemicals. “Free mulch” is not automatically garden-safe, particularly when the bed will grow food.
Fresh chips are high-carbon material. Keep them in the lower fill or use them as a surface mulch where they will not be mixed into the active root zone. The Royal Horticultural Society warns that carbon-rich material can cause nitrogen lock-up while microbes decompose it; the practical symptom is not that the wood permanently steals all the nitrogen, but that nearby plants may have less available nitrogen during the early breakdown period.
Avoid putting a thick layer of fresh chips directly under shallow-rooted seedlings. If chips are the only material you have, build the bed ahead of time, water it, add a stable soil cap, and let the system settle before planting. For a bed that must be planted immediately, use aged chips only as a small component of a lower layer and spend your budget on finished soil above them.
Wood chips are not a drainage layer in the same sense as a pipe or open outlet. They can hold water and create air spaces, but the bed still needs a suitable site and an unobstructed way for excess water to move away. Watch the soil after a heavy rain instead of assuming the coarse layer solved every drainage problem.
4. Straw for a Fast, Airy Layer
Straw is the dry stem left after grain harvest, and it is different from hay. It is lightweight, inexpensive in many rural areas, and useful for adding bulk above or around woody material. It also breaks down faster than logs, so it is better for a bed you expect to refresh than for a permanent structural base.
Use clean, dry straw with as few seed heads as possible. Hay is more likely to contain mature grass or broadleaf seeds, and either hay or straw can carry residues if it came from a treated field. Ask the grower what was sprayed and whether the material was stored off the ground and away from animal waste.
Fluff the straw, wet it as you build, and mix it with leaves, small branches, or finished compost rather than stacking a thick dry bale inside the bed. A solid bale can shed water at first and then collapse unevenly once it becomes saturated. Loose, interlocked fibers make a more predictable filler.
Straw is a better choice for the lower or middle portion of a tall bed than for the top few inches. It does not provide the fine texture needed for seed contact, and raw straw can temporarily compete for nitrogen as microbes digest its carbon. Cover it with enough stable soil that roots do not have to cross a loose, drying mat to reach moisture.
If you have only a shallow frame, use straw as a thin surface mulch after planting rather than as a deep internal filler. The same material can save water and reduce soil splash when it is kept loose on top, but the job is different from taking up half the bed’s volume.
5. Leaf Mold for Moisture and Structure
Leaf mold is not simply a bag of dry autumn leaves. It is the dark, crumbly or fibrous material produced when leaves decompose over time, usually with more fungal activity than a hot, mixed compost pile. The finished material improves texture and water-holding capacity, but it is not usually as nutrient-dense as finished compost.
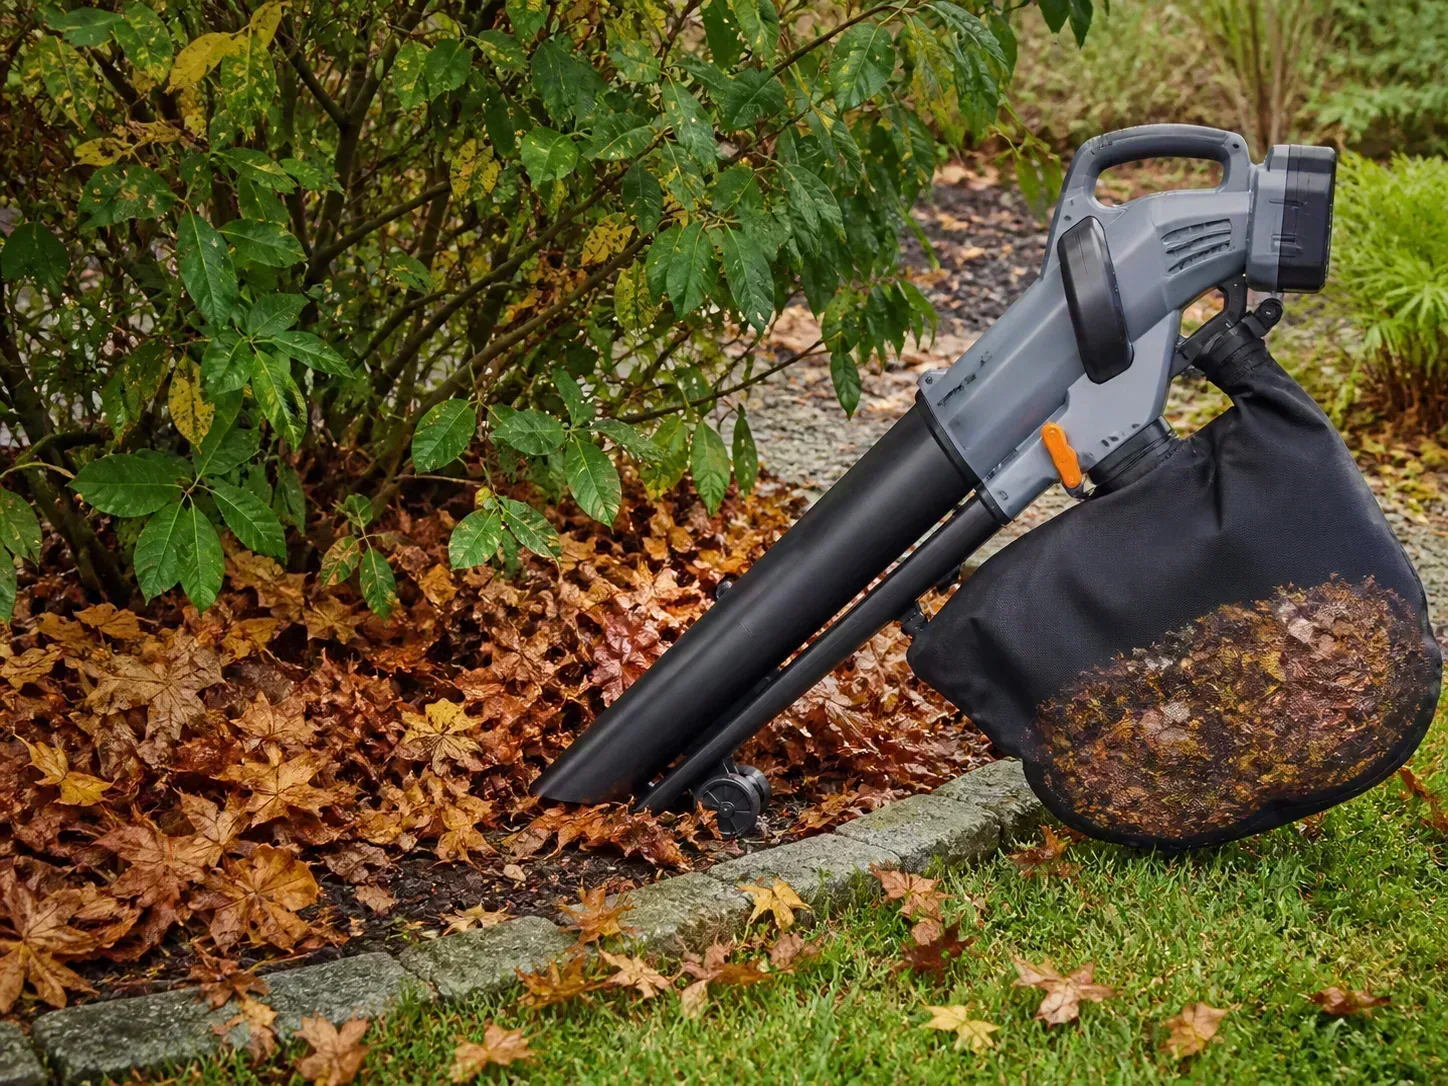
To make it, shred clean leaves, wet them, and keep them in a breathable pile, wire corral, or perforated container. Turn the pile occasionally if you want faster breakdown, but patience matters more than constant handling. Savvy Gardening’s leaf-mulch guidance describes leaf mulch and leaf mold as useful soil-building materials and notes that shredded leaves settle more evenly than whole leaves.
Whole leaves can mat together and shed water, while a deep layer of loose leaves can leave large air pockets. Shredding reduces both problems. If you are filling a bed with leaves before they become leaf mold, compress them gently in layers, wet them, and add some more stable soil or compost between layers rather than creating one enormous leaf-only cavity.
Leaf mold is excellent for improving the feel of a heavy soil cap, but it should not be the entire root zone for crops that need strong nutrient supply. Blend it with topsoil and finished compost, then check how quickly the mix dries. In wet climates, too much fine leaf material can stay damp; in hot, dry climates, it can be valuable for moderating moisture loss. Epic Gardening likewise cautions that fresh leaves take time to break down and can create air pockets or temporarily compete for nitrogen.
Source matters here too. Skip leaves collected from roadsides, recently treated lawns, diseased plants, or piles mixed with pet waste. If black walnut is common on your property, keep those leaves separate rather than using them fresh in an edible bed; composting and complete breakdown are safer than burying a concentrated layer of unknown leaves beside vegetables.
6. Finished Compost for the Root Zone
Finished compost is the most useful material on this list for plants, but it is usually the least economical choice for filling the entire depth of a tall bed. It improves aggregation, moisture management, and biological activity, while supplying nutrients gradually. Oregon’s Department of Environmental Quality describes compost-amended soil as a way to nourish soil life, keep soil loose, and support water-holding capacity.
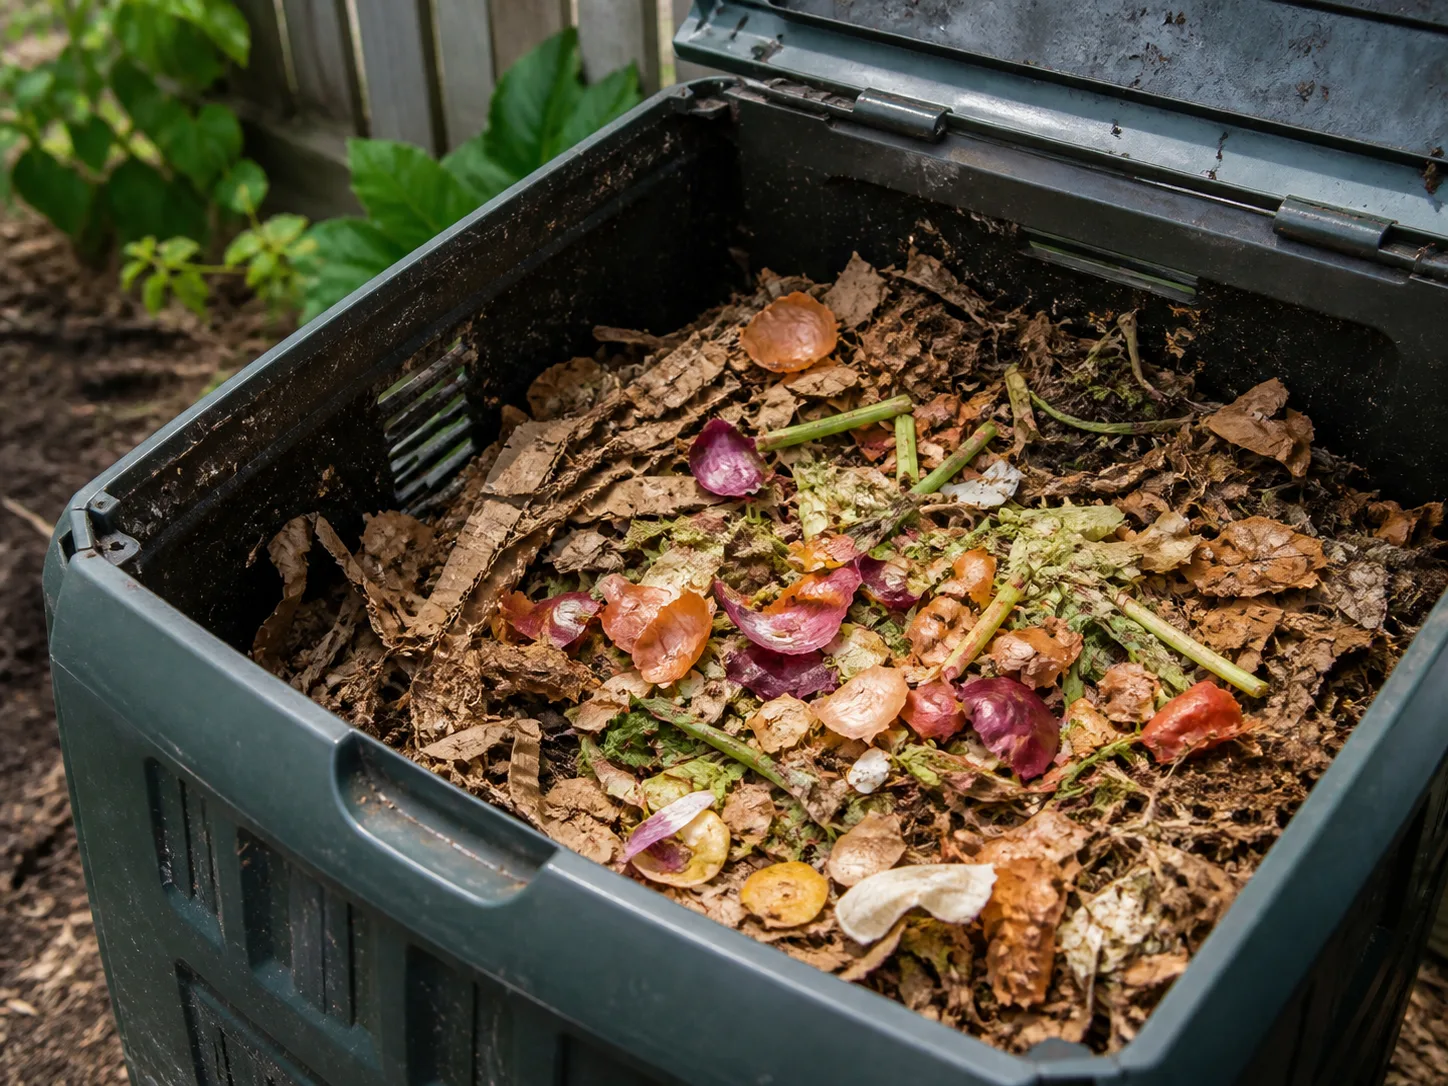
Use compost that is dark and crumbly, has an earthy smell, and no obvious recognizable food scraps or heating center. A small germination test with quick-growing seeds can reveal a batch that is too immature or contaminated before you spread it across the bed. If you buy compost, read the feedstock and testing information instead of choosing only by color.
Compost is an amendment, not a substitute for every other soil property. A bed made from pure compost can shrink, hold more water than expected, or contain more soluble nutrients and salts than a crop needs. Mix it with topsoil or another stable mineral component so roots have both nutrient-holding organic matter and a firm, well-drained matrix.
The Royal Horticultural Society recommends well-rotted organic matter for improving soil and warns that immature carbon-rich material can deplete available nitrogen. That makes finished compost the sensible cap over raw wood, leaves, straw, and branches. You are not trying to sterilize the bed; you are trying to put the most mature material where seeds and roots must perform immediately.
A Practical Layering Recipe for a Raised Bed
For a 24-inch bottomless bed that will grow vegetables, start with a lower layer of logs and large branches, fill the gaps with smaller branches and clean wood chips, then add a softer layer of straw or shredded leaves. Reserve roughly the upper 10 to 14 inches for a stable planting mix, adjusting upward for deep-rooted crops.
For a bed 30 to 36 inches tall, the lower half can contain more coarse organic fill if the soil cap remains deep enough for the crops. Oklahoma State University Extension recommends the lower half for hügelkultur material in a framed bed at least 17 inches tall, with the upper half reserved for quality planting soil and compost. That is a useful ceiling for the woody layer, not a requirement to fill every tall frame halfway with logs.
Build the Base From Coarse to Fine
Clear the bed and open the native soil below it. Lay the biggest dead logs first, leaving enough room around the inner walls that soil can reach the edges. Add branches across the logs, smaller brush into the gaps, and then chips, straw, shredded leaves, or a blend of those materials above the woody base.
Water each layer as it goes in. Moisture helps the materials settle into contact, but avoid flooding the bed or packing it so tightly that there is no air. The Oklahoma State guidance also recommends reducing voids as the mound is built; this matters because a large hidden cavity can collapse suddenly and leave roots unsupported.
Alternate carbon-heavy layers with modest amounts of mature, nitrogen-containing organic matter such as finished compost. Do not dump fresh kitchen scraps or a thick layer of fresh manure into a food bed to “balance” the wood; those materials can attract pests, smell, release salts, or create a sanitation problem. The goal is a functioning decomposition zone, not an underground waste bin.
Cap It With a Real Root Zone
The cap should be deep enough that the deepest roots never have to grow through raw wood, loose straw, or a leaf mat during the season. As a starting point, use 8 to 10 inches for shallow greens and herbs, 12 to 18 inches for most fruiting vegetables and root crops, and 18 inches or more for deep-rooted perennials or large plants. Soil type, cultivar, climate, and irrigation can shift those numbers.
Blend topsoil with finished compost rather than pouring a thin strip of compost over a huge pile of fresh material. The surface should be fine enough for seeds, hold together around transplants, and drain without crusting. After filling, water slowly until the whole profile is damp, let it settle for several days, and measure the cap again before planting.
Which Filler Should You Choose?
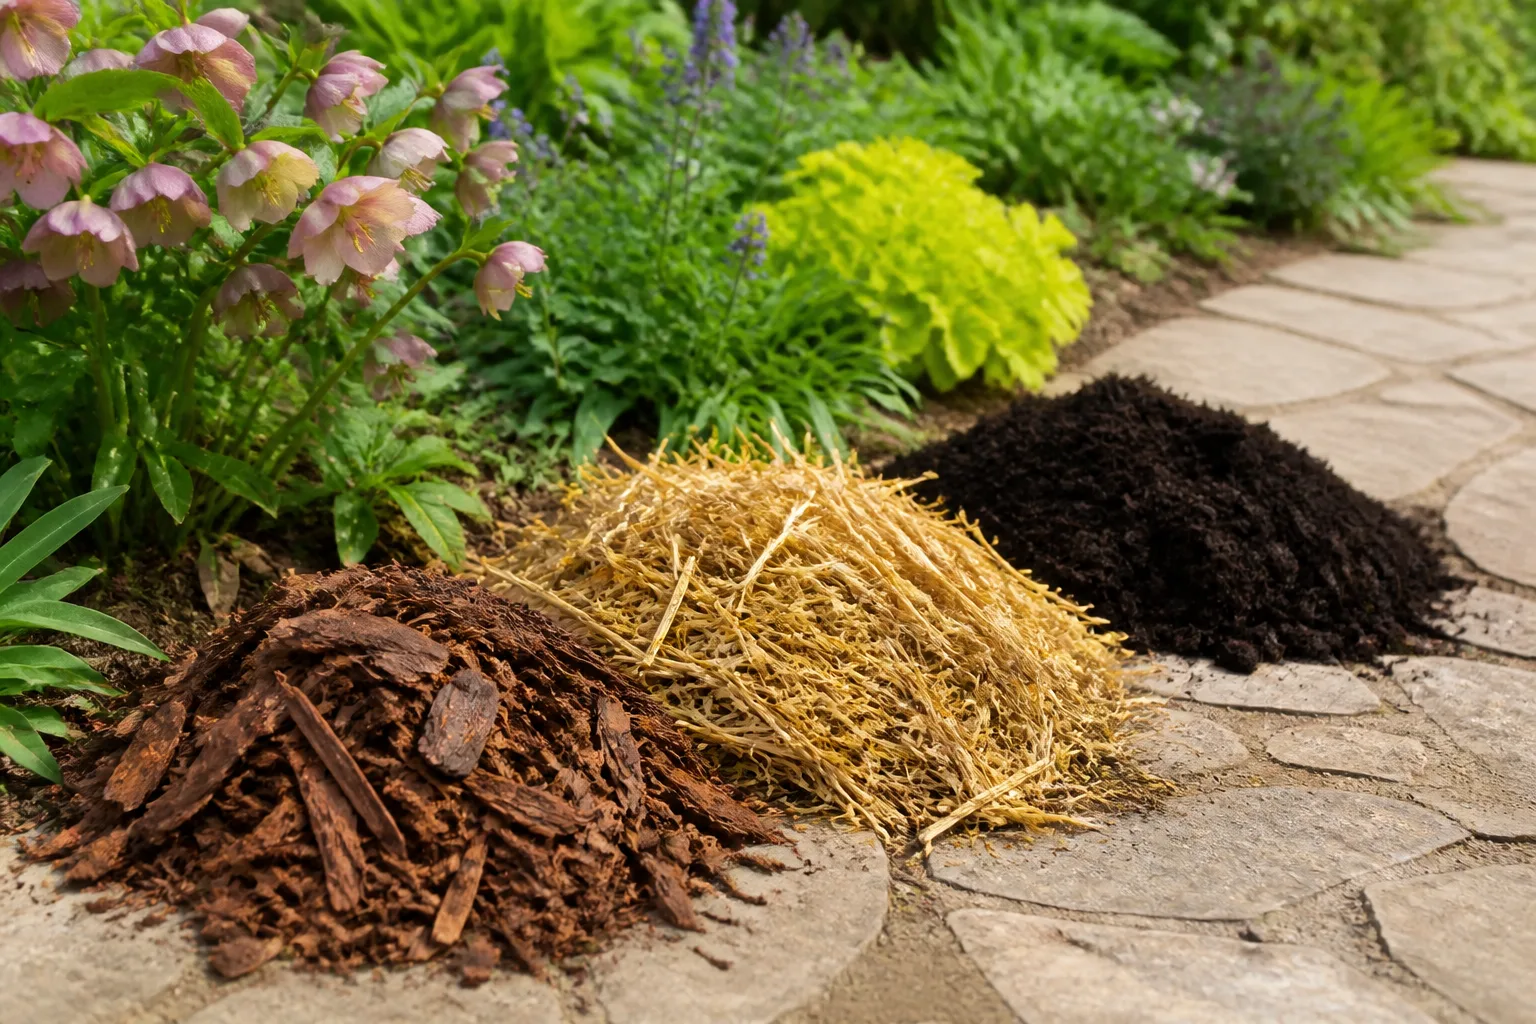
Choose logs and branches when the bed is tall, the material is free and identifiable, and you can wait for the system to settle. This combination saves the most volume, but it also creates the largest first-season changes in water demand, soil level, and nitrogen availability.
Choose wood chips when you need to fill smaller voids or have a clean arborist load. Keep them below the root zone and ask about the source. They are more convenient than large logs, but they decompose faster and can be troublesome if mixed through planting soil.
Choose straw when you need lightweight bulk and can verify that it is clean. It is useful in a tall, well-capped bed or as surface mulch, but it is not a substitute for fine soil in a shallow bed. If the straw is dusty, moldy, seed-heavy, or from an unknown treated field, the cost savings are not worth the uncertainty.
Choose leaf mold when your main goal is a softer, more moisture-retentive soil texture. It is a good long-term amendment, especially for heavy or dry soil, but it requires time. Fresh leaves are a fall project; finished leaf mold is a planting-season resource.
Choose finished compost when you are improving the root zone or topping up a bed. It gives the quickest benefit of the six materials, but using it as the only deep filler can be expensive and may make the bed shrink more than a soil-and-compost blend. If your budget is limited, buy stable soil for the root zone and make compost or leaf mold for future seasons.
Materials to Avoid or Use With Caution
Do not use pressure-treated, painted, stained, varnished, or glued construction lumber as buried filler. Avoid railroad ties, demolition wood, pallets with an unknown history, and anything that smells of fuel or chemicals. The fact that a material is made of wood does not make its previous use irrelevant.
Skip black walnut and other plant-inhibiting wood when the bed will hold edible crops. Avoid green branches that can sprout, highly resinous or decay-resistant material when your goal is decomposition, and any load that contains trash or unidentified landscaping waste. When a tree service cannot tell you what was chipped, use the material on ornamental paths instead of in the vegetable bed.
Do not use gravel, rocks, or a thick plastic layer as a default filler. Rocks add weight but no organic matter, and a coarse layer beneath fine soil can interrupt rather than improve drainage. Landscape fabric can also become a boundary that roots and soil organisms do not cross easily; use a barrier only for a clearly identified problem, such as persistent invasive roots or tunneling pests, and understand that it changes the bed’s water and root behavior.
The Source Matters More Than the Label
“Organic” describes a material category, not a guarantee that the material is clean, mature, or appropriate for food production. Manure may contain weed seeds or residues from persistent herbicides; straw and hay may carry field treatments; municipal compost may vary by feedstock; and green waste may include diseased plant material.
The RHS recommends using well-rotted material and points out that weedkiller contamination has occurred in some composts and manures. If a product’s source is unclear, ask for feedstock information and run a small germination test before committing the whole load. A tray of beans or peas is not a laboratory analysis, but distorted, cupped, or stalled seedlings are a useful reason to keep a suspect material out of the bed.
Fresh manure should be composted before use, especially near crops that will be eaten raw. Keep compost and manure piles covered so nutrients are not washed into drains or waterways, and follow local rules if you are handling large quantities. Gloves, handwashing, and sensible garden hygiene matter even when every ingredient started as a natural material.
Planting and Maintaining a Bed That Will Settle
Build the bed in autumn if you can. A fall-to-spring curing period gives logs, branches, straw, and leaves time to absorb water, settle, and begin decomposing before the crop’s main root system is relying on the bed. You can plant immediately, but only if the cap is deep, the materials are stable, and you accept more monitoring and top-up work.
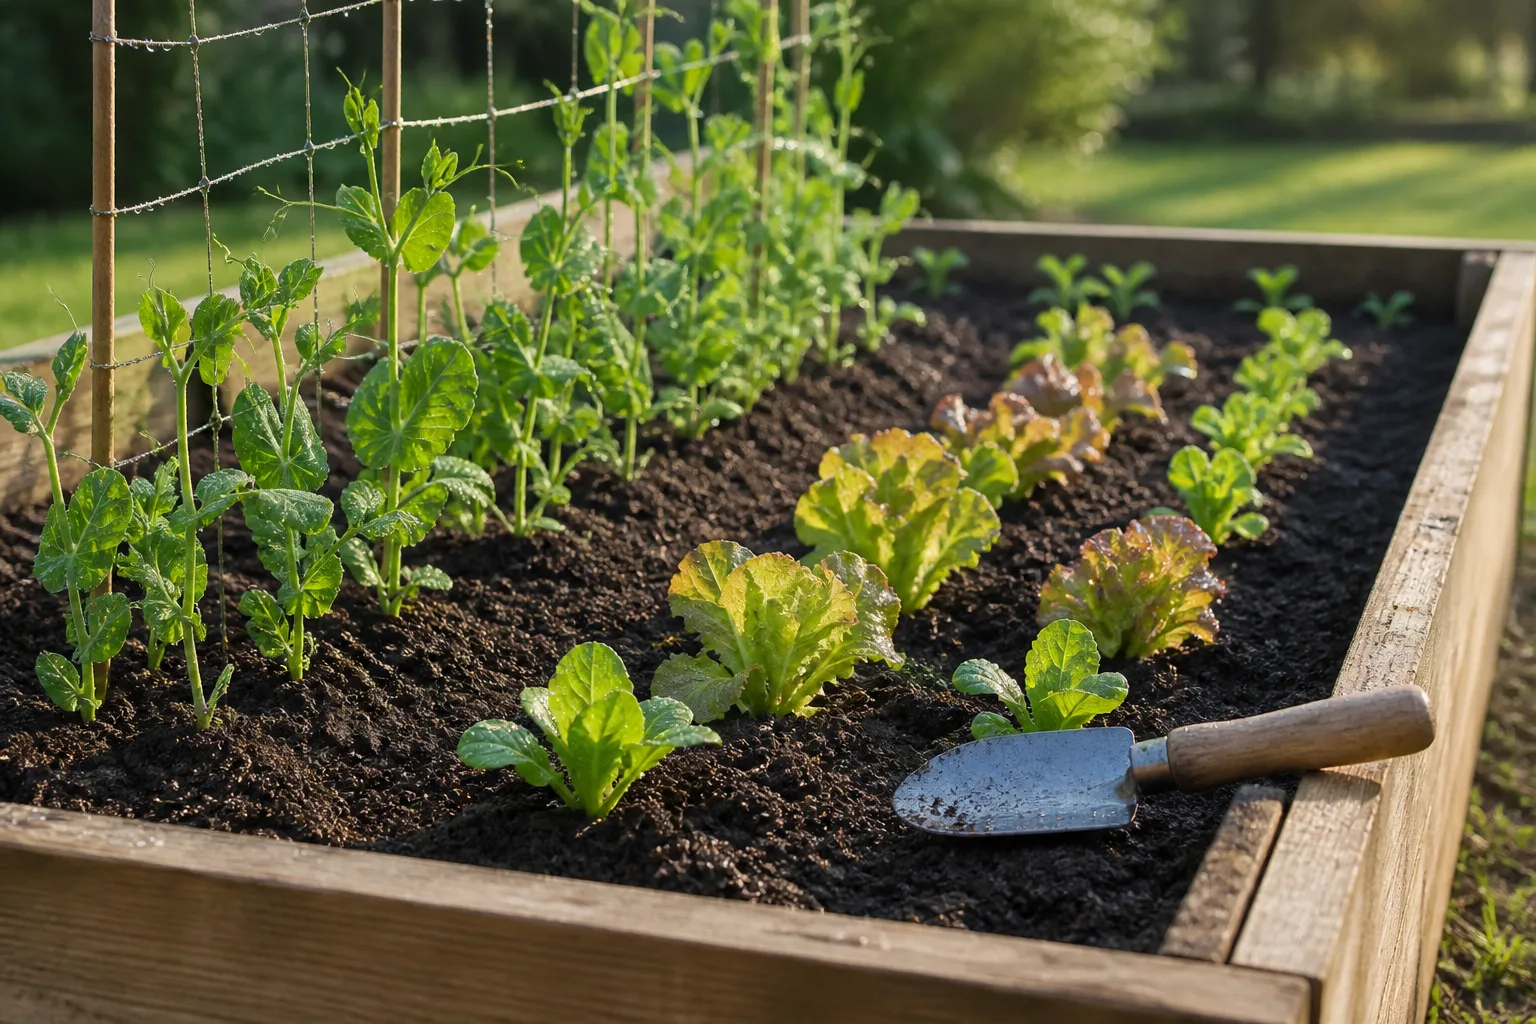
Water deeply after construction, then check the surface after a few days and again after the first heavy rain. If the level drops below the frame, do not fill the gap with another layer of fresh wood. Add finished compost and stable planting soil until the root zone returns to its intended depth.
Expect the greatest change during the first one or two seasons. The exact amount depends on the material size, moisture, climate, and how tightly you built the layers, so do not rely on a universal “it will sink two inches” promise. Mark the soil level on the frame or take a photo after planting; that gives you a useful baseline for the next top-up.
Plant for the Soil You Have Today
If you must plant the same day, choose crops whose roots will stay in the finished cap and use transplants or larger seeds that are easy to monitor. Leafy greens, herbs, bush beans, and many short-season crops are easier to manage than long carrots or parsnips whose roots may encounter a loose layer and fork.
Set transplants at the same depth they were growing, firm the soil around them, and keep raw mulch away from stems and crowns. Raw wood and straw should not be piled against plant bases, where they can stay damp and restrict airflow. Water slowly enough to wet the root zone without washing soil into the voids below.
At the end of the season, remove diseased plants and inspect the fill where you can without turning the bed over. Add a thin, even layer of finished compost each year rather than aggressively digging through the profile. Deep cultivation can pull raw material into the root zone and destroy the stable layering that makes the system work.
Troubleshooting Sinking, Odor, and Weak Growth
The soil level fell quickly. Large air pockets, loose leaves, straw, and fresh woody material are the usual causes. Top up with stable soil and finished compost, then use less loose material the next time you build; do not solve every drop by adding more raw filler.
The bed smells sour or swampy. A persistent sour smell indicates too much water and too little air in a compacted layer. Check that the bed sits on draining ground, open the surface gently with a fork, remove any obvious anaerobic mass if it is near the top, and reduce irrigation until the profile has air again. Do not add more wet scraps or manure.
Seedlings are pale and growth is weak. First check light, water, root depth, and pests. If those are reasonable and the symptom is concentrated where roots meet fresh wood, nitrogen may be temporarily tied up during decomposition; add mature compost, consider a soil test, and use a modest, crop-appropriate fertilizer only if the test or plant symptoms justify it.
The surface dries while the lower bed stays wet. This can happen when a coarse or hydrophobic layer sheds water and the cap is not making good contact with it. Apply water slowly in two passes, add a thin surface mulch once plants are established, and check drainage after rainfall. If the lower bed remains saturated, the issue is the site or container design, not a lack of gravel.
Weeds appear everywhere. Suspect seed-heavy hay, immature compost, contaminated manure, or windblown seeds settling into an exposed surface. Pull weeds while small, cover bare soil with a thin layer of clean mulch, and do not add another questionable load to bury the problem.
Conclusion
The best way to fill a raised garden bed cheaply is to match each organic material to its job. Logs and branches create a slow structural base; clean wood chips fill smaller spaces; straw adds light bulk; leaf mold improves texture and moisture management; and finished compost belongs in the root zone and in yearly top-ups.
The non-negotiables are a deep enough soil cap, a clean and identifiable material source, an open or properly drained base, and an expectation that the bed will change as it composts. If the frame is shallow or planting cannot wait, spend the money on stable soil; if the frame is tall and you have time, a carefully built organic base can reduce cost while becoming better soil over the seasons.