How to Prune Black-Eyed Susans in Fall
Learn when and how to prune black-eyed Susans in fall, how far to cut, when to deadhead, and when leaving seed heads is better for birds and winter habitat.
The short answer: prune for a reason, not a date
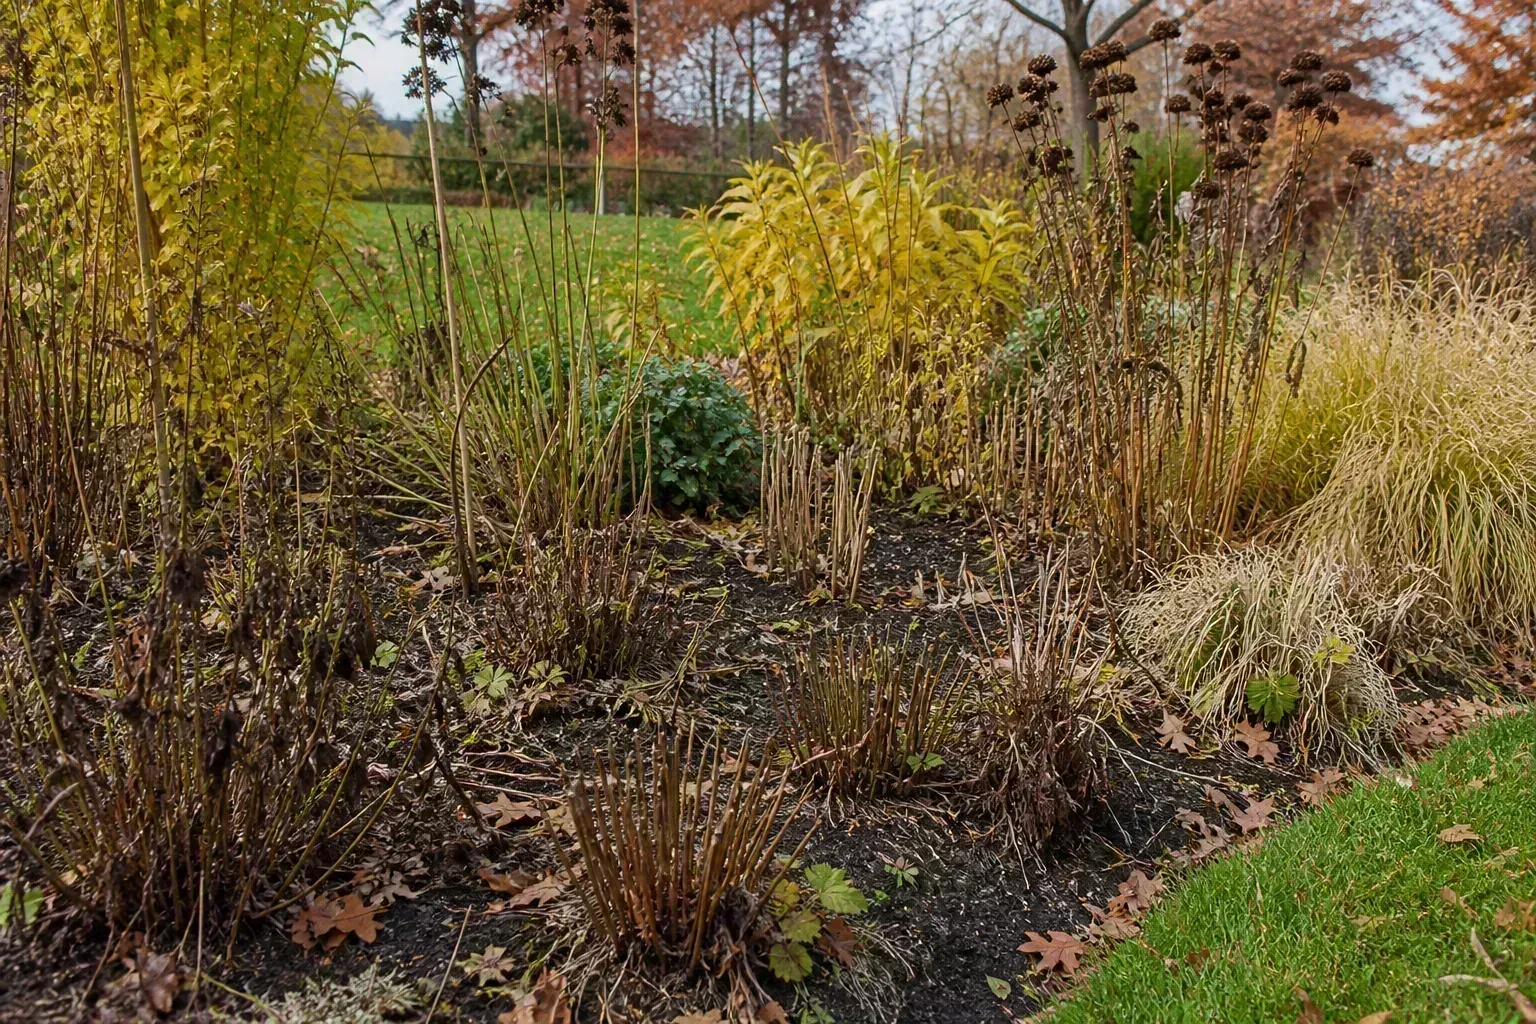
You do not have to cut every black-eyed Susan to the ground in fall. The best approach is to deadhead individual flowers while the plant is still blooming, then decide whether to make a full cutback after a killing frost or wait until late winter or early spring. That decision depends on whether the plant is healthy, whether you want birds to eat the seed, how wet your winter is, and whether new growth has already started.
For most established plants, the practical sequence is simple: remove spent flowers during the growing season, remove diseased leaves whenever you see them, and leave healthy stems standing until they collapse naturally or until you are ready to tidy the bed after frost. If you do make a fall cut, leave a short stub above the crown rather than hacking into the soil. This protects the growing point and makes it easier to see where the plant is emerging next spring.
Black-eyed Susan usually means a Rudbeckia, but the name covers plants with different life cycles. Rudbeckia hirta may be annual, biennial, or short-lived perennial depending on conditions, while perennial types such as Rudbeckia fulgida form more reliable clumps. Pruning improves the timing and appearance of growth; it cannot make a short-lived plant live forever.
Identify which black-eyed Susan you grow
Before you decide when to cut back, check the plant tag, seed packet, or cultivar name. NC State Extension describes Rudbeckia hirta as a fast-growing biennial or short-lived perennial that may bloom in its first year from early-spring seed. The NC State Extension Gardener Plant Toolbox also notes that it self-seeds readily and can continue flowering into mid-fall when deadheaded.
That behavior is different from a clumping perennial black-eyed Susan sold as Rudbeckia fulgida, including ‘Goldsturm’. A clump can return from its crown for many seasons, so dormant cleanup is mostly about timing, airflow, appearance, and wildlife. A plant that was always intended to complete its life cycle in one or two years may disappear even if you prune it perfectly.
The Royal Horticultural Society’s profile of Rudbeckia hirta likewise lists the species as annual, biennial, and herbaceous perennial, with summer-to-autumn flowers and a preference for moist but well-drained soil. If you are unsure which Rudbeckia you have, use the conservative plan: deadhead for flowers, remove only unhealthy growth, and delay the full cut until the plant is dormant.
Deadheading and fall cutback do different jobs
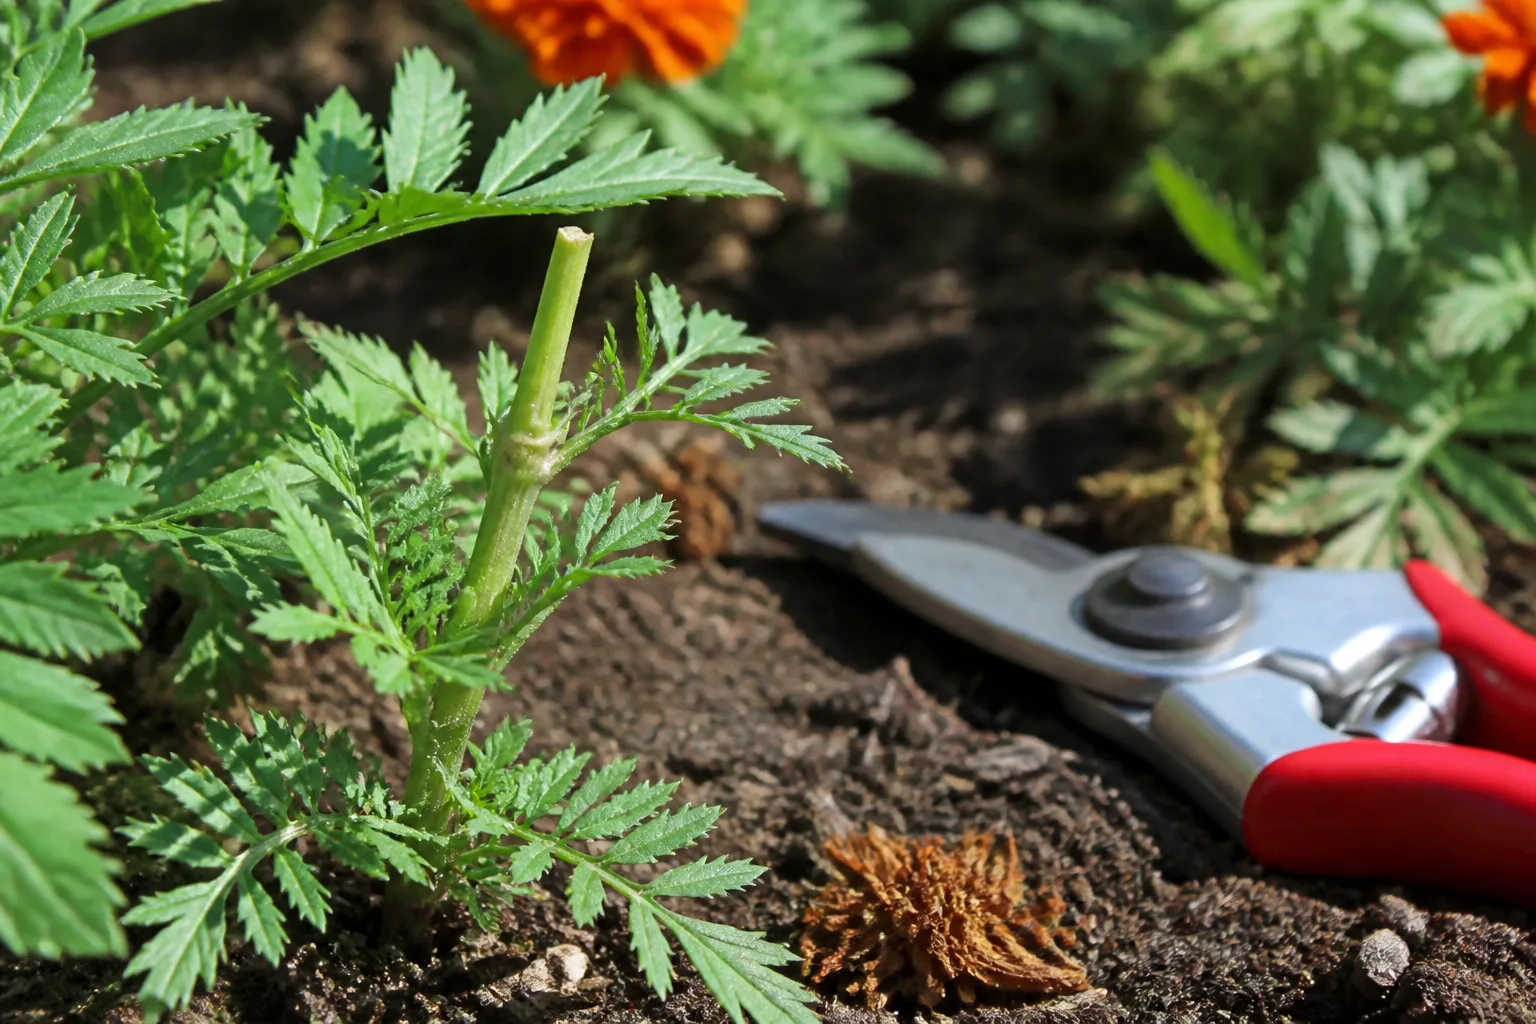
Deadheading means removing individual faded flowerheads. It keeps a flowering plant from putting as much effort into mature seed and can encourage additional side buds while warm weather remains. Make the cut just above a healthy leaf pair or branching point, following the stem down until you reach a place that does not leave an awkward bare stalk.
Fall cutback means removing most or all of the old season’s stems once the plant has finished growing. It is a cleanup and disease-management choice, not a way to force flowers immediately. Cutting a still-green plant in early fall can remove unopened buds, reduce late-season interest, and leave the crown more exposed to weather without creating any clear benefit.
Think of the two jobs as a sliding scale. If the plant is still producing buds, deadhead only the finished flowers. If a hard frost has blackened the stems, you can cut the whole top back. If the bed is healthy and you value goldfinches or winter texture, leave the seedheads and make the final cut in spring.
Gather tools and set up a clean cut
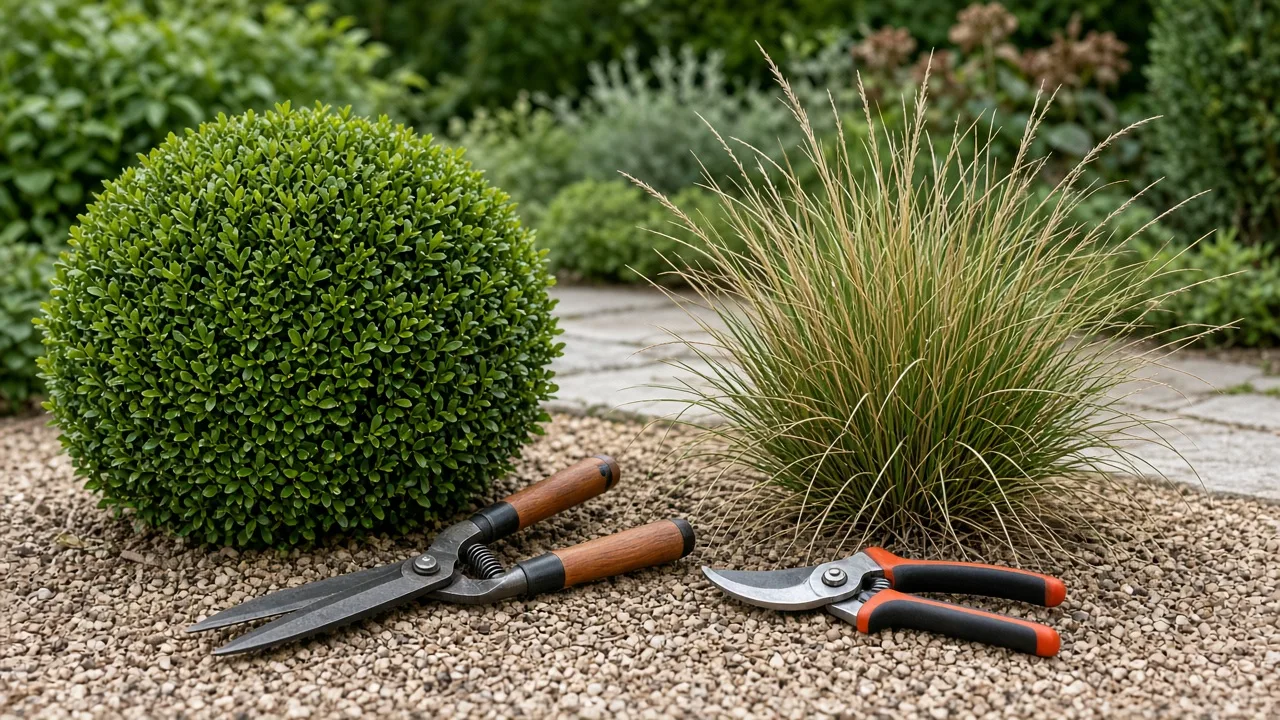
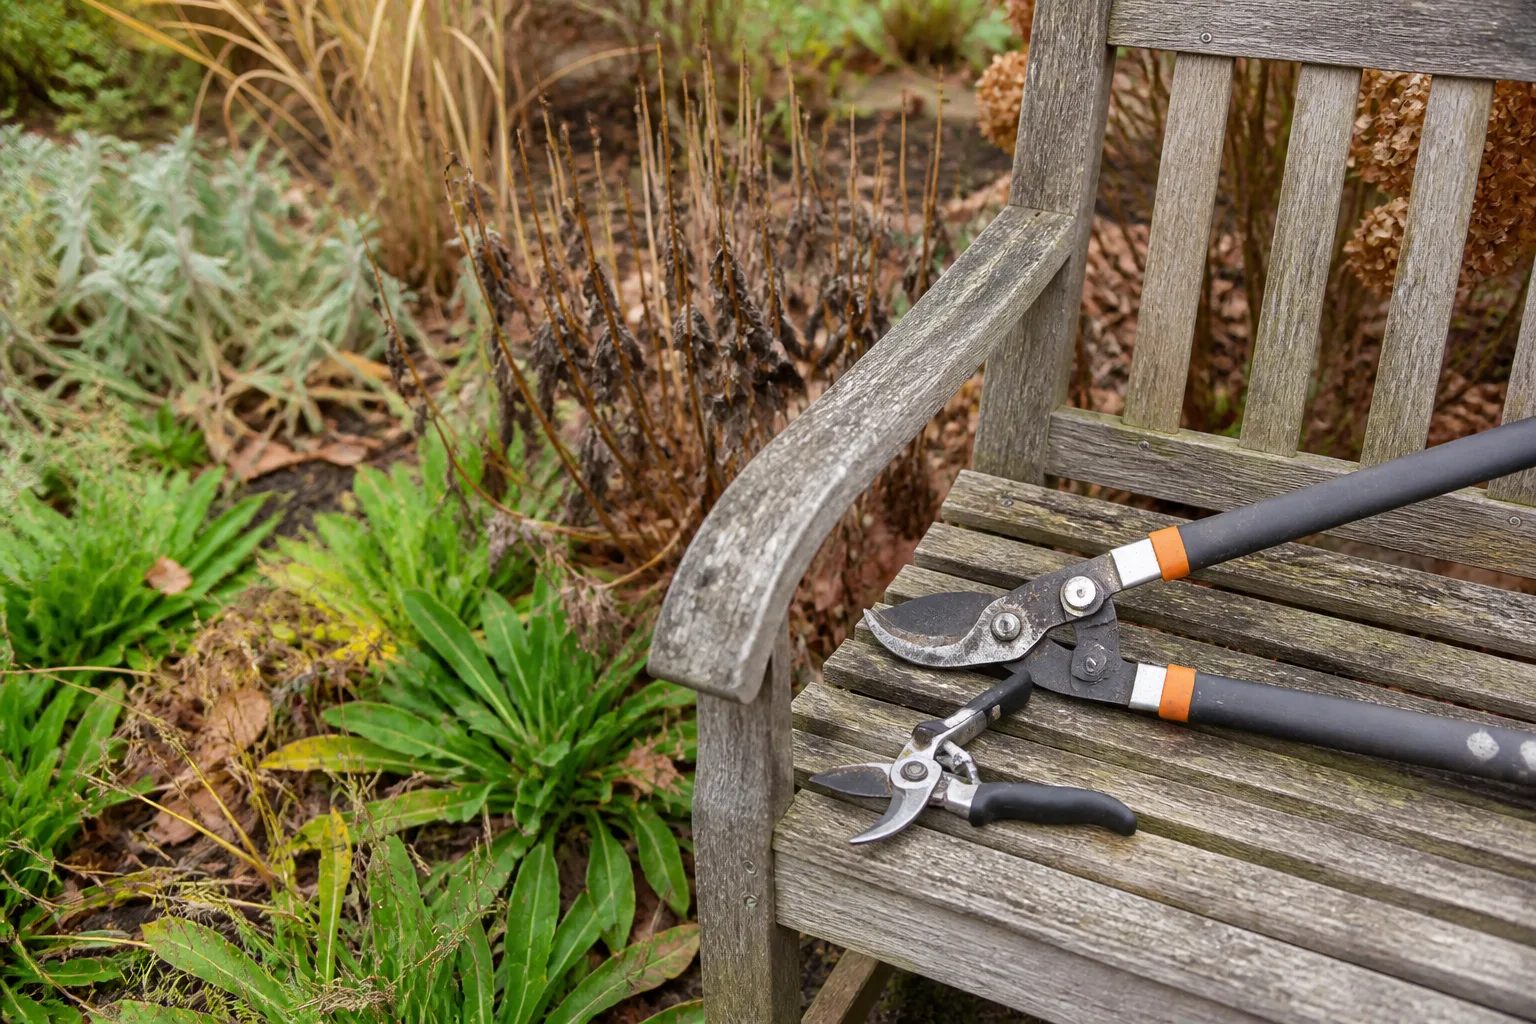
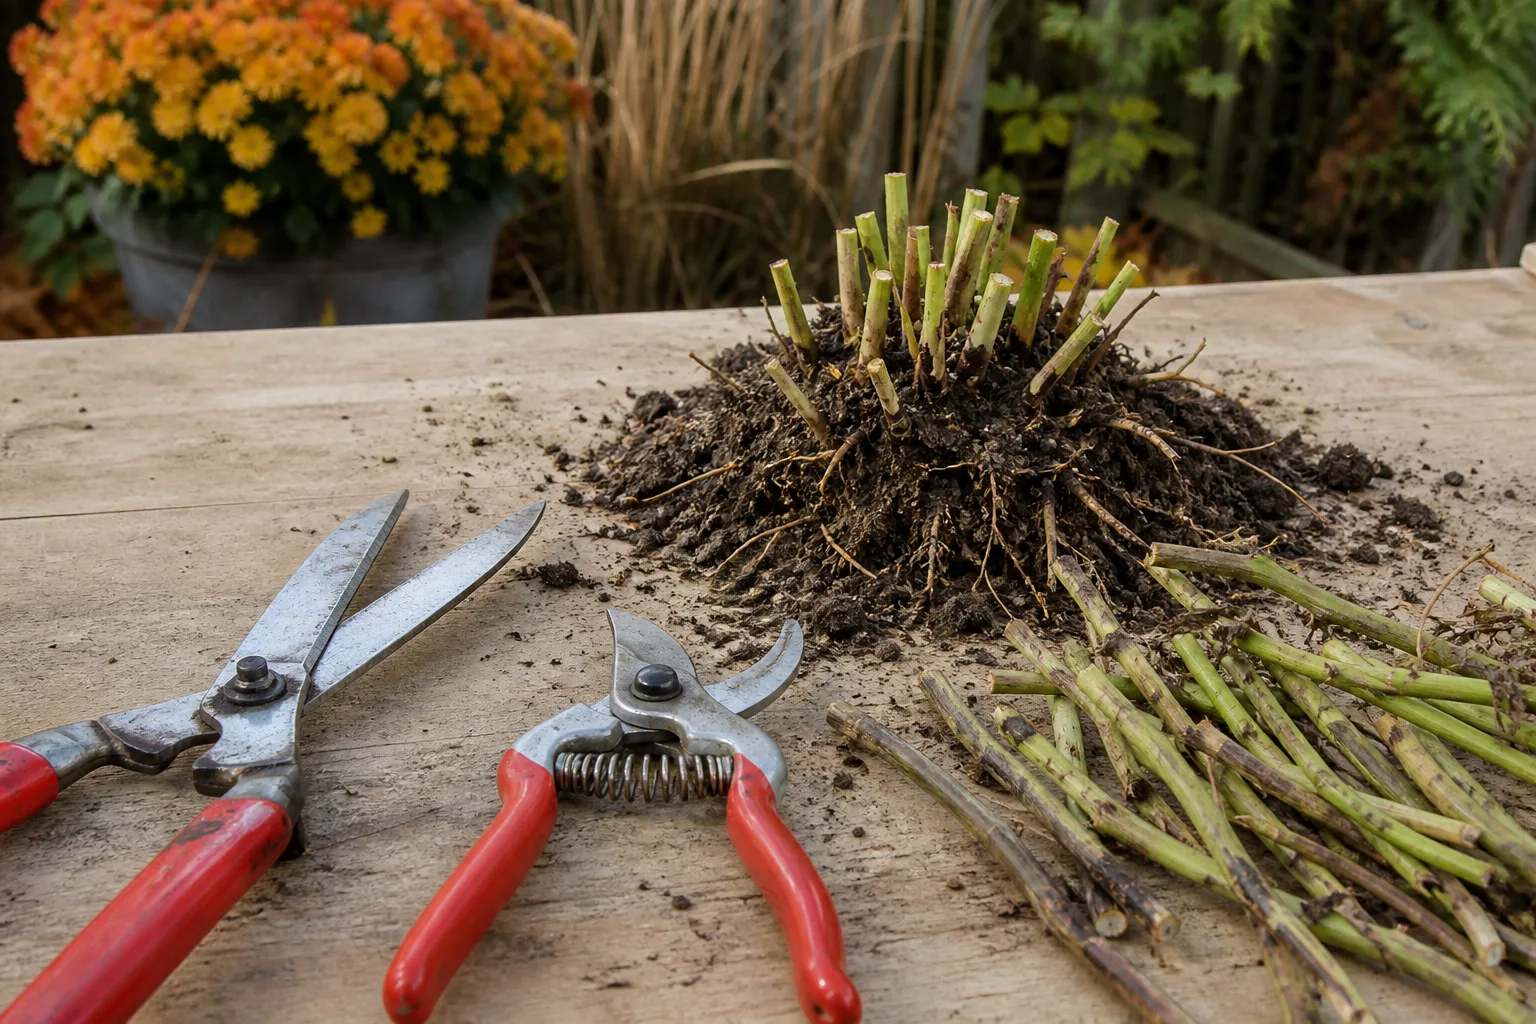
For a small planting, sharp bypass pruners are enough. Taller or dense clumps are easier to handle with long-handled shears, but the blade still needs to be sharp enough to slice rather than crush. Dull blades tear stems, make the work slower, and leave ragged surfaces that dry unevenly.
Clean the blades before you start, between visibly diseased plants, and again when you finish. A household disinfectant used according to its label or a suitable garden-tool disinfectant is safer than guessing at a homemade concentration. Wear gloves if the rough, hairy stems irritate your skin, and keep a bucket or tarp nearby so cut material does not get mixed into healthy mulch.
Do not prune a rain-soaked clump if you can wait for a dry day. Wet foliage and wet debris cling to tools and clothing, and the bed is harder to inspect. A dry, calm day lets you see which stems are simply dormant and which have lesions, mildew, or rot.
A step-by-step fall pruning method
Inspect the plant before cutting
Stand back and look at the whole clump. Find the basal crown, note any green leaves or low shoots, and check whether the stems are still carrying unopened buds. Then inspect the foliage for white powder, spreading brown or black spots, orange pustules, slimy tissue, or stems that have collapsed at the soil line.
This inspection determines the job. Healthy stems can stay for birds and winter structure; dead or diseased tissue is the material to remove first. If the crown is green and the plant is still flowering, do not treat a calendar date as permission to strip it.
Remove spent flowers while blooming continues
Hold the spent flowerhead below the seed capsule and trace its stem down to the next strong leaf or side shoot. Snip cleanly just above that point. Removing only the finished head preserves nearby buds and avoids taking a long section of healthy stem that could still produce flowers.
You can deadhead every few days during a long bloom period, or do a selective pass once a week. The more important rule is to stop when your goal changes. Continue deadheading if you want a tidier plant and more late-season flowers; stop deadheading on some stems if you want mature seeds for birds or natural reseeding.
Make the final stem cut after frost
Wait until a hard frost has killed the top growth, or until the stems are clearly brown, dry, and finished. Cut the old stalks down to roughly 2 to 6 inches above the soil, adjusting for the plant’s size and the condition of the crown. A four-inch stub is a useful middle ground for many garden clumps; leaving closer to six inches makes cleanup easier in a loose planting, while a compact bed may look better at two or three inches.
Do not cut blindly to ground level if you cannot see the crown. The growing point is at the base, not at the end of the stem, and cutting into it can damage next year’s growth. If the plant still has green basal foliage, work around that foliage rather than flattening it.
Make cuts in small bundles instead of grabbing the entire plant and twisting. Twisting can pull at the crown or dislodge shallow roots. Place healthy dry stems in a separate pile if you plan to leave seedheads elsewhere, and put suspect material directly into yard waste rather than a home compost bin.
Remove diseased material from the bed
Powdery mildew, leaf spot, and rust are more important reasons for fall cleanup than appearance alone. The RHS lists powdery mildews as a possible problem for Rudbeckia hirta, especially when soil is dry, while NC State flags powdery mildew and slugs as common concerns. These labels do not mean every spotted leaf is infectious, but they do justify removing clearly diseased foliage and improving the conditions that encouraged it.
Cut infected leaves and stems at their base, disinfect the blade, and collect fallen debris around the crown. Do not chop diseased material into the bed as mulch. Pruning will not cure a crowded, shaded, or poorly drained planting, so pair cleanup with better spacing, base watering, and a plan to move or divide the clump if it is packed together.
Choose the right timing for your garden
There are three useful pruning windows, and each serves a different purpose.
During late summer and fall bloom: deadhead faded flowers while leaving buds and healthy foliage intact. This is the right window when the goal is more flowers before frost.
After a hard frost: cut back blackened, collapsed, or diseased stems if you want a tidy bed, have a wet winter, or need to remove material that could mat against the crown. In cold areas, do the work after the plant has gone dormant rather than during a warm spell that might encourage tender regrowth.
Late winter to early spring: leave healthy stems and seedheads through winter, then cut them before new basal shoots lengthen. The exact week changes by climate. The best cue is not a date on the calendar but the combination of old stems, workable soil, and no visible new growth. The practical guidance from Ideal Home’s Rudbeckia timing review also presents after-flowering cleanup and spring cutback as two valid options, with wildlife value as the deciding factor.
If you live where winters are mild, black-eyed Susans may retain a rosette or start growth early. If you live in a snowy climate, stems can remain standing longer without harming the dormant crown. In either case, stop cutting when you see fresh shoots emerging from the base. Those shoots are next season’s plant, not old debris.
How far back should you cut?
Use the crown as your boundary. For a mature in-ground clump, 2 to 6 inches above the soil is a practical fall range. Leave more stem when the plant is loose, the crown is hard to see, or you want standing structure; cut shorter when the bed is formal and the old stems are fully dry and easy to remove.
Avoid burying the remaining stubs under a thick, wet pile of leaves. A light, loose mulch layer can buffer temperature swings, but the crown still needs air and drainage. Mulch should sit around the plant, not packed directly over the center where stems emerge.
Very young plants deserve a lighter touch. A first-year Rudbeckia hirta may not have the deep crown of an established perennial, and a newly divided piece needs foliage time before dormancy. Remove damaged stems and dead flowers, but do not assume a severe haircut is better for a plant that has only recently been planted.
Leave seed heads or remove them?
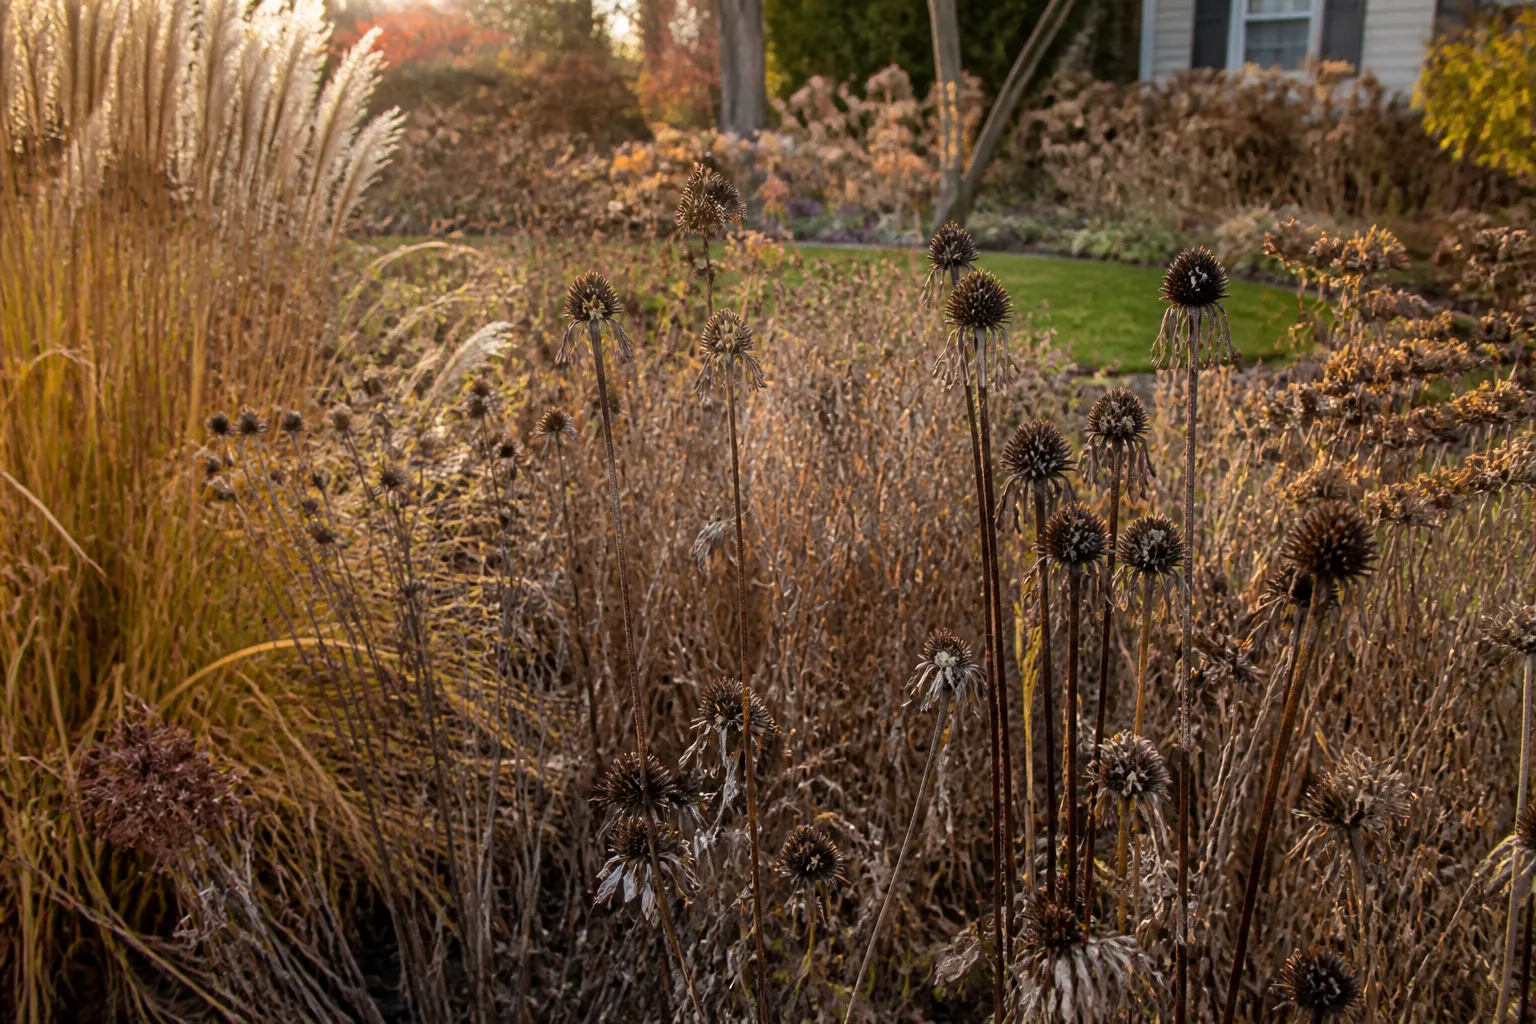
This is the choice that makes “the right” fall pruning answer different from garden to garden. A dry black-eyed Susan seedhead can feed seed-eating birds, add winter structure, and drop seed that fills gaps in a naturalized bed. NC State specifically lists American goldfinches among the wildlife associated with Rudbeckia hirta seeds in fall.
Leave some healthy seedheads if you want that value. You do not have to leave every stem: keep a group at the back of the bed, remove heads that lean onto a path, and deadhead the rest to reduce volunteers. The result is a managed wildlife planting rather than an all-or-nothing choice.
Remove the seedheads before they mature if you have a small formal border, a gravel path nearby, or a cultivar that reseeds more freely than you want. Bagging the dry heads can reduce stray seedlings, but do not confuse self-seeding with invasive behavior. A plant can be vigorous in a sunny bed without being a plant you need to eradicate.
If you collect seed, wait until the heads are dry and the seeds are dark and firm. Store them in a labeled paper envelope in a cool, dry place. Remember that seed-grown plants may not look identical to a named hybrid, and a short-lived species may rely on those seedlings to keep the planting continuous.
Divide crowded clumps with care
Division is separate from pruning, even though both may appear on the fall chore list. Divide only a healthy, established clump that has become crowded, hollow in the center, weaker in bloom, or too large for its space. Division can improve airflow and restore access to the crown, but it is not a rescue for a plant with rotten roots or severe disease.
For a perennial clump, water the soil the day before if it is dry, dig wider than the crown, and lift with a fork to reduce root tearing. Split the crown so every division has healthy roots and several shoots or buds. Replant at the same depth, firm soil around the roots, and water deeply. Keep new divisions evenly moist while they establish, but do not leave them in saturated soil.
Avoid dividing a plant that is already stressed by drought, heat, or a late-season freeze. Fall division works best when there is enough time for roots to settle before the ground freezes, while spring division is safer in very cold areas or for small divisions. Leave the foliage long enough for the plant to recover unless the top is already dead or diseased.
Care for the crown after pruning
Pruning does not replace basic care. Black-eyed Susans bloom best in full sun, generally six or more hours of direct light, although light shade may be tolerated. If stems are tall, thin, and leaning, inspect the light pattern before blaming the pruning cut. The NC State plant profile gives full sun to partial shade and moderate fertility as the basic growing range, with better flower production in suitable light and soil.
Water newly planted or divided black-eyed Susans deeply when the top layer of soil begins to dry. Established plants tolerate short dry periods, but a long drought can shorten the bloom display and weaken the plant before winter. Direct water at the soil, not across the foliage, especially in humid weather.
Do not add a strong nitrogen fertilizer after the fall cut. Excess nitrogen can push soft leafy growth at the wrong time and may reduce flowering. In average soil, a light spring compost application is usually a better default than late-season feeding. Drainage matters more than a rich amendment: the crown should not sit in winter water.
Why pruning may not fix a poor bloom display
If a black-eyed Susan is not blooming, check the site before cutting more. Too much shade is the most common structural explanation, followed by drought during bud formation, a very young plant, crowded roots, excessive nitrogen, or a life cycle that is nearing its natural end. A plant grown from seed may spend a season building before it flowers, while a short-lived Rudbeckia hirta may simply be finishing.
Look for a mismatch between the plant you expected and the plant you bought. “Black-eyed Susan” can describe different Rudbeckia species, and it can also be confused with black-eyed Susan vine, which is Thunbergia alata and has entirely different growth habits. If the leaves are lush but flowers are scarce, evaluate light and fertilizer. If the plant is pale and wilted despite wet soil, examine drainage and roots.
Pruning can remove faded heads so the plant keeps directing resources toward new buds, but it cannot create buds where the plant lacks light or seasonal vigor. Treat a haircut as one adjustment in a system, not as a reset button.
Avoid these common pruning mistakes
Cutting on the first cool day: A cool night is not the same as a killing frost. If stems are green and flowers are still opening, keep deadheading rather than making the final cut.
Removing every seedhead automatically: This sacrifices bird food and reseeding even when there is no disease problem. Keep a controlled portion standing if wildlife matters to you.
Cutting into the crown: Short is not always safer. Leave visible stubs when the crown is hard to locate, and never scrape the soil surface with the blade.
Leaving diseased debris in place: Healthy stems can stand; diseased leaves and collapsed material should be collected. A tidy bed is not the same as a sterile bed, but infected debris should not become next season’s mulch.
Mulching too heavily: A thick blanket directly over a damp crown can hold moisture and encourage rot. Use a loose layer around, not on top of, the crown.
Fertilizing to compensate for pruning: If the plant is floppy or leafy without flowers, more fertilizer can make the imbalance worse. Correct light, drainage, watering, and crowding first.
Pruning every Rudbeckia the same way: Check whether you have an annual, biennial, short-lived perennial, or clumping perennial. The label changes what “come back next year” means.
Adjust the plan for containers and warm climates
Container-grown black-eyed Susans dry faster than plants in the ground and experience sharper temperature changes around the roots. Use a pot with drainage holes and a free-draining potting mix, then check moisture more often during active growth. Compact cultivars are usually easier to manage than a tall, sprawling species in a small container.
After frost, remove dead top growth if it is crowding the pot or staying wet, but do not leave the container sitting in a saucer of water. In a cold region, move a perennial container to a sheltered, unheated place where the roots are protected from repeated freeze-thaw cycles. A pot is more exposed than garden soil, so a modest shelter can matter more than a heavy mulch layer.
In warm climates, the plant may not have a clean frost-killed moment. Use stem color, flowering, and new basal growth as your cues. Deadhead during active flowering, remove diseased foliage promptly, and make the larger cut during the plant’s natural slowdown. If the plant stays green through winter, prune selectively rather than stripping it on a date chosen for a colder climate.
Conclusion
The safest way to prune black-eyed Susans in fall is to separate the small cuts from the big one. Deadhead faded flowers while you want more blooms, remove diseased material as soon as it is dry enough to handle, and wait until after a hard frost—or until late winter before new shoots appear—for the main cutback.
Leave healthy seedheads if you want birds, winter texture, or volunteers. Cut them off if you need fewer seedlings or a cleaner border. Whichever choice you make, cut about 2 to 6 inches above the crown, keep mulch loose and away from the center, and fix light, water, drainage, and crowding before expecting pruning alone to improve the next bloom cycle.