Houseplant Pot Without Drainage Holes: Safe Fixes
The container matters as much as soil and watering. No Drainage Hole with Water collects at bottom, causing root rot often means the pot is wrong sized, lacks holes, or traps water in a decorative outer shell. Track weekly progress after you change care, and note watering, light, and repotting dates so you can tell whether the symptom is improving or returning. Compare upper versus lower leaves, new versus old growth, and soil moisture at root depth before you treat, because the same visible symptom can come from watering, light, pests, or normal aging on different plants.
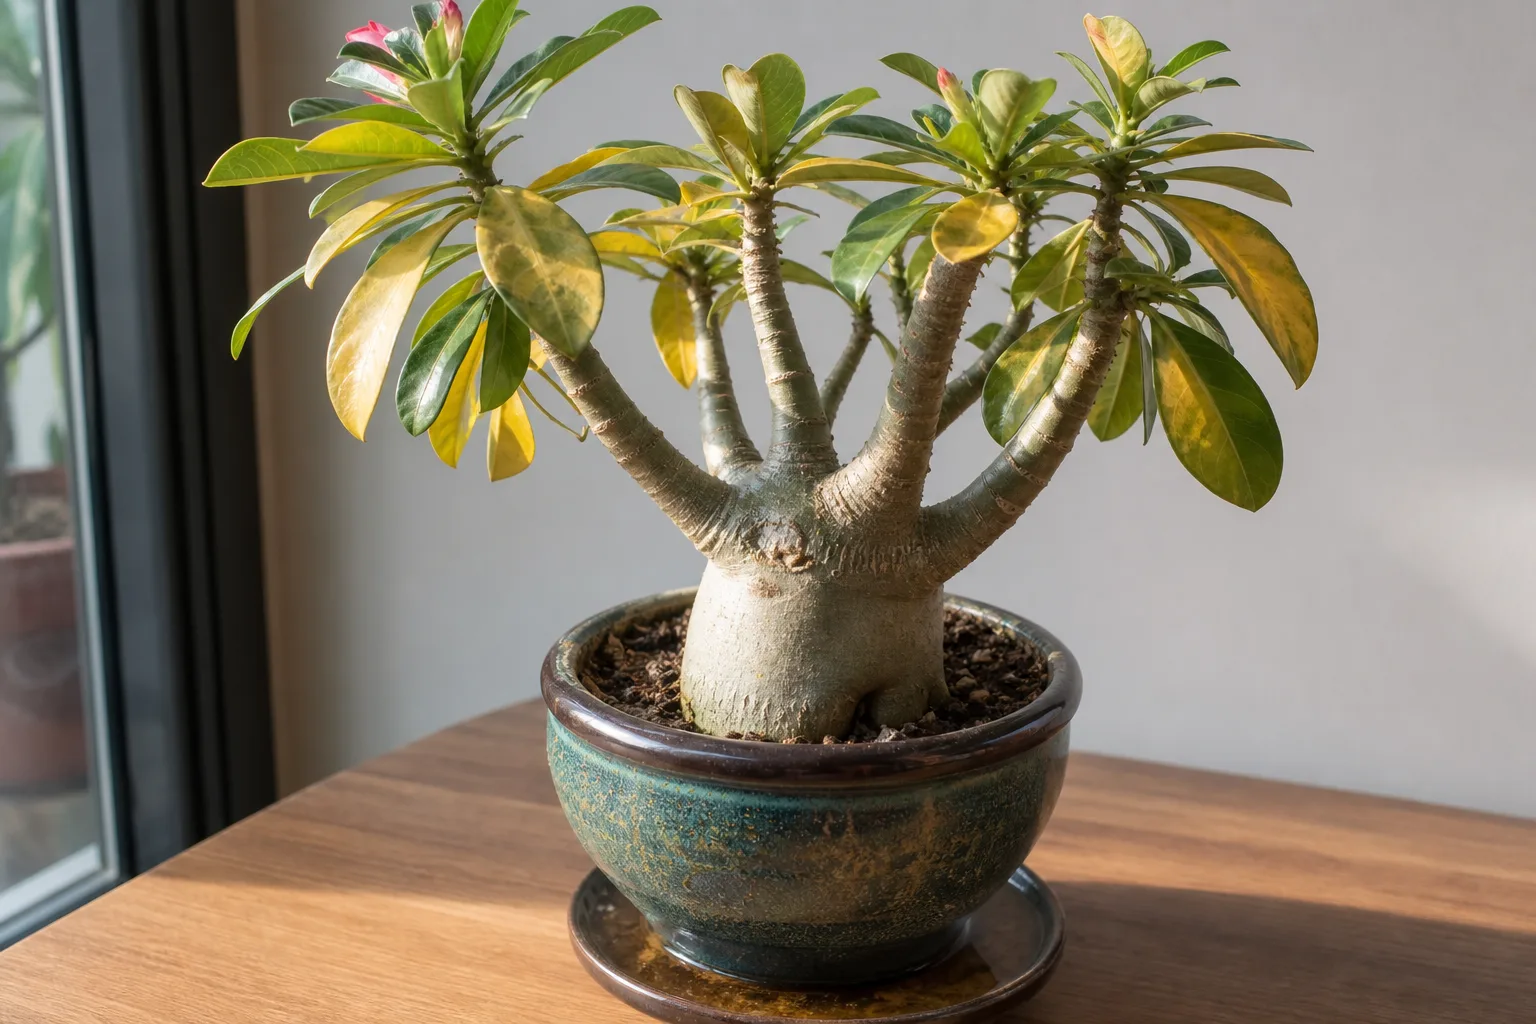
No Drainage Hole on Houseplants
Still unsure?Match your symptoms to the most likely problems in under a minute.Run diagnosis →Understand and fix no drainage hole
The container matters as much as soil and watering. No Drainage Hole with Water collects at bottom, causing root rot often means the pot is wrong sized, lacks holes, or traps water in a decorative outer shell. Track weekly progress after you change care, and note watering, light, and repotting dates so you can tell whether the symptom is improving or returning. Compare upper versus lower leaves, new versus old growth, and soil moisture at root depth before you treat, because the same visible symptom can come from watering, light, pests, or normal aging on different plants.
Overview
The container matters as much as soil and watering. No Drainage Hole with Water collects at bottom, causing root rot often means the pot is wrong sized, lacks holes, or traps water in a decorative outer shell. Track weekly progress after you change care, and note watering, light, and repotting dates so you can tell whether the symptom is improving or returning. Compare upper versus lower leaves, new versus old growth, and soil moisture at root depth before you treat, because the same visible symptom can come from watering, light, pests, or normal aging on different plants.
How to identify it
- No drainage holes or holes blocked by roots or debris
- Plant in a pot much larger than the root ball
- Water sits in outer decorative pot for days
- Terracotta vs plastic drying at very different rates
- Roots growing out holes or pushing pot outward
When to worry
Standing water in cache pots with no drainage plus wilting means root damage-unpot and inspect immediately.
Common causes
No drainage holes
Water has nowhere to exit. Even careful watering leads to soggy roots and No Drainage Hole.
Oversized pot
Too much soil holds excess moisture around a small root system.
Double-potting without emptying saucers
Cache pots look great but become reservoirs when inner pots drain into standing water.
Wrong material for watering style
Terracotta dries fast; glazed ceramic holds moisture longer-mismatch causes Water collects at bottom, causing root rot.
Step-by-step fix
Confirm drainage path
Water should exit within minutes. Drill holes if safe, or repot into a container with drainage.
Right-size the pot
Choose a pot 1–2 inches wider than the root ball for most houseplants.
Empty saucers after watering
Never let plants sit in runoff for more than 30 minutes.
Match pot material to plant needs
Use terracotta for succulents; glazed or plastic for moisture-loving tropicals if you water less often.
Repot if roots are severely bound
Gently loosen circling roots and move to appropriate size with fresh mix.
Prevention tips
- Always use drainage holes for long-term houseplant health
- Size up gradually, not dramatically
- Empty decorative pot reservoirs after watering
- Choose pot material consciously for your watering habits
- Document which leaves show symptoms first and whether the soil is wet, dry, or compacted before changing multiple variables at once.
Common mistakes
- Keeping plants in nursery pots inside sealed decorative pots forever
- Drilling no holes because 'this plant likes moisture'
- Jumping from a 4-inch to a 10-inch pot
A houseplant pot without drainage holes is not automatically a dead plant, but it removes the easiest escape route for excess water. That changes watering from a forgiving routine into a measurement problem. Water that the roots and potting mix cannot hold remains inside the container, where you cannot see it and cannot pour it away without disturbing the plant.
The safest long-term arrangement is usually a plant in a draining nursery pot placed inside the decorative hole-free pot. You lift the inner pot out to water, let it drain, and return it only after runoff stops. Direct planting can work for a careful grower under controlled conditions, but it offers less margin for an unexpectedly cool week, a change in light, a dense mix, or one generous watering.
The short answer
If the plant is healthy and sits in a removable nursery pot, keep the decorative pot and use it as a cachepot. If it is planted directly in a hole-free vessel, the lower-risk fix is to move it into a container with drainage or drill suitable holes when the material can be drilled safely. Penn State Extension recommends drainage holes so excess water can leave and advises removing water collected inside a cachepot.
Do not rush to repot solely because you noticed there is no hole. First check moisture at depth, recent watering, leaf condition, odor, and whether water is pooled below a removable liner. A plant that was watered yesterday, remains firm, and has an airy mix is not the same emergency as a wilting plant in sour-smelling, saturated media.
The immediate goal is not “make the soil dry at any cost.” It is restore a predictable balance of water and air around living roots. A harsh intervention—washing every root, cutting healthy tissue, and replacing all media—can add transplant stress when a simpler drainage correction would have been enough.
Why drainage matters below the soil
Roots need both water and oxygen. When pores in potting media stay filled with water, gas exchange slows and root function can deteriorate; Penn State’s container guidance explains that waterlogged media makes it difficult for roots to breathe. A drainage opening does not guarantee good aeration, but it allows gravitational water to leave after a thorough watering.
Container behavior depends on more than the hole. Fine particles pack tightly and retain more water; coarse bark and perlite create larger pores; decomposed media can collapse over time. A tall, narrow container and a short, broad bowl can hold different proportions of saturated media even when they contain the same mix. Temperature, light, leaf area, humidity, and airflow also change how fast the plant uses water.
That is why “water once a week” is weak advice for a hole-free pot. A fixed interval ignores whether the plant used the previous dose. In low winter light, a tropical foliage plant may use water slowly. In bright warmth, the same plant may use it much faster. Your next watering decision should follow the condition of the root zone, not the calendar.
A fast risk check
Start with the container. Is the plant directly planted, or can you lift out a plastic nursery pot? If there is an inner pot, inspect the space below it for runoff. Empty standing water, rinse mineral residue when needed, and make sure the inner pot does not sit flush against the base; a small gap lets water exit its holes.
This diagnostic sequence is based on container physics and extension guidance, not a claim that one symptom proves one cause. Illinois Extension describes a bottom drainage opening as critical because it lets excess water leave and preserves air around roots. Use that principle alongside direct observations of the root zone, because wilting can occur in both dry and persistently wet media.
Then check the mix below the dry-looking surface. Insert a wooden skewer near the pot wall, use a finger where practical, or compare the pot’s current weight with its weight after a known thorough drainage. Moisture meters can provide another observation, but salts, mix composition, and poor probe contact can distort a single reading. Use several clues rather than treating one number as a diagnosis.
Look at the plant last. Wilting with bone-dry media points in a different direction from wilting with saturated media. Yellowing lower leaves, slowed growth, edema-like blisters, leaf drop, or a musty odor can accompany prolonged wetness, but none proves root rot alone. Also inspect for pests, cold exposure, heat, and recent repotting before blaming the pot.
Read the plant, mix, and container together
The most useful diagnostic question is: where is the water now? A dry surface can hide a wet lower layer, particularly in a deep decorative pot. Tilt a manageable container over a sink while supporting the root ball; if free water pours out, the dose exceeded what the system could retain or use. Do not perform this maneuver with a very heavy or fragile planter.
Note how long the lower mix remains wet after watering. There is no universal safe number of days because species and conditions differ, but no movement toward drier conditions deserves investigation. Compare repeated observations at the same depth. A consistently saturated lower zone plus declining foliage is stronger evidence than surface color alone.
Also distinguish temporary acclimation from progressive decline. One old leaf yellowing after relocation may be normal turnover. Several new symptoms appearing while the mix remains wet, especially wilting that does not improve as the surface dries, raises the urgency. The pattern over time is more informative than a single photograph.
Three workable container setups
The best arrangement depends on whether appearance, convenience, plant sensitivity, and watering habits can coexist. The following options are not equally forgiving. Choose the setup that remains safe when you are busy, the weather changes, or someone else waters the plant.
| Setup | Water control | Main advantage | Main risk |
|---|---|---|---|
| Nursery pot inside cachepot | High | Runoff can be removed | Inner pot may sit in forgotten water |
| Drilled decorative pot with saucer | High | Plant stays in display pot | Drilling can crack unsafe materials |
| Direct planting without hole | Low | Clean appearance | No visible runoff or easy flush |
Nursery pot inside a cachepot
This is the most practical compromise. Keep the plant in a plastic pot with multiple open holes and place that inside the decorative vessel. At watering time, remove the inner pot, water it over a sink or tub until the root ball is evenly moistened, and allow it to drain. Return it only when runoff has slowed.
Check the cachepot after ten or fifteen minutes because residual water can continue to drip. Penn State describes cachepots as decorative holders rather than suitable direct-planting containers and specifically says to remove excess water after watering. A spacer or inverted waterproof stand can keep the nursery pot above small residual droplets, but it does not excuse leaving a reservoir.
Make lifting easy. A tight-fitting nursery pot may trap fingers and make routine draining annoying, which encourages shortcuts. Select an inner pot slightly narrower than the opening and use a lightweight liner if the plant is large. Protect furniture with a waterproof barrier because condensation and unnoticed overflow can damage surfaces.
Direct planting in a drilled container
Drilling turns many decorative vessels into conventional planters, but material matters. Plastic is usually straightforward with an appropriate bit and support. Unglazed clay, glazed ceramic, glass, stone, and metal require different tools and techniques; some can shatter, release sharp fragments, or contain finishes you should not disturb.
If you are uncertain about the material, manufacturer instructions, or tool, do not improvise. Wear appropriate eye protection and keep the plant and dry media away from dust. A local pottery or hardware professional may be able to drill the piece, or you can preserve it intact as a cachepot.
One tiny opening can clog with roots or particles. Multiple adequately sized openings distributed across the base create a more reliable path. Cover them with a piece of mesh to limit mix loss without sealing them, then use a saucer and empty runoff. Do not glue plugs into the holes merely to protect furniture; that recreates the original problem.
Direct planting without a hole
This is the least forgiving option and should be treated as a deliberate exception, not a standard recommendation. It is easier with a small plant whose water use you know well, a measured watering vessel, and a transparent or inspectable container. It is much harder with a deep opaque pot, a dense mix, or a succulent susceptible to prolonged wet conditions.
Record exactly how much water you add and wait for evidence that the root zone has used much of it before adding more. The dose must wet enough of the root ball to support roots without leaving a persistent pool. Because you cannot flush accumulated fertilizer salts freely, fertilize conservatively and plan periodic replacement or controlled leaching after transferring the root ball to a draining container.
Do not use direct no-hole planting for a plant already showing wet-root symptoms. It is also a poor choice for communal spaces where several people may water independently. The setup depends on consistency, and inconsistency is its central failure mode.
How to water a pot with no drainage
First establish a baseline. For a removable inner pot, water thoroughly outside the cachepot and let gravity do the measuring. For a directly planted container, use a graduated cup and start conservatively, spreading water over the media instead of pouring it down one channel. Record the amount, date, room conditions, and how the plant responds.
Check moisture at more than one location because edges can dry while the center remains wet. A skewer inserted toward the lower third can reveal dampness that a fingertip misses. Pot weight is useful once calibrated: lift the container when the mix is appropriately moist, then compare it several days later. Never strain to lift an unsafe weight.
If you accidentally add too much, tip out free water while holding the plant and root ball securely. For a large vessel that cannot be tipped, a clean baster or siphon may remove an obvious reservoir, but it cannot correct saturated fine-textured media. When saturation persists or the plant declines, transfer to a draining pot rather than repeatedly extracting only the visible water.
Why gravel does not replace a drainage hole
A layer of stones at the bottom does not create an exit. Water still remains inside the vessel, and the interface between fine mix and coarse gravel can leave the saturated zone higher in the root ball. Penn State’s garden-myth review warns that coarse material at the base can hinder rather than improve drainage.
Gravel also consumes root space and makes a large planter heavier. It can hide a water reservoir below the media, giving the impression that the root zone is protected while moisture remains trapped. Charcoal, pot shards, foam, and pebbles have the same basic limitation: none is a hole leading outside.
Use amendments within a well-designed mix when they suit the plant, not as a secret bottom layer. Perlite, bark, coir, and other components influence aeration and water retention throughout the root zone. Their proportions should match the plant, container, and environment, and they still work best with a physical drainage path.
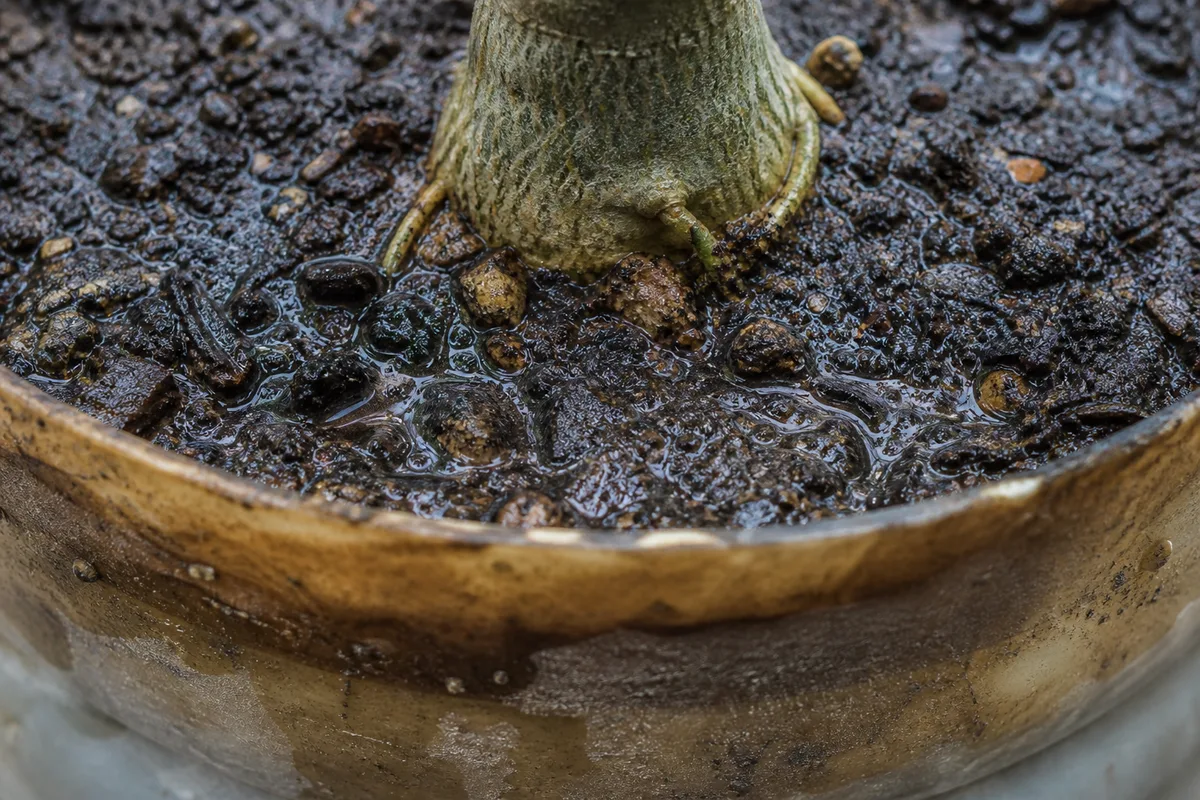
Rescue a plant sitting in trapped water
Remove free water first. Lift out the nursery pot, empty the cachepot, and let the inner pot drain. If the plant is directly planted and manageable, tip it carefully over a sink. Move it to bright light appropriate for the species and normal airflow, but do not place a shade-grown plant suddenly in harsh sun or blast roots with a heater.
If the mix begins drying and the plant is stable, monitor rather than automatically bare-rooting it. Pause watering, empty every new drop of runoff, and recheck lower moisture. Repot when the mix remains saturated, smells sour, the plant continues to wilt, or the root system needs examination.
Prepare a clean draining pot and fresh suitable mix before unpotting. Slide out the root ball gently. Healthy roots vary by species but are usually firm; truly decayed roots are often soft, collapsing, darkened, or easily stripped, sometimes with an unpleasant odor. Remove only clearly dead material with cleaned tools, and avoid cutting firm roots simply because they are tan or stained.
Inspect roots without overdiagnosing rot
Root color alone is unreliable. Fine roots may naturally be brown, while thick roots can be pale or pigmented. Texture, smell, distribution, and the plant’s trajectory matter more. If most roots are firm and the core is merely wet, restoring drainage and aeration may be sufficient.
When much of the root system is lost, reduce stress rather than adding fertilizer. Use a pot that fits the remaining roots, keep the plant in species-appropriate light and temperature, and water only when the new mix indicates need. Fertilizer does not rebuild injured roots and can increase salt stress in a compromised system.
Separate propagation may be sensible for a valuable plant with a severely deteriorated base, but methods vary by species. Confirm that the plant can be propagated from stems, leaves, offsets, or divisions before cutting. Keep suspect diseased material and used mix away from healthy plant pots, and clean tools between plants.
Convert the setup safely
Choose a replacement pot only slightly larger than the intact root ball, or smaller if root loss has been severe. Penn State’s houseplant repotting guide recommends a new container that is slightly larger rather than dramatically oversized. Confirm that holes are open before adding mix.
Moisten fresh mix lightly so it accepts water evenly. Set the plant at approximately its previous depth; burying stems or crowns can create new problems. Fill around the roots without compacting the mix into a solid mass. Water enough to settle it, allow complete drainage, and empty the saucer or cachepot.
After repotting, do not interpret every droop as thirst. Root disturbance can temporarily reduce water uptake, and adding more water to already moist media can prolong stress. Track soil moisture and new growth. Stable leaves and firm roots are more useful recovery signs than an immediate cosmetic change in damaged foliage.
Choose potting mix and pot material together
A quality container mix must hold usable moisture while retaining air. Penn State notes that dense garden soil can impede container drainage, while soilless mixes commonly combine components such as bark, perlite, vermiculite, sphagnum, or coir. Indoor formulations differ, so select for the plant rather than copying a single recipe.
Unglazed terracotta loses moisture through its walls and generally dries faster than plastic or glazed ceramic. That can benefit dry-adapted plants or generous waterers, but it can make moisture-loving plants demand more frequent attention. Pot material is a tuning control, not a cure for unsuitable media or missing holes.
Container shape also matters. A shallow-rooted plant in a very deep vessel leaves a large volume of unused wet mix. A top-heavy plant may need a broad, heavy outer pot for stability, yet the root ball can still remain in a properly sized draining liner. Separate structural support from water management when one pot cannot do both jobs well.
Special cases and exceptions
Self-watering planters intentionally hold a reservoir, but they are engineered to separate bulk water from much of the root zone and move moisture through a wick or column. Follow the manufacturer’s fill, overflow, and cleaning instructions. A sealed decorative bowl with soil dumped over stones is not equivalent to a designed sub-irrigation system.
University of Maryland Extension distinguishes engineered self-watering reservoirs from conventional containers and notes that ordinary containers require adequate drainage openings. That distinction matters: a reservoir system includes an overflow path or controlled interface, while a sealed bowl offers no comparable control.
Semi-hydroponic and hydroponic methods also keep roots near water, but they depend on specific media, oxygen availability, nutrient management, and plant adaptation. Their existence does not prove that ordinary potting mix is safe when continuously saturated. Changing systems requires learning that system, not simply removing the hole.
Some terrariums and bottle gardens operate as mostly closed water cycles. They use small plants, limited water, and controlled conditions. A large conventional houseplant in a hole-free pot should not be treated as a terrarium, particularly if the plant prefers its root zone to dry between waterings.
Mistakes that keep the root zone wet
The first mistake is watering by date. The second is adding only tiny sips forever; that can leave part of the root ball dry while salts concentrate elsewhere. In a draining pot, thorough watering followed by drainage is usually easier to manage. In a no-hole vessel, measured watering is damage control, not a perfect substitute.
Another mistake is leaving the nursery pot in runoff because “the plant will drink it later.” Some sub-irrigated systems are designed for reservoir contact, but an ordinary nursery pot parked in water is not automatically one. Empty the cachepot after watering unless the plant and container system specifically call for a reservoir.
Finally, do not change watering, light, fertilizer, pot size, and mix on the same day without a reason. Multiple changes obscure what helped and can compound stress. Correct the highest-risk issue—trapped water—then stabilize conditions and observe.
Track recovery
Photograph the plant weekly from the same angle and note moisture at depth, watering amount, leaf loss, and new growth. Old yellow or damaged leaves may not turn green again, so evaluate whether decline has stopped and whether new tissue develops normally. A recovering root system often shows progress more slowly than the drainage fix itself.
Recheck the drainage path monthly. Roots, washed media, mesh, and mineral deposits can narrow holes. Lift the inner pot after watering and confirm that runoff exits. Clean saucers and cachepots so odor or algae does not conceal a fresh problem.
Escalate if the plant continues collapsing despite a corrected setup, most roots are decayed, the crown is soft, or an important plant needs species-specific care. A local extension service, qualified horticulturist, or experienced nursery can help interpret symptoms that overlap with pathogens, pests, temperature injury, or chemical damage.
Conclusion
A pot without a hole is primarily a risk-management problem. The most forgiving solution is a draining nursery pot inside the decorative container, watered outside and returned only after runoff stops. Drilling or repotting creates a durable drainage path; gravel at the bottom does not.
Diagnose before cutting roots, judge moisture below the surface, and match the mix, pot size, material, and watering method to the plant’s actual water use. When you can see where excess water goes, plant care becomes easier to repeat—and roots gain the air-water balance they need.
Plants commonly affected
These houseplants often struggle with no drainage hole. Open a care guide or plant-specific troubleshooting page for tailored fixes.
 Medium
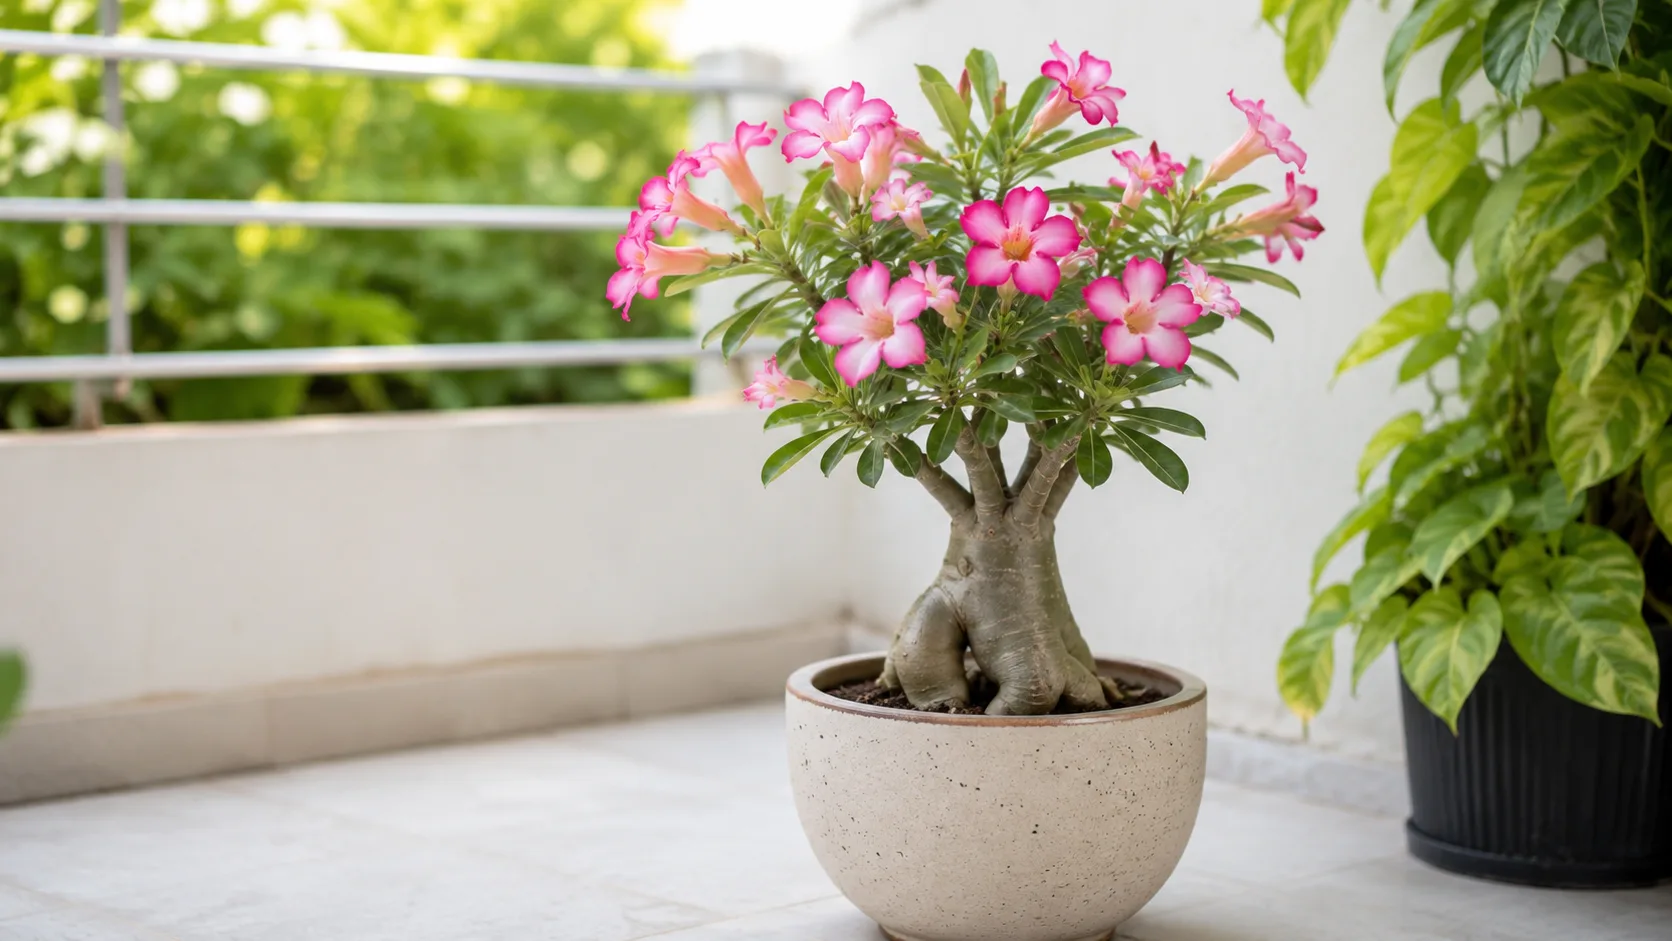
Adenium
Likely causeWater pools in sealed pots, suffocating roots and rotting the caudex even with careful watering.
Quick fixRepot immediately into a container with multiple drainage holes and fast-draining succulent mix.
 Medium
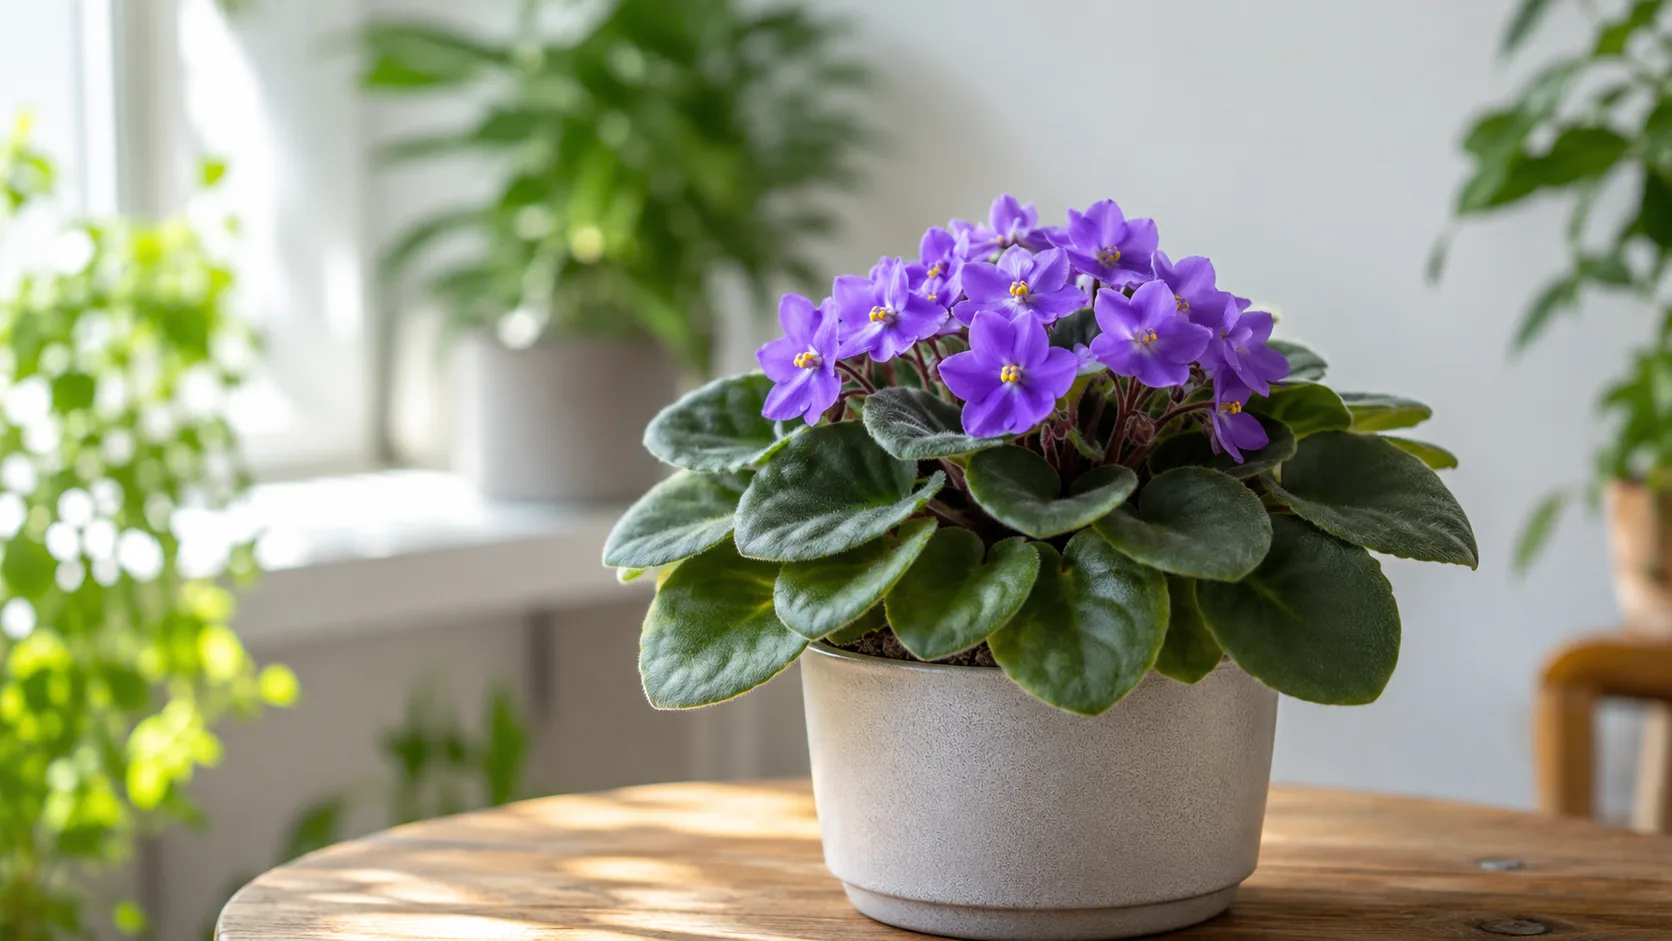
African Violet
Likely causeNo Drainage Hole on African Violet: Inadequate drainage may be the result of a number of causes. It may be that your pot has no drainage holes at all, or maybe they are simply too small. Alternatively, there may be something obstructing
Quick fixInspect African Violet, confirm no drainage hole matches your symptoms, then adjust care or treat per authoritative guides.
 Medium
Jade Plant
Likely causeJan 22, 2026 · While highly discouraged, maintaining a jade plant in a decorative pot lacking drainage holes requires extreme caution. The most effective strategy is using the decorative container as a cachepot.
Quick fixConfirm diagnosis on your Jade Plant, then address the most likely care or pest factor described in current extension guidance.
 Medium
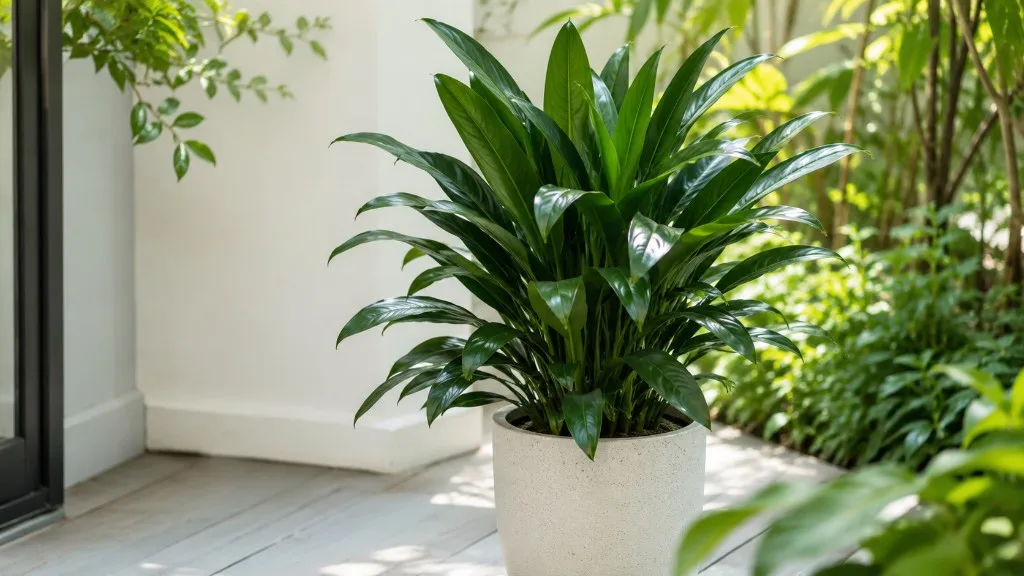
Janet Craig Dracaena
Likely causeMay 25, 2026 · Caring for a Janet Craig Dracaena can be a rewarding experience, offering a touch of nature’s calm to your living space. Proper soil depth is essential, allowing room for roots to spread and not being too shallow that without
Quick fixConfirm diagnosis on your Janet Craig Dracaena, then address the most likely care or pest factor described in current extension guidance.
 Medium
Lavender
Likely cause21 hours ago · Thank you! Lavender does need drainage holes for healthy growth and long-term survival. Without proper drainage holes , lavender plants can suffer from waterlogged soil, leading to root rot and poor health. Drainage holes ens
Quick fixConfirm diagnosis on your Lavender, then address the most likely care or pest factor described in current extension guidance.
 Medium
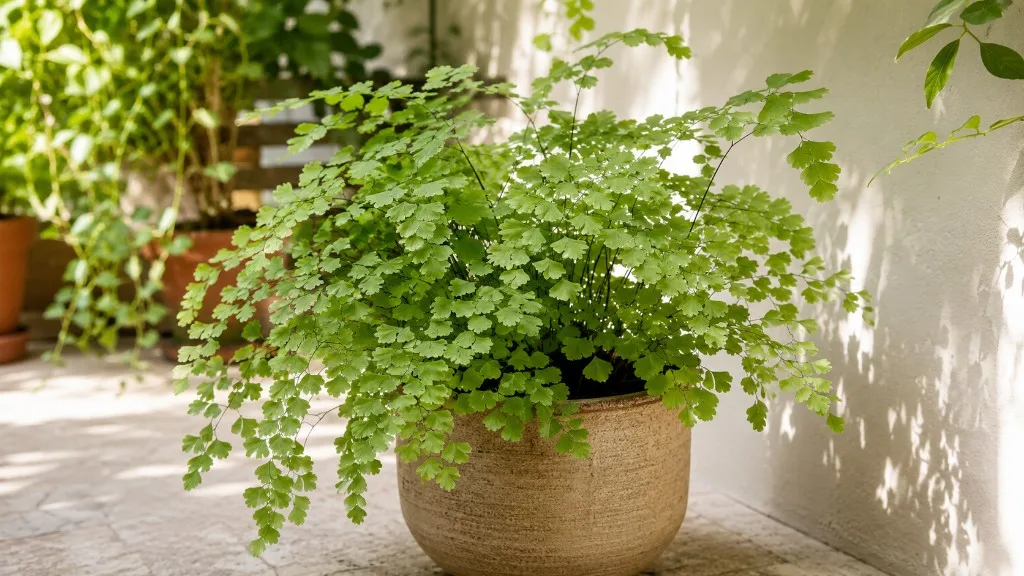
Maidenhair Fern
Likely causeAug 14, 2025 · Maidenhair ferns do not require heavy feeding. Improper soil drainage plays a significant role in overwatering problems. Heavy, compacted potting mixes retain too much moisture, creating an environment conducive to root rot.
Quick fixConfirm diagnosis on your Maidenhair Fern, then address the most likely care or pest factor described in current extension guidance.
 Medium
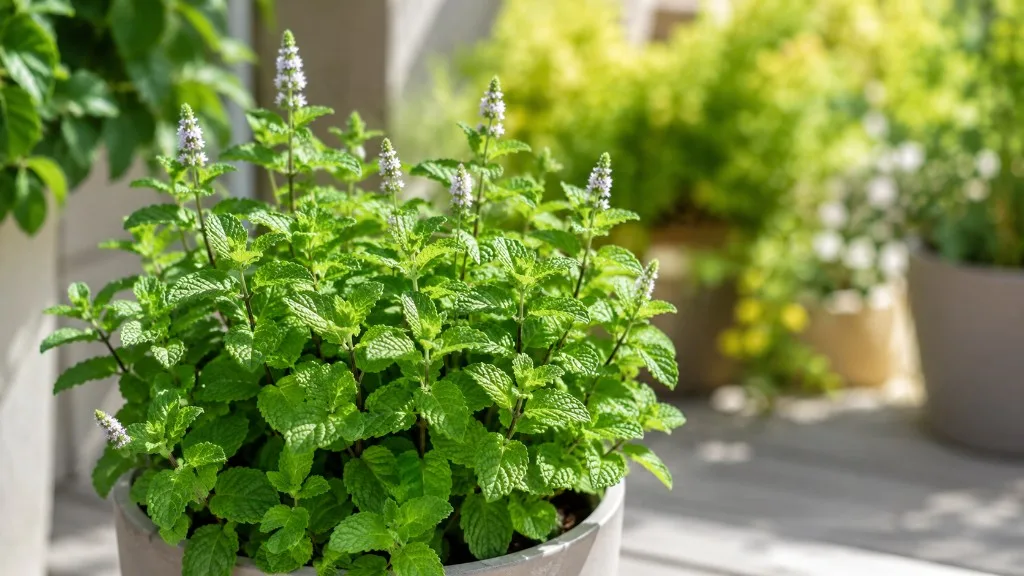
Mint
Likely causeMint in sealed decorative pots accumulates water at the base, quickly rotting rhizomes.
Quick fixDrill drainage holes or repot into a container with free-draining base; empty saucers after every watering.
 Medium
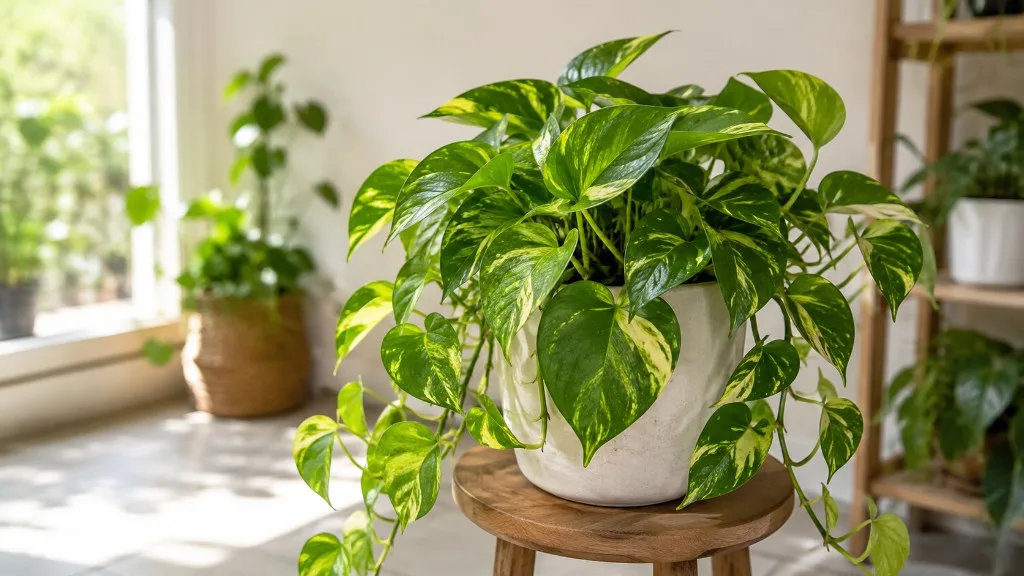
Pothos
Likely causeDec 27, 2025 · Let’s cut right to the chase: Yes, pothos absolutely need drainage to thrive long-term. While they can survive for a short while in less-than-ideal conditions (that’s their trademark toughness!), they cannot flourish without
Quick fixConfirm diagnosis on your Pothos, then address the most likely care or pest factor described in current extension guidance.
 Medium
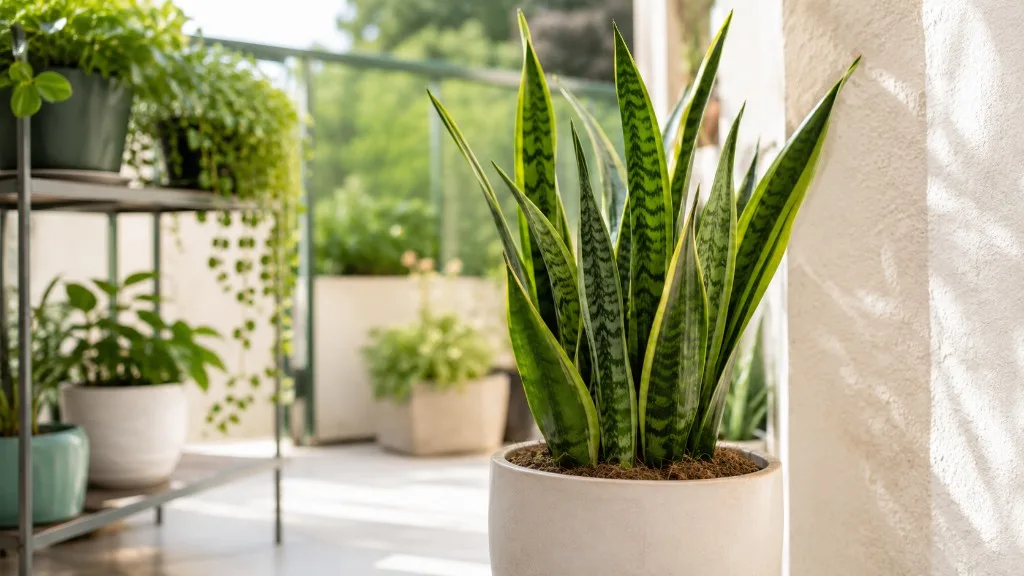
Snake Plant
Likely causeDecorative pots without drainage trap water around Sansevieria rhizomes regardless of soil quality, causing rapid root rot.
Quick fixMove plant to a pot with drainage holes or drill holes; never let snake plant sit in standing water.
 Medium
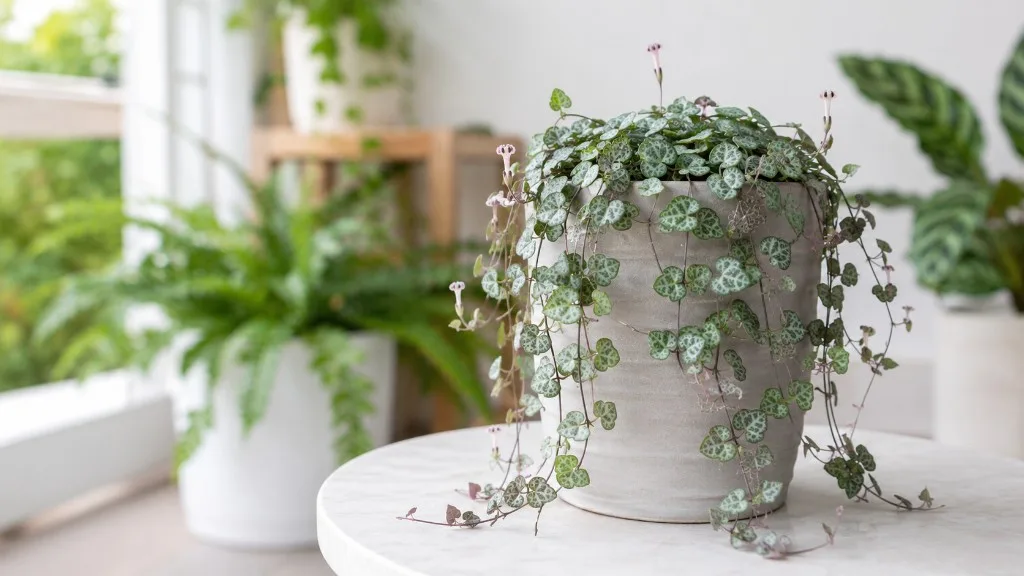
String of Hearts
Likely causeSep 6, 2022 · Without drainage holes , the water would simply pass through the soil and sit at the bottom of the pot, allowing rot to settle in. You can also use a breathable pot to enhance water evaporation.
Quick fixConfirm diagnosis on your String of Hearts, then address the most likely care or pest factor described in current extension guidance.
 Medium
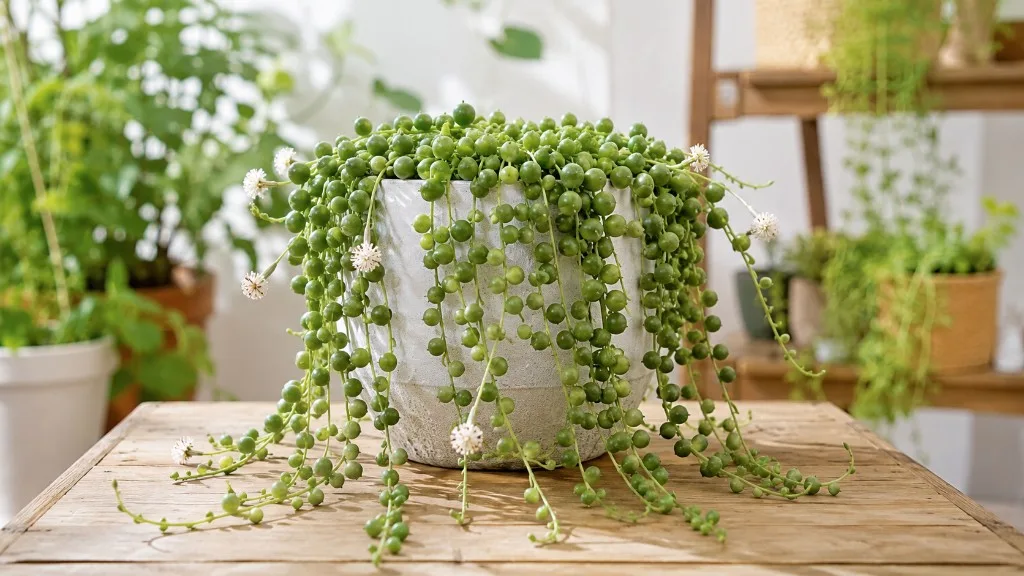
String of Pearls
Likely causeHELP, I bought this string of pearls at home depot and noticed it is planted in the ceramic pot without a nursery pot or drainage hole . Any tips on how to transplant?
Quick fixConfirm diagnosis on your String of Pearls, then address the most likely care or pest factor described in current extension guidance.
 Medium
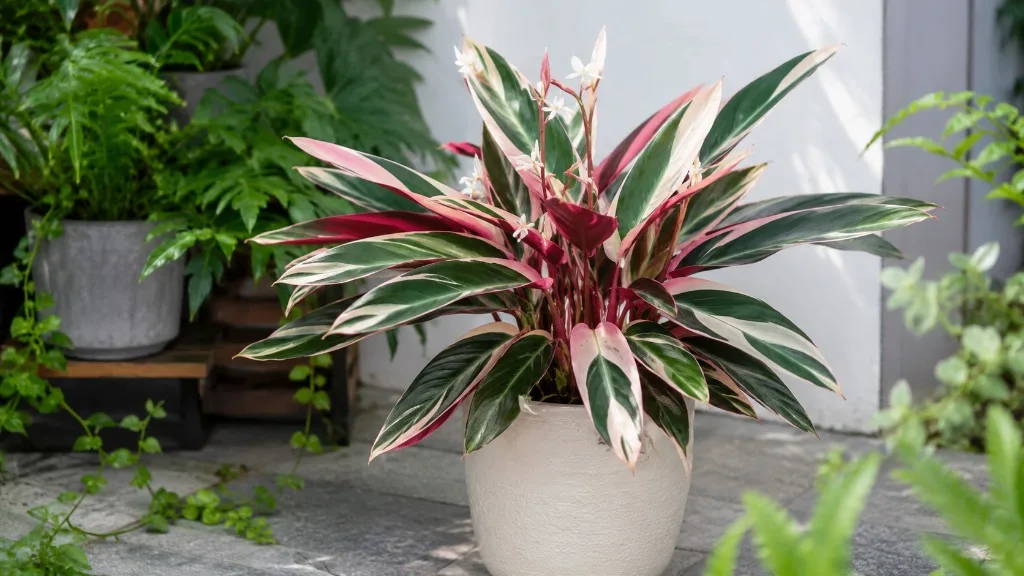
Stromanthe Triostar
Likely cause1 day ago · Repot every 2–3 years or when roots circle the bottom of the pot and emerge from drainage holes . Triostar prefers being slightly rootbound — size up one pot at a time only.
Quick fixConfirm diagnosis on your Stromanthe Triostar, then address the most likely care or pest factor described in current extension guidance.