How to Use Hole-Free Planters Without Killing Plants
Can you plant directly in a pot with no drainage hole? Usually no. This guide explains cachepot setups, drilling tips, watering fixes, and root-rot warning signs.
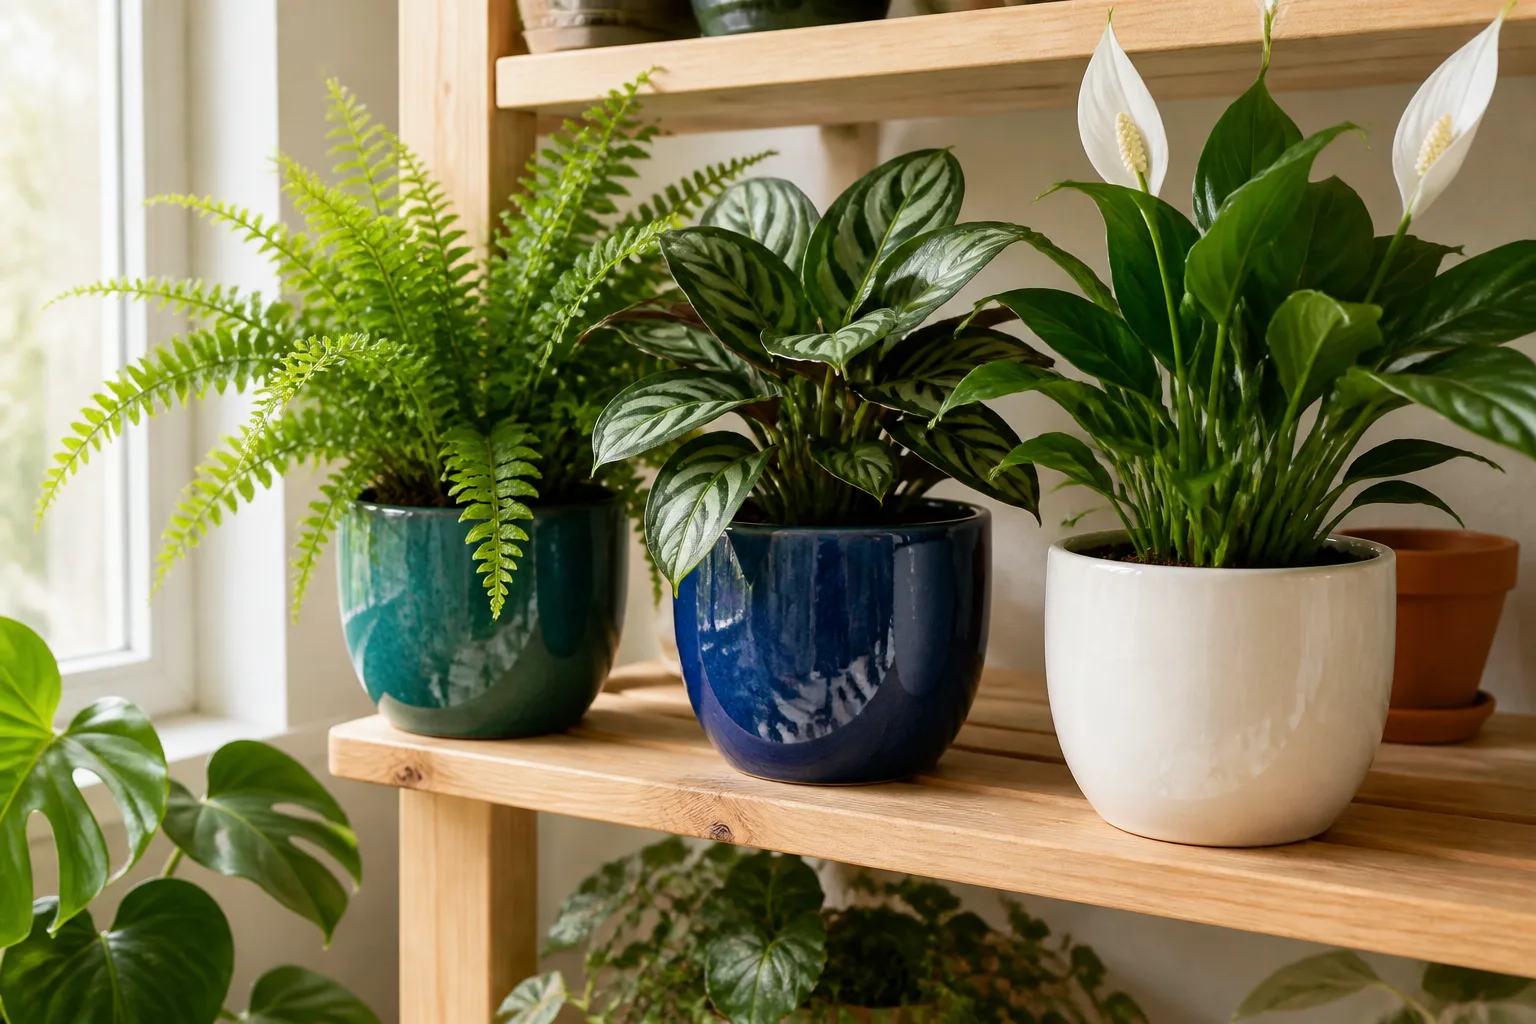
You found the perfect planter. Glossy glaze, vintage brass, hand-thrown ceramic — and zero holes in the bottom. Garden shops sell them by the shelf because they look clean on furniture and do not drip on floors. The problem is not aesthetics. The problem is physics. Water goes in. Without an exit, it stays.
Direct planting in a sealed container is almost never a good idea for long-term houseplant health. Roots need air as much as they need moisture, and a pot that traps water turns the root zone into a swamp. That said, you do not have to abandon the planter. The safe paths are drilling drainage holes or using the decorative piece as a cachepot around a holed nursery pot — not hoping a “low-water” label saves a plant sitting in saturated mix.
The Short Answer: Direct Planting Is High Risk
If you fill a hole-free planter with potting mix and treat it like a normal pot, you are betting against root rot. Clemson Cooperative Extension identifies overwatering — roots surrounded by water that cannot take up oxygen — as the main cause of potted plant death. A sealed bottom removes your margin for error on every single watering.
When a hole-free planter can still work: Use it as a sleeve. Keep the plant in its plastic nursery pot (or any pot with drainage holes), set that inside the decorative shell, and remove the inner pot to water at the sink. Empty any water that collects in the outer planter before you slide the nursery pot back in. University of Illinois Extension calls this double potting and recommends it specifically when a decorative container has no drainage outlet.
When you should walk away from the pot: If the piece is too small to hold a nursery liner, too fragile to drill, or you know you will not empty runoff after every watering, do not plant directly in it. A beautiful planter that kills three plants costs more than a holed pot that keeps one alive for years.
Cachepots work because the plant’s real home — the nursery pot — still drains freely. You get the look of the decorative container without sealing the root ball inside a water trap. This is the method professional interiorscapers use in offices and hotel lobbies for a reason: it is reversible, swappable, and honest about where water should go.
Skip direct planting when the plant is a succulent, cactus, orchid, or any species that wants the mix to dry quickly between waterings. Skip it when the outer pot is heavy glazed ceramic on a wood floor and you know you will let saucer water sit. Skip it when someone already potted the plant for you in a sealed container and the soil smells sour — recovery starts with unpotting, not with another careful pour.
Why Drainage Holes Matter for Plant Roots
Healthy roots are firm and pale. They pull in water and dissolved nutrients while gas exchange moves oxygen through the root zone. When soil stays wet too long, that oxygen disappears. Fungi that cause root rot — including Pythium, Phytophthora, Rhizoctonia, and Fusarium species — multiply fastest in saturated, oxygen-poor mix, according to Wisconsin Horticulture.
Drainage holes are not a stylistic choice. They are the pressure-release valve that lets excess water leave after you soak the mix. The RHS states that drainage holes in the base of a container are essential and warns that container plants are prone to waterlogging, especially in wet seasons. Indoors, the “wet season” is every time you water a sealed pot and nothing drains out.
Picture pouring water into a bucket of soil. The top inch dries in a few days under a grow light, but the bottom third — where most roots live — stays dark and heavy. Each watering adds more moisture than evaporation removes. Minerals from tap water and fertilizer accumulate because they are not flushed out the bottom. Over weeks, the mix becomes a dense, anaerobic plug. That is why a plant can wilt while the soil still feels damp. Damaged roots cannot move water, so the leaves droop even though the pot is wet. If you respond by watering again because the plant “looks thirsty,” you accelerate the collapse. For a deeper diagnosis of this pattern, see our guide on poor drainage in houseplants.
Root Rot Warning Signs You Cannot Ignore
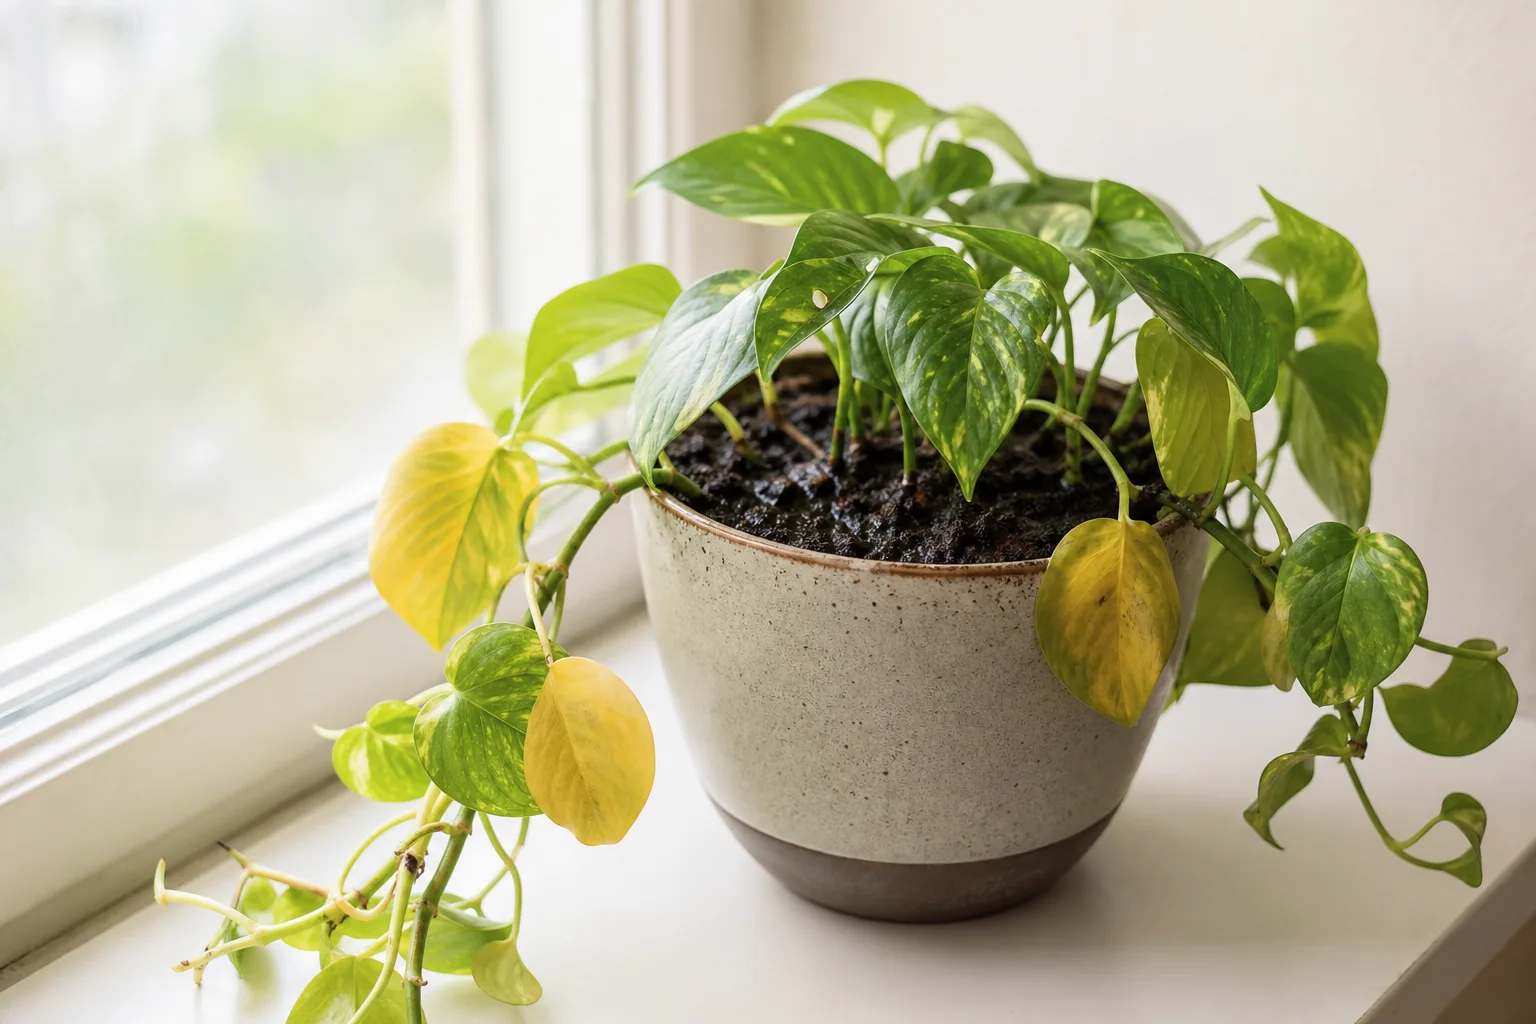
Wisconsin Horticulture lists the classic symptoms: wilting despite wet soil, stunted growth, yellow or reddish leaves that suggest nutrient stress, and soft brown roots that may smell bad. On a sealed pot, also watch for white mineral crust on the soil surface, perpetual fungus gnats, and a sour odor when you lift the plant.
If you unpot and find mushy roots, trim the dead tissue with clean shears, repot into fresh mix in a container with holes, and water sparingly while new roots form. Extension pathologists often recommend discarding severely affected plants rather than fighting chronic rot in the same sealed setup.
The Best Fix: Double Potting and Cachepots
Double potting means growing the plant in a functional inner pot with drainage holes and placing that inside a decorative outer shell with no holes. The outer piece is a cachepot — French for “hide pot.” You water the inner pot, let it drain completely, then return it to the sleeve. Water should never pool under the nursery pot inside the cachepot.
Missouri Botanical Garden guidance, cited in our poor drainage troubleshooting guide, recommends this approach for decorative containers and stresses emptying any water that collects in the outer pot. The University of Illinois Extension adds a critical rule: plants in the liner must never stand in water.
How Double Potting Works Step by Step
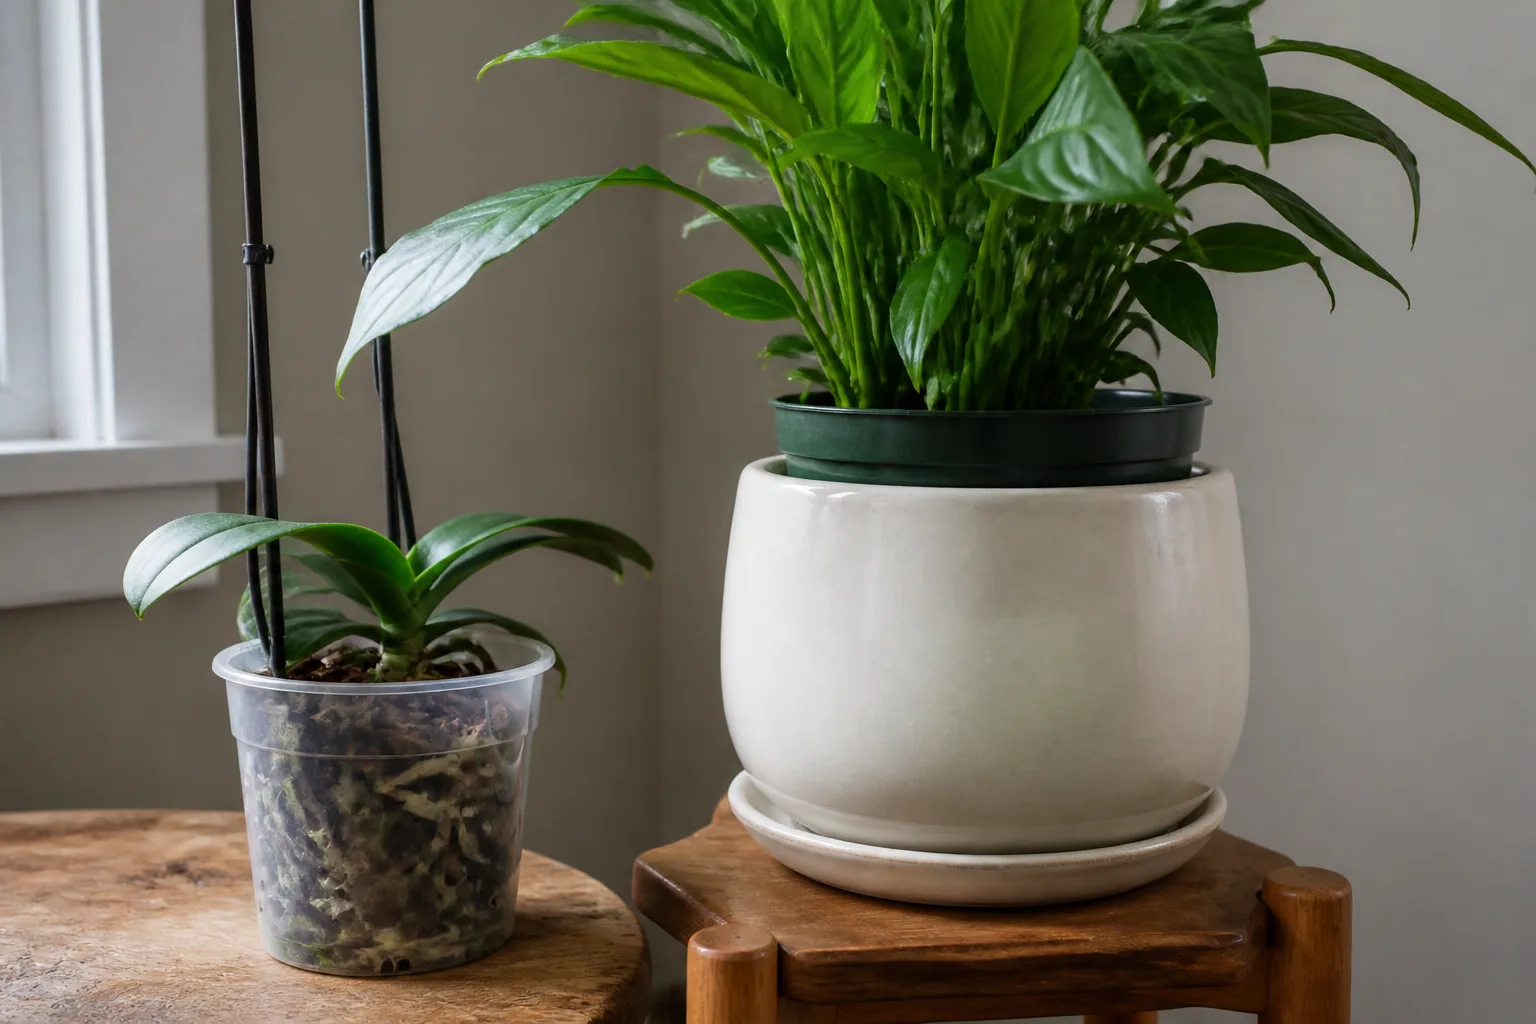
First, choose a nursery pot one size smaller than the cachepot so air can move around the sides. Second, water the plant in the sink or bathtub until water runs freely from the nursery holes. Third, let it drain for ten to twenty minutes — longer for large pots. Fourth, set the nursery pot inside the decorative shell. Fifth, check the bottom of the cachepot after an hour. If water collected, pour it out.
This rhythm takes thirty seconds longer than watering in place, and it prevents the slow drowning that kills most “designer potted” plants. For more on nursery pots vs display planters, read planter vs pot.
The inner pot should sit level without wedging. If the cachepot is much wider, add a layer of inverted plastic saucers or a platform of non-absorbent material to raise the nursery pot — not a layer of gravel that holds a water table. The lip of the nursery pot can sit slightly below the cachepot rim for a clean look, or you can top-dress with moss to hide the plastic edge in gift arrangements. For mixed planters — a thriller, filler, and spiller in one large bowl — keep each species in its own holed liner. Different plants dry at different rates. A fern and a succulent in the same sealed soil mass is a contest the succulent loses.
Treat cachepot water like saucer water: empty it every time. Clemson HGIC is explicit — after watering until seepage, do not let the pot sit in the water that ran out. A cachepot that always holds a half inch of runoff is just a sealed pot with extra steps. If emptying is annoying, elevate the inner pot on feet or a grid so you can see standing water immediately. Some growers set a bamboo skewer in the gap between pots as a dipstick — if the tip comes out wet at the bottom of the shell, pour it out.
When You Should Never Plant Directly in a Sealed Pot
Planting directly in a hole-free container means every watering decision must be perfect forever. That is a bad bet for most households. Humidity changes, seasons shift, and the person watering next month may not be the person who read this article.
Large floor urns tempt you to fill them with soil and multiple plants. Without drainage, the bottom of that urn becomes a reservoir. Even moisture-loving palms and peace lilies struggle when the lower half of a deep container never dries. If you must use a big sealed piece, build the arrangement entirely in individual nursery liners and treat the urn as a planter box shell — never as the root zone.
Snake plants, ZZ plants, and succulents tolerate missed waterings because they store moisture in leaves or rhizomes. That does not mean they want to sit in wet soil indefinitely. Lists claiming certain plants “thrive without drainage” usually describe drought tolerance, not love of standing water. A snake plant in a sealed pot might survive months on neglect and then collapse suddenly when a generous watering fills the base. Match the container to the drying speed. Glazed ceramic holds moisture longer than terracotta; a sealed glazed pot is the slowest-drying combination you can choose. Fast-draining plants belong in holed pots, ideally unglazed clay or plastic with open mix.
How to Drill Drainage Holes Yourself
If you own the planter and it is not a priceless antique, drilling holes is the most permanent fix. One to three holes ¼–½ inch across are enough for most indoor pots up to twelve inches wide. Larger containers need more holes or a single larger opening.
Ceramic and Glazed Pots Without Cracking
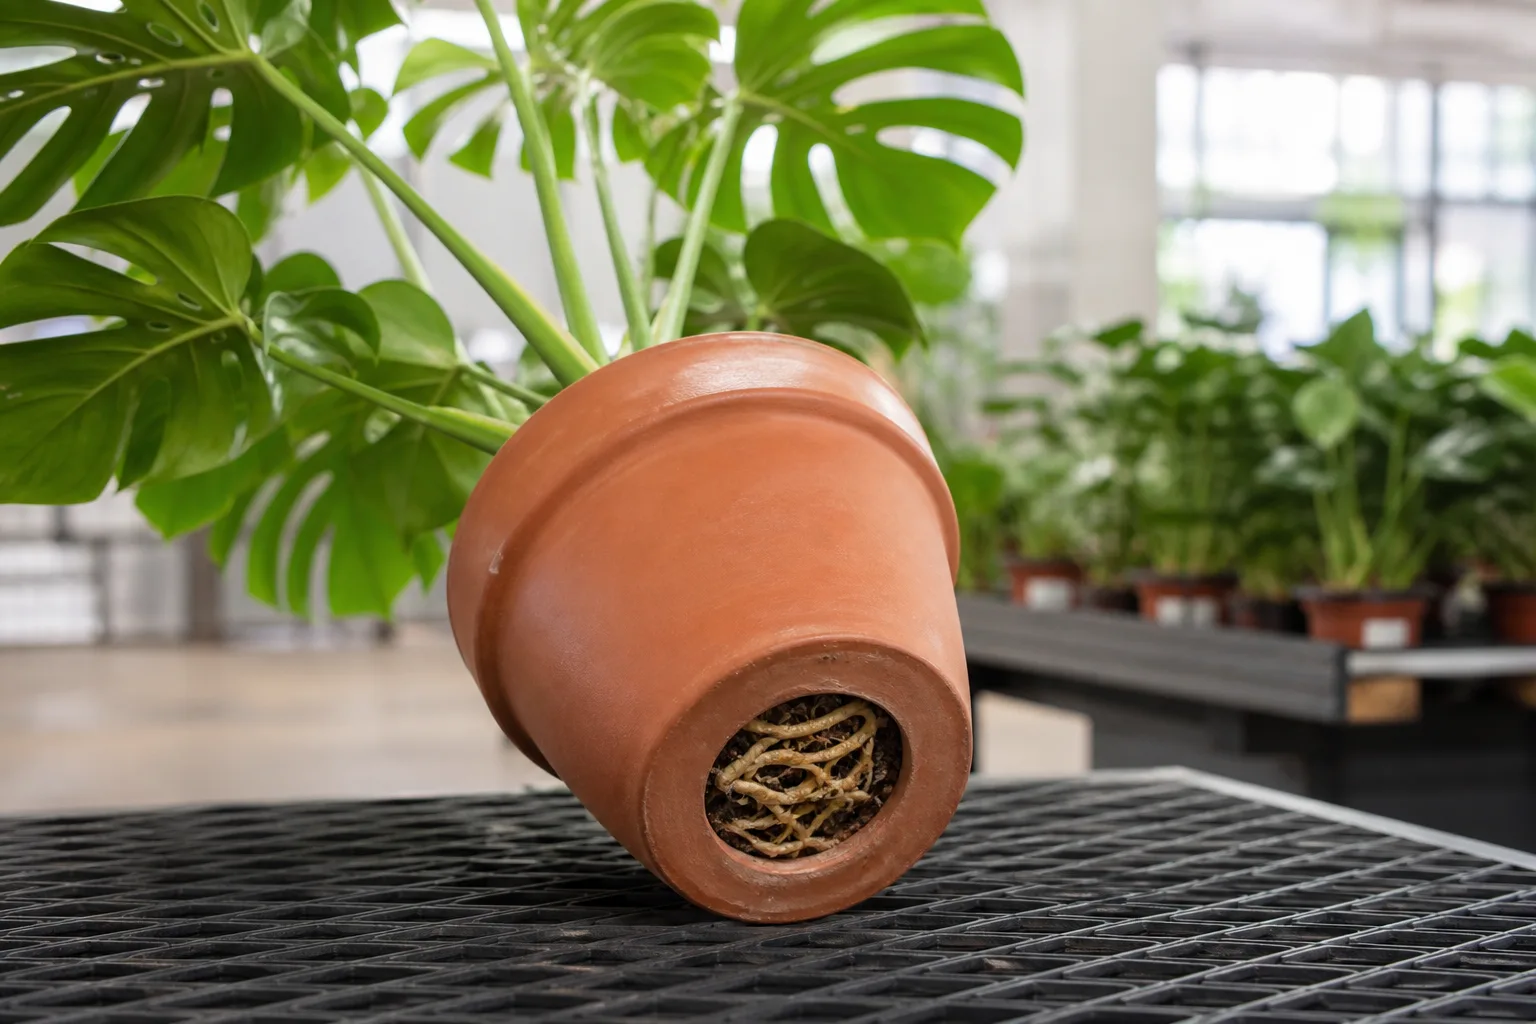
Use a diamond-tile or glass-and-tile drill bit on a variable-speed drill. Place the pot upside down on a folded towel for cushioning. Mark the center of the base (or along the lowest point of the curve). Start at low speed with light pressure — let the bit grind, do not punch. Some experienced growers run the drill in reverse for the first few seconds on hard glaze to reduce chip-out.
Keep a spray bottle handy and mist the bit to reduce heat. Drill from the outside in. If the pot is thick, pause halfway, clear dust, and continue. Wear eye protection; ceramic dust is abrasive. If the pot rings hollow and thin, support the area around the hole with your hand on the inside to limit vibration cracks.
Test the hole by pouring a cup of water — it should exit freely. If glaze slumped inward and narrowed the opening, widen carefully or add a second hole.
Wood and plastic are straightforward: standard twist bits or spade bits, low to medium speed, backer board underneath if the material splinters. Metal may need a step bit and cutting oil. Always deburr sharp edges so they do not cut roots or liners later. For recycled containers — tin buckets, concrete bowls, vintage sinks — the RHS notes that almost any large vessel can become a planter if you add drainage holes. Check for lead paint on old metal and frost risk on concrete before planting outdoors.
The Gravel-at-the-Bottom Myth
Adding rocks, packing peanuts, or “drainage layers” to a sealed or poorly holed pot does not create drainage. It creates a perched water table where fine potting mix meets coarse material. Wisconsin Horticulture specifically advises against rocks or gravel at the bottom of houseplant pots because that layer can actually inhibit drainage and keep the root zone wetter.
If you need better exit paths, drill holes or use a holed nursery liner. If you need faster drying, switch to a grittier mix in a breathable pot — see terracotta vs plastic pots for how wall material changes drying speed.
Watering Tactics If You Cannot Add Holes Yet
Sometimes you inherit a planted gift or are waiting for a drill bit. Short-term survival tactics exist. They are not equal to drainage.
The tilt-and-drain method: Water lightly in the sink, wait a few minutes for absorption, then lay the pot on its side so excess water can run toward the rim. Rotate and repeat. This mimics drainage imperfectly and works only for small pots with a patient caregiver.
Measure water: Use a narrow-spout watering can and track volume — ounces, not “a splash.” Small sealed pots may need only two to four ounces per week in winter.
Check weight: Lift the pot before and after watering. Learn the light weight that means “dry enough.”
Never bottom-water a sealed pot unless you can tilt out every drop afterward. Bottom-watering without drainage is how gift orchids die quietly on desks.
These tactics buy time. They do not replace holes or a cachepot setup.
Which Plants Tolerate Tighter Drainage (And Which Do Not)
No houseplant truly prefers zero drainage forever. Some tolerate brief mistakes better because they cope with occasional wet feet or store water internally.
| Tolerance level | Examples | Honest note |
|---|---|---|
| Higher short-term tolerance | Peace lily, ferns, pothos, spider plant, some peperomias | Still need an exit path long term; “tolerant” is not “immune” |
| Moderate if watered sparingly | Snake plant, ZZ plant, cast iron plant | Survive neglect; fail when sealed mix stays wet after one heavy pour |
| Poor fit for sealed pots | Succulents, cacti, citrus, rosemary, orchids, most herbs | Require fast drying; sealed containers contradict their basic needs |
Outdoor rain-garden plants like iris and milkweed handle seasonal wet soil in the ground. In a sealed indoor pot, they lack the soil volume and microbial community that outdoor drainage provides. Do not transplant outdoor moisture lovers into hole-free ceramics and assume the label transfers.
Salt Buildup and Mineral Flushing in Sealed Containers
When water cannot exit the bottom, dissolved salts from tap water and fertilizer stay in the mix. White crust on the soil surface, browned leaf tips, and stalled growth often follow. Clemson HGIC recommends watering thoroughly until seepage specifically to wash excess salts — impossible in a sealed pot.
If you must keep a cachepot arrangement, flush salts when you water at the sink by running water through the nursery pot until it runs clear, then draining fully. In a directly planted sealed pot, leaching salts without drowning roots is nearly impossible; repotting into fresh mix and a holed container is the realistic fix.
Outdoor Planters Without Drainage Holes
Outdoor sealed pots fail faster than indoor ones. Rain adds water you did not schedule. Sun heats the wall and cooks wet roots. Freeze-thaw cycles crack non-frost-proof ceramic when water sits inside.
If you display outdoors in a hole-free piece, use the cachepot method and bring liners under cover before hard frost. The RHS advises raising pots on feet or bricks so drainage holes stay clear and removing saucers in winter so containers are not left standing in water — the same logic applies to emptying cachepot shells before rainy seasons.
You Already Planted Directly in a Sealed Pot — Now What?
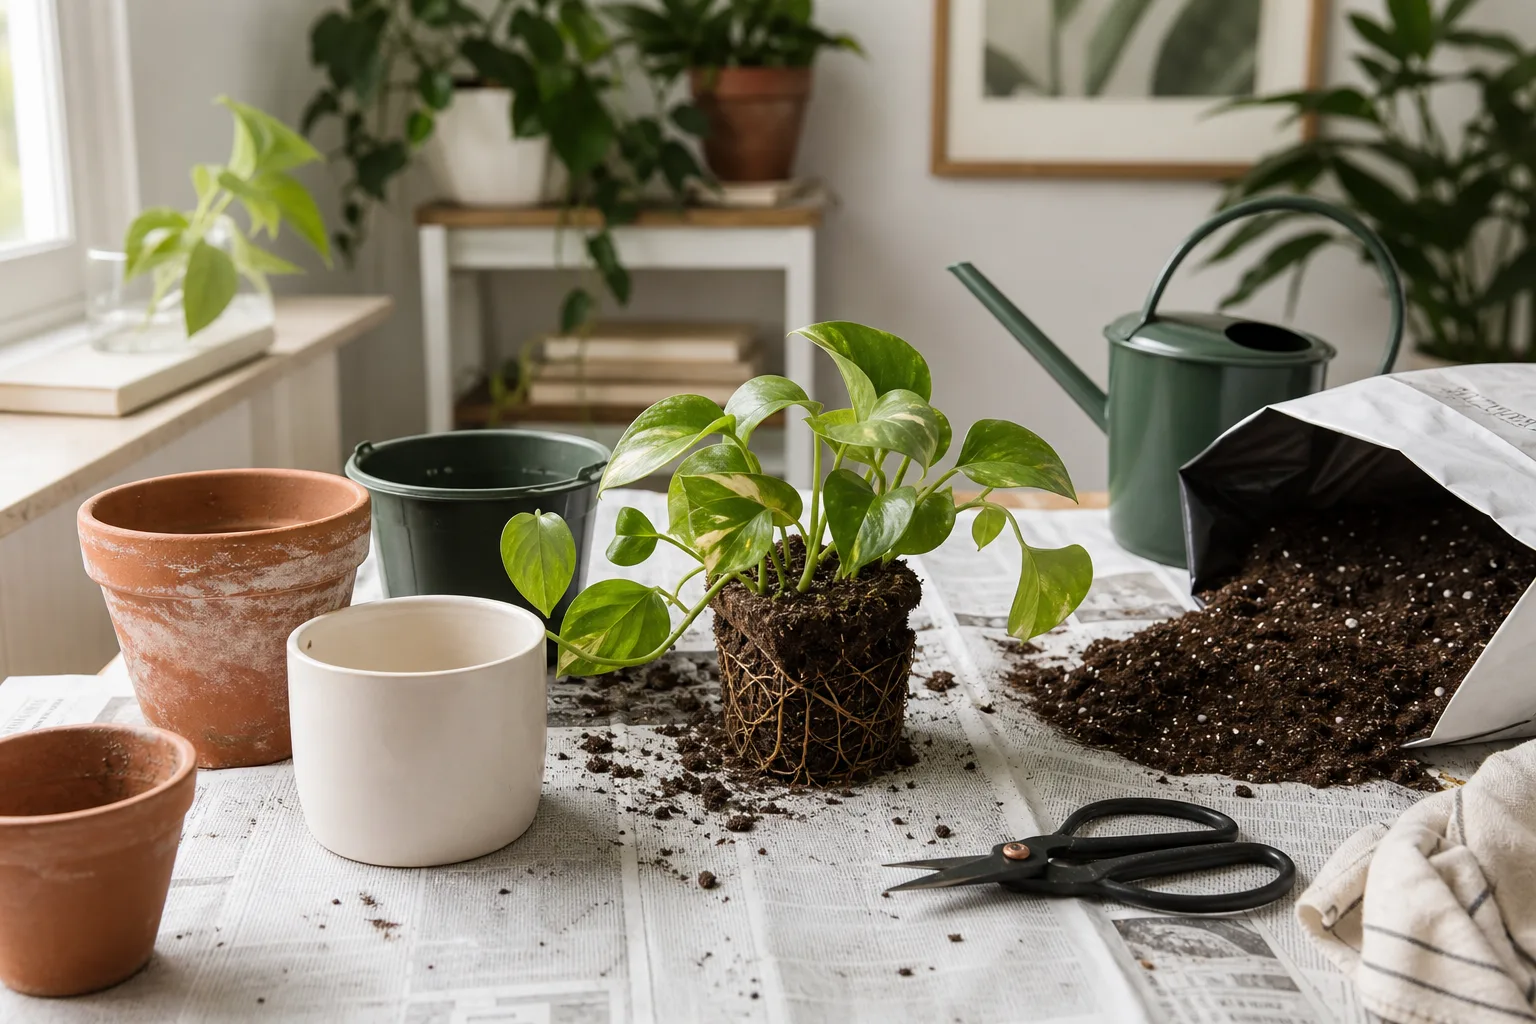
Do not wait for collapse. Unpot and inspect roots now. If they are firm and white, move the plant into a nursery pot with holes and use the decorative piece as a cachepot. If roots are mushy, trim damage, discard saturated old mix, and repot into fresh, airy media — our repotting houseplants guide walks through sizing and aftercare.
Wisconsin Horticulture recommends against reusing potting mix from rotted plants and suggests disinfecting tools and discarding plastic pots that held infected plants. Do not “fix” a sealed setup by adding gravel or watering less while roots are already compromised.
If the decorative pot is the sentimental object, drill holes before replanting directly — or accept that the plant and the pot should not be permanently fused.
Conclusion
Planters without drainage holes are fine as décor — not as root prisons. Direct planting in a sealed container stacks the odds against you: trapped water, salt buildup, and root rot fungi that love exactly that environment. The professional answer is boring and effective: drill holes, or double-pot with a nursery liner and empty every drop of runoff.
Keep the cute planter. Just do not ask plant roots to live in a bucket with no floor drain. Match the setup to the plant’s drying needs, check roots seasonally, and when in doubt, choose the option that lets water leave.



