Yellow Leaves on Houseplants: Causes and Fixes
Yellow leaves are one of the most common houseplant complaints, but they are a symptom, not a single diagnosis. In many plants, a few older leaves yellowing over time is normal aging. Concern starts when yellowing appears on multiple leaves at once, moves into newer growth, or appears alongside soft stems, drooping, or stalled growth. The pattern matters: lower-leaf yellowing often points to watering or nutrient issues, while yellow patches on sun-facing leaves can indicate light stress. Most yellow-leaf cases come from roots under stress. Overwatering limits oxygen in soil, while chronic underwatering damages fine roots and prevents nutrient uptake. Low light slows water use, making an otherwise normal watering routine suddenly excessive. A practical fix is to check moisture depth, root health, pot drainage, and recent environmental changes together. Once you correct the root cause, new growth usually returns to healthy green, though already-yellow leaves rarely recover fully.
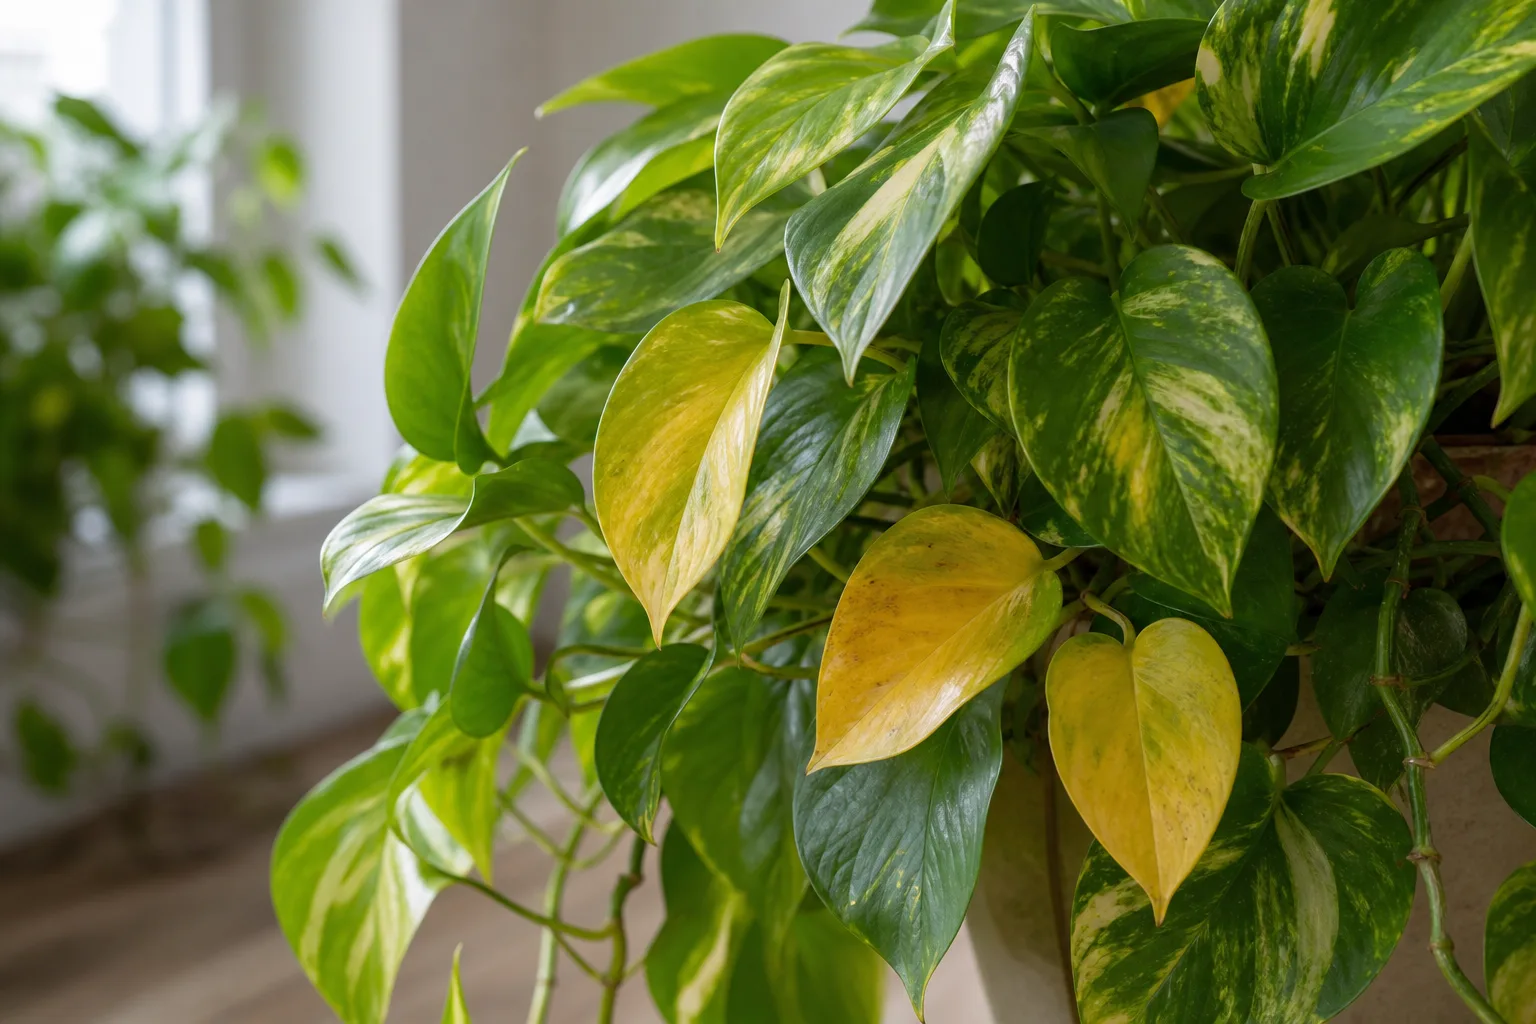
Yellow Leaves on Houseplants
Still unsure?Match your symptoms to the most likely problems in under a minute.Run diagnosis →Understand and fix yellow leaves
If older, lower leaves turn pale yellow first while stems stay firm, the plant is usually dealing with water imbalance, nutrient depletion, or light mismatch rather than an acute disease.
Overview
Yellow leaves are one of the most common houseplant complaints, but they are a symptom, not a single diagnosis. In many plants, a few older leaves yellowing over time is normal aging. Concern starts when yellowing appears on multiple leaves at once, moves into newer growth, or appears alongside soft stems, drooping, or stalled growth. The pattern matters: lower-leaf yellowing often points to watering or nutrient issues, while yellow patches on sun-facing leaves can indicate light stress.
Most yellow-leaf cases come from roots under stress. Overwatering limits oxygen in soil, while chronic underwatering damages fine roots and prevents nutrient uptake. Low light slows water use, making an otherwise normal watering routine suddenly excessive. A practical fix is to check moisture depth, root health, pot drainage, and recent environmental changes together. Once you correct the root cause, new growth usually returns to healthy green, though already-yellow leaves rarely recover fully.
Yellow Leaves patterns: what you see vs. likely cause
Match your plant to the closest pattern, then start with the first step before trying other fixes.
| What you see | Likely cause | First step |
|---|---|---|
| Lower, older leaves yellow first; stems firm | Overwatering, underwatering, or nitrogen deficiency | Check moisture 2–3 inches down before watering again |
| New growth yellows; veins stay green | Iron or magnesium deficiency (chlorosis) | Flush soil and apply chelated iron or Epsom salt per label |
| Yellow patches on sun-facing leaves only | Too much direct light or heat stress | Move to bright, indirect light and shield from hot windows |
| One or two bottom leaves yellow slowly | Normal leaf aging | Remove fully yellow leaves; no care change needed |
How to identify it
- Yellowing starts on older lower leaves first.
- Leaf veins may stay slightly green before full yellowing.
- Soil stays wet for more than 5-7 days after watering or dries bone-dry repeatedly.
- Growth slows and internodes may stretch in low light.
- No obvious chew marks or webbing that suggest pests.
- Affected leaves detach with a gentle tug.
When to worry
Act quickly if yellowing spreads to new growth, leaves feel mushy at the base, there is a sour soil smell, or the plant declines within 7-10 days.
Common causes
Chronic overwatering
Constantly wet substrate deprives roots of oxygen. Stressed roots cannot deliver water and nutrients efficiently, so foliage yellows.
Repeated underwatering
Long dry cycles kill fine feeder roots first. The plant then drops older leaves to conserve moisture.
Insufficient light
Low light reduces photosynthesis and water use. Soil remains wet longer, compounding root stress and chlorosis.
Nutrient depletion
Plants in old potting mix can run low on nitrogen and magnesium. This commonly appears as generalized leaf yellowing.
Temperature stress
Cold drafts or sudden heat spikes disrupt root function and transpiration. Leaves respond by yellowing and shedding.
Step-by-step fix
Audit moisture at root depth
Check 2-3 inches down before watering. Water only when the target dryness for that plant type is reached.
Improve drainage immediately
Ensure the pot has open drainage holes and empty saucers after watering. Replace compacted soil with an airy mix if needed.
Adjust light placement
Move the plant to bright, indirect light unless species-specific needs differ. Better light improves recovery and watering predictability.
Feed lightly in active growth
Use a balanced fertilizer at half strength every 3-4 weeks in spring and summer. Pause feeding if roots are compromised.
Remove fully yellow leaves
Prune leaves that are entirely yellow so the plant can direct energy to healthy tissue and new growth.
Track progress for 3-4 weeks
Recovery is measured by healthy new leaves, not old ones turning green again. Reassess if yellowing continues to spread.
Prevention tips
- Use a potting mix matched to the species and your indoor humidity.
- Tie watering to soil dryness, not a fixed calendar.
- Rotate plants seasonally as light intensity changes.
- Refresh potting mix every 12-24 months.
- Keep plants away from HVAC vents and drafty windows.
Common mistakes
- Watering more often to fix yellow leaves without checking soil moisture.
- Fertilizing heavily when roots are already stressed.
- Assuming every yellow leaf means overwatering.
- Leaving the plant in very low light after adjusting watering.
Related care topics
These care guides help prevent repeat issues once you have treated the immediate problem.
A yellow leaf is a symptom, not a diagnosis. It tells you that the leaf has lost chlorophyll, but it does not tell you whether the trigger was wet soil, dry roots, poor light, a pest, a nutrient-uptake problem, a cold draft, or simply the normal retirement of an old leaf.
That distinction matters because the most common panic fixes conflict with one another. Watering a plant that is already waterlogged, feeding roots damaged by salt or rot, or repotting a plant that is merely adjusting to a new window can turn a manageable problem into a larger one.
The useful question is not simply, “Why is this leaf yellow?” Ask where the yellowing started, what pattern it follows, how the leaf feels, what the roots and potting mix are doing, and what changed recently. Those clues usually narrow the possibilities enough to choose one sensible first action.
This guide uses a conservative evidence-to-action method synthesized from current university extension, UC Integrated Pest Management, and Royal Horticultural Society guidance. It does not diagnose a plant from a photograph or leaf color alone. The two golden pothos images below are visual references for comparing distribution and pattern; they are not presented as proof that one specific cause has been confirmed.
Quick Diagnosis: What Yellow Leaves Usually Mean
Yellow leaves on houseplants usually result from root-zone stress, unsuitable light, normal aging, environmental change, pests, or impaired nutrient uptake. Overwatering is common, but yellowing alone cannot confirm it. The current UC IPM houseplant problem guide lists inadequate light, low temperature, excess water, poor drainage, and soil-borne pests or diseases among causes of yellowing and leaf drop.
Start with the whole plant rather than the brightest yellow leaf. One aging lower leaf on an otherwise vigorous plant means something very different from five yellow leaves, a limp stem, and potting mix that has stayed wet for two weeks.
For a five-minute first check, work in this order:
- Identify whether the oldest leaves, newest leaves, or the whole plant are affected.
- Compare the color pattern: uniform yellow, green veins, fine stippling, a scorched patch, or a yellow halo.
- Check the mix at root depth and lift the pot to judge whether it is unusually heavy or light.
- Inspect drainage, the cachepot, leaf undersides, petiole joints, and the stem base.
- Review changes during the previous two to six weeks, then choose one correction supported by the evidence.
Use this pattern guide as a shortlist, not a final verdict:
| What you see | More likely explanations | Evidence to check next |
|---|---|---|
| One or two oldest lower leaves yellowing slowly | Normal senescence, temporary adjustment | Healthy new growth, stable soil moisture, no pests |
| Several soft yellow lower leaves with moist soil | Excess water, low light, poor drainage | Pot weight, drainage holes, root smell and texture |
| Limp yellow leaves with dry mix and a very light pot | Underwatering or hydrophobic mix | Dry root ball, soil pulling from pot, water running through |
| Yellow tissue between green veins | Nutrient availability or root dysfunction | Which leaves are affected, soil pH, fertilizer and water history |
| Fine yellow speckles or bronzing | Spider mites or another sap-feeding pest | Leaf undersides, webbing, insects, sticky residue |
| Yellow patches on the window-facing side | Sun scorch or temperature injury | Recent move, hot glass, cold contact, sharp patch boundaries |
| Yellow leaves plus dark, soft roots | Root rot or severe root injury | Persistent wetness, poor drainage, sour smell, stem softness |
The Iowa State University Extension emphasizes that yellowing and leaf drop can reflect several factors. In practice, causes can also compound: a plant in lower seasonal light uses water more slowly, so an unchanged summer watering routine may keep the root zone wet for longer.
Read the Pattern Before You Change Plant Care
First, note leaf position. Older leaves sit lower or farther back on a vine; newer leaves emerge at the tips or crown. Yellowing that begins in old foliage often points toward aging, prolonged dryness, low nitrogen availability, or a mobile-nutrient issue, while yellowing concentrated in new foliage can suggest damaged roots, unsuitable pH, or reduced availability of micronutrients such as iron.
Next, study the shape of the discoloration. Uniform yellowing, yellow margins, pale tissue between green veins, tiny stipples, and isolated yellow halos are different patterns. The RHS notes that the location and pattern of chlorosis, especially when combined with wilting, stunting, leaf fall, or dieback, provide stronger evidence than color alone.
Then feel the leaf and the mix. Soft, swollen yellow foliage paired with consistently moist soil leans toward excess moisture; thin, curling foliage paired with a feather-light pot leans toward drought. Texture is supporting evidence rather than a rule, since roots damaged by chronic overwatering may be unable to supply water and can leave the top growth wilted.
Finally, reconstruct the previous two to six weeks. A move, repot, cold night, heat vent, vacation, fertilizer application, new cachepot, pest-infested newcomer, or seasonal reduction in daylight can be more revealing than today’s moisture reading. Photograph the plant from the same angle now, then compare new yellowing rather than repeatedly changing care based on the same damaged leaves.
When One Yellow Leaf Is Normal
Plants routinely age and shed leaves, a process called senescence. The RHS leaf-damage guide notes that an occasional lower leaf naturally yellows and falls on a mature, otherwise healthy houseplant. If one bottom leaf yellows evenly while the rest of the plant remains firm and actively growing, observation is usually more appropriate than intervention.
Concern rises when the rate changes. Multiple leaves yellowing together, yellowing that moves into new growth, soft stems, widespread wilting, an unpleasant root-zone smell, or stalled growth indicate more than routine aging. Mark the newest affected leaf with a small piece of tape on the pot—not on the plant—so you can tell whether the problem is progressing.
Watering Problems: Too Much and Too Little Can Look Alike
Roots need both water and oxygen. A healthy potting mix holds moisture in small pores while leaving larger spaces for air; chronic saturation fills those air spaces, while severe dryness interrupts water transport and can make peat-based mixes repel water. Both extremes reduce the leaf’s ability to maintain normal green tissue.
Do not diagnose watering stress from a calendar. A plant may need water after four days in warm, bright weather and after two weeks in a cool, dim room. Pot size, root mass, potting material, airflow, season, and plant species all alter the drying rate.
Instead, check moisture at root depth with a finger, wooden skewer, or the weight of the pot. A moisture meter can be a useful second opinion, but salts, mix composition, and poor probe contact can distort readings. Compare at least two indicators and learn how the pot feels immediately after a thorough watering versus when it is ready for water.
Use this golden pothos image to compare distribution, not to assign a cause. Several affected leaves justify checking the root zone and recent care rather than assuming that one old leaf has finished its life. Confirm the pot, mix, roots, and timing before treating the plant.
Signs of Overwatering
Excess water is likely when several leaves turn yellow while the mix remains wet well beyond its usual interval. The pot may feel heavy, lower leaves may be soft or limp, and fungus gnats or a stale smell may accompany persistently damp conditions. Water collected inside a decorative cachepot can keep the root ball saturated even when the surface looks merely moist.
“Overwatering” is better understood as insufficient air around roots, not just a large volume poured once. Thorough watering can be healthy when excess drains away and the mix then dries appropriately; small frequent sips can be harmful when they keep the lower root zone continually wet. The container, mix, light, and interval all determine the outcome.
Pause watering long enough to let the mix approach the species-appropriate dryness, empty standing water, and confirm that drainage holes are open. Move a low-light plant closer to suitable indirect light if the species allows, but avoid suddenly placing shade-grown foliage in intense direct sun.
Signs of Underwatering
Underwatered plants commonly have a light pot, dry mix below the surface, drooping or curling foliage, and leaves that progress from yellow to crisp brown. Soil may shrink from the sides of the pot. The RHS associates lower-leaf browning and drop, especially with excessive heat, with insufficient water, though symptoms vary by species.
A severely dry peat-based root ball may become hydrophobic, allowing water to race down gaps and out the drainage hole without moistening the center. Water slowly in two or three passes, waiting briefly between passes, or soak the nursery pot until the root ball is evenly hydrated, then let it drain fully. Never leave it standing indefinitely in the soaking water.
Succulents, cacti, epiphytic orchids, ferns, and peace lilies do not share one dryness target. Check care requirements for the actual plant and account for potting medium: orchid bark should not be judged like dense potting soil, and a succulent mix should dry much faster than a moisture-retentive tropical blend.
Light Problems: Low Light, Harsh Sun, and Sudden Moves
In low light, photosynthesis slows and plants use water more slowly. Growth may become thin or stretched, variegation can fade, and older foliage may yellow as the plant supports fewer leaves. A watering routine that worked beside a bright summer window can therefore become excessive in a darker winter position.
Move the plant toward brighter species-appropriate light in stages. “Bright indirect light” usually means a position with a broad view of the sky but protection from prolonged harsh sun, not a dim room that happens to contain a window. Observe shadows and the duration of direct rays rather than relying on compass direction alone, since buildings, curtains, trees, and season change usable light.
Excess light produces a different pattern. Recently exposed leaves can develop bleached yellow or tan patches on the side facing the window, often with crisp boundaries that do not spread after the plant is moved. The RHS houseplant damage guide warns that midday sun may scorch leaves yellow and recommends gradual changes in light intensity.
Root Problems Hidden Below the Soil
Leaves report problems that often begin underground. Roots in compacted mix, a pot with blocked drainage, an oversized container, or a rootbound mass cannot maintain a stable balance of water, air, and nutrients. This is why adding water to a wilted plant without checking the root zone can be risky.
Inspect the pot before unpotting. Look for a drainage hole, water trapped in the cachepot, dense or collapsed mix, roots circling at the surface, and an unusually slow or fast drying rate. If evidence above the soil remains ambiguous and yellowing is progressing, slide the root ball out gently while it is slightly moist.
Root Rot and Oxygen-Starved Roots
Root rot becomes likely when yellowing combines with persistent wetness, worsening wilt, dark or soft roots, stem-base softness, or an unpleasant odor. UC IPM notes that root rot is often associated with poor drainage and overwatering and that aging potting media can lose aeration as it settles and compacts. The diagnosis still depends on inspecting the root system rather than leaf color alone.
If only some roots are affected, remove collapsing roots with clean shears, retain every firm healthy root, and repot into fresh, appropriately airy mix in a container only slightly larger than the remaining root system. Clean the pot before reuse and improve the underlying cause—drainage, pot size, mix, light, or watering interval—because trimming roots without changing conditions invites a repeat.
Severe cases require honest triage. If nearly all roots and the stem base are soft, saving the original root system may be unrealistic. Taking healthy stem or node cuttings, where the species can be propagated that way, may offer a better chance than repeatedly treating a collapsing root ball.
Avoid pouring improvised disinfectants or other unlabelled remedies through the pot. They do not correct poor aeration, drainage, or watering frequency, and an unsuitable concentration can injure living tissue. Root inspection, removal of collapsed tissue, clean tools, suitable substrate, and corrected moisture management address the conditions you can verify.
Rootbound Plants, Compacted Mix, and Oversized Pots
A rootbound plant can yellow because the small amount of remaining mix dries rapidly and supplies water unevenly. Clues include dense circling roots, water running straight through, wilting soon after watering, slowed growth, and a pot that contains far more root than mix. Move up only one modest pot size and loosen or redirect tightly circling roots as appropriate for the species.
Compacted old mix creates almost the opposite watering behavior: it drains and aerates poorly. If the material has collapsed into a dense mass, refresh it with a blend suited to the plant rather than simply moving the same root ball into a larger pot.
An oversized pot can stay wet for too long because a small root system cannot use water throughout the large volume of mix. The RHS includes overpotting among causes of widespread yellowing. Choose a container in proportion to the healthy root mass, not the eventual size you hope the plant will reach.
Nutrients, Soil pH, and Yellow Leaves With Green Veins
Nutrient deficiency is possible, but it is overdiagnosed. Roots that are cold, damaged, waterlogged, dry, or surrounded by unsuitable pH may be unable to absorb nutrients already present. Adding more fertilizer in that situation can increase soluble salts without correcting uptake.
Interveinal chlorosis means tissue between the veins turns pale or yellow while the veins remain greener. The RHS chlorosis guide explains that the leaf position and pattern can help narrow nutrient-related causes, while also listing root damage, waterlogging, pests, diseases, and other cultural problems as alternatives. Treat pattern as a lead for investigation, not laboratory proof of one missing element.
Review the fertilizer history, water source, species requirements, and age of the mix. A plant growing actively in the same exhausted medium for years may benefit from a complete houseplant fertilizer used at the low end of its label rate. A recently fertilized, dormant, sick, or freshly repotted plant is a poor candidate for an extra dose.
White crust on the soil or pot rim can indicate accumulated soluble salts from fertilizer or water. UC IPM includes excessive fertilizer and other salts among causes of poor root health and discolored foliage in its houseplant symptom key. Flush only when the container drains freely and the roots are not already waterlogged; otherwise correct the drainage or root problem first.
Soil pH affects nutrient availability, but indiscriminately adding iron, magnesium, Epsom salts, coffee grounds, or acidifiers is not a diagnosis. For a valuable plant with persistent patterned chlorosis, a pH test and species-specific guidance are more reliable than treating every yellow leaf as a deficiency.
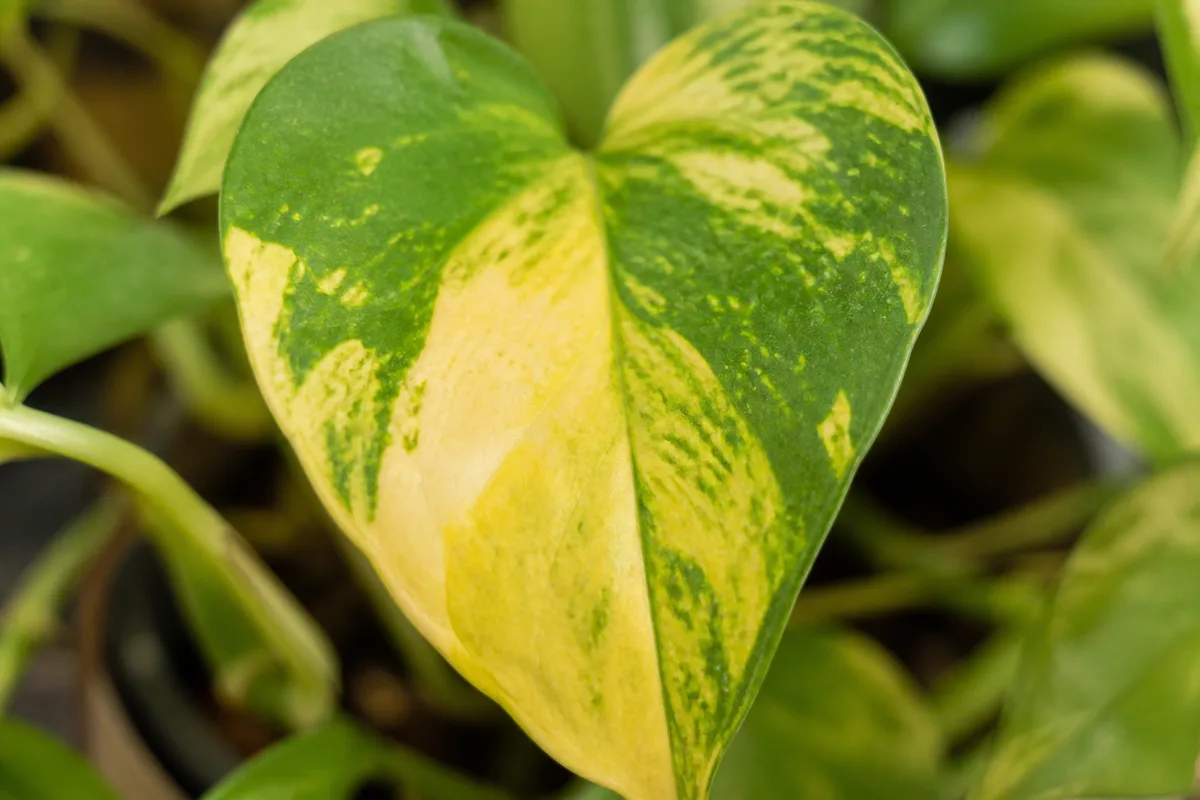
Use the close view to note whether yellowing follows veins, fills the spaces between them, begins at the margin, or spreads uniformly. On a naturally variegated golden pothos, compare the leaf with older photographs and healthy leaves on the same vine; a changing loss of green is more diagnostically useful than its normal gold pattern.
Pests and Diseases That Cause Yellowing
Sap-feeding pests remove plant fluids and damage cells, producing stippling, mottling, distorted new growth, sticky honeydew, or broader yellowing. Inspect leaf undersides, petiole joints, stems, and emerging leaves under bright light. A phone flashlight and hand lens make small pests far easier to find.
Spider mites often leave fine pale speckles that merge into bronzing, sometimes with delicate webbing around growing points. Scale resembles attached brown or pale bumps; mealybugs form cottony clusters; aphids gather on tender growth; thrips can leave silvery scars and dark fecal specks. The current UC IPM pest symptom guide links stippling and webbing with spider mites and describes the characteristic signs of mealybugs, scale, thrips, aphids, and whiteflies.
Isolate an infested plant, physically remove as many pests as practical, and identify the pest before choosing treatment. UC IPM advises considering insecticidal soap or horticultural oil only when the product is labelled for the plant and pest. Follow the label’s protective-equipment, location, coverage, and repeat-application directions; some plant species are sensitive to sprays.
Yellow halos around discrete brown or black lesions suggest leaf-spot damage rather than a whole-root problem. Remove severely affected debris, avoid wetting foliage unnecessarily, improve spacing and airflow, and disinfect tools. Because chemical rules and labeled uses vary by location and plant, seek a local extension service or qualified plant clinic when spots spread rapidly or diagnosis is uncertain.
Random pesticide application is not preventive care. It can injure leaves, miss the actual pest, and obscure the pattern you need to diagnose. Environmental stress remains more common than infectious disease in many indoor settings.
Temperature Stress, Drafts, and Acclimation
Houseplants can yellow after a trip through cold weather, contact with cold glass, a blast from an air conditioner, or hot dry air from a vent. Damage may concentrate on the exposed side, and leaves can fall after the event. The RHS houseplant damage guide includes cold, sudden temperature drops, draughts, excess shade, and midday sun among causes of widespread yellowing or scorch.
Newly purchased or relocated plants also need time to acclimate. Greenhouse light, humidity, watering, and temperature differ from most homes, so limited leaf loss during the first few weeks does not automatically mean the new location is wrong. Keep conditions steady while checking carefully for hitchhiking pests.
Place the plant where foliage does not touch winter glass and where doors or vents do not create rapid swings. Aim for the species’ temperature range rather than assuming every tropical foliage plant shares one threshold. If the crown and roots remain sound, the best treatment for a one-time temperature incident is stable care and patience.
A Seven-Day Recovery Plan
On day one, stop guessing and document the evidence. Photograph the whole plant and both sides of affected leaves, identify whether old or new foliage is involved, feel the mix at depth, lift the pot, check drainage, empty the cachepot, and inspect for pests. Record recent watering, feeding, moving, repotting, and temperature events.
Choose one primary correction supported by that evidence. Rehydrate a truly dry root ball; let a wet but otherwise healthy root zone breathe; move a low-light plant gradually closer to suitable light; isolate a pest-positive plant; or inspect roots when rot indicators are present. Do not water, fertilize, repot, prune heavily, and spray “just in case.”
Over the next seven days, maintain stable conditions and watch for progression. Existing yellow tissue may remain yellow or turn brown even after the cause is fixed. Success means yellowing stops spreading, stems remain firm, the mix returns to a normal drying rhythm, and later growth emerges healthy—not that an old damaged leaf becomes perfect.
Reassess sooner if the crown or main stem softens, roots smell foul, lesions spread quickly, or pests appear on nearby plants. Otherwise, avoid setting an arbitrary recovery deadline: a slow-growing plant may not produce a new leaf during the first week, so the absence of additional damage can be the earliest useful sign.
Remove a fully yellow or diseased leaf with clean scissors at its petiole when it releases easily or when removal improves sanitation. A partly green leaf still photosynthesizes, so retaining it can help a sparsely foliated plant while the cause is corrected. Do not remove so much foliage at once that a severely stressed plant loses most of its remaining green area.
When Repotting Is Necessary—and When It Is Not
Repot promptly when roots are rotting, the mix is sour and structurally collapsed, drainage is impossible, the root ball is severely bound, or the plant sits in a grossly oversized container that will not dry. Select fresh medium matched to the plant and a clean pot with functional drainage.
Do not repot solely because one old leaf turned yellow. Repotting disturbs roots and changes moisture behavior, so it can compound acclimation, drought, sun scorch, or temperature stress. If the mix drains, roots appear healthy, and yellowing has stopped, steady care is less risky.
A recovery may take weeks because leaves record past conditions. Fast-growing pothos can demonstrate improvement through a healthy new leaf relatively quickly, while slow-growing plants may need much longer. Judge the direction of change, not a fixed deadline.
Seek local expert help when the plant declines rapidly despite corrected care, the crown or main stem softens, unusual lesions spread from plant to plant, or a prized specimen has lost most of its roots. A clear set of photos plus notes on moisture, light, and care history will make that diagnosis far more useful.
How to Prevent Yellow Leaves From Returning
Build care around observation rather than rigid reminders. Check the root zone on a schedule, but water only when the plant and mix indicate a need. Water thoroughly when you do, let excess escape, and empty decorative containers so roots never sit in runoff.
Match pot, mix, and light to the plant. Use containers with drainage, avoid dramatic jumps in pot size, refresh compacted medium, and adjust watering as daylight and indoor temperature change. Rotate plants gradually for balanced growth, but do not repeatedly move them between dim rooms and harsh sun.
General symptom guidance has a firm limit: the species and its growing medium set the correct moisture, light, and temperature range. Advice that suits a golden pothos in peat-free foliage mix may be wrong for an orchid in bark or a succulent in mineral-rich mix. Use this guide to identify evidence, then apply the care requirements of the plant you actually own.
Quarantine new plants for a practical observation period and inspect them before placing them in a collection. Clean leaves when dusty, look beneath them at the same time, and respond to a confirmed pest early. Keep simple notes for plants with recurring problems; patterns are easier to see when watering, fertilizer, moves, and symptoms are dated.
Feed for active growth, not for distress. Use a complete fertilizer appropriate to the plant, follow its label, and start conservatively. Periodically check for salt crust, congested roots, blocked drainage, and a change in the pot’s drying speed.
Most importantly, treat the next yellow leaf as information. Compare it with the plant’s baseline, pair color with physical evidence, and make the smallest correction that addresses the likely cause. That habit prevents both neglect and overcare.
Conclusion
Yellow leaves on houseplants do not point to one universal fix. The strongest diagnosis comes from combining leaf age and pattern, soil moisture, root health, light, pests, temperature, and recent changes. One old yellow leaf may be normal; spreading yellowing with wet mix, damaged roots, stippling, or distorted growth deserves action.
Start with low-risk observations, correct the clearest underlying condition, and hold the rest of the care routine steady. Damaged leaves may not regain their color, but a plant that stops producing new symptoms, resumes a healthy moisture cycle, and makes sound new growth is telling you the recovery is working.
Plants commonly affected
These houseplants often struggle with yellow leaves. Open a care guide or plant-specific troubleshooting page for tailored fixes.
 Medium
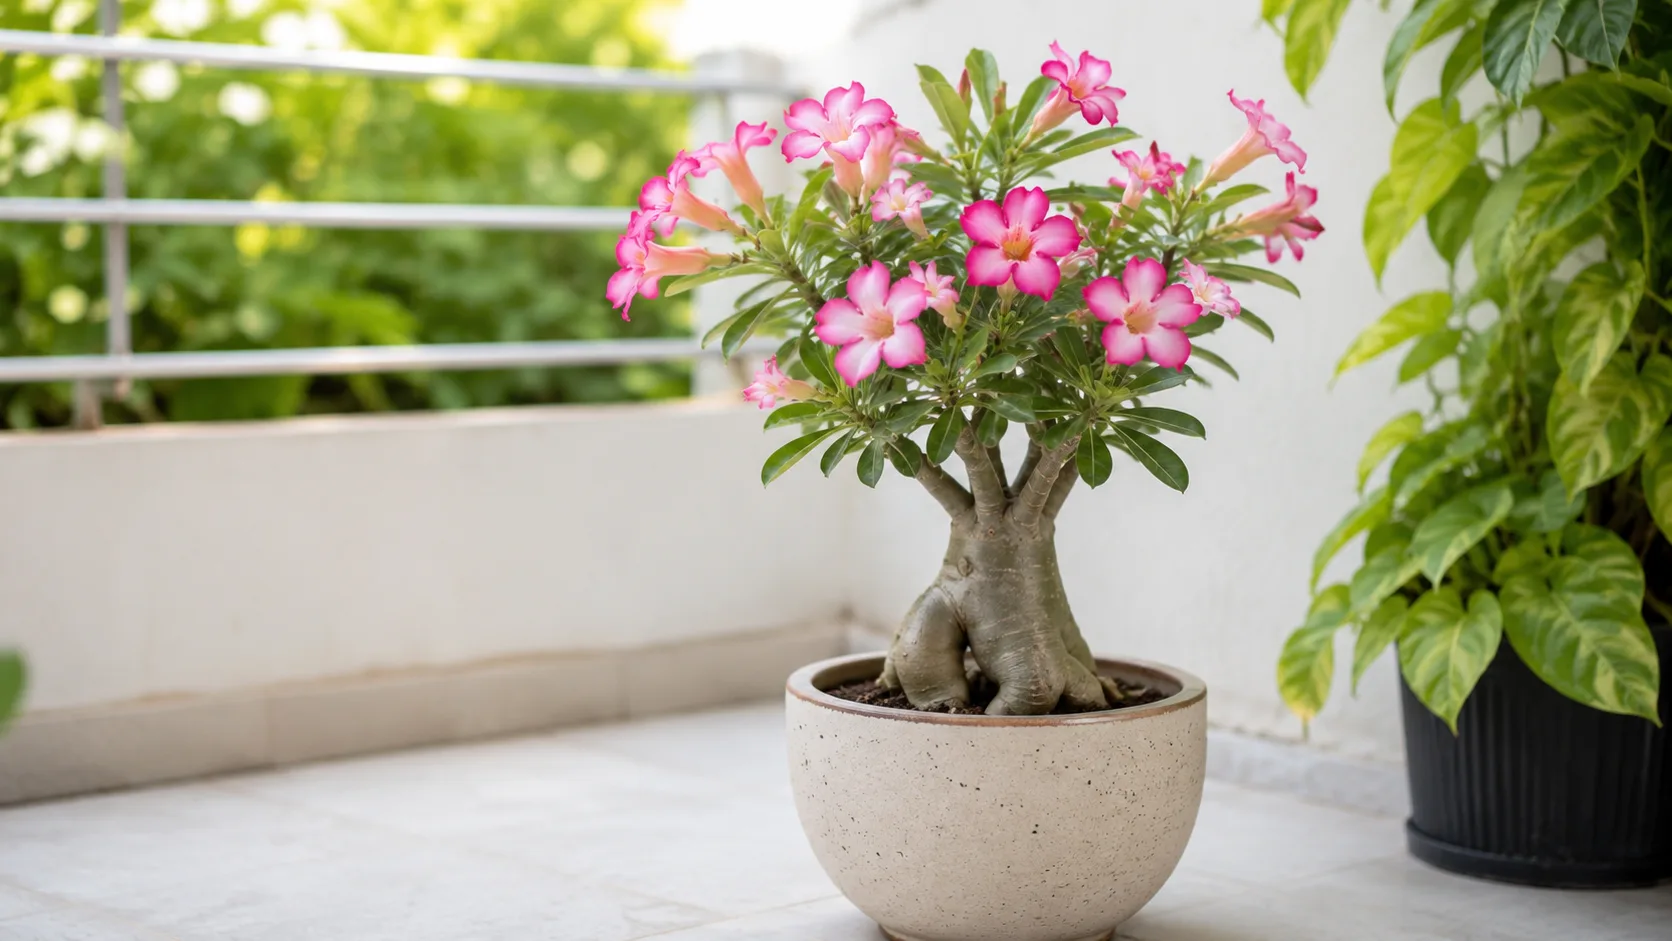
Adenium
Likely causeYellow leaves signal cool dormancy, overwatering/root stress, or anthracnose—not always disease.
Quick fixIf caudex is firm and season is cool, reduce water; if soil is wet, inspect roots immediately.
 Medium
African Milk Tree
Likely causeCommon on this plant type; confirm with recent watering, light, and root checks.
Quick fixInspect the plant and correct the most likely care stressor before stacking treatments.
 Medium
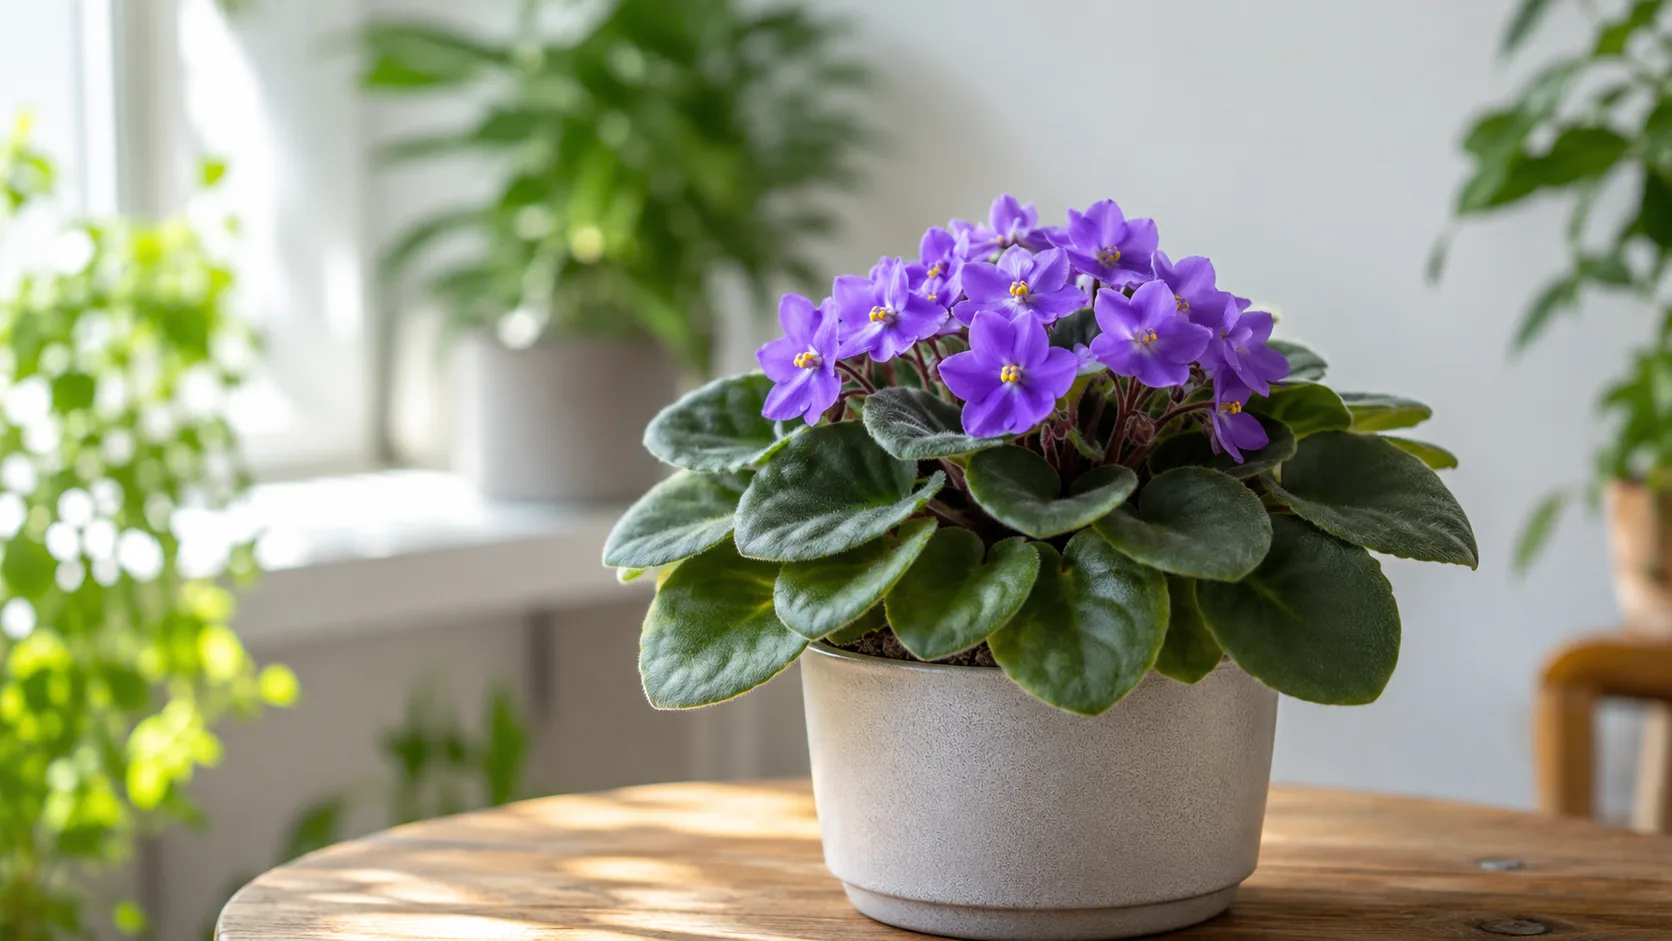
African Violet
Likely causeYellow Leaves on African Violet: When African violet leaves are yellow, the plant is signaling trouble. Knowing how to take care of yellowing African violets can minimize issues but may also be a natural part of the growth process. T
Quick fixInspect African Violet, confirm yellow leaves matches your symptoms, then adjust care or treat per authoritative guides.
 Medium
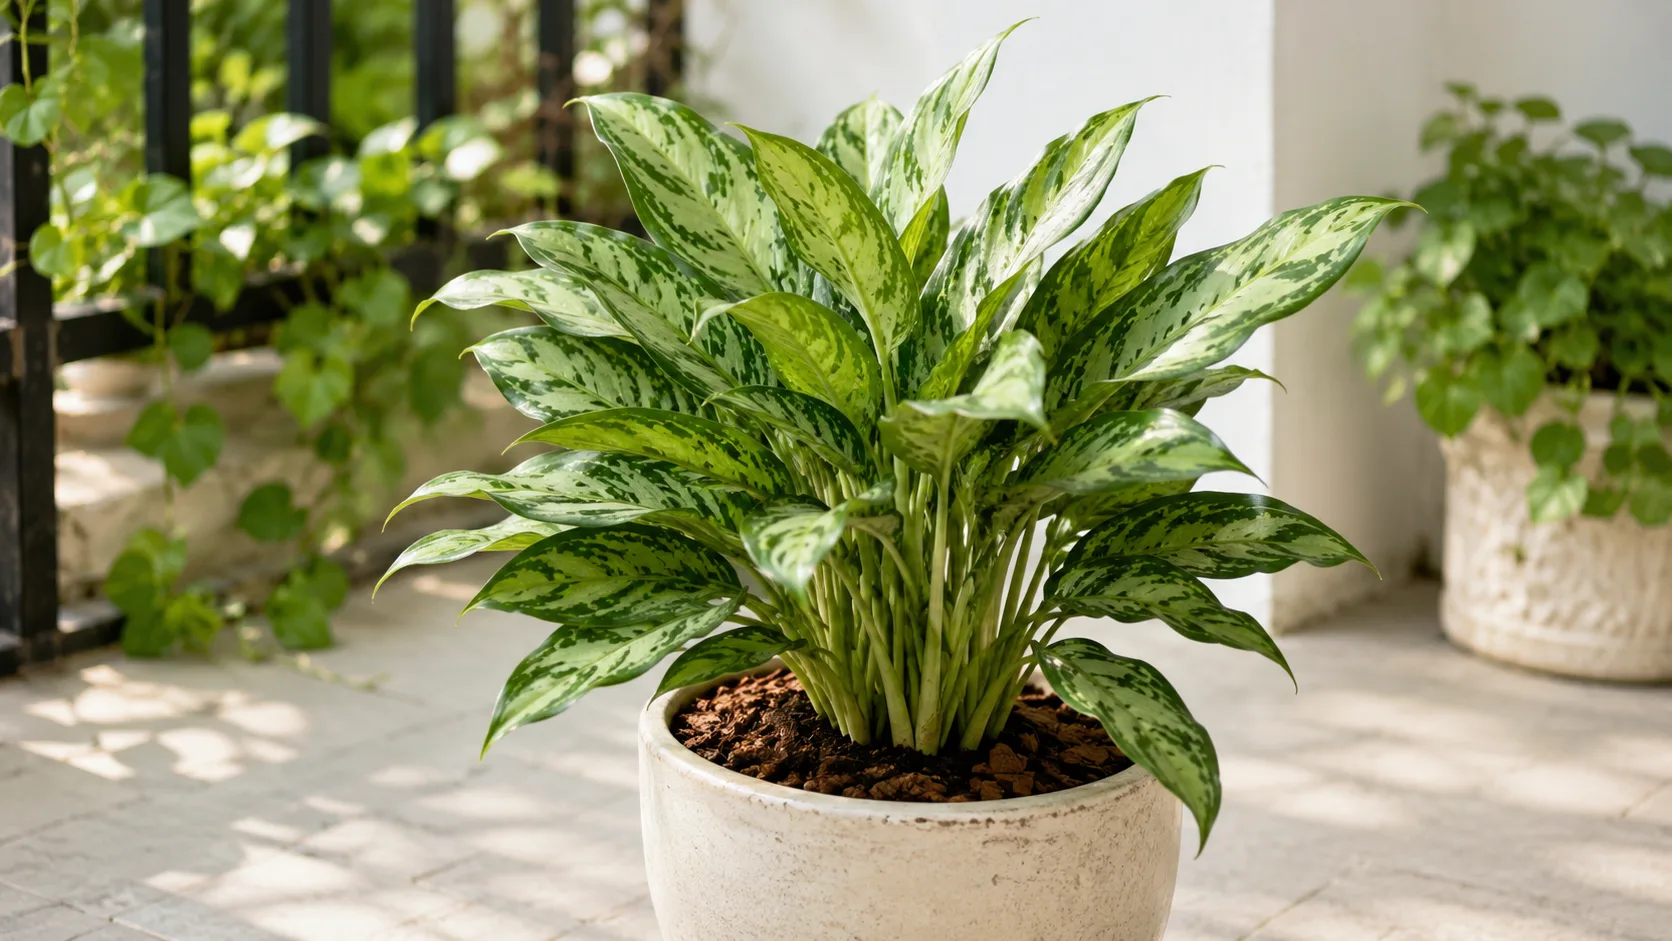
Aglaonema
Likely causeOverwatering is most common; also caused by cold temperatures or direct sun bleaching
Quick fixAllow soil to dry to 2 inches; ensure temperatures stay above 15°C; check for drainage
 Medium
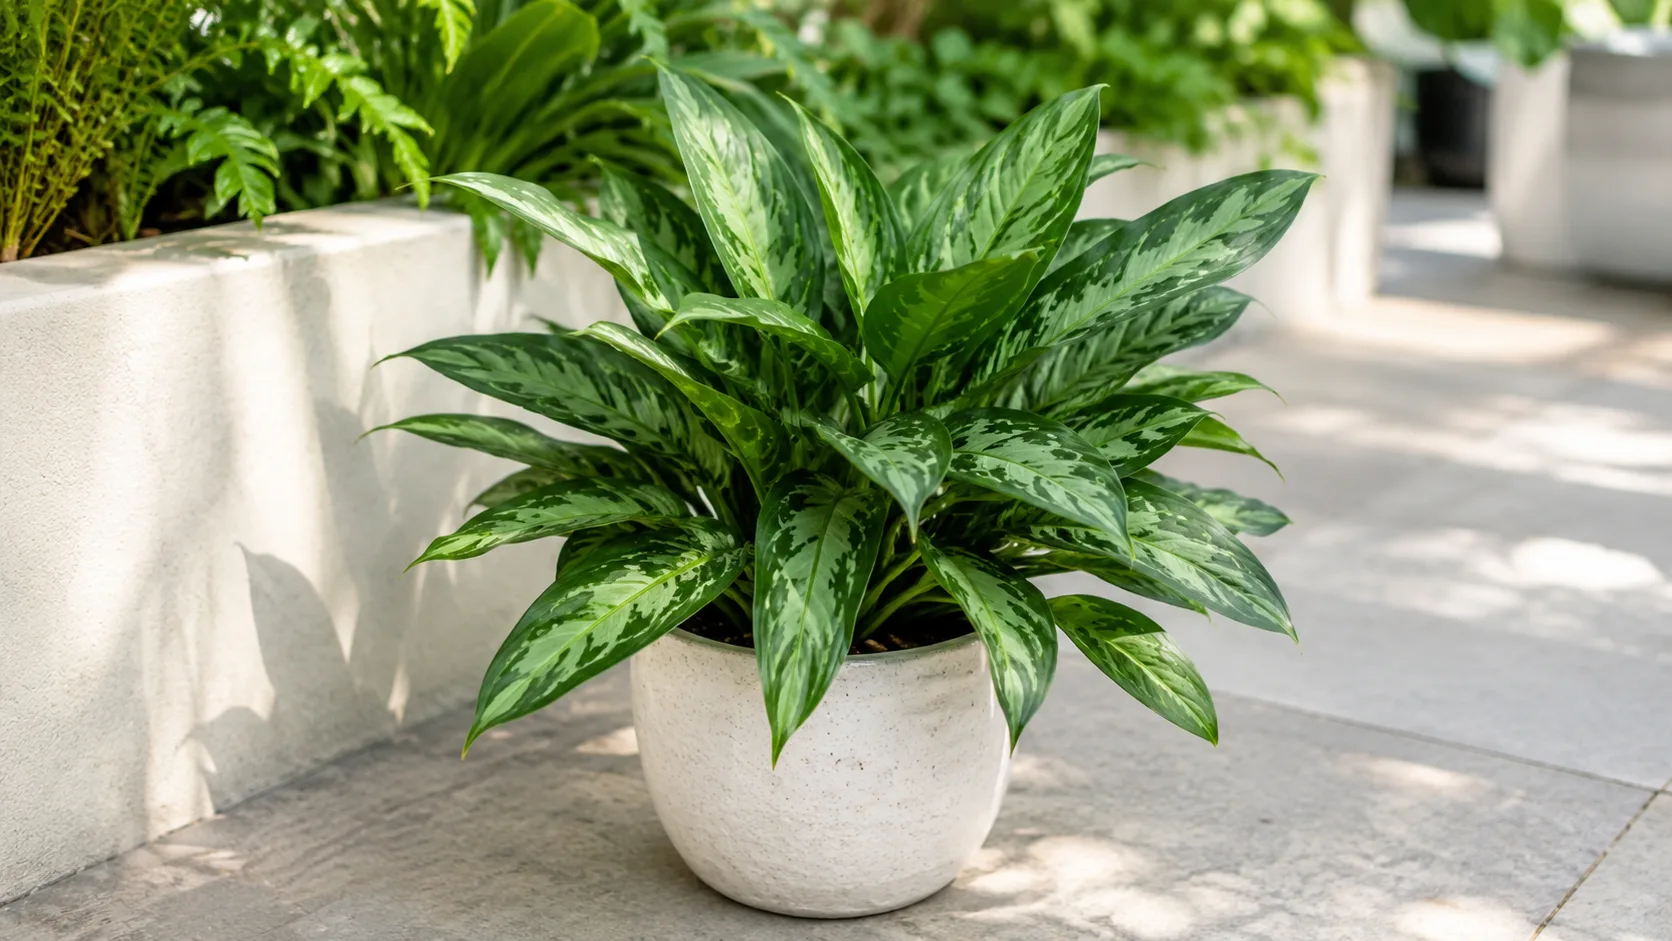
Aglaonema Cutlass
Likely causeCommon on this plant type; confirm with recent watering, light, and root checks.
Quick fixInspect the plant and correct the most likely care stressor before stacking treatments.
- Medium
Aglaonema Lady Valentine
Likely causeCommon on this plant type; confirm with recent watering, light, and root checks.
Quick fixInspect the plant and correct the most likely care stressor before stacking treatments.
- Medium
Aglaonema Maria
Likely causeOverwatering.
Quick fixAllow soil to dry more.
- Medium
Aglaonema Pictum Tricolor
Likely causeCommon on this plant type; confirm with recent watering, light, and root checks.
Quick fixInspect the plant and correct the most likely care stressor before stacking treatments.
 Medium
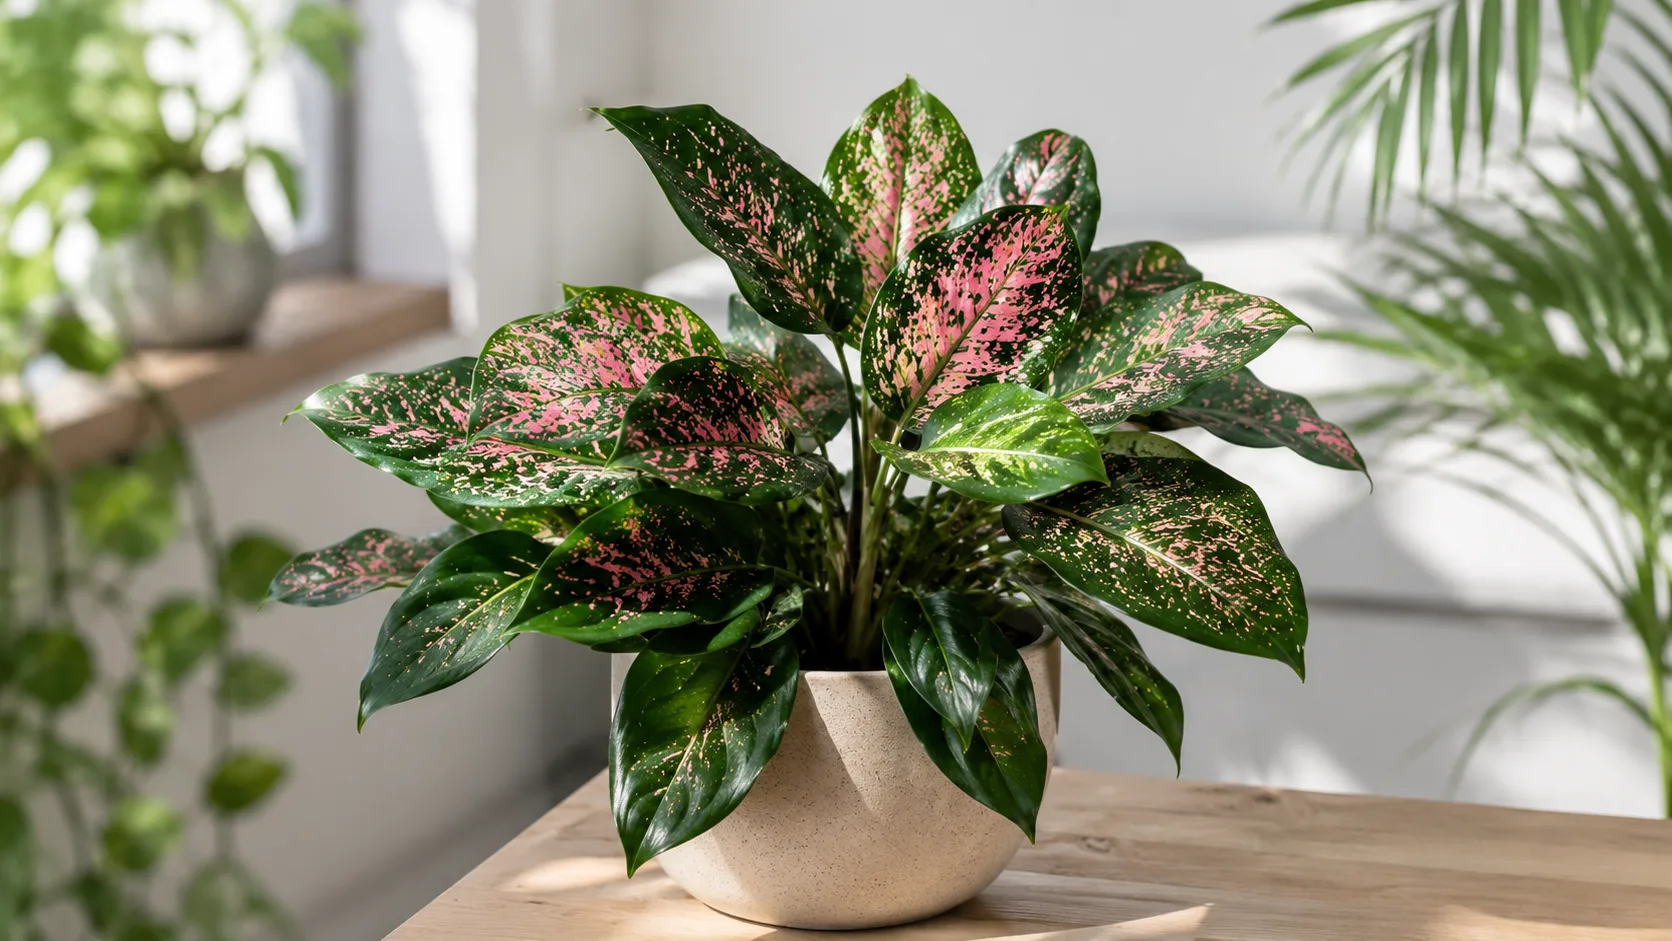
Aglaonema Pink Dalmatian
Likely causeOverwatering.
Quick fixReduce watering frequency.
- Medium
Aglaonema Red Siam
Likely causeCommon on this plant type; confirm with recent watering, light, and root checks.
Quick fixInspect the plant and correct the most likely care stressor before stacking treatments.
 Medium
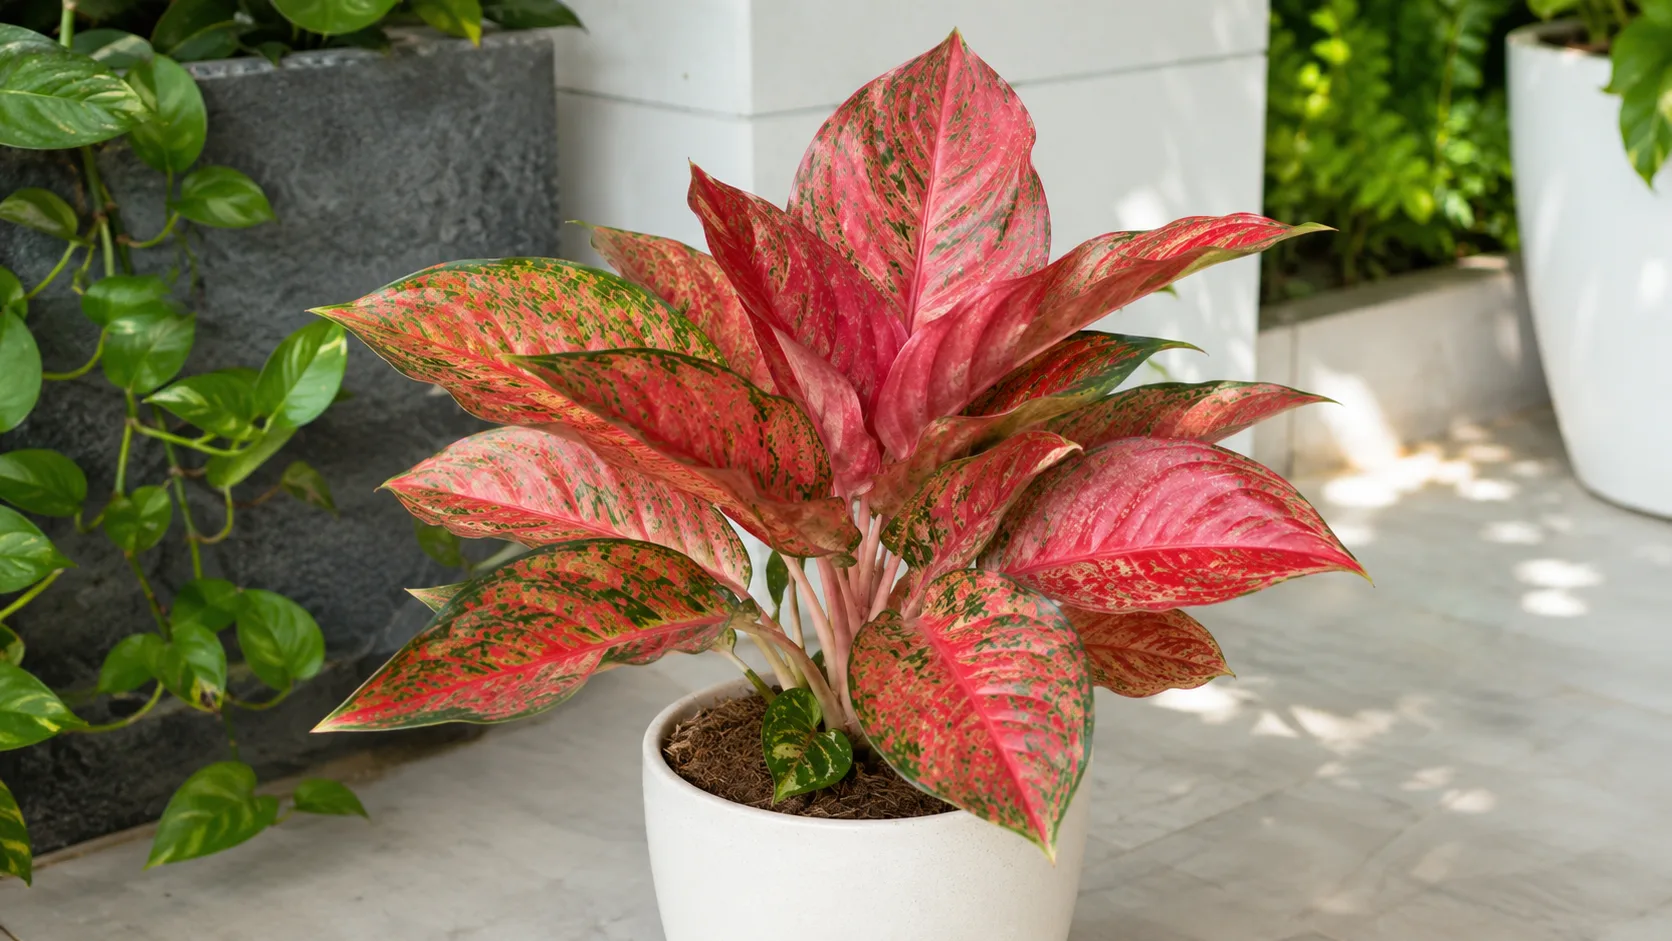
Aglaonema Red Valentine
Likely causeOverwatering.
Quick fixLet soil dry before watering.
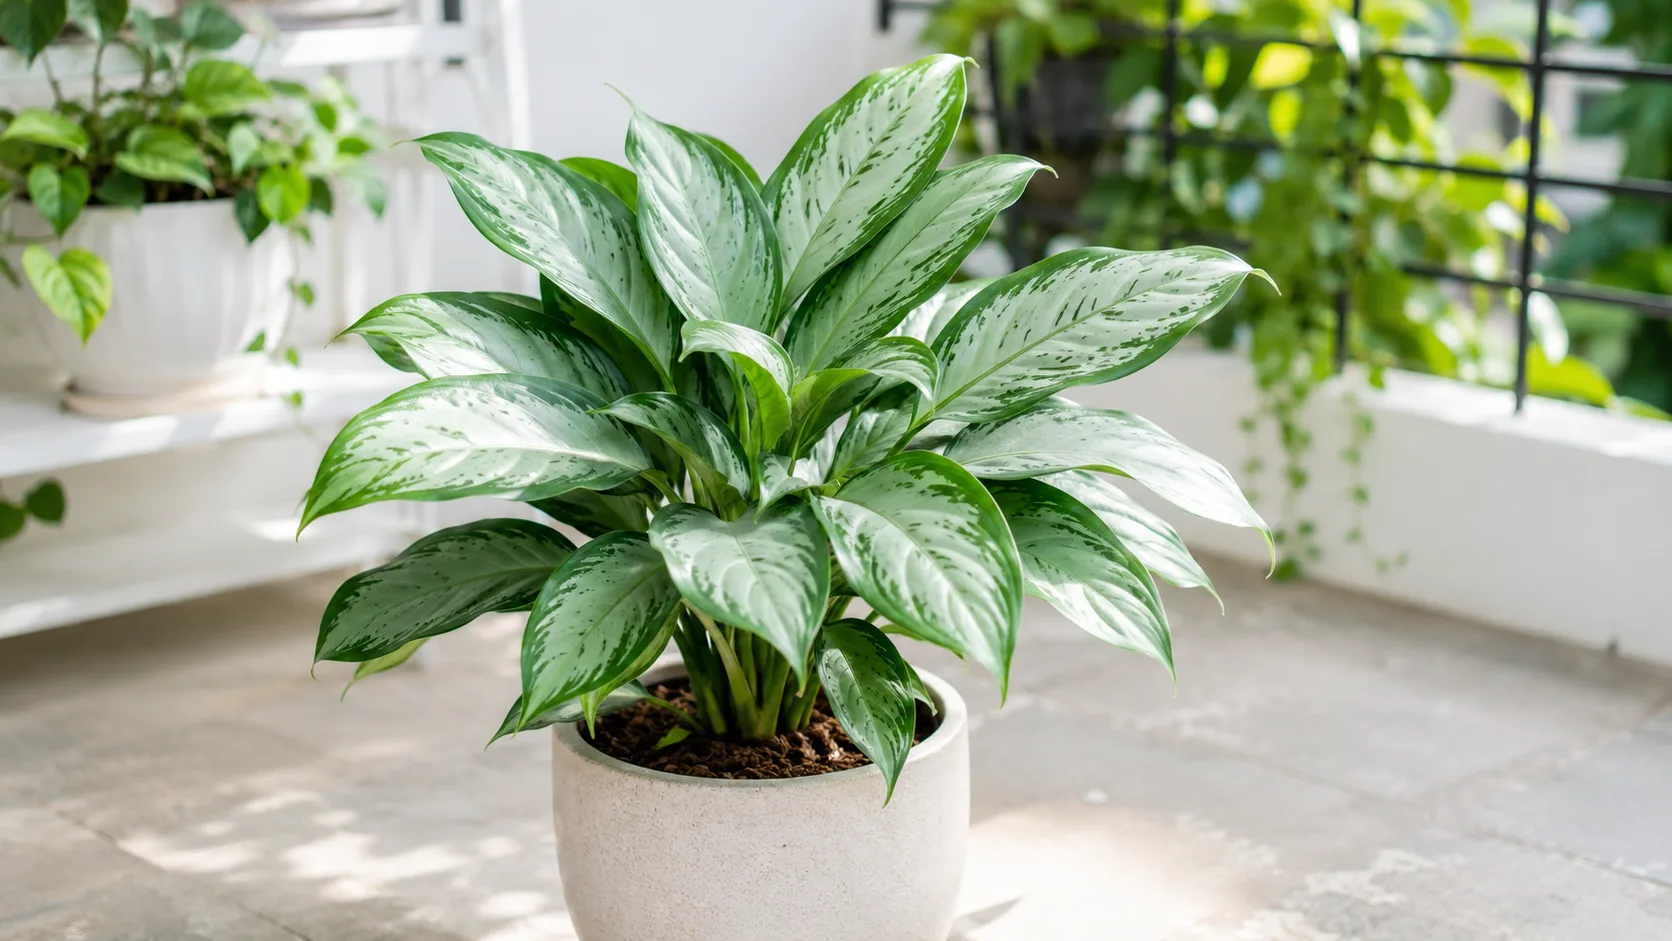 Medium
Aglaonema Silver Bay
Likely causeOverwatering.
Quick fixAllow soil to dry more between waterings.