Root Rot in Houseplants: Signs, Causes and Treatment
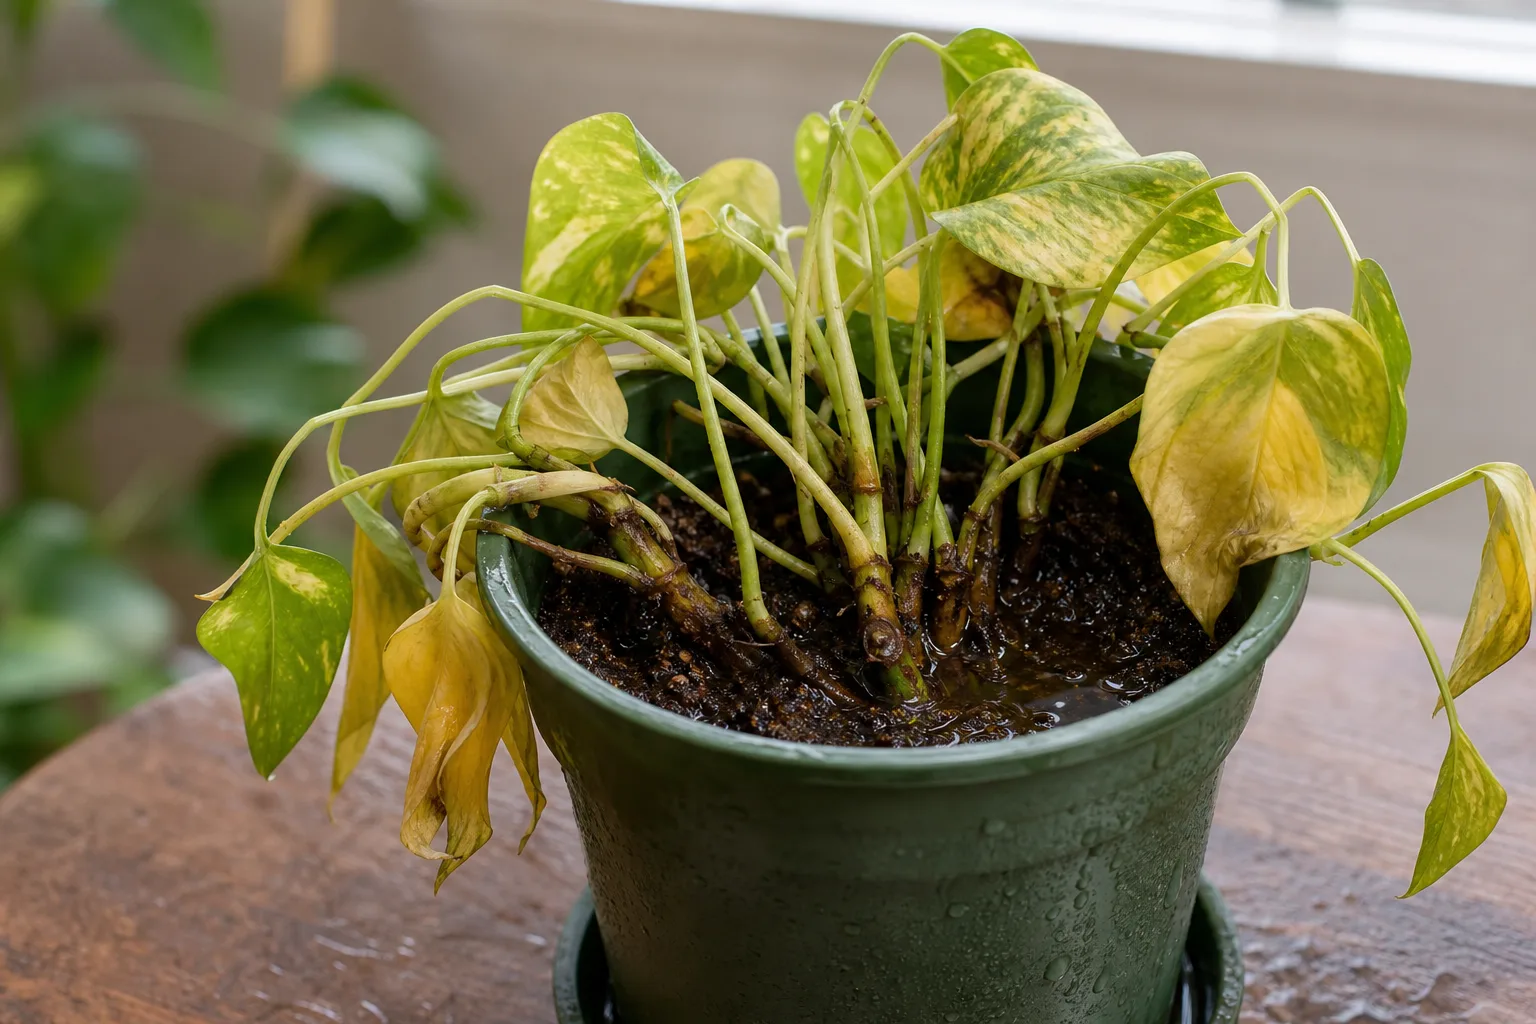
Root rot is a high-risk condition caused by oxygen-starved, waterlogged roots that become vulnerable to decay organisms. The confusing part is that plants with root rot often look thirsty above soil: drooping, yellowing, and limp leaves can appear even when the pot is wet. This happens because damaged roots cannot move water to foliage. Without intervention, decline can accelerate quickly. Recovery depends on speed and decisiveness. Mild cases can rebound with improved aeration and watering control, while moderate to severe cases require root pruning and repotting into fresh, well-draining media. Waiting for the soil to dry alone is rarely enough once roots have decayed. The key is to remove dead tissue, restore oxygen around remaining roots, and prevent repeat saturation. New healthy roots are the true sign of recovery, and that can take several weeks depending on plant vigor and season.
Root Rot on Houseplants
Still unsure?Match your symptoms to the most likely problems in under a minute.Run diagnosis →Understand and fix root rot
If soil smells sour, roots are brown and mushy, and leaves yellow despite wet soil, root rot is the likely primary issue.
Overview
Root rot is a high-risk condition caused by oxygen-starved, waterlogged roots that become vulnerable to decay organisms. The confusing part is that plants with root rot often look thirsty above soil: drooping, yellowing, and limp leaves can appear even when the pot is wet. This happens because damaged roots cannot move water to foliage. Without intervention, decline can accelerate quickly.
Recovery depends on speed and decisiveness. Mild cases can rebound with improved aeration and watering control, while moderate to severe cases require root pruning and repotting into fresh, well-draining media. Waiting for the soil to dry alone is rarely enough once roots have decayed. The key is to remove dead tissue, restore oxygen around remaining roots, and prevent repeat saturation. New healthy roots are the true sign of recovery, and that can take several weeks depending on plant vigor and season.
Root Rot patterns: what you see vs. likely cause
Match your plant to the closest pattern, then start with the first step before trying other fixes.
| What you see | Likely cause | First step |
|---|---|---|
| Wilting with wet soil and sour smell | Active root rot from waterlogged mix | Unpot, prune mushy roots, repot into fresh airy mix |
| Yellow leaves despite moist soil | Damaged roots cannot uptake water | Do not water more-inspect roots and improve drainage |
| Soft stem base; blackening from soil line up | Advanced rot spreading into stem tissue | Treat urgently; propagate healthy cuttings as backup |
| Slow drain after watering; soil always damp | Compacted mix or blocked drainage holes | Clear holes, aerate or replace substrate, downsize if pot is too large |
How to identify it
- Persistent wet soil and a sour, swampy odor from the pot.
- Yellowing, drooping, or blackening leaves despite moist mix.
- Roots appear brown, translucent, or mushy rather than firm and pale.
- Stem base may feel soft in advanced cases.
- Water drains slowly due to compacted or degraded mix.
- Plant declines rapidly after repeated overwatering episodes.
When to worry
Treat as urgent when stem bases soften, black patches spread upward, or more than one-third of roots are mushy during inspection.
Common causes
Poor drainage and compacted mix
Dense substrate holds water too long and limits airflow. Roots suffocate, then decay organisms proliferate.
Frequent watering without dryness checks
Calendar watering can keep media constantly saturated. Oxygen deprivation begins before visible top growth symptoms.
Oversized pots
Large soil volumes dry slowly around a small root ball. Prolonged wet zones increase rot risk dramatically.
Cool temperatures with low light
Growth slows in these conditions, reducing water use. Normal watering frequency then becomes excessive.
Blocked drainage holes
Standing water at the pot base keeps lower roots submerged. Rot often starts in this permanently wet zone.
Step-by-step fix
Unpot and inspect roots
Remove all wet soil gently and identify firm versus mushy roots. Healthy roots should feel solid and resilient.
Prune all decayed tissue
Use sterilized scissors to remove brown, soft roots back to firm tissue. Disinfect tools between cuts.
Repot into airy fresh mix
Use a clean pot with drainage and a chunkier substrate tailored to the species for faster oxygen exchange.
Water once, then pause
After repotting, water thoroughly to settle mix, then wait for partial dryness before watering again.
Increase light and airflow
Provide bright, indirect light and gentle air movement to speed balanced drying and root recovery.
Hold fertilizer temporarily
Skip feeding for 3-4 weeks while roots regenerate; fertilizer salts can further stress damaged roots.
Monitor for stem progression
If stem softening spreads despite treatment, take healthy cuttings for propagation as a salvage step.
Prevention tips
- Use free-draining potting mixes and pots with open drainage.
- Check root-zone moisture before every watering.
- Downsize oversized pots to match root mass.
- Reduce watering frequency in winter or low light.
- Refresh old substrate before it compacts heavily.
Common mistakes
- Adding fungicide but keeping the same soggy soil and routine.
- Repotting into a much larger pot after root loss.
- Fertilizing immediately after root pruning.
- Ignoring sour smell because leaves still look partly green.
Related care topics
These care guides help prevent repeat issues once you have treated the immediate problem.
A houseplant that droops in wet soil presents a dangerous temptation: add more water because it looks thirsty. Do that repeatedly and a stressed root system can lose even more of the oxygen it needs. The safer response is to stop, check the moisture below the surface, and inspect the roots if the pot stays wet or the plant continues to decline.
Root rot in houseplants is the breakdown and death of roots, commonly associated with persistently wet, poorly aerated potting mix and sometimes with soil-borne pathogens. A plant may be salvageable when it still has firm roots, a sound crown, or healthy nodes for cuttings. The rescue is not simply “water less”; it is to remove failed tissue where appropriate, replace the conditions that caused it, and then let the reduced root system recover without being drowned or force-fed.
What Root Rot Actually Is
“Root rot” describes a result rather than one single disease. Roots have become damaged and begun to decay, so they can no longer anchor the plant or move water and minerals normally. The University of Florida’s plant-disease specialists make an important distinction: root rot can be a physical condition caused by standing in water, a disease involving a pathogen, or a combination of both (UF Emerging Pathogens Institute).
That distinction changes what you can reasonably infer at home. Soft, collapsing roots confirm dead or dying root tissue, but they do not identify the organism responsible. Precise pathogen identification may require a plant diagnostic laboratory, especially when a valuable plant keeps declining despite corrected care.
Oxygen Starvation and Root Pathogens
Healthy roots respire: they need oxygen held in the pore spaces of a structured potting mix. When those pores stay filled with water, gas exchange slows, root metabolism suffers, and weakened tissue becomes less able to defend itself. The plant can wilt while surrounded by moisture because it no longer has enough functioning roots to absorb that water.
Wet conditions also favor several organisms associated with root disease. The University of Wisconsin–Madison lists Pythium, Phytophthora, Rhizoctonia solani, and Fusarium among common causes; Pythium and Phytophthora can also produce long-lived survival structures in soil or plant debris (Wisconsin Horticulture). The first two are oomycetes, often called water molds, rather than true fungi, which is one reason a generic “antifungal” home treatment is not a dependable diagnosis or cure.
Signs of Root Rot in Houseplants
Root rot usually reveals itself as a pattern, not one magic symptom. Suspect it when foliage decline occurs alongside potting mix that remains wet unusually long, a heavy pot days after watering, water trapped in a saucer or cachepot, or a soft stem at the soil line. Confirm it by examining the root system rather than treating leaf color as proof.
Above-Ground Warning Signs
Early signs may include slowed growth, dull foliage, or a plant that no longer perks up as expected. As root function falls, older or newer leaves can yellow, leaves may drop, and stems may wilt even though the mix is moist; University of Maryland Extension lists yellowing, browning, and leaf dieback among possible root- or crown-rot symptoms. Advanced decay can move into the crown or basal stem, producing soft, dark tissue and sudden collapse.
None of those symptoms is exclusive to root rot. UC IPM notes that yellowing and wilting can also follow insufficient light, underwatering, excess fertilizer salts, compacted soil, temperature change, pests, or pot-bound roots (UC Statewide IPM). Think of yellow leaves as an alarm, not a diagnosis.
A sour, swampy, or rotten odor strengthens the case for prolonged saturation, but smell is not essential. UF/IFAS explains that oxygen-poor soil can encourage odor-producing anaerobic bacteria that are not necessarily plant pathogens. A clean-smelling root ball can still contain localized rot, and a foul pot confirms a bad root environment without naming its cause.
Confirming the Problem at the Roots
Water only if the plant genuinely needs it before inspection; otherwise, support the base, tip the pot, and slide out the root ball gently. Look first at the lowest and innermost roots, where dense mix often stays wet longest. If the root ball is packed, loosen only enough substrate to see representative roots instead of tearing every fine feeder root away.
The best at-home test combines texture, structure, and smell. A live root resists a gentle pinch and keeps its outer layer attached. Clemson Cooperative Extension describes infected roots as brown to black and sometimes soft; badly rotten roots may flatten between your fingers or shed their outer covering to leave a thin, threadlike core.
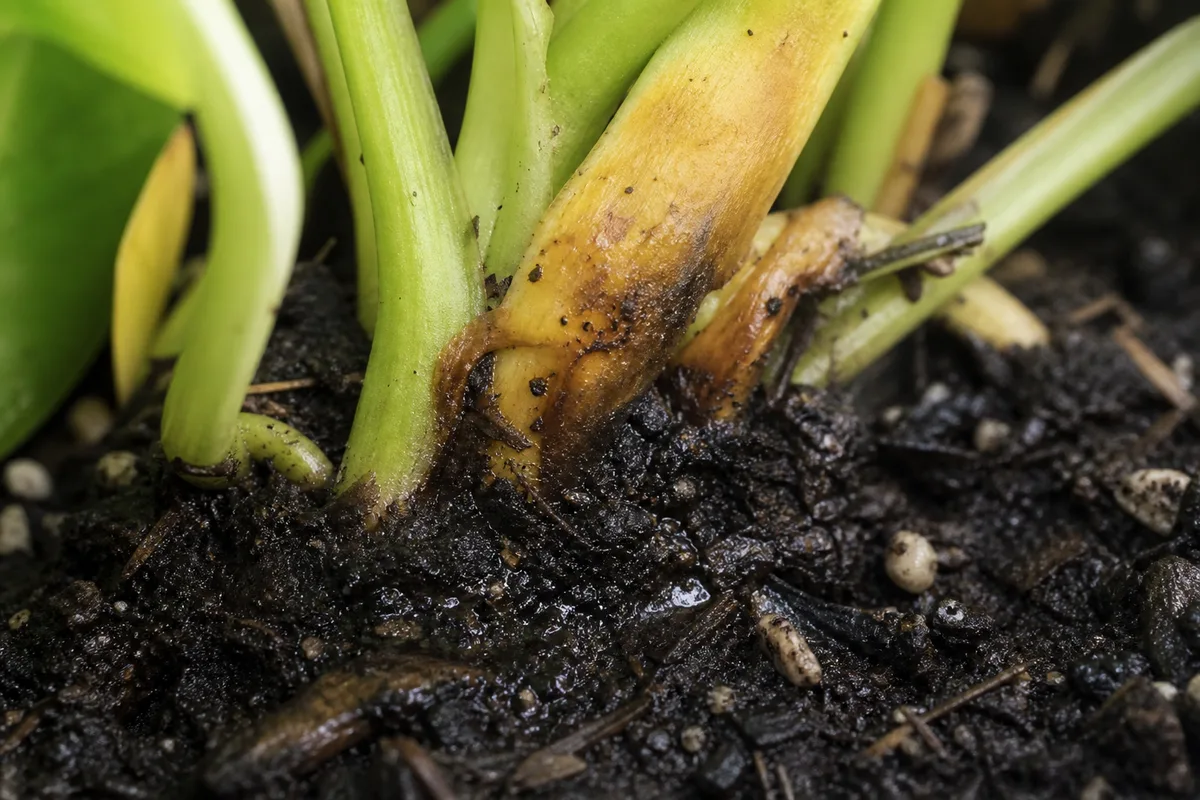
Healthy Roots vs Rotten Roots
| Check | More consistent with healthy roots | More consistent with root rot |
|---|---|---|
| Feel | Firm, springy, or wiry | Mushy, slimy, hollow, or easily crushed |
| Structure | Outer tissue stays attached | Outer tissue slides off or root breaks with little pressure |
| Color | Often white, cream, tan, or species-specific | Often dark brown or black, especially at damaged tips |
| Smell | Earthy or neutral | Sour, stagnant, or decaying |
| Nearby tissue | Crown and stem base remain firm | Crown or stem base may be soft, dark, or water-soaked |
Color needs context. Potting mix stains roots, older roots may be naturally tan or brown, and some species do not produce bright white roots. UC IPM describes healthy roots as white beneath their outer covering, but firmness and intact tissue are safer field clues than shade alone. Do not amputate a firm, structurally sound root merely because it is beige.
Why Indoor Plant Roots Rot
Overwatering is often blamed, but the duration of saturation matters more than the number of milliliters poured at one sitting. A thorough watering can be correct when excess drains and the root zone then regains air. A small daily splash can be more harmful if it keeps the lower half of the pot continuously damp.
Root failure also has momentum. Once some roots die, the plant uses water more slowly, so the pot stays wet longer; that extended wetness damages more roots. The Royal Horticultural Society warns that overwatering is easily mistaken for thirst and associates it with yellowing, stem rot, and dark mushy roots. Successful treatment breaks this feedback loop instead of applying the same schedule to a plant with a much smaller working root system.
The Conditions That Create Root Rot
Several factors commonly stack together:
- Watering by calendar. Tuesday arrives whether the mix is dry or not. The lower root zone may remain saturated even when the surface looks pale.
- Low light. Photosynthesis and water use slow, particularly in winter or after moving a plant farther from a window. A routine that worked in brighter conditions can become excessive.
- An oversized pot. A small root system cannot use moisture held by a large volume of mix, leaving the center wet for too long.
- Dense or degraded substrate. Fine peat, decomposed bark, compacted garden soil, and collapsed old mix hold fewer air spaces.
- Blocked or absent drainage. A holeless container, clogged outlet, flat-bottomed pot, or water left in a decorative outer pot creates a hidden reservoir.
- Cool conditions. Lower temperature can slow plant growth and evaporation, extending the time roots remain wet.
- Contaminated material. Reused substrate, runoff, tools, or pots can move root-rot organisms between plants.
The pot’s layers matter too. Adding stones beneath potting mix does not create a free-draining root zone. Illinois Extension explains that water can perch in the mix above gravel until the available air space fills, leaving the root zone saturated. Use a properly sized container with open drainage holes and a mix whose particles maintain air space throughout the pot.
Decide Whether to Repot, Propagate, Diagnose, or Discard
Begin with four observations: moisture at root depth, pot weight, time since the last watering, and the plant’s recent environment. Dry, crumbly mix plus crisp foliage points more strongly toward thirst. Wet mix plus progressive yellowing, soft growth, or no improvement after watering justifies a root inspection.
Then test several roots from different parts of the ball. If roots are firm throughout, do not perform “preventive” root surgery; look again at light, pests, fertilizer salts, temperature, and whether the plant is tightly root-bound. If only a few roots are soft while the crown and most roots are solid, the plant has a better prognosis than one whose entire root mass slips apart.
The location of damage adds context. Rot concentrated at the bottom often matches prolonged saturation or standing water. A soft crown, blackened nodes, or decay traveling up a succulent stem is more serious because there may be little viable tissue between the damage and the growing point. It still does not identify a pathogen by sight, but it helps determine whether repotting or propagation is the realistic goal.
A useful rescue decision rests on remaining viable tissue, not the number of yellow leaves. Use the least disruptive action that fits the evidence:
| What you find | Most reasonable next step | Why |
|---|---|---|
| Roots are firm throughout; crown is sound | Stop cutting and investigate light, salts, pests, temperature, watering, and root binding | Foliage symptoms alone do not establish root rot |
| A localized patch is soft; most roots and the crown are firm | Prune only confirmed decay and repot into fresh, suitable mix | Enough functional tissue remains to support a cautious rescue |
| Most roots are lost, but upper stems contain firm viable nodes | Take clean cuttings as insurance; decide whether to attempt the mother plant separately | Propagation may preserve the plant when the old root system cannot support the canopy |
| Crown is soft, every viable node is affected, or decay repeatedly returns | Discard, or seek a diagnostic clinic before spending money on treatment | There may be no healthy tissue to rebuild, and visual inspection cannot identify the causal organism |
Wisconsin Extension notes that disposal is often the most cost-effective response to diagnosed root rot and does not recommend chemical fungicides for houseplants because home-use options are limited and can be expensive. For a rare, sentimental, or high-value specimen, a diagnostic clinic can replace guesswork with an organism-specific recommendation.
How to Treat Root Rot in Houseplants
Treatment has two jobs: remove conditions that keep injuring roots and preserve as much functioning tissue as possible. Root pruning can help when decay is localized, but excessive cutting creates another wound load and reduces water uptake further. Work slowly, keep clean tissue, and choose the smallest intervention supported by what you actually see.
A Careful Rescue, Step by Step
- Isolate and prepare. Move the plant away from the collection. Set out a clean pot with open drainage, fresh species-appropriate potting mix, gloves, and sharp shears that have been cleaned and disinfected. University of Minnesota Extension notes that soil and plant debris should be removed before disinfection because debris can reduce a disinfectant’s effectiveness (tool and container sanitation guidance).
- Unpot without pulling the stems. Support the crown and ease the container away. Empty any standing cachepot water and keep the old substrate and runoff away from other plants.
- Remove saturated mix selectively. Tease or rinse away enough old material to expose damaged sections. Avoid scrubbing or stripping every healthy fine root merely to make the system look clean.
- Prune confirmed rot. Cut soft, hollow, slimy, or sloughing roots back to firm tissue. Clean the blades between clearly diseased sections, especially if decay extends toward the crown.
- Reassess the plant. If sound roots remain, repot. If the root system and crown are lost but upper nodes are firm, switch to propagation rather than repeatedly cutting downward.
- Choose a snug replacement pot. It should accommodate the remaining roots without compressing them, not match the plant’s former canopy size. After major root loss, that may mean reusing a sanitized pot of the same size or downsizing.
- Use fresh, airy substrate. Start with a reputable commercial mix suited to the species, then adjust structure when needed with coarse bark, perlite, or pumice. “Fast-draining” does not mean a universally dry cactus mix; peace lilies and tropical aroids still need moisture retention alongside air.
- Settle the plant and drain fully. Lightly firm the mix so the plant stands without packing out its pore spaces. If you water to settle the mix, let it drain completely and do not leave runoff in the saucer.
Aftercare watering cannot be reduced to “always water immediately” or “never water for a week.” The safe interval depends on the species, the amount of viable root left, wound extent, current mix moisture, and temperature. If species-specific guidance conflicts with a universal rule, follow the species guidance and keep the root zone aerated rather than saturated.
Do not apply fertilizer during the rescue. Salts do not rebuild dead roots, and a stressed, reduced root system is less able to manage them. Resume a dilute, appropriate feed only after the plant has stabilized and is producing credible new growth.
When Propagation Is the Safer Rescue
Propagation is insurance when rot approaches the crown or leaves too few roots to support the canopy. Take one or more cuttings from firm, unblemished tissue above the affected area, using a clean blade and including the node or growth structure the species requires. Do not put a decorative leaf without a viable node into water and expect it to rebuild a vining aroid.
Keep the mother plant’s tools, vessel, and waste separate from healthy plants. Root the cutting by a method suitable for the species—water, lightly moist perlite, sphagnum, or propagation mix—while avoiding another stagnant setup. A clean cutting can fail if its node remains submerged in foul, oxygen-poor water or sealed in constantly sodden media.
Root-Rot Aftercare and Signs of Recovery
Place the repotted plant in appropriate bright, indirect light unless its species needs a different exposure. Adequate light supports new root production and helps the mix dry predictably, but harsh direct sun adds water stress when the root system is least able to replace lost moisture. Keep temperature steady and avoid another relocation unless the present position caused the problem.
The first days may bring temporary droop because root disturbance interrupts water uptake. Judge the trend over the following weeks: the mix should dry at a more normal pace, the stem base should remain firm, yellowing should slow rather than march upward, and eventually a bud, leaf, or root should grow. Old yellow leaves will not turn green, and a damaged root will not become firm again.
Check moisture below the top layer and compare pot weight with a recently watered and a nearly ready pot. With fewer roots, the interval often lengthens, so adding frequent “recovery sips” can recreate the original saturated conditions.
Common Treatment Mistakes
The most damaging mistake is treating droop alone. Adding water to a plant whose roots have failed makes the leaf symptom and root cause move in opposite directions. Unpot when the evidence points belowground, but do not repeatedly disturb a plant whose roots are firm just to relieve uncertainty.
Another mistake is cutting by color. Dark staining is not the same as decay, while a pale root can still be hollow or dead. Let texture, attachment, smell, and the overall moisture history make the decision.
Avoid oversized “fresh start” pots, compact garden soil, gravel drainage layers, and potting directly into a decorative vessel without an outlet. Do not treat routine applications of hydrogen peroxide, cinnamon, or an unlabelled fungicide as a substitute for diagnosis and corrected drainage. A household substance may show antimicrobial activity under one set of conditions without being proven safe and effective against the causal organism in living houseplant roots.
Finally, do not reuse the old mix or pour its drainage water into another plant. These materials may carry pathogens even when saturation was the initial trigger. Bag the waste, clean the work area, and wash your hands before returning to the healthy collection.
Build a Root-Rot Prevention System
Prevention works best as a feedback system rather than a perfect interval. The plant’s water use changes with light, season, temperature, leaf area, pot material, and root health. Your routine should detect that change before the root zone spends days without enough air.
Match Watering to the Plant’s Drying Rate
Learn how the pot behaves immediately after a thorough watering and again when the species is ready for another. Check more than the surface: use a finger, wooden skewer, pot weight, or moisture probe interpreted alongside the plant. Water thoroughly when the relevant part of the profile has dried, then let excess escape completely.
Adjust after environmental changes. A plant moved into lower light, a cool winter room, or a glazed pot usually dries more slowly. A plant in warmer bright light with active new growth may use water faster. The calendar can remind you to check, but it should not command you to pour.
Keep Pots, Mix, and Tools Working for You
Choose a pot only modestly larger than a healthy root ball, or sized to the roots that remain after pruning. Keep drainage holes clear and remove standing water from saucers and cachepots soon after irrigation. A nursery pot inside a decorative cover is safe only when you lift it to water and confirm the outer container is empty afterward.
Refresh collapsed substrate with a commercial, species-appropriate mix that retains some moisture while restoring air spaces. Never assume “more perlite” can compensate for watering too frequently; structure and behavior must work together. Inspect newly purchased plants before placing them among the collection, because UC IPM advises rejecting plants with discolored roots or stems and monitoring new arrivals closely.
Sanitation matters most when disease is plausible. Wisconsin Extension advises against reusing potting mix or drainage water and recommends disinfecting tools, surfaces, and reusable clay pots after a root-rot case. Remove soil and debris before disinfection, follow the product label, keep disinfectants away from living roots, and replace porous or hard-to-clean containers when reliable sanitation is not possible.
When to Discard the Plant or Seek a Diagnosis
Discard the plant when no firm crown, viable roots, or propagatable growth remains, or when continued decline puts a valuable collection at risk. Seal the plant and substrate for disposal rather than composting uncertain diseased material or scattering it around an indoor growing space. Emotional value can justify an attempt, but it cannot restore tissue that has fully decomposed.
Seek a professional diagnosis when the plant is rare or costly, several plants decline despite sound watering, symptoms return in clean media, or you need to select a pesticide responsibly. Visual diagnosis has limits: Wisconsin’s Plant Disease Diagnostics Clinic cautions that very few diseases can be identified accurately by eye. A local Extension service or plant clinic can advise on sample submission. In the United States, the EPA explains that pesticide labels are legally enforceable, so the product must be labelled for the plant, setting, and target organism and used exactly as directed.
Conclusion
The reliable way to handle root rot in houseplants is to move from symptom to evidence. Yellowing and wilting raise suspicion; persistent wetness, a heavy pot, and soft or sloughing roots confirm that the root zone is failing. Firmness matters more than color, and the amount of sound root, crown, or node tissue determines whether repotting, propagation, or disposal is the honest next step.
Rescue only solves half the problem. The lasting fix is a root zone that regains air: a snug draining pot, structured fresh mix, no hidden standing water, enough light for active water use, and watering triggered by actual drying. Watch the direction of recovery rather than expecting damaged leaves to reverse, and let new firm growth—not hope or a fixed schedule—show that the plant is rebuilding.
Plants commonly affected
These houseplants often struggle with root rot. Open a care guide or plant-specific troubleshooting page for tailored fixes.
 Medium
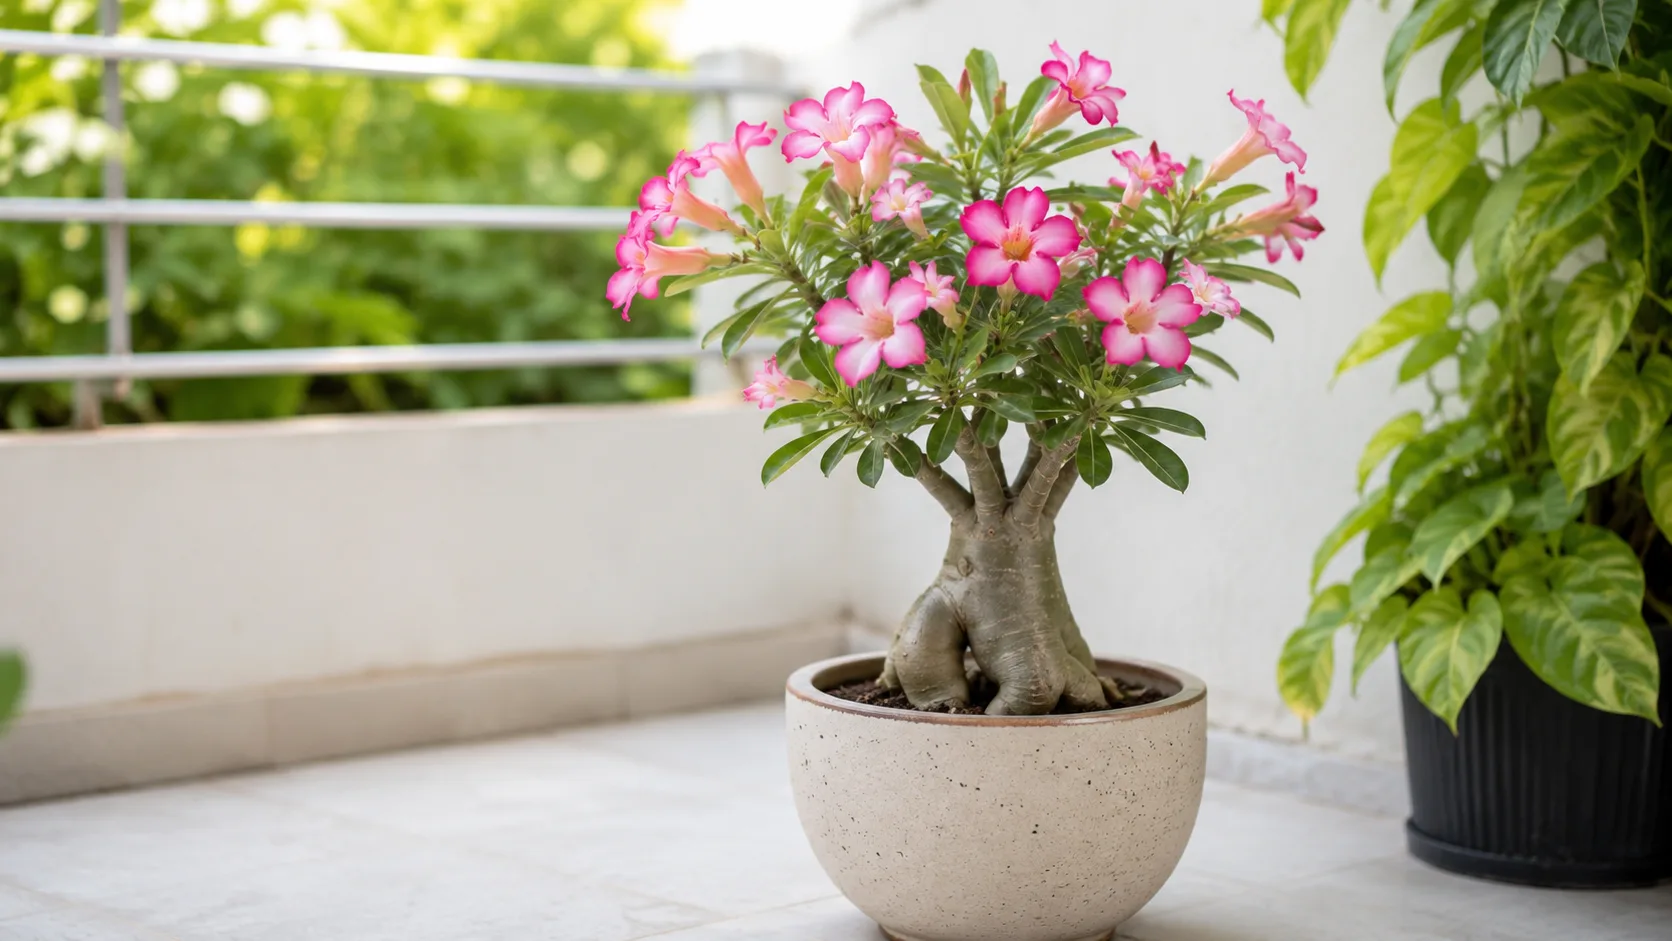
Adenium
Likely causeOverwatering—especially during winter dormancy—rots roots and caudex until stems blacken and collapse.
Quick fixStop watering, unpot, trim all mushy roots/caudex tissue, dry 2–3 days, repot in gritty mix.
 Medium
African Milk Tree
Likely causeCommon on this plant type; confirm with recent watering, light, and root checks.
Quick fixInspect the plant and correct the most likely care stressor before stacking treatments.
 Medium
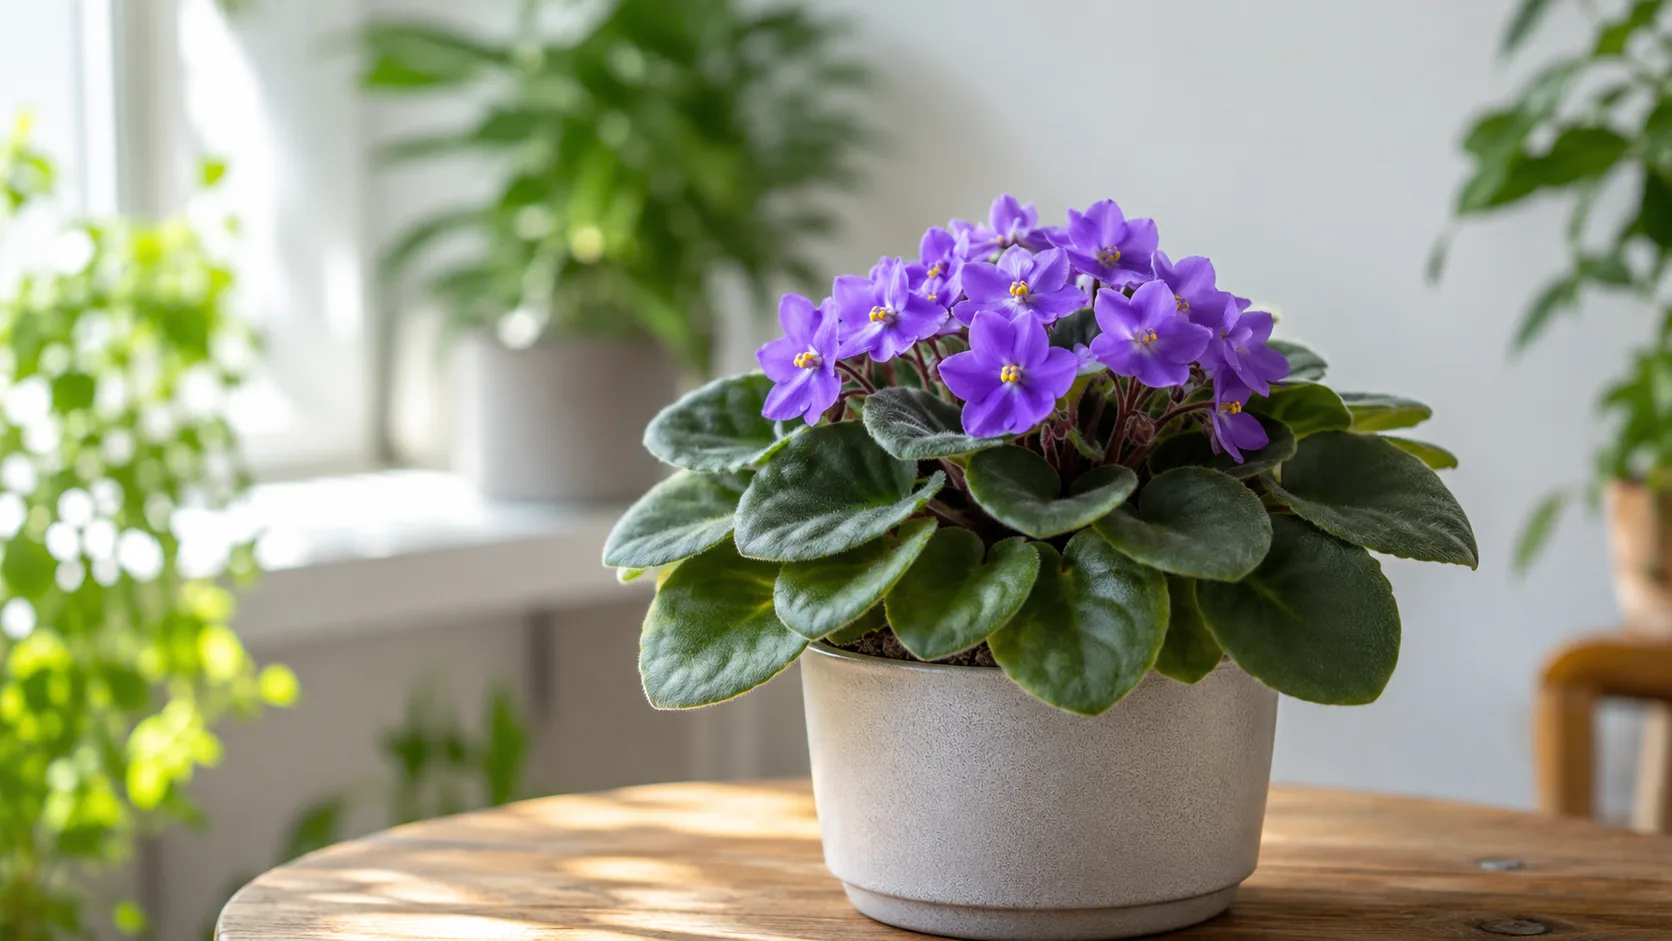
African Violet
Likely causeOverwatering or soil that retains too much moisture
Quick fixRepot in fresh African violet mix; trim rotted roots
 Medium
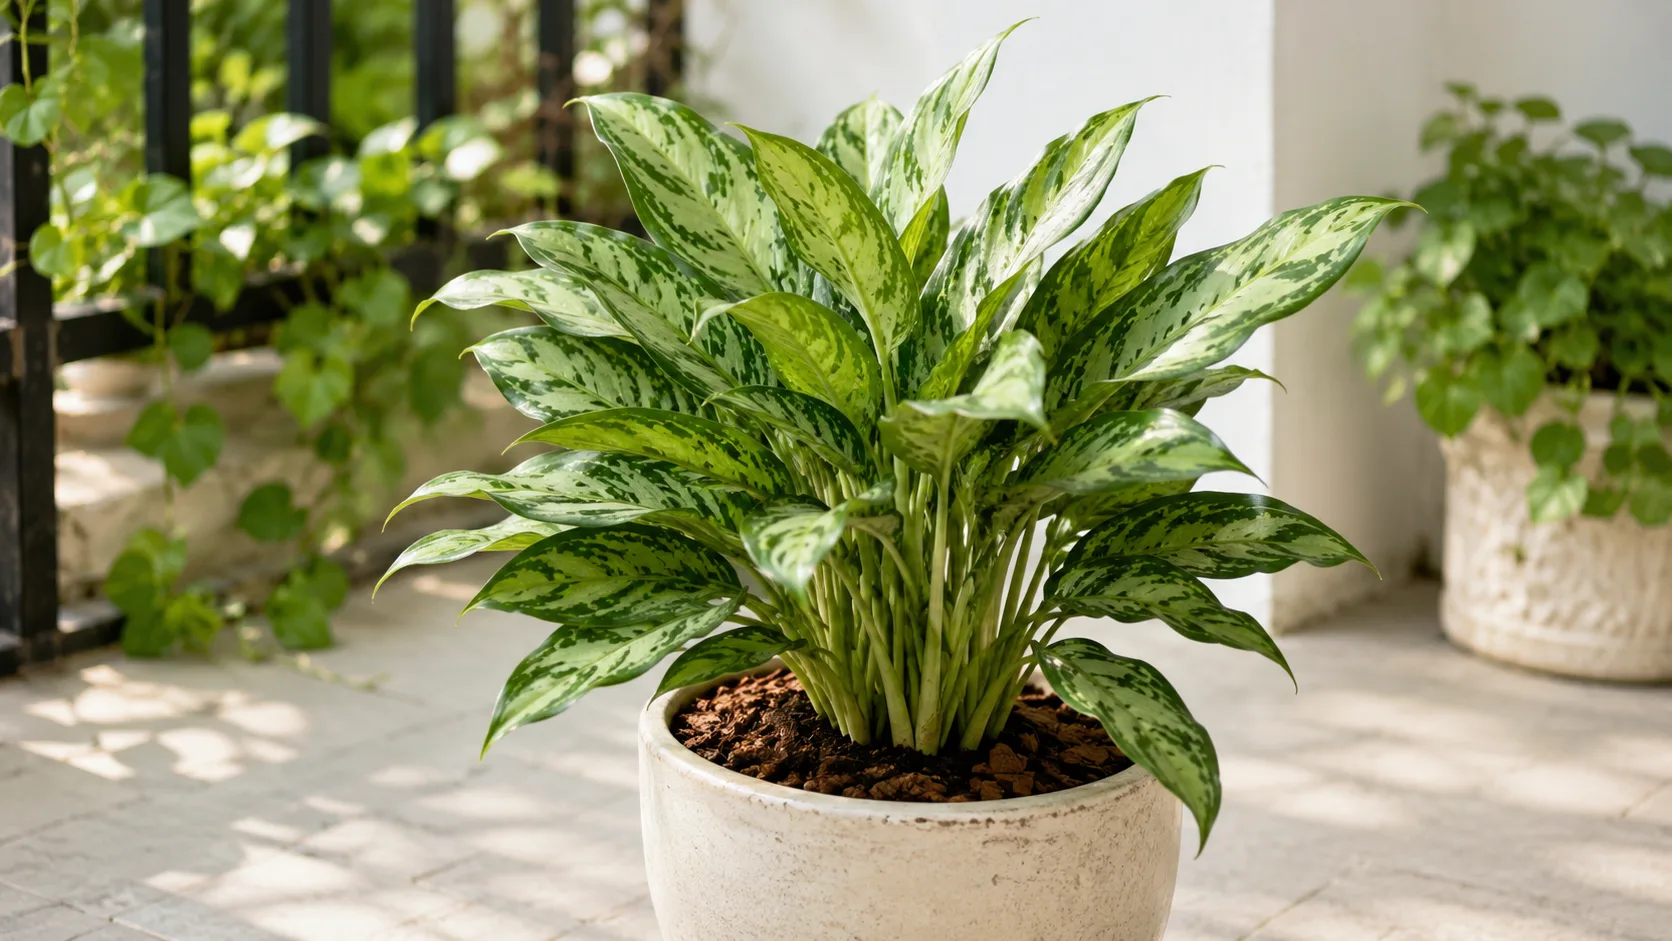
Aglaonema
Likely causeOverwatering in dense soil causes rapid root rot
Quick fixUnpot, remove mushy roots, repot in fresh well-draining mix; do not water for 7–10 days
 Medium
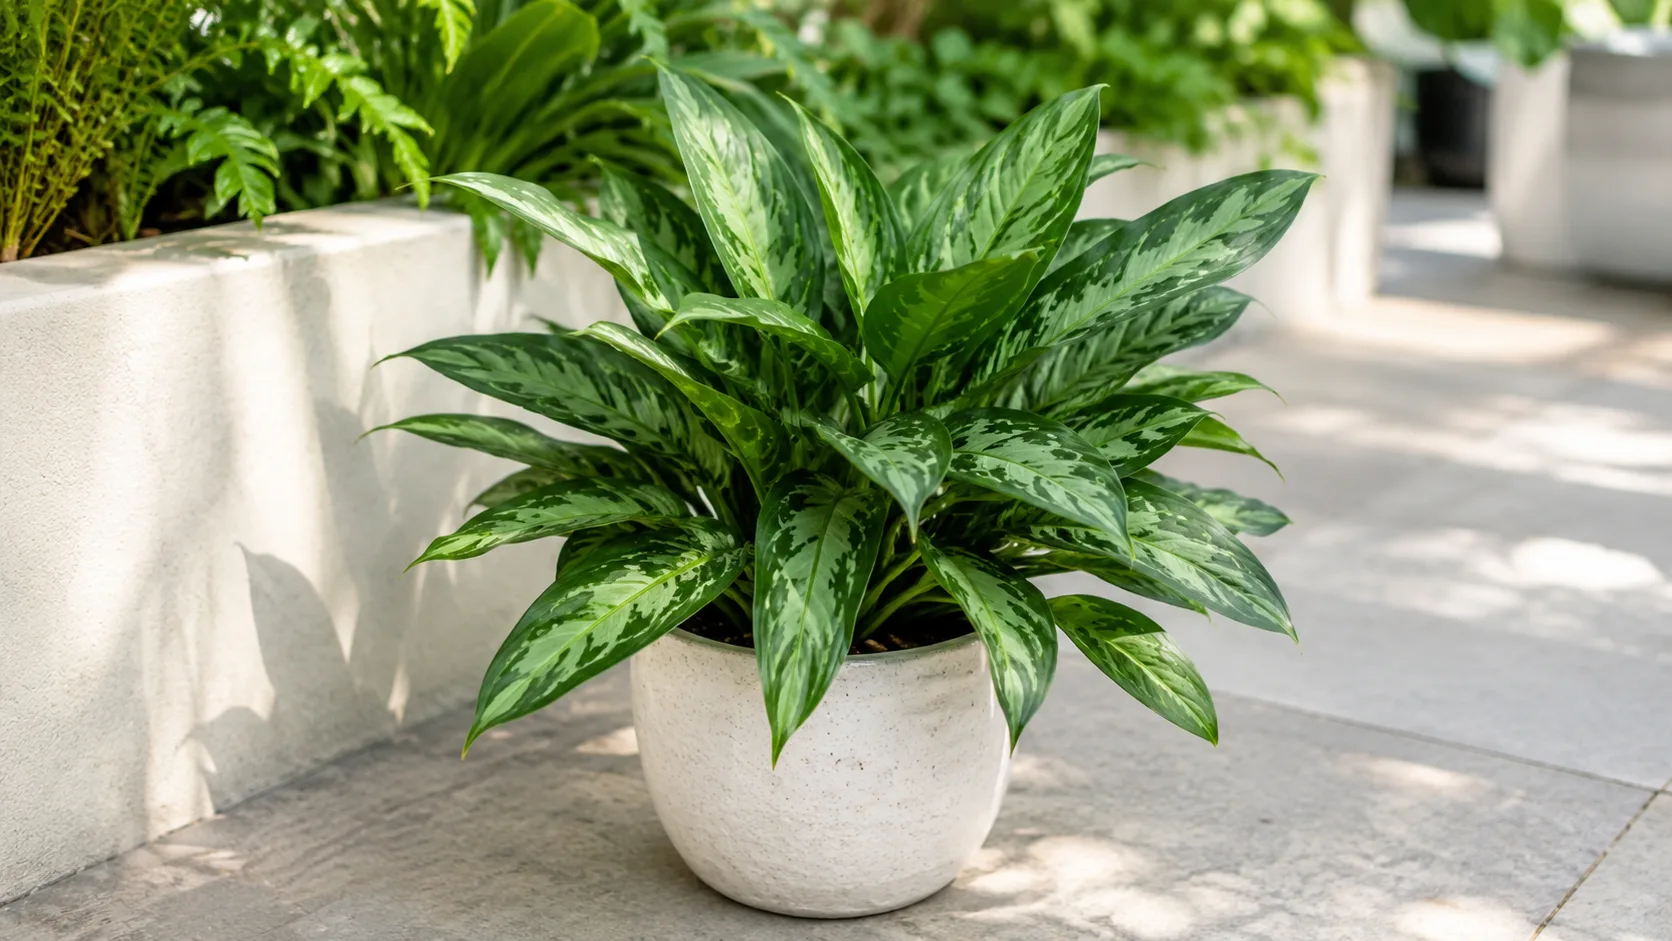
Aglaonema Cutlass
Likely causeCommon on this plant type; confirm with recent watering, light, and root checks.
Quick fixInspect the plant and correct the most likely care stressor before stacking treatments.
- Medium
Aglaonema Lady Valentine
Likely causeCommon on this plant type; confirm with recent watering, light, and root checks.
Quick fixInspect the plant and correct the most likely care stressor before stacking treatments.
- Medium
Aglaonema Maria
Likely causeCommon on this plant type; confirm with recent watering, light, and root checks.
Quick fixInspect the plant and correct the most likely care stressor before stacking treatments.
- Medium
Aglaonema Pictum Tricolor
Likely causeCommon on this plant type; confirm with recent watering, light, and root checks.
Quick fixInspect the plant and correct the most likely care stressor before stacking treatments.
 Medium
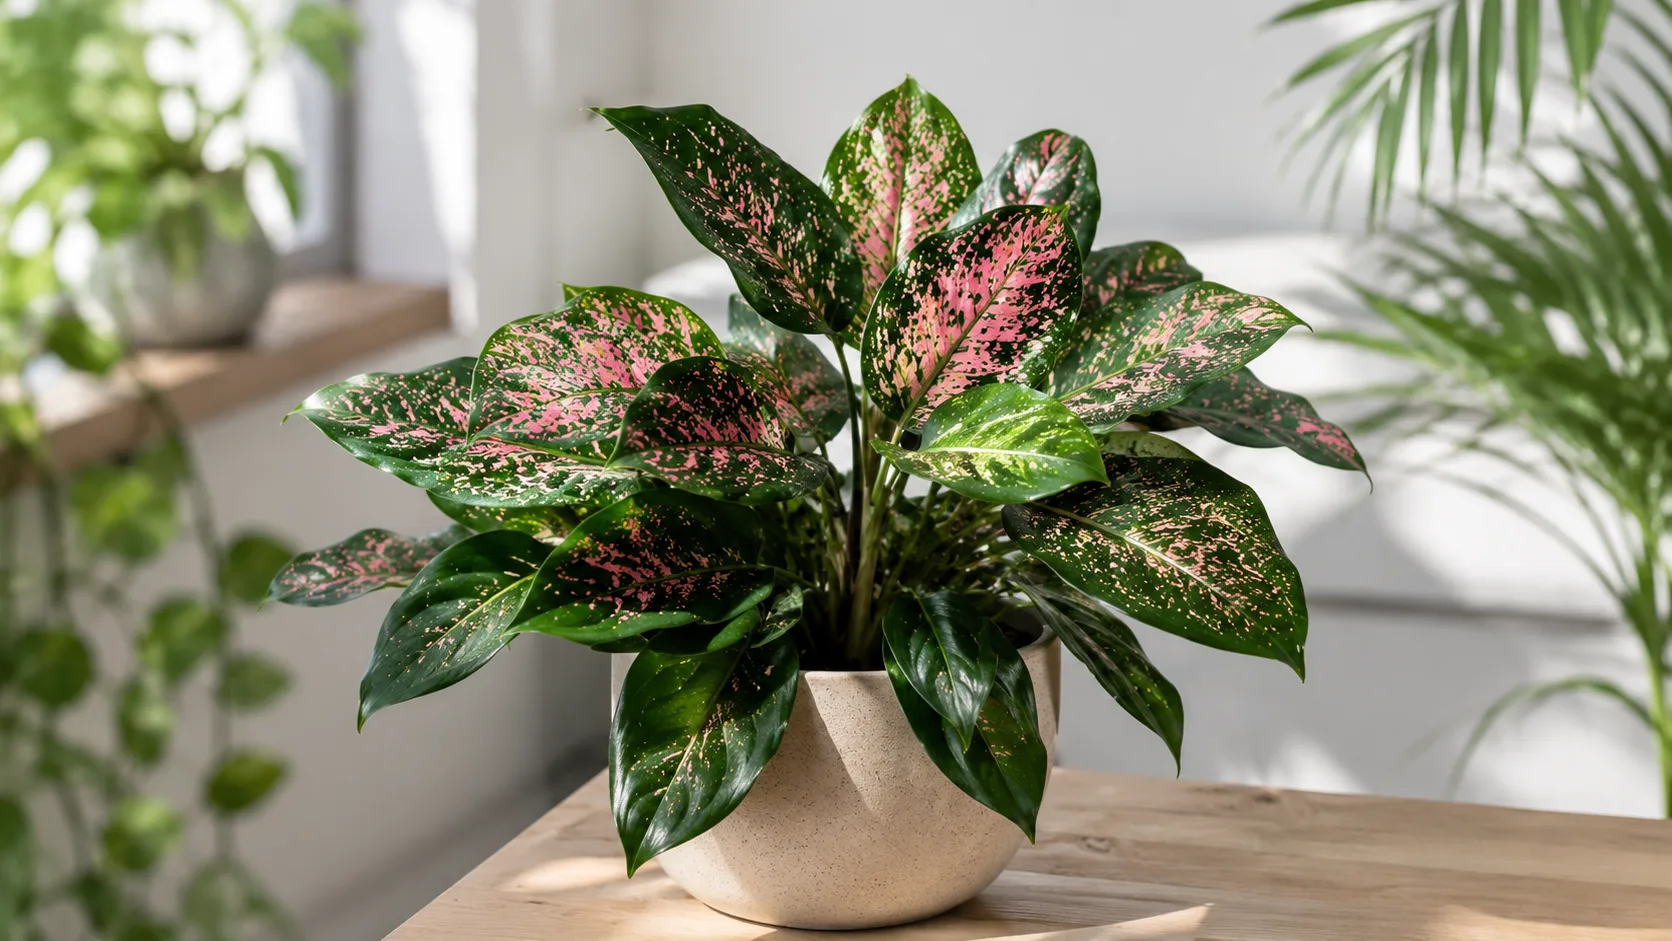
Aglaonema Pink Dalmatian
Likely causeCommon on this plant type; confirm with recent watering, light, and root checks.
Quick fixInspect the plant and correct the most likely care stressor before stacking treatments.
- Medium
Aglaonema Red Siam
Likely causeCommon on this plant type; confirm with recent watering, light, and root checks.
Quick fixInspect the plant and correct the most likely care stressor before stacking treatments.
 Medium
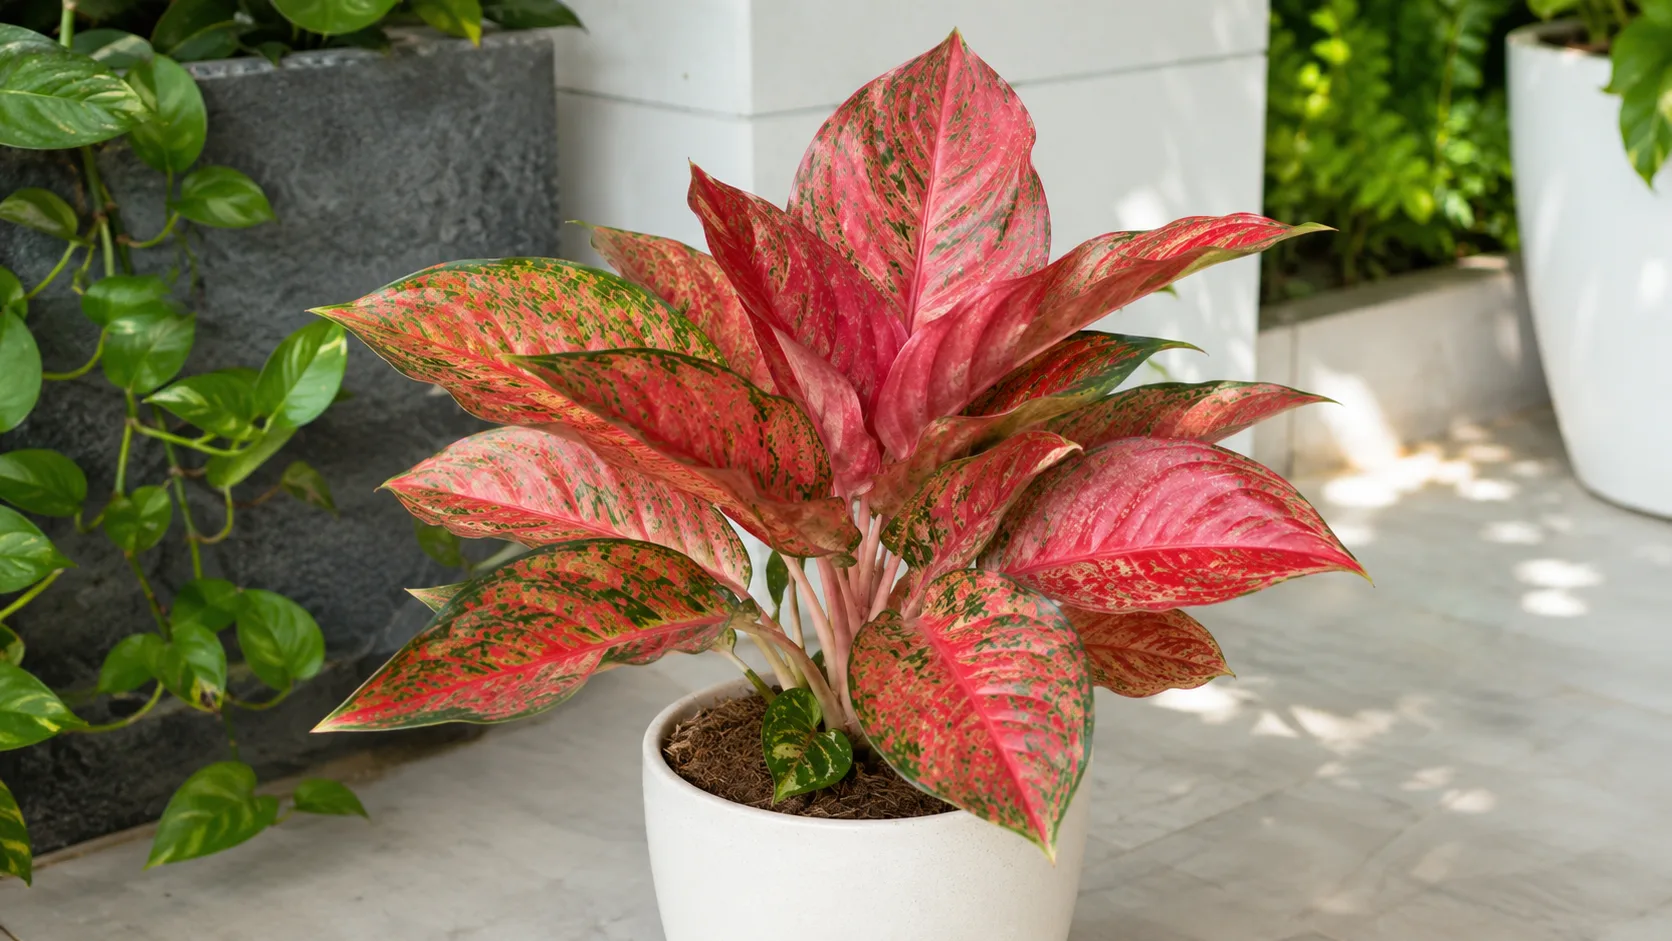
Aglaonema Red Valentine
Likely causeCommon on this plant type; confirm with recent watering, light, and root checks.
Quick fixInspect the plant and correct the most likely care stressor before stacking treatments.
 Medium
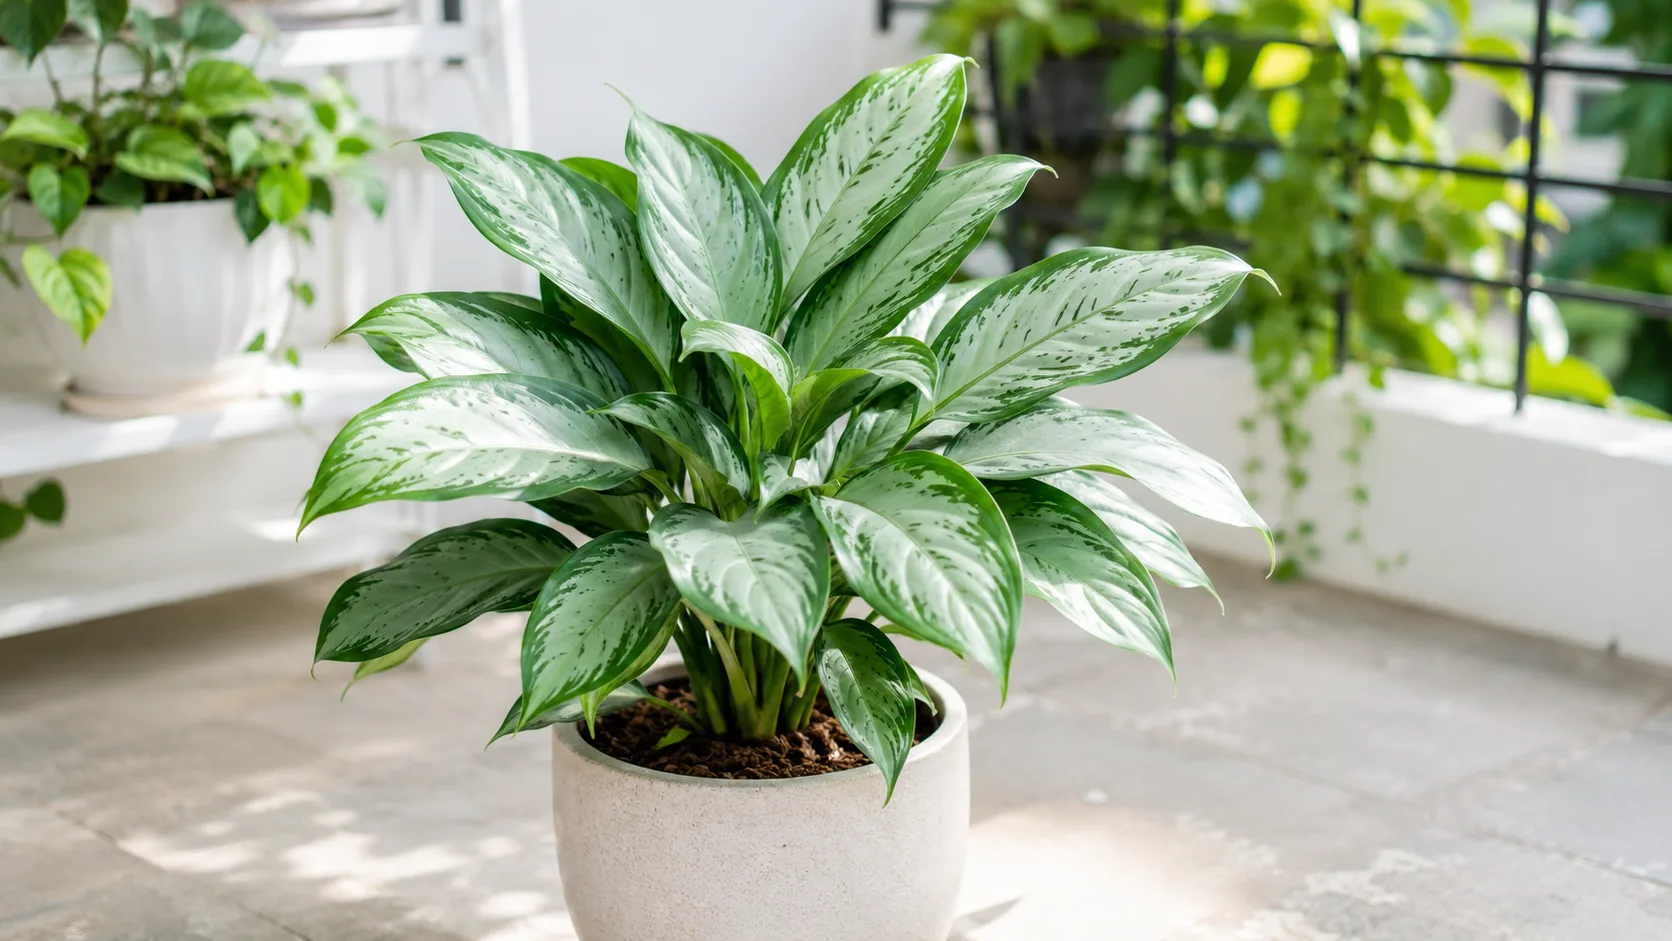
Aglaonema Silver Bay
Likely causeCommon on this plant type; confirm with recent watering, light, and root checks.
Quick fixInspect the plant and correct the most likely care stressor before stacking treatments.