Root Rot in Houseplants: Signs and Treatment
Learn how to confirm root rot in houseplants, remove damaged roots, choose a safer pot and mix, and help a stressed plant recover without risky guesswork.
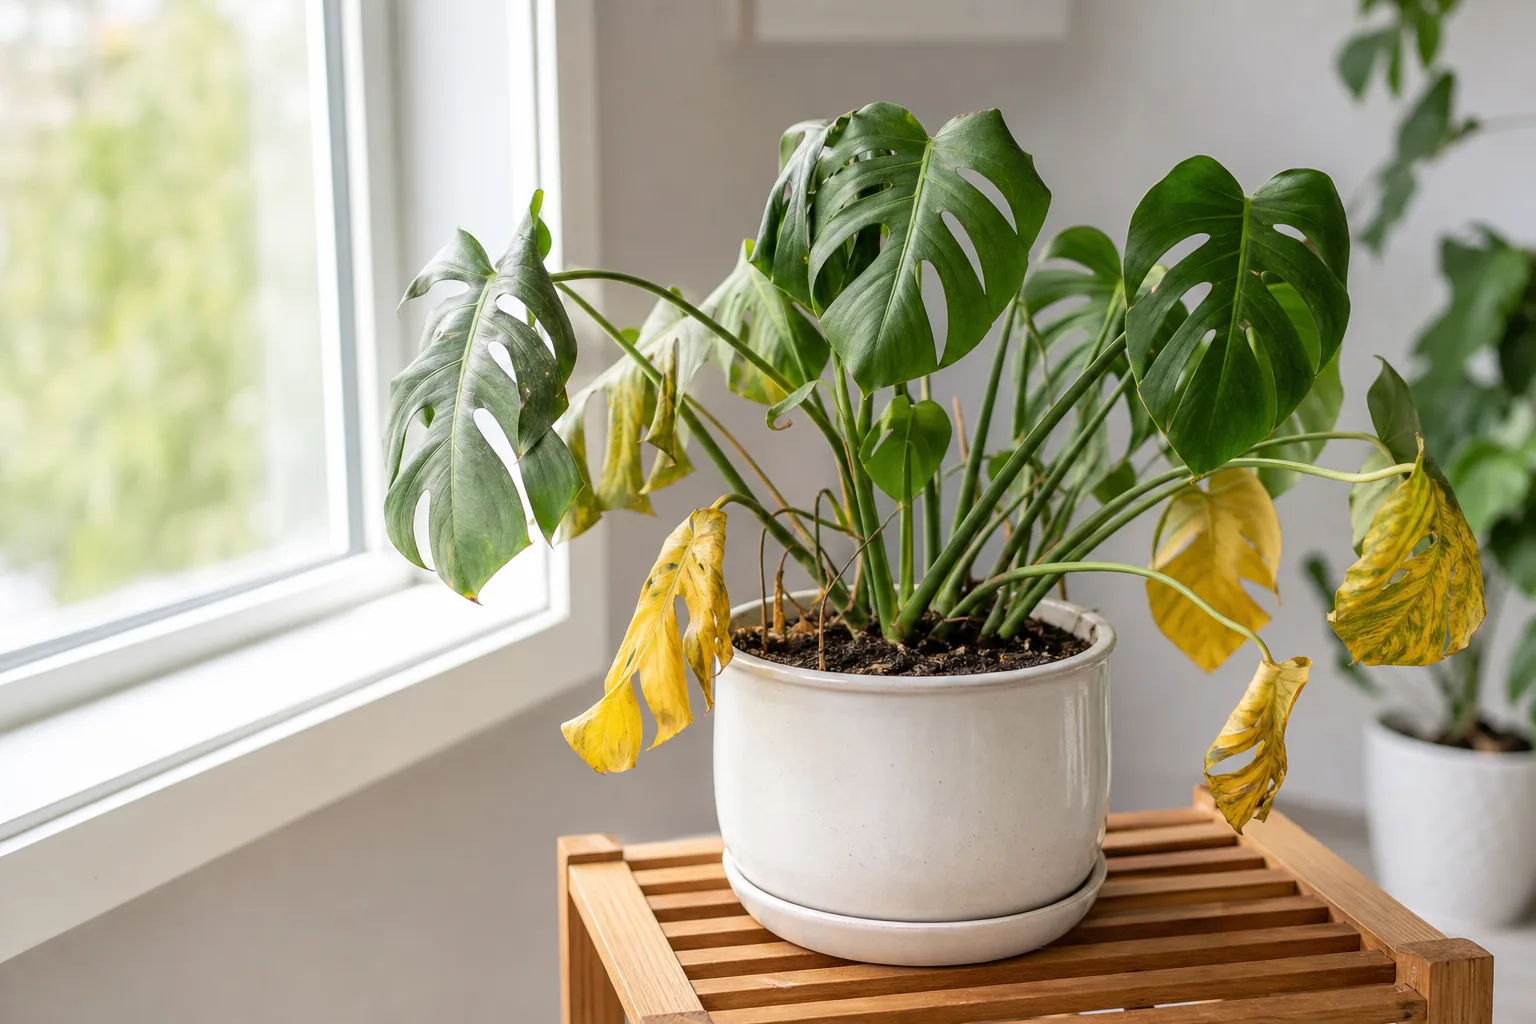
A houseplant that wilts while its potting mix is still wet may have damaged roots, but yellow leaves or drooping stems alone cannot confirm root rot. Check the root system before pruning or repotting: rotted roots are usually soft, darkened, and easy to pull apart, while healthy roots feel firm. If the pot is sitting in runoff, empty it now; then inspect the plant if the soil stays soggy or its condition keeps worsening.
What Root Rot Actually Means
“Root rot” is used for both roots damaged by persistently wet, airless potting mix and diseases in which a pathogen attacks root tissue. These problems often overlap, but they are not interchangeable: a plant can suffocate in saturated soil without a confirmed infectious disease, and a pathogen diagnosis is not possible from leaf color alone.
That distinction matters because the first response is to correct the root-zone conditions and remove dead tissue, not automatically pour on a fungicide. A targeted treatment only makes sense when a specific disease has been identified and the product is labeled for that use. The University of Wisconsin–Madison Extension describes root rot as pathogen-driven root deterioration while also emphasizing how difficult some underground diseases are to diagnose by sight. (University of Wisconsin–Madison Extension)
Wet Soil Can Starve Roots of Oxygen
Roots need oxygen as well as water. Potting mix normally contains small air spaces; when those spaces remain filled with water, oxygen exchange drops and vulnerable roots can stop functioning, weaken, and die. Clemson HGIC notes that overwatered and underwatered plants can show similar decline because either condition can damage roots and limit water uptake. (Clemson HGIC)
The problem is not a particular number of watering days. A once-weekly watering may be excessive for a plant in a cool, dim room and a dense mix, while a faster-growing plant in a porous mix may use water sooner. Pot size, light, temperature, humidity, plant species, and season all change how long a container stays moist.
Pathogens Can Make the Damage More Severe
Some fungi and fungus-like organisms infect roots, particularly when the root zone stays wet. Pythium and Phytophthora are oomycetes, often called water molds; they are not bacteria. Other root-rot pathogens include true fungi such as Fusarium and Rhizoctonia. University of Wisconsin Extension lists these groups among common causes of root diseases and notes their preference for wet soil. (University of Wisconsin Extension)
A plant owner usually does not need to identify which organism is present to take the immediate steps below. However, if symptoms recur, several plants decline in the same mix, or a valuable plant is deteriorating rapidly, a university plant diagnostic clinic can distinguish disease from noninfectious root injury and advise whether pathogen-specific management is warranted. The Wisconsin Plant Disease Diagnostics Clinic cautions that few plant diseases can be accurately diagnosed by eye. (University of Wisconsin–Madison Extension)
The Signs That Raise Suspicion but Do Not Prove It
The strongest above-ground clue is a mismatch: leaves droop or yellow while the potting mix remains wet. The plant may seem thirsty because damaged roots cannot take up water normally, so adding another drink can deepen the problem. A sour or swampy smell, slow growth, leaf drop, or a soft stem near the soil line raises concern, but none of these signs is proof on its own.
A quick check before unpotting: lift the nursery pot out of its decorative cachepot and look for standing water; feel the mix below the surface rather than judging only by the dry top; and notice whether the pot is unusually heavy for several days after watering. If the mix is drying normally and the plant is stable, avoid disturbing the roots just because one old leaf has yellowed.
How to Inspect the Root Ball
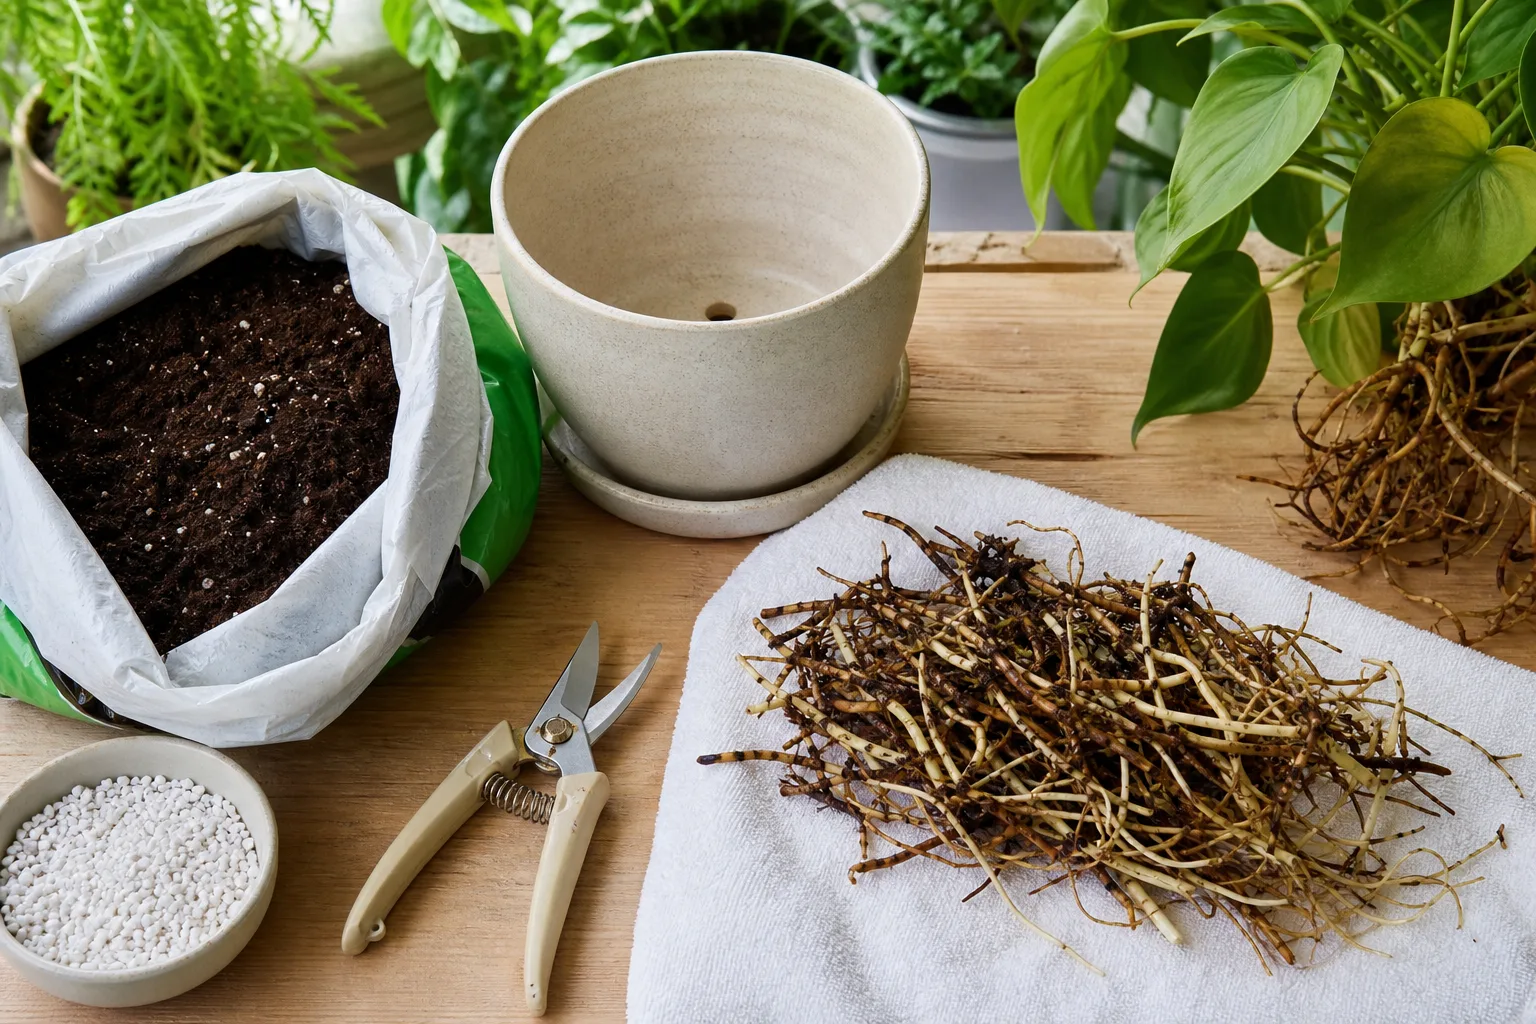
Choose a place that can be cleaned easily, and have a fresh pot, clean work surface, and small sharp scissors ready before you start. Support the plant at the base, tip the pot onto its side, and squeeze or tap the container to loosen the root ball; do not pull hard on stems, which can break them. A flexible nursery pot can often be pressed gently around its sides to release the root mass.
Remove enough loose mix to see the roots, working slowly around the outside and bottom of the root ball. If the soil is packed tightly around them, rinse with a gentle stream of clean water to make inspection easier; avoid forceful spraying or scraping that tears living fine roots. If only a small portion looks damaged and the rest is firm, preserve that healthy structure rather than aggressively stripping every last particle of mix.

Healthy roots are generally firm and resilient. Many are white, cream, or light tan, but color can vary by species, age, and growing medium, so it should not be the only test. Rotted roots are often dark brown or black and feel mushy, slimy, hollow, or papery; they may lose their outer tissue when gently handled.
Look for a combination of signs: bad texture, loss of firmness, tissue that slips or falls apart, and possibly a foul smell. A root that is tan or stained by potting mix but still firm is not automatically rotten. The Wisconsin Extension guide describes soft, brown roots as a root-rot symptom, while practical houseplant guidance similarly recommends checking texture and condition rather than relying on leaf symptoms alone. (Gardening Know How)
Root Rot vs. Other Causes of Wilting and Yellowing
Before you cut, compare the whole situation. A drooping plant can be underwatered, root-bound, cold-stressed, pest-damaged, or simply shedding an older leaf; root trouble becomes more likely when wet mix and soft, decaying roots occur together.
| Clue | Root damage or rot | Underwatering | Other common possibilities |
|---|---|---|---|
| Potting mix | Stays wet or dries unusually slowly | Dry well below the surface; pot feels light | Often normal moisture; check recent care changes |
| Roots | Soft, darkened, or breaking apart in affected areas | Usually firm, though very dry roots may be brittle | Root-bound plants have dense firm roots circling the pot |
| Leaves | Wilting or yellowing despite moist soil; symptoms may progress | Limp or curled leaves with dry mix; may perk up after appropriate watering | Pests, cold, low light, or natural aging can cause similar leaf changes |
| Best next step | Inspect roots if decline continues; correct drainage | Water according to that plant’s needs, then reassess | Check stems, leaf undersides, light, temperature, and recent moves |
A moisture meter can help track conditions, but it is not a diagnosis tool, and readings can be affected by the mix and salts. Pair any reading with a finger check at more than one depth and the pot’s weight. If the roots are firm, there is no need to remove healthy tissue; correct the specific care problem you can observe.
Treat Root Rot With a Measured Repot
If inspection confirms mushy roots, treatment is a cleanup and reset—not a way to restore dead tissue. The plant’s chances depend on how much healthy root remains, whether the crown or stem base is sound, and how well its needs can be met after repotting. A careful trim and appropriately sized pot are safer than removing every root or cutting the foliage by a fixed percentage.
1. Remove Soggy Mix and Isolate the Plant
Separate the affected plant from other pots while you work, especially if roots are mushy or the soil smells foul. Discard the old saturated mix instead of putting it into another indoor pot, and empty any runoff from the saucer or cachepot. Removing the persistently wet medium addresses the immediate condition even when you do not know whether a pathogen is involved.
2. Trim Only Roots That Are Dead or Mushy
Use clean, sharp scissors or small pruners to remove roots that are clearly soft, slimy, hollow, or collapsing. Cut back to tissue that feels firm; do not shave away firm tan roots just to make every root look white. If the root damage is extensive, pause and reassess before cutting further—the plant needs living roots to take up water, and an overzealous trim can leave too little to support recovery.
Wipe soil and plant residue from the blade before disinfecting it, and follow the disinfectant label for contact time and safe use. Clean tools between different plants to avoid carrying contaminated material through a collection. Remove leaves only if they are fully dead or mushy; keeping healthy foliage preserves the plant’s ability to make energy while it regrows roots.
3. Choose a Suitable Pot and Fresh Mix
Use fresh commercial potting mix suited to that plant rather than garden soil or the old waterlogged mix. A tropical foliage plant may do well in an airy indoor mix; a cactus or succulent needs a grittier medium that dries faster. “Well-draining” does not mean that every plant should be moved into the same coarse blend.
Choose a pot with open drainage holes that is only modestly larger than the remaining root system. A much larger pot holds more unused mix around the roots and can stay wet longer. Do not put gravel or rocks under the potting mix as a drainage layer; Wisconsin Extension warns that this can inhibit drainage rather than improve it. (University of Wisconsin–Madison Extension)
4. Replant Without Overcorrecting
Set the plant at its previous soil depth, spread the remaining roots naturally, and add fresh mix around them without tightly packing it. Keep the crown—the point where stems meet roots—at the surface instead of burying it. Place the pot where the plant receives its normal suitable light, away from harsh direct sun, cold drafts, or a heating vent while it is stressed.
Water according to the plant’s needs and the moisture of the new mix. For many tropical foliage plants, a gentle thorough watering followed by complete drainage settles the mix; for a cactus or succulent with freshly cut roots, follow its species-specific guidance and avoid keeping the medium wet. In either case, empty the saucer after water drains and do not use a calendar alone to decide when to water next.
Aftercare and Realistic Recovery Signs
For the first few weeks, check the medium at the root zone before watering and watch for continued collapse, not just the appearance of old leaves. A damaged plant may shed leaves it can no longer support; those leaves will not turn green again, so judge recovery by whether the decline stops and healthy stems stay firm. New growth can take weeks or longer, especially in low light or during a slow-growth season.
Keep normal healthy leaves unless they are dead or diseased. Do not automatically remove one-third of the canopy: root loss does not mean every leaf must be cut, and unnecessary pruning adds another wound. Hold fertilizer until the plant is stable and showing active growth; ailing roots should not be pushed with a heavy feed.
When a Plant Is Too Far Gone
A plant has a better chance when it still has firm roots and a solid, healthy crown or stem base. If nearly every root is mushy and the base of the plant has turned soft or black, repotting cannot replace the lost living tissue. You can make one careful inspection and trim, but repeated emergency unpotting, rinsing, and repotting adds stress without removing the underlying damage.
If the root system is gone but healthy stems remain, propagation may be an option for species that root from stem cuttings, such as pothos. Take a firm, unblemished cutting with a viable node and start it in a clean medium or water, as appropriate for that species; a rotted root by itself will not recover just by changing containers. Dispose of a fully collapsed plant and its old mix rather than storing the pot beside healthy plants.
Should You Use Fungicide, Peroxide, or Cinnamon?
Root rot describes a range of problems, so a product aimed at one pathogen may not help a plant whose roots are simply suffocating in saturated mix. The Wisconsin Extension houseplant guide does not recommend home chemical fungicides for root rot because suitable products are limited and can be costly; its guidance prioritizes moisture control and sanitation. Use a fungicide only if you have a reason to suspect a specific disease and the product label allows the plant and setting.
Hydrogen peroxide, cinnamon, and similar home remedies are not substitutes for removing dead roots, replacing contaminated wet mix, and correcting drainage. A drench can also expose already stressed roots to another chemical without fixing the conditions that caused the damage. Start with the steps you can verify: remove standing water, inspect the roots, discard compromised mix, and give the remaining roots an appropriate environment.
Clean the Pot and Prevent Pathogen Spread
Wash reusable pots and tools to remove all soil and plant debris before applying a compatible disinfectant. Disinfect according to the product label, including contact time; do not mix cleaning products or improvise concentrations. The Wisconsin Extension guide recommends disinfesting work surfaces, tools, and clay pots after handling diseased plants and cautions against reusing plastic pots that are difficult to disinfest adequately. (University of Wisconsin–Madison Extension)
For a cheap plastic nursery pot that held a plant with suspected infectious rot, replacing it is a practical choice. Do not reuse old mix or drainage water for another plant, and clean up loose soil from the work area. These steps matter most when a pathogen is plausible; a single episode of overwatering does not prove that every nearby houseplant is infected.
How to Prevent Root Rot From Returning
The goal is not to keep every plant nearly dry. It is to give each species the moisture it needs while allowing air to reach roots between waterings. Indoor conditions change as light, temperature, and growth slow or accelerate, so the same plant may need water at different intervals in summer and winter.
Water for the Plant and the Conditions
Learn the plant’s preferred moisture level, then check the mix rather than watering because a certain day has arrived. Press a finger into the top layer, check deeper with a wooden skewer when the pot is large, or compare the pot’s weight before and after watering. Clemson HGIC notes that watering frequency depends on the species, pot, mix, light, and temperature, not a universal schedule. (Clemson HGIC)
When it is time to water, wet the mix evenly and let excess drain away; do not leave the pot standing in collected water. Reduce watering as a plant’s growth slows or light drops, while still respecting species that prefer evenly moist conditions. Gardening Know How’s houseplant guidance and Homes & Gardens’ horticulture experts also emphasize matching water and mix to the plant rather than treating all houseplants alike. (Gardening Know How; Homes & Gardens)
Match the Pot and Mix to the Plant
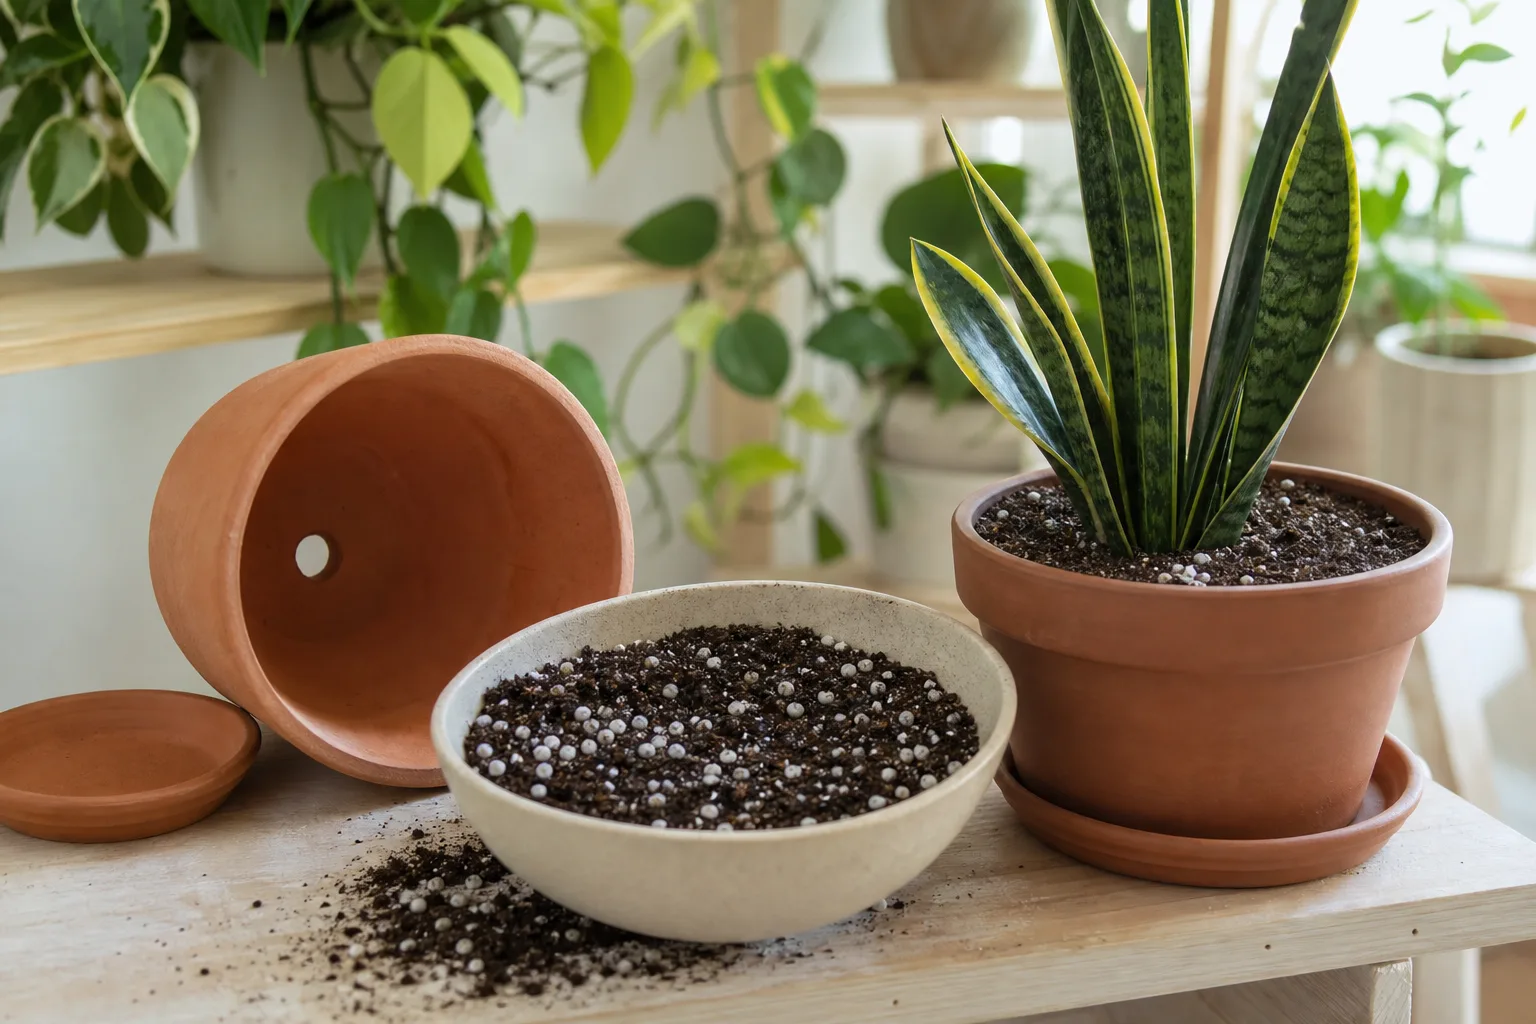
A drainage hole is essential for most houseplants grown in potting mix, but the hole only works when the pot can drain freely. Use an inner nursery pot inside a decorative cachepot if you like the look of a container without a hole; remove the inner pot for watering, let it drain, and pour out any water collected below it. Avoid packing the mix tightly or choosing a pot far larger than the root ball.
Use a commercial mix for indoor containers, then adjust it to the plant rather than adding random handfuls of sand to every pot. Perlite or bark can open up some mixes; moisture-loving tropical plants and drought-adapted succulents do not need identical recipes. Recheck drainage when a mix compacts, stays wet far longer than it used to, or the plant’s light and location change.
Conclusion
Root rot is most likely when a plant declines while its mix remains wet and an inspection finds soft, darkened roots that break down easily. Yellow leaves and wilting are warnings, not a diagnosis, and root color alone can mislead. Look at texture, moisture, and the condition of the crown before deciding what to cut.
If roots are rotting, remove only the dead tissue, replace the soggy mix, choose a drainable pot that fits the remaining roots, and adjust watering to the species and room conditions. Recovery is possible when healthy roots and a sound crown remain, but no treatment can restore tissue that has already died. Better drainage and more deliberate moisture checks are what keep the same problem from returning.



