Damaged Houseplant Roots: Signs and Recovery
Root health determines everything above the soil. Damaged Roots produces Plant wilts or declines after repotting or root injury when roots suffocate, rot, dry out, or run out of space. Because damage is hidden, owners often treat leaves while the real problem sits in the pot. Track weekly progress after you change care, and note watering, light, and repotting dates so you can tell whether the symptom is improving or returning. Compare upper versus lower leaves, new versus old growth, and soil moisture at root depth before you treat, because the same visible symptom can come from watering, light, pests, or normal aging on different plants.

Damaged Roots on Houseplants
Still unsure?Match your symptoms to the most likely problems in under a minute.Run diagnosis →Understand and fix damaged roots
Root health determines everything above the soil. Damaged Roots produces Plant wilts or declines after repotting or root injury when roots suffocate, rot, dry out, or run out of space. Because damage is hidden, owners often treat leaves while the real problem sits in the pot. Track weekly progress after you change care, and note watering, light, and repotting dates so you can tell whether the symptom is improving or returning. Compare upper versus lower leaves, new versus old growth, and soil moisture at root depth before you treat, because the same visible symptom can come from watering, light, pests, or normal aging on different plants.
Overview
Root health determines everything above the soil. Damaged Roots produces Plant wilts or declines after repotting or root injury when roots suffocate, rot, dry out, or run out of space. Because damage is hidden, owners often treat leaves while the real problem sits in the pot. Track weekly progress after you change care, and note watering, light, and repotting dates so you can tell whether the symptom is improving or returning. Compare upper versus lower leaves, new versus old growth, and soil moisture at root depth before you treat, because the same visible symptom can come from watering, light, pests, or normal aging on different plants.
How to identify it
- Plant wilts soon after watering or stays wilted with wet soil
- Yellow leaves despite moist soil
- Roots brown, black, or mushy when you unpot
- Soil smells sour or musty
- Roots wrap densely around the root ball
When to worry
Black mushy roots, foul odor, or stem rot climbing from soil line means act today-propagation may be the salvage path.
Common causes
Chronic overwatering
Roots need oxygen. Soggy soil kills fine roots first, leading to Damaged Roots and top growth collapse.
Poor drainage and heavy mix
Waterlogged pots rot roots even when you water 'correctly' on schedule.
Extreme root binding
Tight root mats have little soil left to hold moisture and nutrients-plants stress despite watering.
Physical damage during repotting
Broken roots cannot uptake water temporarily, causing wilt and yellowing until they regrow.
Step-by-step fix
Unpot and inspect roots
Healthy roots are firm and white or tan. Trim black mushy sections with sterile scissors.
Repot into fresh, airy mix
Use well-draining soil and a clean pot with holes. Do not water heavily for the first few days if you trimmed rot.
Fix watering going forward
Let top soil dry appropriately for your plant. Never let pots sit in standing water.
Reduce stress on the plant
Keep in bright indirect light, hold fertilizer, and avoid repotting again for several months.
Propagate if roots are mostly gone
Take healthy cuttings above rot and root in water or moss while discarding the base.
Prevention tips
- Use drainage holes and well-aerated potting mix
- Water based on soil dryness, not leaf appearance
- Repot before roots severely circle the pot
- Avoid cool drafts on wet soil
Common mistakes
- Watering more when a plant wilts without checking roots
- Leaving rotted roots in the pot hoping they recover
- Fertilizing to 'strengthen' rotting roots
A houseplant can wilt after repotting even when its new soil is moist. That does not mean it needs another drink, and it does not prove root rot. Disturbed, torn, dried, salt-injured, oxygen-starved, or diseased roots all reduce water uptake; the leaves above can respond with the same loss of firmness.
Damaged houseplant roots can recover when enough firm, functioning tissue and a healthy crown remain. The safest response is proportional: identify the likely injury, remove only tissue that is clearly dead, correct the root-zone hazard, and give the surviving system stable conditions. Repeated unpotting and “just in case” cutting often sacrifice the roots the plant still needs.
What Root Damage Includes
Root damage is a broad outcome rather than one disease. Fine absorbing roots may tear during repotting, dry during shipping, burn in concentrated fertilizer, suffocate in saturated media, or die after severe drought. Root-feeding pests and pathogens can also destroy tissue.
The cause matters because the same intervention can help one injury and worsen another. A dry, intact root ball needs rehydration; a saturated root ball with soft roots needs air and inspection. A plant with minor mechanical breakage may need quiet aftercare, while one with decay entering the crown may need immediate propagation.
Root systems contain tissues of different ages and colors. White is not the only healthy color, and brown is not automatically dead. Potting media stains roots; older roots may be tan; orchid roots change appearance as their velamen wets and dries. Judge texture, continuity, smell, and plant context together.
Why Leaves Wilt When Roots Fail
Leaves remain firm when water entering through roots balances water lost through stomata and other surfaces. When the absorbing area drops suddenly, that balance fails. The canopy can lose turgor even though water surrounds the remaining roots, because dead tissue cannot move it normally.
This creates a dangerous feedback loop. A wilted plant looks thirsty, so the owner waters again; excess water displaces more air, surviving roots decline, and the pot stays wet longer because the plant uses less. The University of Florida distinguishes physical waterlogging from pathogen-associated root rot and notes that they can occur together (houseplant diagnosis guidance).
Root loss can also make a previously correct pot too large. The same volume of media now surrounds a smaller working system and dries more slowly. After severe loss, downsizing may be safer than returning the plant to its old container.
Signs That Point Below the Soil
Above-ground clues include wilting that does not match media moisture, yellowing, stalled growth, leaf drop, and a plant that becomes loose at the base. Rapid decline soon after repotting, shipping, a fall, a fertilizer spill, or prolonged drying strengthens the case for root injury.
The pot provides additional evidence. It may stay heavy far longer than before, smell sour, drain unevenly, or contain a root ball separated from the pot wall. Runoff left in a cachepot, a blocked hole, dense old media, and an oversized replacement pot raise the likelihood of oxygen stress.
None of these signs identifies an organism. UC Statewide IPM lists watering, light, fertilizer, temperature, pests, and crowded roots among overlapping causes of houseplant yellowing and poor growth (houseplant problems). Diagnose patterns rather than treating wilt as a root-rot test.
Healthy, Injured, and Rotten Roots
| Check | More consistent with viable roots | More consistent with physical injury | More consistent with decay |
|---|---|---|---|
| Texture | Firm, springy, or wiry | Firm sections with clean breaks or bruises | Soft, slimy, hollow, or easily crushed |
| Outer tissue | Remains attached | Torn locally | Slips away from a threadlike core |
| Smell | Neutral or earthy | Usually neutral | May be sour or stagnant |
| Distribution | Coherent network | Damage near handled or compressed areas | Often concentrated in persistently wet zones |
| Plant history | Stable care | Recent repot, shipping, fall, or root pruning | Chronic wetness, contaminated media, recurring collapse |
Rotten color varies and smell may be absent, so texture carries more diagnostic value than a color chart. Wisconsin Horticulture describes several organisms associated with houseplant root rot, including Pythium, Phytophthora, Rhizoctonia, and Fusarium (root-rots of houseplants). Only laboratory diagnosis can reliably identify a pathogen.
Firm roots with a few broken tips usually do not justify removing the entire root system. Conversely, an outer layer that slides off under gentle pressure indicates failed tissue even if the root is not black. Check representative roots from the bottom, center, and sides.

Identify the Cause Before Treating
Build a short timeline. Note the last watering, pot change, fertilizer application, pest treatment, temperature event, move, and onset of symptoms. A sharp decline within hours of a fall differs from slow yellowing after months in saturated media.
Check whether the plant’s water use changed before the roots failed. Lower light, winter conditions, or canopy loss can make the pot dry more slowly. Root death then further slows use, so “the soil suddenly stays wet” may be an effect as well as a cause.
Inspect foliage and stems for pests and lesions. Fungus gnats suggest moist organic media but do not prove root disease. Mealybugs can live around roots in some cases, while stem or crown rot may extend below the surface.
Physical Injury and Repotting Stress
Mechanical injury occurs when roots are pulled apart, scrubbed, bent sharply, compressed into a pot, or left exposed to dry air. Removing every particle of old mix from a healthy fine-rooted plant can destroy many absorbing tips. A modest break is often survivable; the risk rises with the proportion of root area lost and the plant’s condition.
Record the handling event before assigning blame. A side photograph of the intact root ball, the approximate fraction that felt firm, and the location of breaks provide a baseline for later comparison. This is observational evidence, not a survival prediction; species, season, and the condition of the crown can change the outcome.
Repotting can also combine stresses: a larger wet pot, different media, deeper planting, damaged roots, new light, and fertilizer. The RHS advises careful handling and moving into a container only slightly larger when repotting a root-bound plant (repotting guidance). More space is not automatically safer.
If roots are firm and damage is limited to clean breaks, return them to suitable moist media and stop disturbing them. Do not trim firm roots solely to make the root ball symmetrical.
Waterlogging, Desiccation, and Salt Injury
Waterlogging fills pore spaces and restricts gas exchange. Roots under prolonged oxygen stress lose function and become vulnerable to decay. The pot may remain wet despite wilt because the canopy cannot use the stored water.
Temperature and light can turn a marginal watering routine into damaging saturation. In cooler or dimmer conditions, shoot growth and water use often slow, so the interval that worked in summer may leave the root ball wet for much longer. Check conditions at the plant’s actual position and revise the trigger rather than simply reducing the volume poured on the old schedule.
Severe drying can kill fine roots and make peat-based media resist rewetting. Water may run around the shrunken ball, creating the illusion of thorough irrigation. Rehydrate slowly when roots remain firm; do not leave a weakened plant submerged indefinitely.
Concentrated fertilizer and accumulated salts can injure root tips. White deposits, recent overfeeding, and high electrical conductivity support this hypothesis. Leaching can reduce salts only when drainage and root structure are adequate; flooding already-rotten roots is not a cure.
Inspect Roots Without Adding Damage
Inspect when the evidence warrants it: persistent wilt in wet media, escalating yellowing, a sour pot, a soft base, or a known injury. Water a dry, healthy-looking root ball before removal only if species guidance supports it; a slightly moist cohesive ball often slides out with less breakage than a crumbling one.
Support the crown and tip the pot, squeezing a flexible nursery container or running a blunt tool around the inside edge. Do not pull on stems. Photograph the root ball before teasing anything apart so you retain evidence of wet zones, circling, and damage distribution.
Remove only enough media to examine representative roots. If the system is firm and smells normal, stop. If soft roots are localized, expose the boundary between failed and firm tissue. Keep suspect runoff and media away from other plants.
Clean tools before disinfection. The University of Minnesota notes that soil and organic debris can reduce the effectiveness of disinfectants (cleaning and disinfecting tools). Follow the disinfectant label, contact time, ventilation, and protective-equipment directions.
Decide Whether to Wait, Repot, Propagate, or Discard
| Finding | Most proportionate action | Reason |
|---|---|---|
| Roots are mostly firm; minor clean breaks | Replant and wait | More cutting removes functional tissue |
| Roots are firm but media is unsuitable | Repot carefully into appropriate media | Corrects environment without unnecessary pruning |
| Localized soft tissue; crown is firm | Remove confirmed decay and repot | Viable system remains |
| Most roots are lost; healthy nodes remain above | Take cuttings as insurance | Propagation may preserve viable tissue |
| Crown and every viable node are soft | Discard or seek diagnosis | Little tissue remains to rebuild |
| Repeated failure across plants | Isolate and submit samples | Shared pathogen, water, or media problem is possible |
This is not a guarantee of survival. Species differ in their ability to regenerate roots and to propagate from stems, leaves, offsets, rhizomes, or tubers. A leaf without a node cannot reproduce every vining species, and a rotted crown may leave no viable growth point.
For sentimental or rare plants, take clean propagation material early rather than waiting until decay reaches every node. Keep the mother plant and cuttings physically separated so a suspected pathogen is not carried into both rescue attempts.
Choose propagation material from tissue well beyond the visible boundary of damage. Firmness, normal color, and an intact node are more useful than proximity to the old root system. Label the cutting with its date and origin so a delayed symptom is traceable, and do not assume that one newly formed root proves the original disease risk has passed.
Choose the Least Harmful Response
Correct immediate hazards first: empty standing water, restore drainage, stabilize a broken plant, or move sun-exposed bare roots out of heat. Then choose one main intervention. Stacking fertilizer, fungicide, peroxide, rooting hormone, pruning, and repotting makes injury harder to interpret.
Do not apply a generic fungicide “just in case.” Root rot is caused by different organisms and can also be entirely abiotic. A pesticide must be labeled for the plant, site, and target; diagnosis improves the chance that treatment is relevant and safe.
Avoid home remedies that foam or bleach tissue. Visible bubbling does not demonstrate pathogen control, and oxidizing solutions can injure surviving roots. Fresh appropriate media, drainage, sanitation, and proportionate pruning are more defensible.
Rooting hormones and vitamin solutions also have limited roles. A propagation product used according to its label may support a specific cutting method, but it cannot restore dead roots or correct saturated media. Avoid adding multiple tonics during triage, because their salts and ingredients complicate both recovery and diagnosis.
Prune Only Confirmed Dead Tissue
Use a sharp clean blade and remove soft, hollow, slimy, or sloughing roots back to firm tissue. Make deliberate cuts rather than scraping the whole root system. Reclean blades between clearly diseased areas, especially as decay approaches the crown.
Do not use root color alone. Preserve firm tan or brown roots and specialized roots whose appearance you do not understand. When uncertain, compare several roots and consult species-specific references.
After pruning, reassess the canopy-to-root balance but do not automatically remove half the leaves. Many plants need their leaves for energy during recovery. Remove only dead, diseased, or mechanically unsupportable growth unless species guidance recommends otherwise.
Repot Around the Remaining Root System
Choose a clean pot that fits the surviving roots with modest room. A dramatically oversized pot creates a reservoir the reduced system cannot use. Use fresh media appropriate to the species and do not bury the crown or stem deeper than its normal position.
Illinois Extension similarly cautions that over-potting leaves excess mix wet for too long and recommends moving a routine houseplant up only one pot size (houseplant container guidance). After major root loss, the direction may be the opposite: size the clean container to what remains, while preserving enough room to place roots without folding or crushing them.
Settle media gently around roots without compressing away air spaces. The RHS emphasizes choosing suitable houseplant growing media for different plant groups (growing-media guidance). “Fast-draining” should still wet evenly and suit the plant’s moisture needs.
Dispose of rotten roots and suspect media so they cannot contaminate nearby pots. Clean reusable containers before disinfecting them. Wash hands and tools, and do not pour runoff through the collection.
Aftercare for a Reduced Root System
Place the plant in stable, species-appropriate light. Adequate light supports recovery and water use, but harsh direct sun can overwhelm a reduced root system. Avoid cold drafts, heater blasts, and another move unless the current location is the cause.
Hold fertilizer until hydration is stable and credible new growth begins. Fertilizer does not repair dead roots, and concentrated salts add stress. If the fresh media contains starter nutrients, extra feeding is even less useful.
Monitor without repeatedly unpotting. Track pot weight, moisture at depth, stem firmness, and progression of yellowing. Old damage will remain; the meaningful trend is reduced decline followed by healthy new growth.
Use a simple weekly record: days since watering, pot weight or moisture observation, number of newly yellowing leaves, and whether the crown remains firm. Compare the plant with its own baseline rather than a fixed schedule from another species. This separates a slow but stable recovery from progressive loss that justifies renewed inspection.
Watering Has No Universal Countdown
“Wait three days after cutting roots” is not a safe rule for every plant. Succulent roots with fresh cuts, a tropical plant with intact fine roots, and a fern recovering from dry injury have different needs. Base watering on species, media moisture, wound extent, temperature, and remaining root mass.
When you do water, distribute it evenly and drain runoff fully. A reduced root system often uses water more slowly, so the interval may lengthen. Frequent recovery sips can keep the center saturated even when the surface appears dry.
If the plant continues to wilt, do not assume more water is needed. Check root-zone moisture and pot weight first. Persistent decline in wet media warrants renewed diagnosis, not repeated watering.
Common Recovery Mistakes
The first mistake is pruning every dark root. Natural pigmentation and media staining lead to needless removal. The second is keeping the old watering calendar after root loss. Less functioning root area usually changes the pot’s drying behavior.
Another mistake is repotting repeatedly to check progress. New roots are fragile, and each inspection disrupts contact with the media. Use external trends and inspect again only if the plant worsens or the root zone remains hazardous.
Do not place a recently damaged plant into a sealed high-humidity enclosure without understanding disease risk. Reduced water loss can help some propagations, but stagnant saturated conditions can favor decay. Ventilation, cleanliness, and species requirements still apply.
Avoid staking by driving a support blindly through the recovering root ball. Install support near the pot wall or during the planned repot so you can see where it goes. A stable canopy matters, but a stake that pierces the remaining central roots creates a fresh injury.
Prevent Root Damage
Water by observed drying behavior, not a fixed weekday. Keep drainage holes open and empty outer pots. Match pot size to roots, not canopy ambition, and use media that preserves air under your conditions.
Repot before severe structural failure but not merely because a calendar says so. Prepare the workspace, support the root ball, loosen only what needs loosening, and protect roots from sun and drying air. Avoid fertilizing a dry root ball with concentrated solution.
Quarantine new plants and inspect roots when symptoms warrant it. Do not reuse wet suspect mix. Clean containers and tools between plants, especially after rot or root-pest problems.
Protect roots during transport as well. Secure the pot so the canopy cannot lever the root ball, shield the container from freezing or overheating, and unpack promptly. If a shipped plant arrives dry, crushed, or cold, document the condition and stabilize temperature before combining repotting with other aggressive treatment.
When to Seek a Diagnostic Lab
Seek laboratory help when decay returns after physical conditions are corrected, multiple plants develop similar root loss, lesions move into crowns, or a valuable specimen has little room for trial and error. Submit fresh symptomatic tissue at the boundary between healthy and diseased material, following the clinic’s instructions.
Wisconsin Extension notes that disposal may be the most practical response to some diagnosed root rots and that home chemical options are limited. A laboratory result can prevent spending money on a product that does not target the cause.
Until you have an answer, isolate the plant, contain runoff, and label tools used on it. Do not move cuttings back into the main collection simply because they look clean on the first day.
Conclusion
Damaged houseplant roots demand diagnosis before action. Use the timeline, media moisture, root texture, smell, damage distribution, and crown condition to distinguish minor physical injury from desiccation, salts, waterlogging, and decay. Preserve firm tissue and correct the root-zone hazard that caused the failure.
Recovery is a trend, not a deadline. Stable stems, slower leaf loss, predictable drying, and healthy new growth matter more than old leaves or a universal watering rule. When decay progresses or repeats, isolation and a diagnostic clinic are safer than another round of improvised treatments.
Judge the intervention against the baseline you recorded, and state uncertainty honestly: a plant can stabilize before it grows, while a briefly firm canopy can still be supported by stored water. A worsening crown, expanding soft tissue, or repeated collapse outweighs a single reassuring day.
Plants commonly affected
These houseplants often struggle with damaged roots. Open a care guide or plant-specific troubleshooting page for tailored fixes.
 Medium
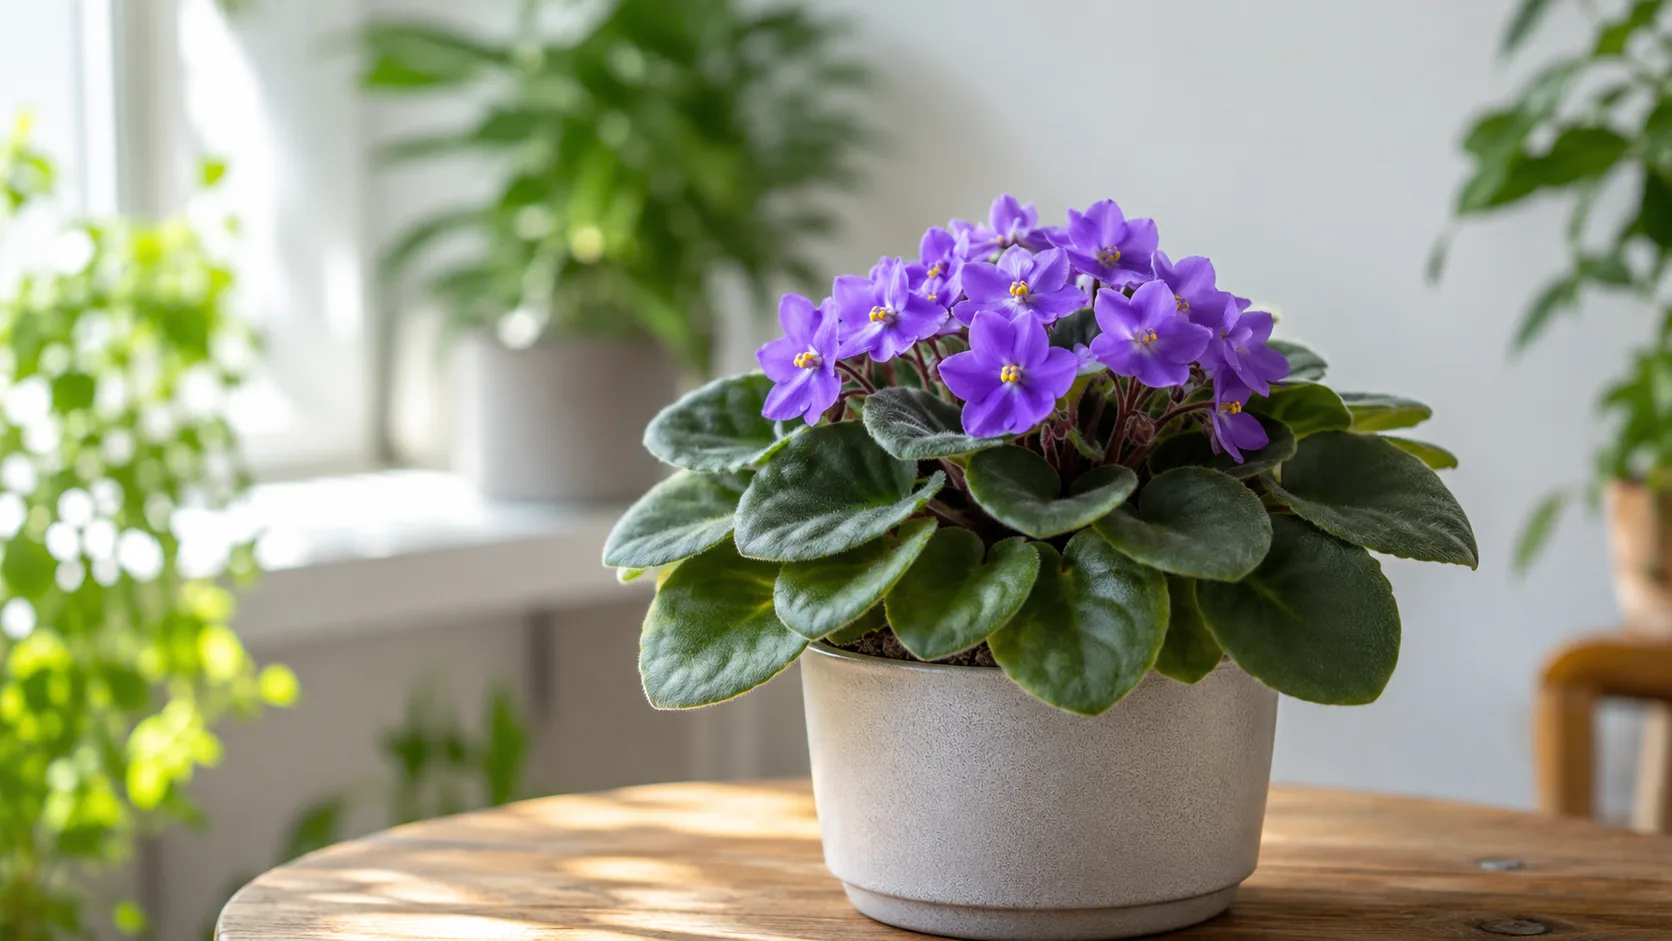
African Violet
Likely causeDamaged Roots on African Violet: However, you can take steps to remove the damaged roots and prevent root rot from spreading, which will also give your African violet a chance to recover. How do I know if my African violet has root r
Quick fixInspect African Violet, confirm damaged roots matches your symptoms, then adjust care or treat per authoritative guides.
 Easy
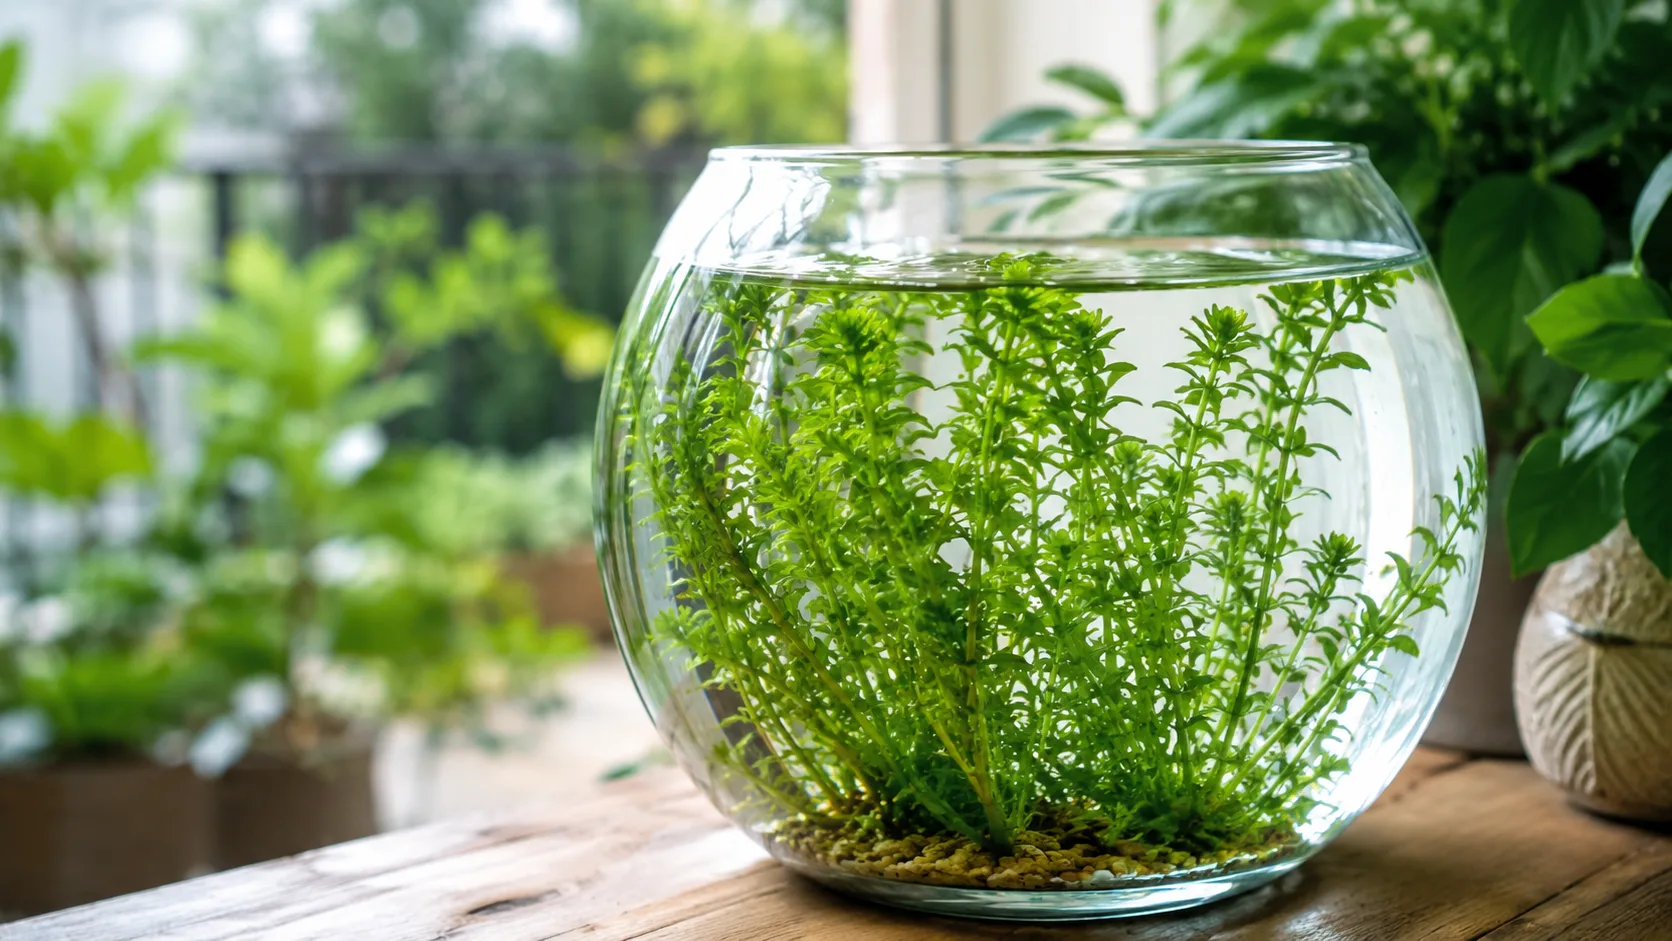
EasyAnacharis / Elodea
Likely causeShipping bands left on stems, stems planted too deep, or crushed nodes during planting.
Quick fixRemove bands/weights, float cuttings until white roots form, then replant shallowly with lower leaves stripped.
 Medium
Jade Plant
Likely causeA pathogenic infection is usually an infection that is carried from the soil to the roots of your jade plant and will quickly lead to jade plant root ...
Quick fixConfirm diagnosis on your Jade Plant, then address the most likely care or pest factor described in current extension guidance.
 Medium
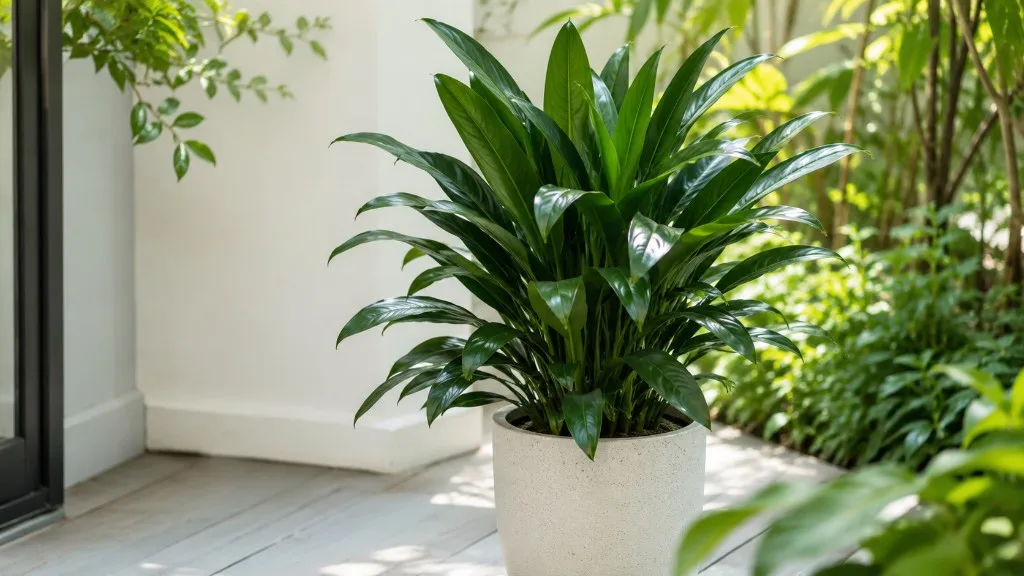
Janet Craig Dracaena
Likely causeJan 13, 2024 · How to revive a Janet Craig ? This care guide aims to save drooping Dracaena plants from root rot by identifying yellow leaves and wilting signs. Trim and treat roots , repot with well-draining soil, and monitor water, soil,
Quick fixConfirm diagnosis on your Janet Craig Dracaena, then address the most likely care or pest factor described in current extension guidance.
 Medium
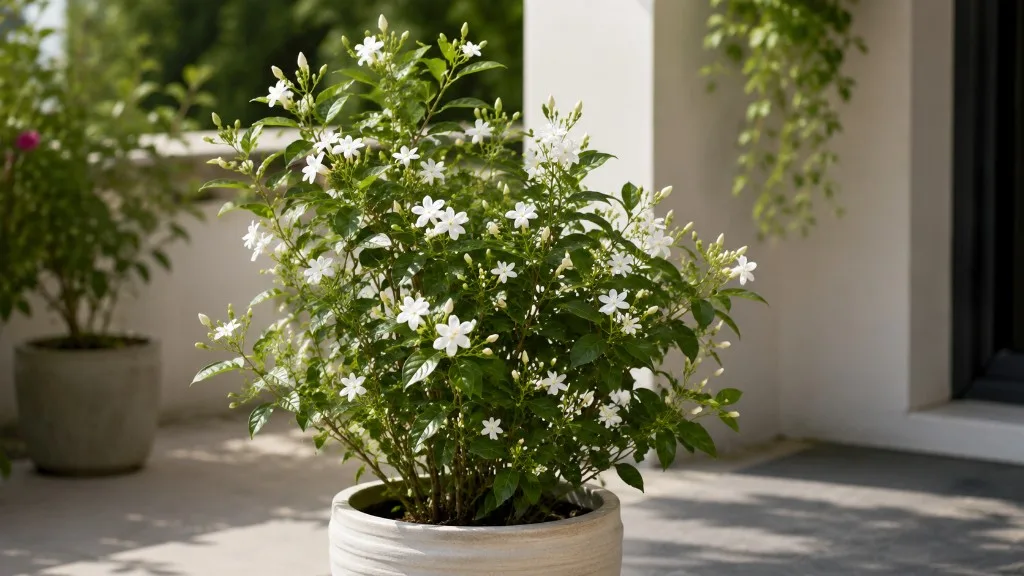
Jasmine
Likely causeAug 6, 2025 · Root rot is a prevalent issue affecting jasmine , often caused by excessive soil moisture and poor drainage. Symptoms include wilting leaves despite adequate watering, yellowing foliage, and a general decline in overall plant
Quick fixConfirm diagnosis on your Jasmine, then address the most likely care or pest factor described in current extension guidance.
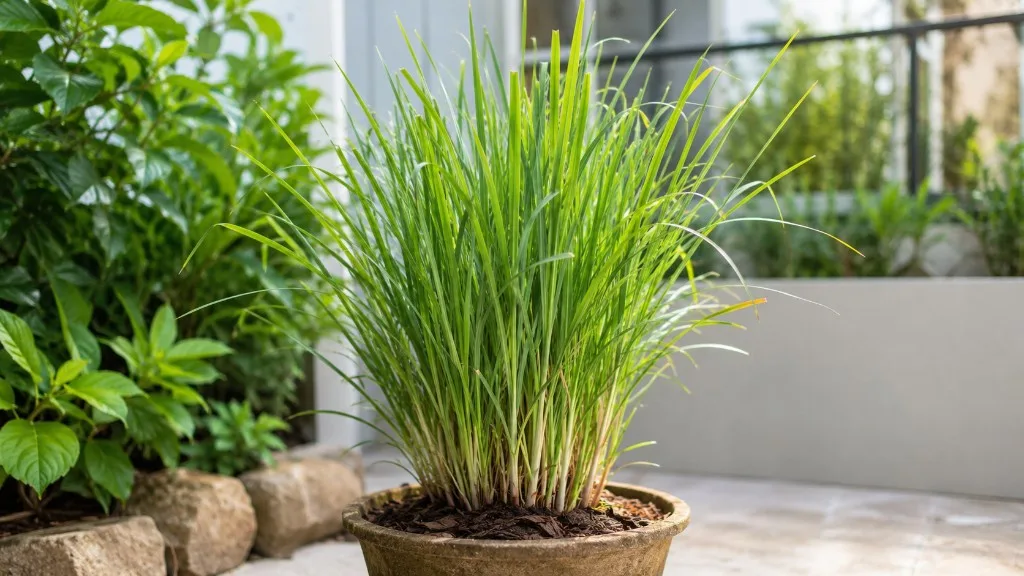 Medium
Lemongrass
Likely causeJul 22, 2024 · 🌱 Identify root rot early by spotting yellow leaves and wilting in Lemongrass . 💧🚫 Prevent root rot with proper watering, drainage, and environmental control. ️🪴 Treat root rot by trimming roots , repotting, and adjusting lon
Quick fixConfirm diagnosis on your Lemongrass, then address the most likely care or pest factor described in current extension guidance.
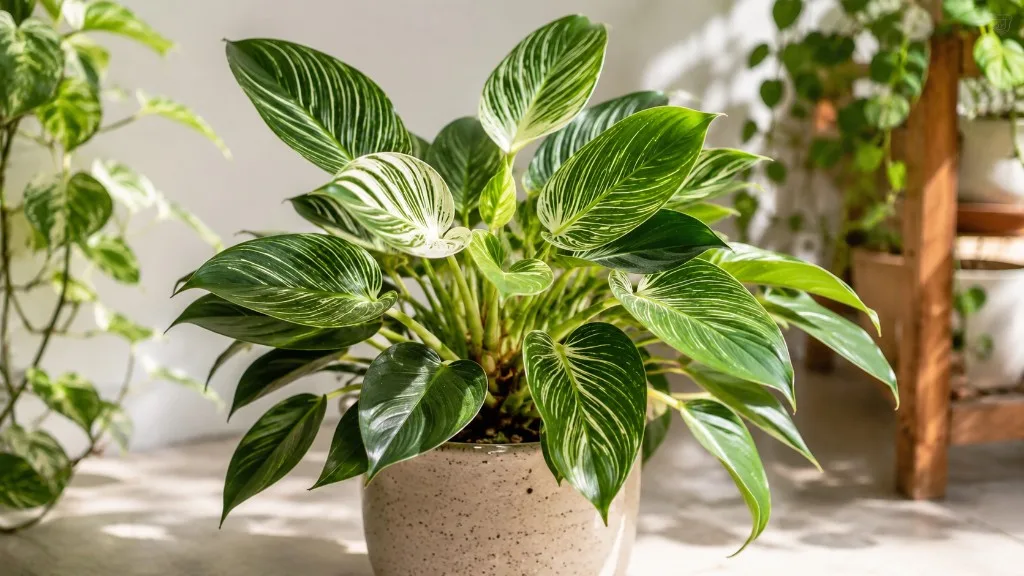 Medium
Philodendron Birkin
Likely causeAug 8, 2025 · Shake or rinse away old soil to expose the root system for inspection. Use clean, sharp pruning shears to trim away all affected roots . Healthy roots are typically firm and white or light tan, while diseased roots are dark, m
Quick fixConfirm diagnosis on your Philodendron Birkin, then address the most likely care or pest factor described in current extension guidance.
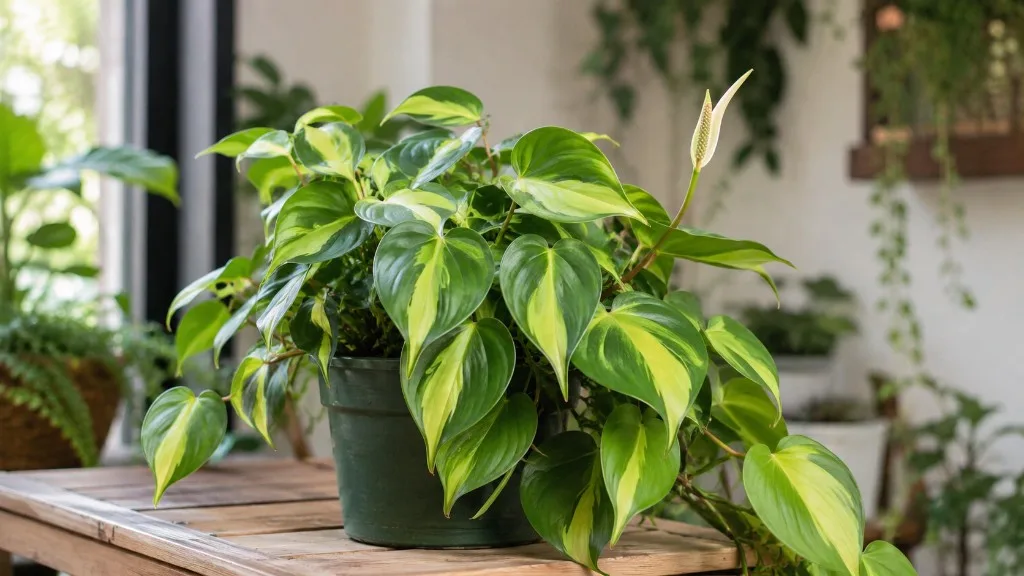 Medium
Philodendron Brasil
Likely causeJan 8, 2025 · If your Philodendron Brasil seems to be struggling, it could be root bound. This happens when the roots have outgrown the pot, limiting their ability to absorb water and nutrients.
Quick fixConfirm diagnosis on your Philodendron Brasil, then address the most likely care or pest factor described in current extension guidance.
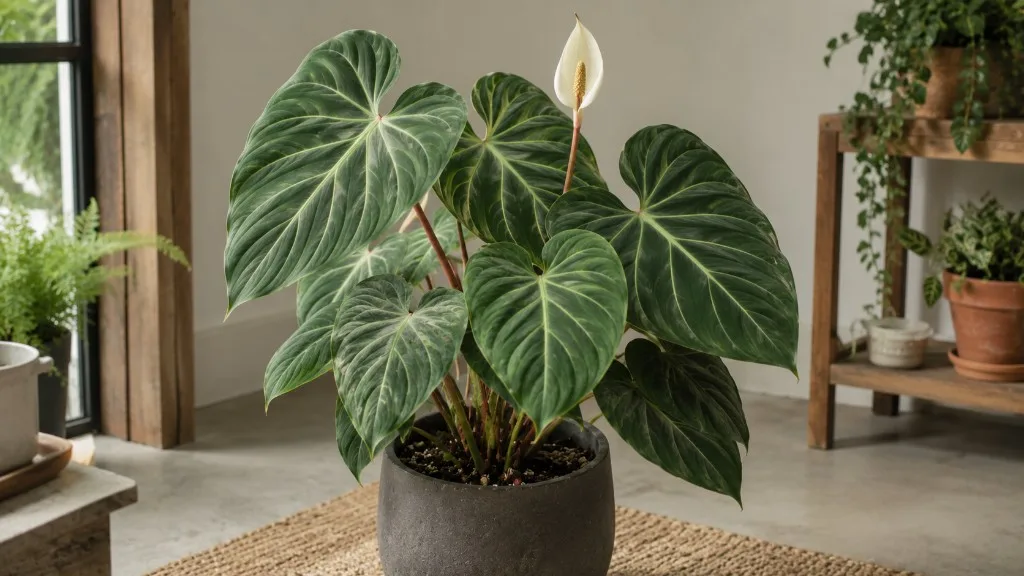 Medium
Philodendron Gloriosum
Likely causeAug 24, 2024 · Root rot occurs when the plant’s roots sit in overly moist soil for too long, creating an ideal environment for fungal growth. Signs of root rot include yellowing leaves, wilting, and a general lack of growth. If you suspect
Quick fixConfirm diagnosis on your Philodendron Gloriosum, then address the most likely care or pest factor described in current extension guidance.
 Medium
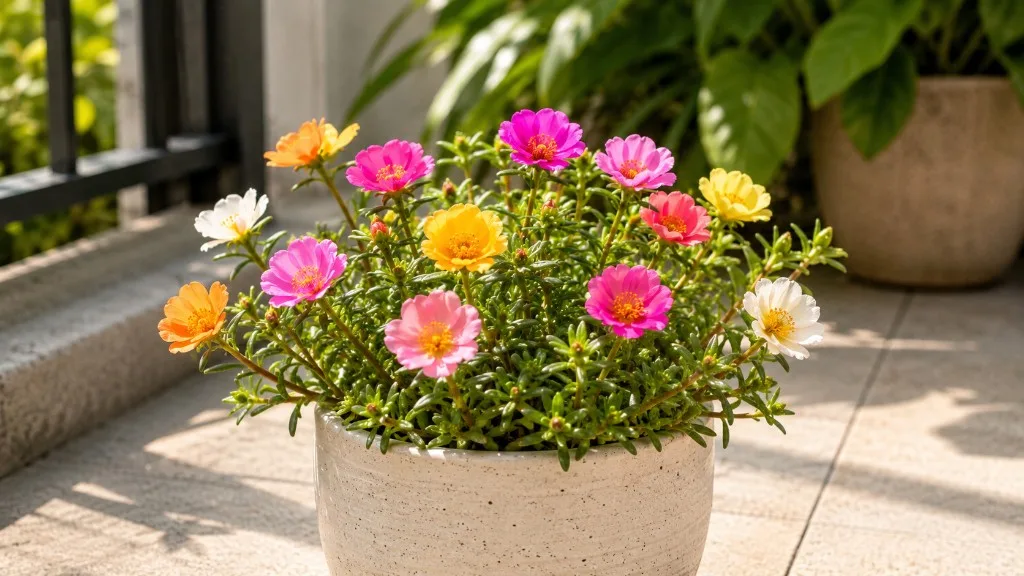
Portulaca
Likely causeAug 6, 2025 · Watering practices significantly influence portulaca health; both too much and too little moisture cause distress. Overwatering often leads to root rot, indicated by yellowing leaves, mushy stems, and plant decline. Saturated
Quick fixConfirm diagnosis on your Portulaca, then address the most likely care or pest factor described in current extension guidance.
 Medium
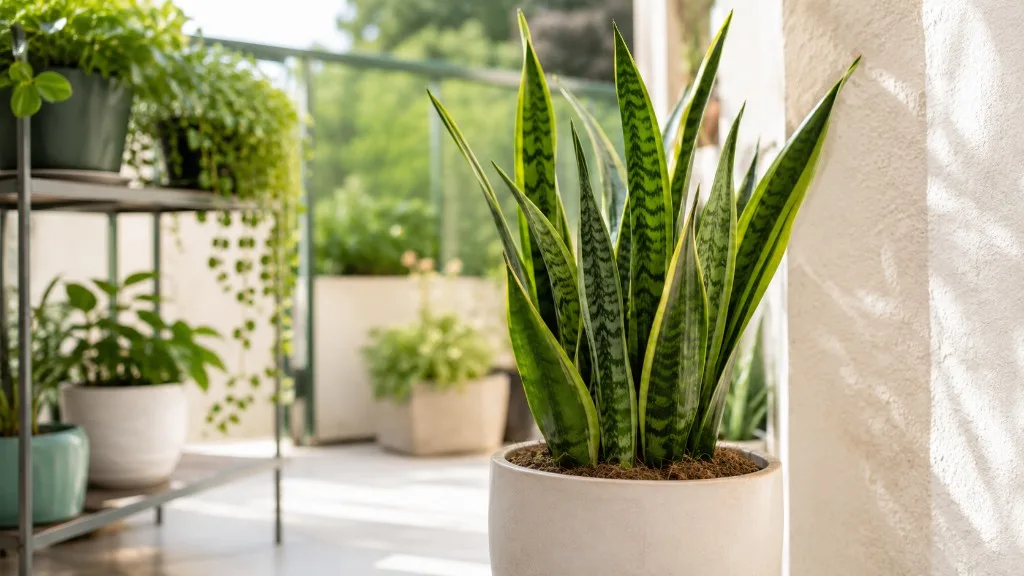
Snake Plant
Likely causeRot, overwatering, vine weevil grubs, or repotting trauma damage Sansevieria fleshy rhizomes and roots, stalling growth and causing collapse.
Quick fixUnpot, trim black or mushy roots with sterile tools, air-dry, repot in dry gritty mix; inspect for C-shaped vine weevil grubs.
 Medium
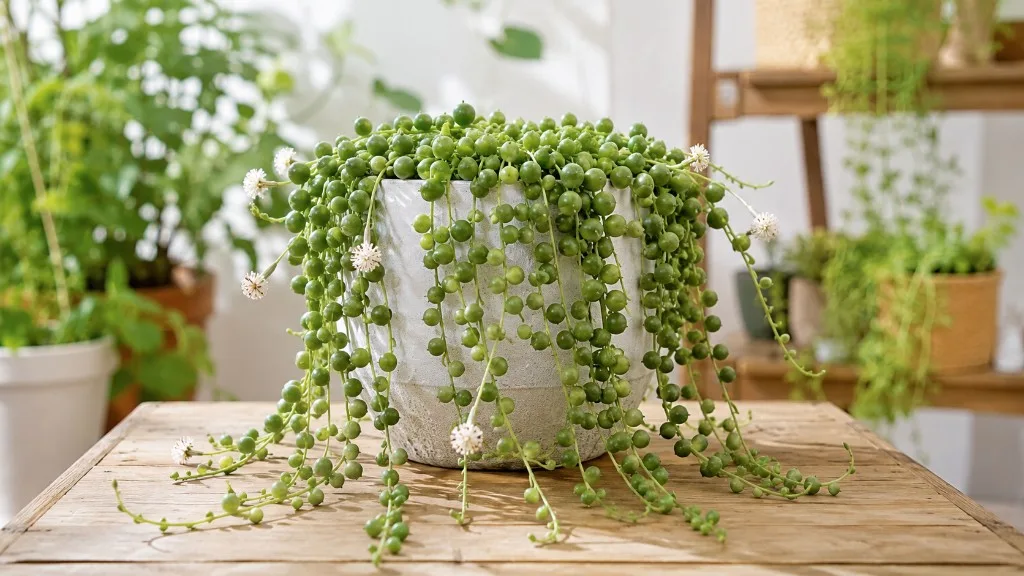
String of Pearls
Likely causeJun 18, 2024 · Prune the affected roots with sterilized scissors or shears, cutting back to healthy tissue. This step is like triage; you're removing the damaged parts to save the whole. Thoroughly clean the pot with a bleach solution or al
Quick fixConfirm diagnosis on your String of Pearls, then address the most likely care or pest factor described in current extension guidance.