Poor Root Growth in Houseplants: Causes and Fixes
Root health determines everything above the soil. Poor Root Growth produces Small, weak, or underdeveloped root system when roots suffocate, rot, dry out, or run out of space. Because damage is hidden, owners often treat leaves while the real problem sits in the pot. Track weekly progress after you change care, and note watering, light, and repotting dates so you can tell whether the symptom is improving or returning. Compare upper versus lower leaves, new versus old growth, and soil moisture at root depth before you treat, because the same visible symptom can come from watering, light, pests, or normal aging on different plants.
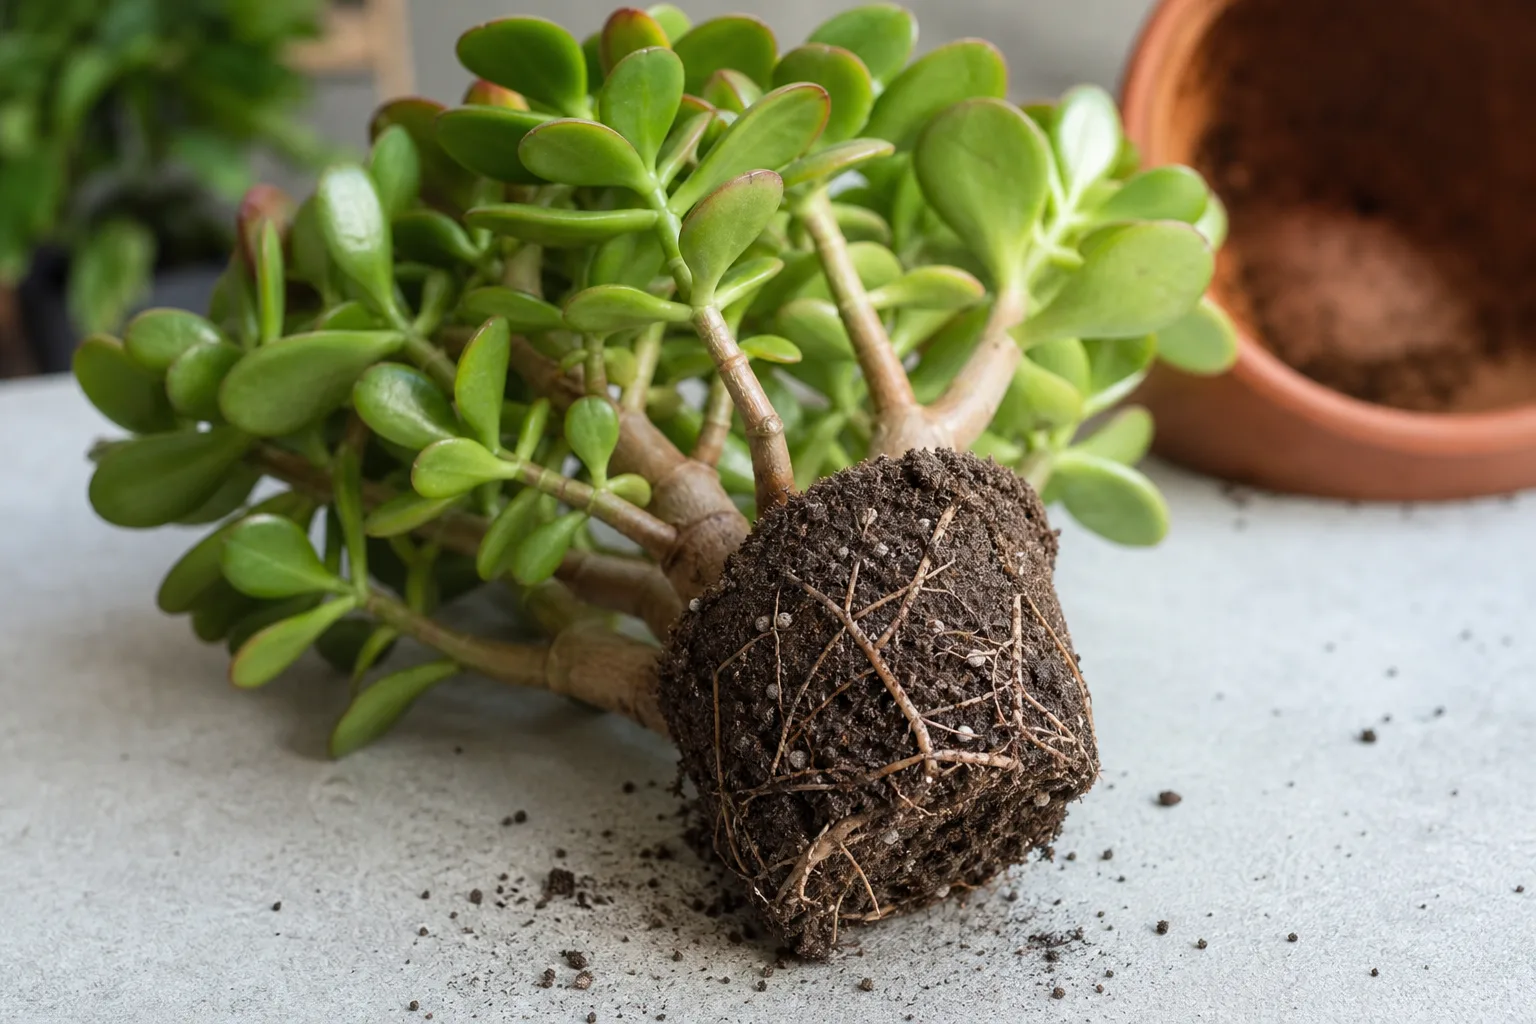
Poor Root Growth on Houseplants
Still unsure?Match your symptoms to the most likely problems in under a minute.Run diagnosis →Understand and fix poor root growth
Root health determines everything above the soil. Poor Root Growth produces Small, weak, or underdeveloped root system when roots suffocate, rot, dry out, or run out of space. Because damage is hidden, owners often treat leaves while the real problem sits in the pot. Track weekly progress after you change care, and note watering, light, and repotting dates so you can tell whether the symptom is improving or returning. Compare upper versus lower leaves, new versus old growth, and soil moisture at root depth before you treat, because the same visible symptom can come from watering, light, pests, or normal aging on different plants.
Overview
Root health determines everything above the soil. Poor Root Growth produces Small, weak, or underdeveloped root system when roots suffocate, rot, dry out, or run out of space. Because damage is hidden, owners often treat leaves while the real problem sits in the pot. Track weekly progress after you change care, and note watering, light, and repotting dates so you can tell whether the symptom is improving or returning. Compare upper versus lower leaves, new versus old growth, and soil moisture at root depth before you treat, because the same visible symptom can come from watering, light, pests, or normal aging on different plants.
How to identify it
- Plant wilts soon after watering or stays wilted with wet soil
- Yellow leaves despite moist soil
- Roots brown, black, or mushy when you unpot
- Soil smells sour or musty
- Roots wrap densely around the root ball
When to worry
Black mushy roots, foul odor, or stem rot climbing from soil line means act today-propagation may be the salvage path.
Common causes
Chronic overwatering
Roots need oxygen. Soggy soil kills fine roots first, leading to Poor Root Growth and top growth collapse.
Poor drainage and heavy mix
Waterlogged pots rot roots even when you water 'correctly' on schedule.
Extreme root binding
Tight root mats have little soil left to hold moisture and nutrients-plants stress despite watering.
Physical damage during repotting
Broken roots cannot uptake water temporarily, causing wilt and yellowing until they regrow.
Step-by-step fix
Unpot and inspect roots
Healthy roots are firm and white or tan. Trim black mushy sections with sterile scissors.
Repot into fresh, airy mix
Use well-draining soil and a clean pot with holes. Do not water heavily for the first few days if you trimmed rot.
Fix watering going forward
Let top soil dry appropriately for your plant. Never let pots sit in standing water.
Reduce stress on the plant
Keep in bright indirect light, hold fertilizer, and avoid repotting again for several months.
Propagate if roots are mostly gone
Take healthy cuttings above rot and root in water or moss while discarding the base.
Prevention tips
- Use drainage holes and well-aerated potting mix
- Water based on soil dryness, not leaf appearance
- Repot before roots severely circle the pot
- Avoid cool drafts on wet soil
Common mistakes
- Watering more when a plant wilts without checking roots
- Leaving rotted roots in the pot hoping they recover
- Fertilizing to 'strengthen' rotting roots
A small root system is a symptom, not a complete diagnosis. Roots may remain sparse because the mix is chronically wet, repeatedly bone-dry, compacted, cold, salty, physically damaged, or simply too new to have filled the pot. The correct response depends on which pattern is present. Automatically cutting roots and repotting can turn a manageable problem into a severe one.
Start with evidence you can observe: how quickly the pot changes weight, whether water penetrates the root ball, the smell and structure of the mix, and the roots’ firmness. Compare those findings with the plant’s recent history. A plant moved, divided, or propagated last month should not be judged by the same standard as an established plant that has stalled for a year.
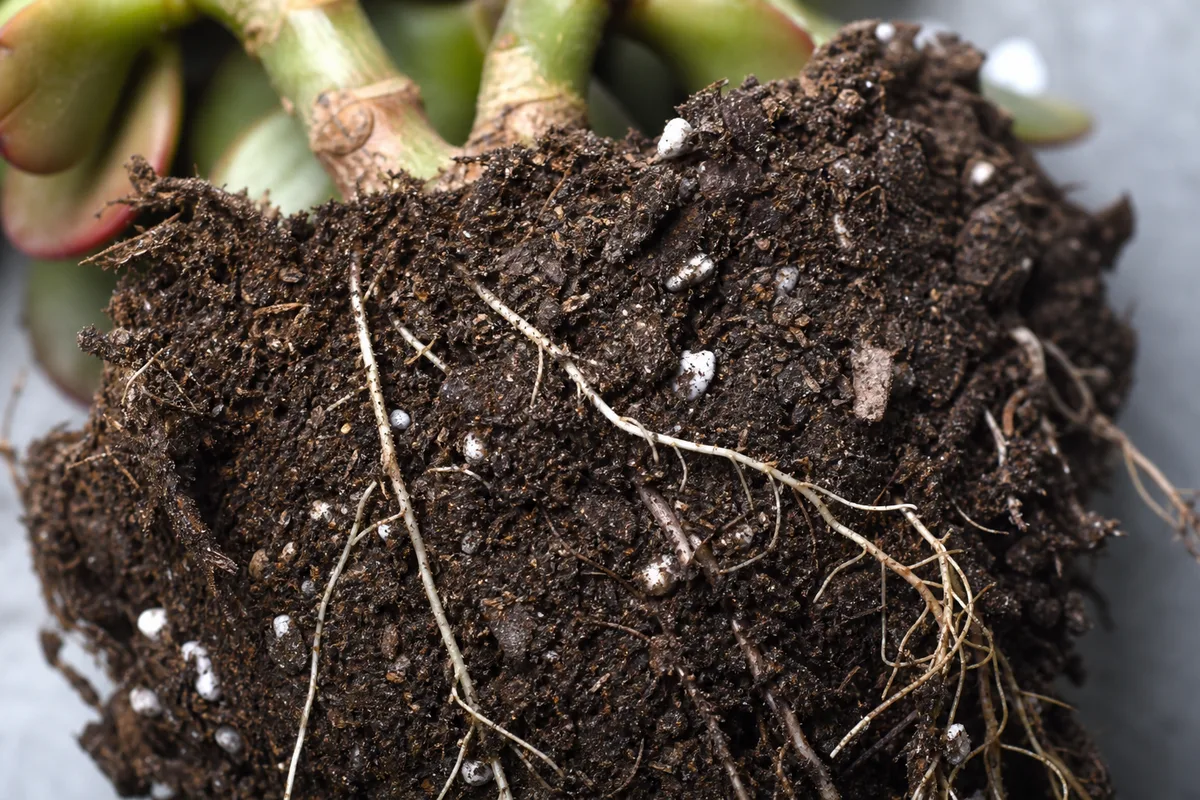
This guide is an evidence synthesis, not a laboratory diagnosis or a report of a controlled plant trial. Its decision order—history, moisture pattern, root distribution, texture, then intervention—draws on extension and horticultural guidance cited beside the relevant claims. The two photographs show examples of sparse roots in jade plants, but neither image can establish the cause in another plant. When a valuable plant continues declining after the root environment is corrected, a local extension plant clinic can test tissue or substrate and narrow the diagnosis.
What poor root growth actually means
Poor root growth means the living root system is too limited or ineffective to support normal water and nutrient uptake for that plant. It can describe few roots, roots confined to one part of the pot, loss of fine feeder roots, or an apparently large root mass whose tissues are no longer functioning. It does not mean every root must be white. Root color varies with species, age, substrate, and staining from organic ingredients.
Roots also change with the season and growing environment. Growth slows when light is limited because the shoot supplies less carbohydrate to the root system. A recently rooted cutting naturally has fewer roots than a mature plant. The useful question is therefore not “Does this plant have lots of roots?” but “Are firm living roots expanding into a root zone that supplies air and usable moisture?”
Above the mix, weak root function often appears as slow growth, small new leaves, loss of older leaves, or wilting that does not match the apparent moisture level. These symptoms overlap with low light, pests, temperature stress, and normal dormancy. Indoor plant problems have many overlapping environmental causes, so foliage alone cannot confirm a root diagnosis.
Signs above and below the potting mix
Suspect the root zone when several clues agree. A pot that stays heavy and wet for much longer than it used to points toward low water use, poor aeration, or both. A pot that becomes light within a day while water runs down the sides can indicate a shrunken, water-repellent root ball rather than healthy drainage. Repeated wilt soon after watering suggests that water is not reaching functioning roots.
Below the surface, look for where roots occur and how they feel. Firm roots distributed through the mix are more reassuring than a few roots clustered at the crown. Empty wet mix around a small central plug often means the container was upsized too aggressively. Fine roots disappearing near the bottom while the upper roots remain intact suggests that the wettest zone has become hostile.
Odor adds context. Fresh potting mix smells earthy; sour, swampy, or fermented odors strengthen the case for oxygen-poor decay. A foul smell is not required for root disease, however, and dark color alone is not proof. Texture, distribution, moisture history, and the condition of the stem base matter more together than any single clue.
Inspect roots without creating more damage
Inspect only when the result could change what you do. If a stable plant is merely growing slowly during a dark winter, improving light and waiting may be safer than unpotting it. Inspection is justified when the plant declines in wet mix, collapses despite watering, smells sour, rocks loosely at the base, or has not established roots after an appropriate rooting period.
Water very dry mix lightly a day before inspection so brittle roots flex rather than snap. Support the stem base, tip the pot, and ease out the root ball without pulling on leaves. If it will not slide, squeeze a flexible nursery pot or run a clean blunt tool around the inside edge. Do not tear a healthy root system merely to satisfy curiosity.
Once exposed, remove only enough loose mix to see representative roots. Photograph the root ball and note which areas are wet, dry, empty, or densely rooted. Limit the time roots remain exposed to sun or drying air. If the root system looks firm and evenly distributed, return it to the pot and investigate light, temperature, pests, or seasonal growth instead.
Healthy, stressed, dead, and rotten roots
Healthy roots are generally firm and resilient. New tips may be pale, while older roots may be tan or brown. Many epiphytes have thick roots with specialized outer tissues, and roots grown in bark or peat can be stained. A pale color is useful evidence of active growth, but “all healthy roots are white” is an unreliable rule.
Dead roots are often hollow, papery, brittle, or slough their outer layer when gently pinched. Rotten roots are typically soft or mushy and may separate with little pressure. Root-rot pathogens can attack stressed roots in saturated media; the University of Maryland describes root rots as diseases favored by excess moisture and poor drainage. Do not diagnose a pathogen solely from appearance because oxygen deprivation can kill roots before a pathogen colonizes the tissue.
Stressed but living roots occupy the middle ground. They may be discolored yet firm, with intact branching and no foul odor. Preserve them. Removing every brown root can eliminate much of a plant’s remaining uptake capacity and extend recovery.
A root-condition decision table
| What you find | Most likely interpretation | Safest first move |
|---|---|---|
| Firm roots, even distribution, fresh-smelling mix | Roots may be healthy; look above the soil | Check light, pests, season, and temperature |
| Few firm roots in a large mass of wet mix | Oversized pot or low water use | Downsize only if wetness persists; improve light and aeration |
| Dry hard center while water bypasses edges | Hydrophobic or compacted root ball | Rehydrate gradually and verify even wetting |
| Dense circling roots with little loose mix | Root-bound condition | Move one pot size up or renovate the root ball |
| Soft roots, sour odor, wet lower mix | Root death or root rot | Remove decay, clean the container, and repot |
| Broken firm roots after a recent move | Mechanical damage | Stabilize, reduce stress, and allow regrowth |
Treat the table as triage, not laboratory diagnosis. Several conditions can coexist: a root-bound plant may have a dry core and rotten roots at the bottom after repeated emergency watering. Choose the intervention that addresses the dominant current risk while preserving the most living tissue.
Why houseplant roots stop growing
Root growth depends on oxygen, water, suitable temperature, a workable substrate, and energy supplied by photosynthesis. Limiting any one of those inputs can stall the system. Fertilizer cannot compensate for darkness, dead tissue, or airless media, and extra water cannot compensate for roots that have already lost function.
History often reveals the cause faster than a product test. Note the last repot, container size change, watering frequency, fertilizer concentration, cold events, pest treatments, and changes in window exposure. The timing between a change and the first symptom is diagnostic evidence.
Too much water and too little oxygen
Roots respire. Water is necessary, but pores filled continuously with water leave less space for air diffusion. The Missouri Botanical Garden’s guidance on overwatering links persistently wet media with root injury and plant decline. The practical problem is not that water is poisonous; it is the duration of saturation relative to the plant’s water use and the substrate’s aeration.
Common causes include a pot without a functional drain, decorative cachepots holding runoff, dense decomposed peat, a large pot around a small root ball, and scheduled watering during periods of low light. Cool temperatures slow evaporation and growth, extending wetness. A drainage layer of stones does not replace a drainage hole and reduces the volume available for roots.
Correct the system rather than merely waiting longer between identical heavy waterings. Ensure excess water can leave, empty saucers, use a substrate whose particle structure fits the species, and provide appropriate light. If living roots remain and the mix can dry normally, a full repot may not be necessary.
Drought, hydrophobic mix, and uneven wetting
Chronic drought also reduces fine roots. A root ball can look moist at the surface yet remain dry in the center, especially when peat-based media shrink from the pot wall. Fast runoff is then bypass, not proof that the root zone was soaked. The University of Maryland’s indoor-watering guidance emphasizes checking the medium and watering according to plant need rather than a rigid calendar.
Rehydrate a dry root ball slowly. Apply water in two or three passes several minutes apart, or briefly bottom-water while monitoring the top of the mix, then let it drain fully. Do not leave the pot submerged indefinitely. Lift it afterward so you learn the weight of evenly moist mix.
Severely dehydrated roots cannot instantly absorb a large volume. Foliage may remain limp for a day or longer, and some leaves may be lost. Keep conditions stable instead of alternating repeated soaking with harsh drying. New root tips, not an immediate cosmetic rebound, are the meaningful recovery sign.
Compaction, crowding, and container design
Old potting media break down, fine particles settle, and repeated watering can compact the root zone. Compaction reduces large air spaces and can make wetting uneven. A heavy mineral garden soil may work outdoors but behave poorly in a small indoor container. Use a packaged potting substrate or a species-appropriate mix with stable structure rather than digging soil from the garden.
Crowding is different from decay. A root-bound plant has a dense, often firm root mass and little loose substrate. It may dry rapidly because there is little water-buffering medium left. The RHS repotting guide recommends choosing a slightly larger container rather than making an excessive jump.
Container geometry matters too. Tall pots can hold a wetter lower zone; shallow-rooted plants may leave that zone unused. A decorative outer pot may hide standing water. Match the container to the root system you have, not the canopy size you hope to grow.
Salts, temperature, pests, and physical injury
Excess fertilizer and salts can injure root tips and interfere with water uptake. White crust on the rim, browned tips, and a history of frequent feeding strengthen that diagnosis. Maryland Extension documents fertilizer toxicity and soluble salts as causes of root injury and foliage symptoms. Flush only when the pot drains freely and roots are not already rotting; otherwise replace contaminated mix.
Cold potting media slow root activity, and direct contact with a cold window or floor can create a localized problem. Heat can dry the root ball rapidly. Newly repotted plants may have broken root hairs even when major roots look intact, so temporary wilt does not automatically mean more water is needed.
Fungus gnat larvae mainly consume fungi and organic matter, but high populations can injure tender roots, especially seedlings and cuttings; UC IPM describes their association with moist growing media. Root-feeding mealybugs are less common but possible. Confirm a pest visually before treating, because unnecessary drenches can further stress weak roots.
A step-by-step recovery plan
Rank the risks before acting. Active decay in saturated mix requires faster intervention than slow growth with firm roots. Severe dehydration requires controlled rewetting, not root pruning. A plant with healthy crowded roots needs more space, while a plant with few roots in a large pot may need less wet substrate around it.
Prepare a clean work surface, a container with drainage, fresh appropriate mix, and sanitized cutting tools. Keep a small amount of the old mix only when it is structurally sound and free of pests or decay. Label the date so later changes can be judged against a real timeline.
Stabilize first and repot only when evidence supports it
If roots are firm and the medium is merely a little slow to dry, improve light and airflow, stop calendar watering, and reassess. Repeatedly unpotting a weak plant damages new tips. If the mix is sour, collapsed, contaminated with salts, or remaining saturated around dead roots, replacement is justified.
Choose a pot proportional to the remaining roots. After rot removal, that may mean moving down a size. Leave enough room for a modest layer of fresh mix around the root ball, not a broad reservoir that stays wet for weeks. Confirm that drainage holes are open before adding the plant.
Do not add rocks at the bottom as a cure for drainage. Use the correct pot and substrate throughout the root zone. Hold the crown at its previous depth unless the species has a specific planting requirement; burying stems can expose them to prolonged moisture.
Trim decay and rebuild an airy root zone
Remove loose, collapsed roots with clean scissors, cutting back to tissue that is firm. Between plants—and after cutting obvious decay—disinfect tools using a method appropriate for the tool material. Do not scrape or wash healthy roots aggressively. Some fine-root loss is unavoidable, but the goal is preservation, not a visually spotless root ball.
Spread the remaining roots through lightly moist mix without forcing them flat. Tap the pot to settle particles and eliminate large voids, but do not compress the substrate hard. If the plant is unstable, add temporary support so movement does not repeatedly tear new root initials.
Fungicides are not a universal rescue. Different pathogens respond to different active ingredients, and cultural correction is essential. Penn State notes that fungal root-rot management depends on diagnosis and appropriate use; a label must include the crop and use site. For an ordinary houseplant, sanitation and a corrected root environment are often the most practical first controls.
Reset watering, light, and fertilizer
After repotting, settle fresh mix with enough water to establish contact around intact roots, then allow the species-appropriate portion to dry before watering again. When extensive rotten tissue was removed, avoid leaving the reduced root system in saturated media. The idea that every cut root must “callus for several days” before any water is not a universal rule; species, root type, and substrate moisture all matter.
Provide bright light appropriate to the species, but do not move a shade-grown plant directly into harsh sun. Better light supports future root growth; sudden scorch removes photosynthetic area when the plant can least afford it. Keep temperature stable and avoid cold drafts.
Pause fertilizer until the plant resumes active growth. Fertilizer is salt, not medicine, and damaged roots cannot use a strong dose efficiently. When new growth is established, restart at the product’s labeled rate appropriate for the plant rather than using a homemade concentration guess.
How to judge recovery
Recovery is a trend, not a single dramatic event. Useful signs include the pot beginning to dry at a predictable rate, stems holding steady, buds expanding, and new leaves reaching a normal size. A few damaged older leaves may continue to yellow because tissue lost during the original stress will not be rebuilt.
Check weekly rather than disturbing roots daily. Record pot weight or moisture at the same depth, new growth, and any new odor. If the plant uses no water, continues collapsing, or develops soft tissue at the stem base, reassess the roots. If it is stable but not growing during a low-light season, patience may be the correct intervention.
Use the same observation method each time: lift the pot before watering, note the number of days until the upper and central root zone approach the species-appropriate dry point, and photograph the newest leaf or bud from the same angle. A trend across two or more checks is more useful than a one-day change. Stop the trial and inspect sooner if the crown softens, the pot develops a sour odor, or collapse advances while the mix remains wet.
Root regeneration can take weeks to months depending on species, season, temperature, and the amount of living tissue. Avoid promising a fixed three-week turnaround. A cutting-rooted pothos and a mature palm do not rebuild at the same pace.
When propagation or disposal is safer
Propagation becomes a sensible backup when few functional roots remain but healthy stems or leaves can reproduce the plant. Take material only from firm, symptom-free tissue, using the propagation method suitable for that species. Do not assume every houseplant roots from a leaf; many require a node, stem section, offset, rhizome, or division.
Discarding may be safer when decay has entered the entire crown, the plant is a common replaceable specimen, or a suspected contagious pathogen cannot be contained. Bag diseased material and clean reusable containers. Do not compost tissue known to carry a persistent pathogen unless local guidance says the composting process will manage it.
For valuable, rare, or repeatedly declining plants, consult a local extension plant clinic. Laboratory diagnosis can distinguish pathogen-driven disease from environmental root death when the result would change treatment.
Prevent poor root growth from returning
Use containers with functional drainage and check cachepots after every watering. Choose potting media by root ecology: moisture-loving fine roots need a different air–water balance from thick succulent roots or bark-adapted epiphytes. Refresh decomposed mix before it becomes a dense mud-like mass.
Water from evidence. Feel or probe the mix at a meaningful depth, lift smaller pots, and note seasonal changes in water use. Water thoroughly enough to wet the root zone, allow drainage, and then wait for the appropriate dry-down. Do not copy a weekly schedule from a plant with different light, pot size, or substrate.
Repot for a reason—crowding, degraded media, instability, or disease—not simply because a date arrived. Increase pot size modestly, preserve healthy roots, and avoid fertilizing immediately after major root work. Good root care is less about frequent intervention than maintaining a stable, breathable environment.
Conclusion
Poor root growth is best solved by diagnosing the root zone before choosing a rescue. Firmness, distribution, moisture, odor, container size, and recent care tell a more reliable story than root color or leaf wilt alone. Preserve living tissue, correct the dominant environmental problem, and make the smallest intervention that restores air, usable water, and stability.
After treatment, judge progress through steady water use and healthy new growth rather than the instant appearance of old leaves. If decay continues, the crown softens, or almost no viable root remains, propagation or plant-clinic diagnosis is more responsible than repeating fertilizer, watering, and repotting experiments.
Plants commonly affected
These houseplants often struggle with poor root growth. Open a care guide or plant-specific troubleshooting page for tailored fixes.
 Medium
Jade Plant
Likely causeApr 7, 2026 · Five causes account for nearly all cases of genuine jade plant stunted growth , and each leaves different clues. Use the diagnostic table below to identify yours, then follow the fix for that specific cause.
Quick fixConfirm diagnosis on your Jade Plant, then address the most likely care or pest factor described in current extension guidance.
 Medium
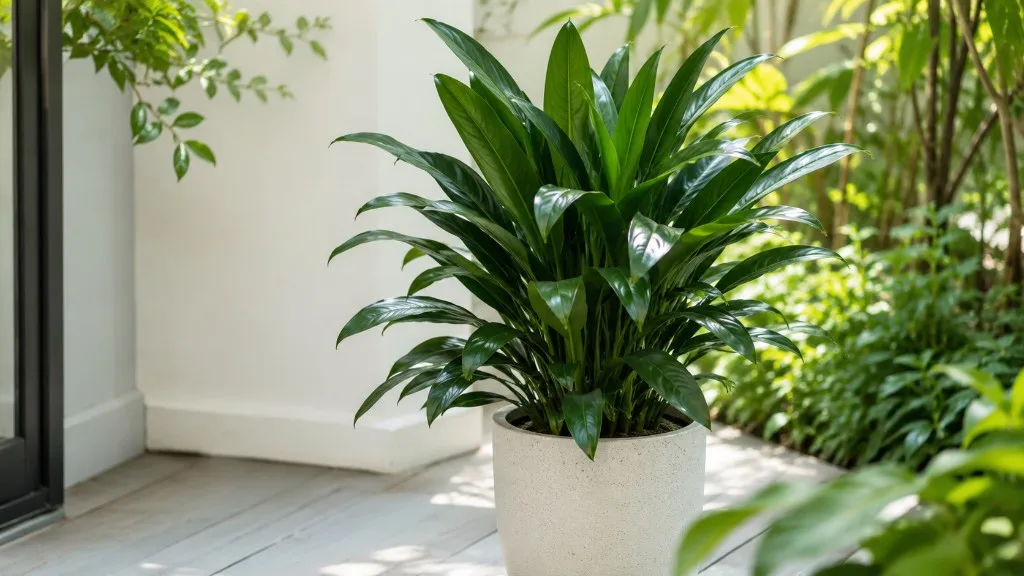
Janet Craig Dracaena
Likely causeAug 8, 2025 · Root rot, caused by persistent overwatering and poor drainage, is common. Symptoms include yellowing leaves, wilting despite wet soil, stunted growth , and a foul odor. Healthy roots are firm and white; rotted roots are brown,
Quick fixConfirm diagnosis on your Janet Craig Dracaena, then address the most likely care or pest factor described in current extension guidance.
 Medium
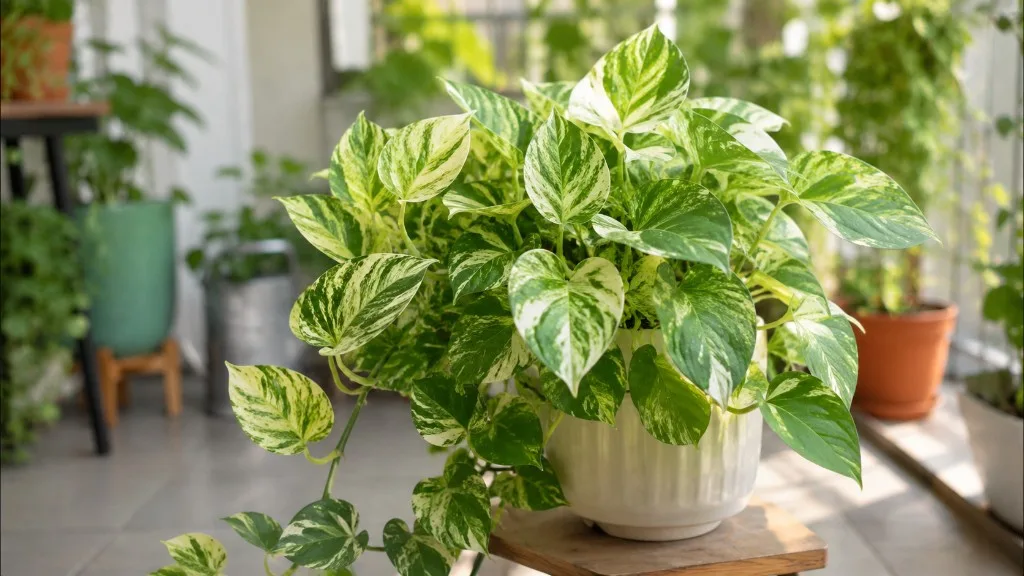
Manjula Pothos
Likely causeFeb 7, 2026 · The Manjula Pothos is a stunning variegated cultivar with heart-shaped leaves swirled in cream, white, silver-green, and …
Quick fixConfirm diagnosis on your Manjula Pothos, then address the most likely care or pest factor described in current extension guidance.
 Medium
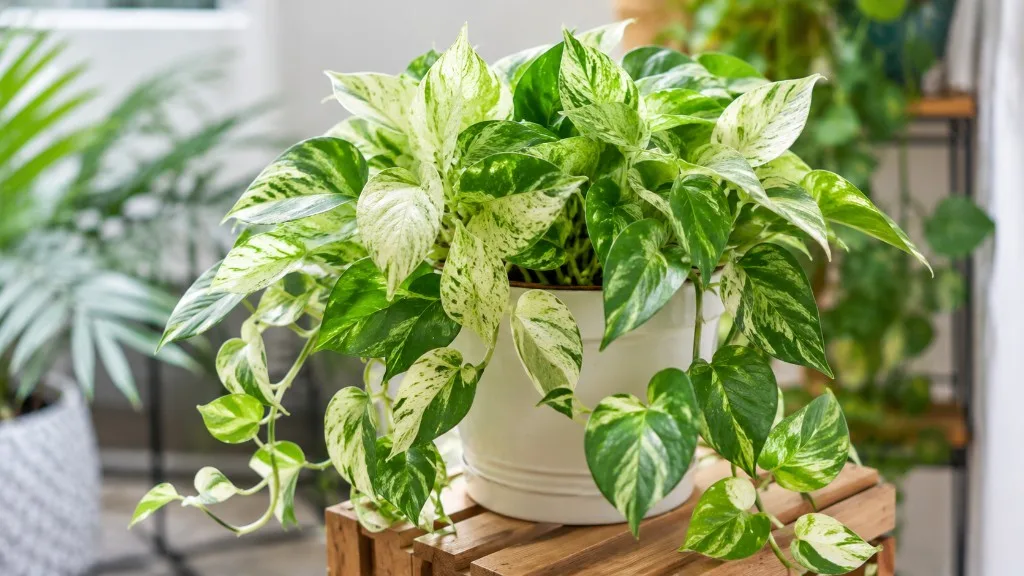
Marble Queen Pothos
Likely causeMay 24, 2026 · Marble Queen Pothos (Epipremnum aureum ‘ Marble Queen’) root rot usually starts when wet soil, poor drainage, or an oversized pot keeps roots damp too long. Yellowing, wilting, and soft stems are the warning signs to check be
Quick fixConfirm diagnosis on your Marble Queen Pothos, then address the most likely care or pest factor described in current extension guidance.
 Medium
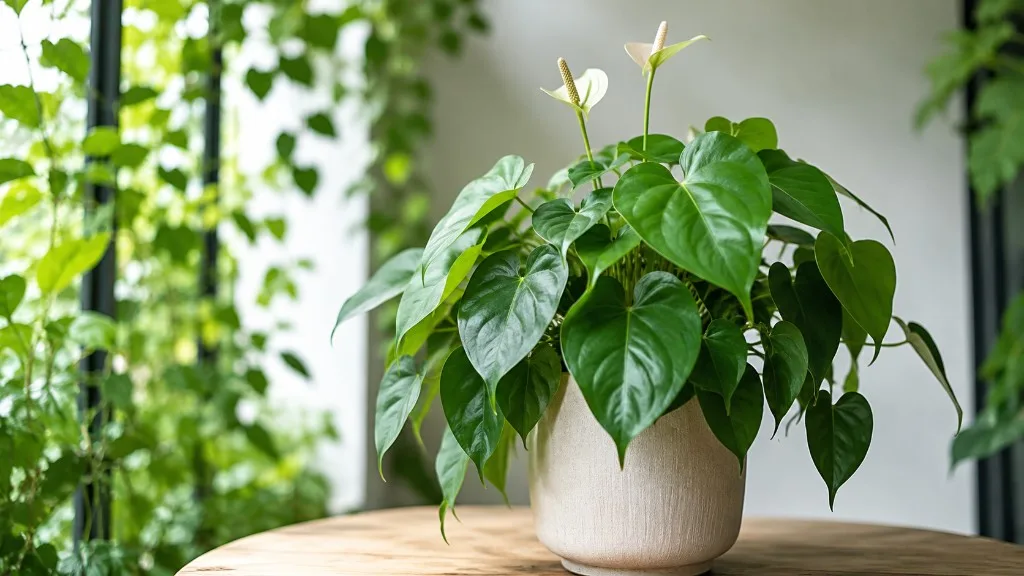
Heartleaf Philodendron
Likely causeOne of the early signs of Philodendron Heartleaf problems is sparse growth due to poor lighting conditions. Although the plant’s position didn’t change, I made the mistake of rearranging my plant shelf – placing larger plants in front of it
Quick fixConfirm diagnosis on your Heartleaf Philodendron, then address the most likely care or pest factor described in current extension guidance.
 Medium
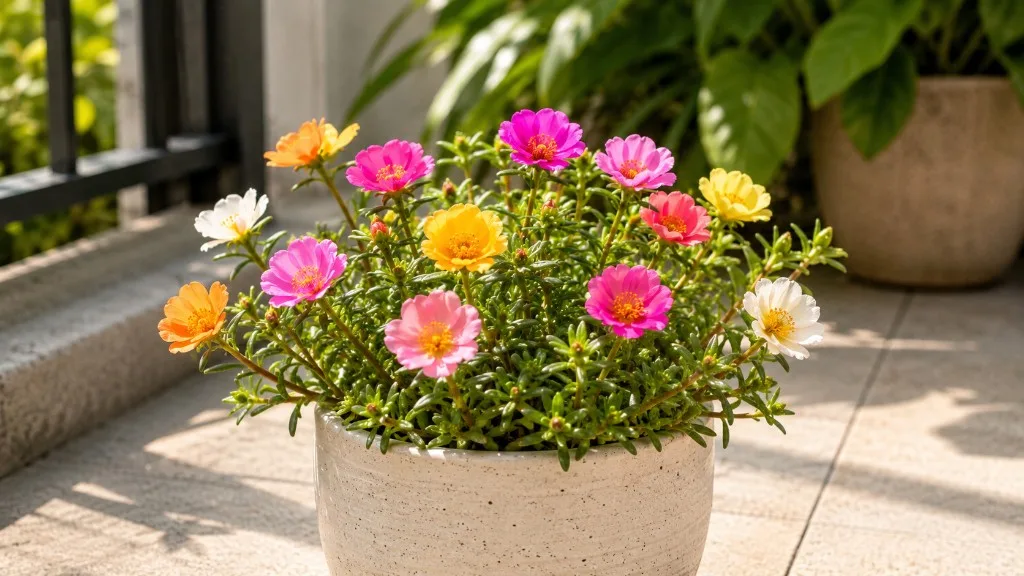
Portulaca
Likely causeAug 6, 2025 · Portulaca are not heavy feeders and can thrive in relatively poor soil, so nutrient deficiencies are less common. However, in extremely depleted soils, plants might show general yellowing or stunted growth , indicating a lack
Quick fixConfirm diagnosis on your Portulaca, then address the most likely care or pest factor described in current extension guidance.
 Medium
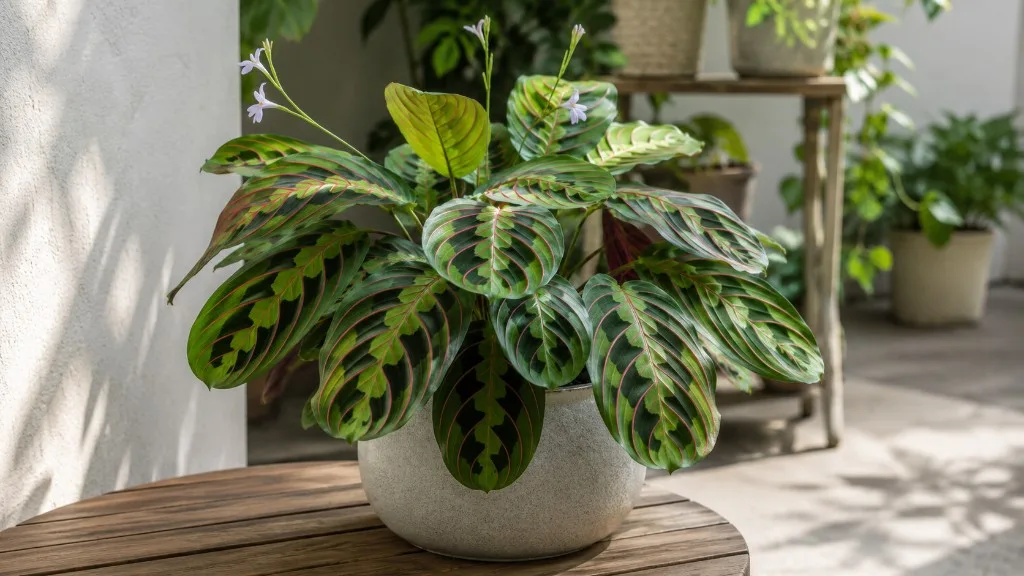
Prayer Plant
Likely causeAug 8, 2025 · Root rot is a prevalent and serious issue for prayer plants , primarily caused by overwatering or inadequate drainage. When roots sit in consistently wet, oxygen-deprived soil, they begin to decay due to fungal or bacterial gr
Quick fixConfirm diagnosis on your Prayer Plant, then address the most likely care or pest factor described in current extension guidance.
 Medium
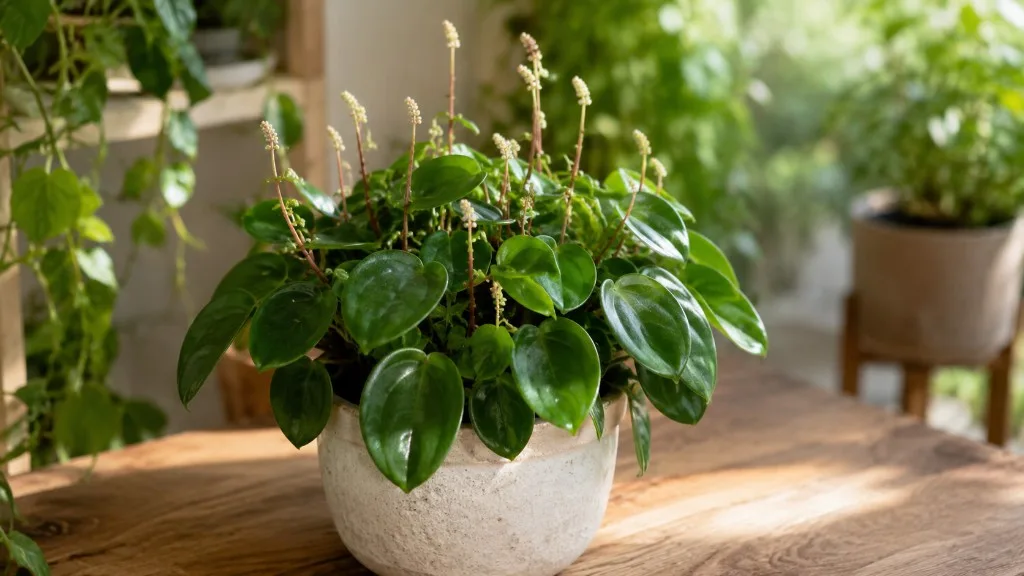
Raindrop Peperomia
Likely causeRaindrop Peperomias don’t like super soggy soil as causes root rot and brown leaves to form as a result. To figure out if overwatering is the reason your Raindrop Peperomia is turning brown, check the moisture levels in the soil and replace
Quick fixConfirm diagnosis on your Raindrop Peperomia, then address the most likely care or pest factor described in current extension guidance.
 Medium
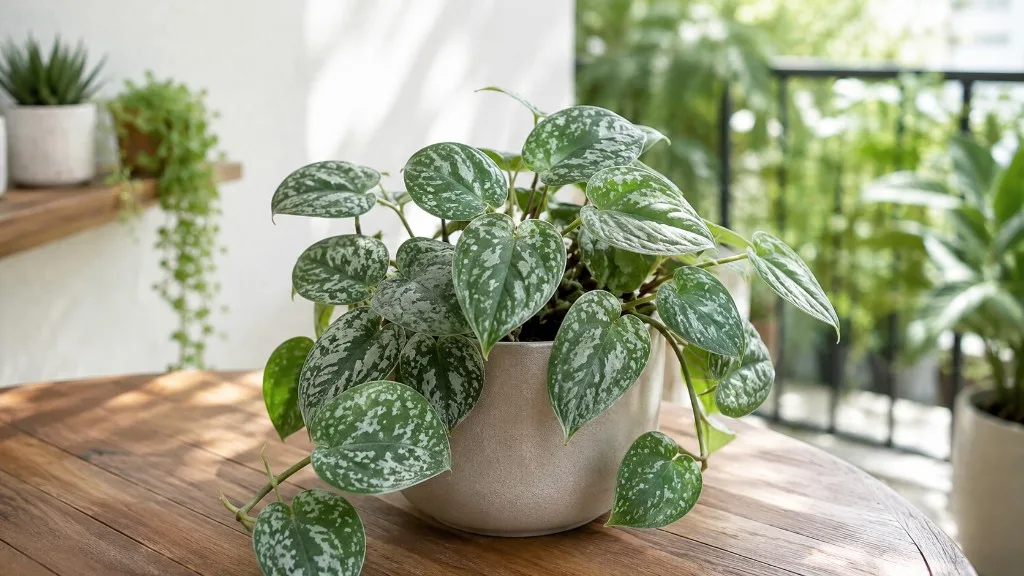
Satin Philodendron
Likely cause6 days ago · Light is arguably the most critical factor influencing the growth rate of any plant, including the Philodendron Brandtianum. Insufficient light will lead to leggy growth, faded coloring, and overall …
Quick fixConfirm diagnosis on your Satin Philodendron, then address the most likely care or pest factor described in current extension guidance.