How to Save Overwatered Tomato Plants
Learn how to save overwatered tomato plants: confirm wet-wilt, inspect roots, choose drying or repotting, and prevent the problem after rain.
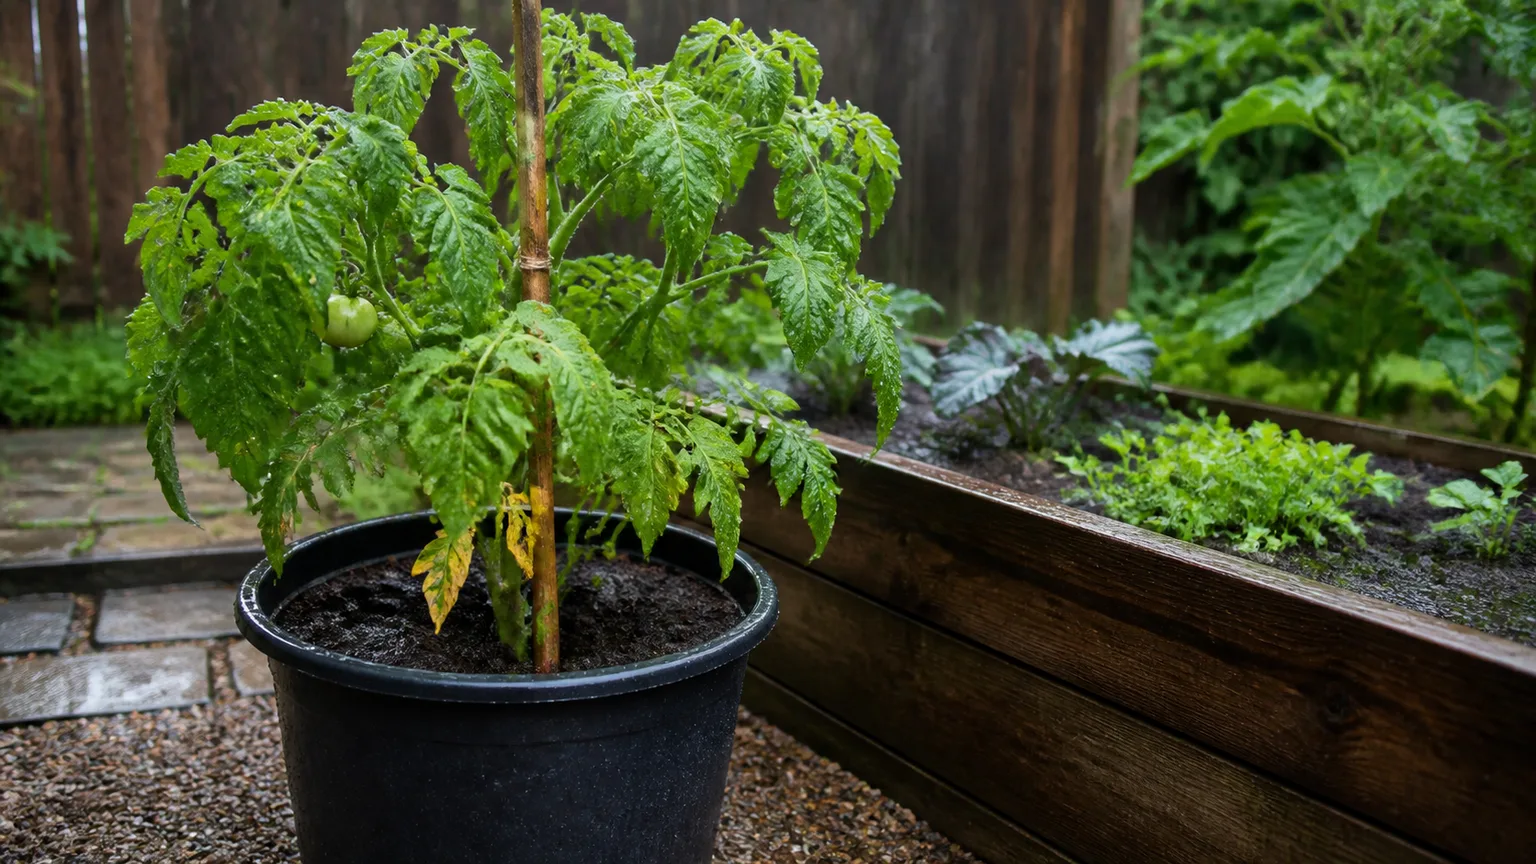
An overwatered tomato plant can look thirsty because damaged roots stop moving water to the leaves. Before you reach for the hose again, check the soil: if it is saturated, cool, or foul-smelling and the leaves are limp, treat the root zone—not the wilt.
The right rescue depends on where the tomato is growing. A small container plant that is sitting in stagnant water may need a root inspection and fresh mix. A mature, fruiting plant in the ground often has a better chance if you improve drainage and let the existing roots recover instead of tearing them out after one heavy storm.
The First Decision: Let the Soil Drain or Dig the Plant?
Use three observations to choose the first move: how wet the root zone is, how damaged the plant looks, and whether you can move it without destroying more roots. If the soil is merely damp and the plant is upright, stop watering and monitor it. If a pot is saturated from top to bottom, drains poorly, smells sour, or has a plant that is collapsing, escalate to an inspection.
For an in-ground tomato, do not automatically dig after a single downpour. Digging breaks feeder roots and adds transplant shock while the plant is already short of functioning roots. A heavy clay bed, low spot, or area with standing water is a different problem: there, water must be redirected or the plant may continue drowning after the surface looks dry.
Do Not Water Again Yet
Move the hose away and remove any saucer, cachepot, or tray holding runoff. For a potted tomato, set the container where its drainage holes are fully open and let it drain freely; do not prop it in a second tray of water. For a garden tomato, pause irrigation until you can feel or probe the soil several inches down and confirm that the root zone is no longer saturated.
Do not “balance” overwatering with a large dose of fertilizer. Damaged roots cannot use nutrients normally, and concentrated fertilizer in a wet, stressed root zone can add salt stress. Your first goal is oxygen and drainage, not faster top growth.
When a Potted Plant Needs Immediate Inspection
Inspect a container tomato soon when water runs slowly or not at all from the drainage holes, the mix stays wet for days, or the plant has a soft stem base, a sour smell, or rapidly worsening wilt. A pot that is too large for the root ball can also remain wet long after the surface appears dry, so check below the top layer rather than judging by color alone.
You can usually leave a lightly overwatered plant in place if the container drains, the stem is firm, and the roots are not showing obvious decay. Unpotting is not a harmless “reset.” It can strip away fine roots, break a supported stem, and turn a manageable watering error into a transplant crisis.
Confirm Overwatering Before You Treat
Wilt is a symptom, not a diagnosis. A tomato can wilt from dry soil, high heat, root disease, stem damage, fertilizer injury, or a vascular disease even when you have been watering regularly. Start with the root-zone evidence, then use the plant’s leaves and stem to refine the diagnosis.
Check moisture in more than one place. Push a finger or slender probe into the soil near—but not against—the stem, then check the outer edge of the root zone. A wet surface with a dry root ball can indicate hydrophobic or uneven soil; a wet surface and wet lower layer indicate saturation. In a container, also lift the pot before and after watering so you learn what “dry enough” feels like.
Wet Wilt Versus Dry Wilt
The most useful contrast is not simply “drooping versus upright.” It is drooping plus the condition of the soil and foliage. Underwatering usually produces dry, brittle, or crispy foliage and a noticeably light, dry pot. Overwatering more often pairs wilt with heavy wet soil, soft tissue, yellowing lower leaves, or leaves that curl downward.
| Clue | More consistent with underwatering | More consistent with overwatering |
|---|---|---|
| Soil or mix | Dry below the surface; pot feels light | Wet several inches down; water drains slowly or pools |
| Leaves | Dry, papery, crispy edges; may recover after watering | Soft or heavy-looking leaves, yellowing, downward curl, or edema |
| Roots | Pale and firm but dry | Brown or black, soft, water-soaked, or sloughing |
| First action | Water deeply at the soil line | Stop irrigation, restore drainage, and inspect if saturation persists |
This is a working diagnosis, not a promise. Epic Gardening’s practical tomato guidance notes that overwatering and underwatering can both cause drooping, while wet conditions can also contribute to yellowing, downward curl, edema, root rot, blossom-end rot, and cracked fruit. Treat those as prompts to check soil, roots, recent rain, and plant history—not as proof that water is the only cause. Its tomato overwatering guide is useful for this symptom-based cross-check.
Tomato Symptoms That Point to Another Cause
Leaves that wilt while the soil is only moderately moist deserve a wider investigation. A one-sided collapse, a persistent wilt that does not improve after the root zone drains, a dark lesion at the soil line, or brown discoloration inside the lower stem can indicate a disease or stem problem rather than a simple watering mistake.
Fruit symptoms need the same caution. Blossom-end rot is associated with disrupted calcium movement and is often worsened by large swings between very wet and very dry soil; the affected fruit will not be repaired by later watering. Cracks can follow heavy rain or sudden changes in water uptake, but they do not prove the roots are rotting. Remove fruit that is damaged beyond use, then correct the moisture swing while you continue diagnosing the plant.
What Too Much Water Does to Tomato Roots
Healthy soil holds both water and air. When all the pore spaces remain filled with water, roots have less oxygen available for respiration and the fine feeder roots that absorb water and nutrients can begin to fail. The result is counterintuitive: a plant surrounded by water may still wilt because its damaged roots cannot transport enough of it.
Waterlogging also changes the disease risk around the root zone. UC IPM explains that Phytophthora root rot is favored by wet conditions; tomato roots can develop water-soaked injuries that turn chocolate brown as the disease progresses. The same guidance emphasizes avoiding prolonged saturation and standing water, using good drainage, and considering raised beds where garden soil drains poorly. See the UC IPM tomato root-rot note for the diagnostic limits and prevention context.
That does not mean every wet tomato has Phytophthora. A plant can be temporarily saturated without being infected, and a plant can have a disease even when the current soil is not especially wet. The practical distinction is whether the plant improves as oxygen returns and whether roots remain firm, pale, and connected to healthy tissue.
How to Save a Potted Tomato Plant
Container plants are easier to inspect because you can see the root ball and replace the growing medium. They are also easy to overcorrect: do not bare-root a healthy plant just because you watered once on a rainy day. Use the following sequence when the pot stays saturated or the plant is clearly deteriorating.
1. Drain and Isolate the Pot
Take the pot out of any decorative cover and place it on a surface where water can escape. Check that the drainage holes are not blocked by compacted mix, roots, or a flat surface. Do not add a layer of gravel to the bottom as a substitute for a drainage hole; it reduces the volume available to roots and does not repair a perched water problem.
If the container is outdoors, move it under bright cover only if the plant is being battered by more rain. Do not move a sun-grown tomato into a dark indoor room for several days; low light slows drying and adds another stress. A sheltered, bright location with airflow is the better short-term position.
2. Inspect and Trim Damaged Roots
Water the plant only if the root ball is falling apart from extreme dryness—which is not the usual overwatering scenario. Instead, slide the plant out while supporting the root ball and stem. Gently loosen wet mix from the outside of the root ball until you can see enough roots to judge their condition. Keep healthy roots attached; do not rinse aggressively or leave the entire plant bare-rooted for hours.
Healthy tomato roots should feel firm and hold their shape. Rotten roots are typically brown to black, soft, water-soaked, hollow, or easy to pull apart. Trim only tissue that is clearly dead with clean, sharp pruners. NC State Extension recommends cleaning tomato tools with 70% isopropyl alcohol, or using a properly prepared bleach solution followed by rinsing, so disinfect the blade before and after working on a suspect plant. Its home-garden tomato guidance also supports early intervention and sanitation.
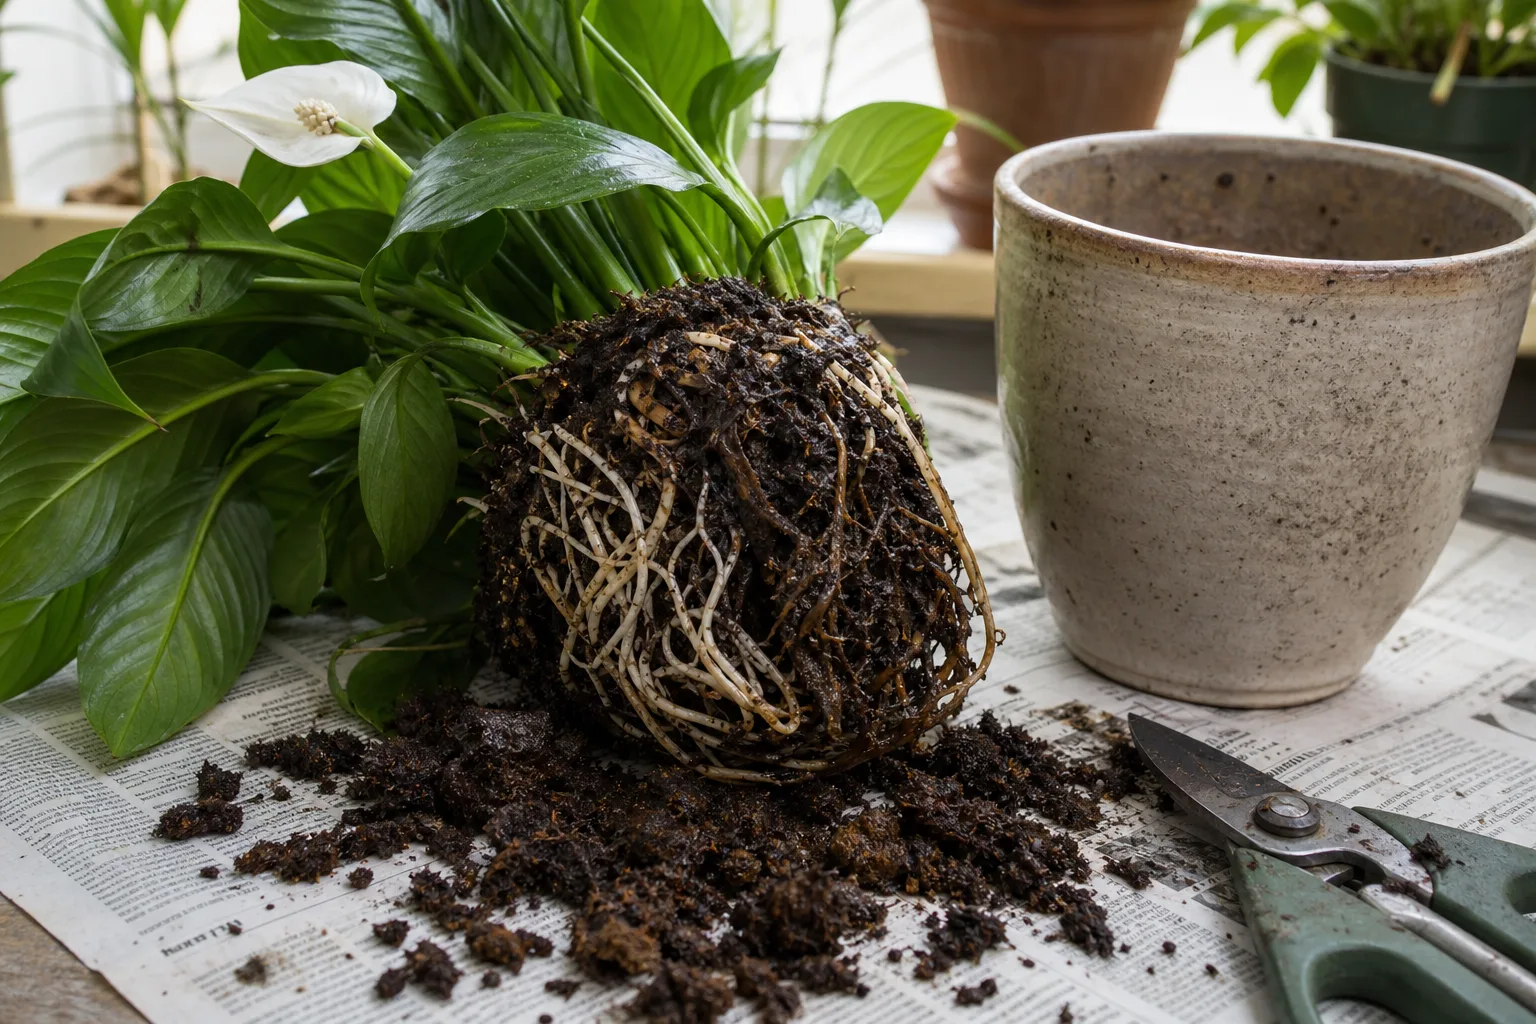
If nearly all roots are soft, if the stem base is mushy, or if the root ball smells strongly sour, rescue is uncertain. Do not keep adding treatments to a plant with no functioning root system. A healthy cutting from symptom-free upper growth can sometimes preserve a tomato variety, but do not propagate from a plant that may have a vascular or bacterial disease, and do not reuse contaminated potting mix.
3. Repot Into a Breathable Mix
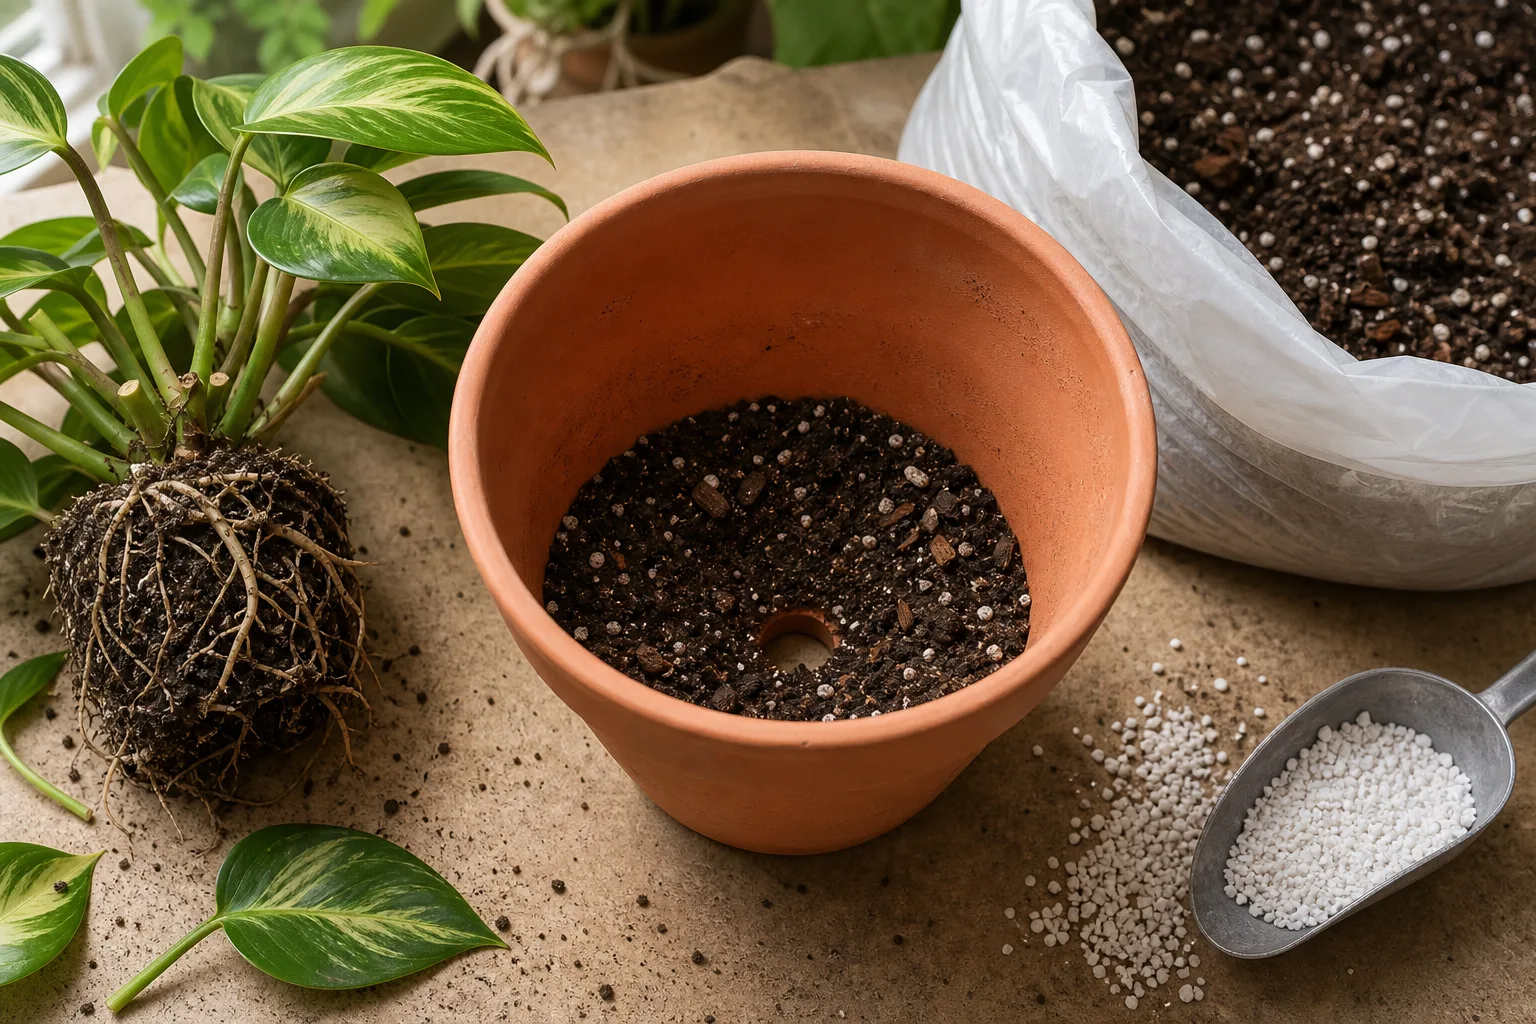
Choose a clean container with drainage holes and a size that fits the remaining root ball rather than the plant’s full mature canopy. Fill it with a quality potting mix intended for containers; straight garden soil is heavy and can compact in a pot. Penn State Extension notes that waterlogged media restricts root oxygen, recommends drainage holes, and describes soilless mixes that combine materials such as bark, perlite, vermiculite, or coir to balance drainage and water holding. Its container vegetable guidance explains the container-specific reasoning.
Set the tomato at the same soil level it occupied before. Do not bury the crown or stem base in an attempt to compensate for lost roots, and do not pack the mix tightly around the roots. A stake or cage can support a wilted plant, but place it carefully so it does not spear the remaining root ball.
After repotting, water only enough to settle the mix around the roots, then let the excess drain completely. Do not leave the plant standing in runoff. The new mix should be evenly damp, not mud-like, and the pot should become lighter as it dries.
4. Reduce Stress During Recovery
Keep the recovering tomato in bright light with protection from the harshest afternoon heat and strong wind for a few days. Do not strip every yellow leaf immediately; remove leaves that are dead, touching wet soil, or diseased-looking, but keep healthy green foliage while the plant rebuilds roots. Prune lightly because a sudden loss of leaves reduces the plant’s ability to make energy.
Do not fertilize at repotting. Wait until the plant has firm new growth and the mix is drying normally, then use a balanced tomato or vegetable fertilizer according to its label. A plant that is not growing cannot be pushed back to health with extra feed, and fertilizer salts are harder for damaged roots to manage.
Expect the old leaves to be a poor recovery gauge. A yellow leaf may remain yellow, and a drooped leaf may never regain its previous shape. Look instead for a firm stem, no continuing spread of soft tissue, normal drying between waterings, and new leaves that emerge without immediate wilt. Under favorable conditions, that improvement may take a week or more; severe root loss can take longer or end in plant failure.
How to Save an In-Ground Tomato Plant
The safest rescue for a garden tomato is usually to dry and aerate the existing root zone. This is especially true for a large indeterminate plant with fruit, a tomato that has been in the bed for weeks, or a plant whose roots extend well beyond the stem. Removing it can destroy the healthy roots that remain.
Improve Drainage Around the Root Zone
Stop irrigation and remove temporary barriers that trap water against the bed, such as a plastic sheet or a thick, saturated mulch layer. If water is pooling, make a shallow channel that guides runoff away from the plant without cutting through the main root zone. Do not dig a deep trench tight against the stem; that can sever feeder roots and create another place for water to collect.
Once the soil is workable, gently loosen only the surface crust between plants with a hand fork. Do not churn wet clay, which smears into dense walls. For a recurring drainage problem, improve the bed after the crop is finished by correcting grade, incorporating organic matter through the root zone over time, or building a raised bed. UC IPM’s root-and-crown-rot Pest Note emphasizes drainage, avoiding prolonged saturation, managing irrigation, and keeping contaminated soil or runoff from spreading.
Hold off on fresh mulch until the soil is no longer saturated. Later, apply a modest organic mulch layer to conserve moisture, leaving a clear gap around the stem. NC State Extension recommends mulch as a way to conserve soil moisture, but conservation only helps when irrigation is adjusted for the moisture the mulch retains.
Decide Whether to Replant
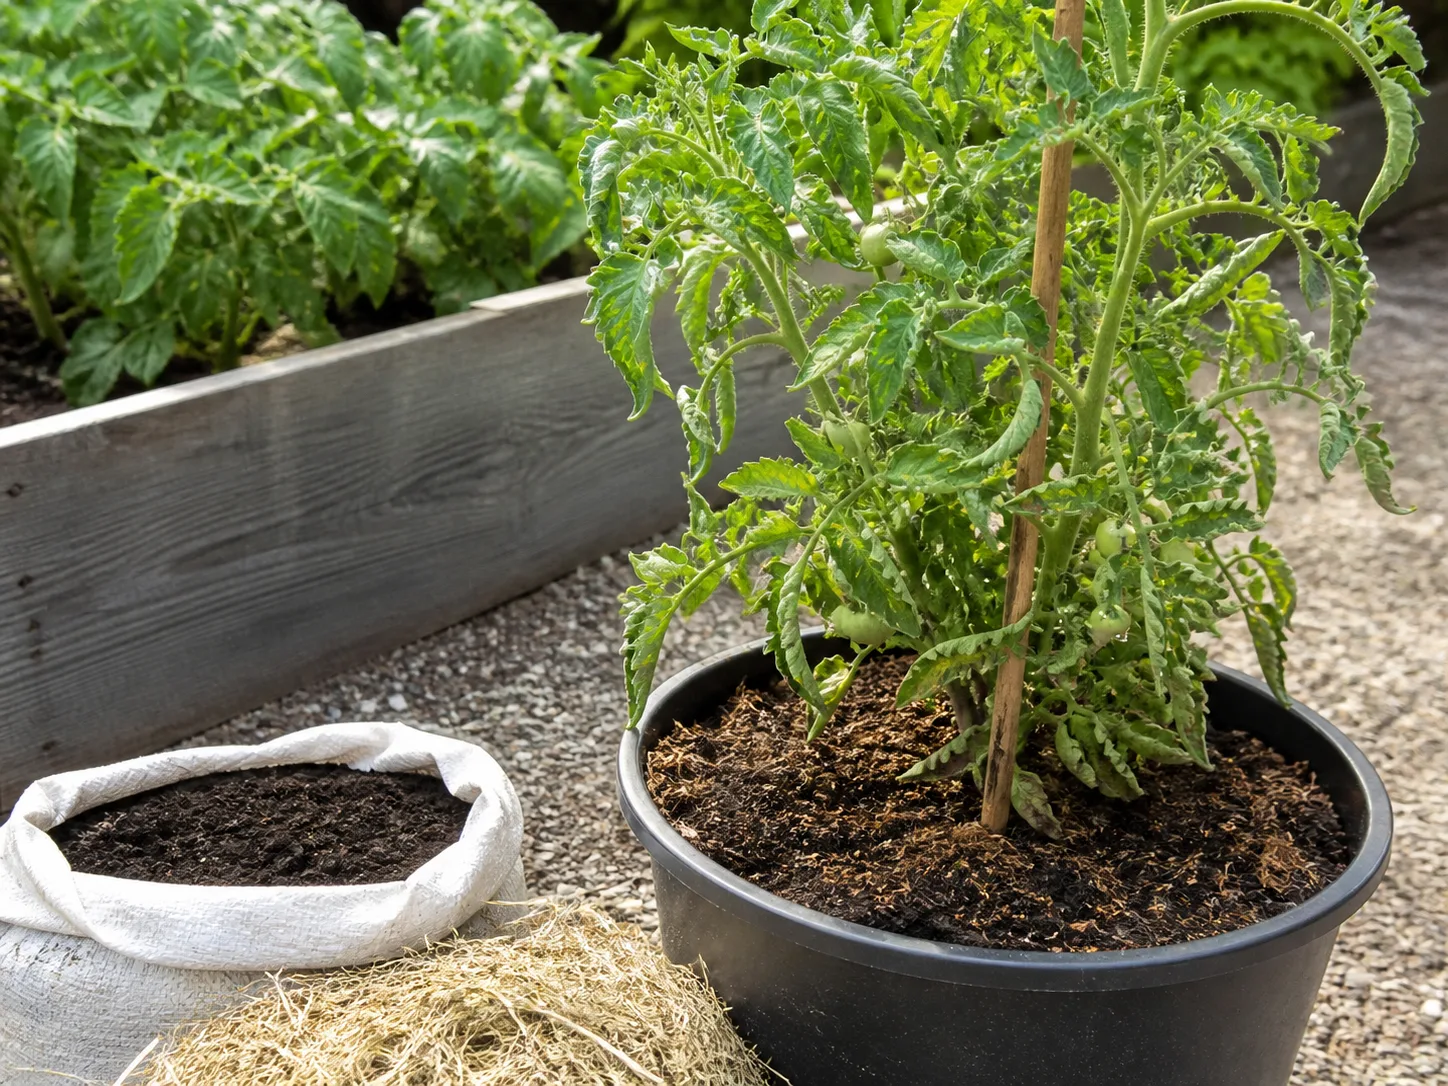
Consider removing a garden tomato only when it is small enough to move with most of its root ball, the planting site will remain saturated, or the stem and crown are already soft and collapsing. Replant into a genuinely well-drained location at the original depth, firm the soil lightly, support the stem, and give only enough water to settle it. A move is a last resort, not a routine response to wet leaves.
If a mature plant has a firm stem, some healthy foliage, and soil that can drain, leave it in place. Remove fruit that is weighing down a severely wilted plant if necessary, shade it briefly from extreme heat, and wait for the root zone to regain air. If it continues to decline after drainage improves, remove it and discard the plant rather than spreading wet soil, diseased tissue, or contaminated tools through the garden.
Do not automatically plant another tomato in the same saturated or diseased spot. UC IPM notes that Phytophthora resting spores can persist in moist soil and can spread through runoff, contaminated soil, tools, or plant material. When root rot is suspected, rotate the site and use a raised bed or a different container with fresh mix rather than assuming a fungicide will undo the damage.
Watering After Rescue
Once the plant has stabilized, return to deep, measured watering rather than alternating drought with a flood. Water at the soil line, not over the foliage, and apply enough to wet the active root zone. For in-ground tomatoes, NC State Extension describes soaking soil to roughly 6 to 8 inches at about 7-day intervals, while also noting that fruiting plants may need around 1.5 inches per week; use those as starting benchmarks, then adjust for rain, soil, temperature, plant size, and container versus bed conditions.
For a container, water when the mix has dried somewhat below the surface but before the plant reaches repeated severe wilt. Apply water slowly until a little drains from the bottom, then empty the saucer. A large pot in cool, cloudy weather may need water much less often than a small pot in hot sun. “Daily” is a weather description, not a rule every tomato follows.
Build a Weather-Based Routine
Check the soil and the forecast before every planned irrigation. A rain gauge is more useful than guessing from a brief shower: light rain may wet only the mulch, while a long storm can saturate the entire bed. Pause automatic timers after meaningful rainfall and restart them only after the root zone has begun to dry.
Water early enough in the day for the foliage and soil surface to dry. Drip or a low stream at the soil line is more precise than a sprinkler that wets leaves, splashes soil onto foliage, and keeps the canopy humid. Tie the schedule to the root zone, not to a phone reminder that ignores a cool week, a heat wave, or a storm.
Track three simple signals for a week: the soil depth that remains moist, the time it takes the pot or bed to dry, and whether new leaves stay firm through the warmest part of the day. That record will tell you more about the right interval for your site than a universal gallons-per-day claim.
Prevent the Next Overwatering Problem
Prevention starts before planting. Choose a sunny site that does not collect runoff, and mix or build the bed so excess water can move below the rooting zone. In containers, use a pot with open drainage holes and a mix made for containers; Penn State Extension recommends a pot at least 20 inches wide for a single tomato and cautions against straight garden soil in containers.
Match the plant to the space. Determinate or dwarf tomatoes are easier to keep evenly watered in a container than a large indeterminate vine, which can become top-heavy and dry unevenly. Support the plant early, keep the container stable, and check whether the root ball is filling the pot before increasing watering frequency.
Use mulch as a moisture buffer, not a reason to water on autopilot. Apply it after the soil has drained, keep it away from the stem, and reduce irrigation as it begins to conserve moisture. Inspect the underside of saucers, the drainage holes, the slope of the bed, and the spots where a hose or downspout delivers extra water.
Finally, inspect plants at least twice a week in wet weather. Early action may be as simple as turning off a timer, clearing a blocked hole, or moving a pot out of a rain channel. If the soil remains saturated despite reasonable irrigation, fix the drainage system or change the planting site; repeating the same watering schedule will keep repeating the root problem.
Conclusion
To save an overwatered tomato plant, stop adding water and let the root zone tell you what to do next. A lightly stressed garden plant may recover in place as soil drains, while a saturated container with soft roots may need a clean pot and fresh mix. Confirm the diagnosis before digging, protect the roots you still have, delay fertilizer until new growth returns, and judge recovery by healthy new leaves rather than by forcing damaged foliage to look normal again.