Fertilizer Burn on Plants: Symptoms and Fixes
Fertilizer burn can wilt houseplants in damp soil. Learn the signs, when flushing is safe, when to repot, and how to protect damaged roots as they recover.
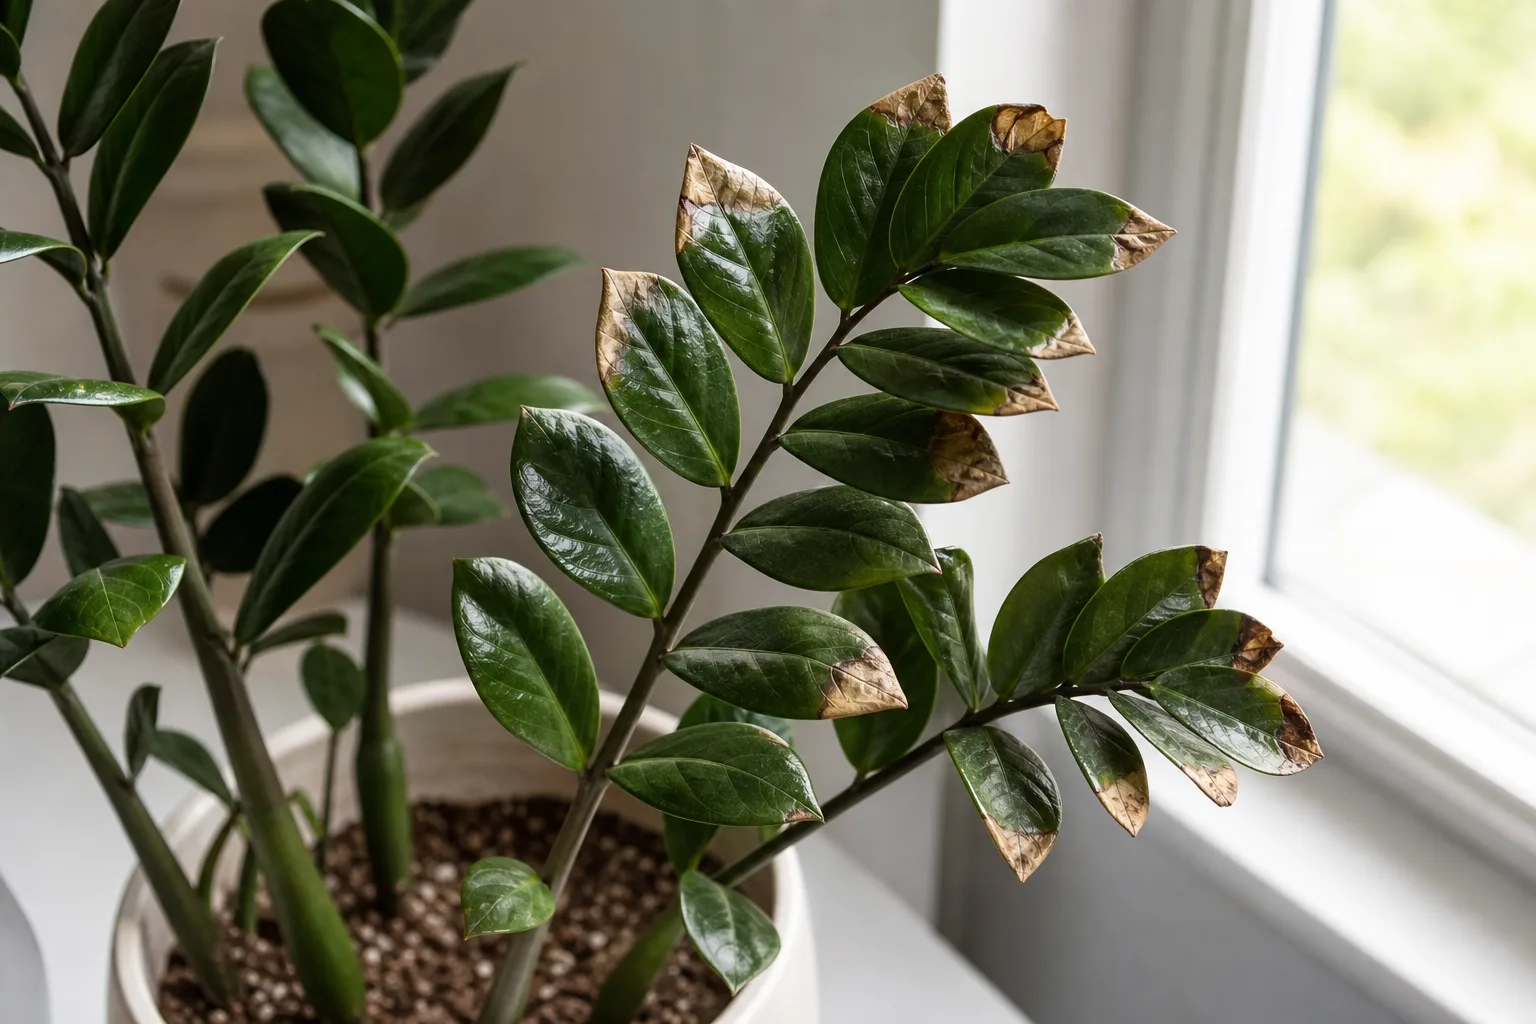
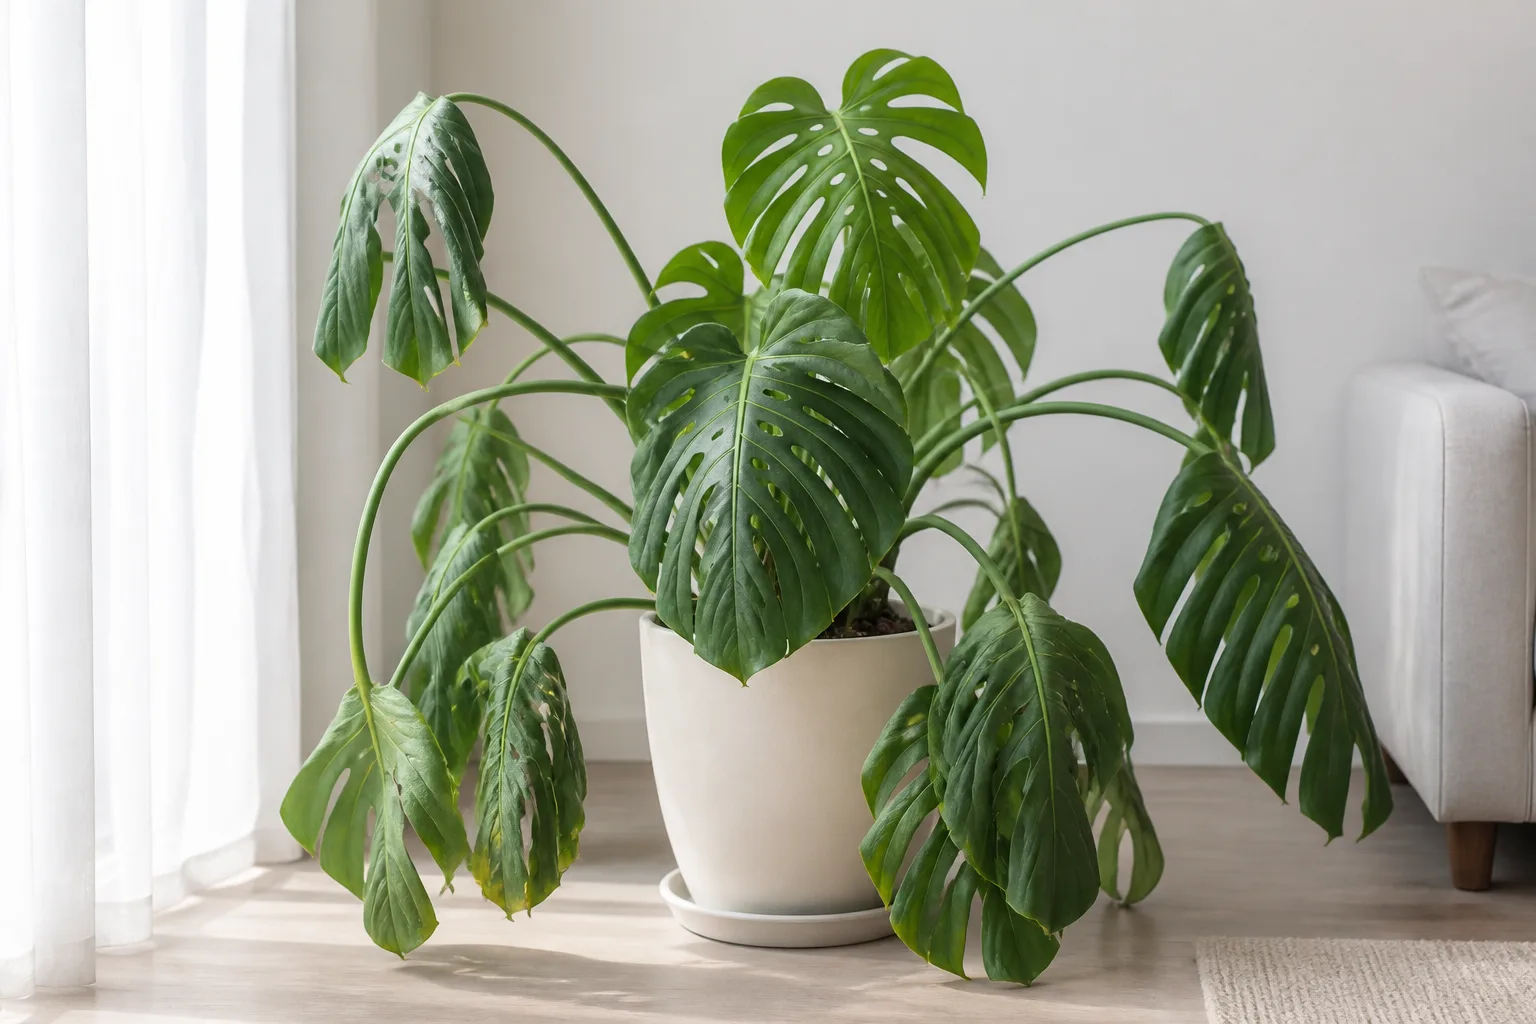
Brown leaf tips after feeding can make it seem as if a plant needs more water, yet fertilizer injury can leave a houseplant wilted while its potting mix is still damp. The first clue is often a recent fertilizer dose, especially if it was stronger or more frequent than the label directs. A pale crust on the soil or pot rim supports the suspicion, but neither crust nor browning proves the cause by itself.
Start by stopping fertilizer and removing any granules you can see. Then check whether the pot drains freely and whether the product was a quick-release liquid or a slow-release pellet. Those details determine whether a careful flush can help or whether the plant needs fresh potting mix. The advice below focuses on potted houseplants; injury in a lawn or garden bed has different drainage, runoff, and diagnosis considerations.
What fertilizer burn actually is
Fertilizer burn is injury caused by an excessive concentration of fertilizer salts or nutrient ions around roots, or by fertilizer contacting leaves directly. It is not heat damage. When the root-zone solution becomes too concentrated, roots have more difficulty taking up water; high concentrations can also injure root tissue. A plant may therefore lose water from its leaves and wilt even though the mix feels wet. The University of Connecticut’s Home & Garden Education Center describes excess nutrients as capable of desiccating roots and interfering with water uptake (UConn houseplant fertilization guidance).
The word “burn” covers more than one route of injury. Most houseplant cases involve too much soluble fertilizer in a small pot, often after a concentrated dose, repeat feeding, or a dry period that allows salts to concentrate. A second route is contact: dry granules on wet foliage can scorch the spots they touch. Fertilizer can be synthetic or organic; the label, amount, release rate, plant, and growing conditions matter more than a simple organic-versus-chemical label.
How fertilizer burn looks
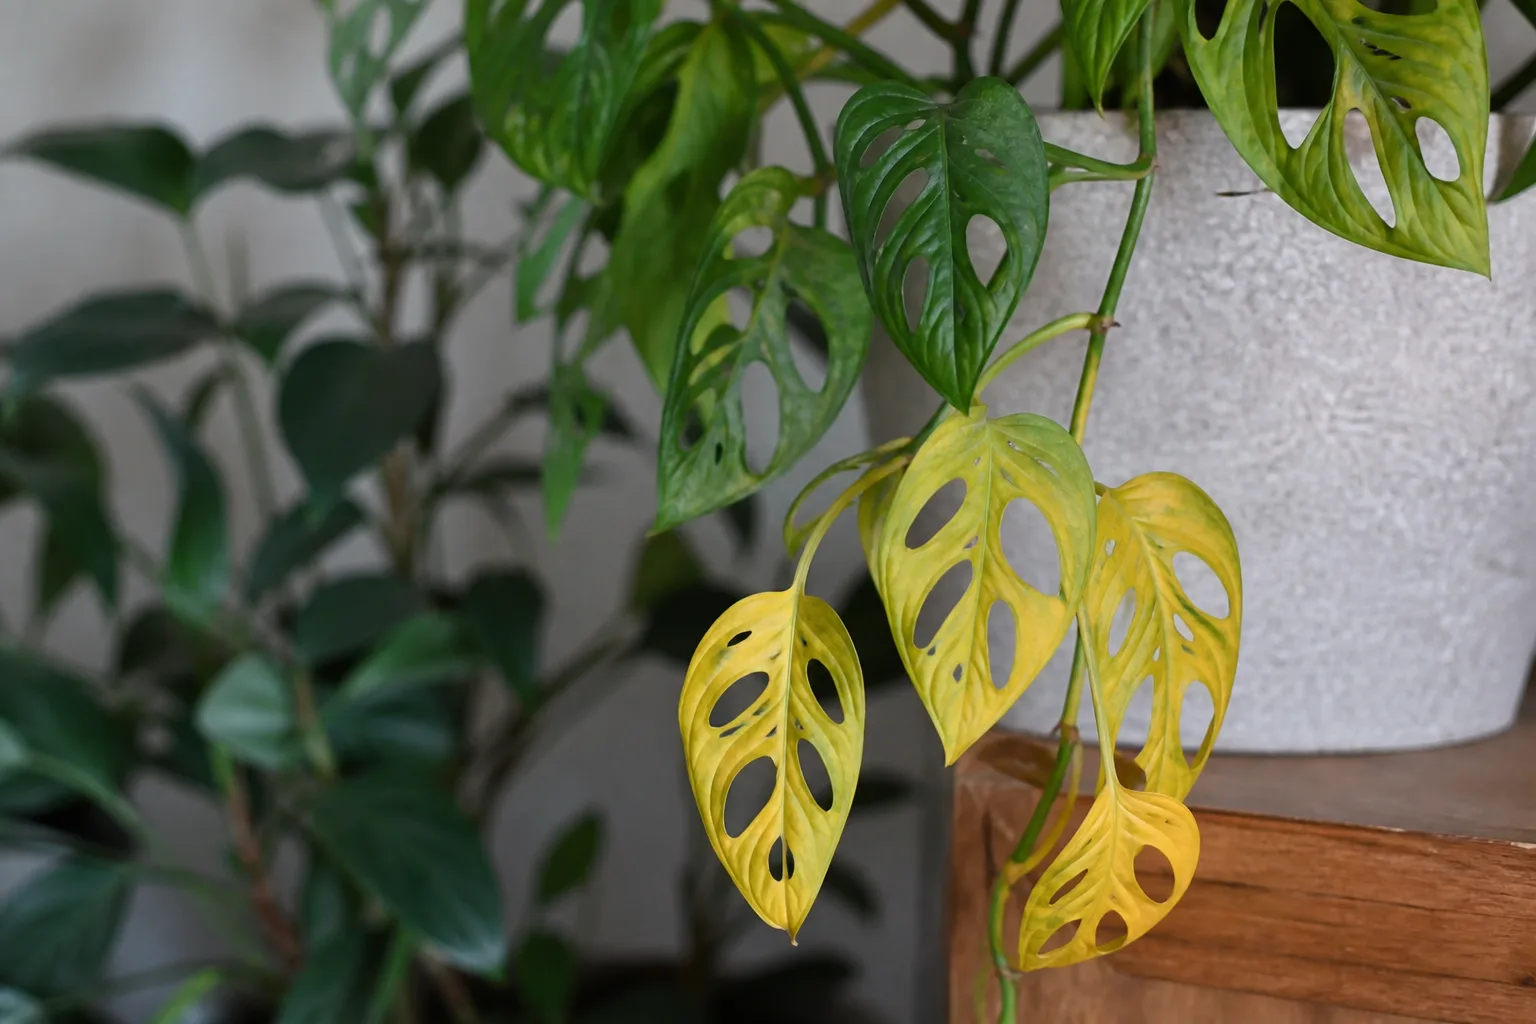
The pattern that raises suspicion is a recent feeding followed by dry brown tips or margins, yellowing, wilt, or stalled growth. Damage may affect several leaves rather evenly, rather than appearing as a single expanding spot. A white or gray residue on the growing mix, the inside rim, or the outside of an unglazed clay pot can point to accumulated minerals or fertilizer salts. A plant that wilts despite moist mix deserves a closer root-zone check because damaged roots may not take up water normally.
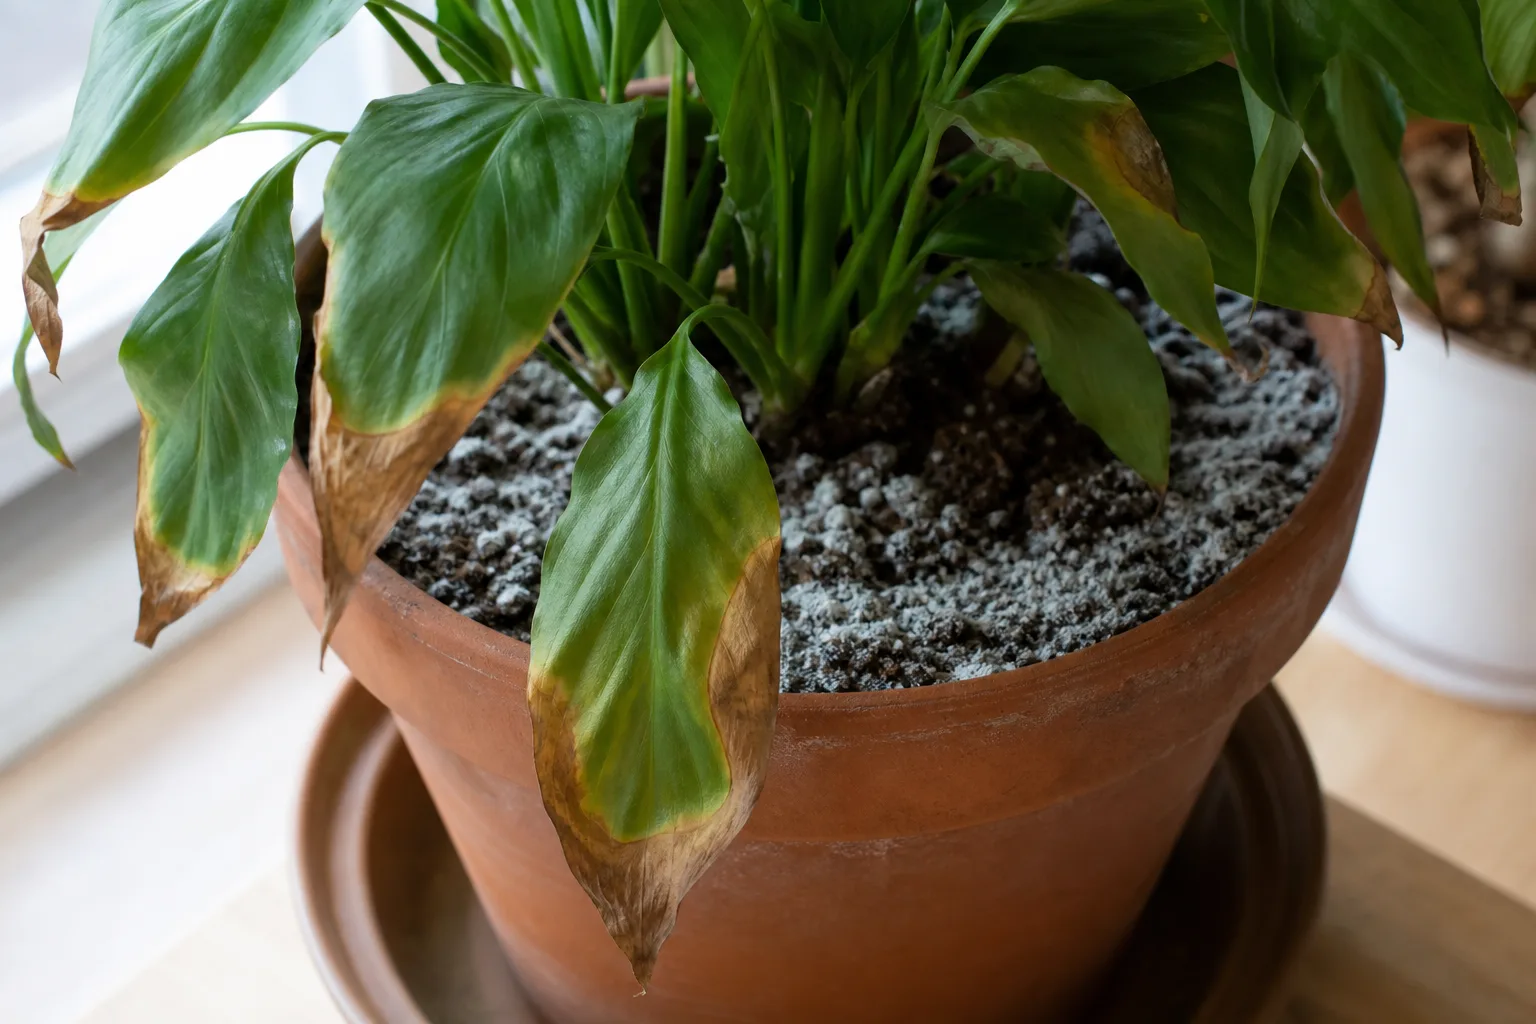
Look at the whole plant and the timing, not just one leaf. WSU Hortsense notes that overfertilized broadleaf plants can show wilting, slow growth, brown leaf tips and margins, and crust on container mix or pot rims (Washington State University Hortsense). Excess nitrogen can also produce unusually lush, soft growth; that is a sign of overfeeding, but it is not the same as salt-burned margins. Flowers dropping or lower leaves yellowing are nonspecific clues and need context.
| Clue | What it suggests | What to check next |
|---|---|---|
| Brown tips or margins soon after a heavy feeding | Possible salt injury | Product, dose, and whether several leaves show similar damage |
| Pale crust on mix or pot | Mineral salts may have accumulated | Recent fertilizer and irrigation water; crust alone does not identify the source |
| Wilt with damp mix | Root uptake may be impaired | Drainage, root texture and smell, and any recent fertilizer dose |
| One or two sharply localized scorched spots | Contact injury or another exposure | Granules on wet leaves, sun through glass, or a chemical splash |
| Dry, light pot with limp leaves | More consistent with underwatering | Watering history and how evenly the root ball rewets |
Severity changes the next step
A few new brown tips with otherwise firm stems and no sudden collapse call for a prompt but measured response: stop feeding, remove visible product, and determine whether the pot can drain. Widespread wilt, many yellowing leaves, or a soft, declining crown means the roots need closer inspection; it does not automatically mean the plant is beyond saving. A plant that has lost most of its leaves or has extensive root loss is more vulnerable to the extra stress of repotting, so disturb it only when the current mix or container is continuing to cause harm.
If you know you poured a concentrated fertilizer solution into a draining pot, act before waiting for every symptom to appear. If the dose was ordinary and only one leaf has a brown edge, pause and check other causes before flushing the entire pot. Treating a hunch as a diagnosis can replace a small problem with a waterlogged root ball.
Fertilizer burn or something else?
Brown tips and wilt can come from underwatering, chronic overwatering, low humidity, hot or cold drafts, water minerals, pests, or root disease. A dry, light pot and dry mix support underwatering; a heavy pot that stays wet, sour-smelling mix, or mushy roots point toward poor drainage or root rot. Fertilizer injury moves up the list when symptoms followed feeding, residue is present, or the plant wilts while the mix is damp. Those clues can overlap: overfertilizing may injure roots, and a stressed root system can then rot in persistently wet soil.
The University of California’s Statewide IPM Program cautions that salt-injury symptoms can resemble water deficit and other problems (UC IPM salt-toxicity guidance). A soil or irrigation-water test may be needed to confirm salinity when symptoms persist, multiple plants are affected, or the water source itself is suspect. For a single houseplant, start with the simplest evidence: feeding history, drainage, root condition, and whether the symptoms are spreading to new leaves.
If leaves are spotted rather than evenly scorched, inspect their undersides and stems for pests, and consider whether the plant recently moved into direct sun. If the potting mix remains wet for days, do not solve wilt by adding more water. For broader brown-tip causes, compare the symptoms with our brown tips on houseplants guide; for soft, decaying roots, use the houseplant root rot guide.
What a white crust can and cannot tell you
A crust is evidence of residue, not a test result. It can come from fertilizer, hard irrigation water, softened water containing sodium, or a mix of sources. Some fertilizer residues dissolve readily; mineral deposits from water may remain even when feeding has been modest. WSU Hortsense identifies crust on the potting medium or container rim as a warning sign in container plants, while UC IPM notes that irrigation water can also carry salts capable of injuring roots or foliage (WSU Hortsense; UC IPM).
If the white material is only on the outside of a clay pot, it may be mineral residue moving through the porous wall rather than proof that the root zone is toxic. If it is on the soil and symptoms started after repeated feeding, excess fertilizer becomes more plausible. Do not add vinegar, Epsom salts, or another amendment to “neutralize” it. Those treatments do not remove the concentrated material, and they can introduce a new pH or salt problem.
Why pots make salt buildup a problem
A garden bed has far more soil volume than a houseplant container. In a pot, roots share a small amount of mix with every fertilizer dose and every mineral left by irrigation. Water that drains out can carry soluble salts away; a pot without drainage, a blocked hole, a cachepot left full of runoff, or compacted mix limits that escape route. If water evaporates while salts remain, the concentration in the root zone can rise.
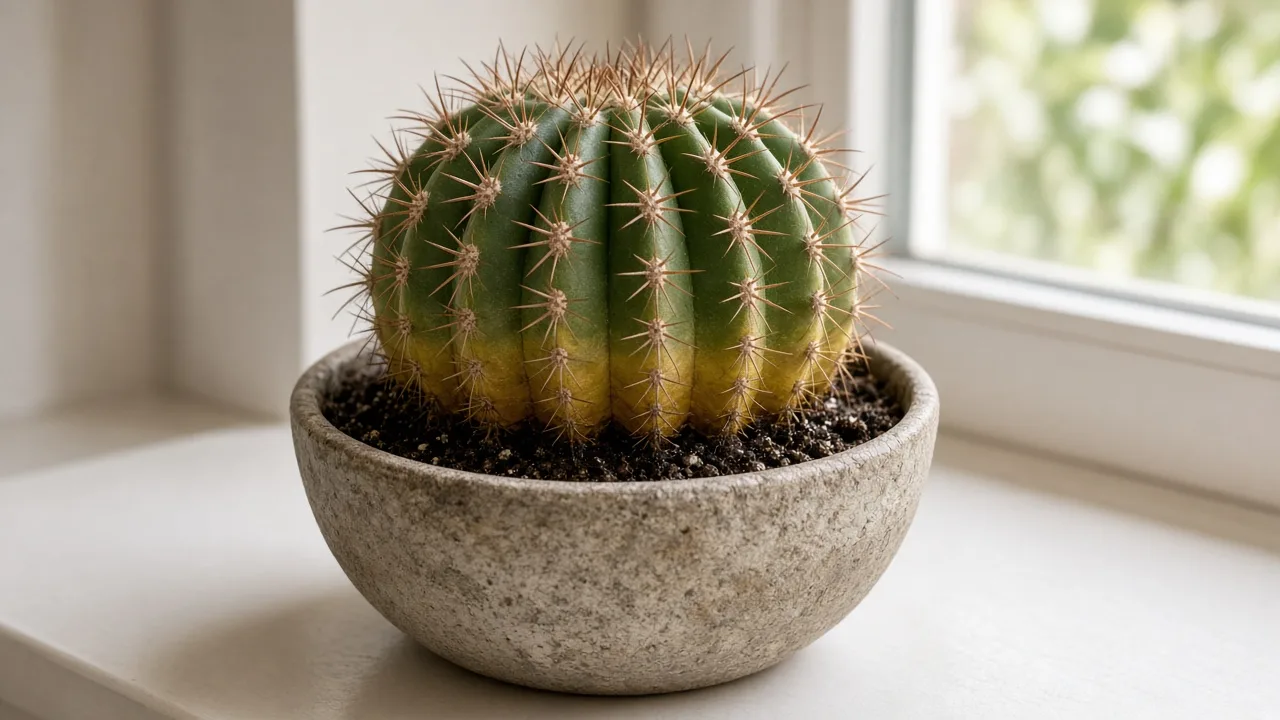
Plant type and growth conditions also change how much fertilizer is appropriate. A rapidly growing foliage plant in bright light may use nutrients faster than a slow-growing succulent in dim winter conditions. Orchids and other specialized plants have different media and feeding routines from a typical foliage plant. A nursery mix may already contain controlled-release fertilizer, so adding liquid feed immediately can accidentally stack doses. UConn’s houseplant guidance likewise emphasizes following the label and applying fertilizer to moist mix rather than dry roots.
First response: stop the feed and check the pot
Do these checks before reaching for a watering can:
- Stop feeding. Pause liquid fertilizer, spikes, and any routine top-dressing until the plant is recovering and you know what is already in the mix.
- Identify the product and dose. Save or photograph the label. Note when and how much you applied, whether you mixed it correctly, and whether the potting mix was already fertilized.
- Remove loose product. Pick out visible pellets or granules and gently scrape away a crusted surface layer if you can do so without cutting through roots. Do not dig deeply around a stressed root ball.
- Check drainage. Confirm water can leave through open holes and that the plant is not sitting in runoff inside a decorative cachepot.
- Check moisture and roots if the plant is declining. A damp pot that keeps wilting, foul odor, or mushy roots changes the treatment decision; repeated flushing is not a substitute for fixing poor drainage.
Epic Gardening’s practical recovery guide also recommends removing visible granules before leaching (Epic Gardening). That first removal matters because a flush is meant to carry dissolved salts out; it cannot make still-present pellets stop releasing fertilizer. Keep the plant in its usual suitable light while you assess it rather than adding several new stresses at once.
How to flush soluble salts from a houseplant pot
Flushing, also called leaching, is appropriate when excess soluble fertilizer is likely, the pot has open drainage, and the mix allows water to pass through. Take the plant to a sink, shower, or outdoor spot where runoff can drain away. Use clean, room-temperature water and pour it slowly over the mix so it wets the root ball rather than running down a gap at the pot edge. Let the water exit the drainage holes freely, empty the saucer, and allow the pot to finish draining before returning it to a cachepot.
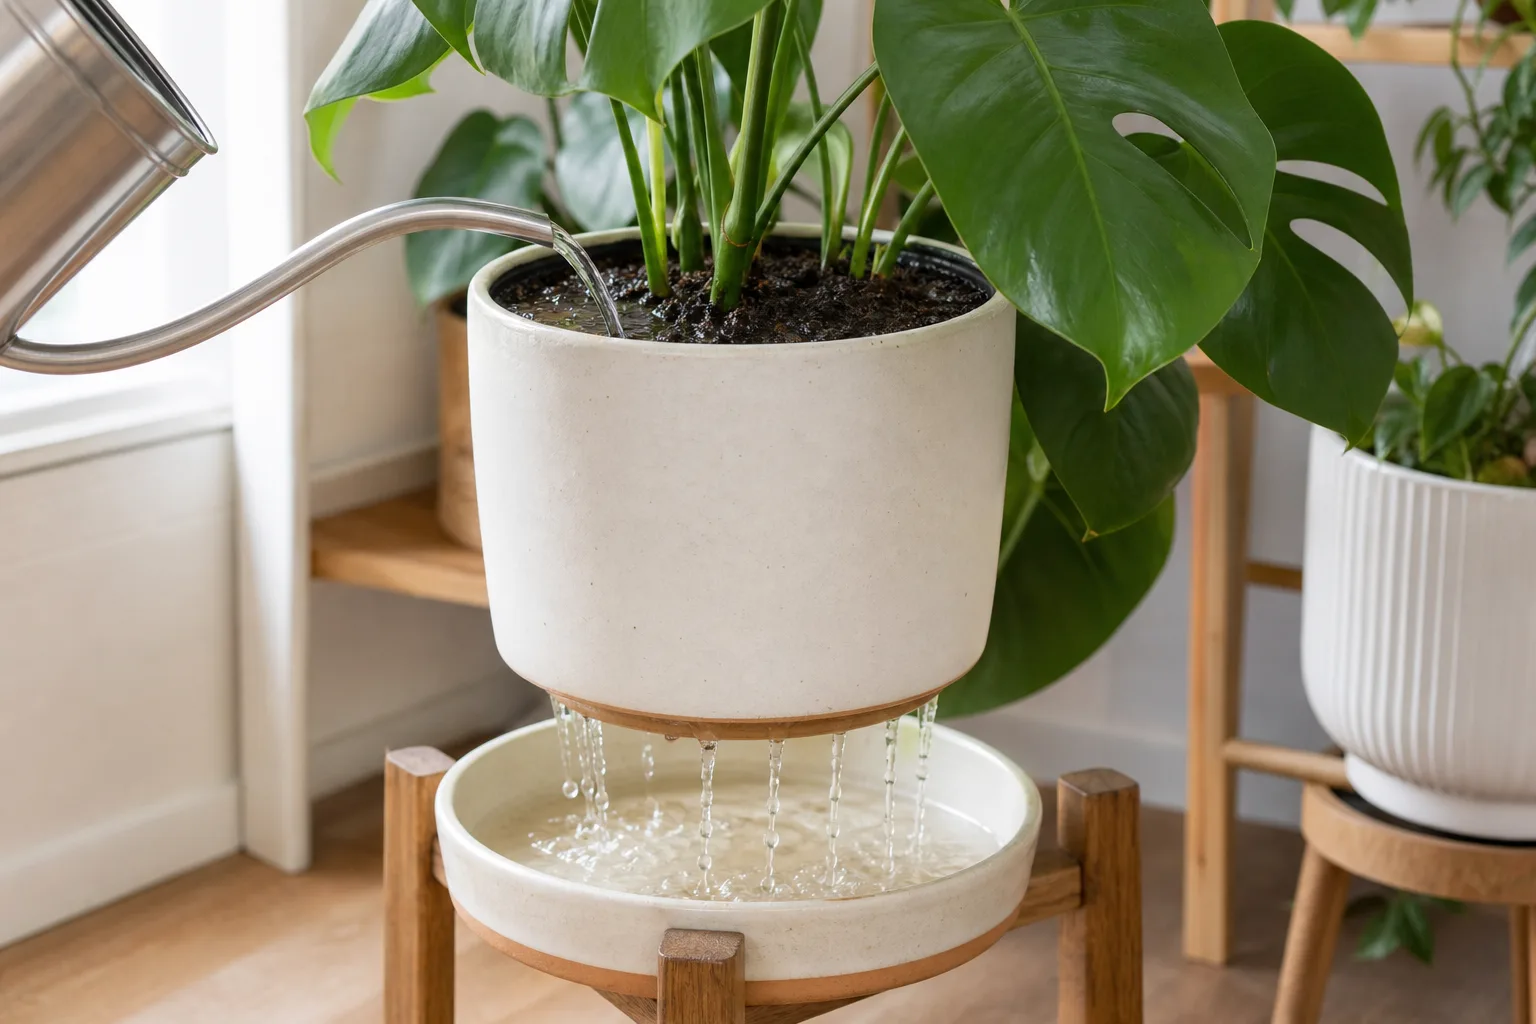
UConn recommends leaching houseplants with copious water when excess fertilizer is suspected, provided water can drain freely (UConn Home & Garden Education Center). Epic Gardening describes a thorough room-temperature flush for container plants after loose fertilizer has been removed (Epic Gardening’s overfertilization guide). These are not instructions to keep a plant standing in water or repeat heavy rinses every day. One careful flush is a reasonable first treatment for soluble salts; if symptoms continue, inspect the product type, roots, and drainage instead of flooding the pot again.
Use water with low mineral content if you already know your tap water is very hard or softened, or if mineral crust repeatedly returns. Otherwise, do not assume that switching every plant to distilled water is necessary. If a valuable plant continues to decline or many plants develop residue, ask your water supplier about water quality or seek a soil and water analysis rather than guessing from the appearance of the crust.
If the container has no drainage
Do not flush a plant in a sealed decorative pot. Water would collect around the roots and leave the salts in the container. If the plant is in a nursery pot placed inside a cachepot, lift the inner pot out, flush it over a sink, and let it drain fully before putting it back. Empty any water left in the outer pot.
If the plant was planted directly into a container with no drainage hole, repotting is usually the safer way to remove excess fertilizer. Choose a clean pot with drainage and fresh mix appropriate to the species. The same caution applies when the mix is waterlogged, compacted, or so root-filled that water runs down the sides without wetting the root ball. A flush only works when water travels through the affected mix and then leaves the pot.
When repotting is the safer choice
Repot when flushing cannot carry salts away or when fertilizer will keep entering the mix. That includes a container with no drainage, a potting mix containing a large amount of slow-release granules or fertilizer spikes, a heavy accidental dose mixed through the root ball, or a plant already sitting in saturated, sour-smelling media with signs of root decay. A light crust that can be removed from the surface does not, by itself, require a disruptive full repot.
Ease the plant out and remove loose contaminated mix without aggressively washing or untangling healthy roots. If the fertilizer was mixed throughout the media, replacing that media may be more useful than trying to rinse every particle away. Use fresh, well-aerated potting mix suited to the plant and a pot that is only as large as the remaining root system needs. Do not add new fertilizer during the rescue. Check the fresh mix label first; some blends include a starter charge or controlled-release feed.
Repotting itself can injure fine roots, so do not treat it as an automatic extra step after every flush. The University of Connecticut lists fresh medium as an alternative when leaching is not the right solution (UConn Home & Garden Education Center), while Epic Gardening notes that moving a stressed plant is helpful only when the old root zone is part of the problem (Epic Gardening). If the roots are sound and the pot drains well, let the plant recover in place.
| Situation | Better first choice |
|---|---|
| Soluble liquid feed, drainage holes open, mix drains freely | Flush once and drain completely |
| Loose granules still on the surface | Remove granules, then decide whether a flush is needed |
| Slow-release pellets or spike remains in the mix | Remove accessible product; repot if substantial product remains or symptoms are severe |
| No drainage hole or blocked drainage | Move to a draining pot with fresh mix |
| Mix stays wet and roots are soft or sour-smelling | Correct the root and drainage problem; repot may be needed |
Check roots and trim only damaged tissue
If you lift the plant, judge roots by texture and condition rather than color alone. Healthy roots are generally firm; roots that are mushy, collapsing, or shedding their outer layer suggest rot. Fertilizer-damaged roots may be dry, browned, or shortened, but a dark root is not automatically dead on every species. Snip only clearly dead or mushy sections with clean scissors, and avoid cutting firm roots just because they are not bright white.
Leaf tissue that has turned brown and crisp will not become green again. You can leave a partly green leaf in place because it still contributes to the plant, or trim only the dead edge for appearance with clean scissors. Remove an entire leaf when it is mostly dead, detached, or decaying. Heavy pruning takes away useful foliage at the same time the plant needs energy to replace damaged roots, so avoid stripping the canopy to make it look tidy.
Aftercare: water, light, and time
After a flush or repot, return the plant to the light and temperature it normally prefers. Do not put a shade-adapted plant in stronger sun to “help it recover,” and do not move it into deep shade unless the current light is excessive. Keep it away from hot vents, cold drafts, and abrupt temperature swings while roots reestablish. Stable conditions make it easier to tell whether the original problem is improving.
Water according to the plant and the mix, not a fixed rescue schedule. After leaching, let excess water drain away; then wait until the plant’s usual watering cue is reached. A moisture-loving fern and a succulent should not be watered on the same timetable. A limp plant in damp mix needs an oxygenated, draining root zone, not another dose of water just because its leaves look thirsty. Do not fertilize during this recovery interval.
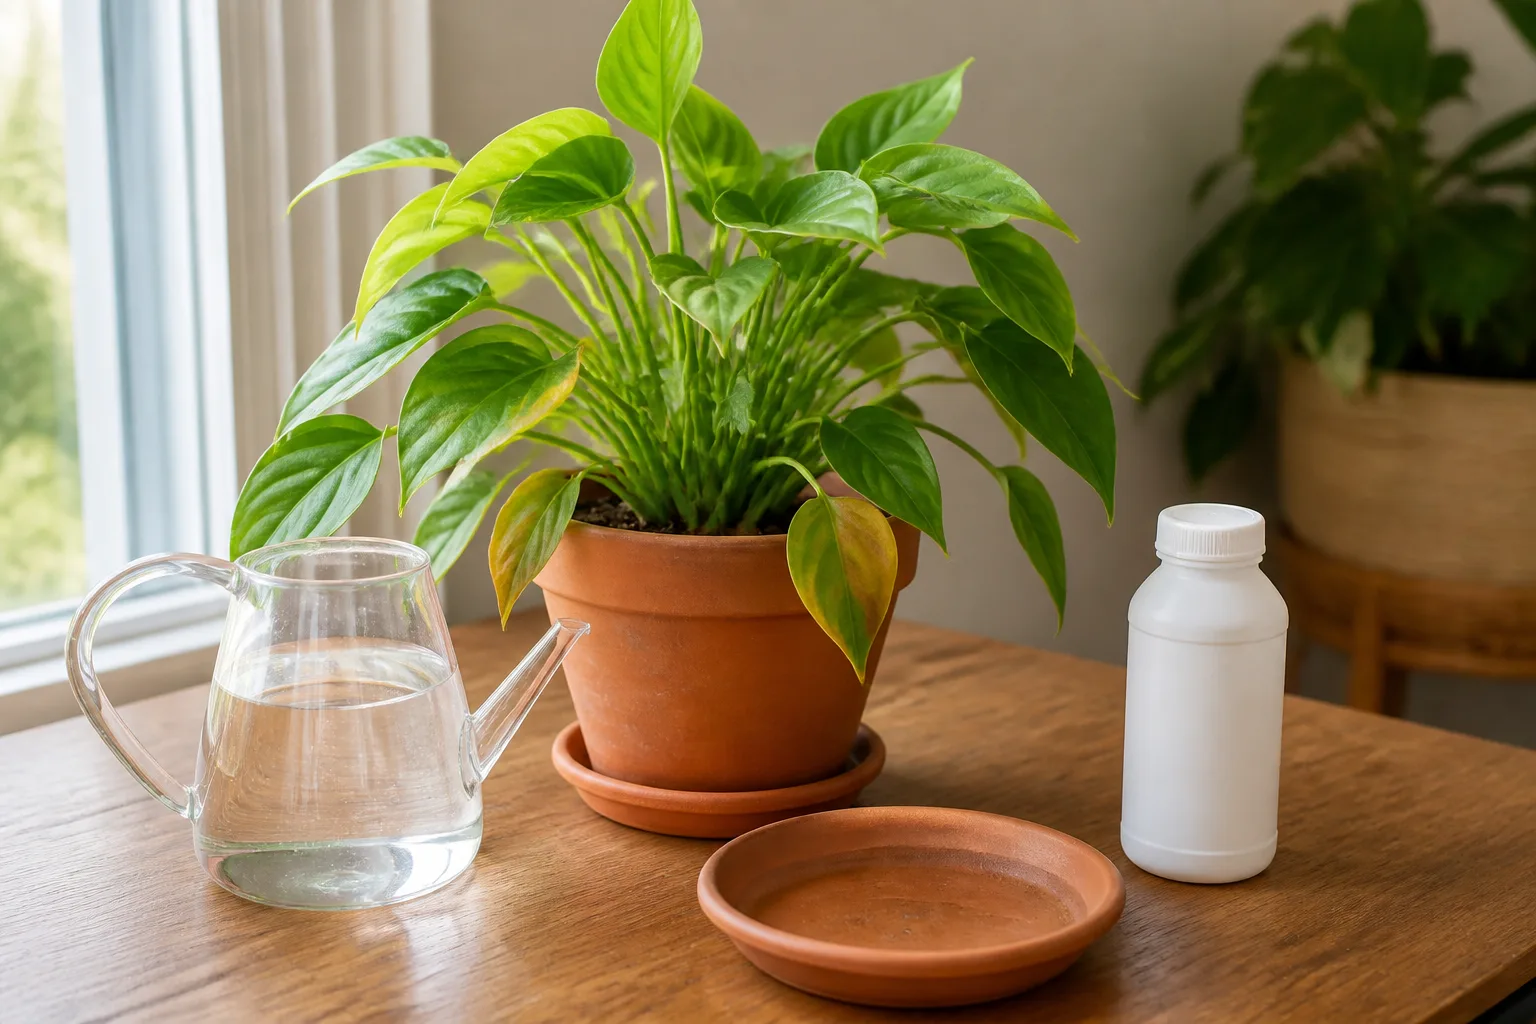
If the plant was repotted into fresh, pre-fertilized mix, treat that label as part of the feeding history. Avoid adding a second fertilizer dose until the mix’s starter nutrients are expected to be depleted and the plant resumes active growth. For a broader routine after the plant stabilizes, see our complete guide to fertilizing indoor plants.
What recovery looks like
Use new growth, not old leaf tips, to judge recovery. Dead margins stay brown even when treatment works; the useful signs are that existing damage stops spreading, stems remain firm, and later leaves emerge without the same pattern. Roots also matter: a plant with some healthy roots may recover slowly, while extensive root loss can delay growth much longer.
There is no reliable universal number of days before a houseplant looks normal. A fast-growing pothos in bright conditions may show change sooner than a dormant or slow-growing plant, and recovery is slower after root injury or repotting. If damage continues, revisit the diagnosis: check whether controlled-release fertilizer remains, the pot drains, water quality is contributing, or root rot and pests are present. Do not declare a plant dead simply because new leaves have not appeared within a month.
If fertilizer touched the leaves
Granules or concentrated liquid can injure leaves directly, especially when fertilizer remains on wet foliage or is applied at a strong concentration. This contact injury tends to appear where the material landed, unlike root-zone salt buildup, which often affects several leaves through impaired water uptake. BBC Gardeners’ World advises keeping fertilizer granules off soft stems and leaves because they can scorch the tissue (BBC Gardeners’ World Magazine).
If fertilizer is still visible on leaves, rinse it off promptly with clean water and let the foliage dry in gentle airflow, out of harsh direct sun. Do not use leaf shine, oil, soap, or another treatment to “neutralize” the spot. Once a patch has dried and turned brown, it will not recover; leave the leaf if most of it is green, and trim it only if the damage is extensive or the leaf is dying. A foliar rinse will not remove salts that have accumulated around the roots, so treat both routes only when both occurred.
How to prevent fertilizer burn next time
Use the plant’s growth, the product label, and the potting mix together to decide when to feed. A calendar date alone is a poor trigger indoors: light, temperature, and species determine whether a plant is actively growing. If it has produced no growth during a dim, cool period, it may not be using nutrients at the same rate as it does in a bright growing season. Some plants have specialized needs, so use their care guidance rather than one formula for every pot.
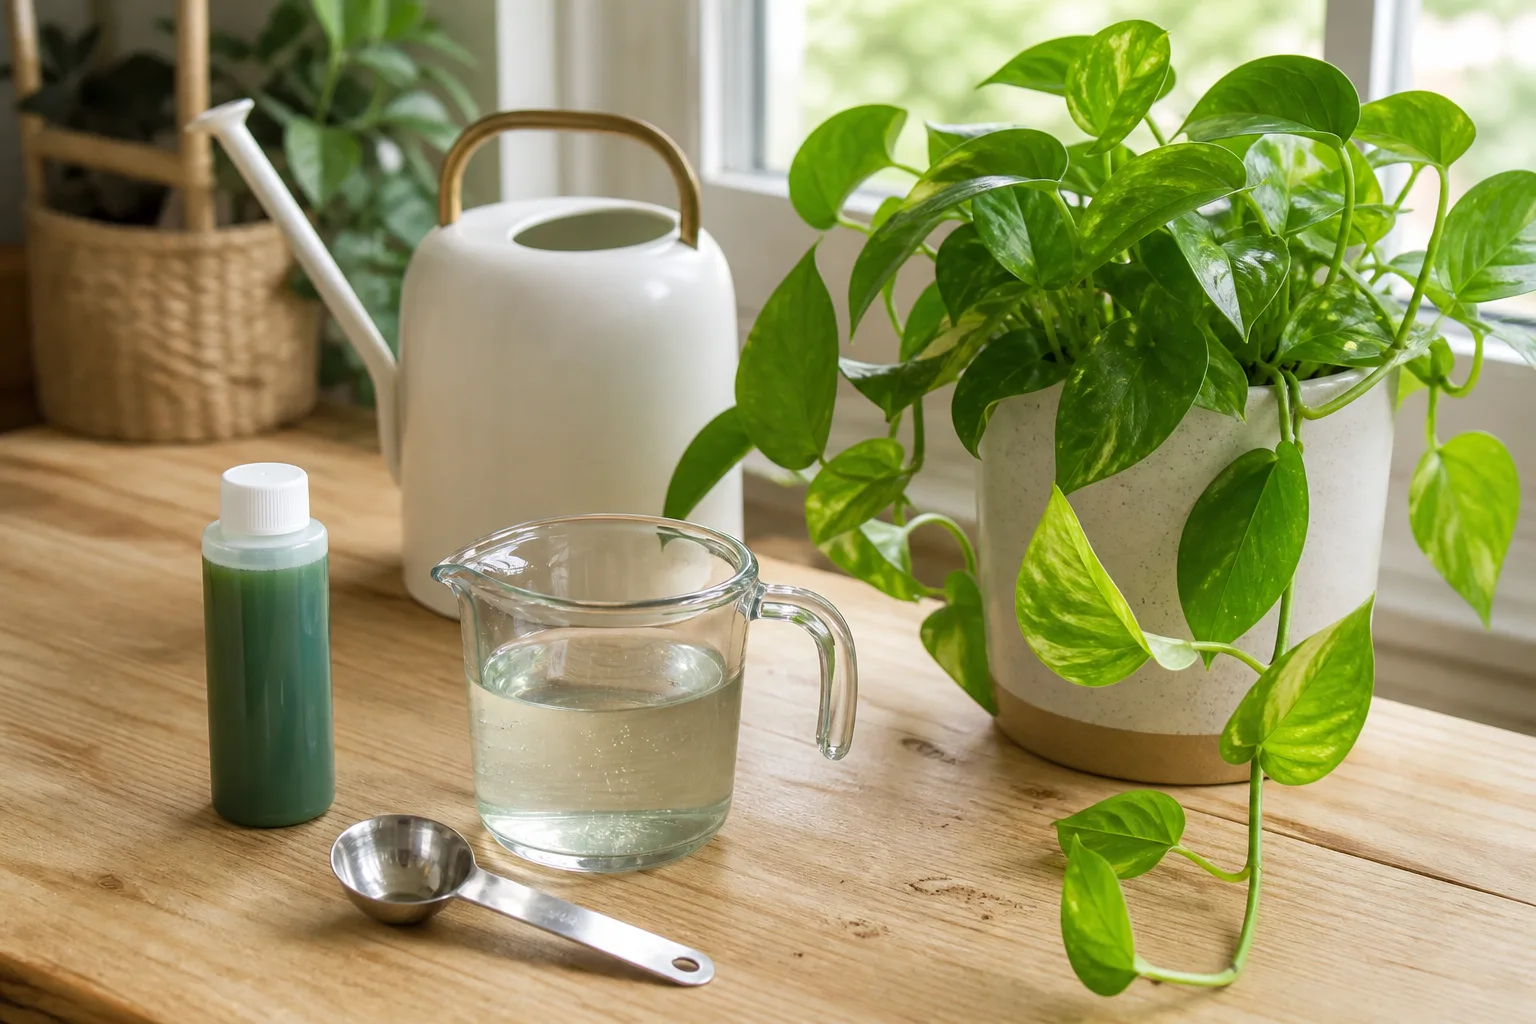
Avoid feeding a very dry root ball. Water it first if the species and mix need watering, allow excess water to drain, then apply fertilizer at the labeled dilution. Measure with a dedicated spoon or container instead of estimating a concentrate from the cap. Never combine several products because each seems mild; total nutrient load is what reaches the root zone. WSU Hortsense advises moderate, plant-appropriate feeding, avoiding fertilizer on heat- or drought-stressed plants, and watering fertilizer into moist soil (Washington State University Hortsense).
BBC Gardeners’ World recommends applying granular fertilizer at the package rate and keeping it away from soft stems and leaves (BBC Gardeners’ World Magazine). Gardener’s Path also notes that houseplant fertilizer needs vary by species and growth stage, and its guide distinguishes quick-release liquid products from slow-release media amendments (Gardener’s Path). For more on choosing a product and feeding an indoor collection, use the indoor plant fertilizing guide.
Match the dose to the plant and its growth
A plant in active growth may use nutrients more steadily than a small, stressed, recently repotted, or slow-growing plant. Orchids, succulents, carnivorous plants, seedlings, and other sensitive groups may need different formulations or lower feeding frequency than common foliage plants. Do not infer that a pale leaf means the plant needs more fertilizer: low light, root damage, poor drainage, pH, and pests can all impair growth. Fix the growing condition before escalating the dose.
When the label gives a rate for your plant type, follow it; do not automatically double, “make up” for a missed feeding, or add another application because growth looks slow. If the label range and your plant’s care guidance differ, use the plant-specific direction and start conservatively. WSU recommends soil testing for garden soil when existing nutrients are uncertain; the same principle applies outdoors, where adding fertilizer without knowing the soil can worsen a problem. For houseplants, keep a simple log of product, dilution, and date so repeated doses do not overlap.
Slow-release products and fresh mix need a different plan
Slow-release pellets and spikes keep supplying nutrients over time. If you accidentally over-applied them, remove what is reachable; flushing will not stop pellets that remain in the mix from releasing more fertilizer. Repotting becomes more sensible when many pellets are mixed through the root ball or the plant continues declining. Organic sources can also release nutrients over time, so “organic” does not mean impossible to overapply or automatically safe at any amount.
Check new potting mix before adding feed. Some commercial mixes already contain fertilizer, and recently purchased plants may also carry slow-release pellets on the surface. A second product layered on top can create an unplanned combined dose. Gardener’s Path describes both slow- and quick-release feeding approaches (Gardener’s Path); the practical lesson is to track what is already present and use one measured plan rather than stacking products.
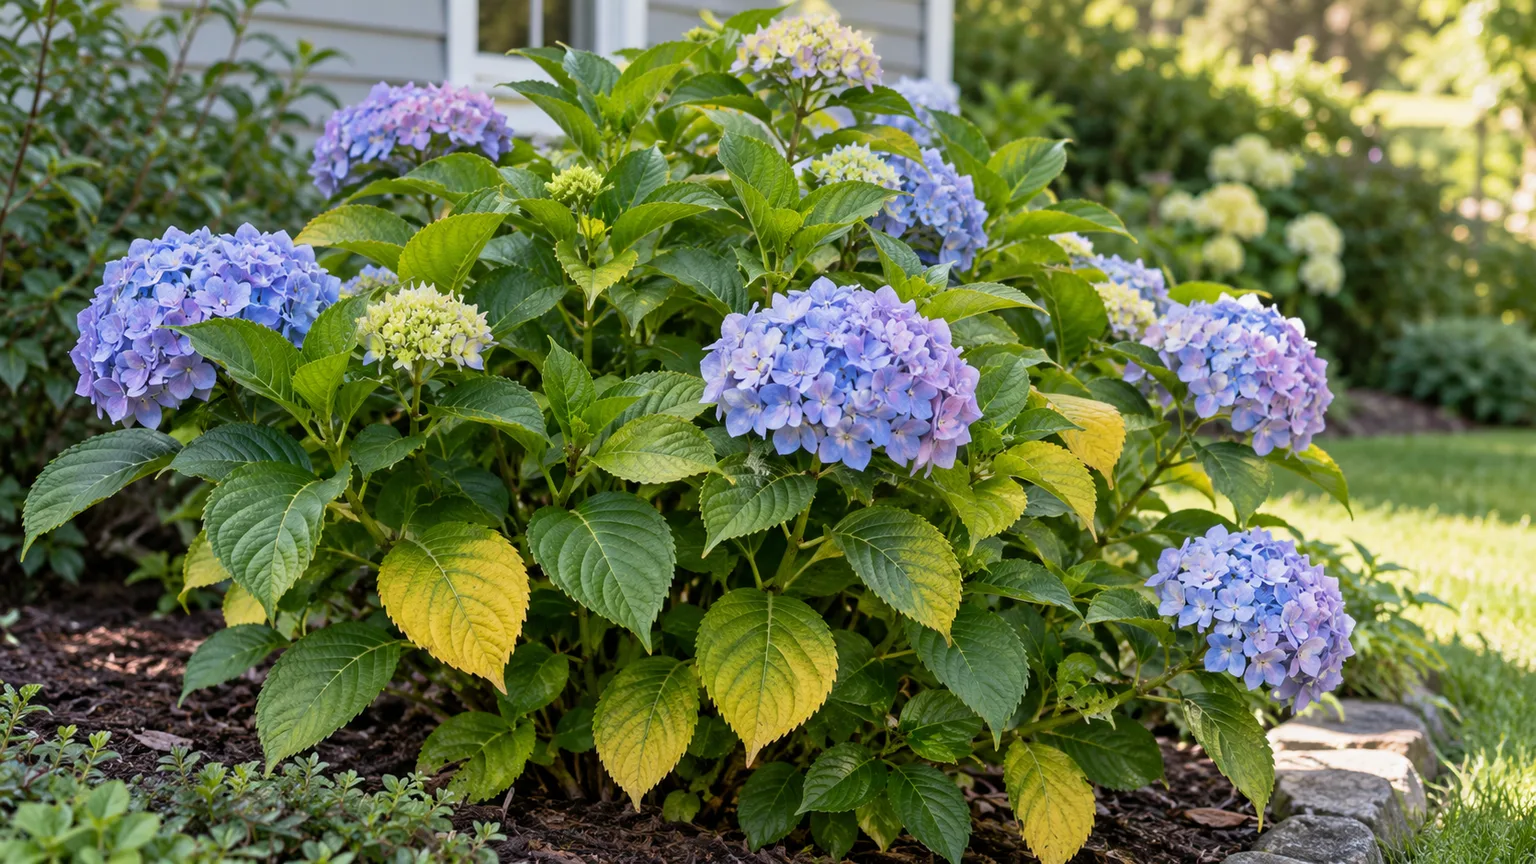
For outdoor shrubs, flowers, or lawns, do not copy a houseplant flushing routine by saturating a large area. Fertilizer burn can result from excess or uneven application, dry conditions, or salts in irrigation water; poor drainage can prevent salts from leaching and create waterlogging. Use a soil test, follow the outdoor product label, and prevent nutrient-rich runoff from reaching drains or waterways. WSU Hortsense notes that leaching container salts is effective for quick-release or liquid products (Washington State University Hortsense), while UC IPM recommends testing soil or irrigation water when salinity is uncertain (UC IPM).
Conclusion
Fertilizer burn is a salt or nutrient-concentration problem, but brown tips, wilt, and white residue each have other possible causes. Stop feeding, remove visible granules, and check the pot before choosing a treatment. Flush soluble salts only when water can pass through and drain freely; repot when the container, saturated mix, or remaining slow-release product makes flushing ineffective.
Keep recovery calm: maintain suitable light, water by the plant’s normal cues, and wait for healthy new growth before feeding again. Existing brown tissue cannot heal, but a steady plant with firm stems and clean new leaves is making progress. Next time, measure the dose, account for fertilizer already in the mix, and feed according to the plant’s growth rather than habit.