How Often to Fertilize Indoor Plants: A Season-by-Season Guide
Learn how often to fertilize indoor plants with a season-by-season schedule that prevents burn and keeps houseplants thriving. Covers NPK ratios, dilution, and winter rules.
Most indoor plants should be fertilized every two to four weeks during spring and summer, and not at all during winter when growth slows or stops. The exact frequency depends on your fertilizer type — liquid feeds need reapplication every two to four weeks, while slow-release granules can last three to four months on a single dose. What trips most people up isn’t the type of fertilizer they choose but the timing. Feed too early in spring and tender new roots burn. Feed too late into fall and you push growth the plant can’t sustain through short winter days.
This guide covers the complete seasonal schedule, how to match fertilizer type to your habits, which NPK ratios work for which plants, and exactly what to do if you’ve already overdone it.
Why Indoor Plants Need Fertilizer
Potting soil is not an infinite pantry. A fresh bag of indoor mix contains enough nutrients to sustain a houseplant for roughly six to eight weeks. After that, the plant has consumed or leached out most of what was available, and the only way to replace those nutrients is through fertilizer. Without it, growth slows, older leaves yellow prematurely, and new leaves emerge smaller and paler than the ones before. The right potting mix also matters, because a mix that drains well moves excess salts out instead of trapping them around the roots.
Outdoor plants tap into a living soil ecosystem that continually recycles organic matter. Indoor plants sit in a closed container. The soil volume is fixed. Nothing decomposes into it naturally. Every watering flushes a small amount of dissolved nutrients out the drainage holes. Over months, that container goes from nutrient-rich to nutritionally empty. Fertilizer closes that gap. It is not a growth booster in the “more is better” sense — it is replacement nutrition for what the plant has already used.
The three nutrients that run out first are nitrogen, phosphorus, and potassium — the NPK numbers on every fertilizer label (Iowa State University Extension). Nitrogen drives leaf and stem growth. Phosphorus supports root development and flower production. Potassium regulates water movement, disease resistance, and overall plant metabolism. A plant missing any one of these will show specific deficiency patterns, from yellowing lower leaves (nitrogen) to brown, scorched leaf edges (potassium).
How to Know When Your Plant Needs Feeding
Houseplants don’t wilt or droop when they’re hungry the way they do when they’re thirsty. Nutrient deficiency is a slow fade, not a dramatic event. The most reliable signal is simply the calendar. If it’s been six to eight weeks since you repotted with fresh soil, or if you haven’t fertilized at all during the growing season, your plant is almost certainly drawing on empty reserves.
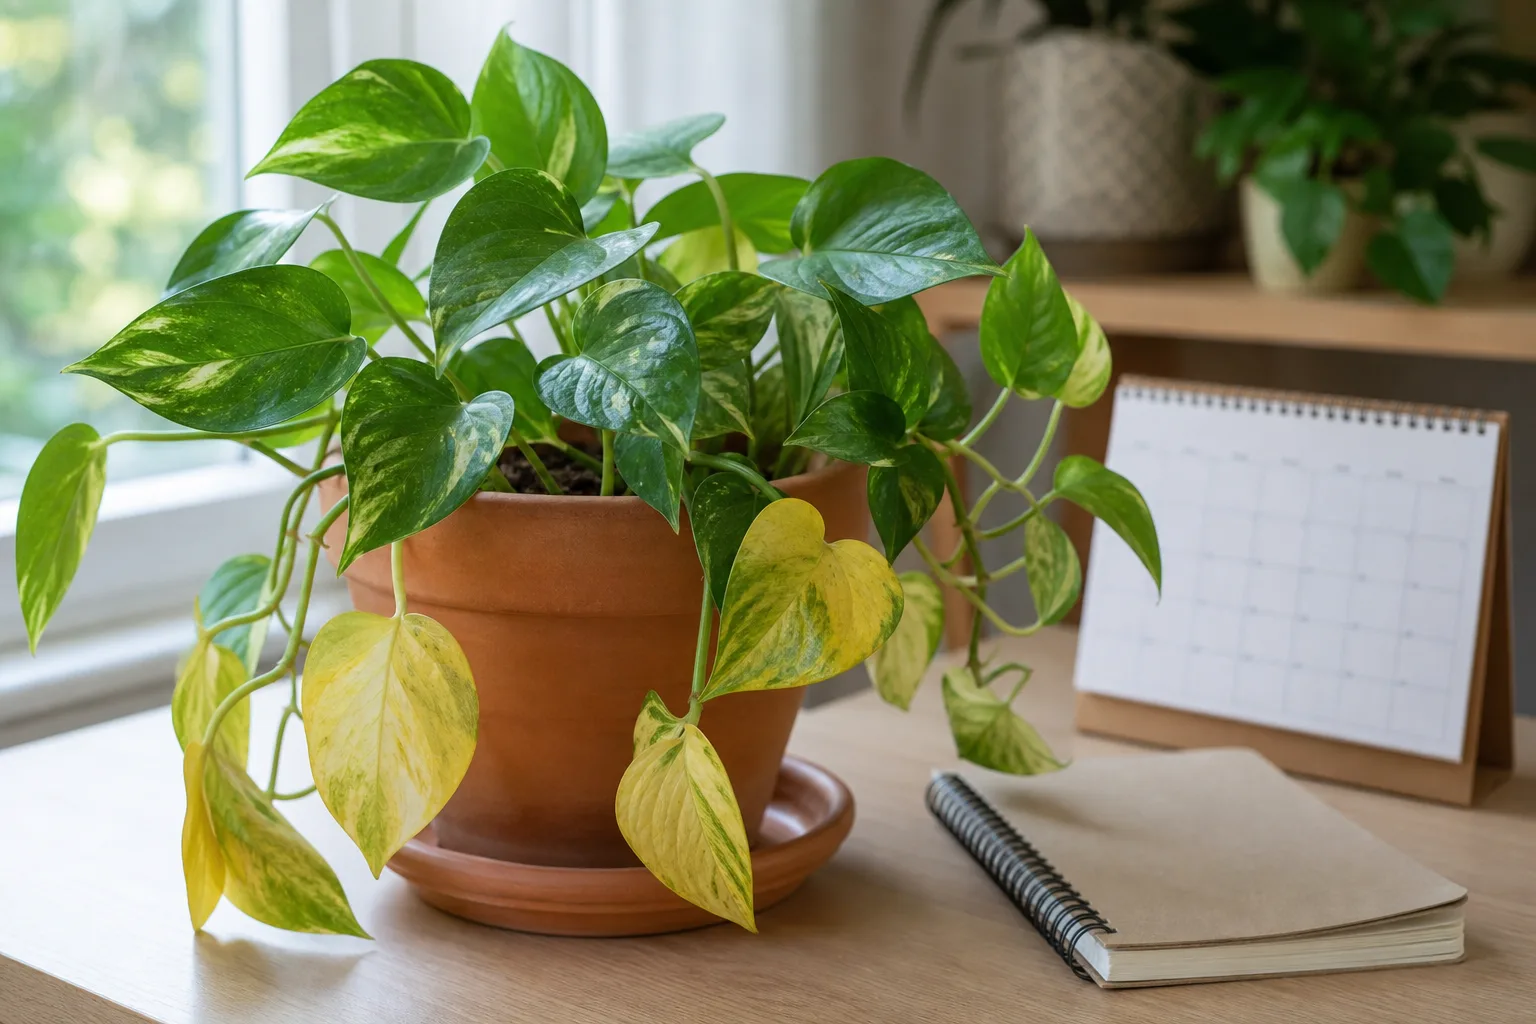
Visible signs come later and are worth knowing. Pale, uniformly yellow lower leaves often point to nitrogen deficiency. Stunted new growth — leaves that unfurl smaller than the ones before them — can indicate phosphorus shortage. Brown, crispy edges on older leaves, especially when watering is consistent, suggest potassium running low. Purple or reddish tints on leaf undersides sometimes appear when phosphorus is deficient, though this can also be a normal trait in certain cultivars. These symptoms develop gradually over weeks, not overnight, so catching them early means adjusting your fertilization schedule before the plant declines further.
A simpler approach: if you’re in spring or summer and haven’t fed your plant in the last month, feed it. The risks of mild under-fertilizing are far lower than the risks of over-fertilizing, and a plant showing no symptoms of deficiency is still drawing down soil reserves it will eventually need.
The General Rule: Fertilize During Active Growth
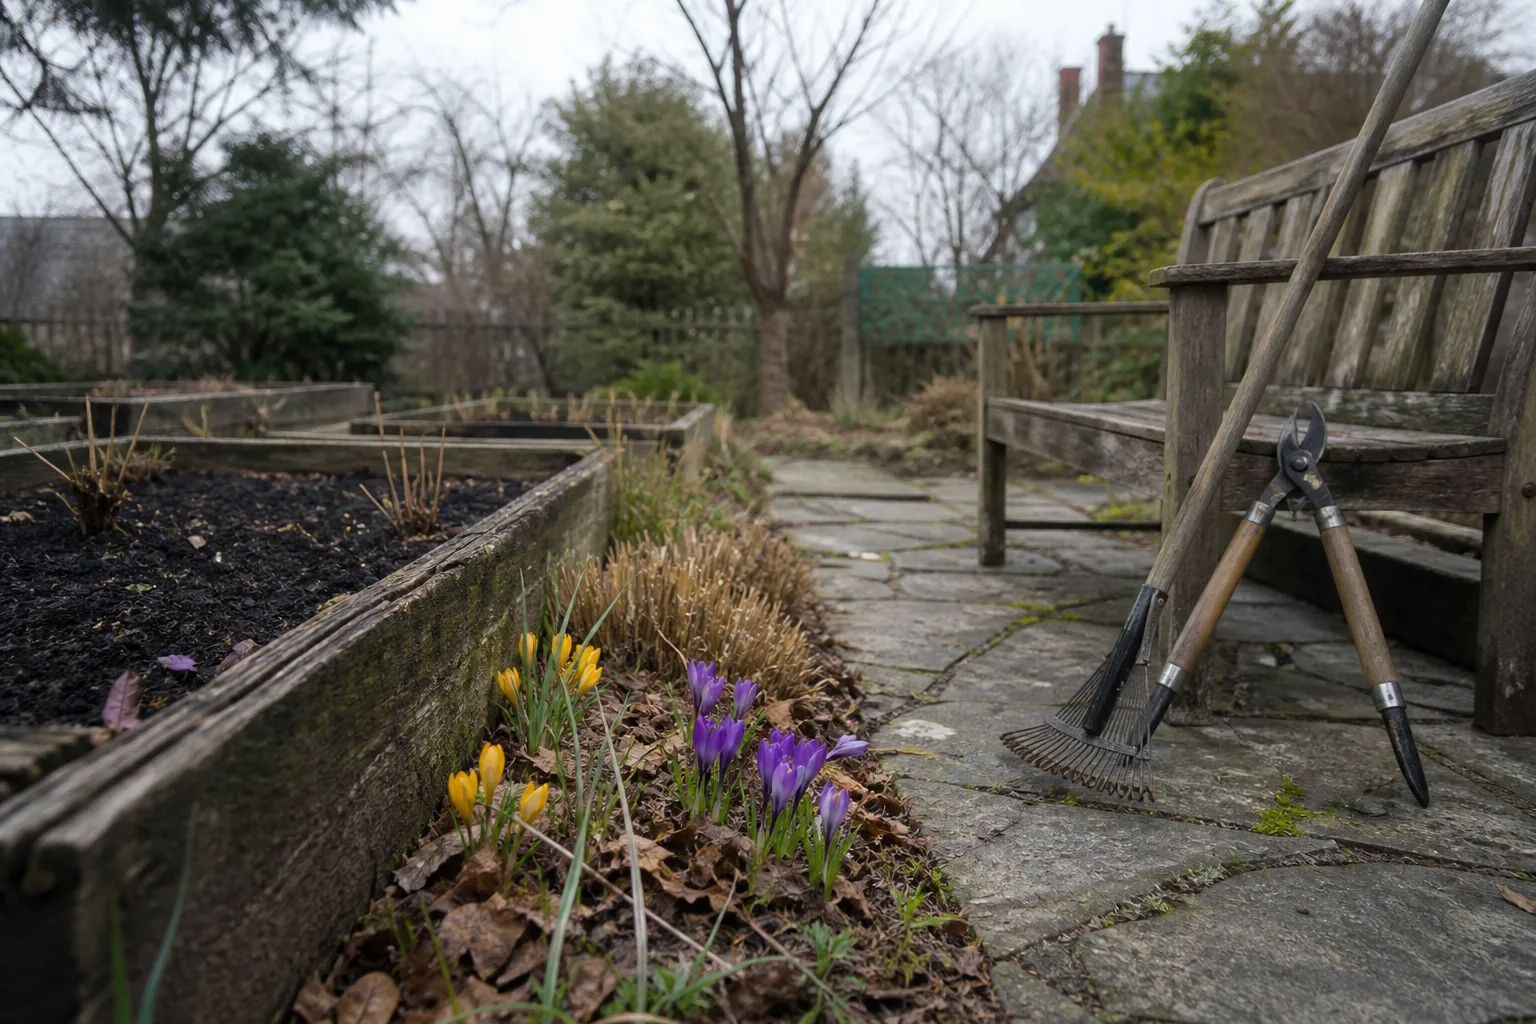
Houseplants grow on a seasonal clock, even indoors. As days lengthen in spring, light intensity through windows increases, and plants shift from semi-dormancy into active growth. That’s your window. Feed from the start of the growing season through its peak in summer, then taper off as days shorten in fall. Stop entirely through winter.
This isn’t an arbitrary calendar rule. A plant that isn’t actively growing cannot use the nutrients you give it. The fertilizer sits in the soil, concentrates as water evaporates, and eventually burns root tips. Iowa State University Extension advises fertilizing “only when houseplants are actively growing” and confirms that “many have a period of rest — usually during the short days of winter — so no fertilizer is needed during this time” (Iowa State University Extension). The Royal Horticultural Society similarly frames feeding as a spring-to-autumn activity, with winter feeding limited because low light prevents plants from using the fertilizer (RHS).
The practical translation: start feeding about eight weeks before your area’s last expected spring frost. Stop about eight weeks before the first expected fall frost. For most of the United States and similar temperate climates, that means fertilizing from mid-March through mid-August, with a gradual ramp-up and ramp-down on either end.
Spring Fertilizing Schedule (March–May)
Spring fertilizing is about waking the plant up gently, not shocking it with a full meal on day one. Start roughly eight weeks before your last frost date. In much of the northeastern and midwestern US, that means beginning around mid-March. In warmer regions where frost risk ends earlier, start in late February or early March.
The first three feedings of the season should be at half strength. If you’re using a liquid fertilizer with a label rate of one teaspoon per gallon, use half a teaspoon per gallon for those initial applications. This gives roots that have been dormant all winter time to ramp up nutrient uptake without the risk of burning tender new root tips. After those three half-strength feedings — spaced about two weeks apart — switch to full-strength applications for the remainder of spring and into summer.
For granular fertilizers, the same principle applies: use half the recommended amount for the first six weeks of the season, then increase to the full label rate. Spring is also an ideal time to repot plants that have outgrown their containers. If you do repot into fresh potting mix, hold off on fertilizer for at least six weeks — the new soil already contains a starter charge of nutrients.
Grower note: I start my own houseplants on half-strength liquid kelp in late February under grow lights, which gives me about a six-week head start on natural-light-only plants. By the time window light levels catch up in April, those plants are already pushing new growth and handle full-strength feed without missing a beat.
Summer Fertilizing Schedule (June–August)
Summer is peak growing season and the period when most houseplants need consistent, regular feeding. The frequency depends entirely on your fertilizer type.
Liquid fertilizers should be applied every two to four weeks at full strength. If you’re diluting to half or quarter strength as a precaution (which many experienced growers recommend as a default), apply every two weeks. At full label strength, every three to four weeks is sufficient. Always apply liquid fertilizer to moist soil — never to a dry root ball, which increases the risk of root burn dramatically.
Granular fertilizers applied to the soil surface typically last four to six weeks before needing reapplication. Scratch them lightly into the top inch of soil and water thoroughly to begin the nutrient release.
Slow-release fertilizers — the coated pellets like Osmocote — are the lowest-maintenance option. A single application in early summer releases nutrients steadily for three to four months, covering the entire growing season without additional work. The trade-off is less control: you can’t easily adjust mid-season if a plant shows signs of overfeeding.
If you move houseplants outdoors for the summer — onto a porch, patio, or balcony — they’ll use nutrients faster due to higher light and increased water demands. Keep the same fertilizer schedule but watch for signs of deficiency more closely, particularly yellowing lower leaves, which can appear faster in outdoor conditions.
Fall Fertilizing Schedule (September–November)
Fall is the transition window. About eight weeks before your first expected fall frost, begin reducing both the strength and frequency of fertilizer applications. For most temperate regions, this means starting the taper in mid-August.
Cut the fertilizer strength to half for the next two to three feedings, and stretch the interval between them — if you were feeding every two weeks in summer, extend to every three or four weeks during the taper. The goal is to match the plant’s naturally declining growth rate. As days shorten through September and October, houseplants slow down regardless of indoor temperature. Pushing nutrients at summer rates during this window produces weak, leggy growth that the plant can’t support through winter.
By late October or early November, stop fertilizing entirely. The plant should enter winter with no fresh fertilizer in the soil and no recent growth surge that will stall out under low light.
Winter Fertilizing Rules — When to Stop
For most houseplants in temperate climates, winter fertilizing should stop completely. The plant is not actively growing. Nutrients accumulate unused in the soil. Salt concentrations rise with each application. Root burn follows. The standard advice from extension services is unambiguous: do not fertilize during winter dormancy.
There are two meaningful exceptions. If you live in a frost-free climate where winter daylight remains strong — southern Florida, coastal southern California, Hawaii — you can continue fertilizing year-round but at half the summer strength and frequency. The driver here is light, not temperature. A plant receiving 10-plus hours of bright indirect light daily through winter will continue growing and can use the nutrients.
The second exception is plants under dedicated grow lights running 12 to 14 hours daily through winter. If you’re maintaining consistent high light artificially, your plants may not enter dormancy at all. In that case, continue feeding at half strength every three to four weeks and watch for new growth — if it appears, the plant is active and using the nutrients.
Liquid vs. Granular vs. Slow-Release Fertilizers
The three main types of houseplant fertilizer differ in how fast they work, how often you apply them, and how much control you have over the dose.
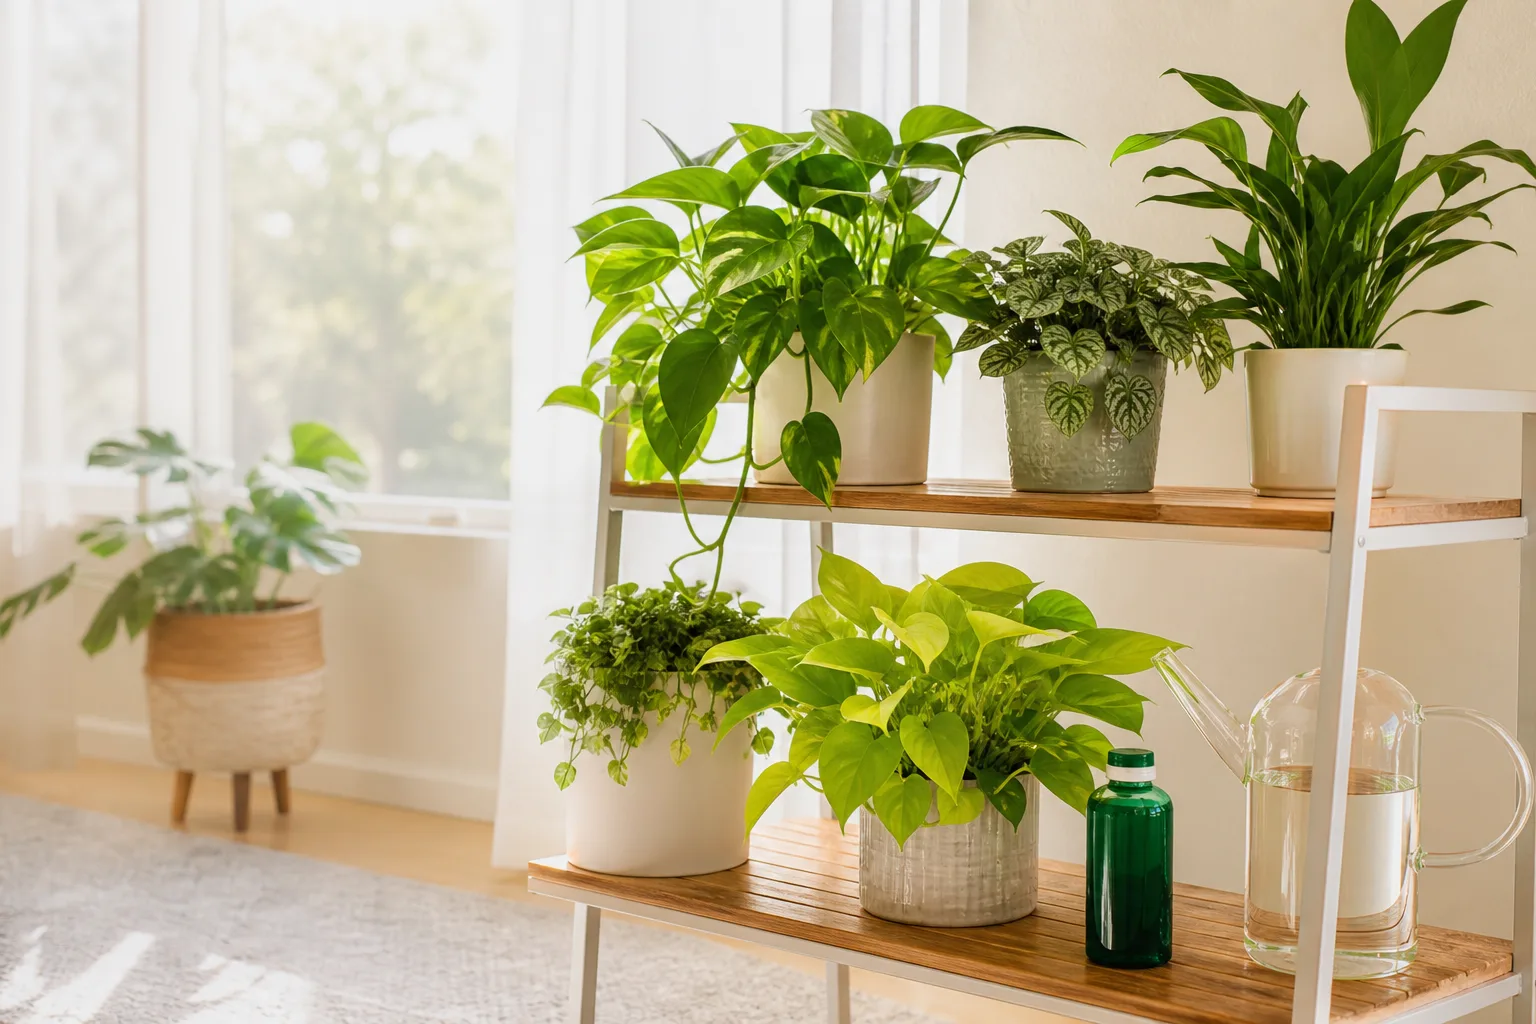
Liquid fertilizers are mixed with water and applied during normal watering. They deliver nutrients immediately because they’re already dissolved. This makes them the most controllable option — you can adjust strength week to week, stop instantly if you see burn, and target specific plants with different dilutions. The downside is frequency: liquid feeds typically need reapplication every two to four weeks during the growing season.
Granular fertilizers are dry pellets or powders sprinkled onto the soil surface and watered in. They release nutrients over four to six weeks as they dissolve incrementally with each watering. They’re less work than liquids but also less precise — you can’t easily fine-tune the dose once applied, and heavy watering can release too much at once if drainage is poor.
Slow-release fertilizers use coated prills (small spheres) that release nutrients gradually over three to four months. A single application in late spring covers the entire growing season. They’re extremely convenient but offer the least control. If a plant reacts poorly, you can’t simply stop feeding — the prills continue releasing until they’re depleted. They’re also almost always synthetic, which matters if you prefer organic inputs (University of Minnesota Extension).
Fertilizer spikes are compressed granules pushed into the soil. They release nutrients over roughly two months but do so unevenly — high concentration near the spike, nearly none a few inches away. Roots that grow into the concentrated zone risk burn. For this reason, spikes are generally the least recommended format for indoor plants.
Choosing the Right NPK Ratio for Houseplants
The three numbers on every fertilizer label — the NPK ratio — tell you the percentage by weight of nitrogen (N), phosphorus (P), and potassium (K). For most foliage houseplants that don’t flower — pothos, philodendrons, monsteras, ficus — a fertilizer with a ratio around 3-1-2 or a balanced formula like 10-10-10 or 20-20-20 works well. Nitrogen needs to be proportionally higher because it drives the leaf and stem growth these plants are grown for.
Flowering houseplants — African violets, begonias, peace lilies, anthuriums — benefit from a higher middle number. Look for ratios like 1-3-1, 10-30-20, or 15-30-15. The extra phosphorus supports bud formation and bloom longevity (Savvy Gardening NPK guide).
Succulents and cacti need far less nitrogen than leafy tropicals. A fertilizer labeled for cacti and succulents, often with a ratio like 1-1-2 or 2-7-7, provides the low-nitrogen, higher-potassium balance that encourages compact growth and flowering without pushing weak, stretched-out foliage.
Label numbers also matter for dilution math. A 20-20-20 fertilizer at full strength delivers twice the nutrient load of a 10-10-10 at full strength. If you’re diluting to half strength anyway, this difference narrows, but it’s worth knowing: higher-number fertilizers concentrate more nutrients into the same volume.
Organic vs. Synthetic Fertilizers
Organic fertilizers — fish emulsion, liquid kelp, worm castings, bone meal, compost extracts — release nutrients slowly through microbial breakdown in the soil. They feed the soil biology as well as the plant, improve soil structure over time, and carry a significantly lower risk of fertilizer burn. The trade-off is slower visible results and, for some products like fish emulsion, a noticeable odor for the first day after application.
Synthetic fertilizers deliver nutrients in immediately plant-available form. Results show within days. They’re consistent, shelf-stable, and typically cheaper per application. The downsides: higher burn risk because salts concentrate faster, no soil-building benefits, and a larger environmental footprint — a 2025 review in Frontiers in Microbiology found that 50 to 70 percent of applied synthetic nitrogen either volatilizes into atmospheric NOx compounds or leaches into aquatic systems before plants can absorb it.
For most indoor growers, the practical choice comes down to risk tolerance and consistency. Organic liquid fertilizers are more forgiving of imprecise dosing. Synthetic liquids work faster but punish mistakes more severely. Many experienced growers use both: an organic liquid as the main feed and a synthetic flowering formula during bloom periods.
How to Dilute Fertilizer to Prevent Burn
Over-fertilizing is the single most common mistake houseplant owners make, and it’s almost always a dilution problem, not a frequency problem. Iowa State University Extension explicitly recommends mixing general-purpose fertilizers at “half or quarter the strength outlined in the instructions because houseplants grow slower than the outdoor plants the instructions on the fertilizer label are written for.”
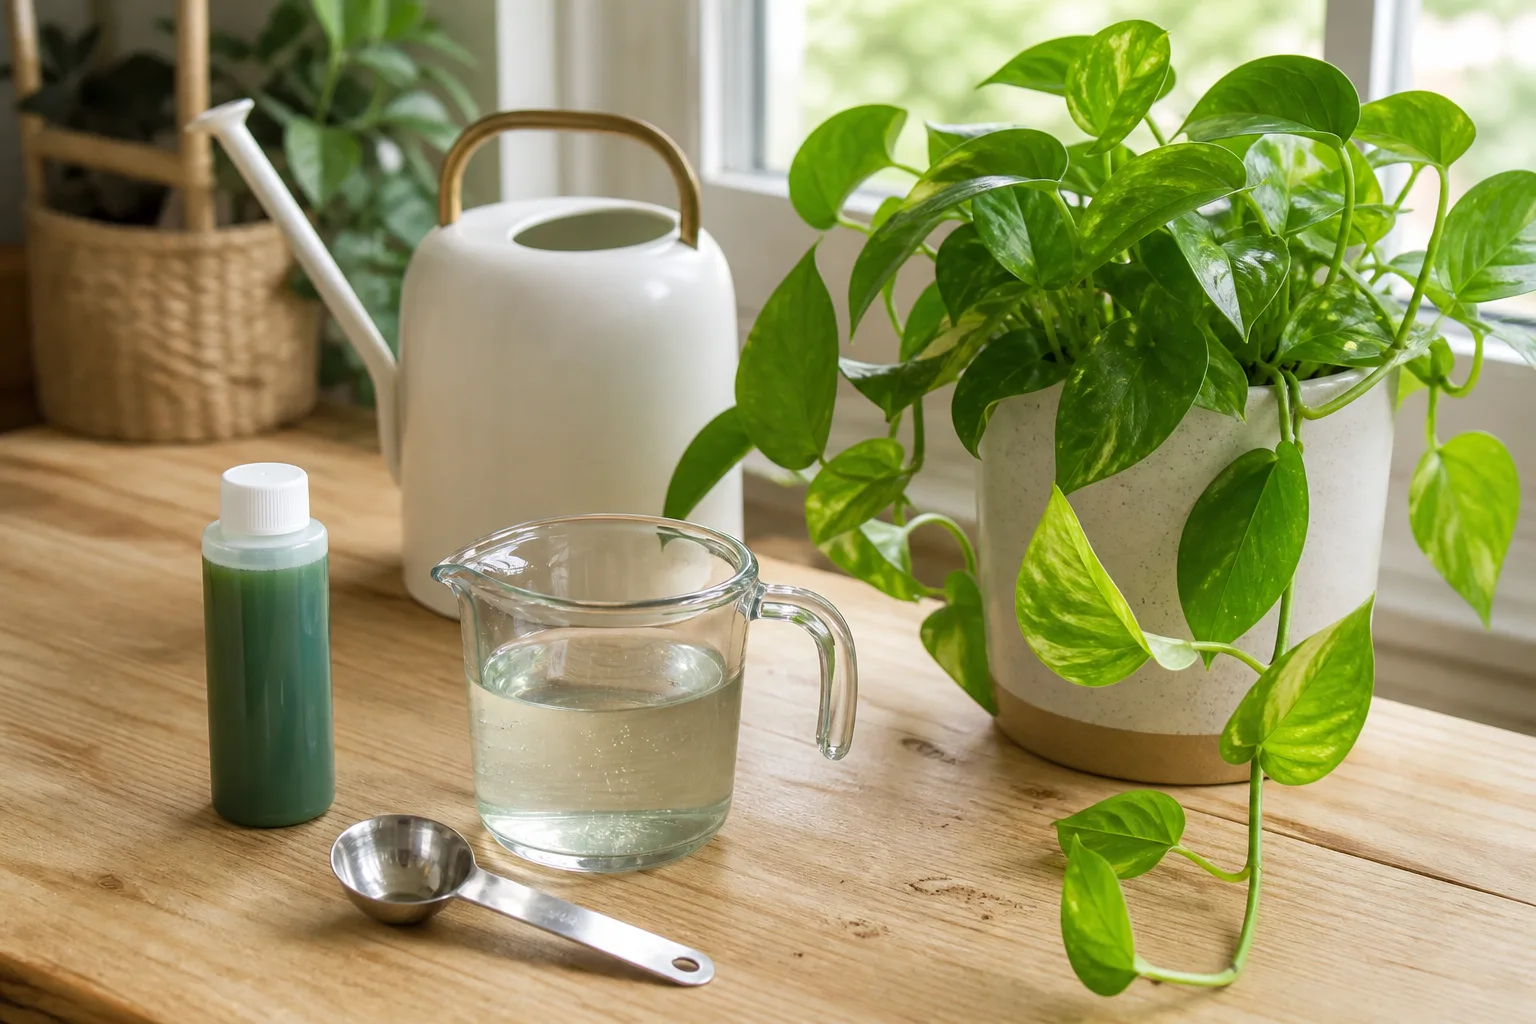
That guidance solves most problems before they start. Take the label rate — say, one teaspoon per gallon — and use half a teaspoon per gallon instead. If you’re fertilizing every two weeks, quarter strength applied weekly often works better than half strength biweekly because it delivers nutrients more steadily and reduces the spike-and-crash cycle.
A few dilution rules that prevent damage:
- Always water the plant with plain water before applying liquid fertilizer. Dry roots absorb nutrients too rapidly and burn. Moist soil buffers the uptake.
- If you see the slightest tip browning after a feeding, cut the next dose in half. Tip burn is the earliest warning sign of salt stress, and it shows up days before more serious damage.
- Never fertilize a stressed plant — one that’s been recently repotted, is recovering from pests, or is wilting from underwatering. A stressed plant’s roots are compromised and can’t regulate nutrient uptake.
- Use a measuring spoon or syringe. Eyeballing “about a capful” is how most fertilizer burn happens.
Special Cases: Succulents, Cacti, and Flowering Plants
Succulents and cacti have evolved in nutrient-poor soils and respond poorly to the same feeding schedule as tropical foliage plants. The University of Minnesota Extension notes that cacti and succulents “require only modest amounts of water and fertilizer” (University of Minnesota Extension). Feed them once or twice during the entire growing season — once in late spring and optionally again in mid-summer — using a cactus-specific formula at quarter strength. More than that produces stretched, weak growth that ruins the compact form most people grow these plants for.
Flowering houseplants need a schedule shift at bloom time. Use a standard foliage fertilizer (higher nitrogen) during vegetative growth periods, then switch to a bloom formula (higher phosphorus) when buds appear. Once flowering ends, return to the foliage formula to rebuild energy reserves. The timing matters: starting bloom fertilizer too early — before buds form — won’t trigger flowering and may push leafy growth at the expense of blooms.
Freshly repotted plants don’t need fertilizer for six to eight weeks. Commercial potting mixes contain a starter charge of nutrients, and newly disturbed roots are vulnerable to burn. The same applies to brand-new plants from a nursery — the grower almost certainly included slow-release fertilizer in the potting mix, and adding more immediately risks double-dosing.
Signs You’re Over-Fertilizing
Over-fertilizing damage shows up in a predictable sequence. The first sign is often a white or yellowish crust forming on the soil surface — those are accumulated fertilizer salts crystallizing as water evaporates. This crust alone isn’t damaging, but it signals high salt concentration in the root zone.
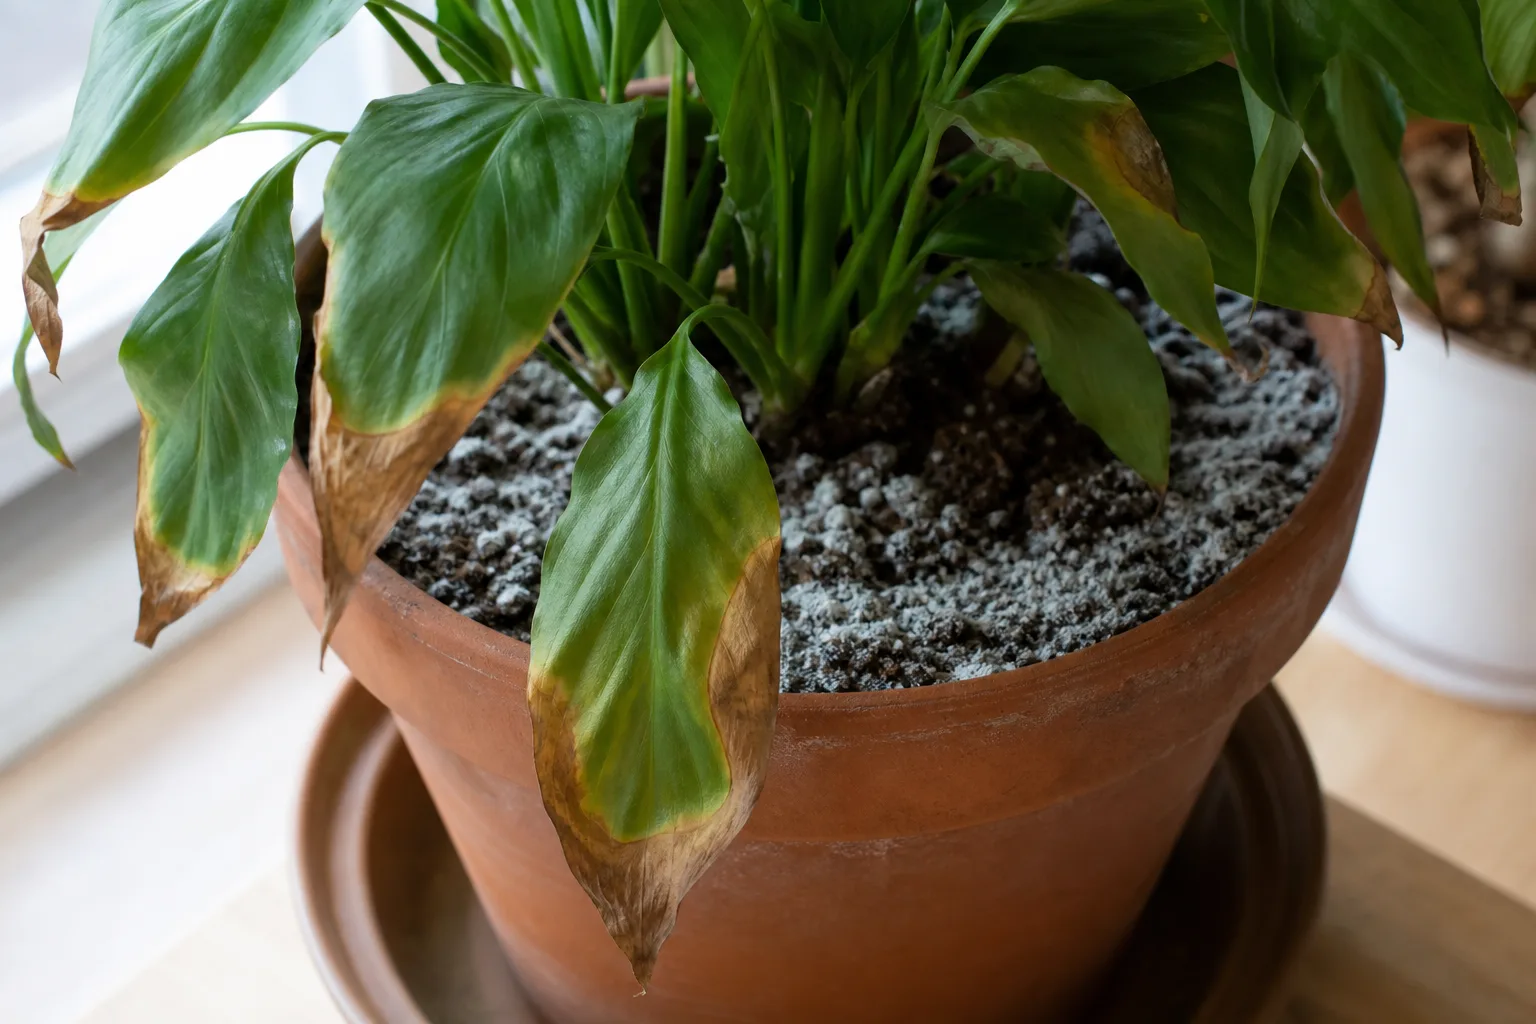
The second stage is leaf tip and margin browning. Lower leaves typically show it first, with tips turning brown and crispy while the rest of the leaf remains green. This is often mistaken for underwatering or low humidity, but if your watering is consistent and the air isn’t unusually dry, fertilizer salts are the likely cause.
Severe over-fertilizing produces: wilting despite moist soil (roots are so damaged they can’t take up water), widespread yellowing of lower leaves followed by leaf drop, blackened or mushy root tips visible during repotting, and in extreme cases, plant collapse. Symptoms from rapid-release fertilizers can appear within days. Slow-release over-fertilizing takes two weeks or more to show up because the nutrients accumulate gradually.
It’s worth noting that over-fertilizing symptoms can mimic several other problems — root rot from overwatering, cold damage, or pest infestations. If you’ve been fertilizing regularly and see these signs, stop feeding immediately and check the soil surface for that telltale white crust before assuming another cause.
How to Fix an Over-Fertilized Plant
Stop fertilizing immediately. That’s non-negotiable. The plant needs time to process what’s already in the soil before you add anything else.
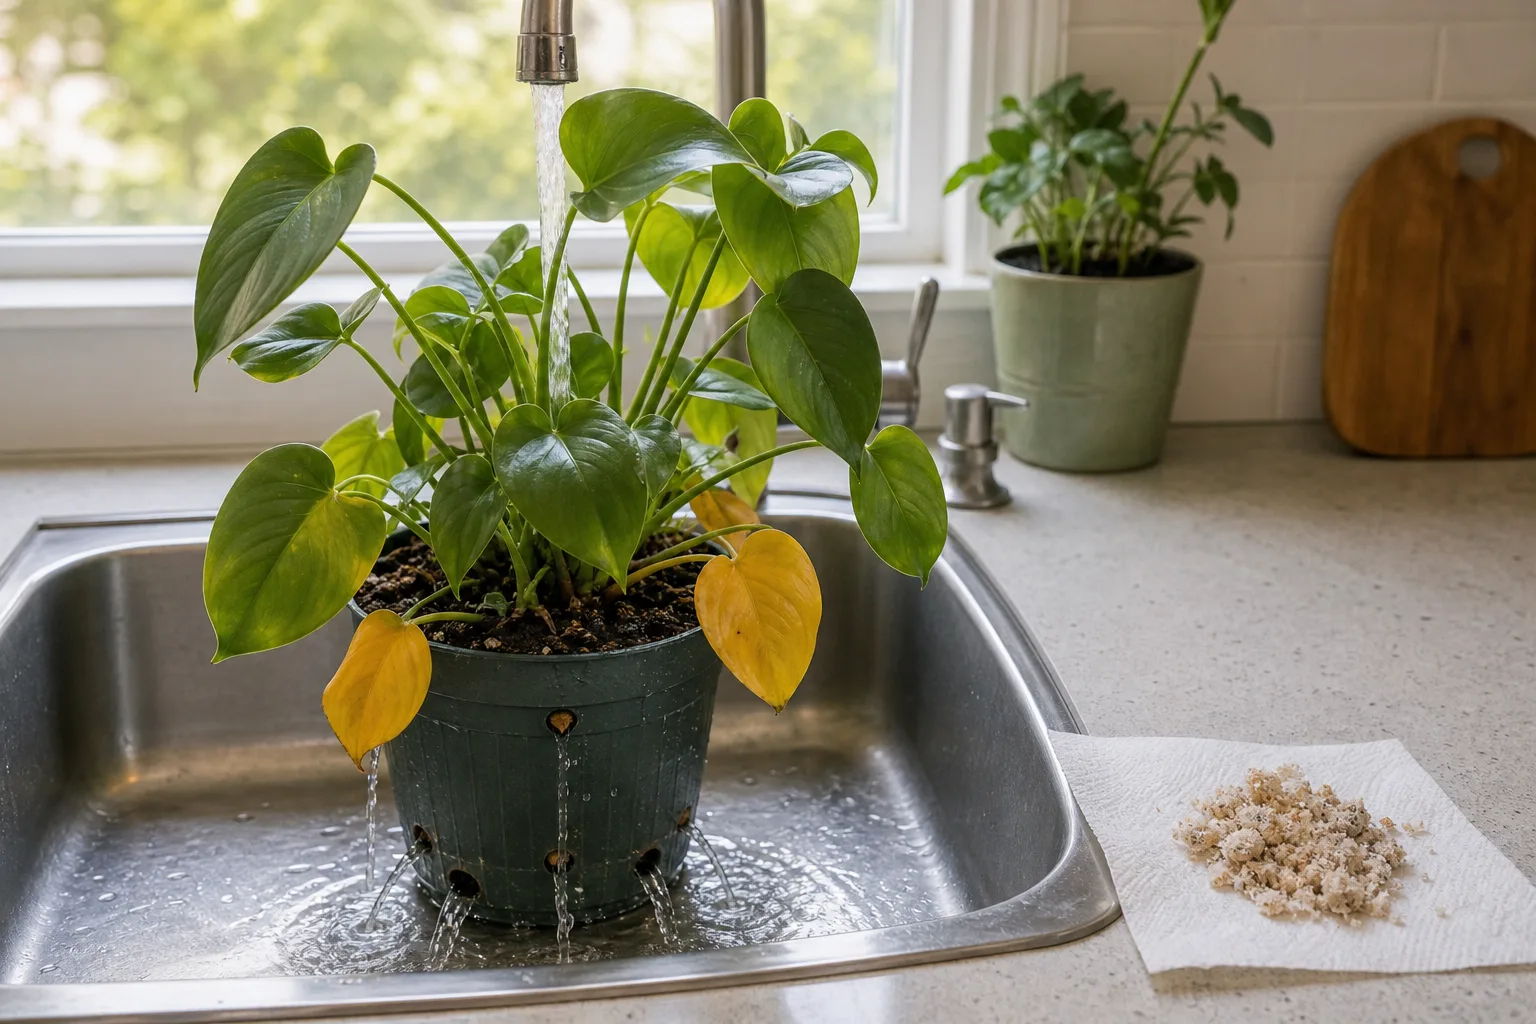
If the damage is mild — slight tip browning, a faint crust on the soil — the fix is straightforward. Scrape off the visible salt crust from the soil surface. Then flush the pot thoroughly: run plain water through the soil until it drains freely from the bottom for a minute or two. This leaches excess salts out of the root zone. Do this once, then let the soil dry to its normal watering point before watering again. Skip fertilizer for at least four to six weeks.
For moderate damage — multiple yellowing leaves, wilting, significant crust — flush the soil as above, but do it twice, about five minutes apart. University of California Extension advises that “the first watering dissolves the salts, and the second washes the salts out of the soil.” After flushing, trim off severely damaged leaves — they won’t recover and the plant wastes energy maintaining them. Move the plant to slightly lower light for a week to reduce stress while roots recover.
Severe over-fertilizing — the plant is collapsing, roots are blackened — requires repotting. Remove the plant from its pot, gently shake off as much contaminated soil as possible from the roots, and trim any black or mushy root sections with clean scissors — the same root-trimming technique used for overwatered plants. Repot into fresh, unfertilized potting mix and water lightly. Repot into fresh, unfertilized potting mix and water lightly. Do not fertilize for at least two months. Full recovery can take a full growing season, and not all plants survive severe root burn.
Signs Your Plant Needs More Fertilizer
Under-fertilizing is rarer and slower-moving than over-fertilizing, but the signs are consistent. Pale green to yellow lower leaves that drop one by one, while the upper leaves remain green, typically indicates nitrogen deficiency — the plant is cannibalizing old leaves to feed new growth. New leaves that unfurl noticeably smaller than the ones the plant produced last season suggest phosphorus is running low. Brown, scorched-looking edges on older leaves, especially when watering is adequate, point to potassium deficiency.
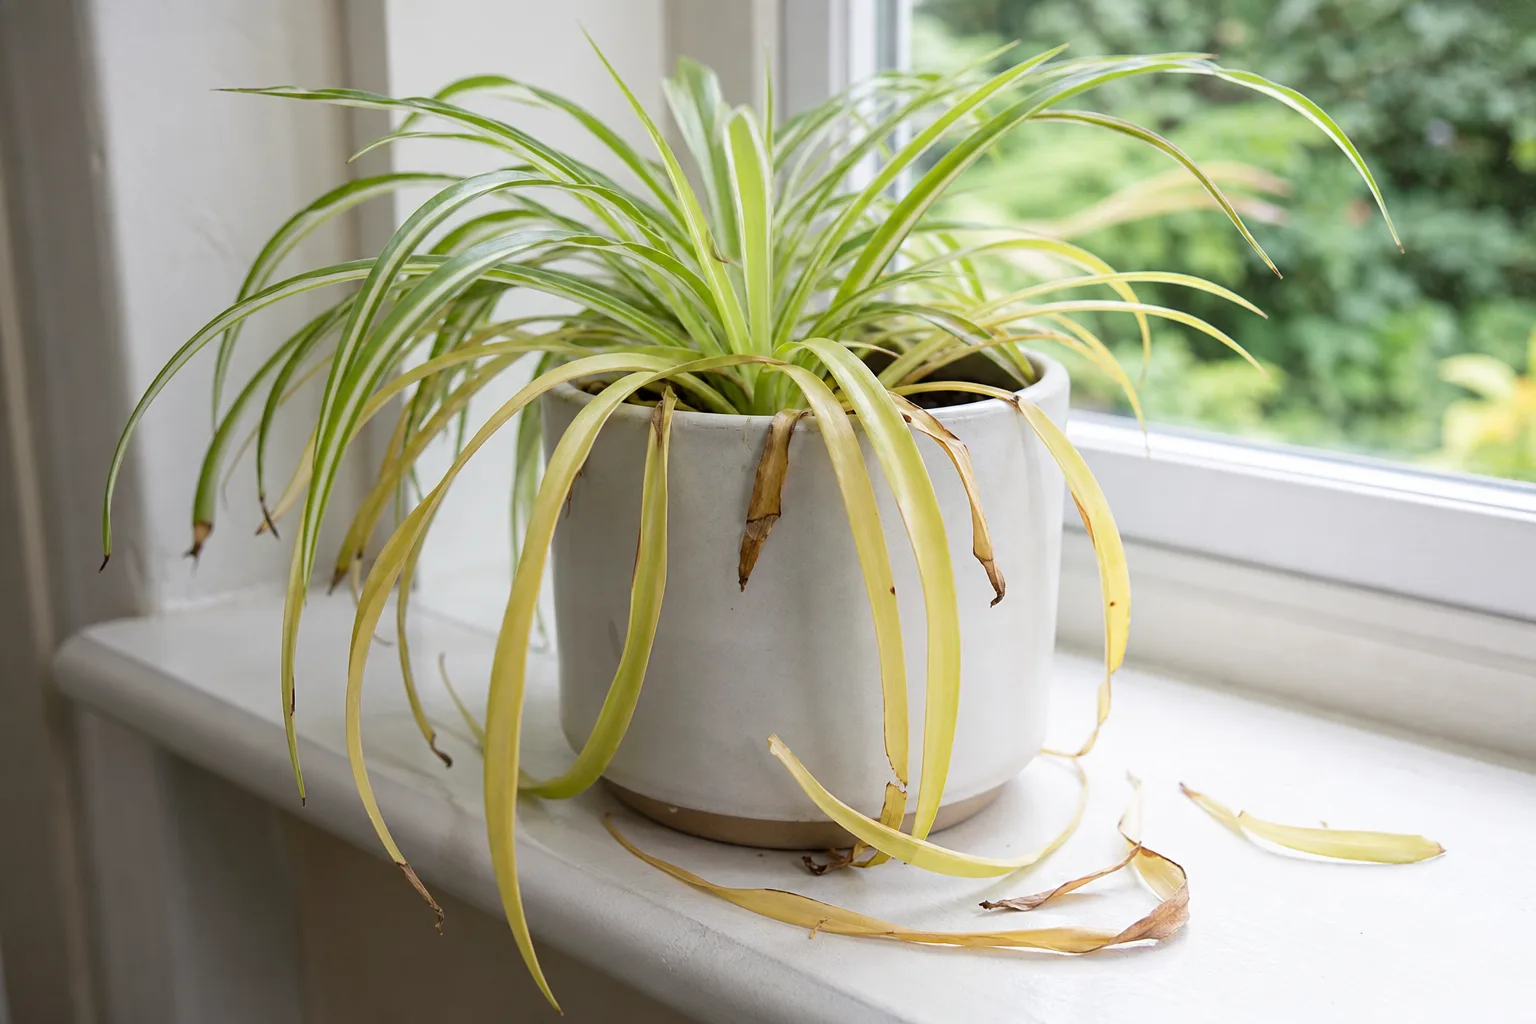
A plant that hasn’t been repotted or fed in over a year and shows no new growth during spring or summer is almost certainly nutrient-limited. The fix is simple: start the spring feeding schedule at half strength and increase gradually. Results won’t appear overnight — nitrogen-deficient leaves that have already yellowed won’t green back up — but new growth should emerge healthy and full-sized within three to four weeks of consistent feeding.
How to Flush Fertilizer Salts from Soil
Salt buildup happens even with correct fertilizing. Every watering, a tiny fraction of dissolved fertilizer salts remains in the soil as water evaporates. Over months, those salts accumulate to concentrations that stress roots, even when you’re doing everything else right. This is why periodic flushing matters as a preventive measure, not just a rescue operation.
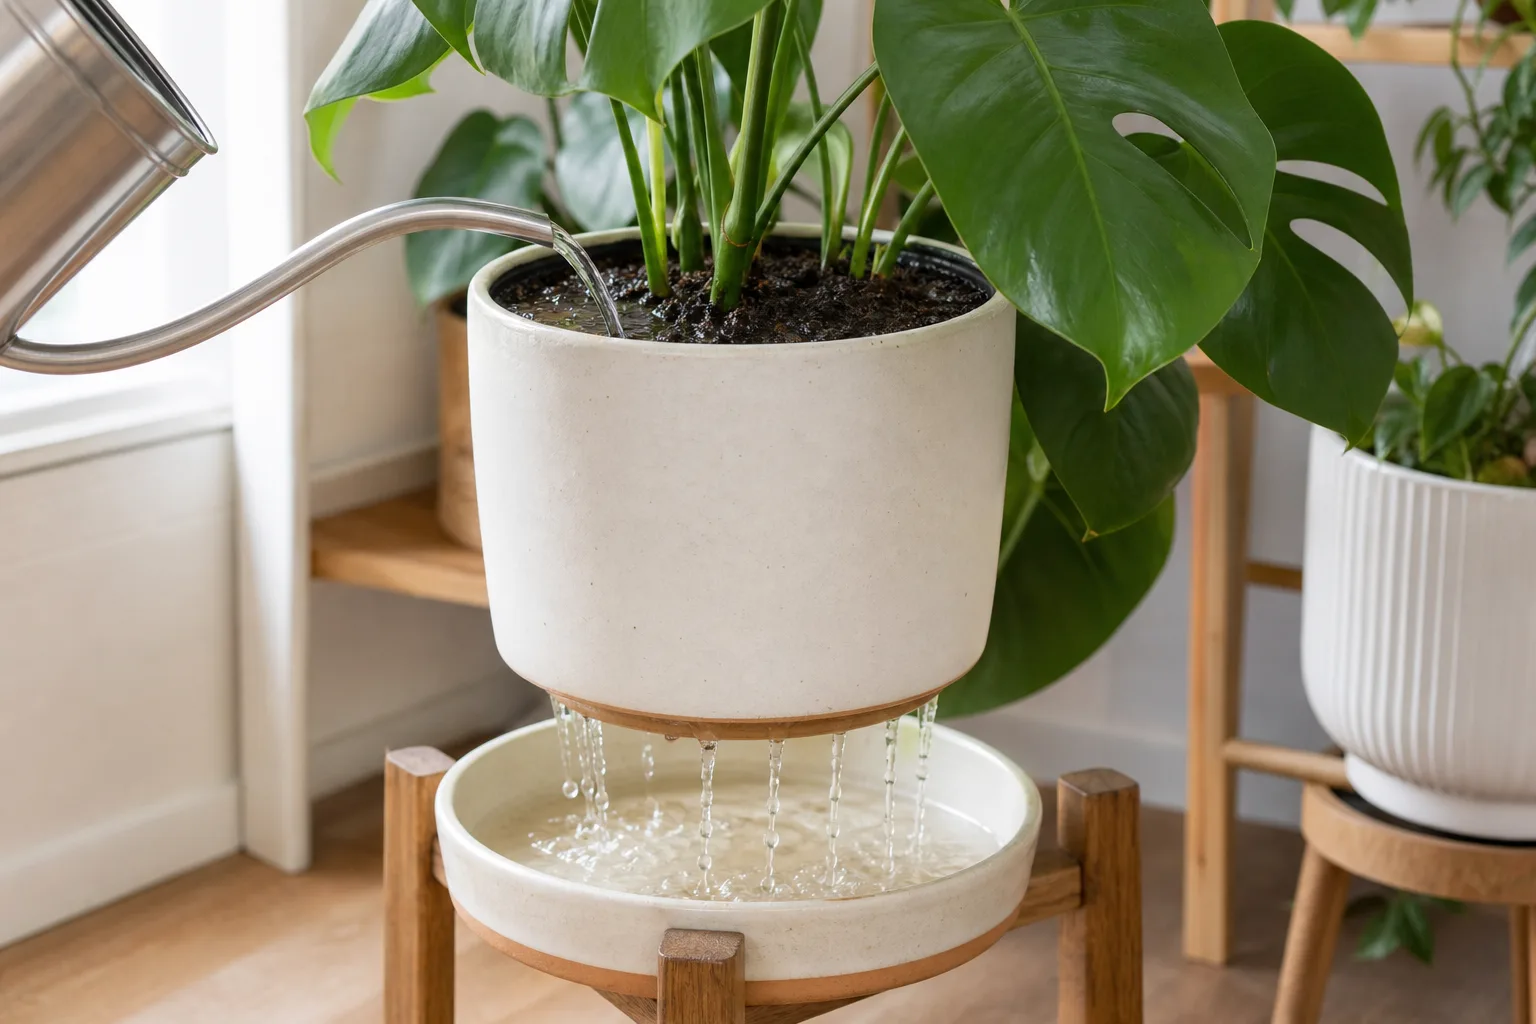
The process is called leaching. Water the plant thoroughly with plain water — enough that water runs freely from the drainage holes. Wait five minutes for the water to dissolve accumulated salts within the soil. Then water again, letting the runoff flow until it runs clear. The first pass dissolves the salts; the second flushes them out. University of California Extension recommends leaching houseplants every two to three months to keep salt concentrations in check (University of California ANR). Do this every two to three months during the growing season, or whenever you notice a white film developing on the soil surface or the inside rim of the pot.
After leaching, the soil will be thoroughly soaked. Let it drain completely — never let a flushed pot sit in its own runoff, which reabsorbs the very salts you just washed out. The plant may look slightly wilted for a day or two after heavy flushing, which is normal and resolves as excess water evaporates. If you’re unsure whether the soil is actually dry or just salt-stressed, our watering basics guide explains how to read moisture by weight and feel.
Conclusion
Fertilizing indoor plants isn’t complicated once you accept that the calendar matters more than the plant’s appearance. Feed every two to four weeks during spring and summer. Taper off through fall. Stop completely through winter unless you’re in a frost-free climate or using grow lights. Dilute to half or quarter strength as your default — the extension guidance on this point is consistent and clear. Watch for white crust on the soil surface as your earliest warning of overdoing it, and flush the soil every few months to prevent salt buildup regardless of how carefully you measure.
The plants that thrive longest indoors aren’t the ones that get the most fertilizer. They’re the ones that get fed at the right time, in the right amount, and get a break when they’re not growing.
Related guides
- How to Water Indoor Plants the Right Way — pair feeding with correct watering; never fertilize dry soil.
- When to Repot Houseplants — repotting resets the soil’s nutrient charge, so hold off on fertilizer afterward.
- Winter Houseplant Care — why growth slows in low light and when to stop feeding.
- Grow Lights Complete Guide — keep plants active under artificial light and feed year-round at half strength.
- Best Soil for Indoor Plants — a well-draining mix flushes salt buildup instead of trapping it.
- Best Fertilizer for Indoor Plants — product-level detail on liquid, granular, and slow-release options.