Overwatered Plant: Signs, Fixes, and Recovery Timeline
Spot overwatered plant signs fast, fix root damage with a step-by-step rescue, and know your recovery timeline by plant type.
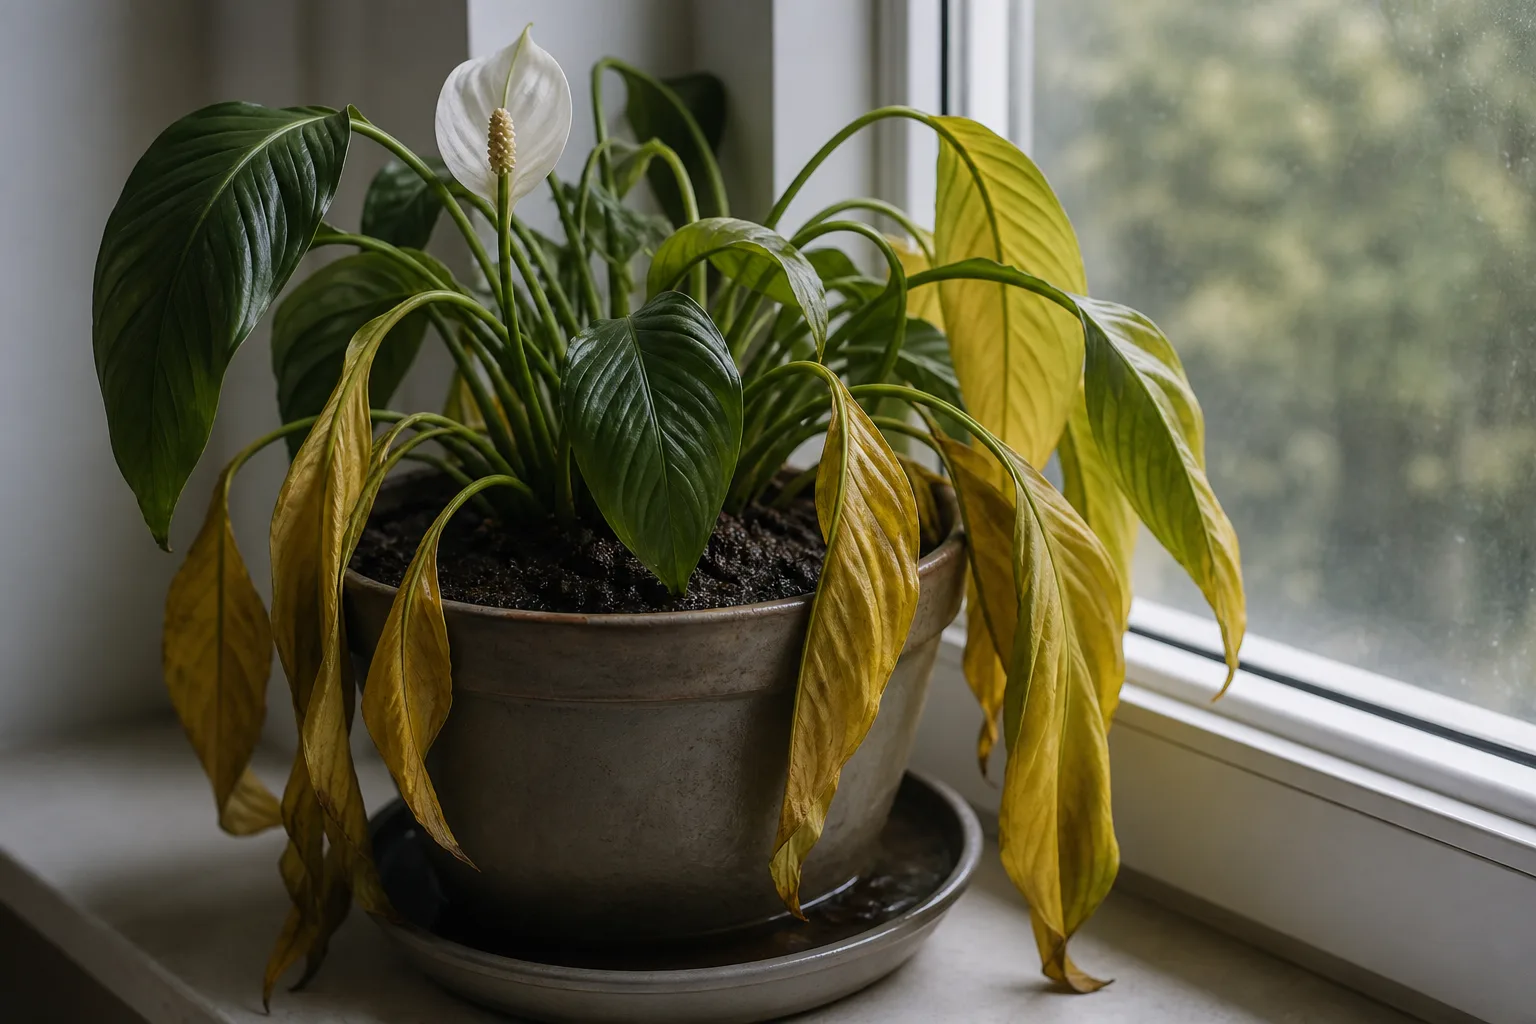
An overwatered plant does not look thirsty. It looks like it is dying — and confusingly, it often looks like it needs more water. Wilting, yellow leaves, soft stems, leaf drop: all of these can show up whether the soil is bone-dry or completely waterlogged. That is the trap. The most common reaction to a drooping houseplant is to reach for the watering can, and when the real problem is too much water, that reaction makes everything worse.
Overwatering is the number one reason indoor plants fail. University of Maryland Extension identifies excess moisture as the most frequent cause of houseplant decline, noting that overwatered plants can show the same wilting and yellowing symptoms as drought-stressed plants because waterlogged roots cannot function. (University of Maryland Extension) Your job is to spot the difference before the roots rot beyond repair.
This guide is a problem-solving workflow: identify the signs, confirm the diagnosis, assess how urgent it is, follow the step-by-step rescue, and track recovery on a realistic timeline. You will also learn how to prevent a repeat — because the plants that survive one overwatering episode often drown in the next one if the underlying habit does not change.
How to Know If Your Plant Is Overwatered
Both overwatered and underwatered plants wilt, yellow, and drop leaves. The difference is in the soil, roots, pot weight, and leaf texture — not just the leaf color. Missouri Botanical Garden explains that roots in overly wet soil die from oxygen deprivation, producing weak growth and yellow foliage that can look identical to drought damage. (Missouri Botanical Garden)
| What to check | Overwatered | Underwatered |
|---|---|---|
| Soil moisture below the surface | Wet, clings to finger or skewer days after watering | Dry throughout, may pull away from pot walls |
| Pot weight | Heavy, even after days without water | Noticeably light |
| Leaf texture | Soft, limp, sometimes mushy | Thin, papery, crispy at edges |
| Leaf color | Yellowing lower and inner leaves, sometimes dull green | Yellowing with dry brown edges, pale overall |
| Stem condition | Soft, may be mushy at the base | Firm but wilted |
| Root appearance | Brown, black, mushy, sour-smelling | Dry, brittle, pale to tan |
| Soil surface signs | Fungus gnats, algae, or mold on surface | Usually clean and dusty |
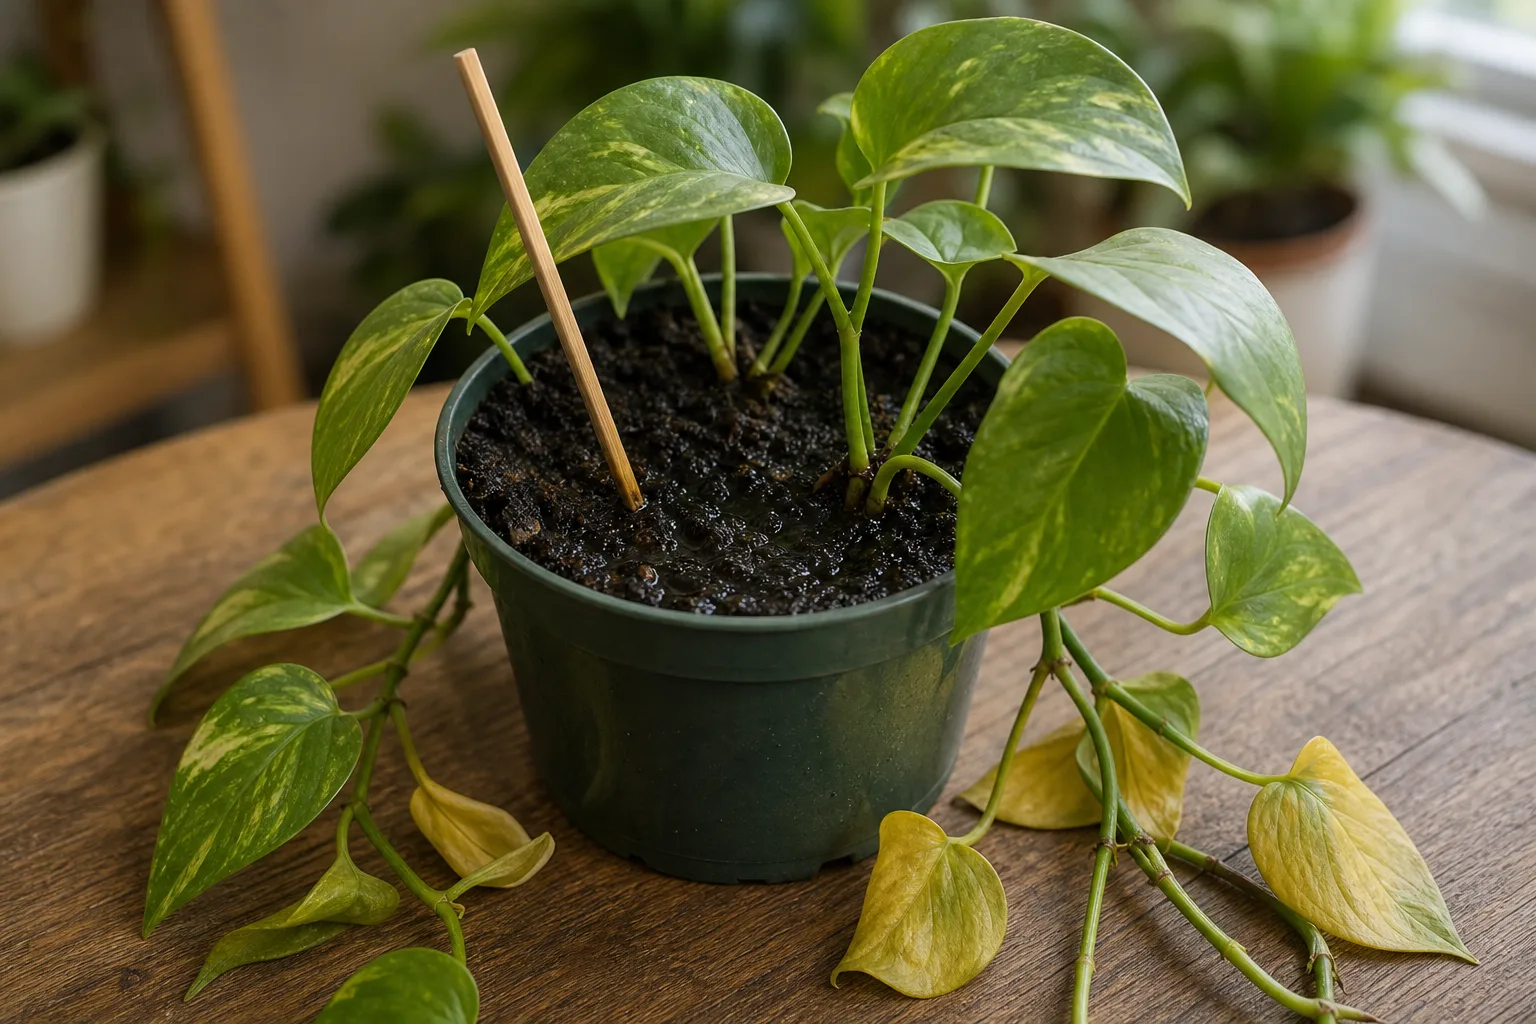
The fastest confirmation test: Push your finger or a wooden chopstick 5 cm (2 inches) into the potting mix. If it comes out damp or dark and the plant is drooping, overwatering is the likely cause. Lift the pot too — an overwatered pot feels significantly heavier than it should for its size. These two checks take less than 30 seconds and prevent the most common misdiagnosis in houseplant care.
Early signs vs. late-stage signs
Early overwatering (caught within days):
- One or two lower leaves turning yellow, still firm
- Soil stays damp at the surface longer than usual
- Slightly slower growth
- A few fungus gnats appearing
Moderate overwatering (one to two weeks of wet soil):
- Multiple yellow leaves, some soft and detaching easily
- Wilting despite wet soil
- Fungus gnats more numerous
- Soil smells slightly musty
Severe overwatering (weeks of saturated soil):
- Extensive yellowing and leaf drop
- Mushy, dark stems at the base
- Sour, swampy smell from the soil
- Roots are brown, black, mushy, or slimy when unpotted
- Plant may collapse entirely
SDSU Extension describes late-stage overwatering as wilting despite moist soil, yellowing leaves, and roots that look mushy, brown, fragile, and smell bad. (SDSU Extension) Once the stem base turns soft and the pot smells sour, you are past the point of simply letting the soil dry — root inspection and likely repotting are required.
The Urgency Factor: How Long Has the Soil Been Wet?
This question matters more than anything else in deciding what to do next. A plant that has been wet for two days needs different treatment than one that has been sitting in water for two weeks.
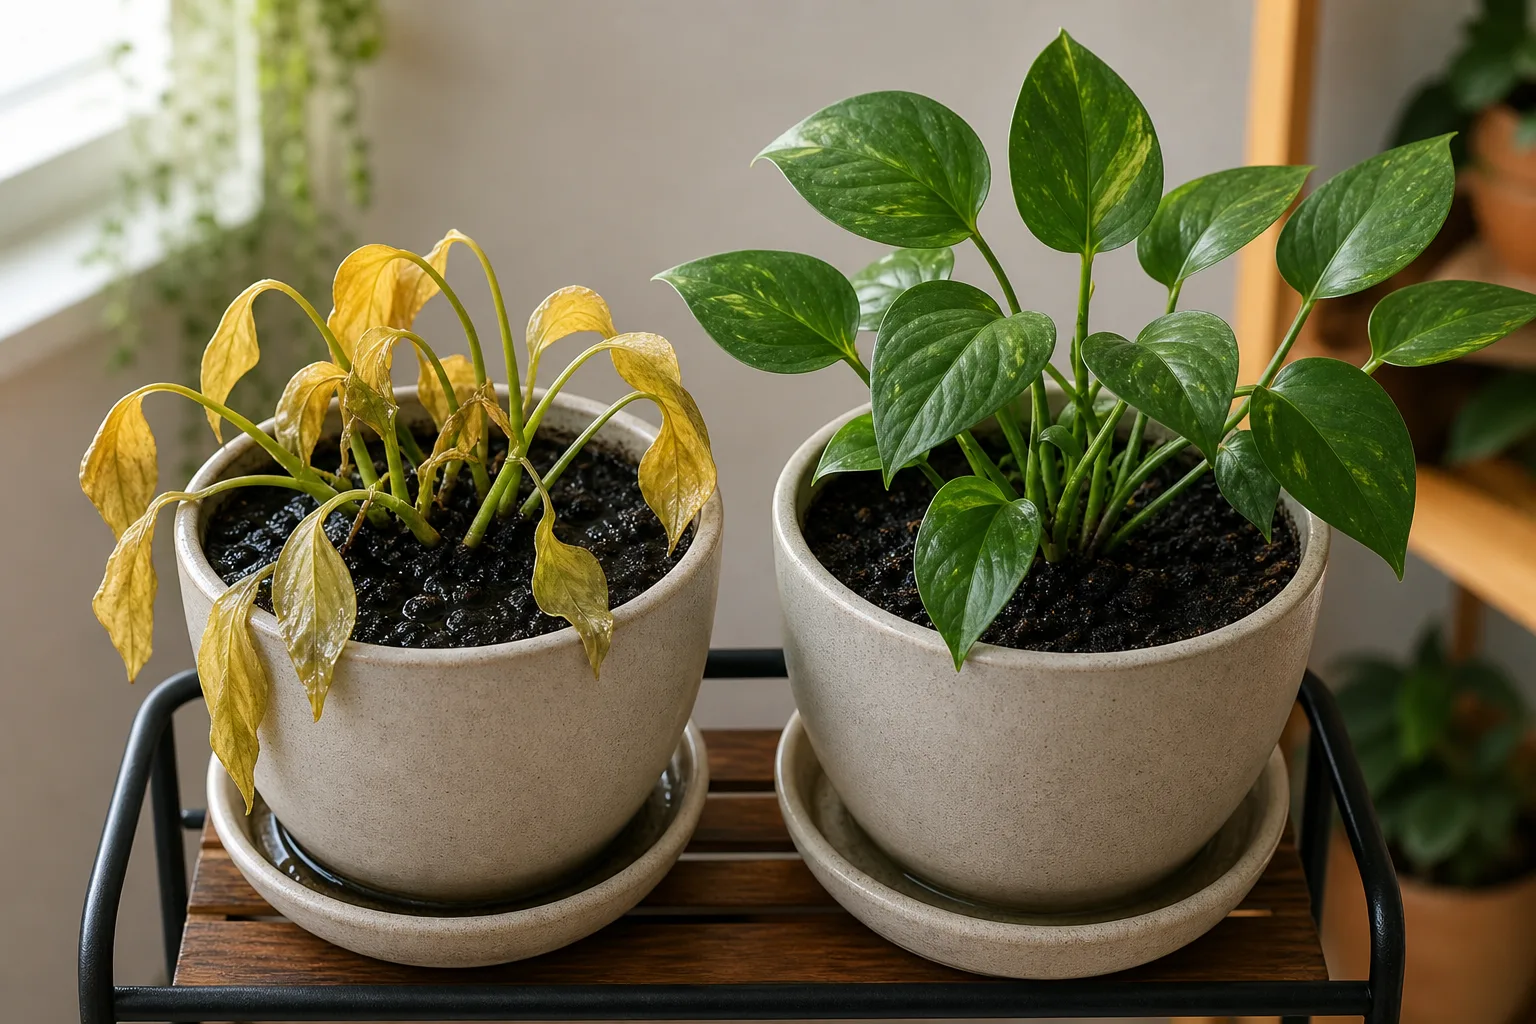
Wisconsin Horticulture notes that root rot pathogens such as Pythium and Phytophthora can begin colonizing roots within days of waterlogged conditions, and once established they spread rapidly. (Wisconsin Horticulture)
24 to 48 hours wet: The roots are stressed but likely still intact. Stop watering, tilt the pot so excess water drains, and move the plant into brighter indirect light so the soil dries faster. Most plants recover without repotting at this stage.
3 to 7 days wet: Root damage is probable. Yellowing may have started. Unpot the plant, inspect the roots, and be ready to trim and repot. Recovery is still very likely if you act now.
1 to 2 weeks or longer wet: Root rot is almost certain. Expect significant root pruning. Soft-stemmed plants like peace lilies, begonias, and African violets may not survive. Plants with thick rhizomes or tubers — snake plants, ZZ plants, pothos — have better odds because they store energy in structures that can survive root loss.
Temperature accelerates rot. A plant in wet soil at 24°C (75°F) deteriorates faster than one in a cool, airy room. If your plant is in a warm space and has been wet for more than a few days, act quickly rather than waiting to see if it improves on its own.
Step 1 — Stop Watering and Confirm the Diagnosis
Put the watering can down and do not water again until you have completed the diagnosis. Watering a plant that is already waterlogged is the single most damaging thing you can do.
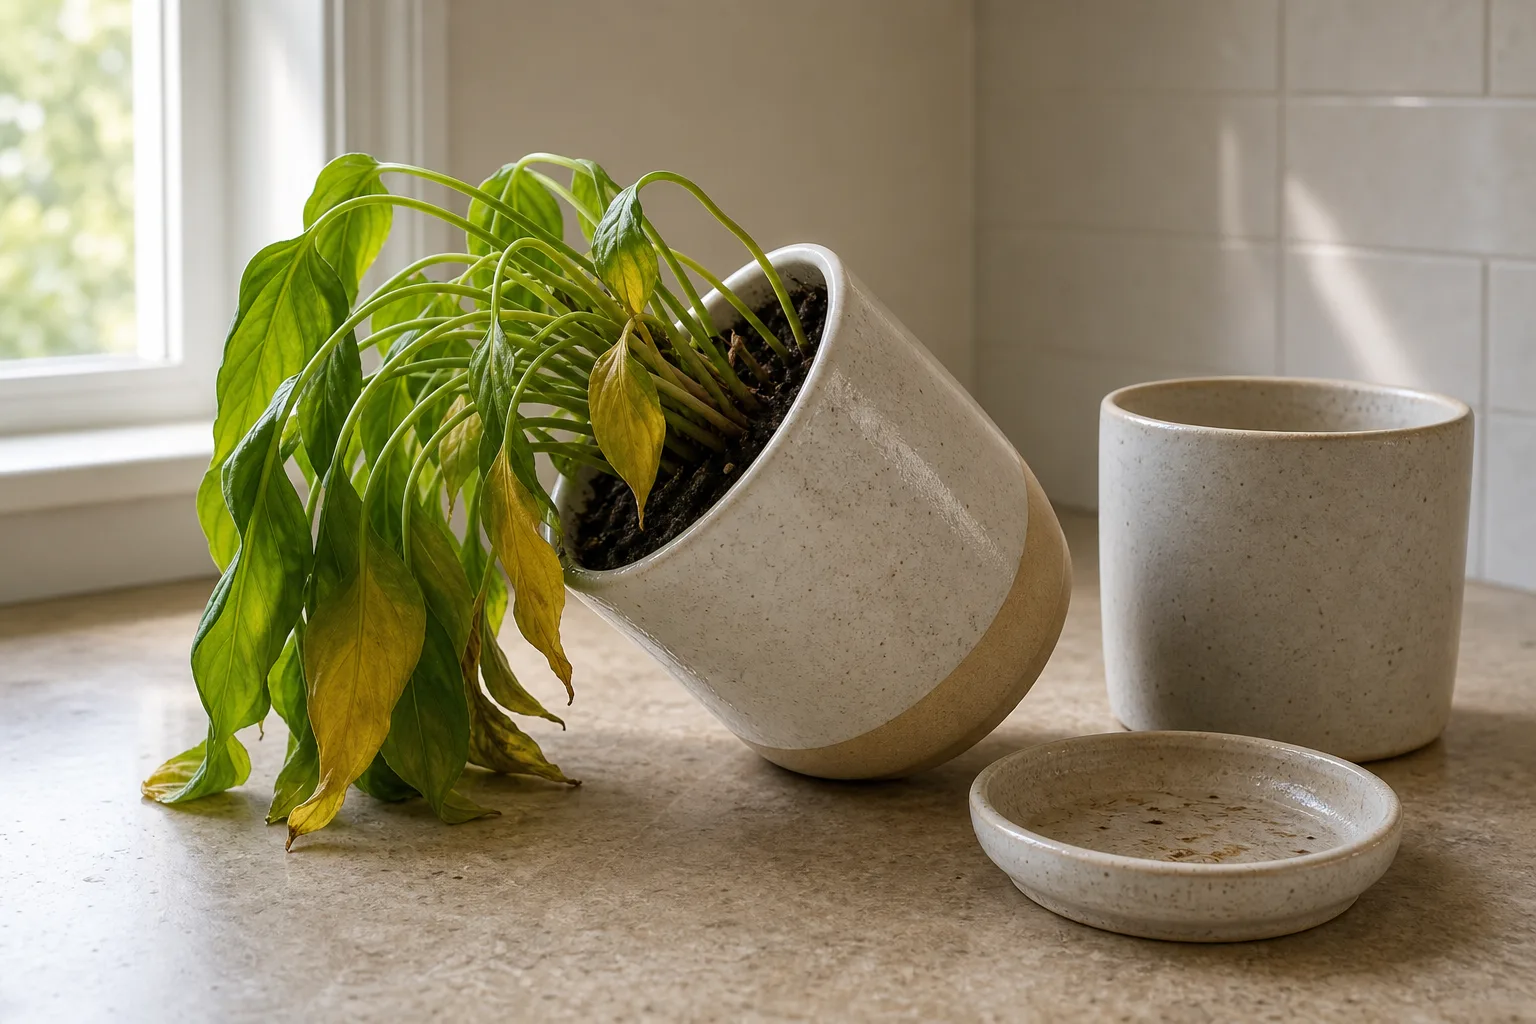
Lift the plant from its decorative cachepot if it sits in one. Empty any standing water from saucers or outer pots. University of Maryland Extension advises never letting houseplants sit in water that has drained out, because this keeps the root zone saturated. (University of Maryland Extension)
If the plant is mildly overwatered — the soil is damp but not soggy, leaves are slightly yellow but stems are firm, and there is no sour smell — you may only need to stop watering and let the soil dry. Tilt the pot at a 45-degree angle on a dry surface to help excess water drain and improve airflow around the drainage holes. Put the plant in bright indirect light, not direct sun — a stressed plant needs light to use soil moisture, but harsh sun on compromised roots causes more stress.
If the soil is clearly saturated, the pot is heavy, multiple leaves are yellowing, or there is any musty odor, continue to the next steps. Surface-level fixes will not be enough.
Step 2 — Unpot and Inspect the Roots
This is the most important diagnostic step. You cannot reliably assess root health through the pot. Slide the root ball out gently, supporting the base of the plant. If it is stuck, run a dull knife around the inside edge of the pot. Shake off loose, soggy soil so you can see the roots clearly.
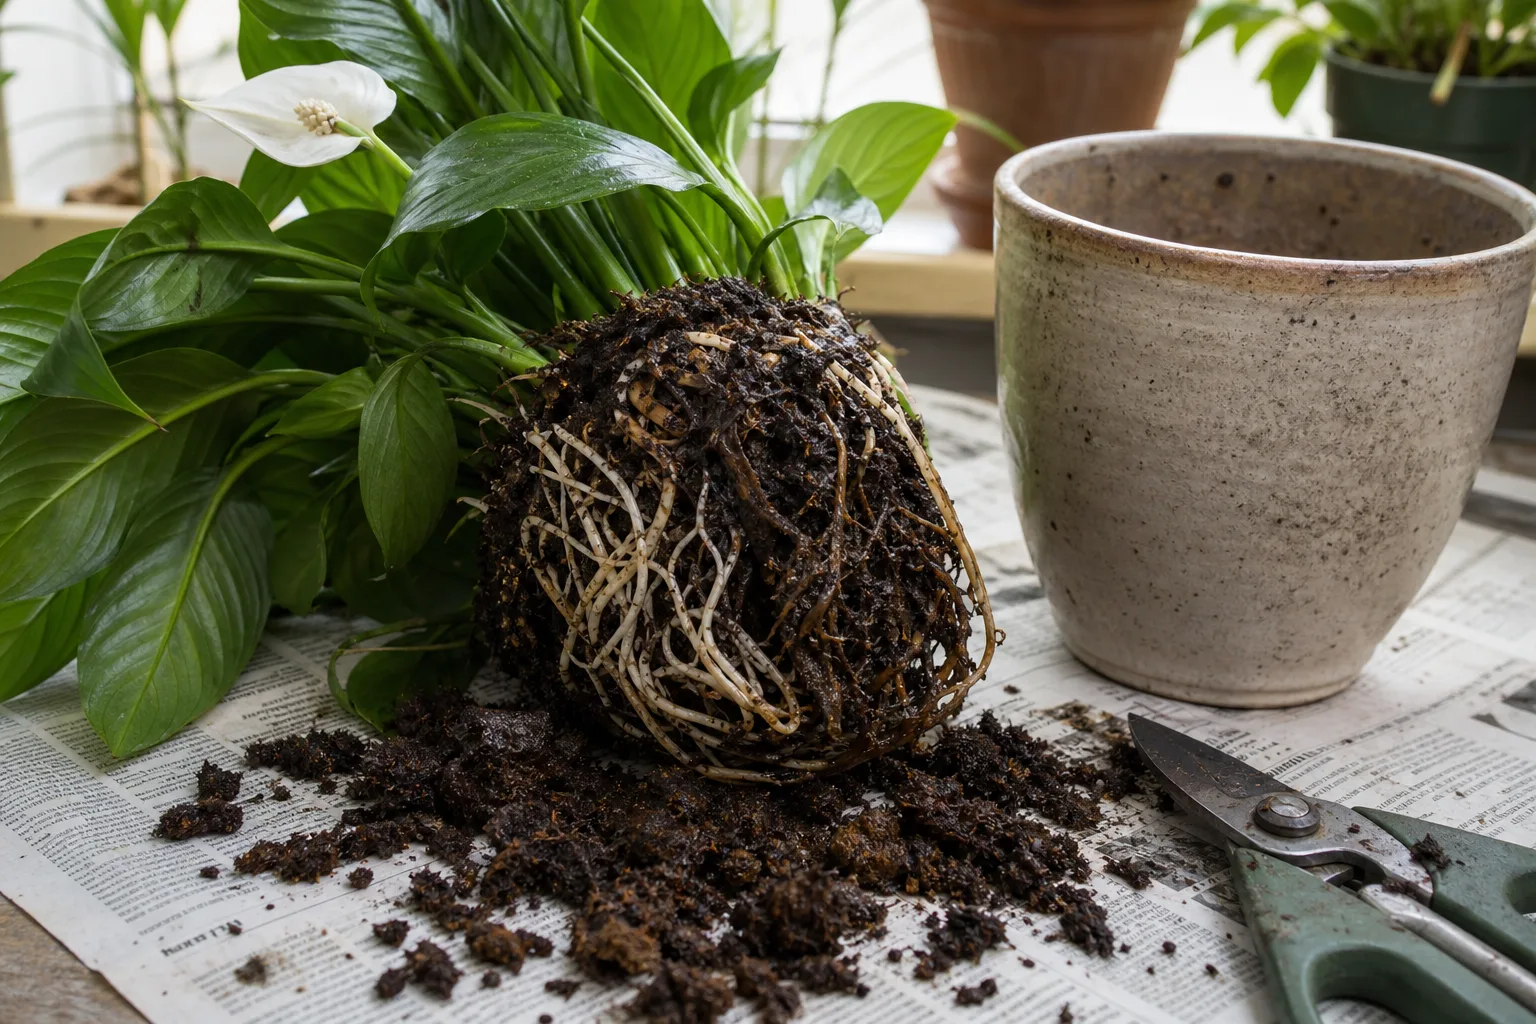
What healthy roots look like: Firm, flexible, and typically white, cream, tan, or light brown. They should not smell bad.
What rotting roots look like: Brown or black, soft or mushy when pressed, slimy, hollow, and often foul-smelling. Wisconsin Horticulture describes root rot as a disease condition where pathogens cause deterioration of the root system, and notes that it can be acute enough to kill the plant. (Wisconsin Horticulture)
The one-third rule: If fewer than one-third of the roots are rotten, the plant has an excellent chance of recovery. If between one-third and two-thirds are damaged, recovery is still possible with aggressive trimming and careful aftercare. If more than two-thirds are rotten, and especially if the crown or main stem is soft, recovery odds drop significantly. For soft-stemmed tropicals in this state, consider propagation from any remaining healthy stem sections instead.
Step 3 — Trim Rotten Roots and Treat
Use clean, sharp scissors or pruning shears. Trim away every root that is brown, black, mushy, hollow, or slimy. Cut back until you see firm, white or pale tissue. If you cut into a root and the inside is still dark, cut further back. Sterilize your blades with rubbing alcohol between plants to avoid spreading pathogens.
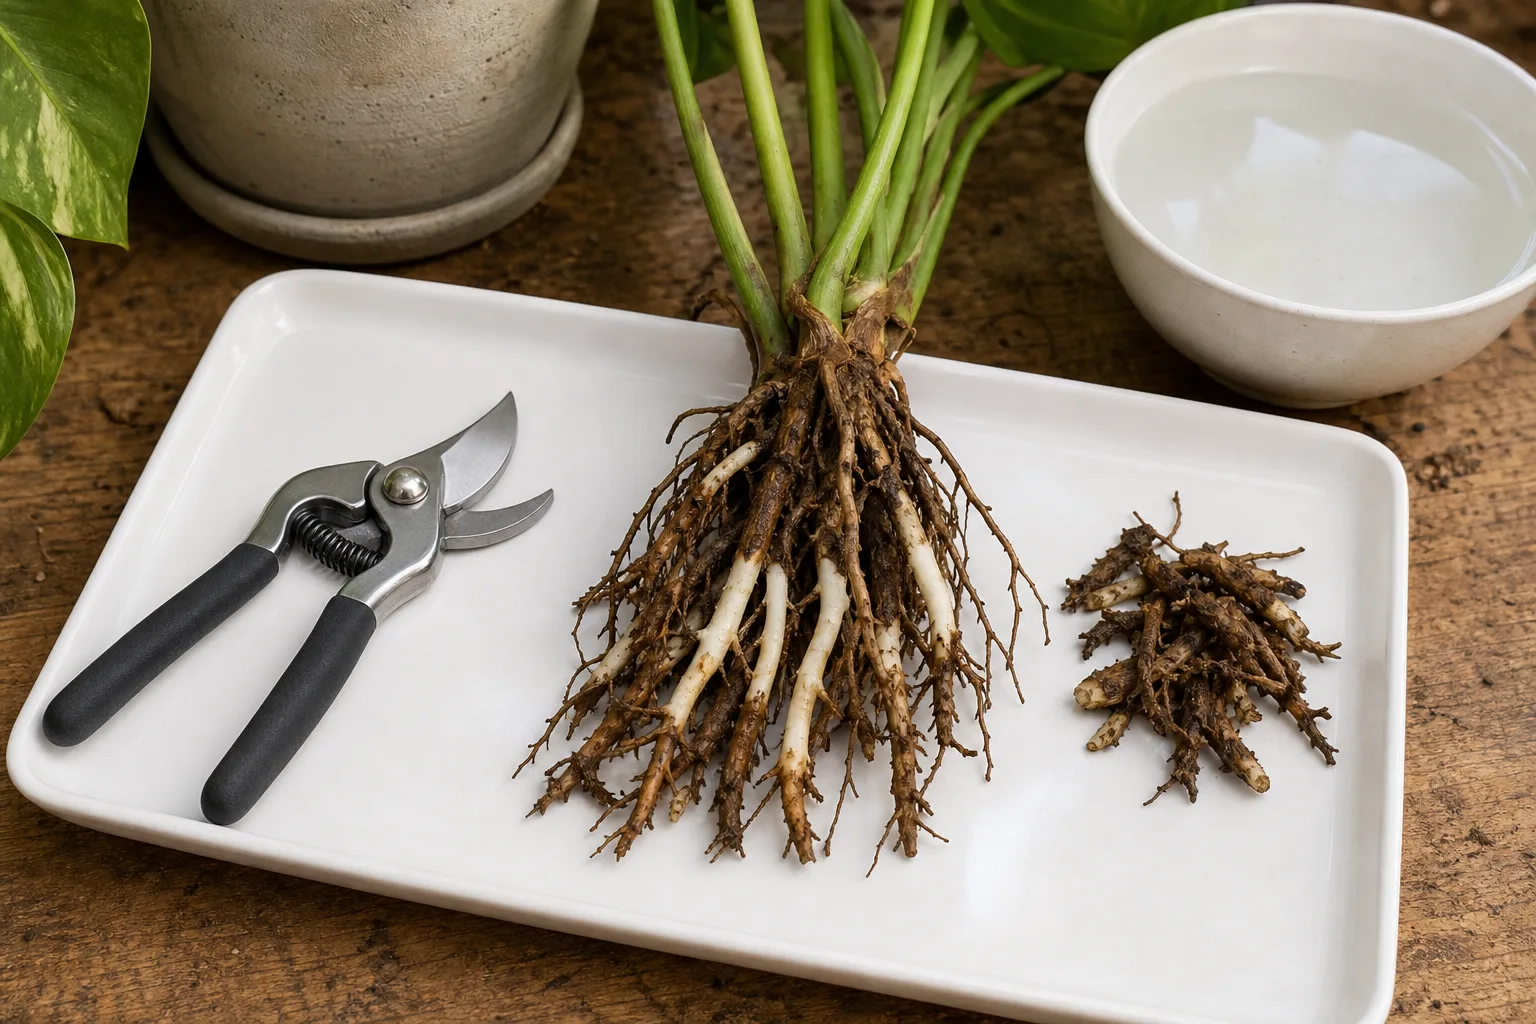
After trimming, gently rinse the remaining roots under room-temperature water to remove any lingering soil particles that may harbor fungal spores. Rinsing is not mandatory for mild cases where the roots look largely healthy, but it is helpful when rot was present.
Skip the panic remedies. Hydrogen peroxide root dips, cinnamon dusting, and household soap sprays circulate widely online, but they are poorly matched to most root-rot rescues. Wisconsin Horticulture recommends trimming rotten roots, repotting in fresh pasteurized mix, and correcting moisture — not applying home fungicides. Hydrogen peroxide can be phytotoxic to delicate root tissue at the wrong concentration. Focus on physical removal of rot, a clean pot, fresh medium, and proper drainage instead.
Step 4 — Repot Into a Clean Pot With Fresh Mix
Never put a recovering plant back into the same pot with the same soil. The old mix holds residual moisture and may carry fungal spores that restart the problem.
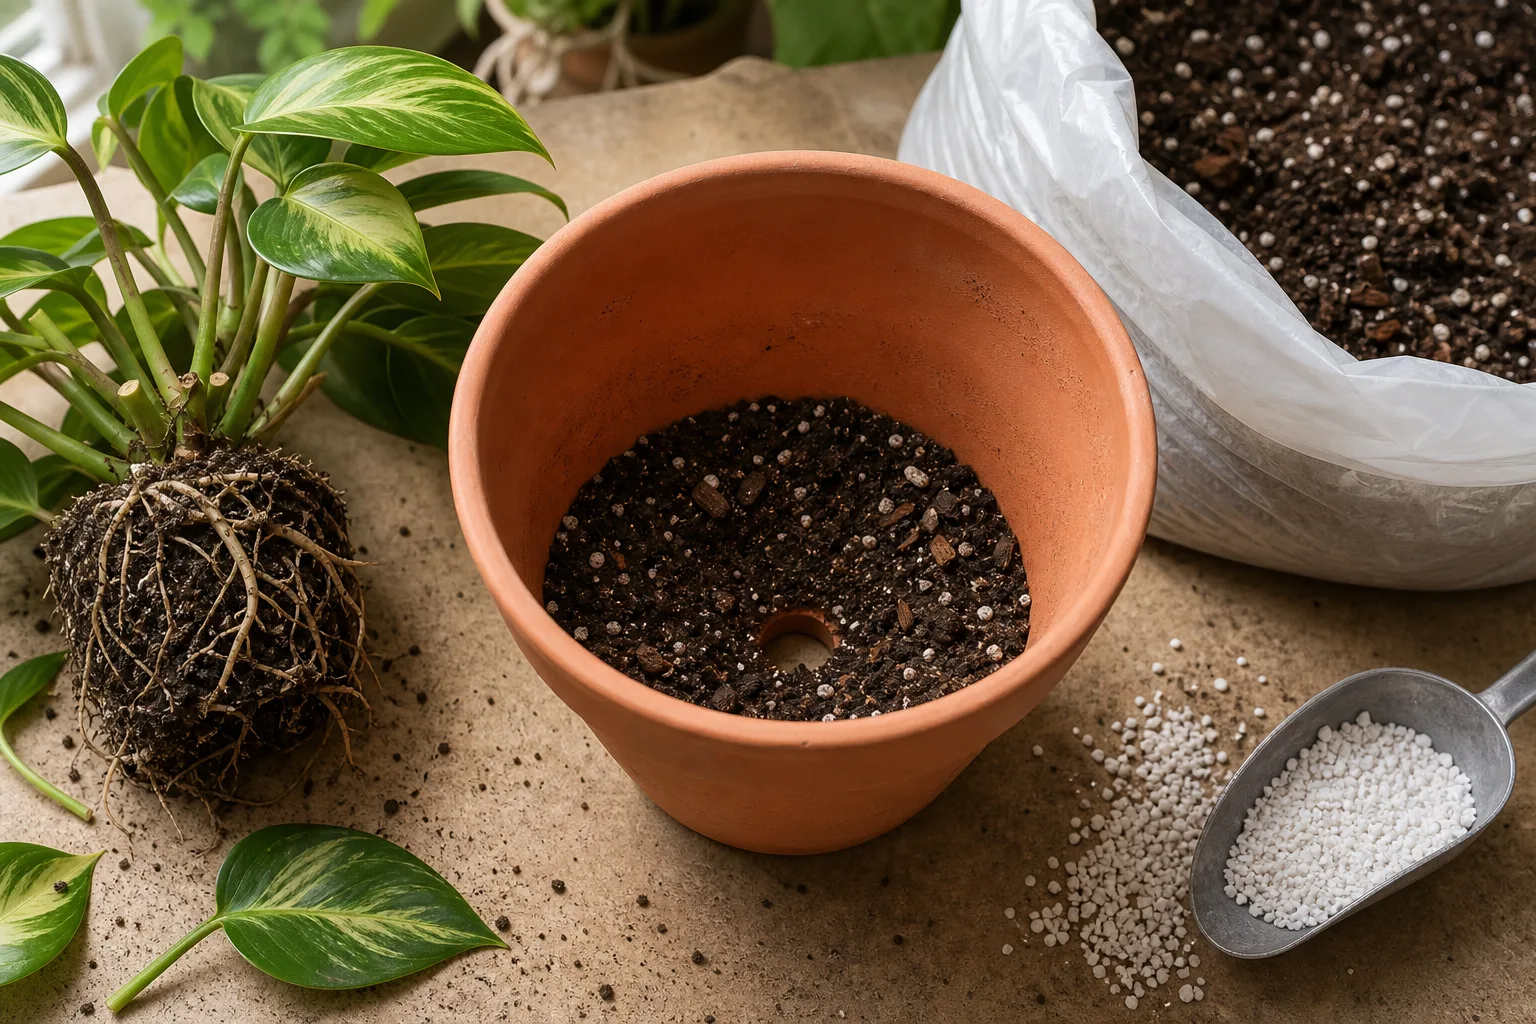
Choose the right pot:
- Use a pot only slightly larger than the remaining root mass, not the original pot size. An oversized pot holds excess soil that stays wet because the reduced root system cannot absorb moisture quickly enough.
- Terracotta is helpful for recovery because its porous walls allow moisture to evaporate through the sides.
- The pot must have at least one drainage hole. No drainage hole means long-term recovery is impossible.
- Wash the pot thoroughly if reusing it. UC IPM notes that root rot is often associated with poor drainage and overwatering, and that drainage worsens as potting media ages and compacts. (UC IPM)
Prepare the soil: Use a fresh, well-draining potting mix. For most houseplants, adding 20 to 30 percent perlite or orchid bark to standard potting mix improves aeration significantly. For succulents, cacti, and other drought-tolerant plants, use a dedicated gritty mix with coarse sand or pumice. For aroids like pothos and monstera, a chunky mix with bark, perlite, and coco coir drains faster than standard peat-based soil.
Repotting process: Add a layer of fresh dry mix to the bottom of the pot. Position the plant so the roots have room to spread, fill around them gently without compacting the soil, and leave a small gap at the top to prevent water pooling. Do not water immediately. Wait 24 to 48 hours before giving any water so the cut root ends can callus and the plant can settle into the dry mix.
Step 5 — Aftercare and the Recovery Timeline
After repotting, keep the plant in bright indirect light — bright enough to support recovery, but no direct sun on stressed roots. Avoid moving the plant frequently. A recovering plant needs stability more than constant adjustments.
Water conservatively during recovery:
- Week 1 to 2: Water sparingly, only enough to moisten the top third of the soil. Let the lower portion stay dry. The reduced root system cannot process large amounts of water yet.
- Week 3 onward: Gradually return to a normal watering rhythm once new growth appears. By this point, the roots should have begun regenerating enough to handle more moisture.
Do not fertilize a recovering overwatered plant. Fertilizer is not medicine. It pushes growth that damaged roots cannot support, and soluble salts can burn already-stressed root tissue. Wait until you see healthy new growth — typically 4 to 6 weeks after repotting — before resuming any feeding, and start at a diluted concentration.
Do not repot again out of impatience. One rescue repot is enough. Repeated disturbances prevent the roots from settling. If the plant is still declining after two weeks, reassess light, temperature, and moisture — but do not uproot it again without a specific reason.
Recovery timeline by severity
| Severity | What happened | Expected recovery | Signs of progress |
|---|---|---|---|
| Mild | Soil damp but not soggy; minor yellowing; no root rot | 3 to 7 days | Soil dries; yellowing stops; leaves firm up |
| Moderate | Saturated soil; multiple yellow leaves; some mushy roots | 2 to 4 weeks | Yellowing stops; stems firm; new growth emerges |
| Severe | Weeks of wet soil; extensive root rot; root pruning needed | 4 to 8 weeks or longer | Decline halts; new roots form; first new leaf appears |
Recovery does not mean the old damaged leaves turn green again. Yellow leaves will not revert to green, and crispy edges will not heal. Recovery means the decline stops, stems firm up, and new growth emerges healthy. Judge the plant by its newest leaf, not its oldest damage.
If the crown is completely mushy, the main stem is hollow, or no firm roots remain after trimming, the plant is unlikely to recover. In that case, look for healthy nodes or stem sections above the rot to propagate.
Prevention: Watering Habits That Stop Overwatering Before It Starts
University of Maryland Extension states that plants should be watered when they need it, not on a fixed schedule. (University of Maryland Extension) The calendar does not know your room temperature, pot size, season, or how much light the plant received this week.
Check before you water — every time:
- Push a finger or wooden chopstick 2 to 5 cm (1 to 2 inches) into the potting mix. If it feels damp, wait.
- Lift the pot. Learn the weight difference between a freshly watered pot and one that is ready for water. Your hands learn this faster than any schedule.
- For plants in low light, cool rooms, large pots, or dense soil, stretch the interval further — these conditions slow water use dramatically.
Drainage is non-negotiable. Clemson HGIC advises watering thoroughly until water runs from the drainage holes, then emptying saucers and outer pots so roots are never sitting in standing water. (Clemson HGIC) Cachepots without drainage holes should only be used as decorative sleeves — the inner nursery pot must drain freely, and collected water should be emptied after each watering.
Match the pot and mix to the plant:
- Pot material: Terracotta dries faster than plastic or glazed ceramic. Use it for plants prone to overwatering, like succulents, snake plants, and ZZ plants.
- Pot size: Size up only 2 to 5 cm (1 to 2 inches) in diameter when repotting. Oversized pots hold moisture the plant cannot use.
- Soil mix: Amend dense bagged potting soil with perlite, bark, or pumice for plants that need fast drainage. Cacti and succulents need a gritty, low-organic mix.
Seasonal adjustment is not optional. A plant that needs water every 5 days in bright summer light may only need water every 10 to 14 days in dim winter conditions. The RHS advises checking whether the pot needs water first rather than watering on routine, and notes that dry pots feel lighter than wet ones. (RHS) If you keep the same watering frequency year-round, your plants are at risk for at least half the year.
For a deeper walkthrough of watering mechanics and seasonal adjustment, see the how to water indoor plants the right way guide and the indoor plant watering basics cheat sheet.
Which Plants Handle Overwatering Best — and Worst
Not all houseplants respond equally to overwatering rescue. Knowing where your plant falls on the resilience spectrum helps set realistic expectations.
Most resilient — recover well even from significant root loss:
- Pothos — produces new roots from nodes quickly; can be propagated from a single healthy cutting if the main plant is too far gone
- Snake plant (Sansevieria) — thick rhizomes store energy; can survive losing most of the root system if the rhizome stays firm
- ZZ plant — rhizomes act as an energy buffer; plants with healthy rhizomes often recover even when most fine roots are gone
- Philodendron — vining philodendrons root readily from nodes; repot into fresh aroid mix and they usually bounce back
Moderately resilient — recover with prompt intervention:
- Monstera deliciosa — thick roots resist rot longer than fine-rooted plants; see the save a dying houseplant guide for the full root-rot rescue workflow
- Spider plant — tuberous roots store reserves; trim rotten roots and repot in well-draining mix
- Dracaena — cane-forming plants can be cut above rot and re-rooted
Least resilient — overwatering damage progresses quickly:
- Peace lily — one of the most commonly overwatered plants and also one of the least tolerant of root rot; once the crown softens, recovery is difficult
- Begonia — soft stems rot fast; once the stem base is mushy, take leaf or stem cuttings from healthy sections above the rot
- African violet — crown rot sets in quickly and is usually fatal; leaf propagation from healthy leaves is often the only option
- Most succulents and cacti — highly susceptible to rot once it begins; if the stem or body is still firm, cut above the rot, let the cut callus for several days, and replant in dry gritty mix
If your plant is on the low-resilience list and the stem base is soft, take healthy cuttings or leaves now while you can. Do not wait for the rot to spread upward — propagation gives you a backup even if the original plant does not make it.
Related Guides
- How to water indoor plants the right way — step-by-step top and bottom watering, plant-type deep dives, and recovery after chronic overwatering.
- Indoor plant watering basics — quick-reference cheat sheet for moisture checks, drain rules, and species dry windows.
- Save a dying houseplant — full triage for struggling plants covering root rot, pests, light stress, and repotting.
- Houseplant diseases identification and treatment — when root rot overlaps with infectious disease.
- Repotting houseplants — when a pot change helps, how to size up correctly, and soil selection.
- Why are my Monstera leaves yellow — species-specific yellow-leaf diagnosis for Monstera owners.
- Why houseplants struggle in winter — seasonal slowdown and why your summer watering routine is dangerous in winter.
Conclusion
Overwatering is the most common reason indoor plants decline, and it is also the most commonly misdiagnosed because the symptoms mimic drought. The defining test is not the leaf color — it is the soil moisture below the surface. Wet soil plus wilting equals overwatering until proven otherwise. Stop watering, confirm the diagnosis, inspect the roots if the soil has been wet for more than a few days, trim away rot, repot into a clean pot with fresh well-draining mix, and give the plant bright indirect light with conservative watering during recovery.
Recovery is measured in new growth, not in old leaves healing. A plant with firm roots, a solid crown, or viable nodes can come back. The ones that do not survive are usually the ones where the owner kept watering while hoping the problem would fix itself. Prevention is simpler than rescue: check moisture before watering, use pots with drainage holes, match the pot size and soil type to the plant, and adjust your watering rhythm to the season.