How to Bottom Water Houseplants: Step-by-Step Guide
Learn when to bottom water houseplants, how long to soak them, which plants benefit and what mistakes to avoid.
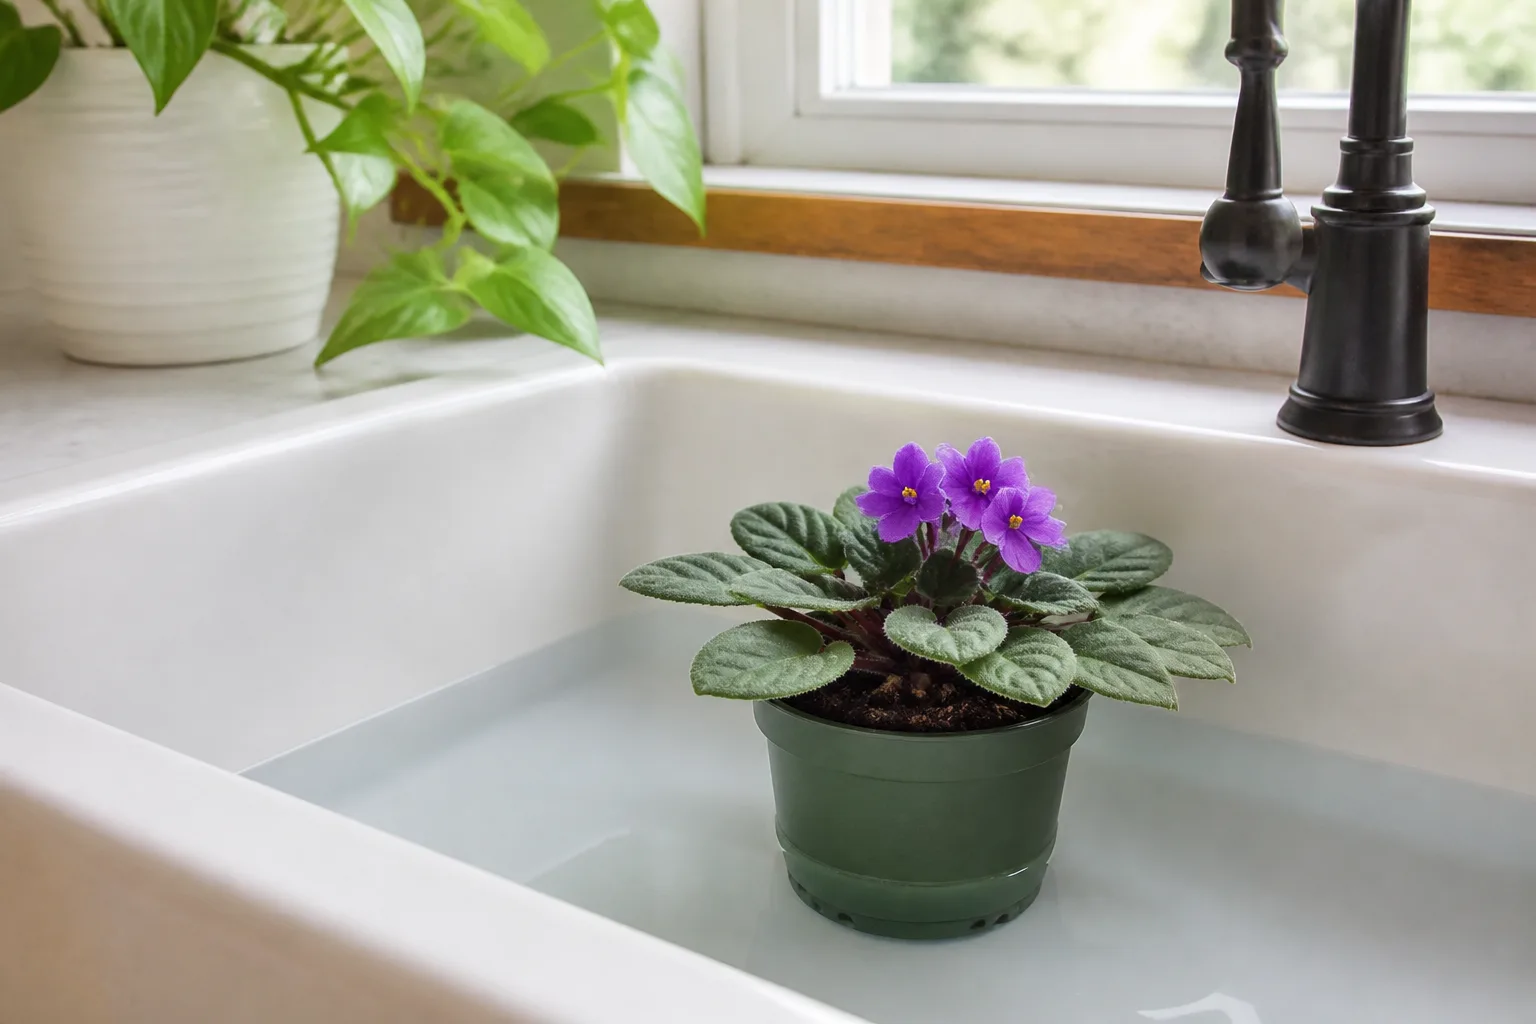
Bottom watering means letting dry potting mix pull water upward through drainage holes instead of pouring water onto the soil surface. You set the nursery pot in a shallow basin, sink, or tray, add water partway up the pot’s sides, and wait until moisture reaches the top of the mix. The goal is even rehydration of the root ball—especially when top watering runs down the sides and leaves the center bone dry.
This is not a replacement for good drainage, light, or a sane watering schedule. It is a technique for specific situations: hydrophobic mix, sensitive leaves, dense foliage that is hard to reach, or a plant that keeps getting unevenly wet from the top. Used casually—especially if you forget the pot sitting in water—it can cause the same root stress as overwatering. Used deliberately, it is one of the most useful skills in a home grower’s toolkit.
For the full watering framework—moisture checks, drain rules, and species habits—start with how to water indoor plants the right way. This guide goes deep on bottom watering only.
What Bottom Watering Actually Does
When you bottom water houseplants, water enters the mix from below and moves upward by capillary action. Dry soil acts like a wick: pores pull water in until the mix approaches saturation. Singapore’s National Parks Board GardeningSG resource describes bottom watering as semi-submerging pots so soil soaks up moisture through drainage holes until it cannot hold more. (GardeningSG)
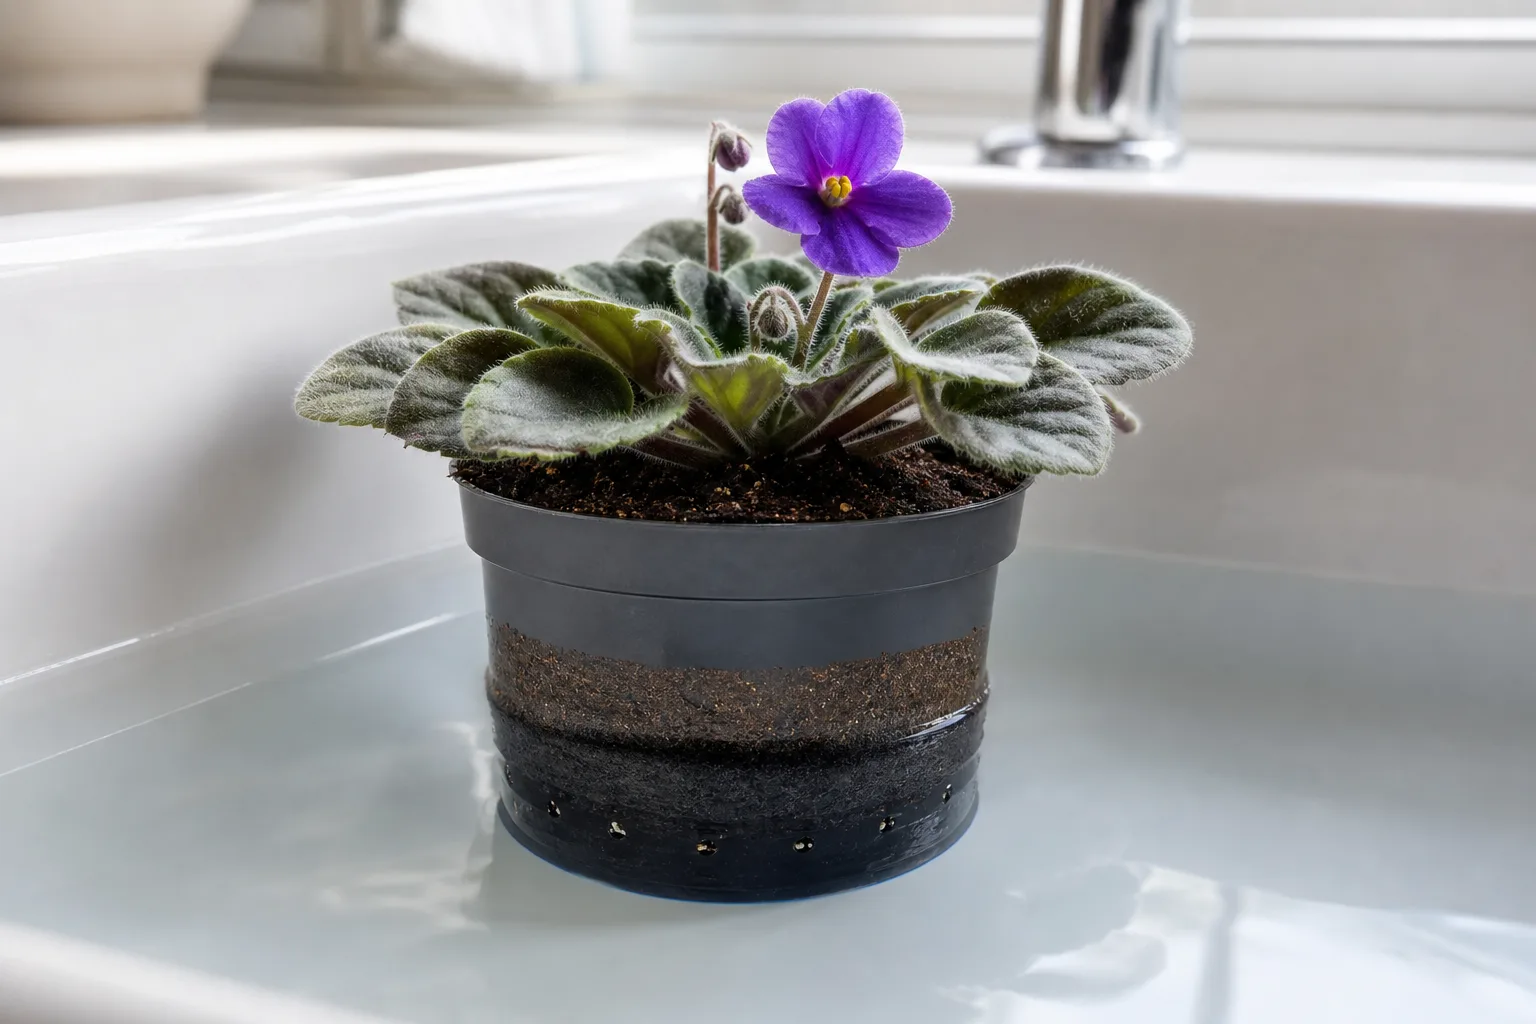
That upward movement matters because many watering problems are not “too little water overall” but uneven water. Peat-heavy or very dry mixes can repel surface water. You pour, water races out the drainage holes, and the saucer fills while the middle of the root ball stays dry. The plant looks watered; the roots disagree.
Bottom watering forces the dry center to participate. Virginia Cooperative Extension notes that bottom watering can hydrate potting soil that has become hydrophobic, though hydrophobic mixes may need longer soak cycles or repeats until the surface finally feels moist. (Virginia Cooperative Extension)
Capillary Action and the Root Zone
Capillary action is the same principle behind wick watering and some self-watering setups: moisture moves through small spaces in potting mix until equilibrium. Fine, peat-rich mixes hold more water per volume; chunky bark-and-perlites mixes drain faster and may need a longer soak or a deeper water level to fully rewet.
Editorial note: In a LeafyPixels sink test, a 6-inch plastic nursery pot with peat-perlite mix that had dried for 12 days needed 28 minutes in a basin filled to half the pot height before the surface darkened. A 4-inch succulent mix in the same depth took 18 minutes. Your timing will vary with pot size, mix, and dryness—use touch, not the clock alone.
The root zone should end evenly moist, not sopping for days. Extension guidance consistently separates thorough hydration from standing in water indefinitely. Hydrate the full volume once; then let excess drain and let the mix dry appropriately before the next session.
When Bottom Watering Helps More Than Top Watering
Bottom watering shines when top watering fails the plant, fails your setup, or fails both.
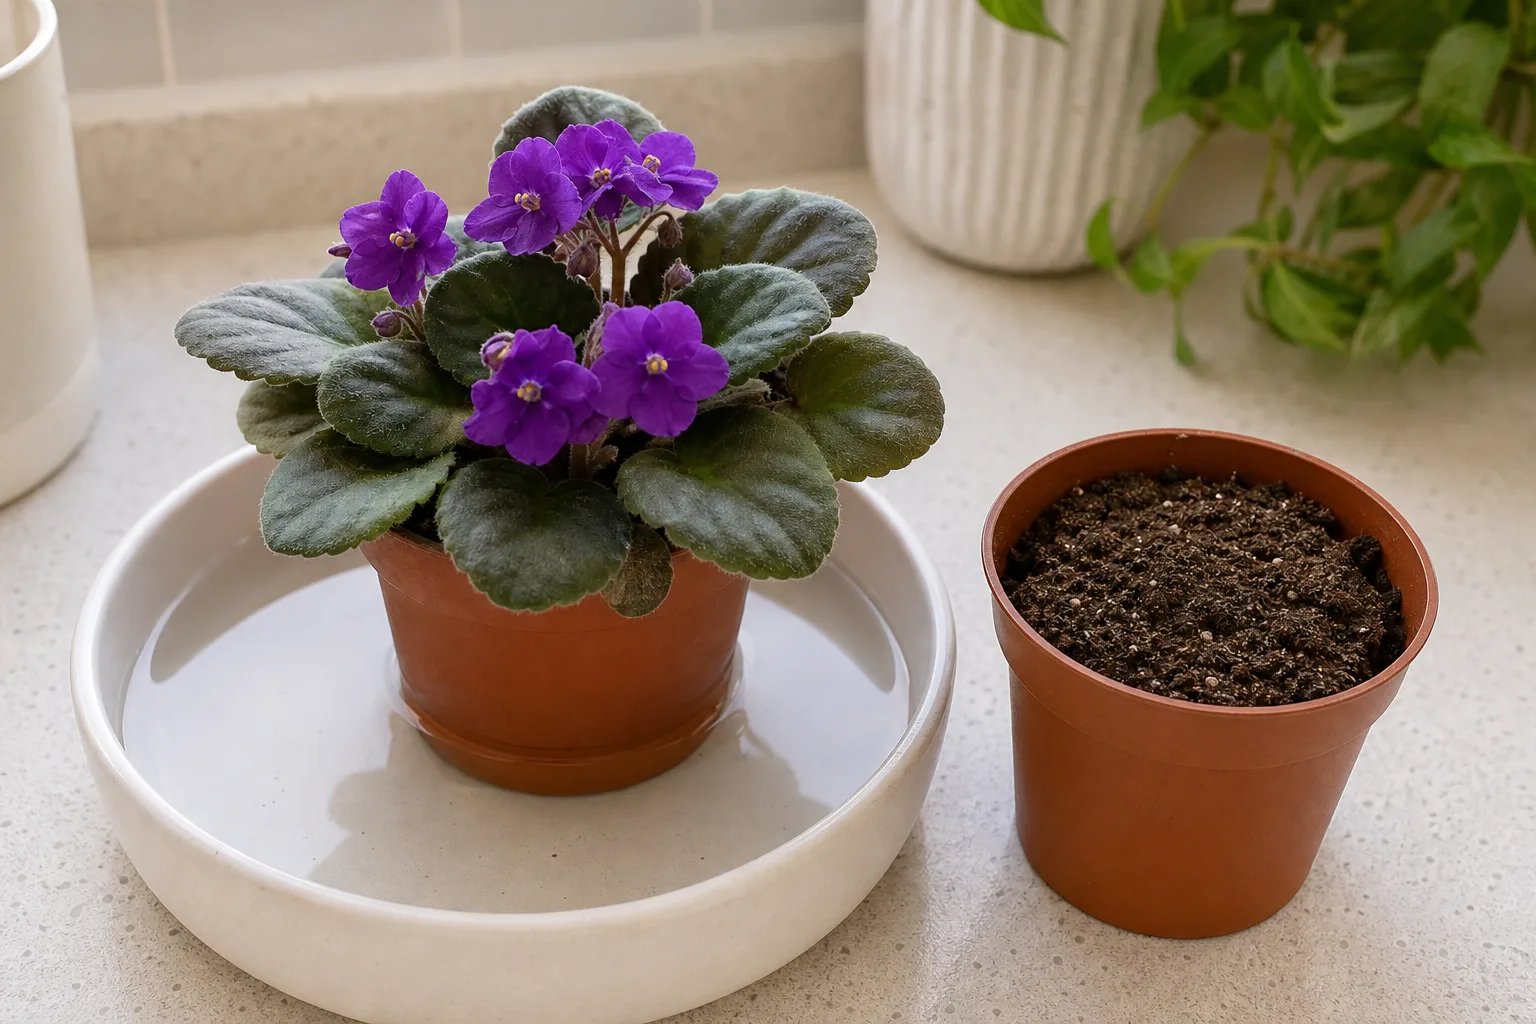
Uneven absorption is the most common trigger. If water beads on the surface or channels down the inside wall of the pot, the top looks wet while inner roots stay dry. That pattern shows up often in hydrophobic soil after a vacation dry-out or chronic underwatering followed by a panic pour. Bottom watering gives the dry core first access to water.
Leaf and crown sensitivity is the second major trigger. Virginia Cooperative Extension recommends bottom watering for plants that cannot tolerate wet foliage—African violets, begonias, and cyclamen are named examples—as well as some cacti and succulents prone to leaf disease when splashed, and houseplants with dense foliage that makes overhead watering awkward. (Virginia Cooperative Extension)
Controlled rewetting helps when you are nursing a stressed plant back from underwatering. Extension literature for container houseplants notes that bottom watering works well to fully rehydrate dry mix, sometimes requiring refills as the soil draws water. (Virginia Cooperative Extension) That is different from watering on a schedule; it is a recovery tool.
Dry, Hydrophobic Potting Mix
Hydrophobic mix repels water. You see dry pockets after a normal top water, or the pot feels light again within a day despite your effort. Bottom watering—possibly repeated until the surface moistens—coaxes water into the matrix from below.
GardeningSG advises checking that soil is dry for at least several centimeters from the top before bottom watering, then filling a container so water reaches halfway to three-quarters up the pot side. (GardeningSG) If the top still will not moisten after one cycle, drain, refill the basin, and try again rather than leaving the pot submerged overnight.
Fuzzy Leaves and Sensitive Crowns
African violets are the classic example: cold water on fuzzy leaves causes spotting; water pooling in the crown invites rot. Bottom watering keeps the foliage dry while the mix rewets. The same logic applies to other hairy-leaved gesneriads and any plant where you cannot easily direct water to the soil without soaking leaves.
That does not mean bottom watering is the only option forever. It means it is the safest rehydration path when overhead water creates repeated cosmetic or crown damage.
When Top Watering Is Still the Better Default
Colorado State University Extension’s PlantTalk guidance is blunt: for most houseplants, watering from the top is generally better than subirrigation (bottom watering). Subirrigation can allow soluble salts to accumulate on and in the soil surface, and high salt levels stress roots, limit growth, and burn foliage. If you bottom water regularly, they recommend periodically watering from the top to leach salts through the drainage holes. (PlantTalk Colorado)
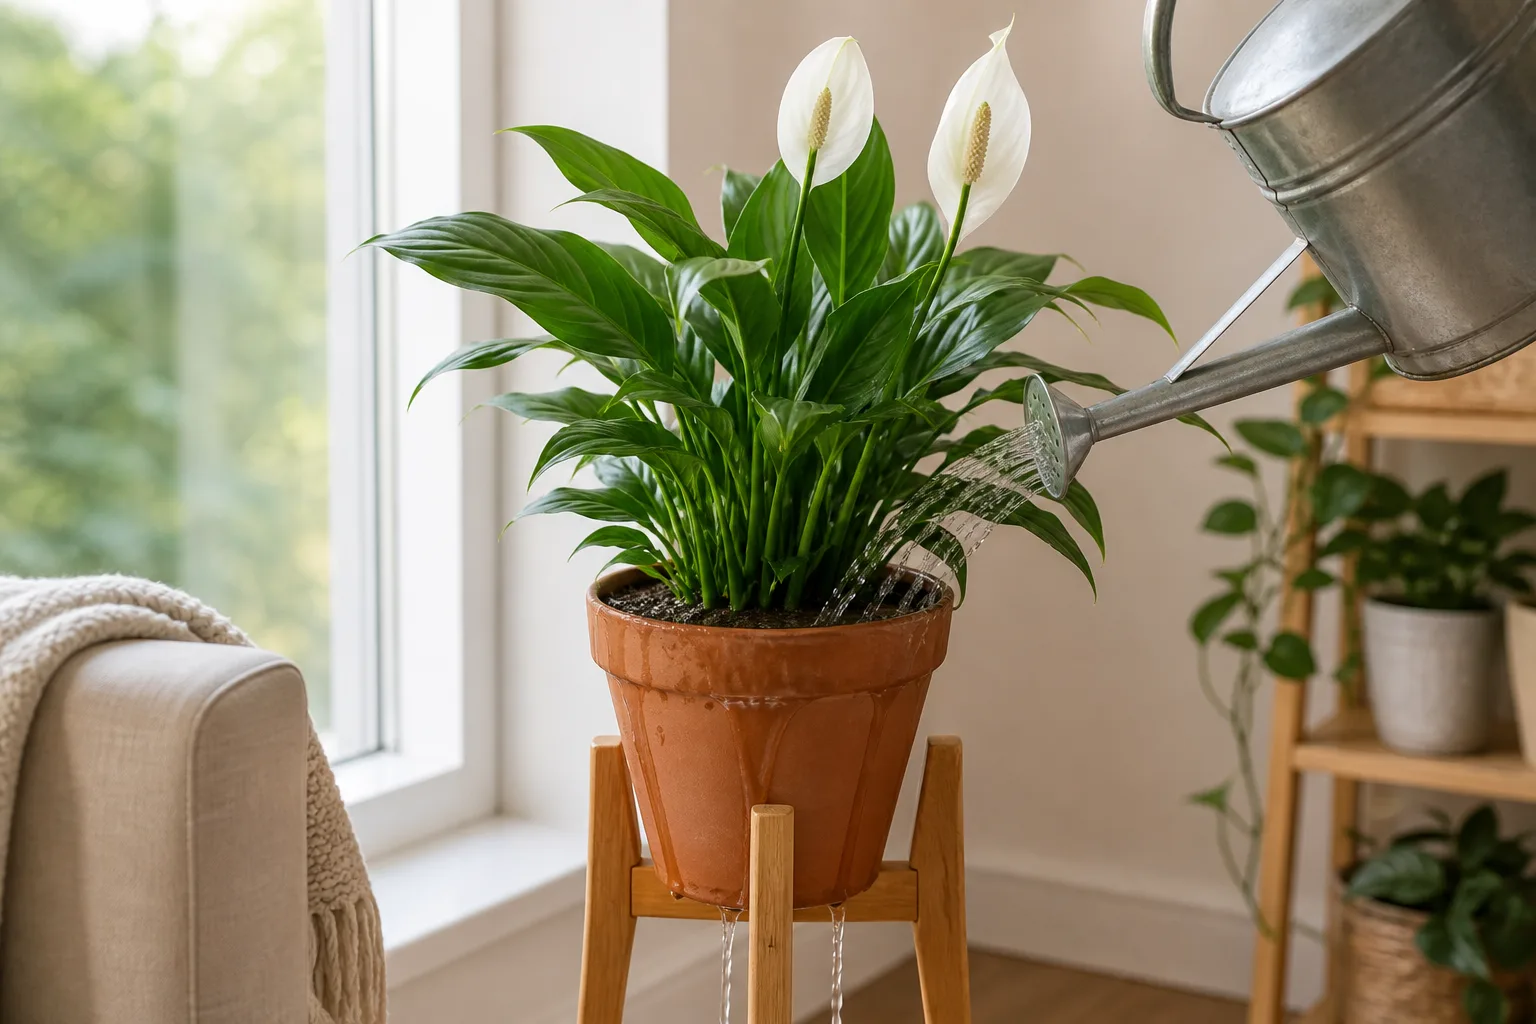
Top watering also makes it easier to flush the profile—to see water run clear from the bottom and know you have moved salts and stale air through the mix. Top watering is faster for large pots you cannot lift into a sink. Top watering is simpler when you are fertilizing and want even distribution at the surface.
Think of bottom watering as a specialty tool, not a lifestyle. Many experienced growers top water 80% of the time and bottom water when the mix or the plant demands it. That matches how bottom watering appears across extension sources: valuable, situational, and dangerous when it becomes “the pot always sits in water.”
What You Need Before You Start
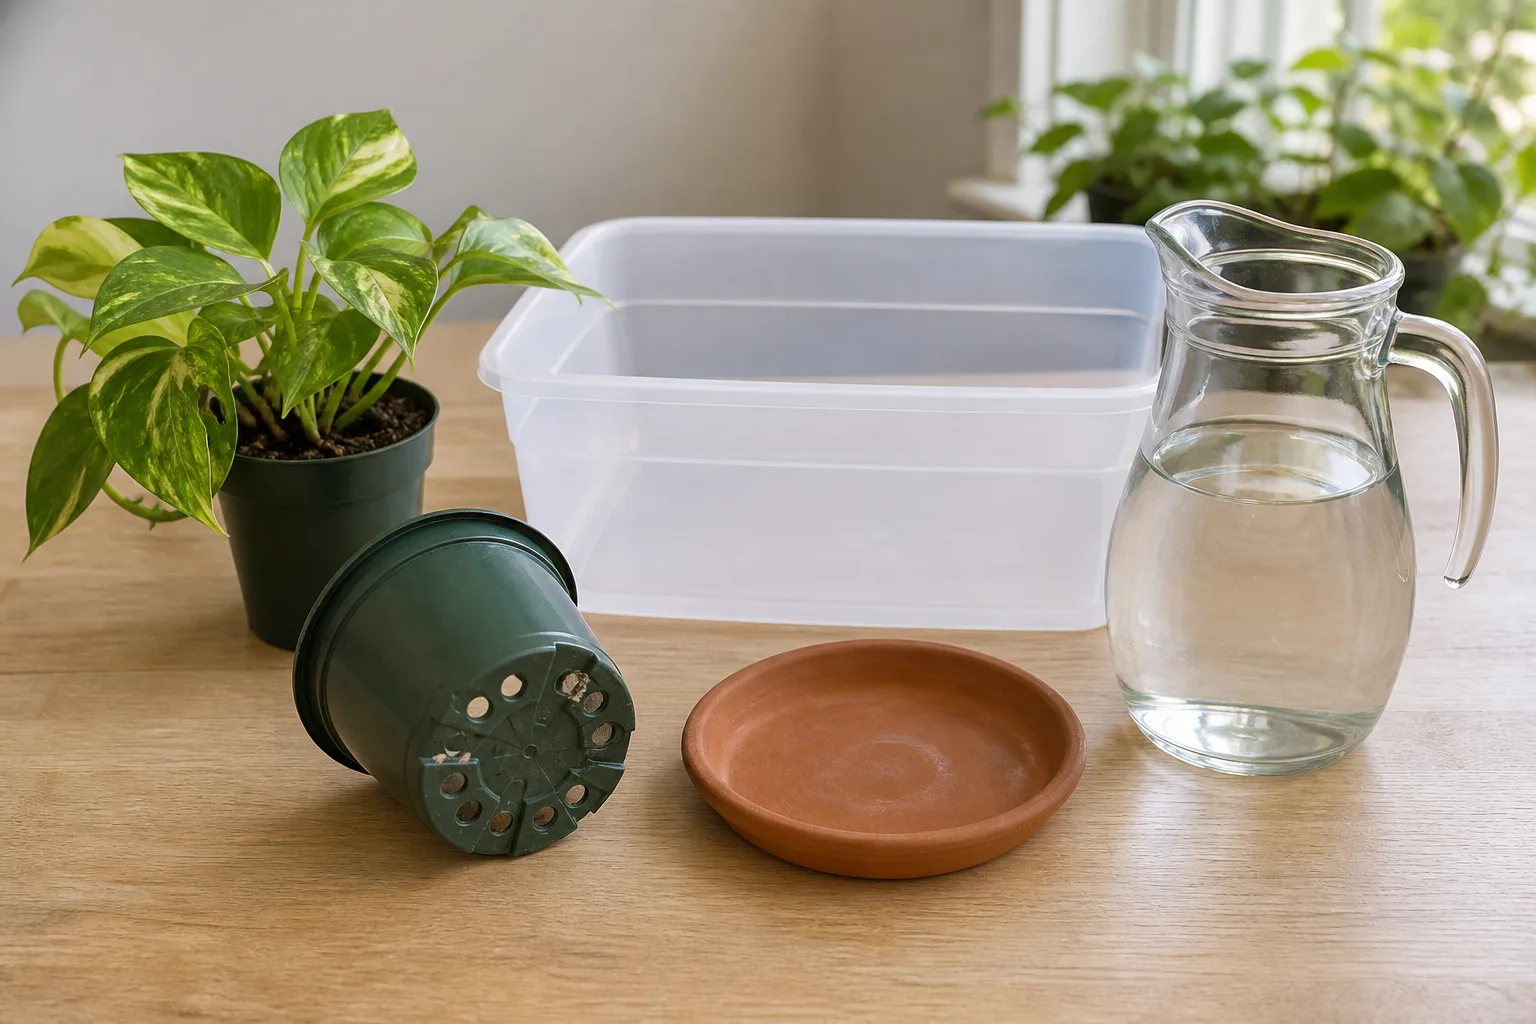
You need less gear than most houseplant trends suggest. A plant with drainage holes, a waterproof basin larger than the pot, and a place to drain afterward covers almost every situation.
Drainage Holes, Saucers, and Basin Depth
Bottom watering only works if water can enter through the bottom. Decorative cache pots without holes, glued-in liners, and “no-drain” gift pots cannot bottom water safely—they become submerged containers with no exit.
Virginia Cooperative Extension describes bottom watering as placing potted plants in a shallow basin with about 2–3 inches of water for roughly 15–30 minutes, depending on dryness. (Virginia Cooperative Extension) GardeningSG suggests water halfway to three-quarters up the pot side for smaller containers you can carry. (GardeningSG)
Use a kitchen sink, bathtub ledge, storage tote, or plant tray—anything that holds water and fits the pot. Remove decorative outer pots first. You want the nursery pot in direct contact with the water column, not a cache pot trapping air.
Step-by-Step Bottom Watering Method
1. Check if the plant actually needs water. Lift the pot. Light weight and dry mix several centimeters down mean proceed. If the surface is still moist and the pot has heft, wait—bottom watering a already-wet plant buys you nothing except root stress.
2. Prepare the basin. Place the nursery pot in the sink or tray. Add room-temperature water. Aim for roughly half to three-quarters up the pot height for small pots, or 2–3 inches in a shallow tray for larger stable pots sitting on a flat bottom.
3. Soak and watch. Leave the pot in the water. Dry mix draws water upward. Peek at the soil surface every 10–15 minutes. Virginia Cooperative Extension’s two completion checks: the surface is moist, or a wilted plant perks up as the root zone refills. (Virginia Cooperative Extension)
4. Remove and drain. Lift the pot out, let it drain freely for several minutes, and empty any saucer. Do not return the plant to a decorative pot that will catch and hold runoff indefinitely.
5. Verify the root zone. Stick a finger 1–3 inches into the mix (scale to pot size) or gently assess weight. If you find dry pockets, slow top water once to finish, or repeat a short bottom soak. Extension emphasizes hydrating the entire root volume, not just the bottom inch. (Virginia Cooperative Extension)
How Long to Soak and How to Know You’re Done
There is no universal minute count. Small 4-inch pots in peat-based mix often finish in 15–25 minutes. Larger pots, bark-heavy mixes, or hydrophobic soil may need 30–45 minutes or a second fill.
Hard limits matter: Virginia Cooperative Extension warns not to leave container houseplants in basins more than about 60 minutes, or root rot risk rises. (Virginia Cooperative Extension) The soak is a hydration event, not a storage state.
Done signals:
- Top surface changes color and feels moist to the touch
- Pot weight increases noticeably
- Wilted leaves recover turgor (when underwatering was the issue)
- No dry ring visible if you pull the pot slightly and look at the side profile of mix
If none of those appear within a reasonable window, your mix may be severely hydrophobic or the water level may be too shallow. Drain, increase depth, and repeat.
Bottom Watering vs Leaving a Plant in a Saucer
This distinction prevents most bottom-watering disasters. Intentional bottom watering is a timed soak: water up, moisture rises, water drains away. Accidental saucer soaking is leaving runoff—or a pebble tray mistake—with the pot base sitting in water for days.
Indoor plant watering basics call out the same failure mode: if water races through hydrophobic mix, a 20-minute bottom soak can rehydrate—but the pot must drain fully afterward. A pebble tray only works when stones keep the pot base above the waterline; contact turns humidity gear into continuous bottom watering.
Iowa State Extension and multiple university guides advise never letting houseplants stand in collected water because roots need oxygen and prolonged saturation suffocates them. Bottom watering adopts the mechanism of capillary rise without adopting permanent saturation.
Which Houseplants Respond Well
Virginia Cooperative Extension highlights African violets, begonias, cyclamen, some cacti and succulents, and dense-foliage plants. (Virginia Cooperative Extension) GardeningSG adds that succulents vulnerable to rot can benefit when the technique replaces sloppy top pours, and that small, liftable pots suit the method best. (GardeningSG)
Good candidates: African violets and other fuzzy-leaved plants; compact gesneriads; seedlings in small cells; plants recovering from dry, uneven mix; finicky specimens where overhead water hits leaves every time.
Use caution: Very large floor plants you cannot move; pots without drainage; plants that want fast dry-down (many cacti in heavy peat); any plant already sitting in soggy mix from overwatering—fix drainage and dryness pattern first, not soak again.
Succulents are not automatic bottom-water plants. The method helps when you tend to splash leaves or when gritty mix dries unevenly, but succulents still need full drain and long dry windows. Bottom watering does not mean “safer to overwater.”
Common Mistakes That Cause Root Rot
Leaving the pot in the basin too long is mistake one. Set a timer. When the surface moistens, pull the pot.
No drainage holes turns bottom watering into submersion. Roots cannot breathe.
Bottom watering on schedule regardless of dryness replicates overwatering. The plant should need water first.
Confusing bottom watering with self-watering reservoirs leads to always-moist mix for plants that want to dry. Wick pots and reservoir systems are a different tool—useful for travelers, wrong for rot-prone succulents in heavy mix.
Skipping drain after the soak leaves the bottom of the profile saturated while you assume the job is done. Always lift, drain, and empty saucers.
Using cold water shocks roots and spotted African violet leaves. Room-temperature water is the practical default.
If you already see yellowing lower leaves, mushy stems, or sour-smelling mix, pause bottom watering and diagnose whether overwatering or poor drainage is the real issue. Bottom watering a rotting root system accelerates decline.
Salt Buildup and Why You Still Need Top Flushes
When you only bottom water for months, fertilizers and hard-water minerals can concentrate toward the top of the profile as water evaporates from the surface. PlantTalk Colorado links subirrigation to soluble salt accumulation and recommends periodic top watering to leach salts. (PlantTalk Colorado)
A practical rule: if bottom watering is your main method for a given plant, top water thoroughly every few weeks until excess runs from the drainage holes. Discard runoff. That flush resets salt load and reassures you the entire mix still accepts water.
Virginia Cooperative Extension also notes that fertilizer or pesticide solutions applied via bottom watering should not happen too frequently—rotate plain-water cycles. (Virginia Cooperative Extension) Treat chemical applications as deliberate events, not background humidity.
Combining Bottom Watering With Your Normal Routine
Most homes do best with top watering as default and bottom watering as the exception that proves the rule. Top water when the plant is due, the mix accepts surface water normally, and you want a quick salt-flushing session. Bottom water when the mix channels, the leaves hate overhead water, or you are recovering from a dry spell.
Keep a mental log per plant. If you bottom watered a hydrophobic peace lily on Sunday because water ran straight through, check Wednesday whether the surface finally takes top water again. If yes, return to top watering. If the center dries unevenly again, repeat bottom soak—but only when dry.
A Simple Monthly Rhythm
| Situation | Method |
|---|---|
| Routine weekly water, healthy mix | Top water until drain; empty saucer |
| Water runs down sides; center dry | Bottom soak 15–30 min; drain; verify surface |
| Fuzzy leaves or crown sensitivity | Bottom soak when dry; keep foliage dry |
| Fertilizer month, no salt issues | Top water with feed; flush occasionally |
| Mostly bottom watered this month | One thorough top flush to leach salts |
Morning watering still helps: extension sources note plants absorb during daylight when photosynthesis runs, and morning gives mix time to drain before cooler night hours. (Virginia Cooperative Extension)
Link bottom watering into your wider habits—saving a struggling houseplant, adjusting winter dry-down, and choosing pots with real drainage—not as a hack that bypasses learning the plant.
Conclusion
Bottom watering houseplants works because dry potting mix pulls water upward through drainage holes, rehydrating the root ball more evenly than a rushed top pour often does. Use it when mix is hydrophobic, leaves are sensitive to splash, or dense foliage blocks the soil surface—not as a permanent substitute for top watering and salt flushes.
Set a basin, soak until the surface tells you the job is done, drain completely, and never leave the pot marinating past about an hour. Pair the technique with the broader rules in how to water indoor plants the right way, and bottom watering becomes a reliable tool instead of a root-rot trap.