Brown Tips on Houseplants: Causes, Fixes, and Prevention
Diagnose brown tips on houseplants caused by low humidity, watering, water quality, fertilizer salts or root problems, and learn how to fix and prevent them.
Quick diagnosis: start with humidity, then check water and roots
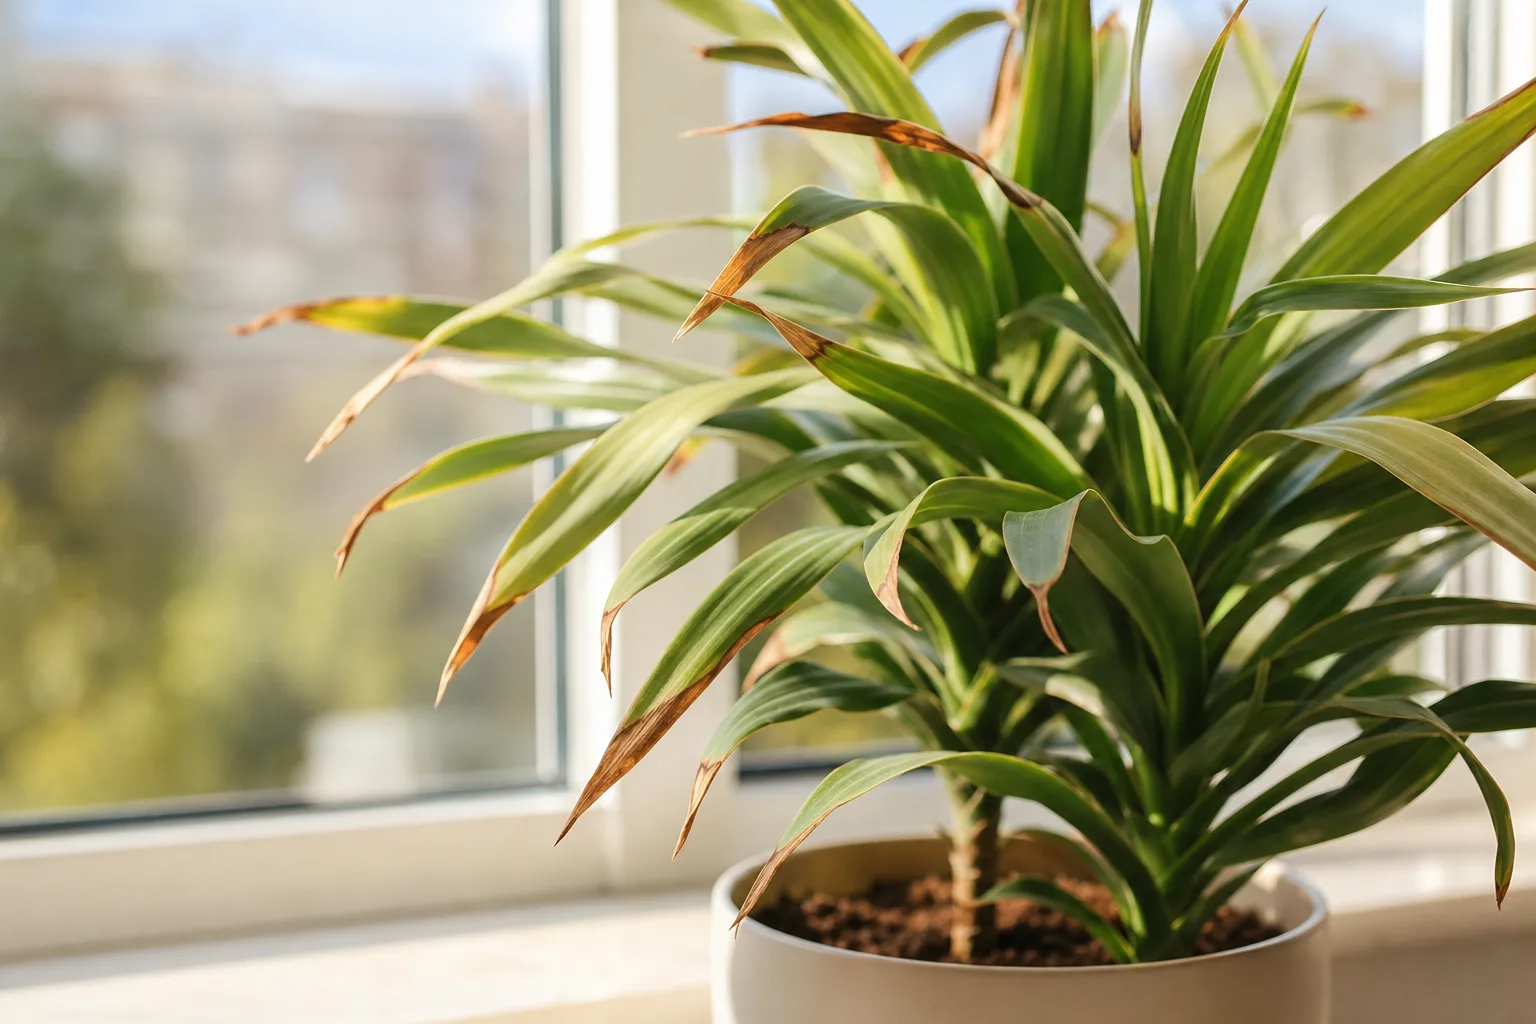
Brown tips on houseplants are nearly always a water-at-the-leaf-edge problem. When a plant cannot move enough moisture to its leaf tips, the tips die first. The RHS notes that brown tips or margins may indicate underwatering, overwatering, or a dry atmosphere, while overwatering often causes browning in the middle of the leaves rather than at the tips. (RHS leaf damage on houseplants) Iowa State Extension identifies low humidity as the most likely cause, followed by inconsistent watering, excess fertilizer salts, and water quality issues on sensitive species. (Iowa State Extension — Yard and Garden)
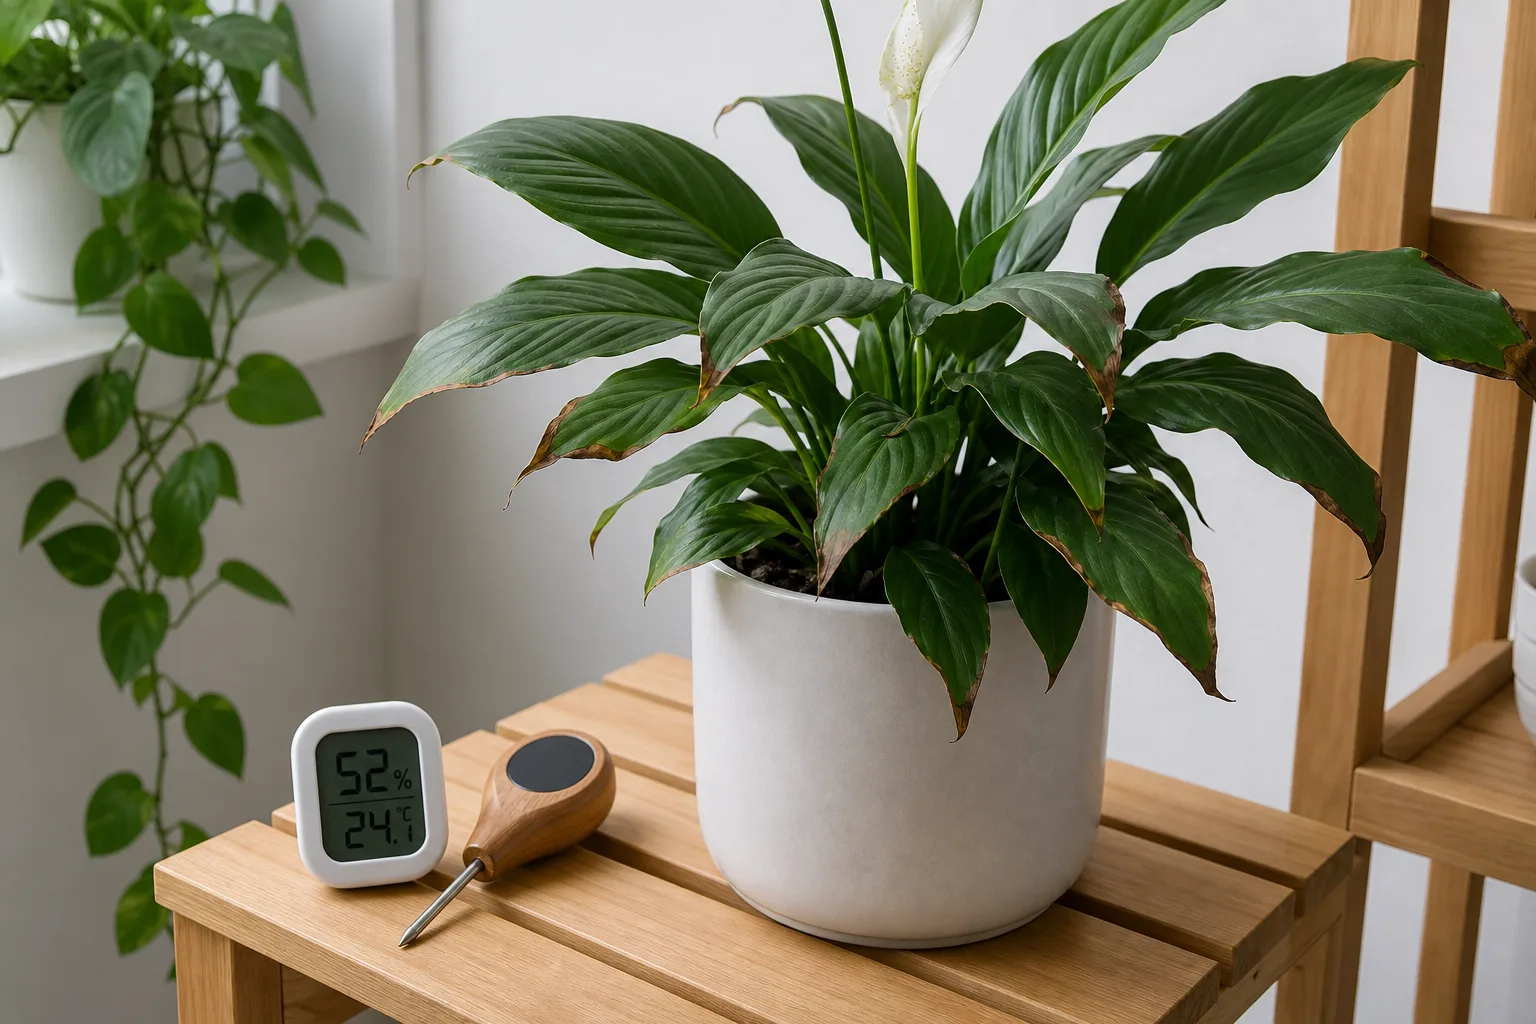
Do not respond to brown tips by watering more, feeding, moving the plant, and misting all at once. The table below matches what you see to the most likely cause so you can make one correction at a time.
| What you see | Check next | Most likely direction |
|---|---|---|
| Crisp brown tips on many leaves; central heating is running | Measure room humidity with a hygrometer | Low humidity |
| Brown tips with dry, curling leaf edges; pot is light | Probe 3–5 cm into the soil | Underwatering |
| Brown tips paired with soft, yellowing lower leaves; pot stays heavy | Check drainage and smell the root zone | Overwatering or root trouble |
| Brown tips appearing on new growth; white crust on soil or pot rim | Review your fertilizing frequency and product label | Fertilizer salt buildup |
| Brown tips on spider plant, dracaena, calathea, or prayer plant; you use unfiltered tap water | Check your municipal water report for fluoride and chlorine | Water quality sensitivity |
| Brown tips on one side of the plant near a window or vent | Check for drafts, hot air, or cold glass contact | Temperature stress |
Low humidity is the most common cause
Most houseplants originate from tropical or subtropical regions where ambient humidity routinely exceeds 60%. Inside a heated or air-conditioned home, relative humidity can fall to 10–20%, especially in winter. The Piedmont Master Gardeners note that a relative humidity between 40 and 60 percent is ideal for most indoor plants, but winter humidity in homes often drops far below that threshold. (Piedmont Master Gardeners / Virginia Cooperative Extension)
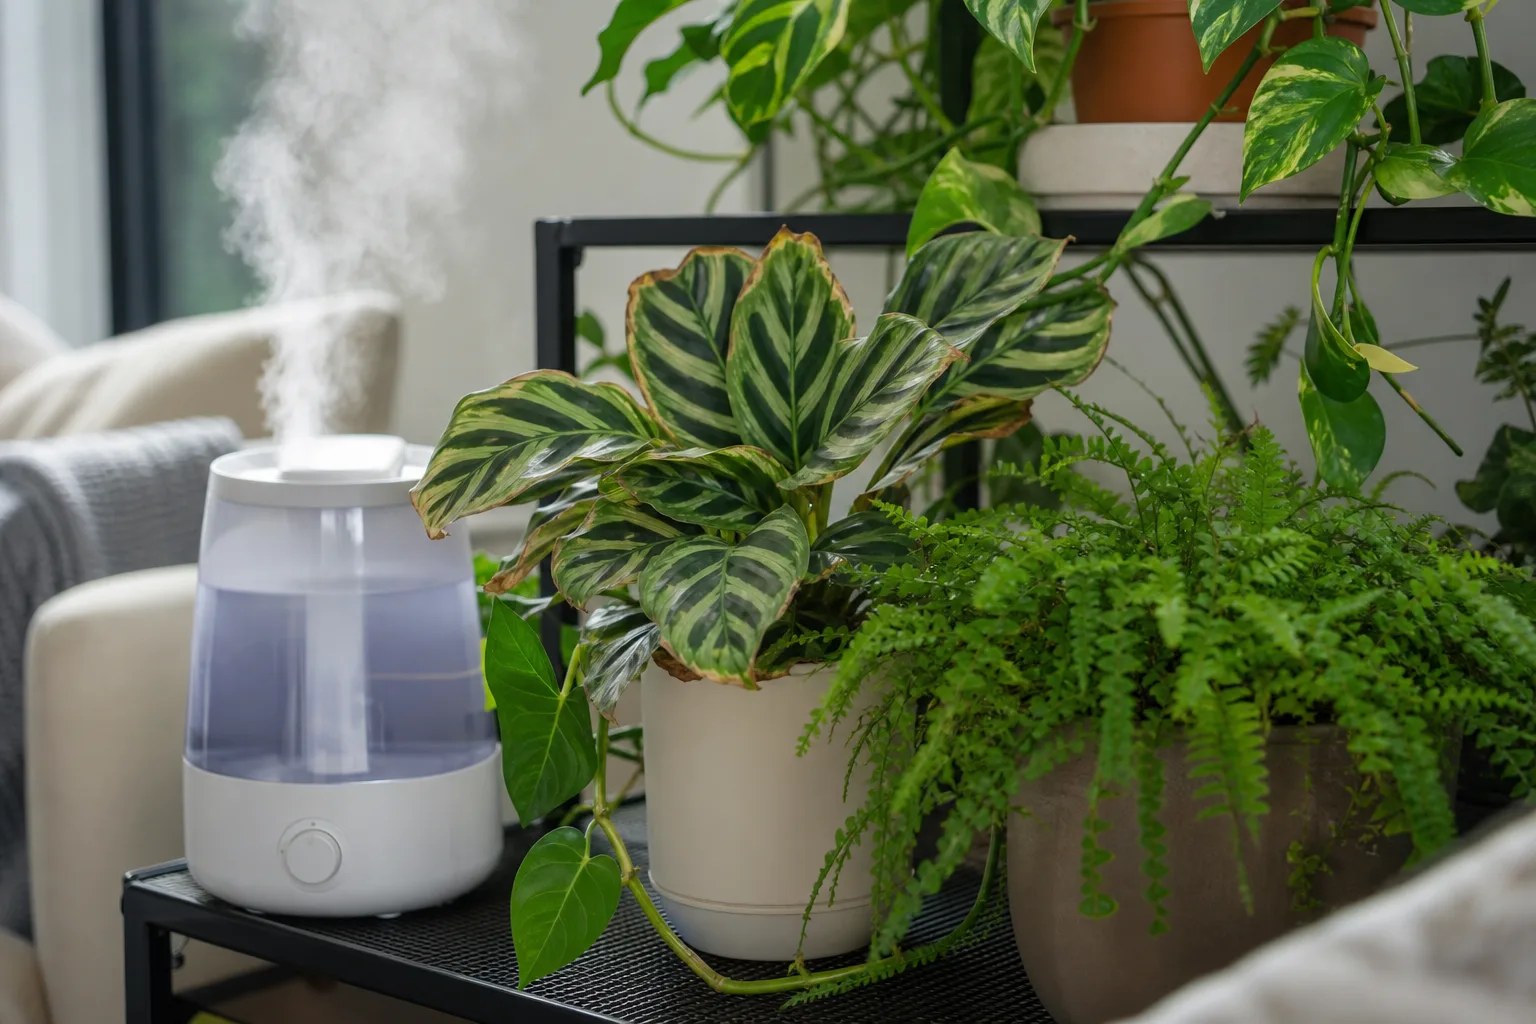
When humidity is too low, the plant loses water through its leaves faster than roots can replace it. Leaf tips — the furthest point from the roots — are the first tissue to desiccate and die.
How to confirm low humidity is the problem
Brown tips from low humidity are typically crisp, dry, and appear across many leaves rather than isolated to one or two. The damage often worsens in winter when heating systems are running. If you own a hygrometer and it reads below 40%, humidity is almost certainly a contributing factor even if other causes are also at play.
Fixes that actually work
A humidifier placed near your plants is the most reliable solution. It provides consistent, measurable humidity without daily effort. Iowa State Extension recommends raising humidity with a humidifier, pebble tray, terrarium, or by grouping plants together. (Iowa State Extension — Yard and Garden)
A pebble tray works by placing a shallow tray filled with pebbles and water beneath the plant pot, ensuring the pot sits above the water line so roots are not submerged. As the water evaporates, it creates a humid microclimate around the foliage. The RHS specifically recommends a tray of damp gravel, expanded clay granules, or recycled lightweight aggregate with the water level kept below the top of the material. (RHS leaf damage on houseplants)
Grouping plants together raises local humidity because each plant releases moisture through transpiration, and the collective foliage holds that moisture close. This effect compounds with a pebble tray placed in the center of the group.
Misting alone is usually insufficient. The RHS suggests misting at least three times a day if misting is the only method used. (RHS leaf damage on houseplants) In practice, a humidifier or pebble tray set-up is more consistent and requires less attention. For more detail, see the pebble tray vs humidifier comparison and the DIY pebble tray guide.
Inconsistent watering: too much, too little, or both
Watering problems are the second major cause of brown tips. The key insight is that brown tips from underwatering and brown tips from overwatering can look similar at the leaf edge, but the root zone tells a different story entirely.
Underwatering
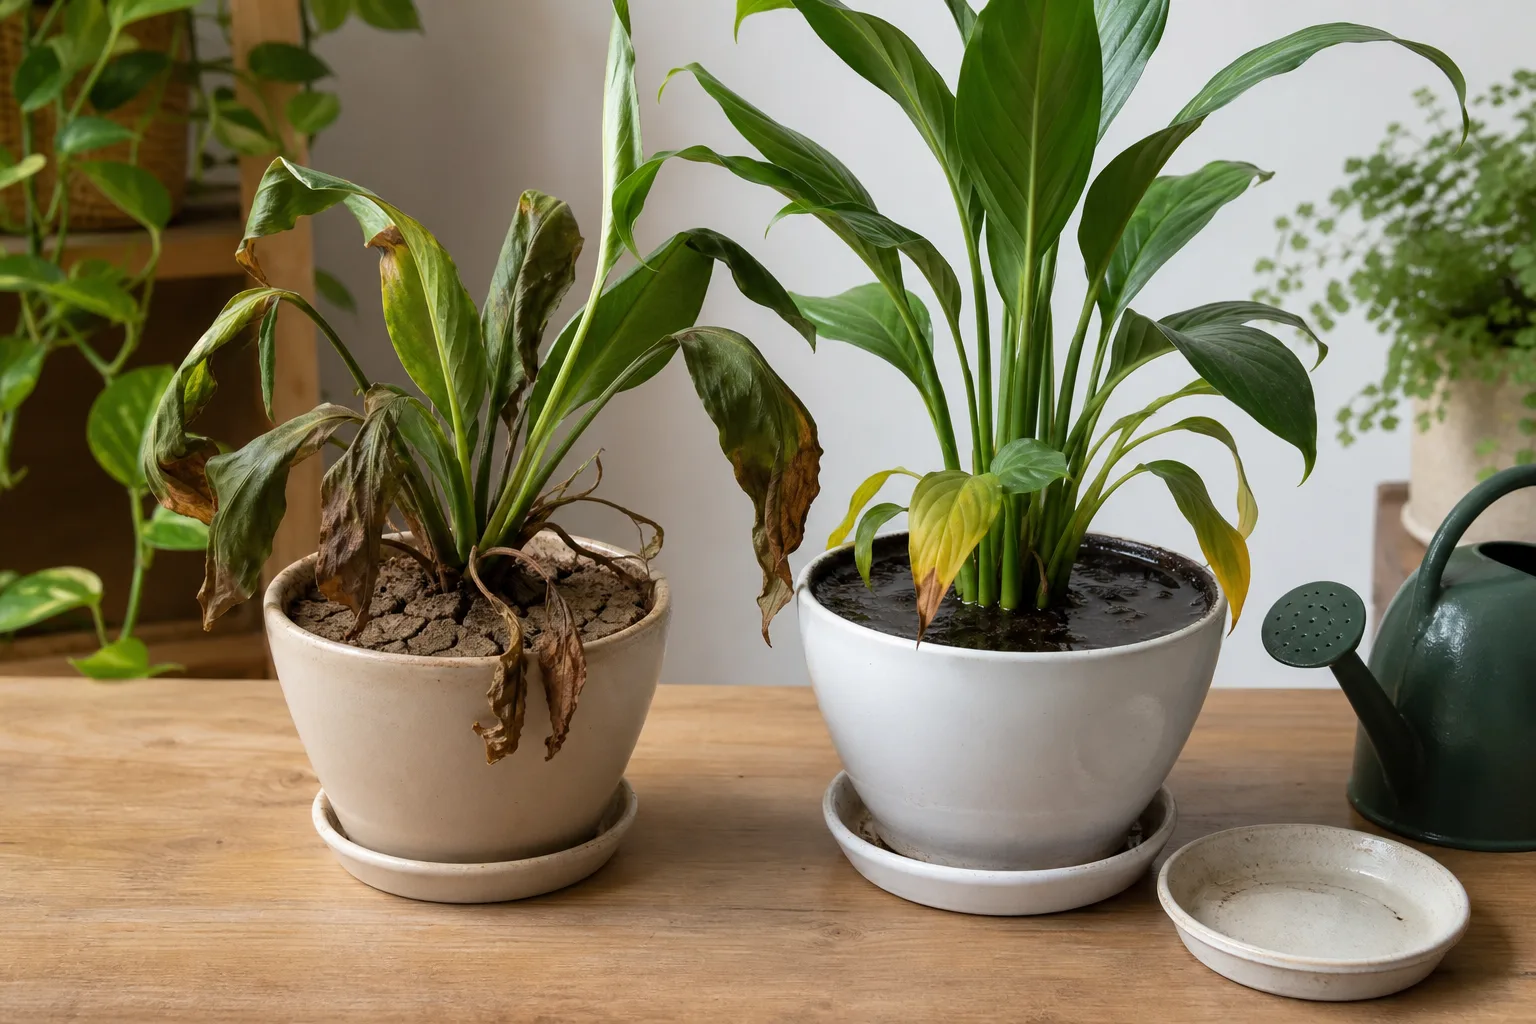
When a plant dries out too much between waterings, the leaf tips are the first tissue to suffer. Signs include a light pot, dry potting mix that may have pulled away from the pot walls, and crisp brown tips paired with curled or drooping leaves. The Piedmont Master Gardeners note that underwatering results in leaf curling and death, while alternating between too much and too little water can also cause browning of leaf tips. (Piedmont Master Gardeners / Virginia Cooperative Extension)
Water thoroughly until excess drains from the bottom, then empty the saucer. If the mix has become hydrophobic and water runs straight through without wetting the root ball, soak the nursery pot in a shallow container of water for about 10 minutes, then let it drain completely. BHG recommends bottom watering as especially helpful if you tend to overwater, since the soil will only absorb the amount of water it needs. (Better Homes & Gardens)
Overwatering
Overwatering does not mean giving too much water in one session — it means the root zone stays saturated for too long because watering happens too frequently or drainage is poor. When roots sit in waterlogged soil, they lose access to oxygen and begin to die. The Pennington guide explains that leaf tips turn brown when something interferes with lost water being replaced: roots in soggy soil shut down and rot, and new roots cannot form, so plant tips turn brown from thirst even though the soil is wet. (Pennington)
Signs of overwatering include a pot that stays heavy for many days after watering, soft yellowing lower leaves alongside brown tips, fungus gnats, a sour smell from the soil, or wilting despite wet mix. The RHS advises tipping the plant gently out of its pot and checking root condition: brown, rotted, soft roots indicate a need to reduce watering. (RHS leaf damage on houseplants)
If overwatering is confirmed, pause watering until the top few centimeters of mix feel dry, ensure the pot has unblocked drainage holes, and remove any standing water from saucers or cachepots. If roots are extensively rotted, trim away the dark, soft tissue and repot in fresh, well-draining mix.
The consistency problem
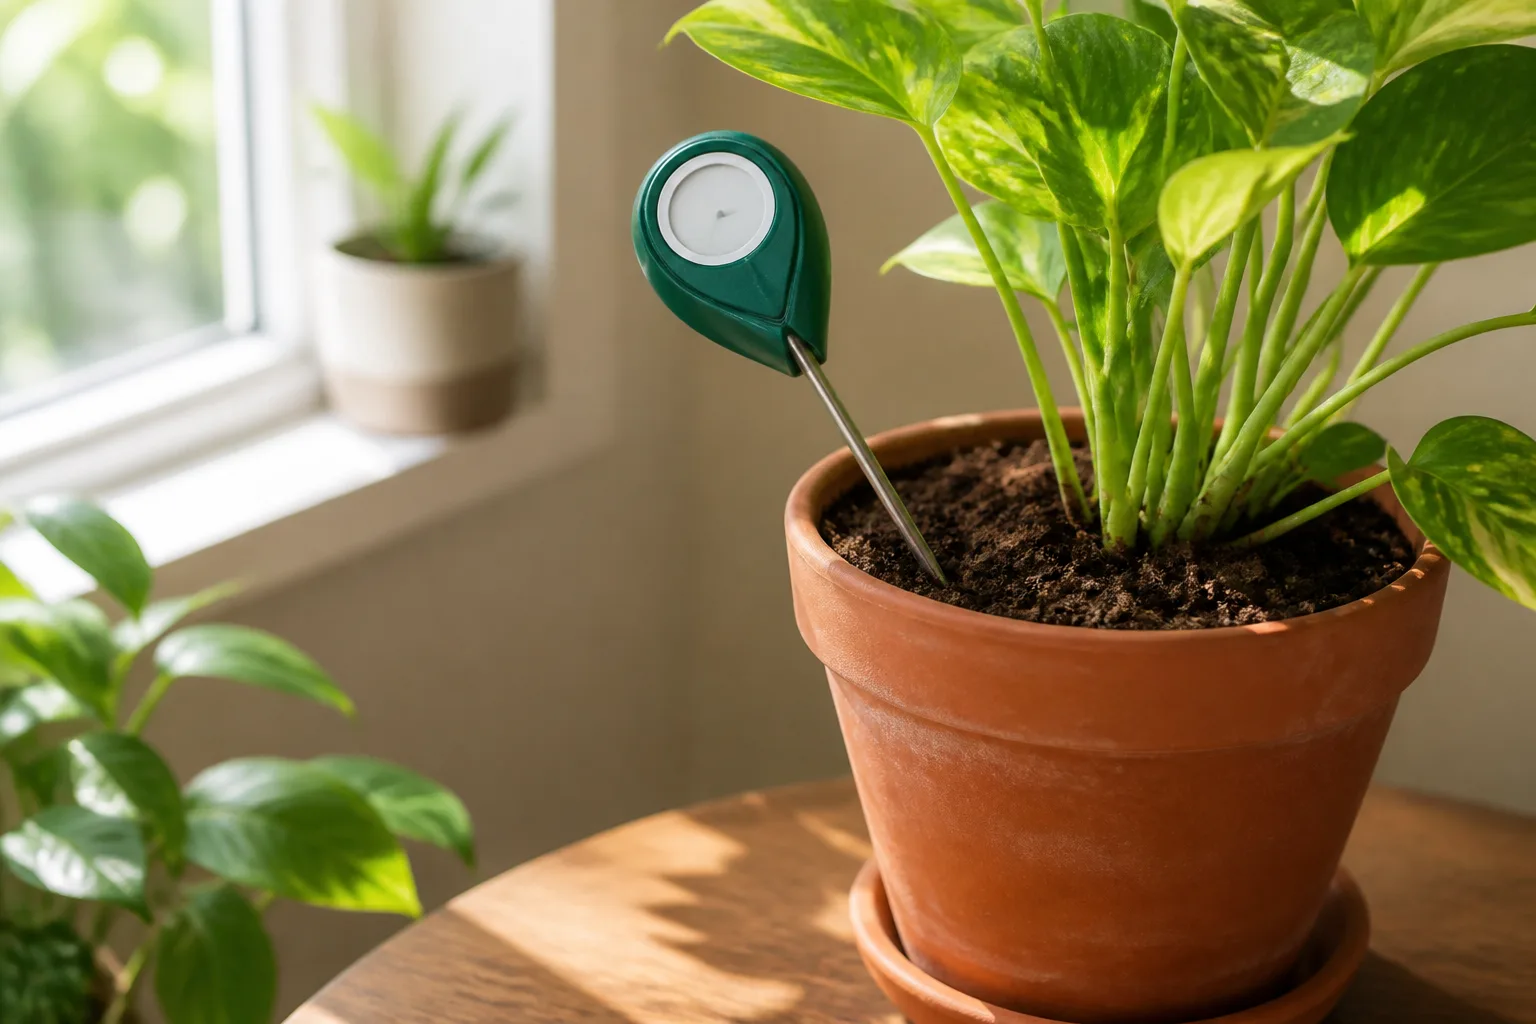
Plants do not need a calendar schedule — they need moisture checked at depth before each watering. Push a finger or a clean wooden skewer about 3–5 cm into the mix. If it comes out damp and the pot feels heavy, wait. If it comes out dry and the pot feels light, water thoroughly. This single habit prevents the wet-dry-wet-dry cycle that stresses roots and produces brown tips. For a deeper method, read how to water indoor plants the right way.
Water quality: fluoride, chlorine, and softened water
Tap water contains dissolved minerals and treatment chemicals that can accumulate in potting mix over time. Iowa State Extension warns that too much chlorine and other chemicals such as fluoride can cause brown leaf tips, especially over an extended period on sensitive species. (Iowa State Extension — Yard and Garden)
Plants most sensitive to fluoride
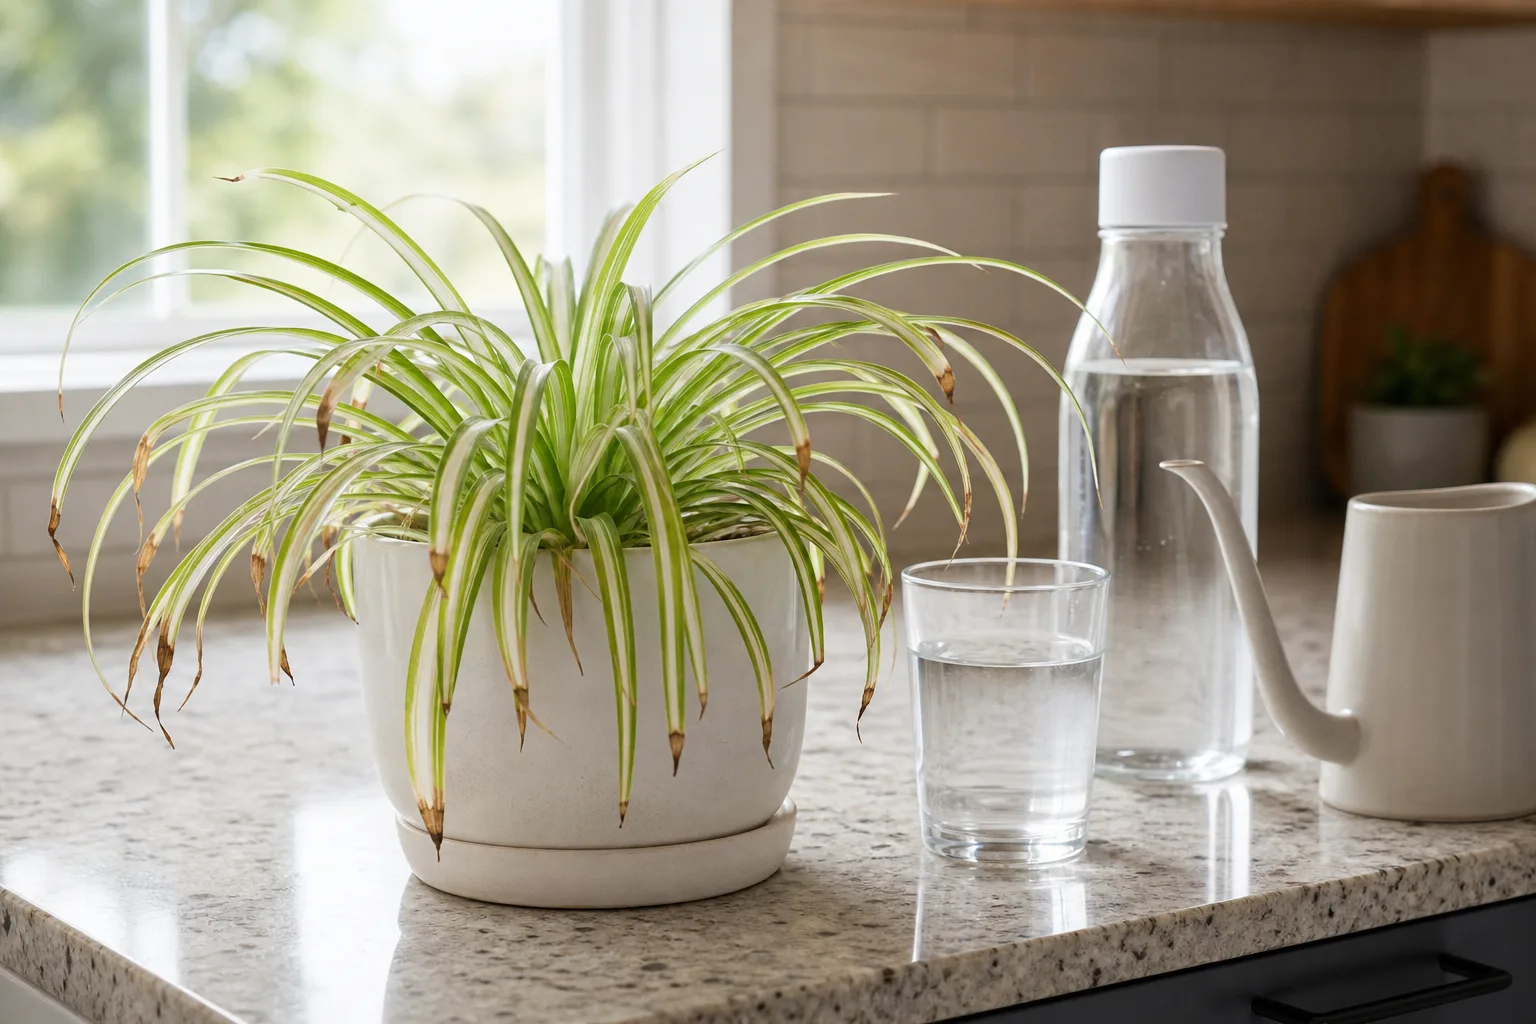
Fluoride toxicity shows as brown leaf tips because fluoride accumulates at the leaf margins and tips — the endpoint of the transpiration stream. The Pacific Northwest Pest Management Handbooks list Dracaena, Chlorophytum comosum (spider plant), and Gibasis pellucida (Tahitian bridal veil) as documented fluoride-sensitive indoor plants. (Pacific Northwest Pest Management Handbooks) Other commonly reported sensitive plants include ti plant (Cordyline), prayer plant (Maranta), calathea, peace lily (Spathiphyllum), parlor palm, and cast iron plant.
If you grow these species and use unfiltered municipal tap water, brown tips that appear gradually over months are more likely to be fluoride-related than humidity-related — especially if other plants in the same room show no symptoms.
Chlorine and other chemicals
Chlorine is less frequently the primary culprit than fluoride, but it can contribute to root stress and tip browning. Letting tap water sit out overnight allows chlorine to dissipate, though this does not remove fluoride or chloramine (used by some municipalities as a more stable disinfectant).
Softened water
Water softeners replace calcium and magnesium with sodium. The resulting water has elevated sodium levels that can damage roots and cause salt buildup in the soil. The Piedmont Master Gardeners specifically flag softened water as a potential cause of brown leaf tips alongside excess fertilizer and pesticide use. (Piedmont Master Gardeners / Virginia Cooperative Extension) Never use softened water on houseplants.
What to use instead
For fluoride-sensitive plants, use distilled water, rainwater, or water filtered through a system that removes fluoride (most basic carbon filters do not). For all other plants, letting tap water reach room temperature and sit overnight is a practical minimum. If your tap water is particularly hard, periodic soil flushing with distilled or rain water helps prevent mineral accumulation.
Fertilizer salt buildup: too much of a good thing
Fertilizers are salts. When applied more frequently or at higher concentrations than the plant can use, those salts accumulate in the potting mix and draw moisture away from roots through osmosis — essentially creating a drought at the root zone while the soil appears wet. The University of Maryland Extension notes that typical symptoms of fertilizer toxicity include browning or dieback of leaf tips and margins, reduced growth, lower leaf drop, dead root tips, and wilting. (University of Maryland Extension — Fertilizer Toxicity)
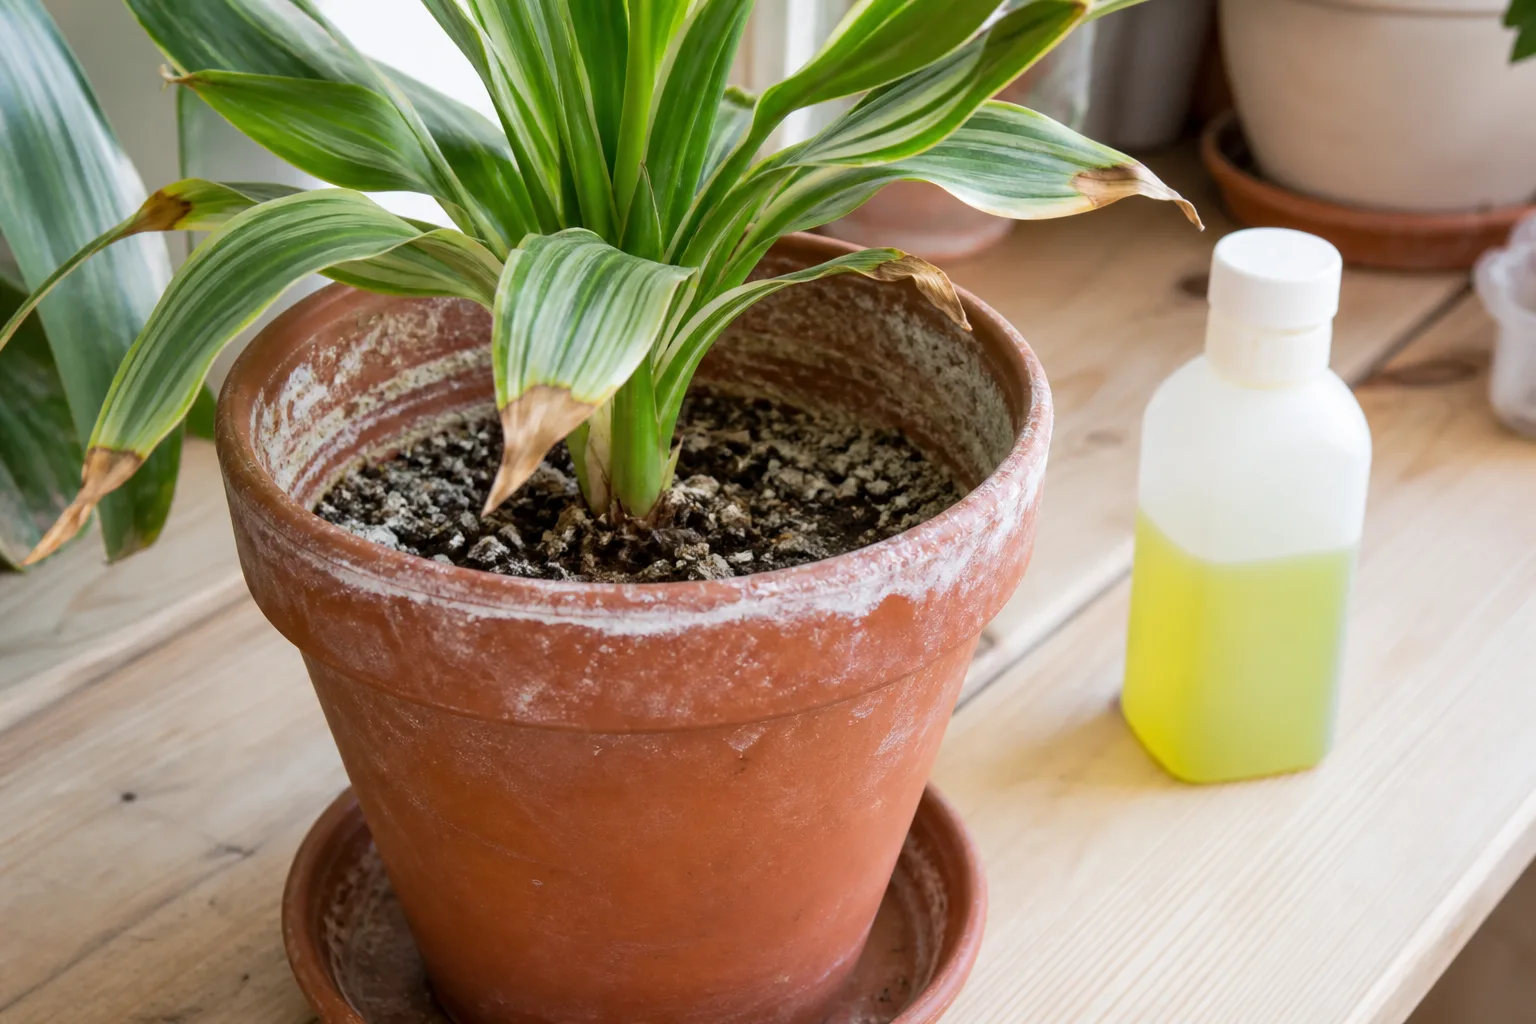
How to spot fertilizer salt buildup
The clearest visual signal is a white or grayish crust on the soil surface, along the inside rim of the pot, or on the outside of terracotta pots. This crust is crystallized fertilizer salt. The University of Maryland Extension confirms that both mineral salt deposits from hard water and fertilizer salt deposits appear as white crystallized coatings and can cause desiccation or burning of plant tissues. (University of Maryland Extension — Mineral and Fertilizer Salt Deposits)
Brown tips from fertilizer burn often appear shortly after feeding, and they tend to affect new growth more than old leaves. Unlike humidity-related browning, which develops gradually, fertilizer burn can show up within days of a heavy application.
How to fix and prevent it
Stop fertilizing immediately. Flush the soil by running clear water through the pot at a volume at least three times the pot size, letting it drain completely. The University of Maryland Extension recommends applying at least three times the volume of the pot of fresh water and letting it drain completely every 4–6 months as routine maintenance. (University of Maryland Extension — Mineral and Fertilizer Salt Deposits) For severe buildup where flushing does not resolve the issue, repot with fresh potting mix.
Going forward, follow the fertilizer label’s recommended rate and frequency. Most houseplants need fertilizer only during active growth (spring and summer), and even then at half the label strength is often sufficient. The Pennington guide notes that plants stay healthiest when fertilized as directed and that over-fertilizing can cause salt accumulation, especially if the excess is not flushed out regularly. (Pennington)
Root problems: when the container is the constraint
Brown tips sometimes trace back to what is happening inside the pot rather than what is happening above it.
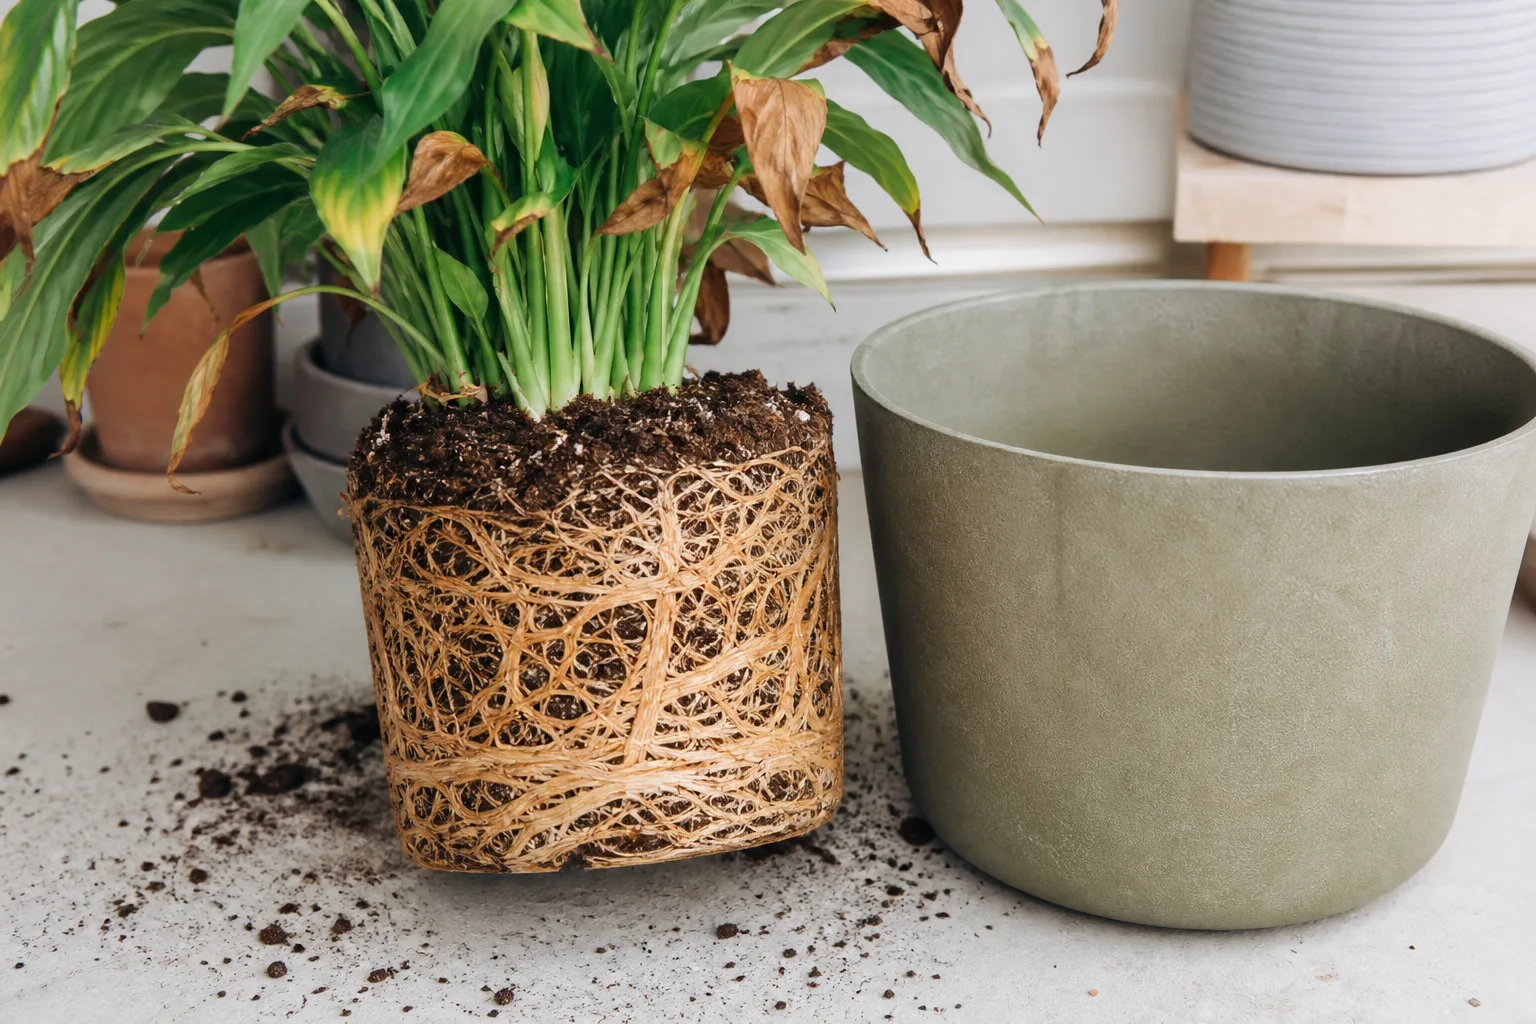
Root-bound plants
When roots completely fill the pot and begin circling, there is not enough potting mix left to hold water. The plant dries out faster than expected, and leaf tips brown from chronic mild water stress. The Pennington guide explains that circling, binding roots keep leaf tips from getting water they need because remaining soil cannot hold enough moisture. (Pennington)
Signs include roots emerging from drainage holes, water running straight through the pot, and a plant that needs watering far more frequently than it used to. Slide the root ball out and check: if roots are firm but tightly packed and circling, move the plant into a pot one size larger, gently loosening the outer roots before planting.
Root rot
If roots are dark, soft, or mushy and smell sour, the problem is rot from prolonged saturation. This requires removing the affected roots with clean shears, repotting in fresh mix, and reducing watering frequency going forward.
Drainage and pot design
Every pot needs a drainage hole. A decorative cachepot without drainage is fine as long as the plant sits in a nursery pot inside it and runoff is emptied after watering. The Piedmont Master Gardeners warn against allowing plants to sit in water-filled saucers for more than an hour, as this keeps the root zone saturated. (Piedmont Master Gardeners / Virginia Cooperative Extension)
Temperature stress, drafts, and direct sun
Environmental extremes can cause brown tips that mimic watering or humidity problems.
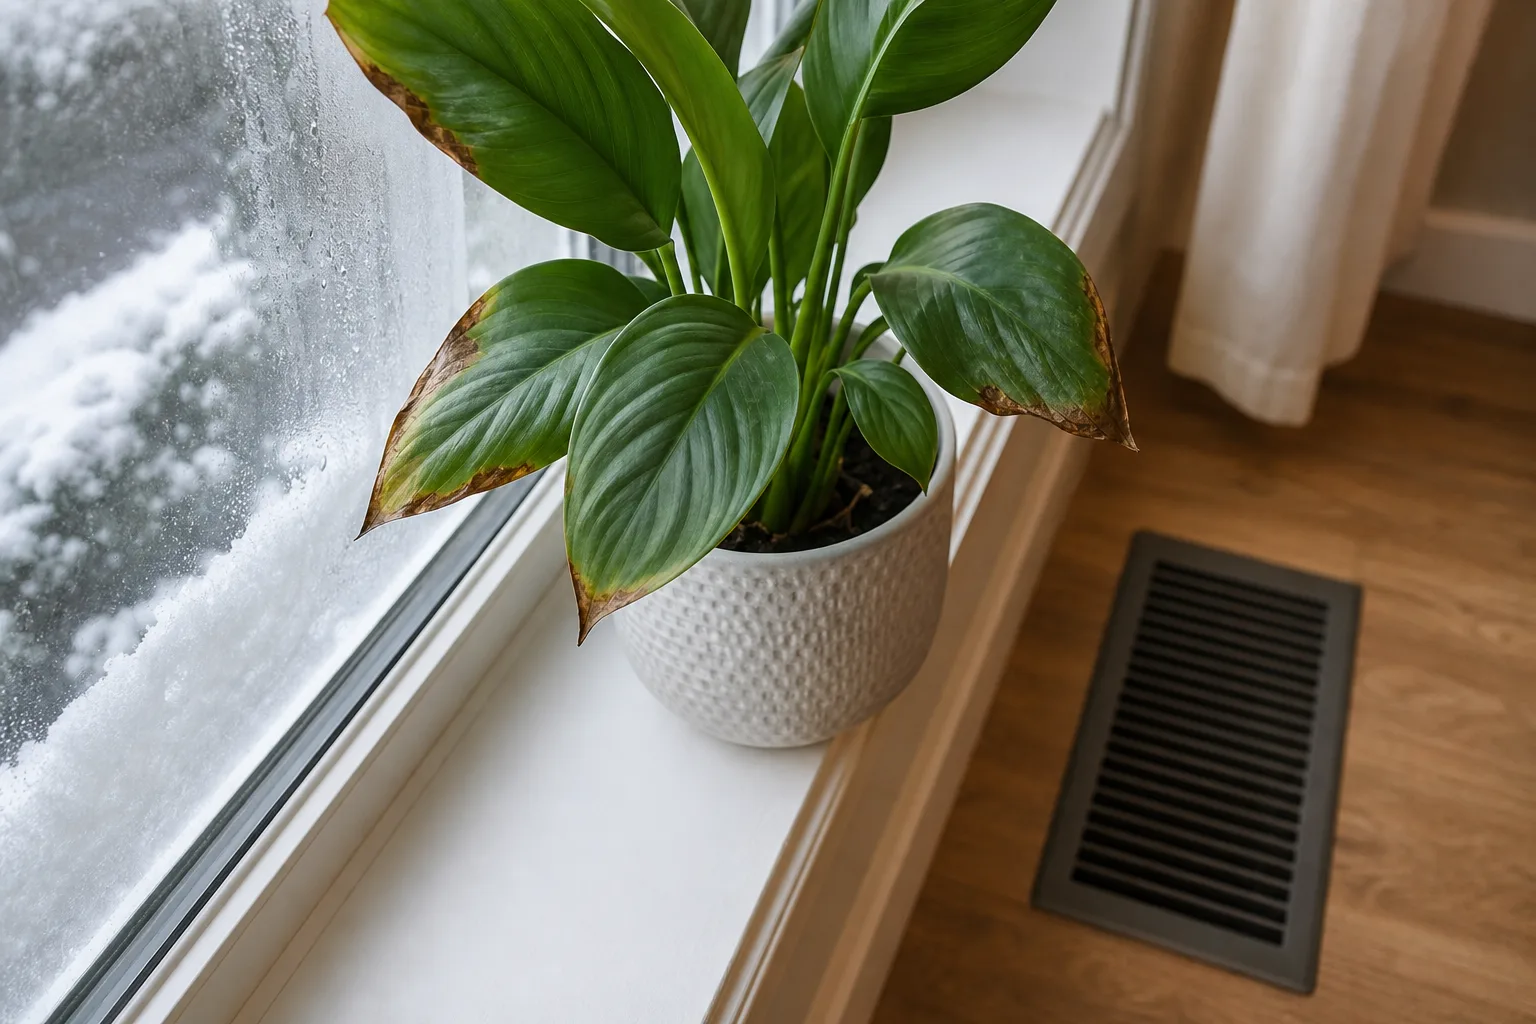
Cold drafts from windows in winter can chill leaf tissue. The Piedmont Master Gardeners note that in winter, the temperature near windows may be cooler than elsewhere in the house, and this can damage plant leaves. (Piedmont Master Gardeners / Virginia Cooperative Extension) If brown tips appear on the side of the plant facing a window during cold months, move the plant back or add a buffer.
Hot, dry air from heating vents or radiators creates a localized low-humidity zone. Brown tips concentrated on the side nearest a heat source point to this cause.
Direct sun can scorch leaf tips on plants that prefer filtered light. The damage is usually bleached or tan rather than dark brown, and it appears on the side facing the window. Move the plant further from the glass or filter the light with a sheer curtain.
How to trim brown tips correctly
Brown tip tissue is dead and will not recover. Trimming improves appearance but does not fix the underlying problem — the fix must address the cause. The Pennington guide recommends using sharp scissors to cut away the dead brown areas, following the leaf’s natural shape rather than cutting straight across. (Pennington) Iowa State Extension agrees that trimming the brown portions off the leaves with scissors can improve appearance, but new browning will occur if the root cause is not addressed. (Iowa State Extension — Yard and Garden)
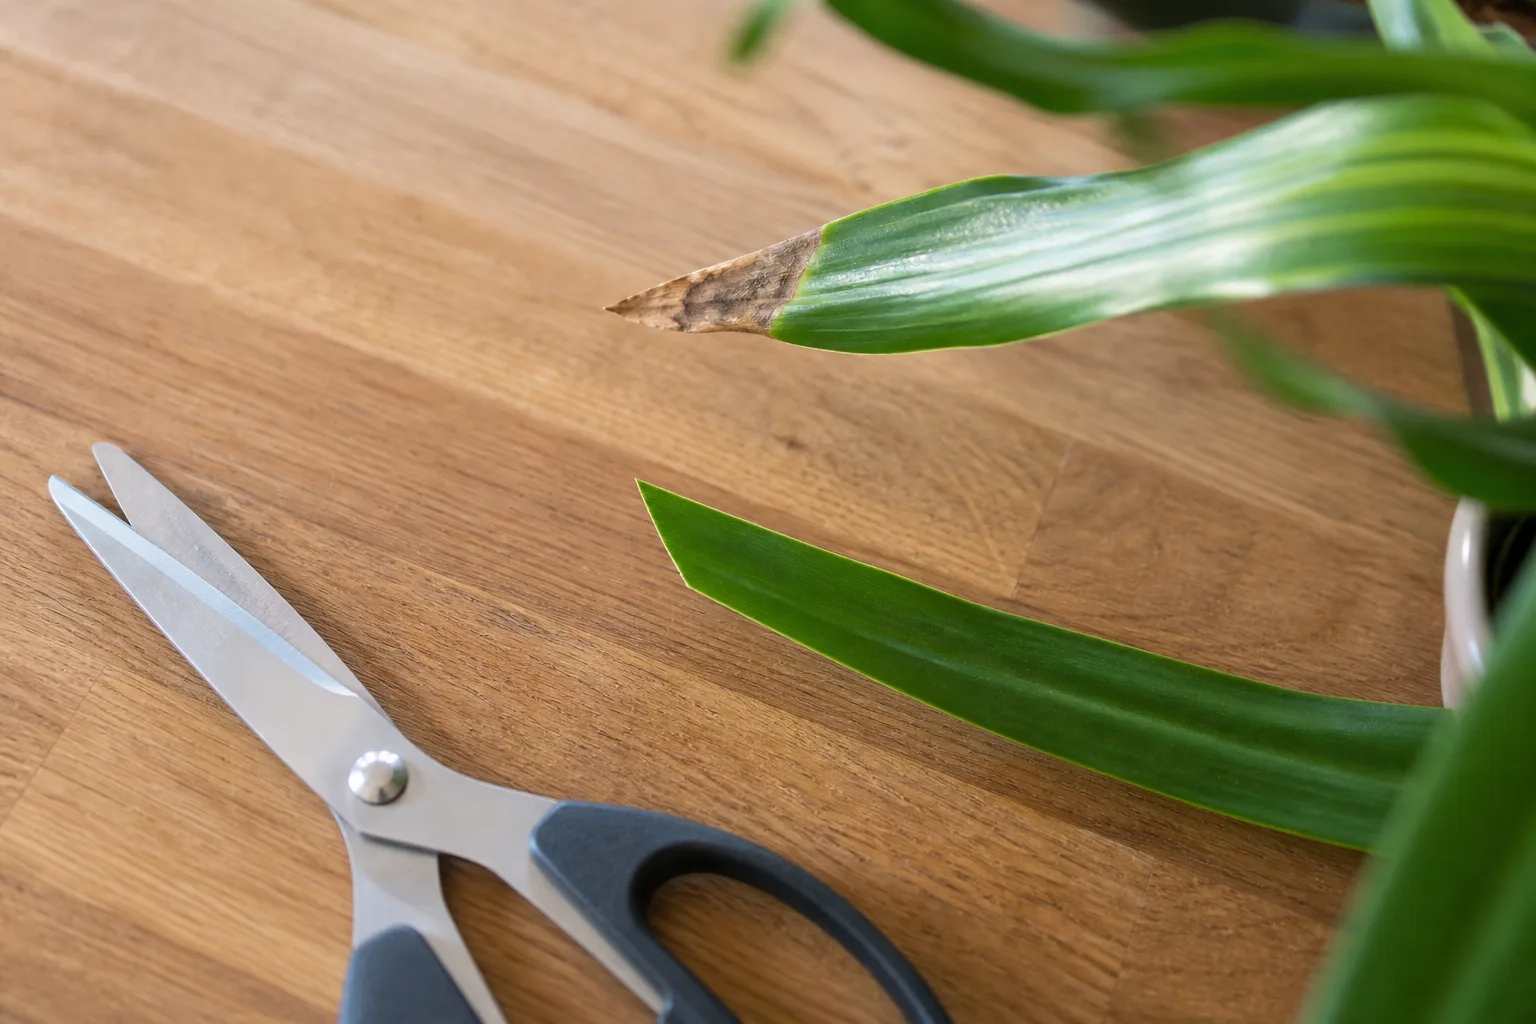
For plants with long, slender leaves like spider plant or dracaena, cut at an angle that mimics the pointed leaf tip. For broad-leaved plants, follow the curve of the leaf margin. A thin brown line will remain at the cut edge, but the rest of the leaf stays green and functional. Remove the entire leaf only when it is mostly brown or clearly dying.
A six-step diagnosis checklist
- Measure humidity. If it is below 40% and heating or air conditioning is running, humidity is contributing. Start here before investigating less common causes.
- Probe the soil 3–5 cm deep and lift the pot. Wet and heavy means hold off; dry and light means water thoroughly. Record what you find before acting.
- Check for white crust. Look at the soil surface, pot rim, and drainage holes. A visible white or grayish residue points to fertilizer or mineral salt buildup.
- Inspect the roots. Slide the plant out of its pot. Firm, white-to-tan roots are healthy. Dark, soft, or sour-smelling roots point to rot. Tightly circling roots point to being root-bound.
- Identify your water source. If you use unfiltered tap water on fluoride-sensitive species like spider plant, dracaena, calathea, or prayer plant, water quality may be the primary cause.
- Review recent changes. Repotting, moving to a new window, starting fertilizer, turning on the heat — any recent change that coincides with the onset of brown tips is suspect.
Address the most likely cause first, make the corresponding single correction, and watch new growth for 2–4 weeks before trying the next candidate. Do not make multiple changes at once — you will not know which one worked.
Related guides
- Use How to water indoor plants the right way to build a reliable check-water-drain routine.
- Compare Pebble tray vs humidifier to choose the best humidity solution for your space and budget.
- Read the DIY pebble tray guide for a step-by-step build with materials you likely already have.
- See the Monstera brown tips guide for species-specific diagnosis when the problem appears on a Monstera.
- If brown tips appear alongside yellowing, consult the Monstera yellow leaves guide to rule out overlapping causes.
Conclusion
Brown tips on houseplants are a signal that the plant cannot move enough water to its leaf margins. The most common causes, in order: low humidity, inconsistent watering, tap water chemistry on sensitive species, and fertilizer salt buildup. Root problems and environmental stress round out the list but are less frequent.
Start by measuring humidity and checking soil moisture at depth. If humidity is low, a humidifier or pebble tray addresses the most common cause directly. If watering is inconsistent, switch to checking before watering rather than watering on a schedule. If you grow fluoride-sensitive plants, switch to distilled or rain water. If you see white crust on the soil, flush the pot and reduce feeding.
Make one correction at a time, trim the dead tips for appearance, and evaluate recovery by the health of new growth — not by expecting brown tissue to turn green again. Most plants respond within a few weeks once the cause is corrected.