How to Spot and Save a Houseplant With Root Rot Before It's Too Late
Is your houseplant wilting despite wet soil? It could be root rot. This guide covers symptoms, the telltale smell, and how to treat and prevent it.
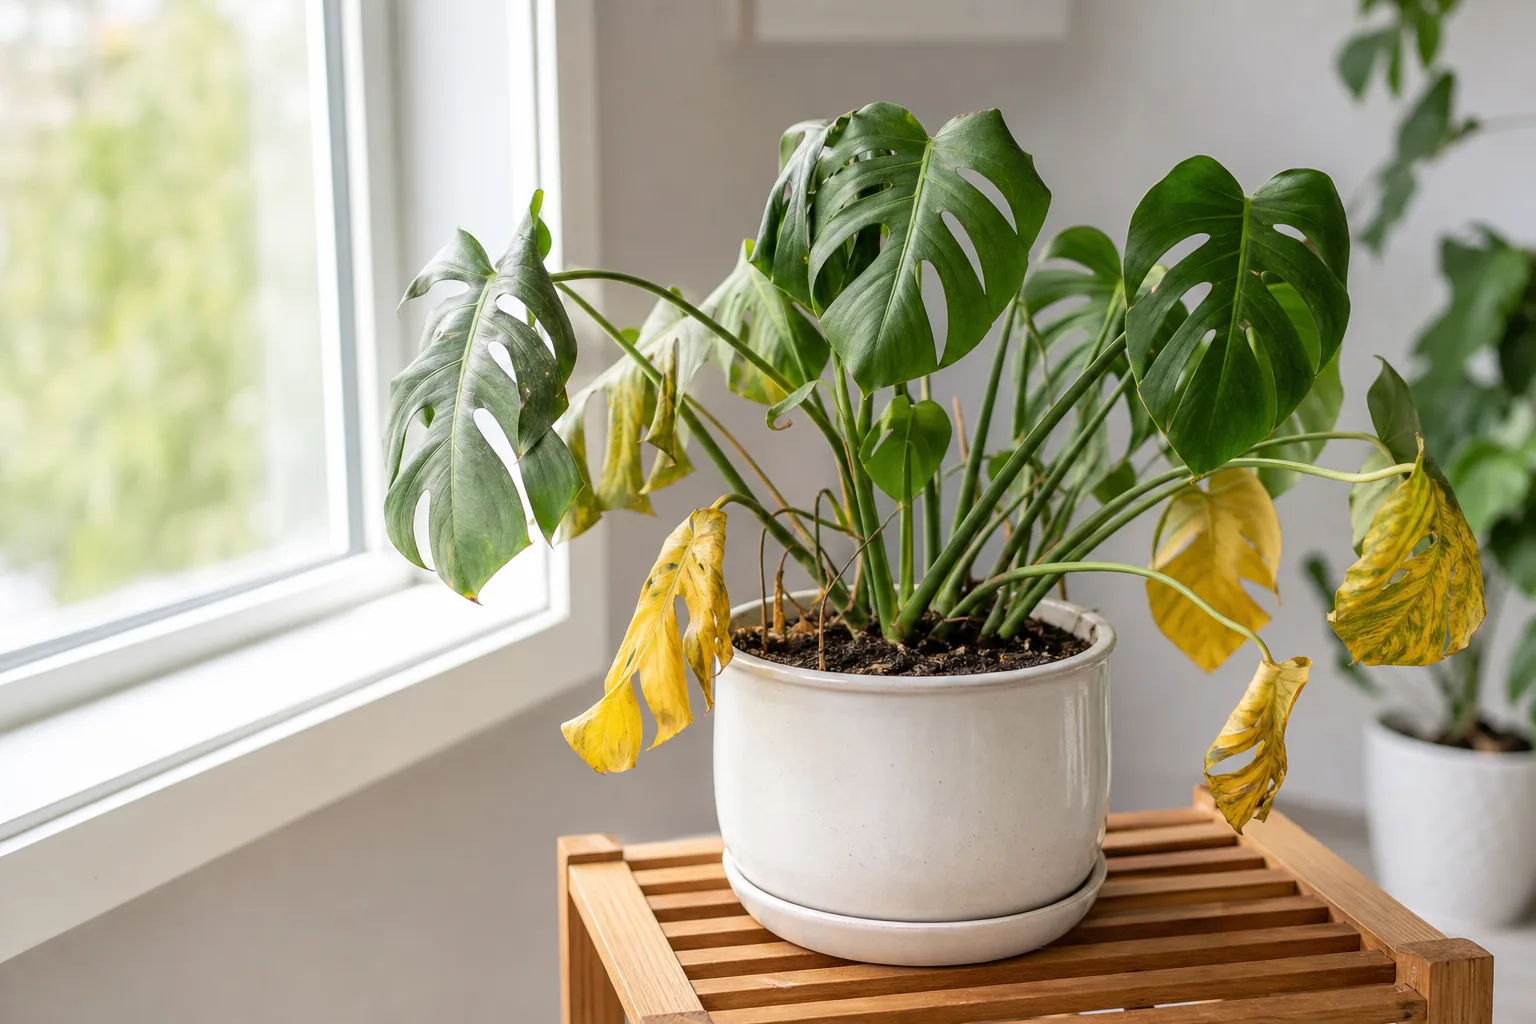
You watered your monstera three days ago and the soil is still damp. The lower leaves are turning yellow, and the plant looks wilted — exactly how a thirsty plant looks, except you know the soil is wet. This is the moment root rot enters the conversation.
Root rot kills more houseplants than almost any other problem, and it does it quietly. The damage starts underground, invisible until the plant above has already begun to decline. By the time you notice something is wrong, the roots may already be halfway gone. But root rot is not a guaranteed death sentence. If you catch it early, understand what you are looking at, and follow the right steps in the right order, many plants pull through.
This guide covers what root rot actually is, the signs most people miss, what rotting roots smell like and why that matters, the exact rescue process, and how to prevent it from coming back.
What Is Root Rot?
Root rot is a disease that causes plant roots to decay and die. It happens when roots sit in waterlogged soil for too long — either because the plant was overwatered, the pot lacks drainage, or the soil is too dense to let water move through. Once roots begin to rot, they stop absorbing water and nutrients, which is why a plant with root rot often looks like it is drying out even though the soil is wet. Getting watering right is the single most effective way to prevent this — see our how to water indoor plants guide for the full method.
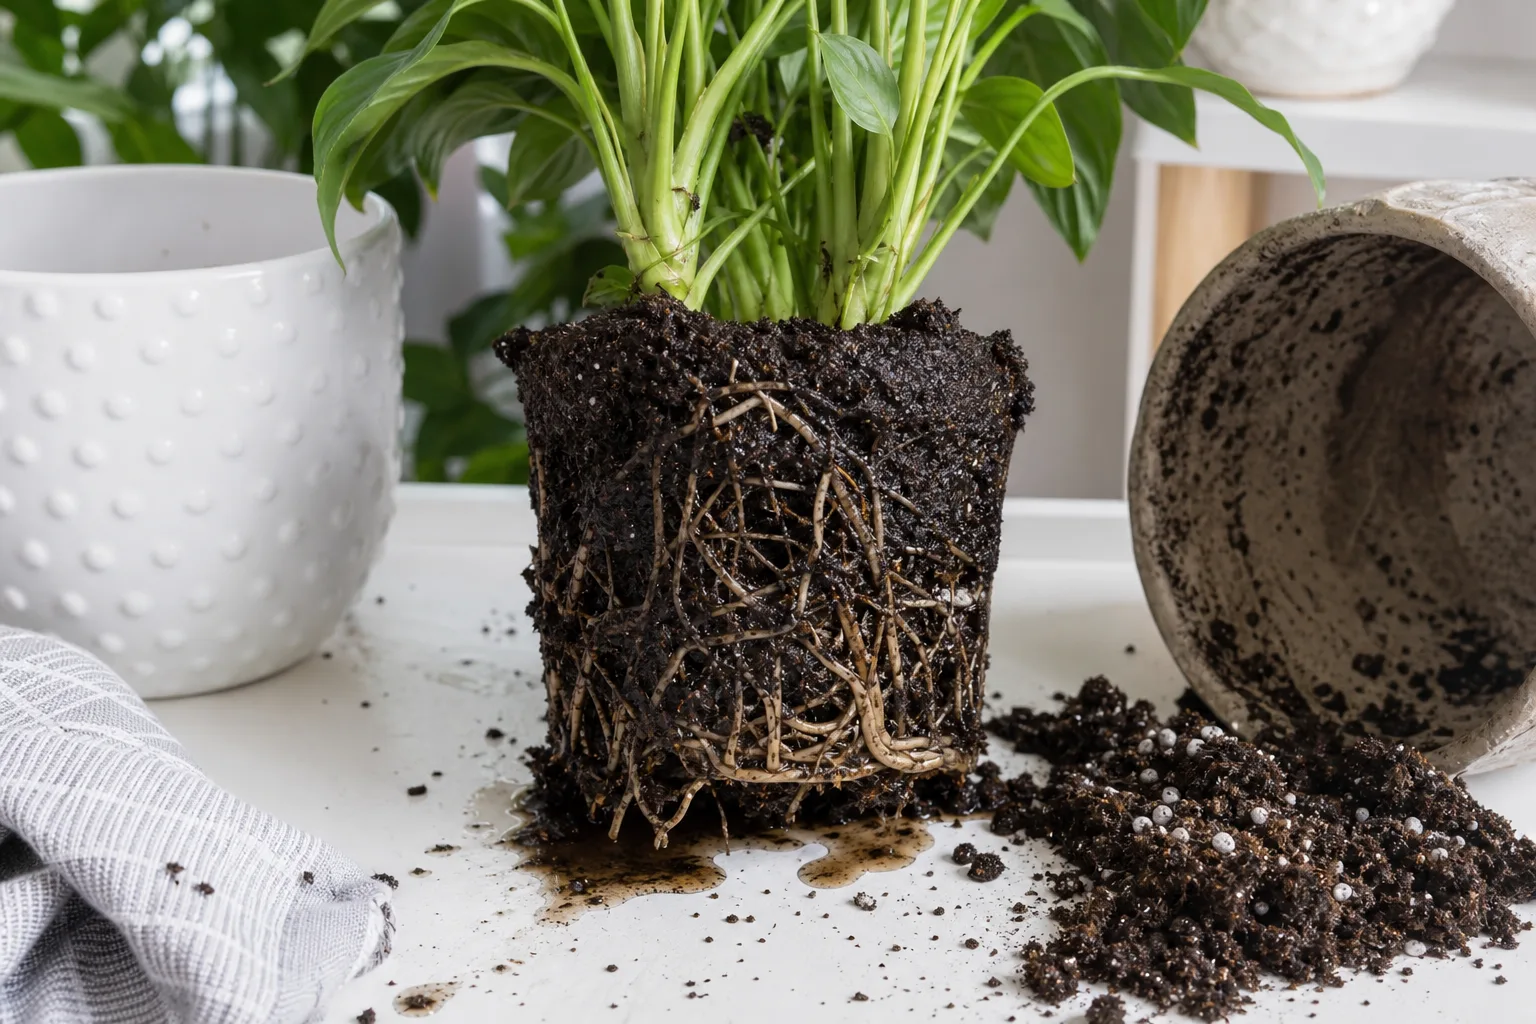
There are two overlapping mechanisms at work. The first is physiological: roots need both water and oxygen, and when surrounded by water, they cannot take up oxygen (Clemson HGIC). When soil is saturated, air cannot reach the root zone, and the roots essentially suffocate. The cells die, and the dead tissue begins to break down. The second mechanism is pathogenic: once roots are weakened or dying, fungi and bacteria that are normally present in soil — especially Fusarium, Pythium, and Phytophthora species — move in and accelerate the decay. At that point, the rot can spread rapidly through the root system, even if you correct the watering problem.
What Causes Root Rot in Houseplants
Overwatering and Poor Drainage
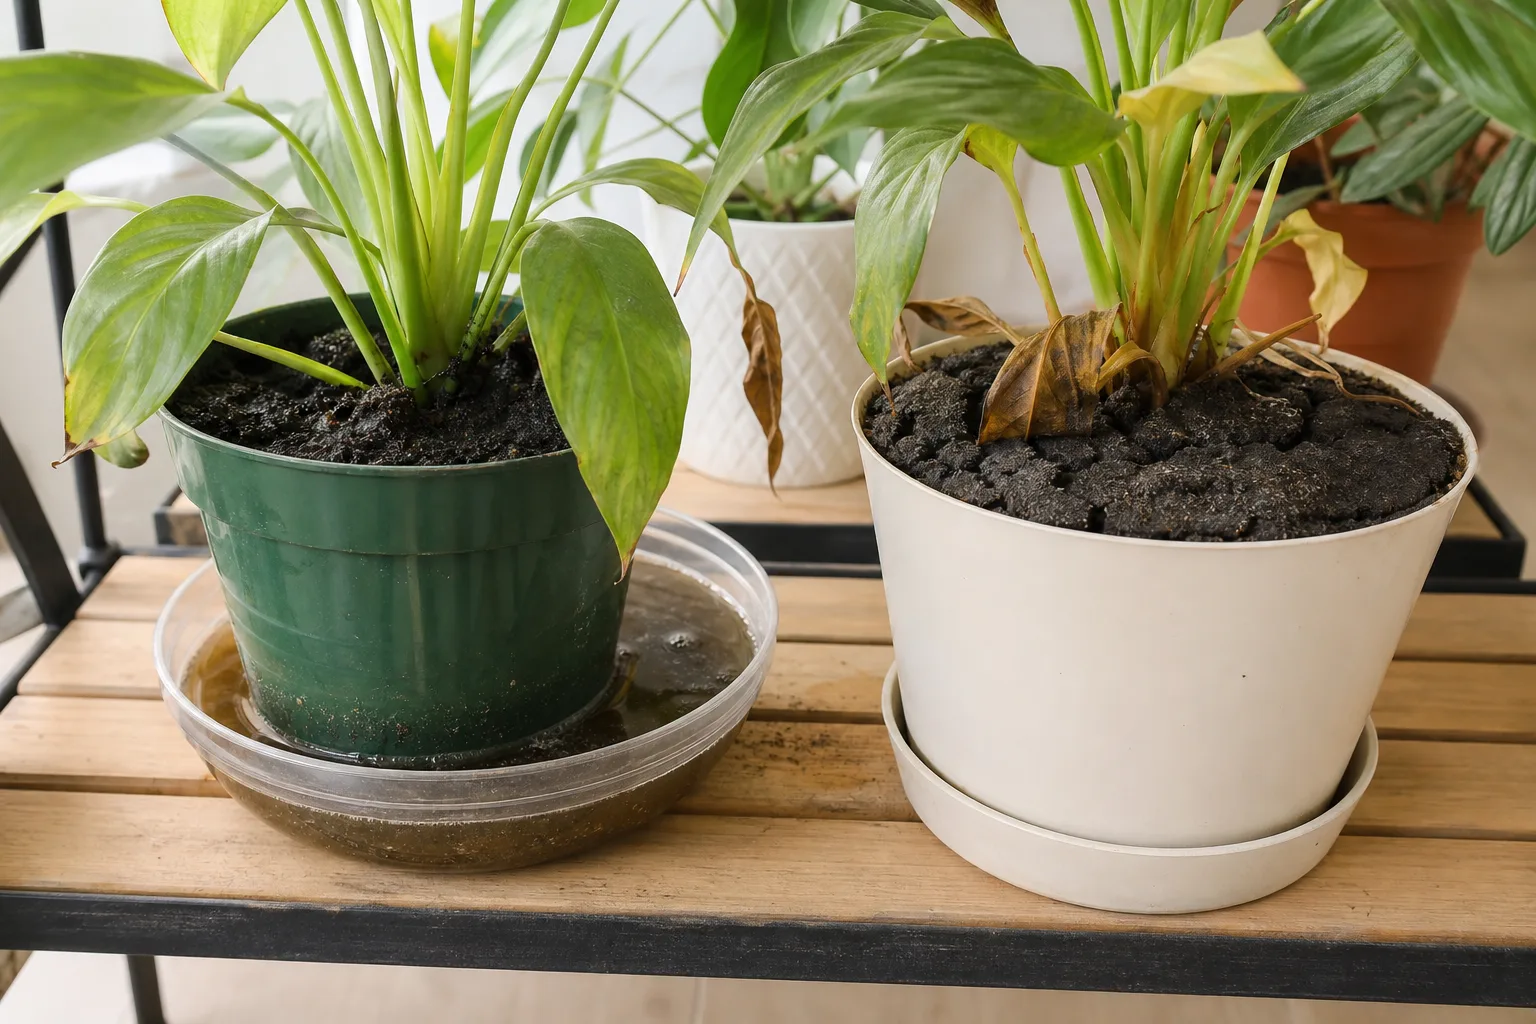
The most common cause is simple: water staying in the pot longer than the plant can handle. This does not always mean watering too often. A plant can be watered once a week and still drown if the pot has no drainage hole, or if the potting mix is too heavy and holds water like a sponge. Indoor plants are especially vulnerable because containers trap water, and indoor air movement and light levels are usually lower, which means the plant uses water more slowly.
The pot itself matters. Glazed ceramic and plastic pots hold moisture longer than terracotta, which breathes. Using a pot that is too large for the root system also creates a risk — a big volume of soil takes longer to dry, surrounding the roots with moisture they never asked for. Saucers and cachepots that trap runoff underneath the pot create a perched water table that keeps the bottom of the root ball permanently wet. If you are unsure whether your potting mix drains well enough, our best potting mix guide covers which blends work for different plant types.
Fungal Pathogens That Thrive in Wet Soil
Several soil-dwelling organisms are specifically adapted to attack plant roots in wet conditions. Fusarium is a common fungus that colonizes dead and dying root tissue and can produce toxins that damage living cells nearby. Pythium — technically a water mold rather than a true fungus — is one of the most aggressive root rot pathogens in container plants. It produces swimming spores that move through water in the soil, so it spreads fastest in saturated conditions. Phytophthora, another water mold, causes similar damage and is notoriously hard to eliminate once established. (Missouri Botanical Garden)
Fungus gnats should not be dismissed as just a nuisance. Adult gnats can carry Pythium and Fusarium spores from plant to plant, and their larvae feed on roots in damp soil, creating entry points for pathogens. If you have persistent fungus gnats and a plant that is declining, root rot should be on your differential diagnosis list. For a broader pest control strategy, see our integrated pest management guide.
Early Signs of Root Rot You Shouldn’t Ignore
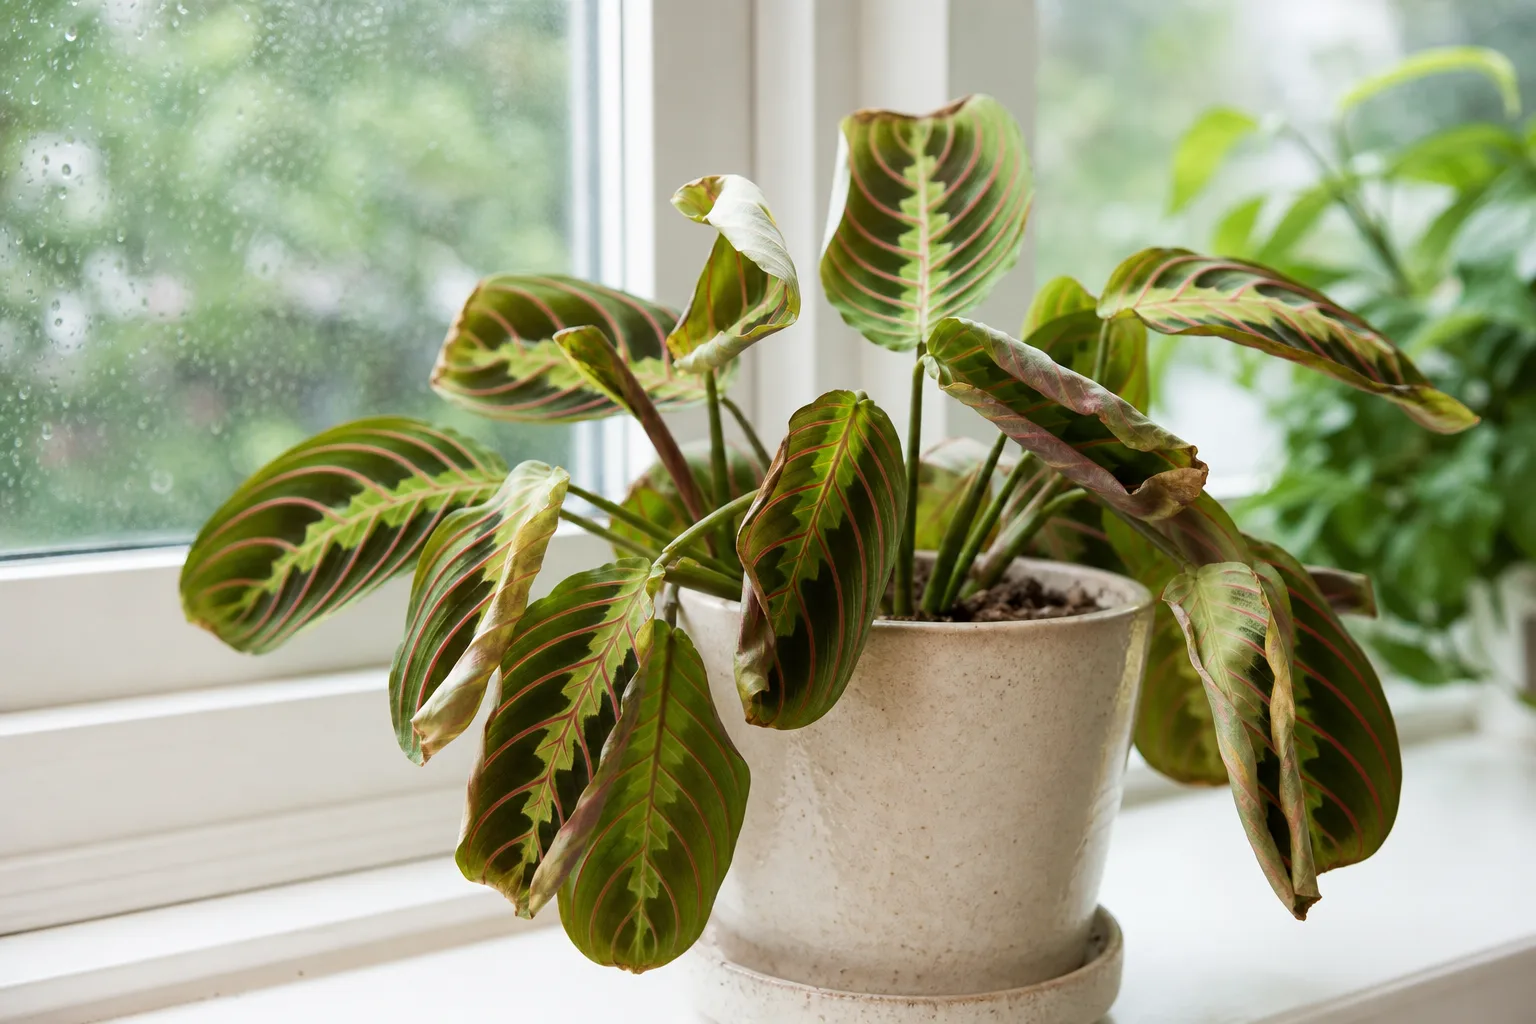
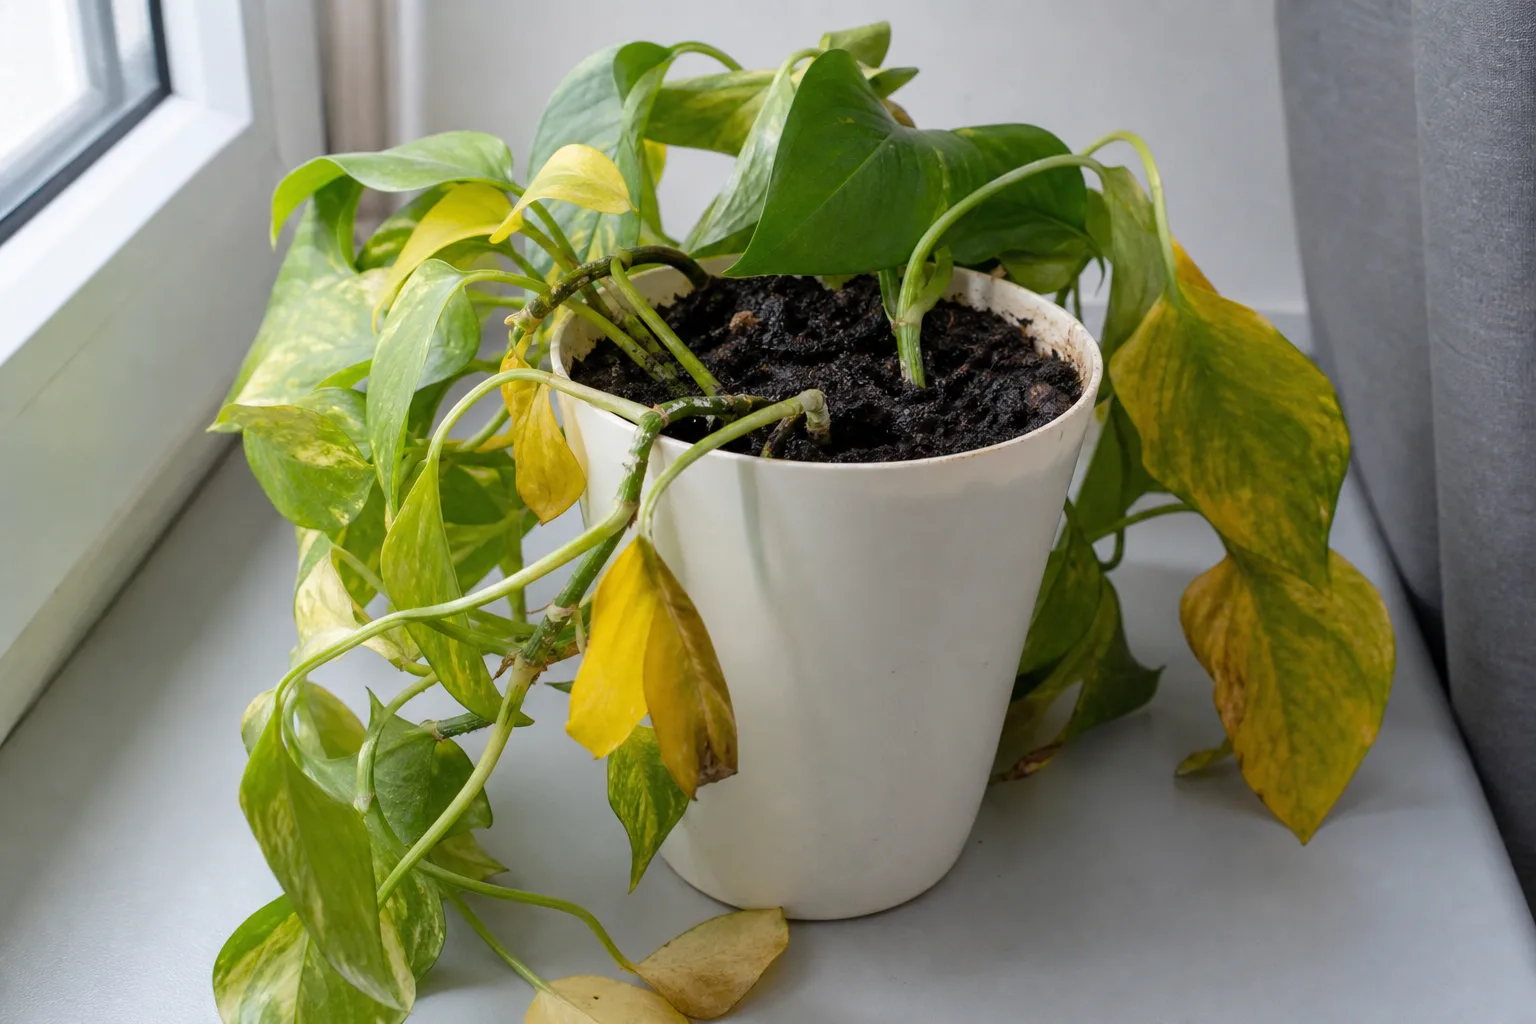
Root rot symptoms are frustratingly generic. Yellowing leaves, wilting, slowed growth, and leaf drop can all point to underwatering, nutrient deficiency, pest damage, or temperature stress just as easily as root rot. The key difference is moisture context. The symptoms of overwatering and underwatering are similar. Both lead to poor root health, root decline and possibly death of the plant. (Clemson HGIC) A plant with root rot typically looks thirsty — limp, drooping, with soft or curling leaves — while the soil is wet or even soggy. This mismatch is the single most reliable above-ground clue.
Yellowing Leaves and Wilting Despite Moist Soil
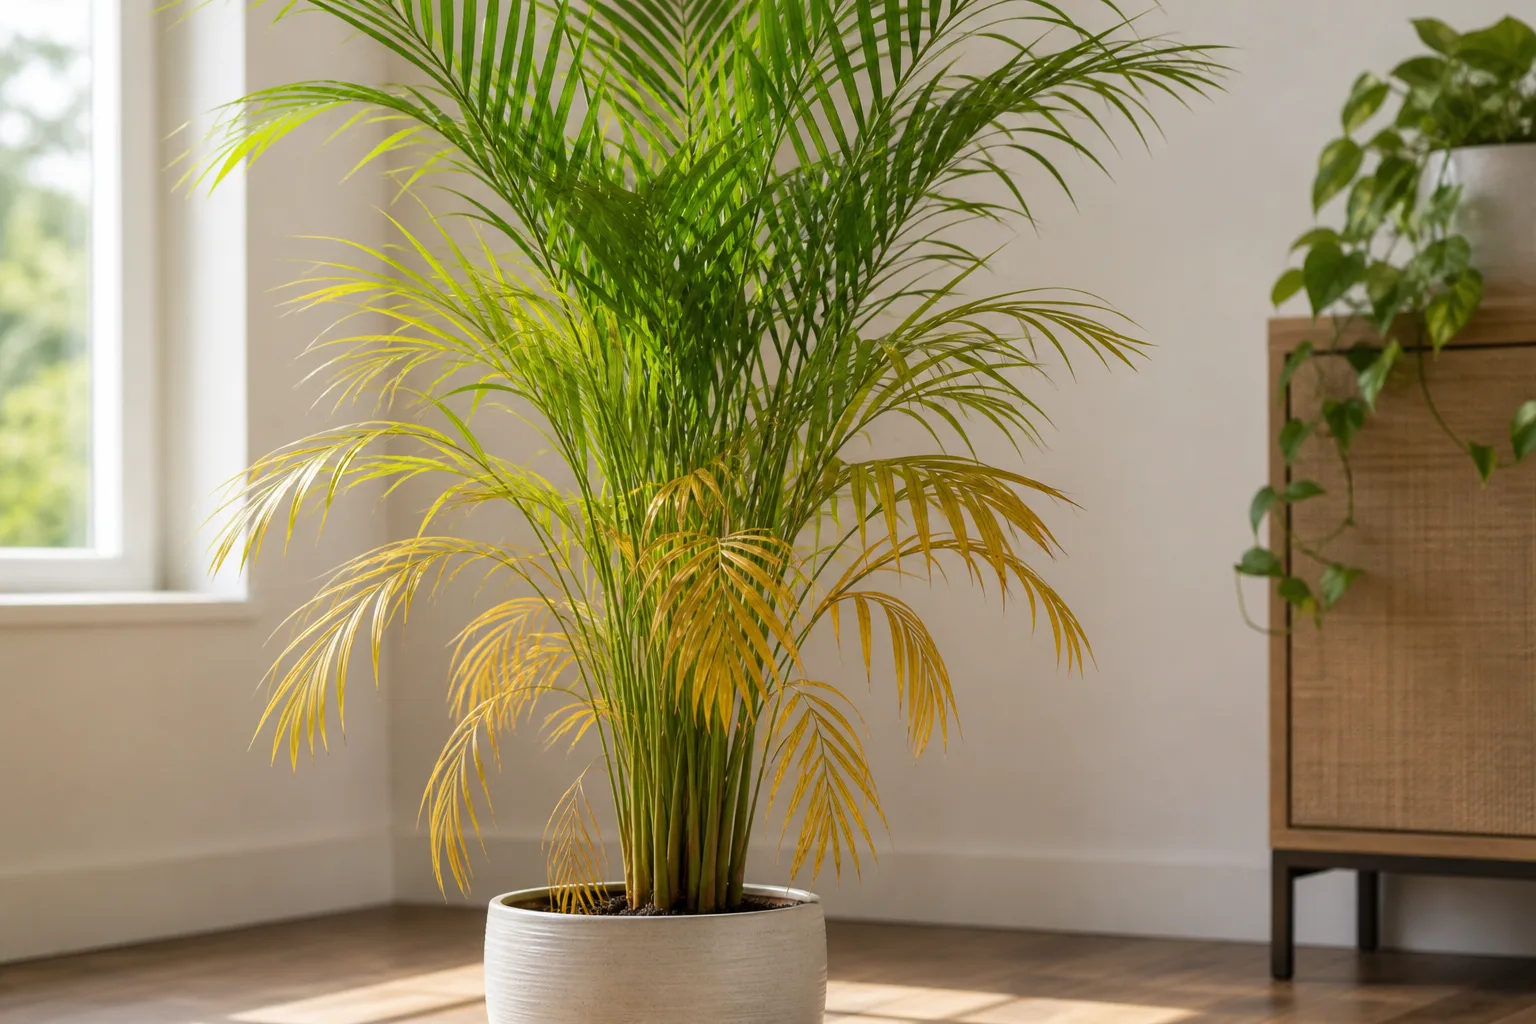
When roots die, the plant loses its ability to take up water. The leaves respond the same way they would if the soil were bone-dry: they wilt, yellow from the bottom up, and eventually drop. Many plant owners see this and instinctively water again, which makes the problem worse. If you have been watering consistently and the plant is not responding — or is getting worse — stop watering. Pick up the pot. If it feels heavy, the soil is holding plenty of moisture, and the plant’s problem is below the surface.
Other signs include soft, mushy stems at the soil line, new growth that emerges small and deformed, and brown or black spots on leaves that look water-soaked around the edges. Older leaves typically go first, since the plant abandons lower growth to redirect its limited resources to newer leaves.
The Smell Test: What Root Rot Smells Like
Healthy potting soil smells earthy and mild. Root rot has a distinct, unpleasant odor that people describe as rotten eggs, ammonia, sewage, or decomposing vegetation. The smell comes from anaerobic bacteria and fungi breaking down dead root tissue in the absence of oxygen. It is not subtle — if you lift the plant out of its pot and catch a whiff of something foul, you have your answer.
You can sometimes detect the smell without removing the plant. Sniff the drainage hole at the bottom of the pot, or press your nose close to the soil surface. If there is a sour, swampy, or sulfurous odor, root rot is almost certainly present. This test is especially useful for plants in opaque pots where you cannot see root color through the drainage holes.
How to Confirm Root Rot by Inspecting the Roots
The only definitive way to diagnose root rot is to look at the roots directly. Gently remove the plant from its pot — do this over a sink, outside, or on a drop cloth, because the job is messy. It helps to tip the pot on its side, support the base of the plant with one hand, and tap or squeeze the pot to loosen the root ball. If the plant is root-bound, work a knife or trowel around the inside edge of the pot.
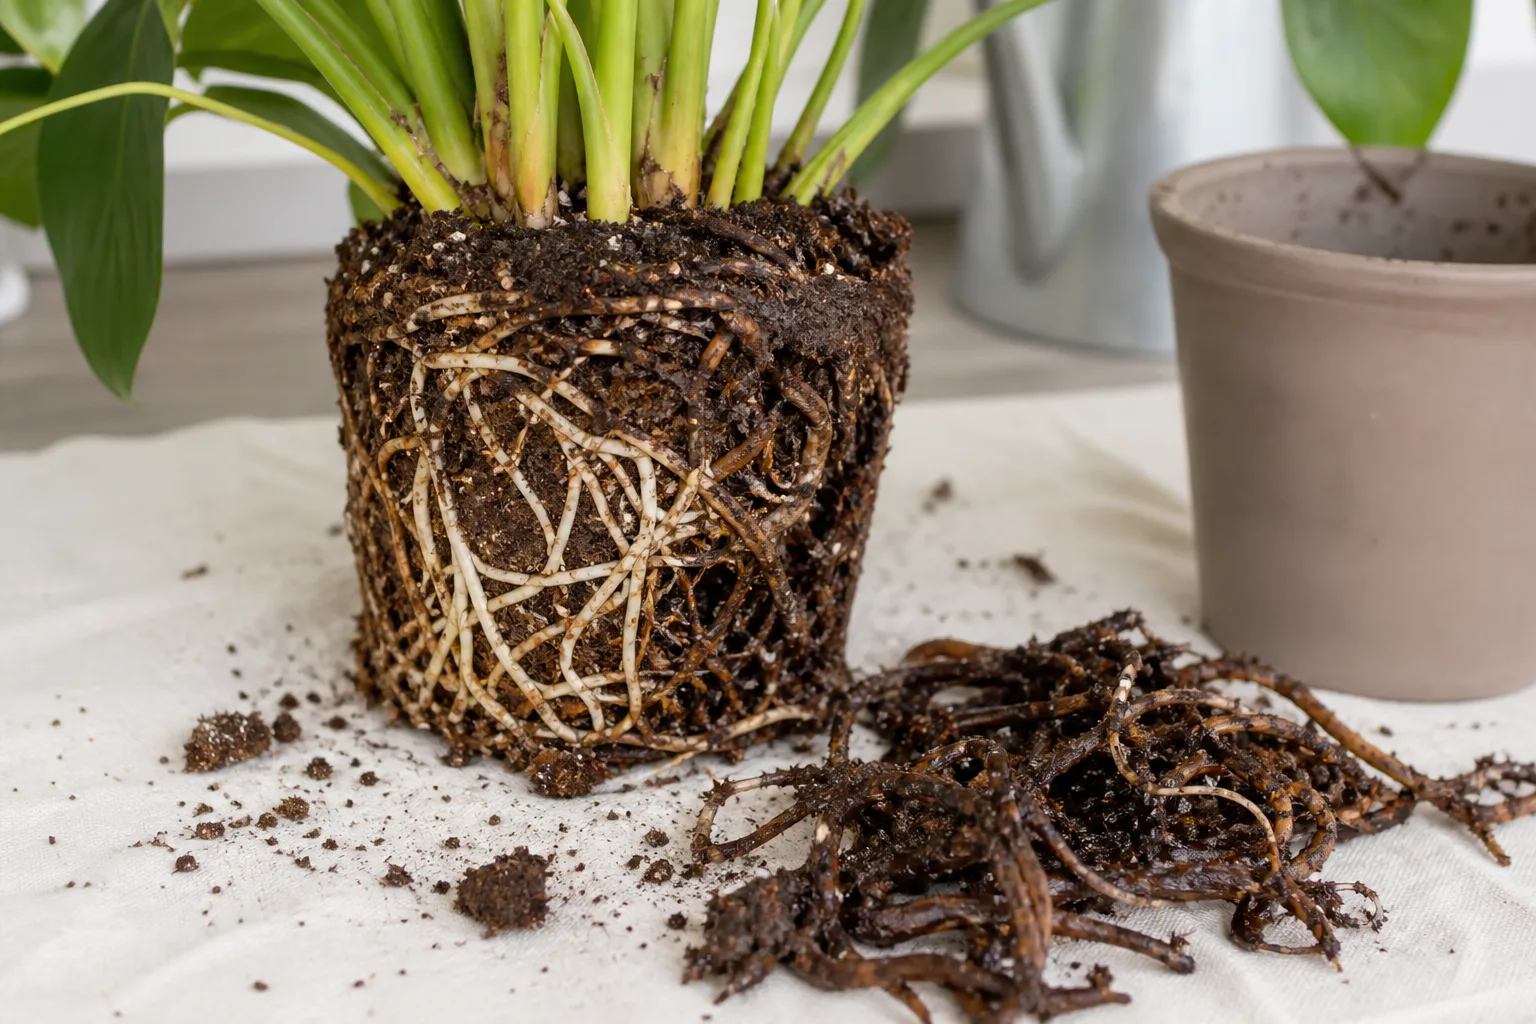
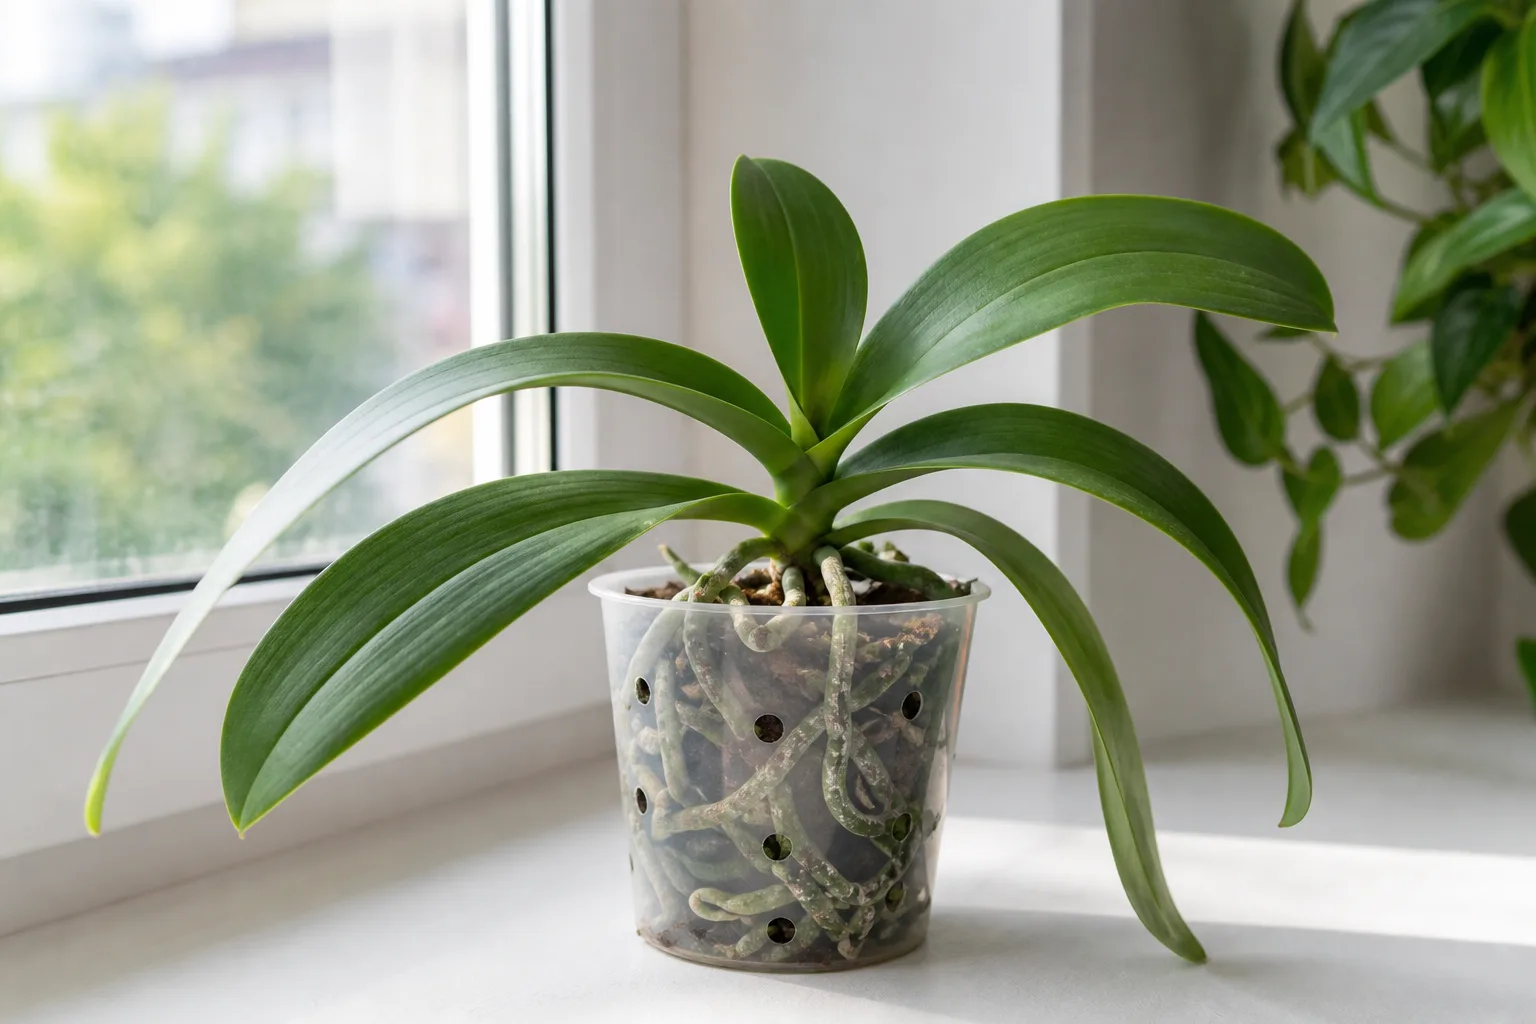
Once the plant is out, brush away loose soil and look at what you have. Healthy roots are firm, plump, and typically white, cream, or light tan. Some plants naturally have darker roots — philodendrons and peace lilies, for example — but even then, healthy roots feel springy and resist when you tug on them. Rotted roots are unmistakably different: dark brown or black, soft, slimy, and they pull apart with almost no resistance. In advanced cases, the outer sheath of the root slides off when you run your fingers along it, leaving a thin, stringy core behind — a phenomenon sometimes called “root sloughing.” (Better Homes & Gardens)
The smell at this stage is often immediate. If the root ball gives off a foul odor when you break it apart from the pot, you do not need to inspect any further. The roots are rotting.
Root Rot Rescue: Step-by-Step Treatment
The goal of treatment is not to “cure” the rot — dead root tissue cannot be revived. The goal is to remove every part of the plant that is already rotting, sterilize what remains, and give the healthy roots a clean environment to regrow in. Here is the process in order.
Step 1: Remove the Plant and Clean the Roots
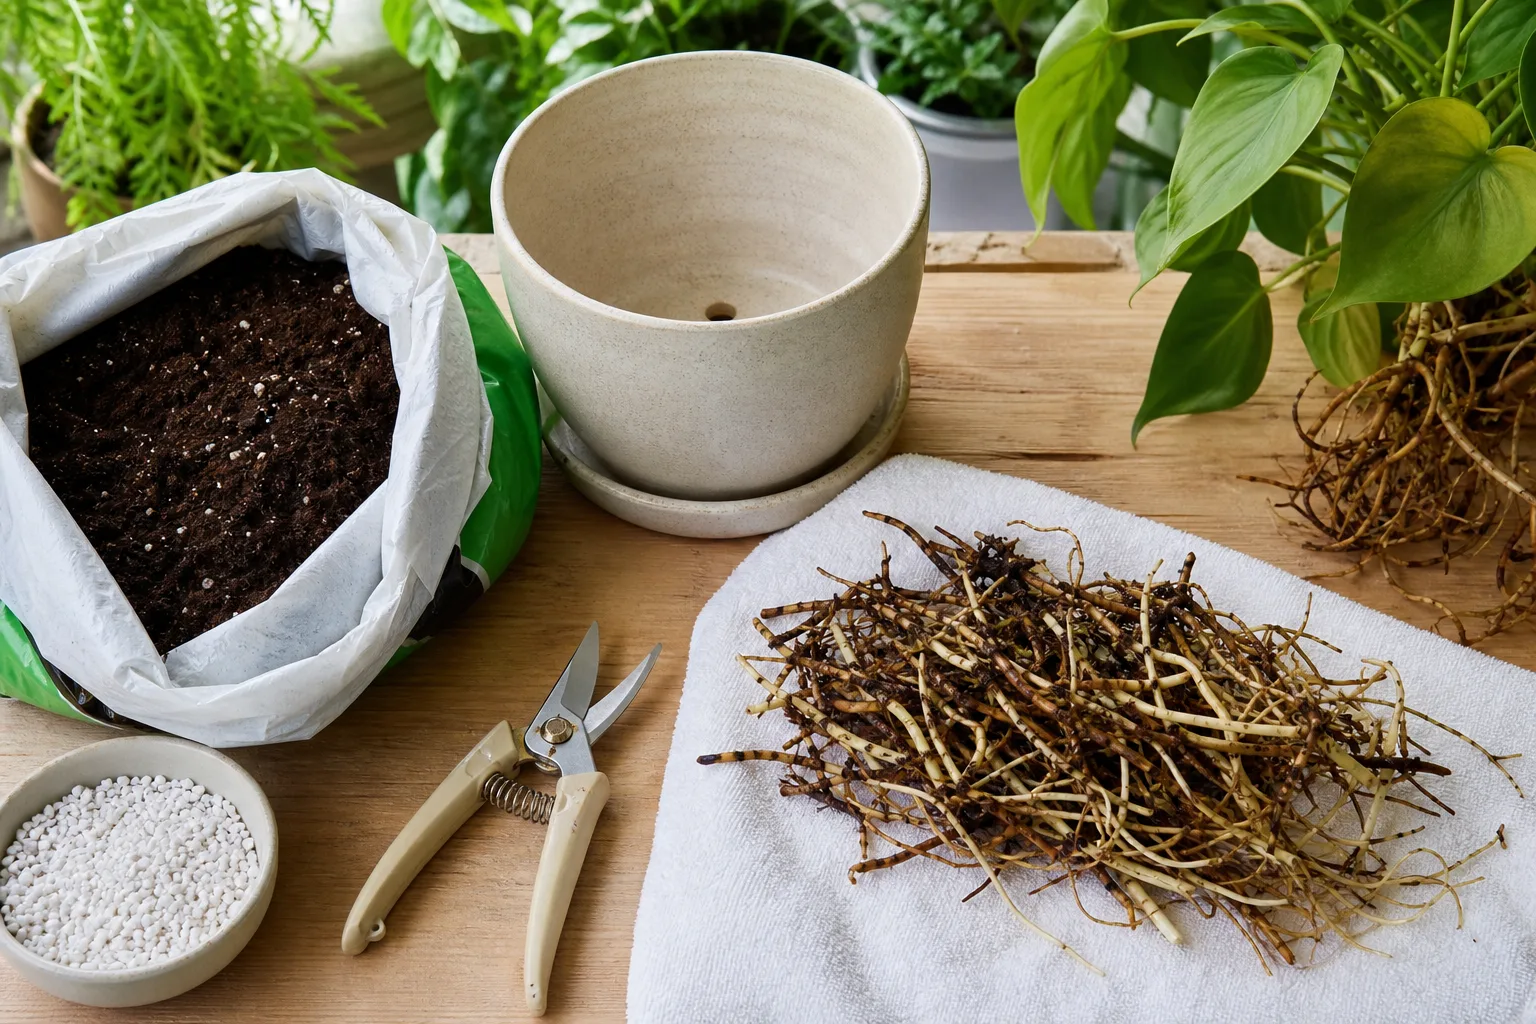
Take the plant out of its pot and remove as much of the old potting mix as you can. Gently shake the root ball, pick out chunks of soil by hand, and then rinse the roots under lukewarm running water. Use your fingers or a soft spray to work soil out from between the roots. The cleaner the roots are, the easier it is to see which ones are healthy and which are not. Do not worry about damaging healthy roots during this step — they are tougher than they look. But be gentle with roots that are already compromised.
If the soil is heavily compacted or clay-like, you may need to soak the root ball in a bucket of water for a few minutes to loosen it. After rinsing, lay the plant on a clean surface and spread the roots out so you can inspect every section.
Step 2: Trim Away All Damaged Roots
Using a clean, sharp pair of scissors or pruning shears, cut away every root that is mushy, black, slimy, or hollow. Sterilize your tool with rubbing alcohol or a 10% bleach solution between plants — and between cuts on the same plant if you are working through extensive damage. Be thorough, even aggressive. Leaving even a small section of rotting root in place can reintroduce the problem.
Trim back to the point where the root interior looks white or cream-colored and the tissue feels firm. If a root is partially healthy — firm at the top but mushy at the tip — cut it back past the damaged section into healthy tissue. This is not the time for caution. A small root system that is entirely healthy has a much better chance than a larger root system with rot still present.
At this stage, also remove any leaves or stems that are yellow, brown, or mushy. Each one is a drain on the plant’s energy while it tries to rebuild its root structure.
Step 3: Treat with Hydrogen Peroxide (Optional)
Hydrogen peroxide can help sterilize the remaining root system and kill fungal spores on the surface. Use a standard 3% hydrogen peroxide solution diluted with water at a ratio of 1 part peroxide to 3 parts water. Soak the roots in this solution for 2 to 5 minutes, then rinse briefly with clean water before repotting.
This step is optional. The physical removal of rotted tissue and repotting into fresh soil are the two actions that matter most. Hydrogen peroxide offers an extra margin of safety, but it will not compensate for incomplete trimming or for repotting into the wrong soil. Do not use undiluted peroxide, and do not let the roots sit in the solution for longer than 5 to 10 minutes — peroxide is an oxidizing agent and can damage healthy root cells with prolonged exposure.
Step 4: Repot in Fresh, Well-Draining Soil
Choose a clean pot with at least one drainage hole. If you are reusing the same pot, wash it thoroughly with hot, soapy water and disinfect it with a diluted bleach solution before reusing it. The pot should be sized appropriately for the plant’s reduced root system — going up a pot size after root rot is a mistake, because the excess soil volume holds moisture the recovering roots cannot use.
Use a fresh, high-quality potting mix that drains freely. Avoid garden soil or topsoil, which compacts in containers and holds too much water. A good indoor mix typically contains peat moss or coco coir for moisture retention, perlite or pumice for aeration, and sometimes bark or sand for additional drainage. For plants that prefer drier conditions — succulents, cacti, snake plants, ZZ plants — use a mix specifically formulated for those types, or add extra perlite to a standard potting mix at roughly a 1:1 ratio. If the plant needs a full repotting anyway, our repotting houseplants guide walks through how to do it without adding stress.
When repotting, do not compress the soil tightly around the roots. Tamp it lightly so the plant stands upright, but leave the mix loose enough that water and air can move through. Planting depth matters too — keep the crown of the plant (where the stems meet the roots) at the same level it was before. Burying it deeper creates a new rot risk at the crown.
Step 5: Prune Foliage and Adjust Aftercare
A reduced root system cannot support the same amount of foliage the plant had before. Trim back the top growth by about one-third — remove the oldest, largest, or most damaged leaves first. This reduces the water demand on the recovering roots and gives the plant a better chance to stabilize.
After repotting, do not water immediately if the roots were rinsed and still damp. Give the plant a day or two before the first light watering. Then water sparingly — just enough to moisten the soil, not saturate it. Place the plant in bright, indirect light. Direct sun on a stressed plant can scorch the remaining leaves, but low light will slow recovery. A spot near an east-facing or filtered south-facing window is ideal for most recovering plants.
Do not fertilize for at least three to four weeks. Fertilizer salts can burn tender new roots and force the plant to put energy into leaf growth when it should be rebuilding below the surface. When you do resume feeding, use a half-strength dilution for the first month.
Recovery takes time. You may see small signs of improvement — a new leaf, a firmer stem, or the plant simply stops declining — within a week or two. Full recovery can take a month or longer, depending on the plant species and how much root damage occurred. If the plant continues to decline after two to three weeks despite following these steps, the remaining root system may not have been enough to support it.
When a Plant Is Too Far Gone
Not every plant can be saved. If more than 70 to 80 percent of the root system is black, mushy, or completely hollowed out, the plant’s odds of recovery are low. If the rot has moved up into the stem — you see brown or mushy tissue at the base of the plant above the soil line — that is crown rot, and it is usually fatal. If the entire root ball collapses into a slimy mess when you try to clean it, there is nothing left to save.
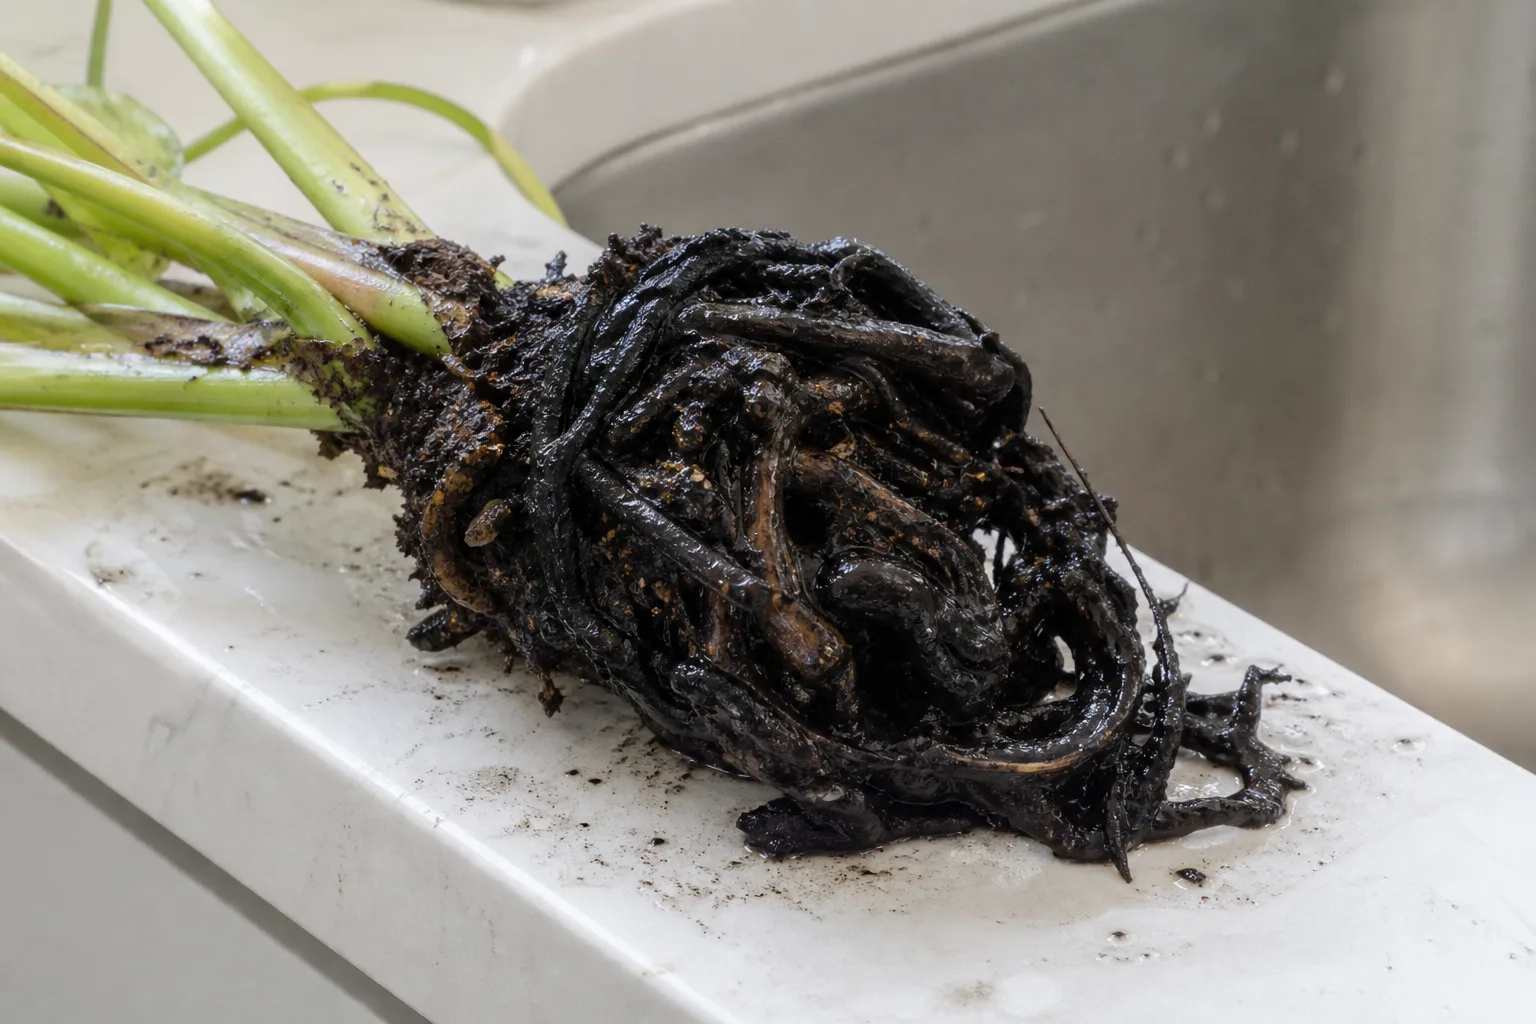
In these cases, salvage what you can. Take stem or leaf cuttings from the healthiest remaining sections of the plant while those sections are still alive. Many common houseplants — pothos, philodendron, monstera, tradescantia, begonia — propagate easily from cuttings in water or moist perlite. Starting over from a cutting is faster and more reliable than trying to nurse a plant with a destroyed root system back to health. The site’s propagation guides cover water, soil, and perlite methods for many common houseplants.
How to Prevent Root Rot From Coming Back
Prevention is easier than rescue, and it comes down to three controllable factors: water, drainage, and soil.
Water based on the plant’s actual need, not a fixed schedule. For most houseplants, the right time to water is when the top inch or two of soil feels dry to the touch. Stick your finger into the potting mix near the base of the plant — if it comes out with soil clinging to it, wait. (Clemson HGIC) A moisture meter can help if you struggle with the finger test, and they cost very little. In winter, when light levels drop and growth slows, most plants need less water than they do in spring and summer. Watering on the same weekly schedule year-round is one of the most common causes of chronic rot.
Use pots with drainage holes — no exceptions. If you want to use a decorative pot without holes, keep the plant in a plastic nursery pot, remove it for watering, let it drain completely, and then return it to the decorative container. Do not let the plant sit in a saucer of standing water for more than 15 to 20 minutes after watering. Empty the runoff.
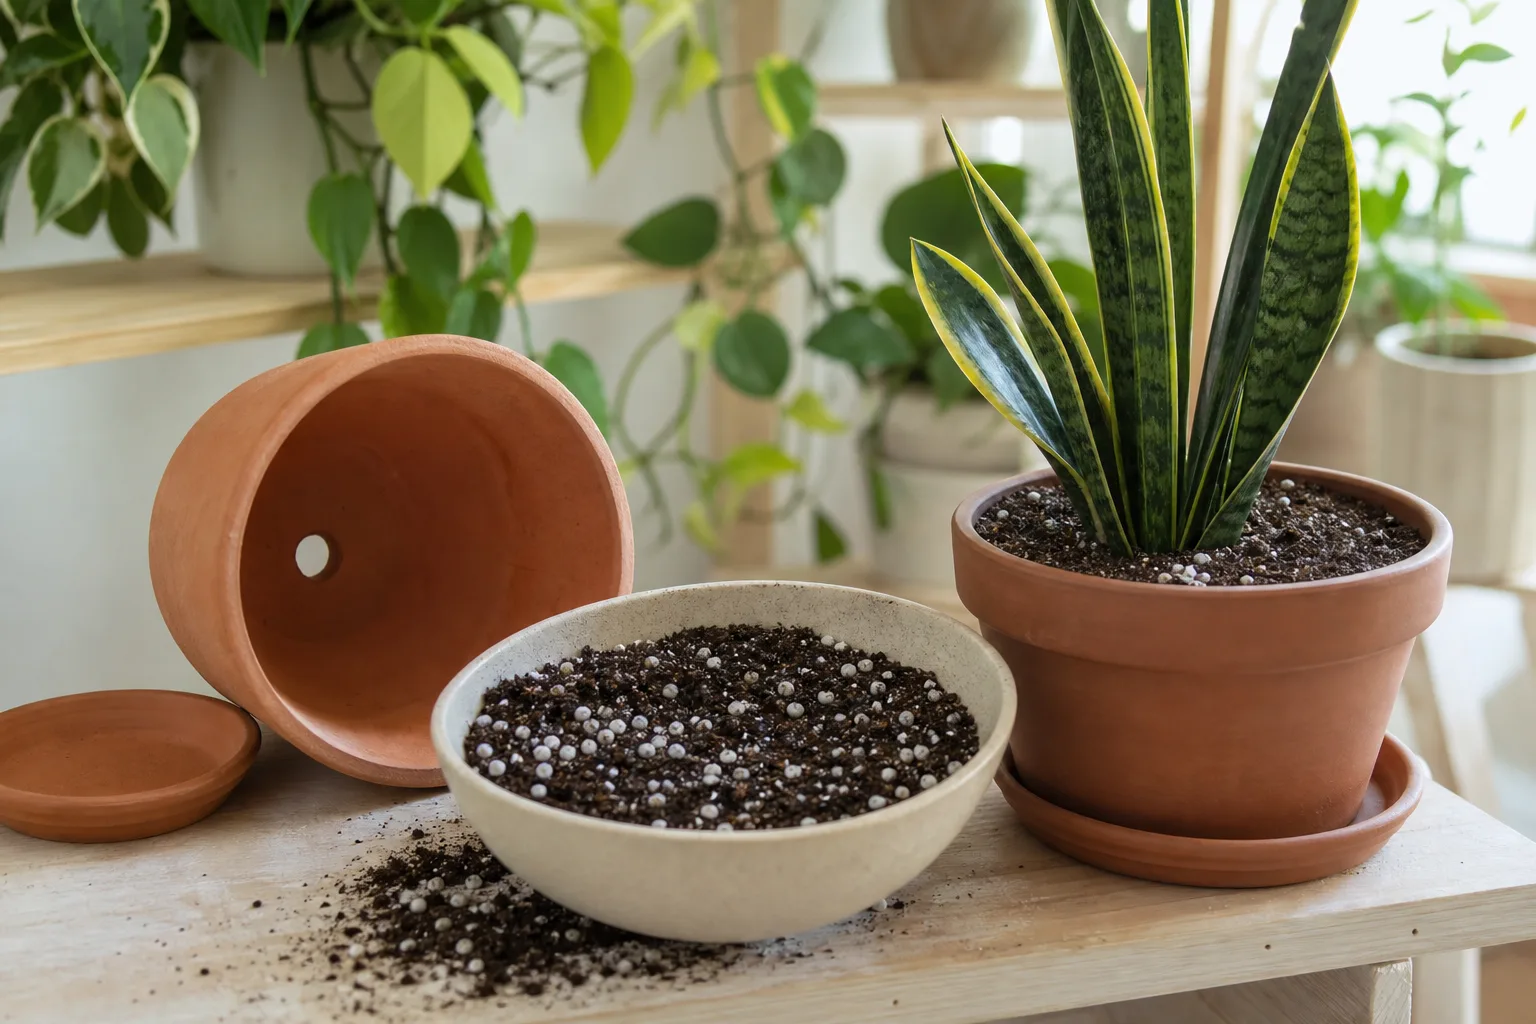
Choose or amend your potting mix for drainage. Pre-bagged indoor potting mixes often hold more water than they need to. Adding perlite, pumice, or coarse horticultural sand at about 20 to 30 percent by volume significantly improves drainage without making the mix too dry. Terracotta pots pull moisture out of the soil through evaporation and are a good choice for plants prone to rot, including many succulents, peperomias, and hoyas.
Light matters more than people think in preventing rot. A plant in low light uses water slowly, leaving the soil wet for longer. Moving a plant to a brighter spot — or supplementing with a grow light in darker rooms — speeds up the plant’s water uptake and shortens the time the roots spend in damp soil. If you are dealing with a dim room and a chronically wet pot, our grow lights guide explains how to add usable light without scorching.
Finally, check roots when you repot. Even if you are not treating a problem, inspecting the root system once a year when you refresh the soil or move the plant to a larger pot lets you catch early rot before it turns into a rescue situation.
Related Guides
- How to Water Indoor Plants the Right Way — the full watering method that prevents root rot in the first place.
- Best Potting Mix for Indoor Plants — choosing and amending soil so water drains instead of pooling.
- Repotting Houseplants — when and how to move a plant to a new pot without creating new rot risks.
- Houseplant Humidity Guide — when wet-looking symptoms are really about air moisture, not root health.
- Integrated Pest Management Indoors — controlling fungus gnats and other pests tied to wet soil.
Conclusion
Root rot is the kind of problem that punishes hesitation. The longer wet, decaying roots sit in a pot, the more tissue dies and the harder recovery becomes. But root rot is also one of the most treatable plant problems when you catch it early. The steps are straightforward: stop watering, pull the plant, cut the rot, clean the roots, and repot into fresh soil in a container that drains.
The smell test is one of the most underused diagnostic tools in houseplant care. If your plant looks thirsty but the soil is wet and something smells wrong, trust your senses. Get the plant out of the pot and look. A plant that is still mostly healthy below the surface has an excellent chance of pulling through with the right aftercare.
Prevention comes down to respecting drainage. Every pot needs a hole. Every plant needs soil that lets water move through. And every watering decision should be based on what the soil actually feels like, not what day the calendar says. Get those three things right, and root rot becomes something you read about instead of something you experience.