6 Easy Tricks to Save an Overwatered Plant Fast
Learn how to save an overwatered plant fast: drain hidden water, inspect roots, trim rot, repot safely, and prevent the problem from returning.
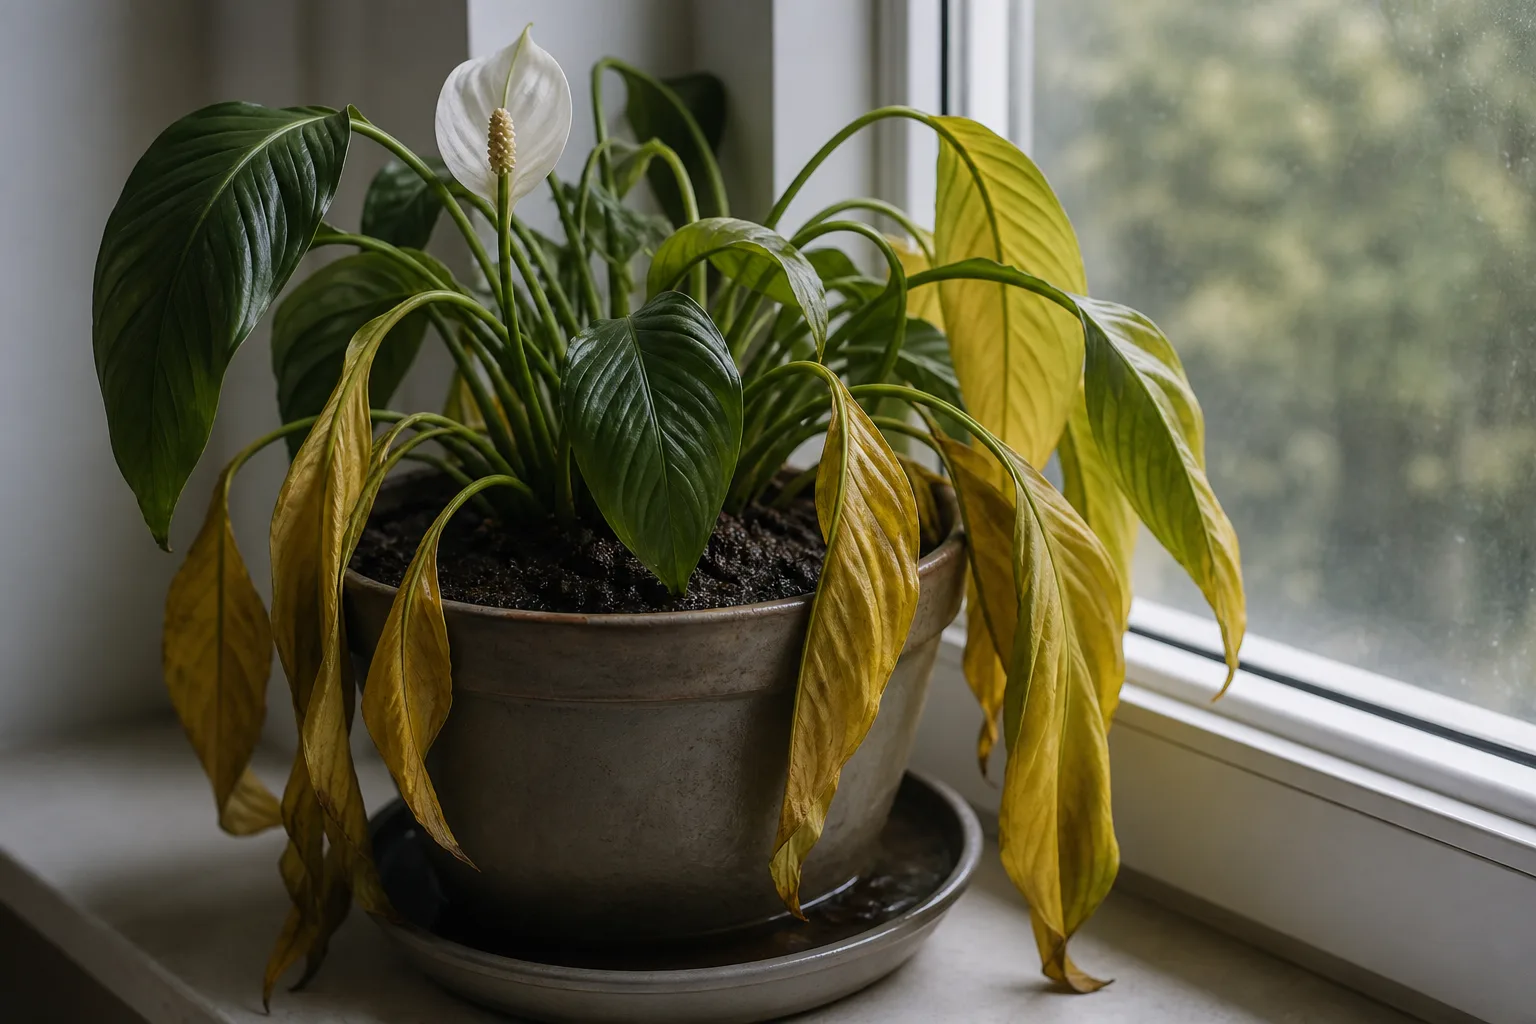
An overwatered plant can look thirsty enough to fool you into watering it again. The reliable clue is not the droop by itself; it is droop paired with wet soil, a heavy pot, soft foliage, or a sour smell. Roots in saturated mix lose access to air, so a plant can wilt while surrounded by water.
Start with the least disruptive action: remove standing water and stop adding more. Then decide whether the plant needs time to dry in its current pot or an immediate root inspection. That decision prevents two common mistakes—leaving a rotting root ball untouched, or repotting a plant that only had one accidental soaking.
The fast decision: drain or unpot?
Think of overwatering as a range, not a single diagnosis. A pot that received one extra drink but drains freely may only need a pause. A plant that has sat in a sealed cachepot for a week, wilts in wet mix, or smells sour needs a closer look because the problem may have moved from temporary waterlogging into root rot.
Your first goal is to restore a little air around the roots without adding another stressor. Work through the checks below before pruning leaves, feeding the plant, or reaching for a home remedy.
Do the 60-second moisture and pot check
Lift the container. If it feels much heavier than usual, the root ball is still holding a substantial amount of water. Push a finger or wooden chopstick about 2 inches into the mix; a dry surface proves very little, while damp mix at root depth is useful evidence.
Look underneath the pot. Confirm that drainage holes are open, not sealed against a saucer or clogged with roots. If the plant is sitting inside a decorative cachepot, lift it out and check whether runoff has collected at the bottom.
Finally, smell the mix near the drainage holes or soil surface. A normal wet pot smells earthy; a sour, swampy, or rotten odor raises the urgency because dead roots and wet media are already present. A moisture meter can help with a large container, but use it as one clue rather than treating its number as a universal watering command.
Separate overwatering from underwatering
Wilting and yellow leaves occur with both problems. Use the whole pattern rather than diagnosing from one leaf.
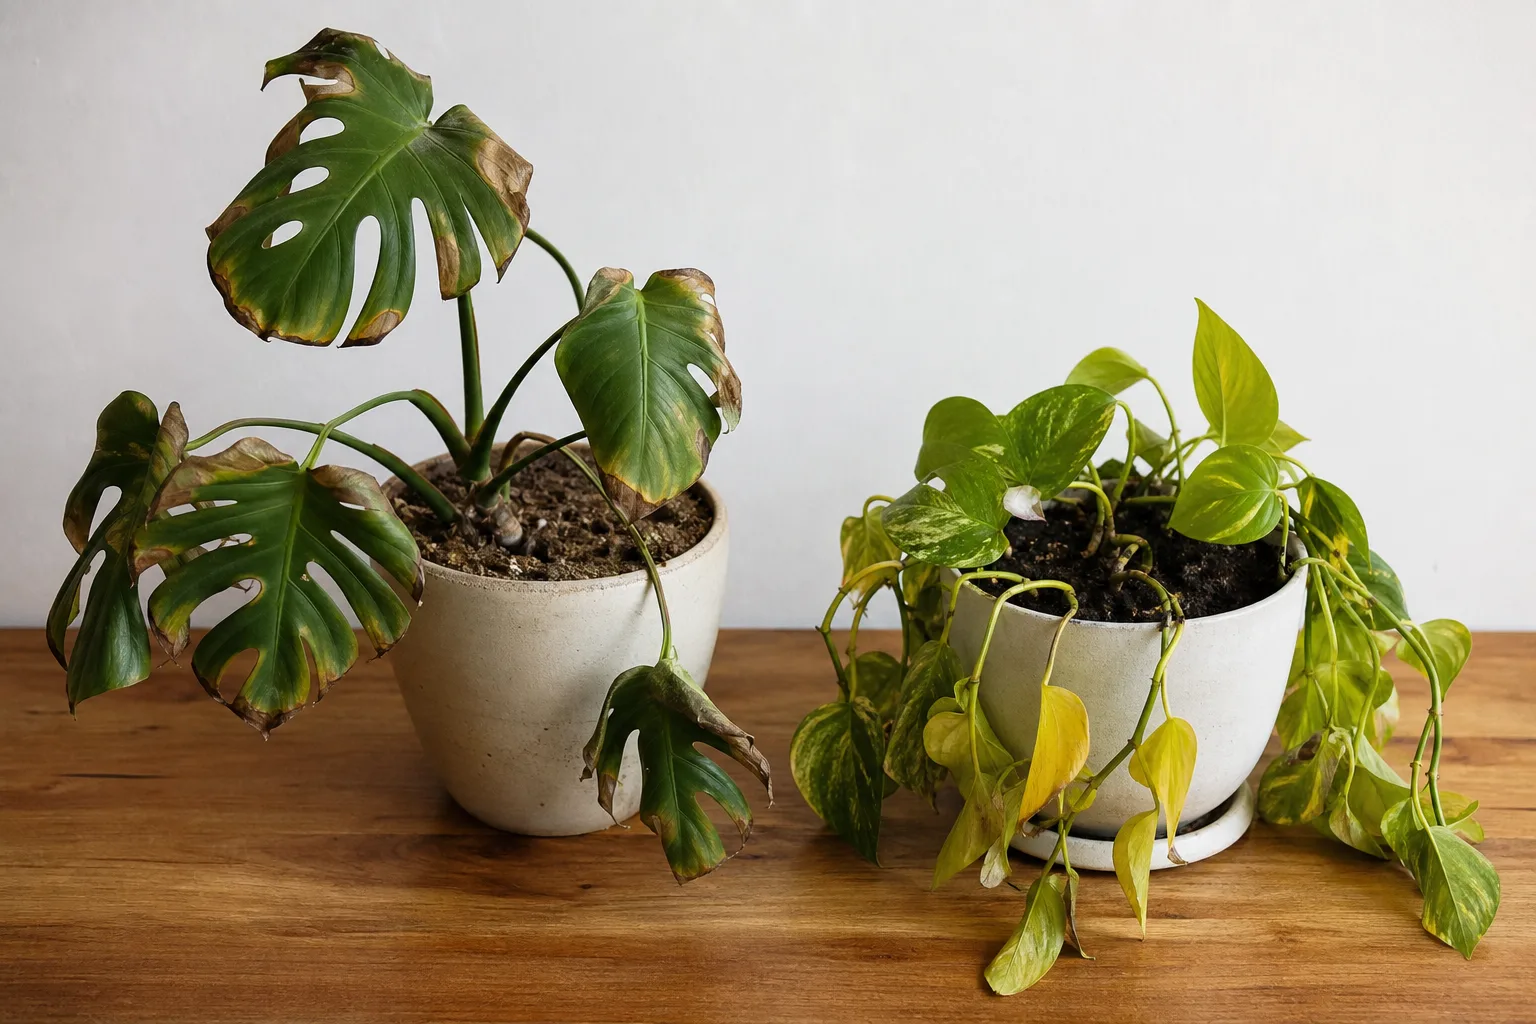
| What you check | More consistent with overwatering | More consistent with underwatering |
|---|---|---|
| Mix below the surface | Damp, cool, heavy, or slow to dry | Dry several inches down; may pull from the pot edge |
| Pot weight | Heavy days after watering | Unusually light |
| Leaf texture | Soft, limp, swollen, or mushy | Thin, papery, crisp, or curled |
| Color pattern | Lower leaves yellow while mix stays wet | Brown, crispy margins or widespread limpness with dry mix |
| Stem base | May soften or darken | Usually firm, even when wilted |
| Smell | Musty or sour is a warning | Usually no unusual odor |
| Roots | Soft, brown or black, and may shed their outer tissue | Dry, brittle, or pale roots |
North Carolina Cooperative Extension warns that people often mistake wilting bottom leaves for lack of water and then add water or fertilizer. Check the root-zone moisture first; a wilted plant in wet mix is not asking for an automatic drink. (North Carolina Cooperative Extension)
Trick 1: Empty every hidden water reservoir
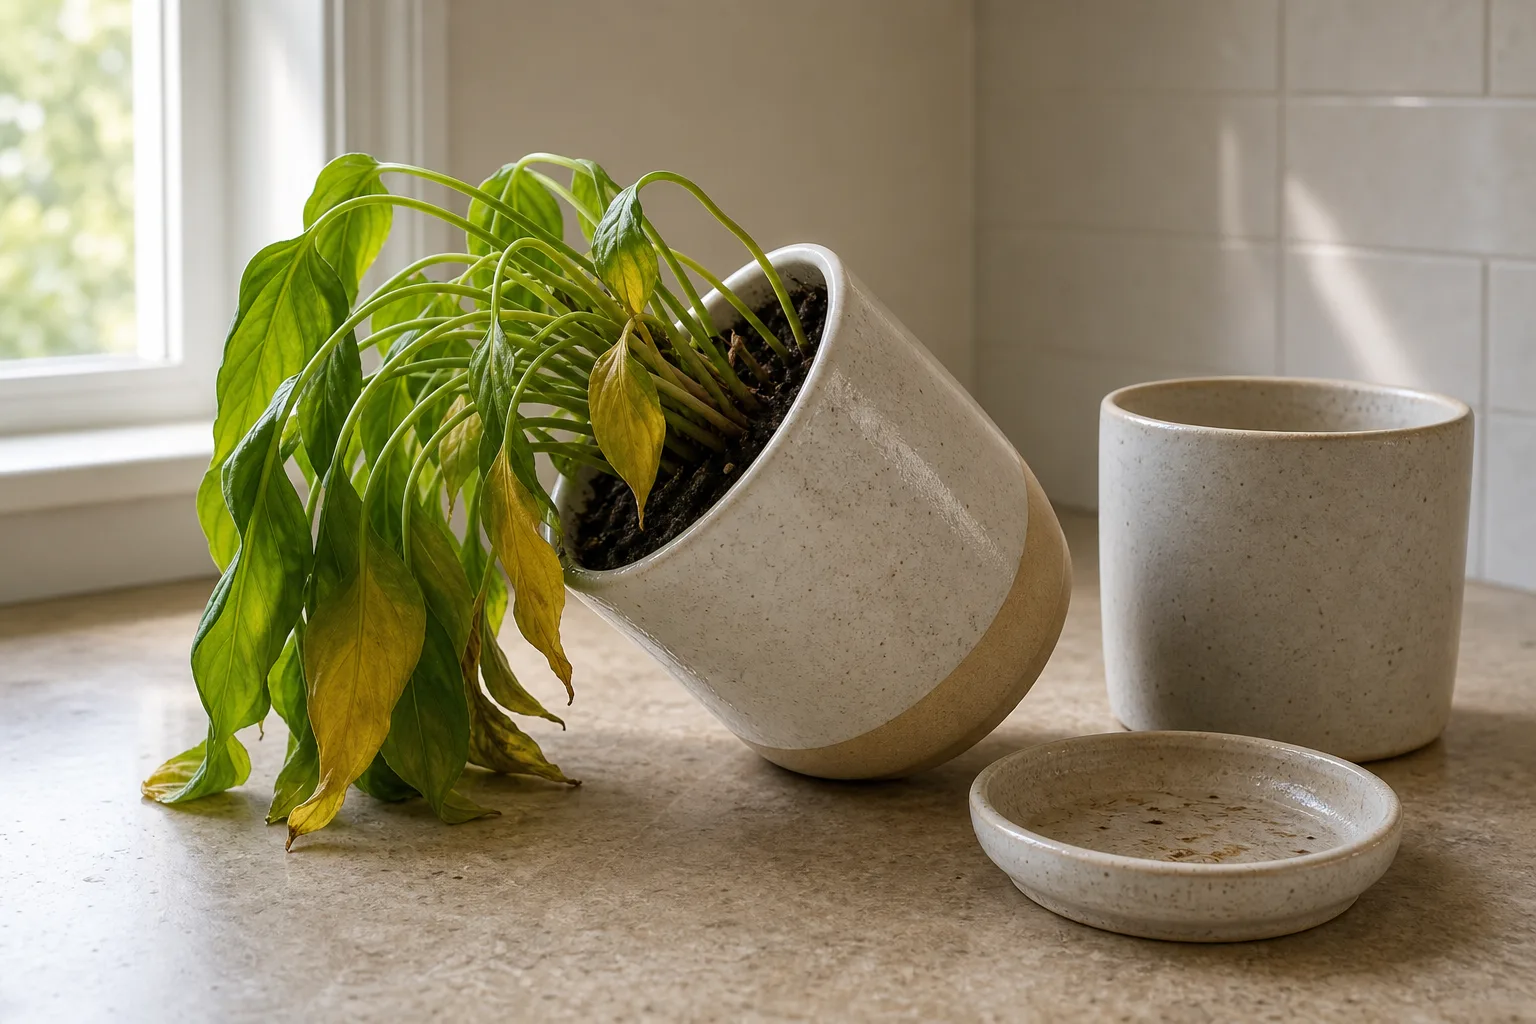
Tip out water from a saucer, outer pot, decorative sleeve, or waterproof foil immediately. If the grow pot is small enough, lift it out, let it drain over a sink, and wipe the inside of the cachepot before returning the plant. A drainage hole cannot help if the hole is sitting in a puddle.
For an outdoor container, tilt the pot only if it is safe to move and the root ball will not slide out. Clear blocked outlets and raise the container slightly on pot feet so water can escape after rain. Do not leave a container in a tray filled with runoff while you wait for the soil to dry.
This first trick often solves a mild episode without disturbing roots. It is especially important after a storm, when rain can fill a decorative pot that was already close to saturation. If the container has no drainage hole and the mix is wet, skip the hope that “less water next time” will fix it; move the plant into a draining grow pot as soon as you can.
Trick 2: Pause watering and improve gentle dry-down
Do not water again until the mix has dried to the depth appropriate for that plant. There is no universal number of dry days: a small terracotta pot in bright, warm airflow may dry quickly, while a large plastic pot in a dim, cool room may remain wet for a week.
Give the plant bright, indirect light and ordinary air movement while it recovers. More useful light can support normal water use, but moving a shade plant into harsh midday sun can scorch leaves and heat a stressed root ball. Increase ventilation and distance from cold drafts instead of trying to bake the pot dry.
If the plant is outdoors, protect it from more rain without wrapping it in an airtight cover. Move a container under a roof or to a bright sheltered position; for a bed plant, address pooling and runoff rather than excavating wet soil while it is still muddy. Never speed dry-down with a hair dryer, heater, or repeated probing that tears roots.
One missed watering is usually less dangerous than another soak while the core is saturated. The University of Wisconsin–Madison Plant Disease Diagnostics Clinic recommends reducing soil moisture and providing only enough water for growth, while emphasizing that plants must not sit in drainage water. (University of Wisconsin–Madison Plant Disease Diagnostics Clinic)
Trick 3: Inspect roots before you start cutting
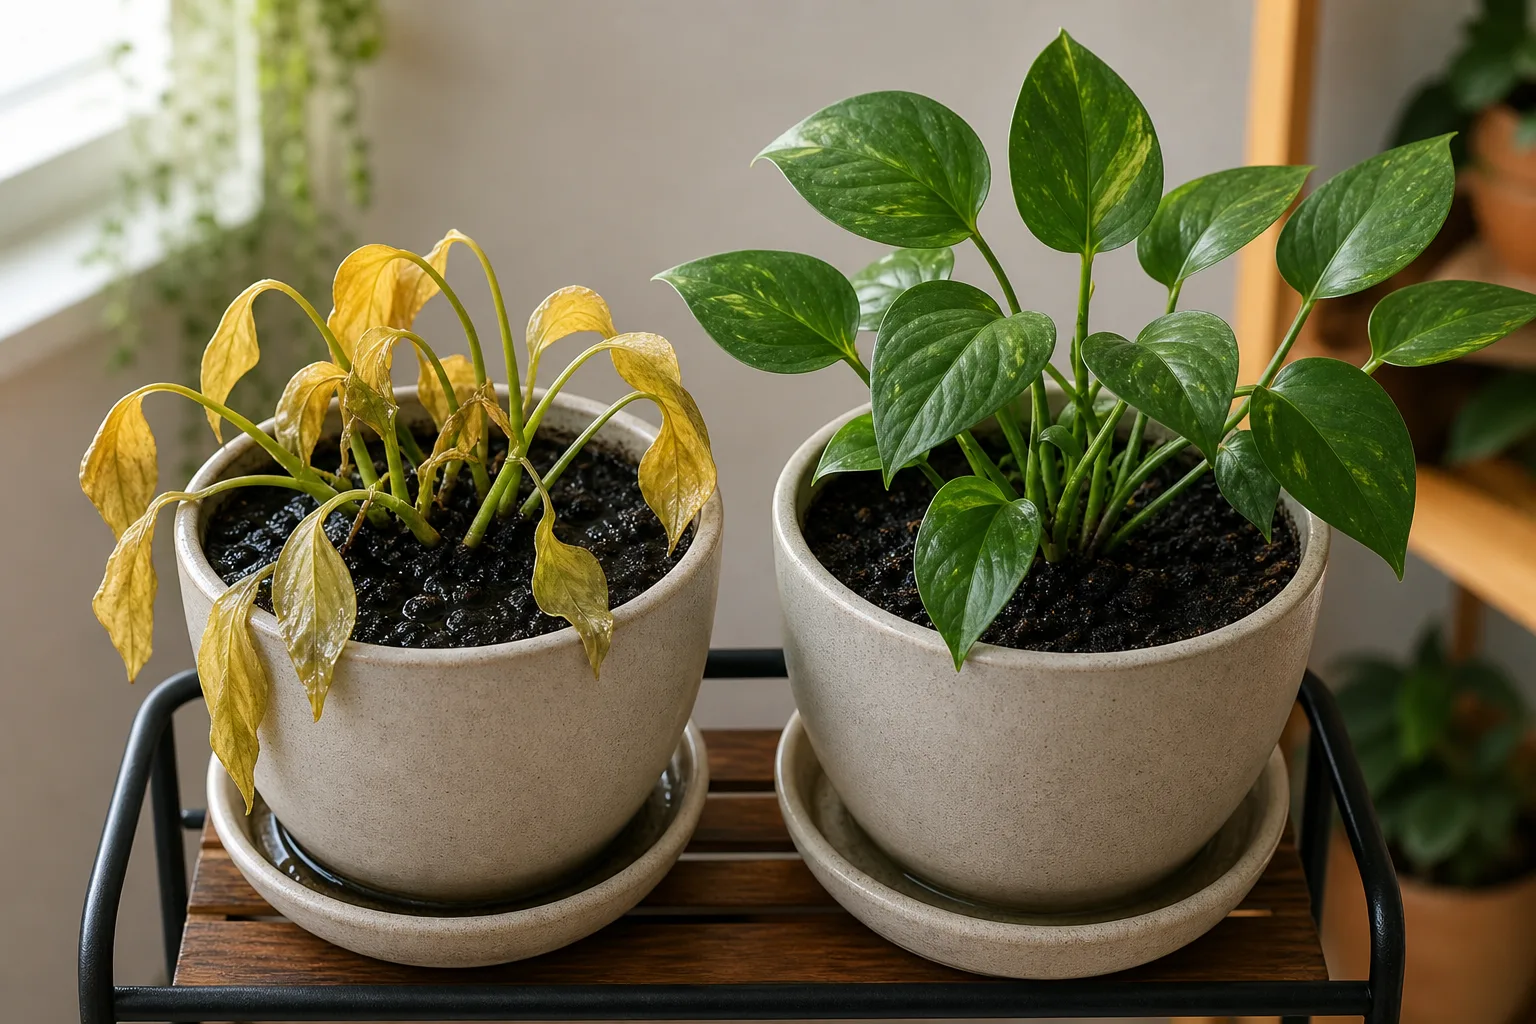
If the mix stays wet for days, the pot has no reliable drainage, leaves keep yellowing, or the plant wilts despite wet soil, unpot it. Slide the plant out while supporting the stems and root ball; do not yank the foliage. Brush away loose mix, then rinse or tease off the remainder gently enough to see the root system.
Root inspection is the dividing line between a simple dry-down and a rescue operation. A plant can have yellow leaves from temporary stress while its roots remain healthy. Conversely, a plant with only a few yellow leaves may already have a serious problem if its roots are soft and collapsing.
What healthy and rotten roots look like
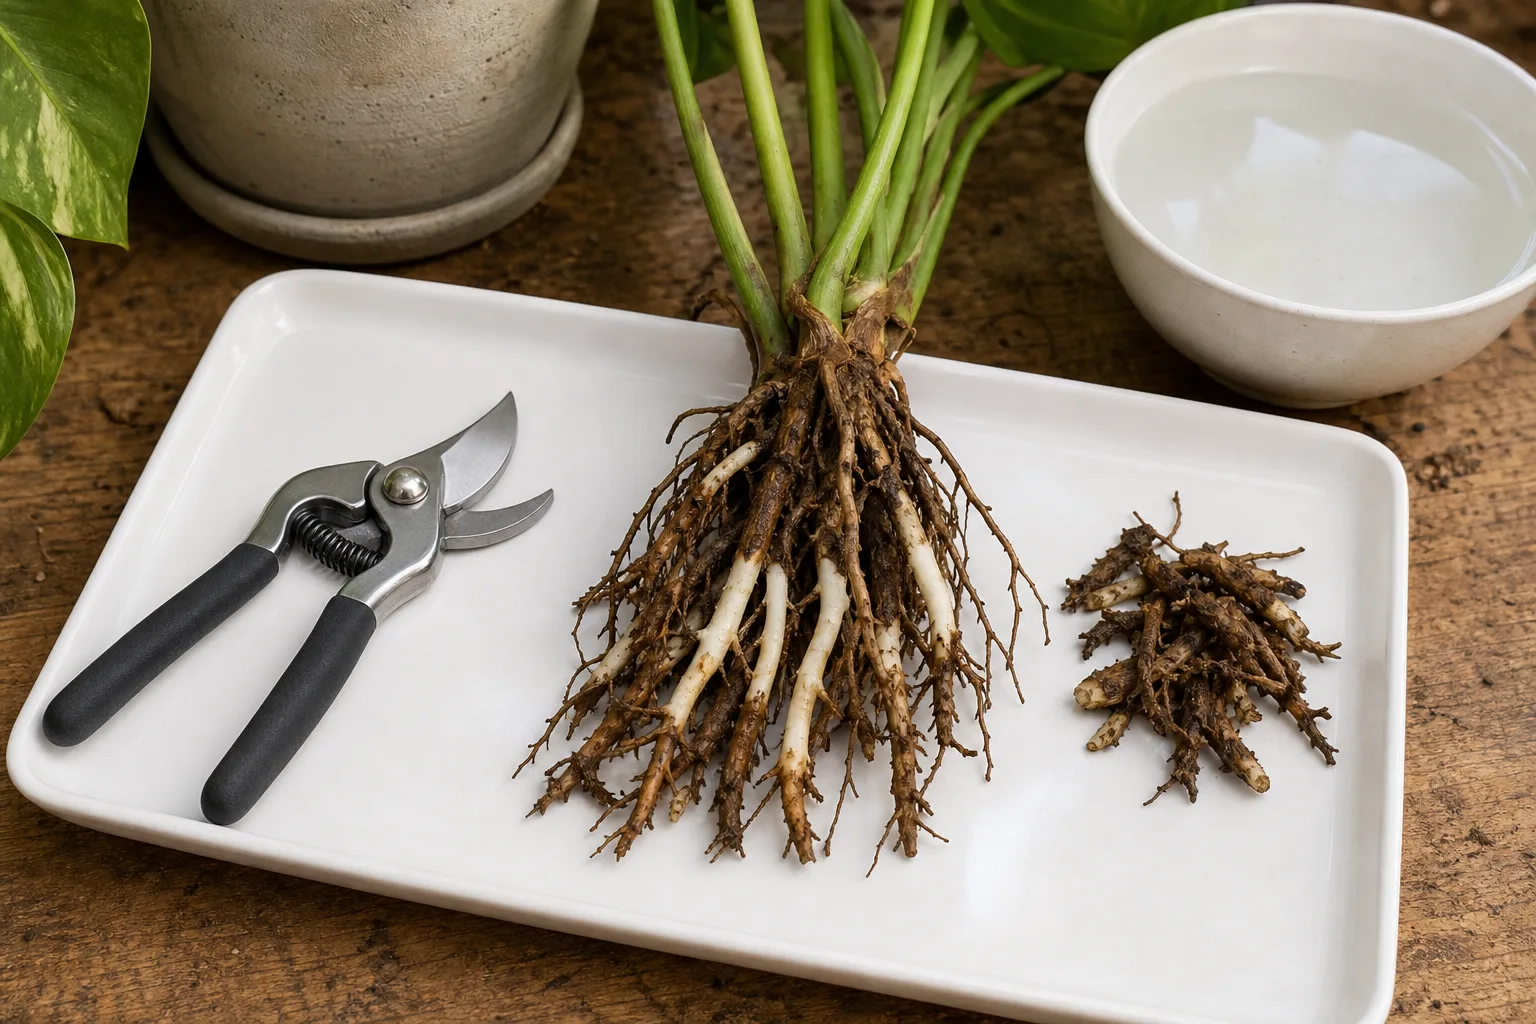
Healthy roots are generally firm and pale—white, cream, or light tan—although a plant’s normal root color can vary. They resist a gentle touch and hold their shape. Fine feeder roots may be delicate, but they should not turn to slime between your fingers.
Rotted roots are usually brown or black, soft, weak, and sometimes foul-smelling. They may lose their outer layer, collapse when pinched, or pull apart rather than bending. Wisconsin’s plant pathologists describe the classic above-ground pattern as a plant that is wilted even though the soil is wet, often with stunted growth and yellow or reddish leaves; root inspection reveals soft brown roots. (UW Plant Disease Diagnostics Clinic)
Do not condemn a root because it is tan, stained by old mix, or naturally darker. Texture matters more than color alone. If you cannot tell, leave questionable firm roots in place and reassess after the plant has been in a correctly draining setup; cutting healthy tissue removes recovery capacity.
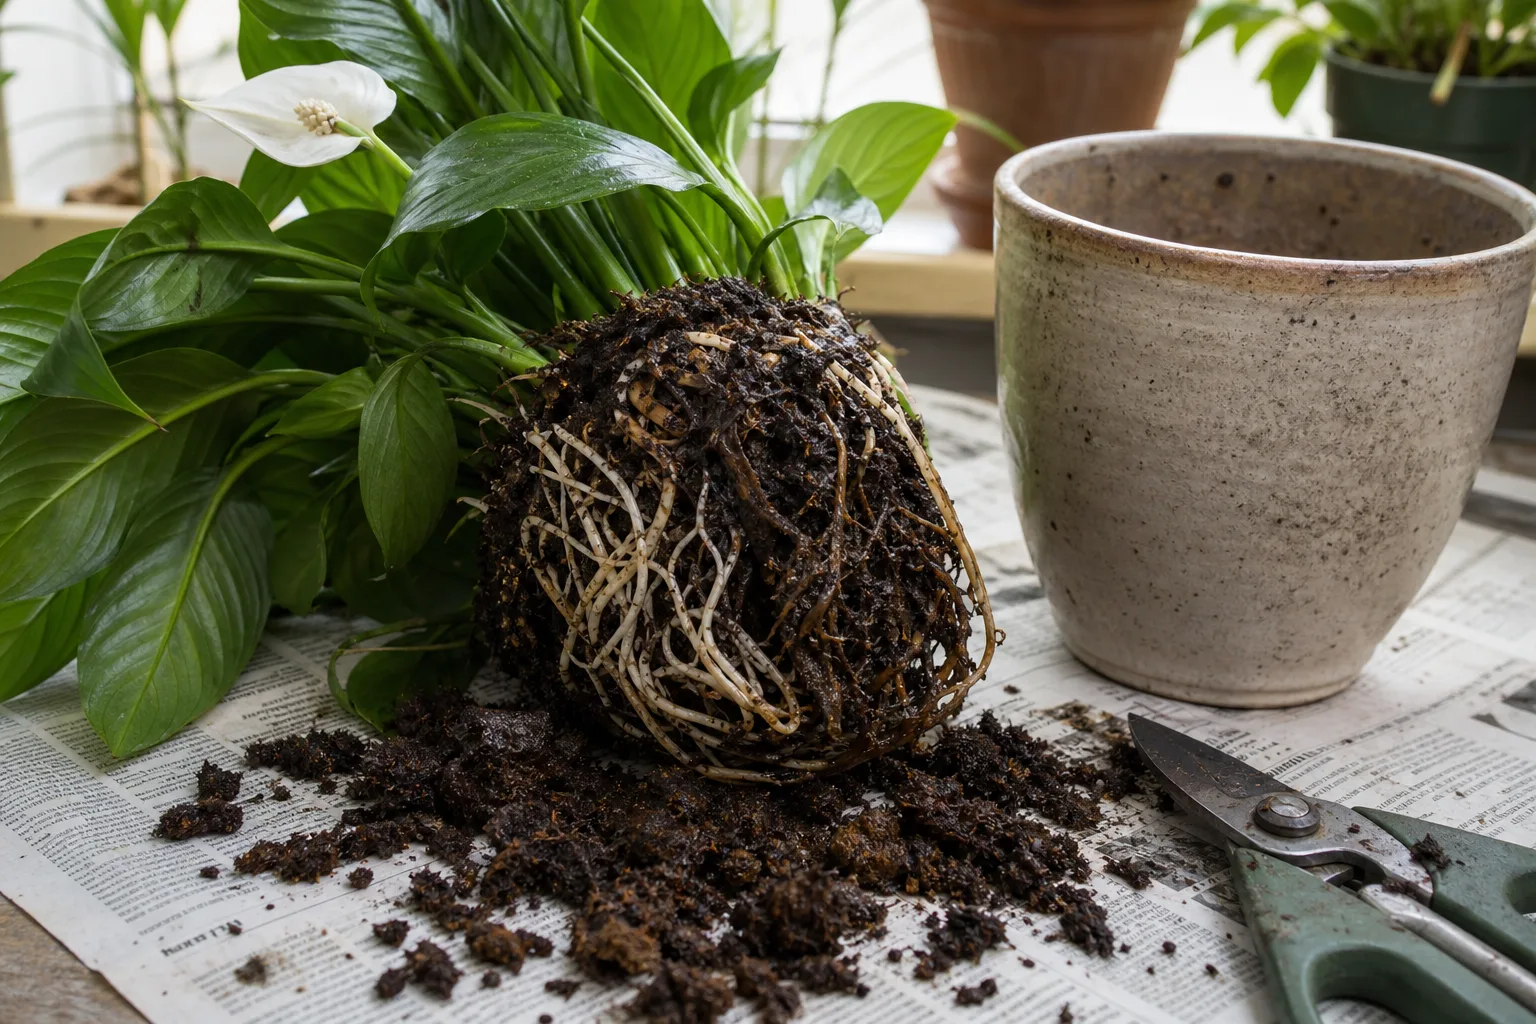
Trick 4: Remove rot and reduce the plant’s workload
Use clean, sharp scissors or pruning shears to cut away roots that are undeniably mushy, hollow, or falling apart. Make each cut back into firm tissue, and wipe or disinfect the tool between plants. Place the removed roots and old wet mix in the trash rather than spreading them through a compost pile or reusing the mix for another plant.
Root loss changes the plant’s water budget. If half the roots are gone but the canopy is unchanged, the remaining roots may not be able to support every leaf. Remove only leaves or stems that are yellow, soft, dead, or clearly collapsing; do not strip healthy foliage just to make the plant look tidy.
Do not pour fertilizer onto a weak root system. Fertilizer supplies nutrients; it does not replace oxygen-starved roots, and salts can add stress while the plant is rebuilding. Skip routine feeding until the plant is stable and producing new growth.
Fine Gardening’s plant-pathology guidance describes root rot as difficult to manage and recommends removing affected plant material, avoiding overwatering, and disinfecting tools and containers that contact diseased tissue. (Fine Gardening)
If the stem base is rotten
A black, wet, or mushy stem base is more serious than a few damaged feeder roots. Root pruning cannot repair tissue that has rotted into the crown or main stem. Check whether any upper stem remains firm and green; if it does, a clean cutting may be the realistic salvage route for plants that root from stem sections.
Do not take cuttings from visibly diseased tissue or share tools and water with healthy plants. If the entire crown is soft, foul-smelling, or collapsing, disposal may be the safest choice, especially when several plants share the same contaminated runoff. That is disappointing, but it protects the rest of a collection and avoids spending weeks trying to revive tissue that no longer functions.
Trick 5: Repot into a smaller, cleaner setup
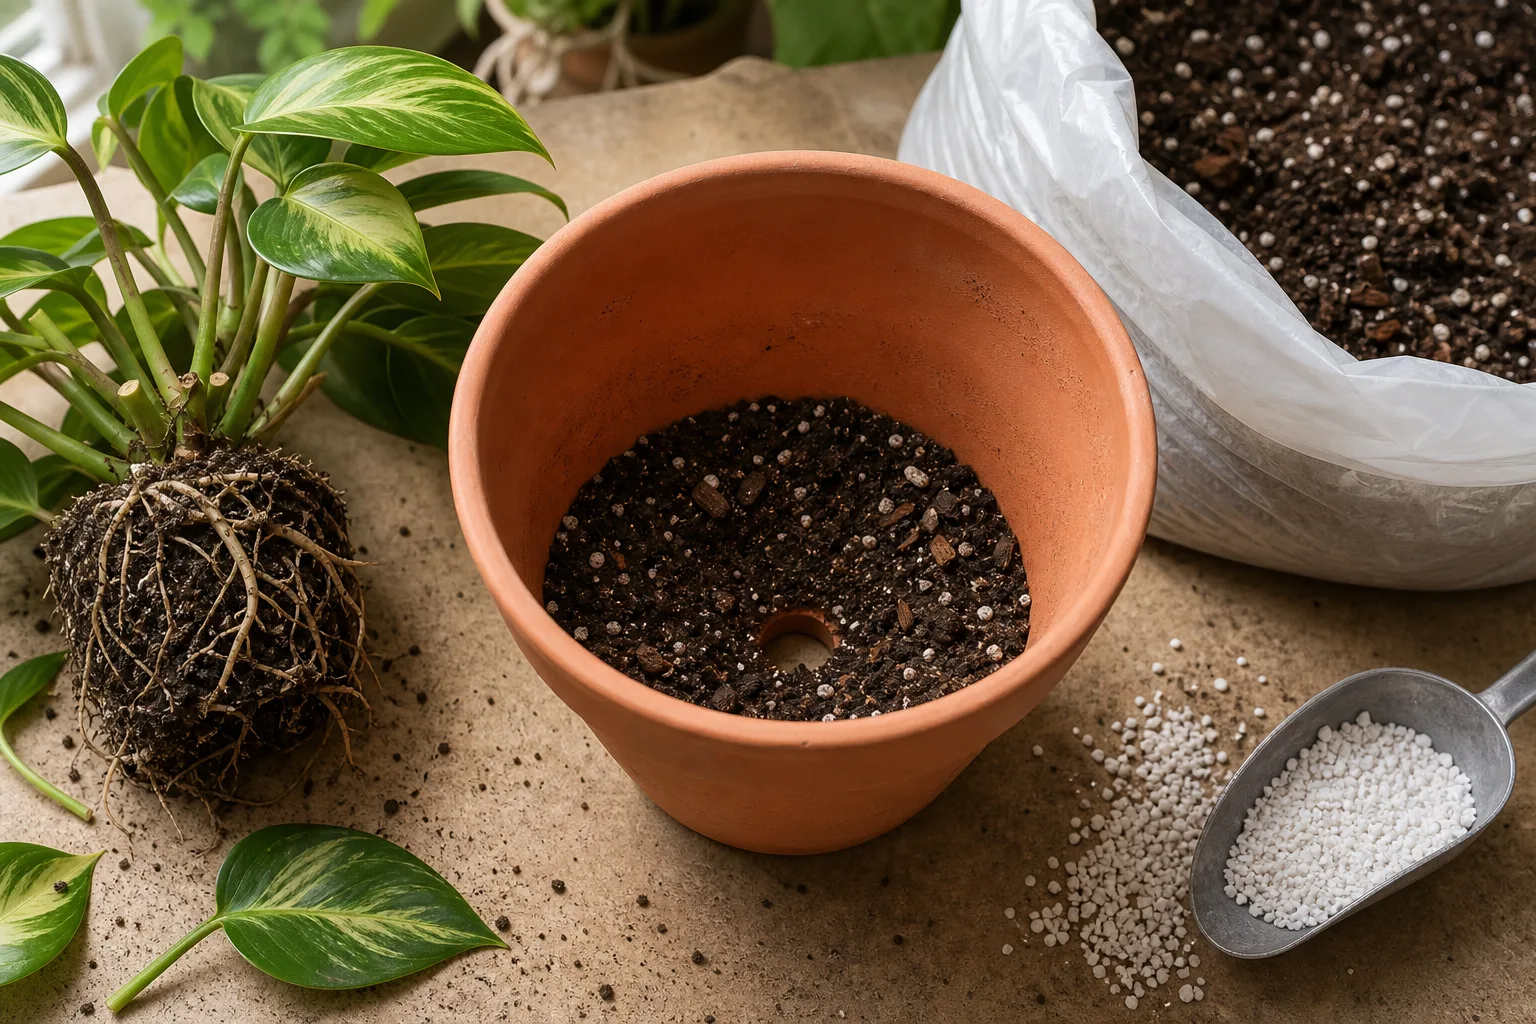
Repot when roots are mushy, the old mix is sour or compacted, the container has no usable drainage, or the plant has lost enough roots that the existing pot holds far more wet mix than it can use. Use fresh commercial potting mix suited to the species and a clean container with open drainage holes.
Choose a pot that fits the remaining root ball, not the plant’s former size. A smaller pot is often safer after root trimming because it contains less unused mix that can stay wet. Do not jump into a much larger container “to give the roots room”; excess volume slows dry-down and recreates the same oxygen problem.
Set the plant at its original depth. Keep the crown and stem base above the mix, fill around the roots without packing the mix into a dense plug, and make sure the drainage hole is not blocked by a flat surface or compacted clump. A decorative cover pot is fine only if the inner grow pot can drain and runoff is emptied.
Pick a mix and pot that can drain
Use a porous mix rather than garden soil in a container. Depending on the plant, that may mean a quality houseplant mix amended with perlite, pine bark, or another coarse component that keeps air spaces open. A moisture-loving fern needs a different balance from a cactus, so “fast draining” should mean appropriate dry-down, not a mix that becomes bone-dry the next morning.
Skip the gravel layer at the bottom. The University of Wisconsin–Madison guidance specifically recommends a pot with drainage holes but no rocks or gravel underneath the mix, because the coarse layer can inhibit rather than improve drainage. (University of Wisconsin–Madison Division of Extension)
After repotting, do not follow a rigid instruction to flood or starve every plant for the same number of days. Root-pruned plants, succulents, tropical foliage plants, and outdoor containers have different needs. Keep the mix from becoming a sealed wet mass, wait until the plant’s normal moisture cue says it needs water, and empty all runoff after the pot drains.
Trick 6: Correct the outdoor water source
An in-ground plant cannot be rescued by moving its pot or replacing its mix. Walk the site after rain and look for a blocked gutter, downspout discharge, leaking irrigation line, sprinkler aimed at the crown, compacted footpath, or low spot where water collects. Fix the source first; otherwise, a repaired root zone will be flooded again.
If the soil is muddy, avoid turning it into a deeper, smoother basin by digging immediately. Redirect clean runoff, open a safe outlet, or improve the grade and bed structure when the soil is workable. For a container outdoors, move it out of the rain and raise it above the patio surface so drainage holes remain open.
Heavy clay does not become a well-drained root zone because you sprinkle a little sand into a planting hole. Improve a broad area with suitable organic matter over time, use a raised bed where appropriate, or choose a plant suited to the site’s moisture. A water-loving plant may tolerate a damp position, but even moisture-tolerant plants need oxygen and should not sit in stagnant water.
Recovery care: light, airflow, and no fertilizer
Once the immediate water trap is gone, stability is the treatment. Keep the rescued plant in bright, appropriate light, a steady temperature, and moderate airflow. Do not rotate it between a dark corner, outdoor sun, heater, and humid bathroom every day; each abrupt change adds stress and makes the next symptom harder to interpret.
Water by checking the mix and pot weight, not by calendar. When the plant does need water, soak the root ball evenly so dry pockets are rehydrated, then let excess run out completely. Empty the saucer after roughly 10 to 20 minutes rather than leaving the pot in runoff.
Expect some older leaves to yellow or drop after root loss. That does not automatically mean the rescue failed. The better signs are no new softening at the stem base, leaves that remain firm, a root ball that begins to dry on a reasonable schedule, and eventually new root or shoot growth.
What recovery should look like week by week
During the first week, the plant may look unchanged or slightly worse as it adjusts to lost roots. Keep the setup stable and resist repeated unpotting. A plant cannot show new leaves until it has enough functioning roots to support them.
Over the next two to four weeks in warm, suitable growing conditions, look for stabilization: fewer new yellow leaves, firmer stems, and a normal response to watering. Some slow growers or plants recovering in cool, dim conditions take longer. Visible new growth is encouraging, but it is not a reason to increase watering or fertilizer suddenly.
If the pot remains wet for another week despite open drainage and appropriate light, reassess pot size and mix structure. If new blackening reaches the crown, the plant smells worse, or the remaining roots continue to collapse, move from patient aftercare to cutting salvage or disposal.
Prevent the repeat with a watering system that responds
The reliable routine is simple: check, soak, drain, and wait. Check moisture at root depth and lift the pot when you can. Soak thoroughly when the plant actually needs water, let it drain, empty the reservoir, and wait until the plant’s mix reaches its next dry-down point.
Group plants for convenience only when they have similar light, pot size, and water needs. A fern and a snake plant on the same weekly reminder will eventually punish one of them. The plant’s species, root-ball size, pot material, room temperature, humidity, season, and light all change how fast water leaves the container.
Use a nursery pot inside a decorative cover pot when you want both drainage and appearance. Mark the date of watering if you forget, but treat the note as history, not a command. A moisture meter can help with large or opaque pots, while a finger, chopstick, and pot weight are often enough for smaller ones.
Make seasonal and plant-type adjustments
Plants usually use water faster in active growth, bright light, warm air, and moving air. They often use less in short days, cool rooms, low light, or humid weather. That does not mean every winter plant should be kept bone-dry; it means you should check more carefully before repeating a summer interval.
Succulents and cacti generally need a more pronounced dry period than ferns or moisture-loving tropicals. Newly repotted plants, small cuttings, and plants with reduced roots need a different check than an established, leafy specimen. Outdoor beds also respond to rainfall and soil texture, so an irrigation schedule should pause after meaningful rain.
For a deeper routine, compare this guide with the indoor plant watering basics and how to water indoor plants the right way guides. If the same pot stays wet, read the poor drainage houseplants and wrong soil mix for houseplants guides before blaming yourself for missing a watering day.
Common rescue mistakes that cost the plant
Watering because the leaves droop: Wet roots can wilt because they are failing, not because they are empty. Check moisture and roots before adding water.
Putting the pot in direct, harsh sun: Light can help water use, but sudden heat and sun can scorch a stressed canopy. Choose bright, appropriate light and increase exposure gradually.
Adding fertilizer as a tonic: Fertilizer cannot repair rotten roots. Wait for stable moisture and new growth before feeding at the plant’s normal rate.
Adding rocks to “improve drainage”: A rock layer is not an exit path. Use drainage holes, suitable mix structure, and an empty saucer.
Pruning every yellow leaf immediately: Remove tissue that is soft, dead, or actively collapsing, but leave firm green leaves that still contribute energy while roots recover.
Reusing contaminated mix or dirty tools: Wet media and drainage water can carry root-rot organisms. Clean reusable tools and containers, and do not share runoff among plants.
Repotting again and again: A rescue needs time to show a trend. Repeated disturbance destroys new roots and makes it impossible to tell which change helped.
When to call it and save a cutting
A plant has a reasonable chance when some roots remain firm and the crown is solid. A plant with almost no healthy roots, a soft stem base, a spreading foul odor, and continued collapse may not recover as a whole plant. Wisconsin’s diagnostic guidance notes that discarding a plant can be the most cost-effective response in a serious root-rot case; that is a practical disease-management choice, not a judgment on the grower. (UW Plant Disease Diagnostics Clinic)
Before disposal, check whether the species can be propagated from a healthy stem or leaf section. Take only firm, unblemished material with clean tools and place it in a fresh, appropriate medium rather than the old pot or runoff. Isolate the salvage from the rest of the collection until it is clearly growing.
If you are unsure whether a disease is involved, your local cooperative extension or plant diagnostic clinic can help identify a pathogen from a sample. Home remedies marketed as universal cures are not a substitute for removing damaged tissue and correcting saturation. The most important treatment is still the same: restore drainage, reduce excess moisture, and protect the healthy tissue that remains.
Conclusion
To save an overwatered plant fast, remove standing water first, pause watering, and inspect the root zone before deciding how invasive the rescue needs to be. Mild waterlogging may resolve in the existing pot; persistent wetness, a sour smell, or mushy roots calls for root trimming and a clean, appropriately sized setup.
The six tricks work because they address the cause in order: hidden reservoirs, excess water, damaged roots, reduced root capacity, bad pot structure, and outdoor runoff. Afterward, judge recovery by stability and new growth—not by how quickly the leaves look perfect—and let moisture, light, season, and plant type determine the next watering.



