Houseplant Pot Too Large: Signs and Solutions
The container matters as much as soil and watering. Pot Too Large with Soil stays wet too long, root rot risk increases often means the pot is wrong sized, lacks holes, or traps water in a decorative outer shell. Track weekly progress after you change care, and note watering, light, and repotting dates so you can tell whether the symptom is improving or returning. Compare upper versus lower leaves, new versus old growth, and soil moisture at root depth before you treat, because the same visible symptom can come from watering, light, pests, or normal aging on different plants.
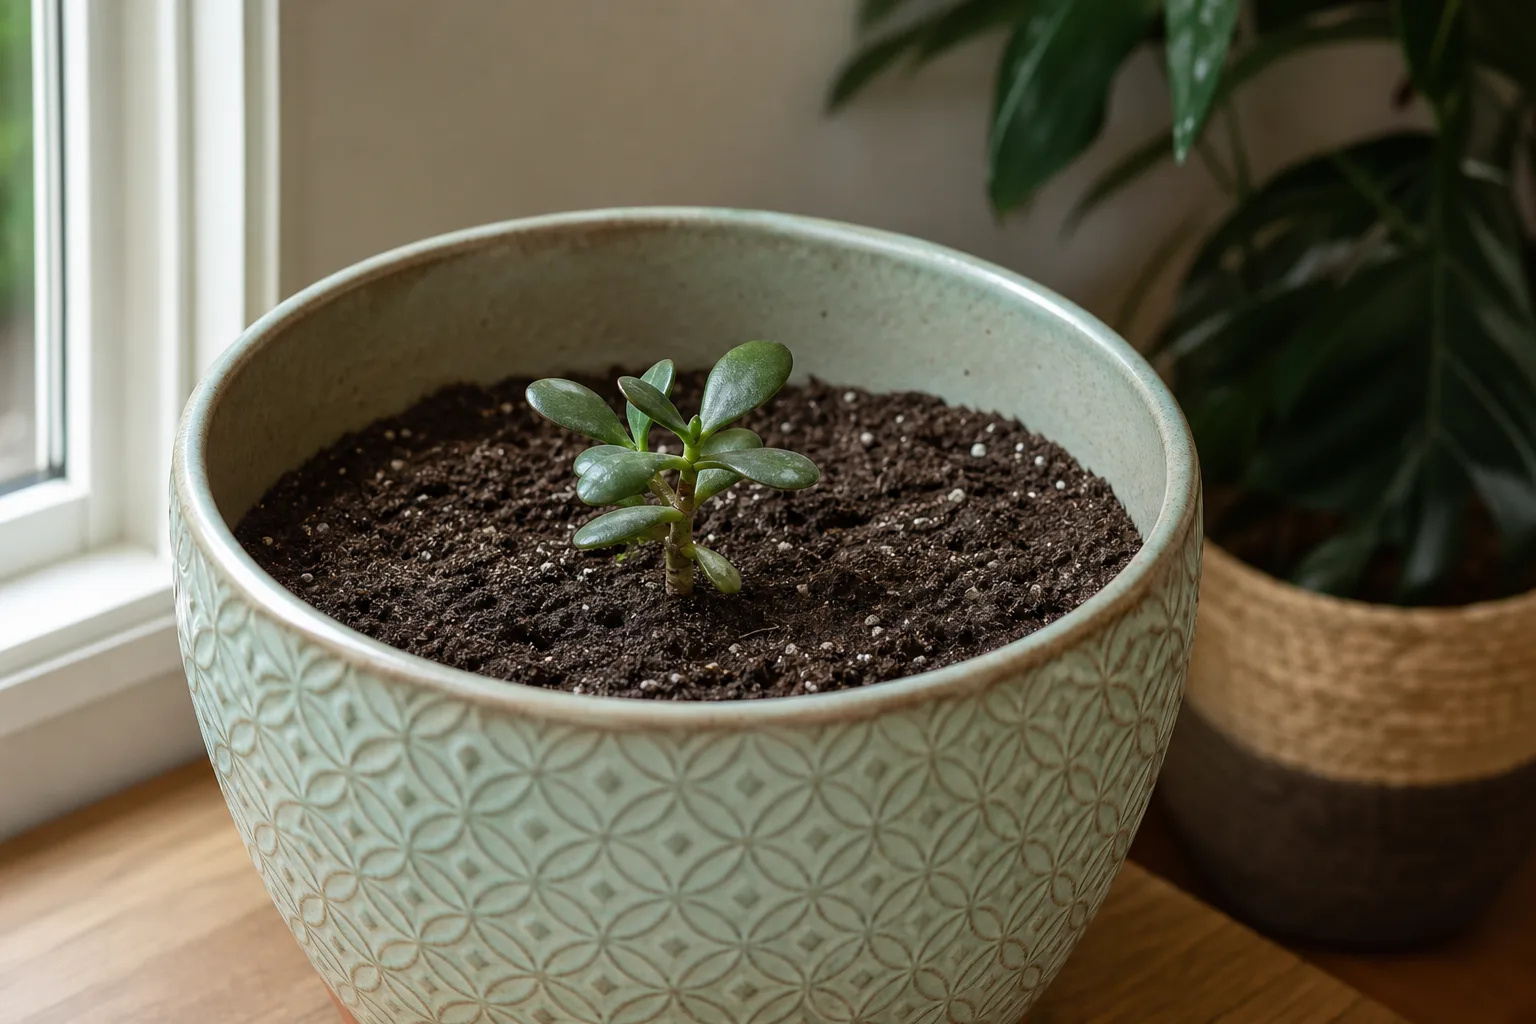
Pot Too Large on Houseplants
Still unsure?Match your symptoms to the most likely problems in under a minute.Run diagnosis →Understand and fix pot too large
The container matters as much as soil and watering. Pot Too Large with Soil stays wet too long, root rot risk increases often means the pot is wrong sized, lacks holes, or traps water in a decorative outer shell. Track weekly progress after you change care, and note watering, light, and repotting dates so you can tell whether the symptom is improving or returning. Compare upper versus lower leaves, new versus old growth, and soil moisture at root depth before you treat, because the same visible symptom can come from watering, light, pests, or normal aging on different plants.
Overview
The container matters as much as soil and watering. Pot Too Large with Soil stays wet too long, root rot risk increases often means the pot is wrong sized, lacks holes, or traps water in a decorative outer shell. Track weekly progress after you change care, and note watering, light, and repotting dates so you can tell whether the symptom is improving or returning. Compare upper versus lower leaves, new versus old growth, and soil moisture at root depth before you treat, because the same visible symptom can come from watering, light, pests, or normal aging on different plants.
How to identify it
- No drainage holes or holes blocked by roots or debris
- Plant in a pot much larger than the root ball
- Water sits in outer decorative pot for days
- Terracotta vs plastic drying at very different rates
- Roots growing out holes or pushing pot outward
When to worry
Standing water in cache pots with no drainage plus wilting means root damage-unpot and inspect immediately.
Common causes
No drainage holes
Water has nowhere to exit. Even careful watering leads to soggy roots and Pot Too Large.
Oversized pot
Too much soil holds excess moisture around a small root system.
Double-potting without emptying saucers
Cache pots look great but become reservoirs when inner pots drain into standing water.
Wrong material for watering style
Terracotta dries fast; glazed ceramic holds moisture longer-mismatch causes Soil stays wet too long, root rot risk increases.
Step-by-step fix
Confirm drainage path
Water should exit within minutes. Drill holes if safe, or repot into a container with drainage.
Right-size the pot
Choose a pot 1–2 inches wider than the root ball for most houseplants.
Empty saucers after watering
Never let plants sit in runoff for more than 30 minutes.
Match pot material to plant needs
Use terracotta for succulents; glazed or plastic for moisture-loving tropicals if you water less often.
Repot if roots are severely bound
Gently loosen circling roots and move to appropriate size with fresh mix.
Prevention tips
- Always use drainage holes for long-term houseplant health
- Size up gradually, not dramatically
- Empty decorative pot reservoirs after watering
- Choose pot material consciously for your watering habits
Common mistakes
- Keeping plants in nursery pots inside sealed decorative pots forever
- Drilling no holes because 'this plant likes moisture'
- Jumping from a 4-inch to a 10-inch pot
A roomy planter can look proportionate to a tall houseplant while still being far too large for its roots. The concern is not empty space by itself. It is the volume of wet potting mix that a small root system cannot use quickly, especially in low light, cool conditions, or a dense mix.
A houseplant pot is too large when the mismatch between root ball and container keeps excess media wet long enough to stress the roots. A visually oversized pot is not automatically harmful, and a small pot is not automatically safe. Confirm how the root zone behaves before moving the plant again.
Use three kinds of evidence together: the dimensions of the root ball, moisture below the surface, and the plant’s direction of change. If the roots are firm, the mix is drying progressively, and new growth continues, careful monitoring may be enough. If the outer mix remains soggy while the plant yellows, wilts, drops leaves, or stops growing, downsizing becomes a sensible corrective step.
| What you observe | What it suggests | Best next move |
|---|---|---|
| Large pot, firm plant, mix drying from top to bottom | Size looks excessive, but the system may be functioning | Keep monitoring and water only when the root zone needs it |
| Small root ball surrounded by persistently wet mix | Probable overpotting risk | Improve light and drainage; consider a smaller pot |
| Yellowing or wilt plus saturated mix and soft roots | Root failure; overpotting may be one contributing condition | Remove dead tissue and repot into a draining, appropriately sized container |
| Decline after repotting but mix is not persistently wet | Transplant stress or another cause may be involved | Avoid another disturbance until the evidence is clearer |
The Short Answer
If you recently moved a houseplant into a much bigger container, check the potting mix at root-ball depth and near the outer wall. A dry surface with a wet lower or outer zone is a common warning pattern. The Royal Horticultural Society defines overpotting as placing a container plant in a pot that is too large and seeing it suffer as a consequence.
Do not downsize solely because a pot looks large in a photograph. A fast-growing plant in bright conditions may colonize fresh mix without trouble, while a slow-growing succulent in dim winter light may struggle in a smaller increase. The deciding question is whether the new root zone can regain air between waterings.
When the plant is stable, leaving it in place and watering cautiously can avoid another round of transplant stress. When decline is progressing and the mix remains wet, tip the plant out gently, let loose wet mix fall away, inspect the roots, and choose a container only slightly larger than the sound root ball. That is a correction, not an emergency ritual: preserve healthy roots and change only what the evidence supports.
What Overpotting Actually Means
Overpotting is a relationship problem among root volume, media volume, drainage, water use, and time. A plant does not drink water directly from every corner of a pot. Roots absorb from the zone they occupy, while evaporation and drainage remove some of the rest. When a small root system sits in a large mass of fine, absorbent media, the unused outer volume may stay wet well after the original root ball has changed.
Roots also need oxygen. Water fills pore spaces that otherwise hold air, so prolonged saturation restricts gas exchange and can damage root function. Virginia Cooperative Extension explains that flooded or waterlogged media reduce oxygen, which can stop root growth and eventually kill roots if the condition persists.
That mechanism is why pot size cannot be judged independently of mix. A coarse, structured substrate in a perforated nursery pot behaves differently from a fine, decomposed mix in a deep glazed planter. Plant demand matters too: leaf area, light, temperature, growth rate, and season all affect how quickly the root zone loses water.
An oversized pot therefore increases risk rather than guaranteeing failure. A vigorous tropical plant under strong appropriate light may grow into it. A ZZ plant, snake plant, cactus, hoya, or other slow water user may remain surrounded by damp media for too long. The correct response is based on the actual dry-down pattern, not a rule that every large pot must be emptied immediately.
Why the Wet Outer Ring Develops
Imagine placing a fist-sized root ball in a bucket of fresh mix. The roots occupy the center, but most of the newly watered substrate lies beyond their reach. Evaporation can dry the top first, creating a misleading crust, while the deeper outer ring holds water. The RHS specifically describes this soggy ring around the root ball as the central overpotting problem, particularly in finer media that hold more water.
Depth adds another variable. Containers retain a saturated layer after gravitational drainage, and root stress is more likely when the active root ball sits near that persistently wet zone. A pot can be only modestly wider yet dramatically deeper, adding much more unused media than its top diameter suggests.
Drainage holes help excess water leave, but they do not make pot volume irrelevant. A blocked hole, a pot sitting in runoff, or an inner nursery pot submerged inside a cachepot can all extend saturation. University of Illinois Extension recommends unobstructed drainage holes and warns that excess moisture can suffocate roots and contribute to root rot.
Media structure changes over time as organic components decompose and fine particles settle. What drained acceptably when fresh may later become slower and less airy. University of Maryland Extension’s container-media guidance emphasizes that a growing medium must balance water retention with drainage and aeration, which is more useful than labeling one ingredient universally “well draining.”
Signs the Pot May Be Too Large
The strongest warning is not a single yellow leaf. It is a pattern: a relatively small root ball, a large volume of mix that stays wet, and plant decline that began or accelerated after repotting. Common above-ground clues include yellowing, browning, leaf drop, wilting, bronzing, and stalled growth. These signs often emerge weeks after repotting rather than the next morning.
Inspect the substrate as carefully as the foliage. A sour or swampy odor, algae or fungal growth on a persistently wet surface, fungus gnat activity, and a pot that remains unusually heavy can support the diagnosis. None proves that the pot alone caused the problem, but several clues moving together justify a root check.
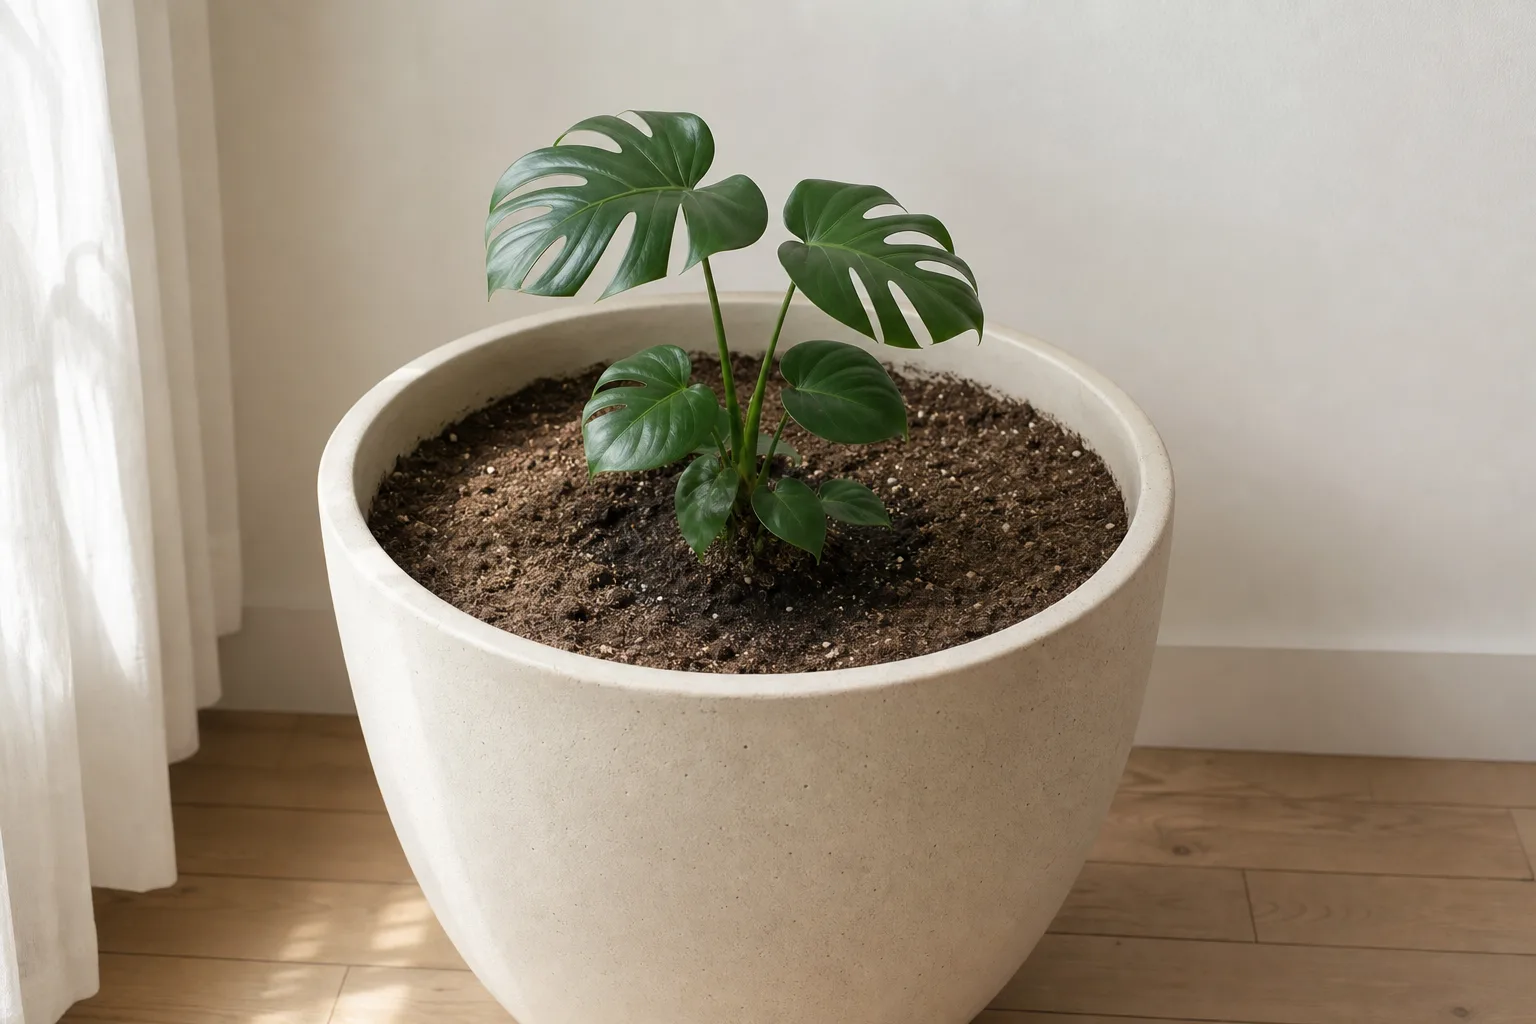
This Monstera image shows the proportion problem clearly: the plant occupies only part of a broad container. The photograph cannot reveal drainage, root-ball size, mix composition, or moisture below the surface, so it should prompt inspection rather than serve as a final diagnosis.
Below ground, healthy roots are generally firm and intact, although their natural color varies widely. Failed roots may be soft, hollow, slimy, sloughing, or foul-smelling. A wet root ball with firm roots calls for a less aggressive correction than widespread decayed tissue.
Symptoms Are Clues, Not Proof
Wilting can happen in both dry and saturated media. In drought, roots lack available water; in prolonged saturation, damaged or oxygen-starved roots may be unable to move water normally even though the pot is wet. Watering a wilted plant without checking the mix can therefore intensify the problem.
Yellow leaves are equally nonspecific. Natural aging, low light, fertilizer salts, temperature stress, pests, disease, transplant shock, and watering errors can produce similar changes. Overpotting becomes more plausible when yellowing appears alongside a consistently wet outer zone after a substantial pot-size jump.
Do not use fungus gnats as proof of root rot. Their larvae favor moist organic media, so an increase can reveal that the pot stays damp, but it does not establish that roots have decayed. Likewise, surface mushrooms usually indicate moisture and organic material rather than identifying a particular plant pathogen.
Separate root damage from its cause. A large wet pot can create conditions that injure roots and may favor disease, but appearance alone rarely identifies a pathogen. Avoid applying fungicides speculatively; correct the physical conditions and use a local Extension diagnostic service for a valuable plant that continues declining.
Confirm the Pot Is the Real Problem
Begin with the timeline. Record the old and new pot dimensions, the repotting date, the mix used, the last watering, and any simultaneous change in light or temperature. If the plant moved from a bright window to a dark corner on the same day it received a larger pot, both changes may be slowing water use.
This article uses a conservative evidence hierarchy: root-ball-to-pot proportion, moisture at depth, drainage performance, symptom timing, and root condition. None of those observations alone proves overpotting. The recommendation changes only when several clues converge, which reduces the chance of treating low light, ordinary acclimation, or a dry hydrophobic core as a pot-size problem.
Next, determine whether the plant is directly planted or still sits in a nursery pot inside a decorative cachepot. Lift out the inner pot and inspect for standing runoff. A well-sized nursery pot can behave like an oversized, undrained container when its base remains submerged.
Check moisture in more than one place. Insert a wooden skewer near the original root ball and another toward the outer wall, reaching into the lower half without forcing through major roots. Compare how damp they emerge. A moisture meter can add information, but substrate composition and salts affect readings, so do not let one number overrule smell, pot weight, and direct inspection.
Finally, look at roots when symptoms or persistent saturation justify the disturbance. Support the crown, slide the root mass out intact, and observe how much of the container the roots actually occupy. A tiny, firm root ball surrounded by loose wet mix is direct evidence of a poor size match. A container already filled with vigorous roots points elsewhere.
A Five-Minute Pot-Size Check
Use this sequence before deciding to repot:
- Compare diameters and depth. Measure the sound root ball, not the leaves, against the inside of the pot.
- Check the lower mix. Test near the root ball and outer wall instead of trusting the surface.
- Confirm an exit path. Make sure drainage holes are open and the pot is not sitting in collected water.
- Review the trend. Note whether the plant is stable, improving, or declining over several observations.
- Inspect roots conditionally. Unpot only when continued wetness, odor, progressive symptoms, or a major size mismatch provides a reason.
University of Connecticut Extension recommends checking soil moisture rather than watering by a fixed calendar. The same principle is especially important in an oversized container because surface dryness can arrive long before the unused lower volume is ready for more water.
Pot weight is a useful repeatable clue when the container can be lifted safely. Compare it after complete drainage with its weight as the root zone approaches the plant’s appropriate watering point. Do not lift a large ceramic planter at the risk of injury; use skewers, access holes, or careful root-ball inspection instead.
Decide Whether to Keep or Downsize the Pot
There are two defensible options: manage the current pot carefully or downsize. The RHS recommends cautious watering when an overpotted plant remains symptom-free, but advises moving to a container only just larger than the inner root ball when symptoms appear. That conditional approach avoids both complacency and unnecessary repeated repotting.
| Keep the current pot when… | Downsize when… |
|---|---|
| Roots are firm and new growth continues | The root ball is small relative to the wet media volume |
| Moisture is moving steadily toward dry | Outer or lower mix remains saturated |
| Drainage is open and runoff is removed | Drainage is poor, blocked, or difficult to manage |
| You can reliably monitor moisture at depth | The plant is progressively yellowing, wilting, or dropping leaves |
| The plant is a vigorous grower in active conditions | Soft roots or crown tissue require removal and fresh mix |
This is not a deadline-based choice. A healthy plant does not need to be disturbed tonight because the pot is three inches wider than expected. A declining plant in wet mix should not be left for months in the hope that roots will eventually fill the space.
Leave It in Place and Manage Moisture
If roots are sound and the plant is stable, improve the conditions that help the mix dry within the species’ safe range. Give the plant appropriate light, normal room airflow, and warmth suitable for that species. Do not use intense direct sun on a shade-adapted plant or place the pot against a heater; forced drying can damage foliage while the lower mix remains wet.
Wait until observations at depth show that watering is needed. Then water the occupied root zone evenly enough to avoid dry channels, let runoff drain completely, and empty the saucer or cachepot. Avoid frequent tiny sips. They can repeatedly wet the surface or root-ball edge without establishing a useful wet-to-drier cycle.
Do not fertilize a struggling root system to force growth into the pot. Fertilizer does not correct oxygen shortage, and unused salts can accumulate as water evaporates. Resume a conservative, species-appropriate feeding routine only after healthy growth and normal water use return.
Track the pattern rather than guessing. Note the date, lower-zone moisture, pot weight if safe, and new symptoms. If the drying interval stays extremely long or decline starts, switch to downsizing rather than trying increasingly complicated watering tricks.
Downsize When the Plant Is Declining
Prepare before removing the plant: choose a clean container with open drainage holes, fresh compatible potting mix, a tray, and clean cutting tools. The target pot should hold the sound root ball with a modest margin for fresh media, not force the roots into a hard compression and not recreate the large wet ring.
Tip the plant out gently and allow loose saturated mix to fall away. Do not pull every particle from firm fine roots. If roots are healthy, retain much of the intact core and correct the container volume around it. If roots are soft or sloughing, remove only clearly dead tissue with cleaned tools.
If extensive decay leaves only a small viable root system, size the new pot to what remains, not to the plant’s former canopy. A top-heavy plant may need a stable outer cachepot, low stand, or support stake rather than extra wet soil as ballast. Propagate sound stems when the species permits and root loss is severe.
After repotting, water according to the moisture already present in the retained root ball and new mix. “Always water immediately after repotting” is too broad: a succulent with moist roots and fresh cuts needs different handling from a fern with intact fine roots. The aim is close contact between roots and suitable media without returning the system to saturation.
How to Downsize and Repot Safely
Downsizing should remove the harmful excess volume while minimizing new injury. Work on a stable surface and support the plant near the base. If a flexible nursery pot grips the root ball, squeeze or cut the pot rather than wrenching stems. For a heavy specimen, ask for help instead of tipping an unsafe load alone.
Inspect the crown and roots under good light. Healthy-root color is species-dependent, so prioritize firmness and structure. Trim collapsed tissue back to a firm margin and clean the blades between suspect cuts. Do not use hydrogen peroxide, bleach, cinnamon, or fungicide as a universal root treatment; concentration, tissue sensitivity, and the actual cause matter.
Use fresh mix compatible with the species and the retained core. A dense peat-rich plug buried unchanged inside extremely coarse bark can create sharp moisture differences, while replacing an orchid’s airy substrate with fine houseplant mix creates a different problem. Blend transitions where practical and preserve the plant’s correct planting depth.
Penn State Extension’s houseplant repotting guidance recommends moving a plant into a pot only slightly larger than its current container and confirms that containers need drainage holes. Treat that increment as a starting point, then refine it using the actual root ball and plant type.
Choose by Root Ball, Not Foliage
The often-repeated recommendation to increase pot diameter by about 2.5–5 cm (1–2 inches) comes from practical horticultural guidance, including the RHS overpotting advice. It is useful for many small and medium houseplants with healthy roots, but it is not a universal law. A two-inch increase is proportionally huge for a tiny cutting and modest for a mature floor plant.
Measure inside dimensions. Thick ceramic walls make external diameter misleading, and a “same width” pot may be much deeper. Choose enough room for a modest layer of fresh mix around the roots while keeping the crown at its former depth.
Plant habit also matters. Shallow-rooted plants may do better in a broad, relatively shallow container. Plants with deeper root systems need corresponding depth, while many epiphytes prefer a tight, airy setup. The nursery pot can remain small inside a larger decorative cachepot, giving visual balance without surrounding roots with unnecessary wet media.
Stability is a separate engineering problem. Do not solve a top-heavy canopy by filling a huge pot with moisture-retentive mix. Use a heavier cachepot, a wider stable base, a support, or a properly anchored stake while keeping the growing container appropriate for the root system.
Preserve Healthy Roots and Correct the Setup
Repeated handling can compound transplant stress, so avoid bare-rooting healthy plants without cause. Loosen only the material that falls away readily or must be removed because it is sour, contaminated, compacted, or surrounding failed tissue. Firm roots embedded in a coherent core usually benefit from restraint.
Set the plant at the same crown depth unless species-specific guidance says otherwise. Burying stems or crowns to make a tall pot look full can expose tissues to prolonged moisture. Leave functional headspace at the rim so watering can be applied evenly without overflowing.
Confirm every drainage hole before filling. Mesh can limit mix loss without sealing the opening. A gravel layer does not substitute for drainage; it uses root space and leaves water inside the container rather than creating an exit.
After positioning the root ball, settle fresh mix gently into gaps. Do not compact it into a hard mass. Tap the pot and use fingers or a blunt tool to fill large voids, then stop. The goal is root contact plus pore space, not a container packed as densely as possible.
Prevent Overpotting Next Time
Repot because the root system or media requires it, not because a larger decorative pot is available. Useful triggers include roots densely occupying the container, water running around a compacted root ball, declining media structure, repeated tipping, or a documented need for root inspection. Roots merely visible at one drainage hole do not always mean the entire pot is full.
When moving up, compare the root ball with the new pot before adding mix. The next container should provide a manageable band of fresh media, open drainage, and enough headspace. If the decorative vessel is much larger, keep the plant in a suitable draining nursery pot and use the larger vessel as a cachepot.
Choose mix, pot material, and room conditions as one system. Unglazed clay permits more evaporation through its walls than plastic or glazed ceramic. Fine organic media hold water longer than coarse structured blends. A dim room reduces plant water use. Changing several of these toward slower drying at once magnifies risk.
Build a watering habit around evidence. Check at depth, learn the pot’s weight when safely liftable, observe leaf posture and growth, water thoroughly when appropriate, and remove runoff. The NC State Extension container handbook explains that container water needs vary with plant, pot, medium, and environmental conditions, which is why a fixed weekly schedule is unreliable.
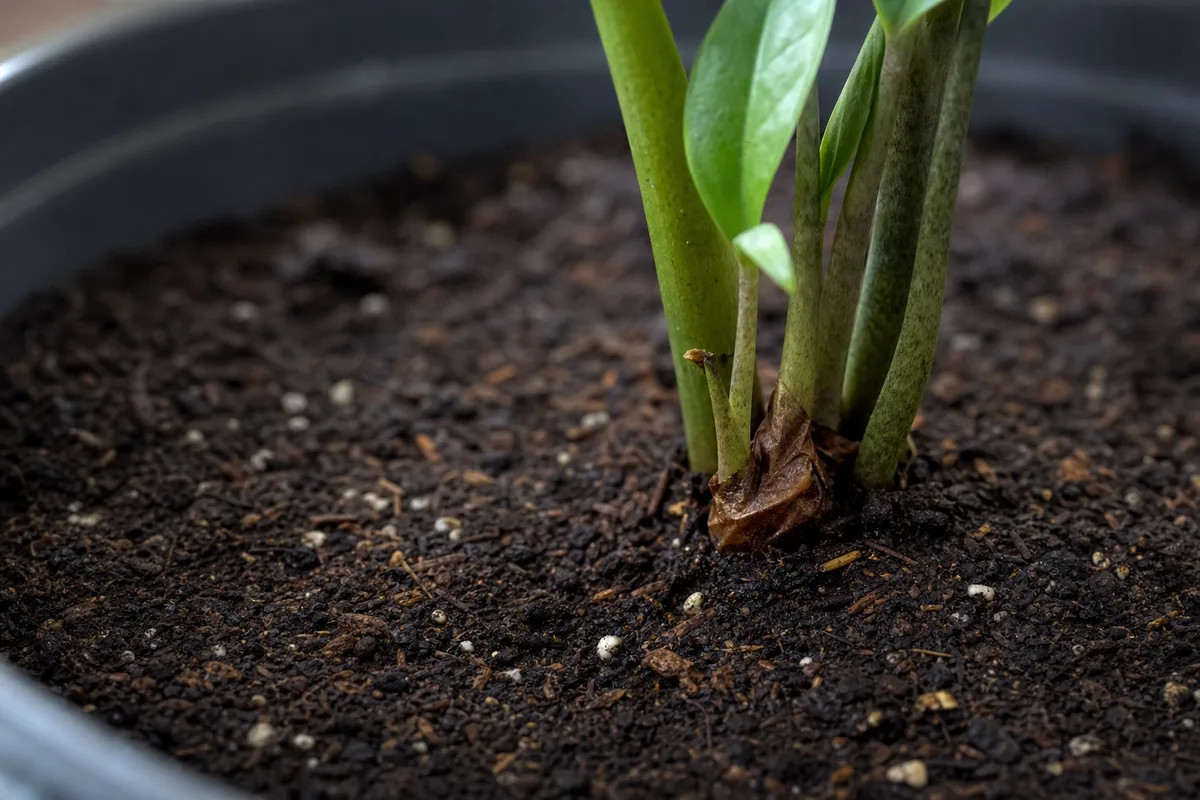
The ZZ plant example highlights a high-risk combination: a water-storing, relatively slow-growing plant and a large surrounding media volume. The image does not prove damage, but it supports a practical next step—check lower moisture and root-ball size before the next watering.
Species, Season, and Special-Case Exceptions
Fast-growing annuals and vigorous outdoor container plants can colonize larger volumes rapidly under high light and warmth. Indoor houseplants often grow more slowly, especially when seasonal light drops. A jump that works in spring near a bright window may remain wet for too long after an autumn move.
Succulents, cacti, ZZ plants, snake plants, hoyas, and many epiphytes generally require particular caution because their water use, root structure, or substrate needs can make a large mass of moisture-retentive mix risky. Ferns and peace lilies may prefer more consistent moisture, but they still need oxygen and should not sit in stagnant, saturated media.
Orchids grown in bark, plants in semi-hydro systems, self-watering planters, and grouped outdoor displays operate differently from a conventional peat-based houseplant pot. Evaluate the designed reservoir, wick, air gaps, substrate, and species rather than transferring ordinary pot-size rules blindly.
A plant with a sparse root system is not necessarily unhealthy. Some species naturally produce relatively few thick roots or storage organs. Research the species before trimming firm structures or compressing them into a pot that is too shallow.
What Recovery Looks Like
Recovery is measured by stability and new function, not by damaged leaves turning perfect again. Existing yellow or necrotic tissue generally will not regain green, but wilting may stop progressing, the mix may begin drying predictably, and healthy new roots or leaves may appear. Time varies with species, season, root loss, and growing conditions.
During the first weeks, keep conditions steady and appropriate. Avoid another location change, heavy fertilizer, repeated unpotting, or compensatory overwatering. Remove a damaged leaf only when it is fully yellow, diseased, or obstructive; partially functional foliage can still support recovery.
Watch the crown and new growth. Firm tissue, no additional leaf loss, and a shortening but still appropriate dry-down interval are encouraging. Continued sour odor, spreading softness, canopy collapse, or mix that remains saturated despite correction calls for another root inspection or help from a local plant diagnostic service.
Set a realistic threshold for salvage. If no firm roots remain but healthy nodes or stems are present, propagation may be the best route. If the crown is extensively soft or a disease threatens nearby plants, isolation and disposal may be more responsible than repeated treatment.
Conclusion
A houseplant pot too large is a problem only when container volume, potting mix, drainage, and plant water use combine to keep the roots wet and stressed. Confirm that pattern before acting: compare the root ball with the inside of the pot, test moisture at depth, check drainage and standing runoff, review the timeline, and inspect roots when progressive symptoms justify it.
Keep a stable plant in place when the root zone is drying predictably and you can manage it safely. Downsize when a small root ball is surrounded by persistently wet mix, especially if yellowing, wilt, leaf loss, odor, or root failure is advancing. Choose the replacement around the sound roots—not the foliage or decorative scale—then preserve healthy tissue, use compatible media, and restore open drainage.
The durable prevention strategy is modest staged potting, appropriate light, a mix that balances water and air, and watering based on observation instead of a calendar. That gives roots room to grow without asking them to manage a reservoir of wet soil they cannot yet occupy.
Plants commonly affected
These houseplants often struggle with pot too large. Open a care guide or plant-specific troubleshooting page for tailored fixes.
 Medium
Jade Plant
Likely causeAug 31, 2025 · Both pots that are too large and too small create significant issues. Here is a simple jade plant pot size guide to follow. It seems logical, right? Give your plant a big pot with plenty of room to grow! Unfortunately, this i
Quick fixConfirm diagnosis on your Jade Plant, then address the most likely care or pest factor described in current extension guidance.
 Medium
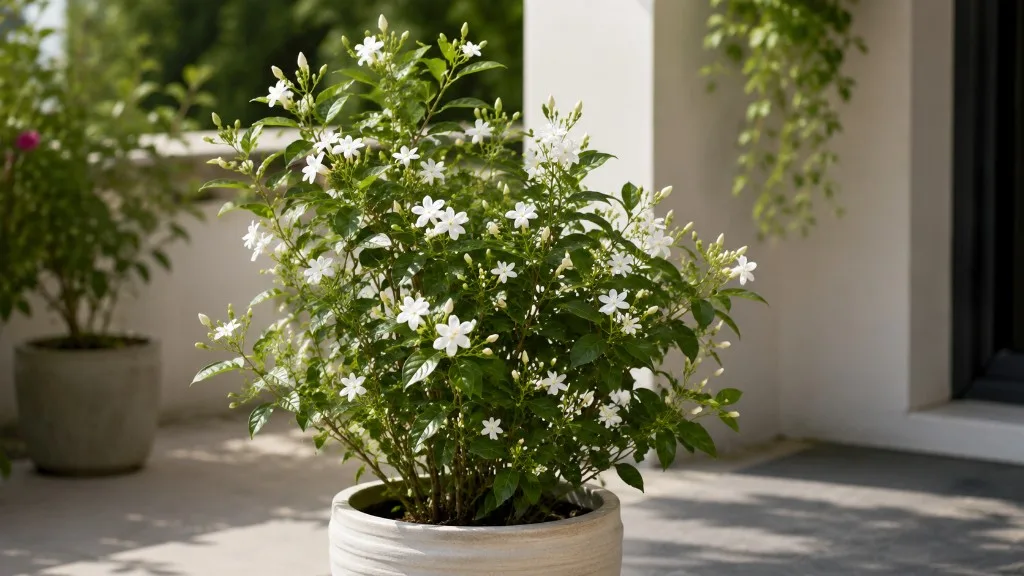
Jasmine
Likely causeSep 27, 2025 · For container-grown plants, especially vigorous bloomers like jasmine, a pot that is significantly too large can cause a cascade of problems , leading to stunted growth, yellowing leaves, and a frustrating lack of those signa
Quick fixConfirm diagnosis on your Jasmine, then address the most likely care or pest factor described in current extension guidance.
 Medium
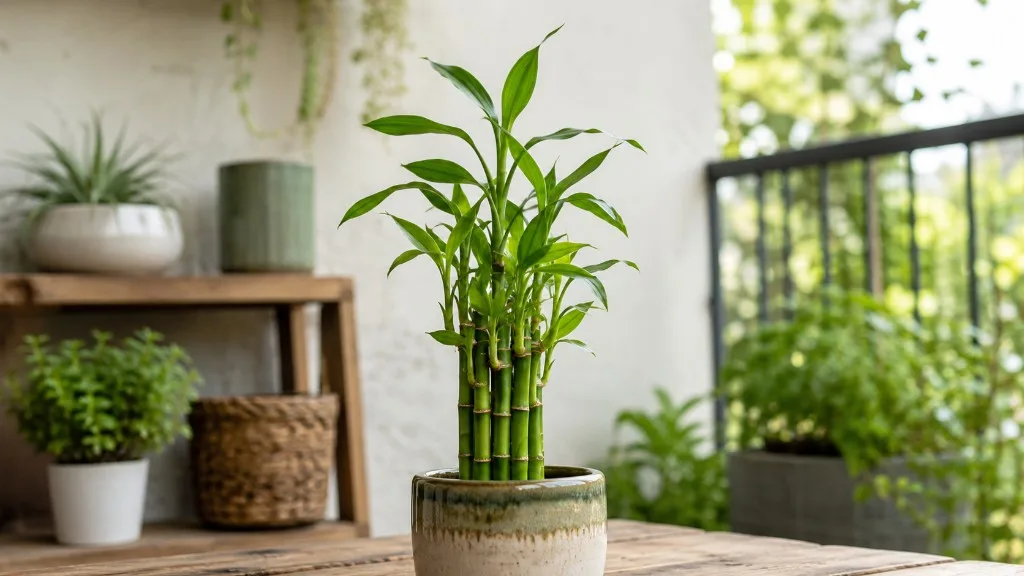
Lucky Bamboo
Likely causeJul 28, 2024 · A pot that's too small can restrict root growth, leading to a root-bound plant that struggles to absorb nutrients and water. Conversely, a pot that's too large can cause soil to remain wet for too long, potentially leading to
Quick fixConfirm diagnosis on your Lucky Bamboo, then address the most likely care or pest factor described in current extension guidance.
 Medium
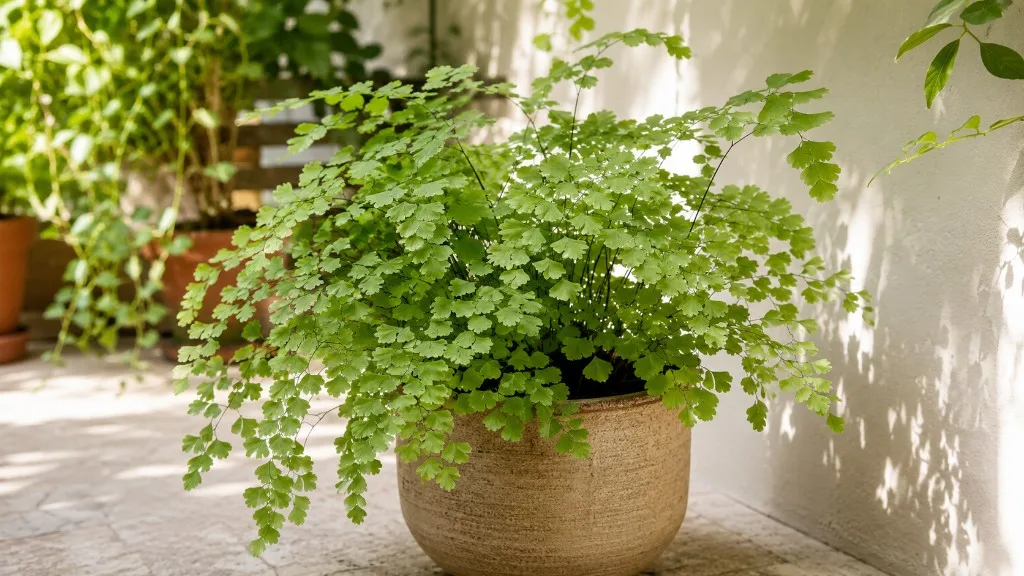
Maidenhair Fern
Likely causeJul 31, 2024 · When choosing a pot for your maidenhair fern , consider the size carefully. A pot that is too small will restrict the plant’s growth, while a pot that is too large can lead to overwatering issues. A 6-8 inch pot is typically
Quick fixConfirm diagnosis on your Maidenhair Fern, then address the most likely care or pest factor described in current extension guidance.
 Medium
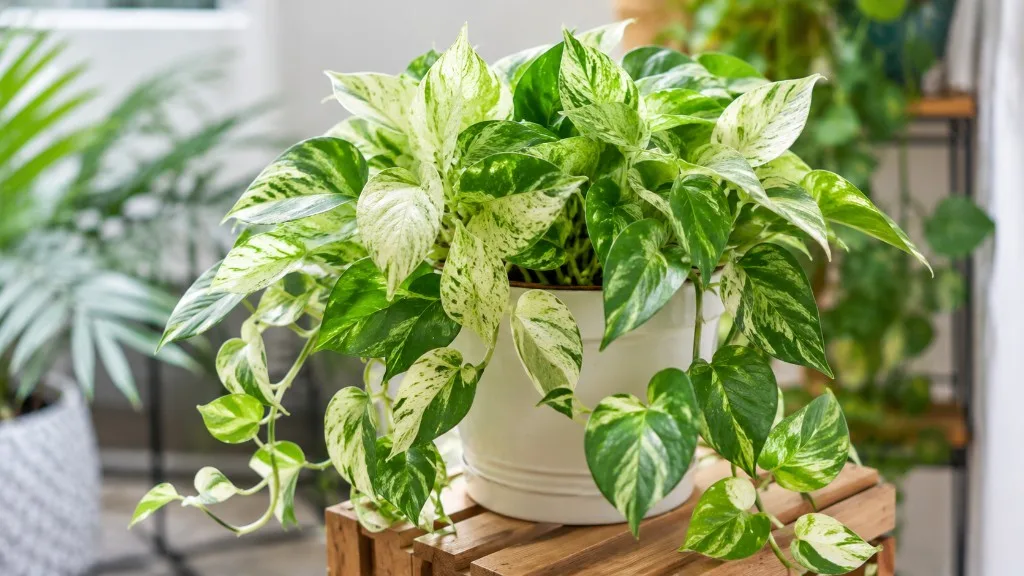
Marble Queen Pothos
Likely causeChoose the right pot : Select a new pot that is only one size larger (e.g., from a 6-inch to an 8-inch pot ). Too large a pot can hold too much moisture, leading to root rot. Jan 1, 2026 · Unlike the nearly indestructible Golden Pothos ( Ep
Quick fixConfirm diagnosis on your Marble Queen Pothos, then address the most likely care or pest factor described in current extension guidance.
 Medium
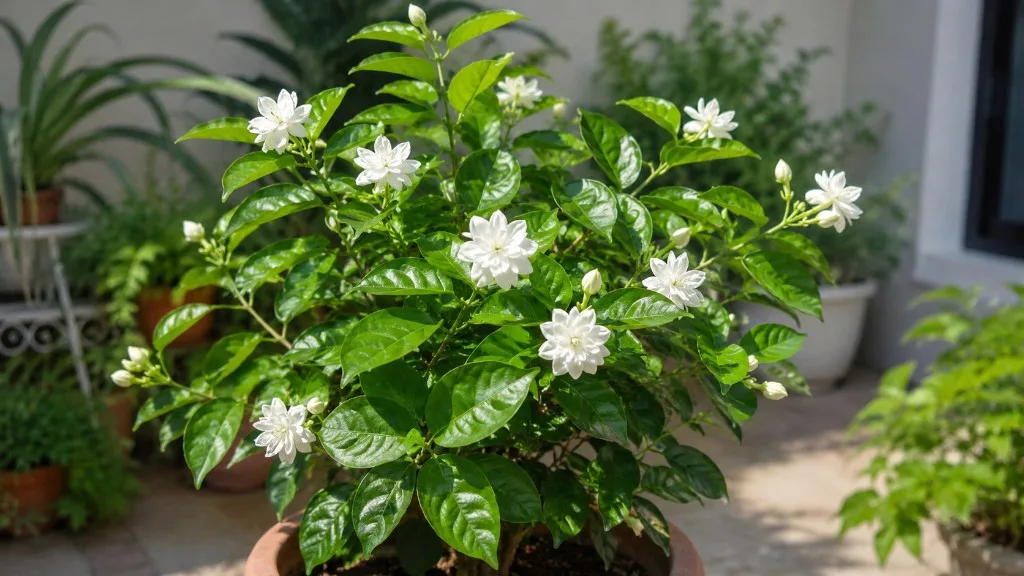
Mogra
Likely causeOct 8, 2025 · Not everyone has the luxury of large gardens, but Arabian Jasmine adapts easily: Jasmine can grow in a pot or hanging basket just as well as in open ground. Use clay or ceramic pots for better aeration. Prune regularly to cont
Quick fixConfirm diagnosis on your Mogra, then address the most likely care or pest factor described in current extension guidance.
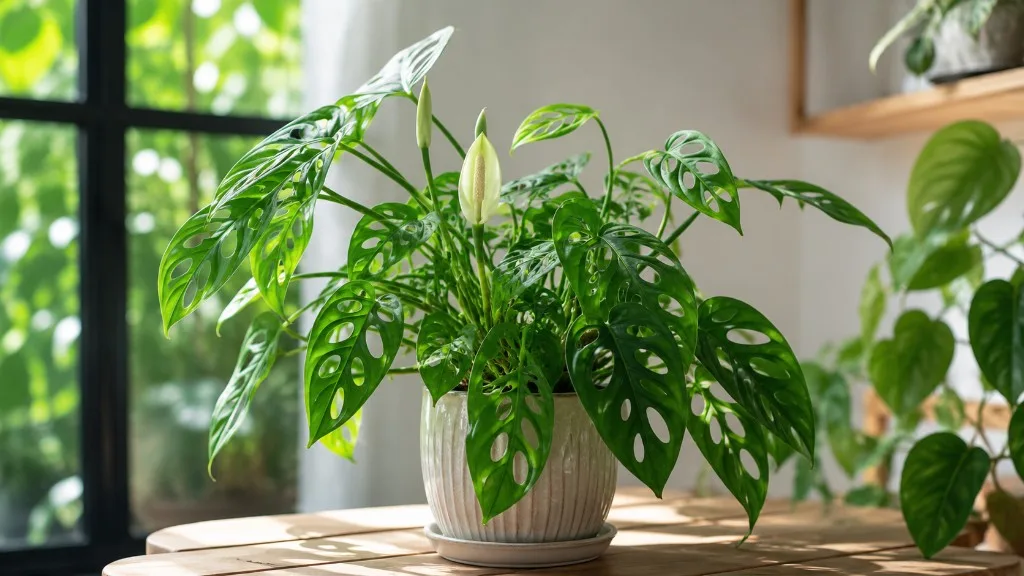 Medium
Monstera Adansonii
Likely causeMonstera adansonii Monsteras are widely cultivated as ornamental houseplants around the world for their large, decorative foliage and tolerance of indoor conditions.
Quick fixConfirm diagnosis on your Monstera Adansonii, then address the most likely care or pest factor described in current extension guidance.
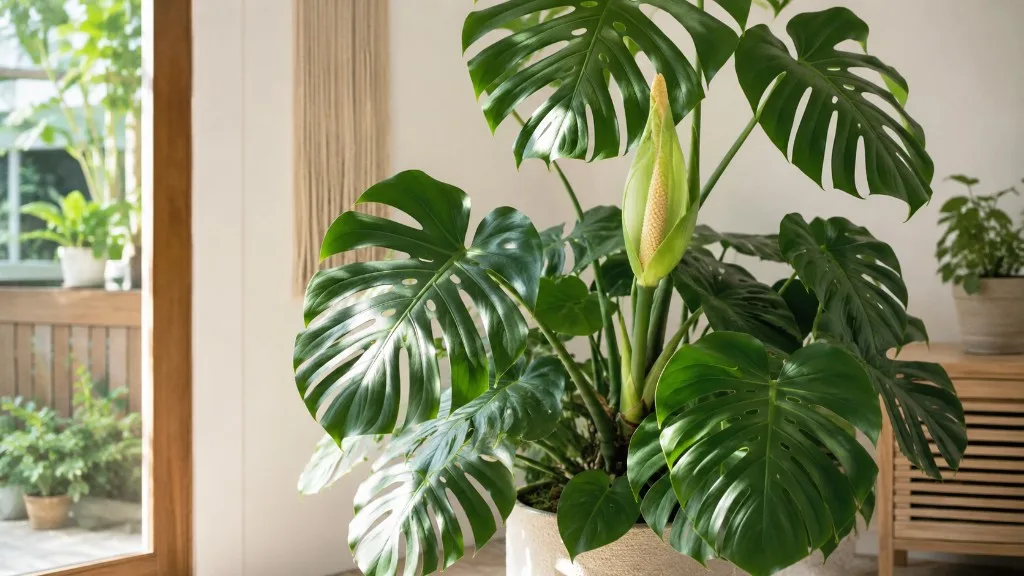 Medium
Monstera Deliciosa
Likely causeMonstera adansonii Monsteras are widely cultivated as ornamental houseplants around the world for their large, decorative foliage and tolerance of indoor conditions.
Quick fixConfirm diagnosis on your Monstera Deliciosa, then address the most likely care or pest factor described in current extension guidance.
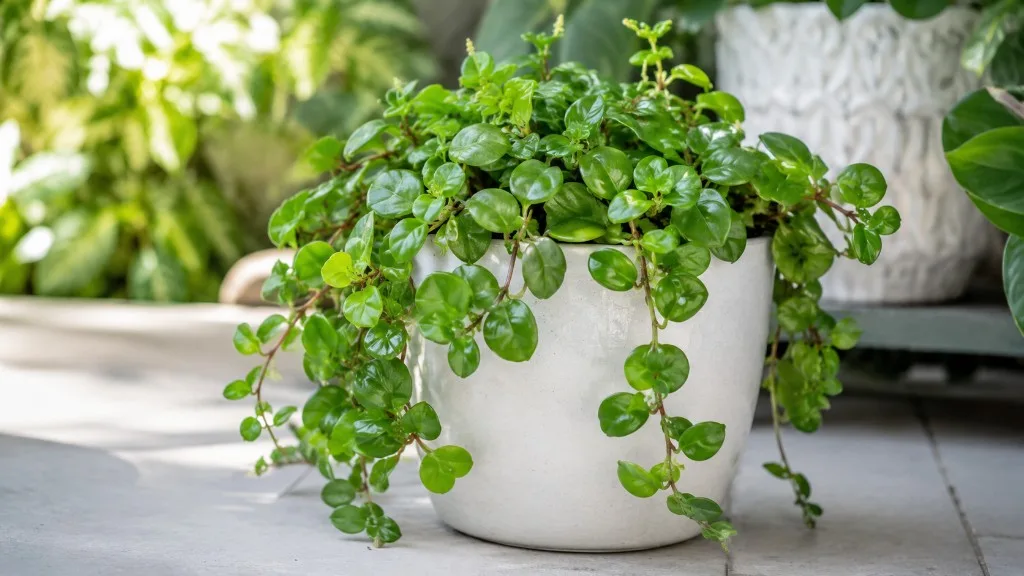 Medium
Peperomia Hope
Likely causePeperomia is one of the two large genera of the family Piperaceae. It is estimated that there are over 1,000 species, occurring in all …
Quick fixConfirm diagnosis on your Peperomia Hope, then address the most likely care or pest factor described in current extension guidance.
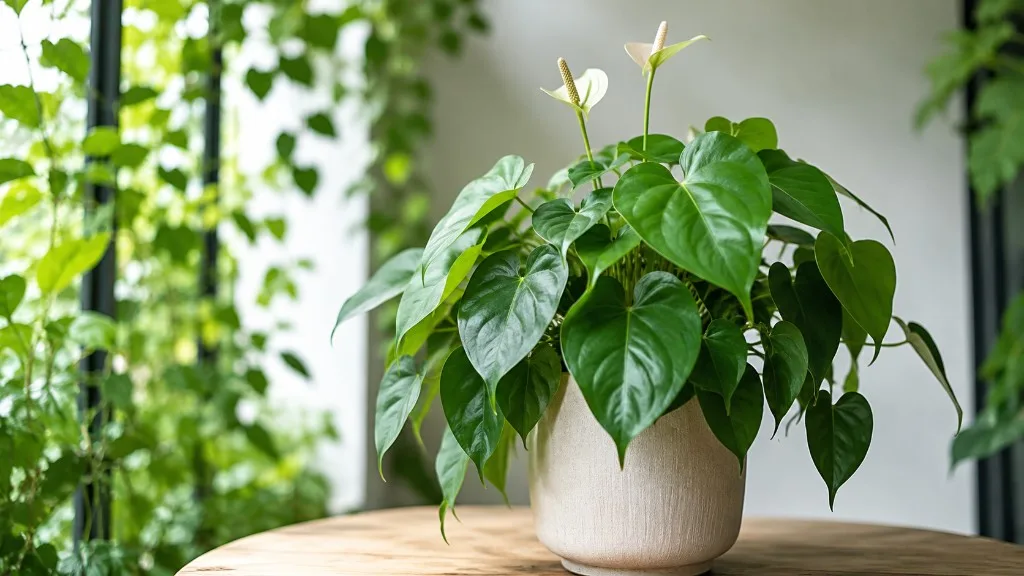 Medium
Heartleaf Philodendron
Likely causeMay 1, 2023 · For a Heartleaf Philodendron, which is relatively adaptable and forgiving, starting with a pot that's about 2 inches larger in diameter than the root ball is generally a good rule of thumb. This provides enough room for growth
Quick fixConfirm diagnosis on your Heartleaf Philodendron, then address the most likely care or pest factor described in current extension guidance.
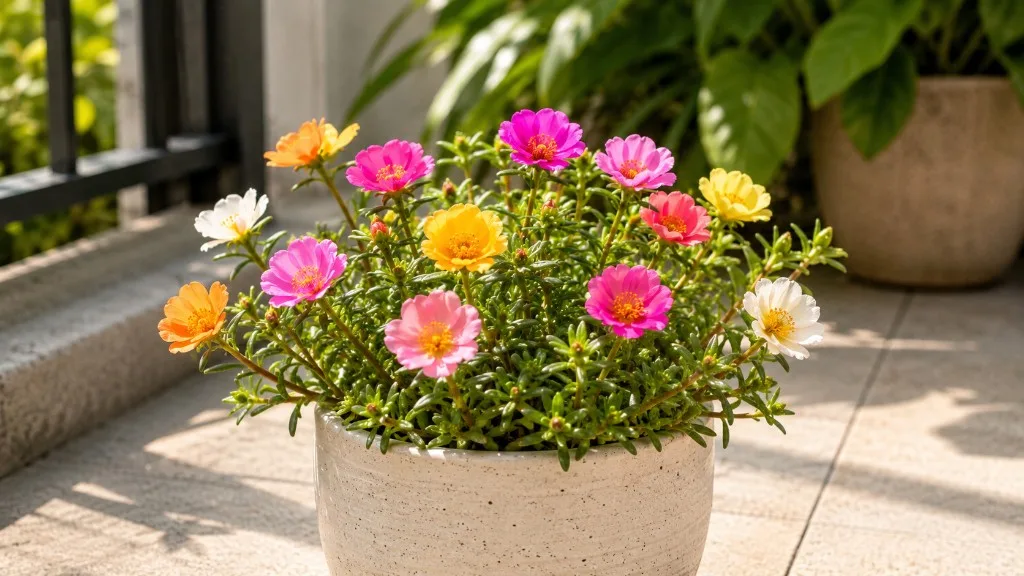 Medium
Portulaca
Likely causeSep 6, 2025 · A pot that is too large holds a greater volume of soil, which in turn retains more water for a longer period. This large , damp mass of soil surrounds our relatively small root ball and increases the risk of rot. A pot that is
Quick fixConfirm diagnosis on your Portulaca, then address the most likely care or pest factor described in current extension guidance.
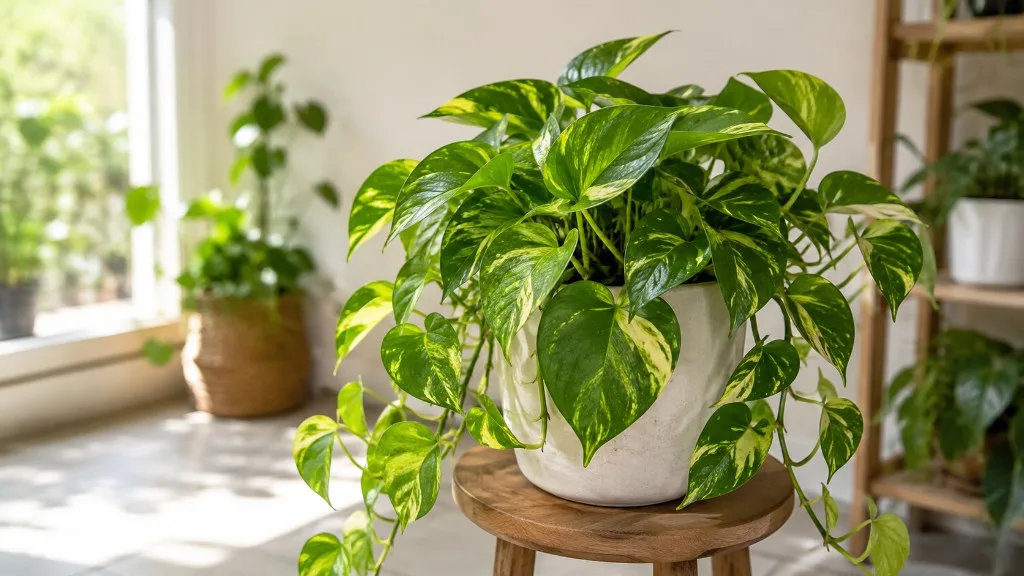 Medium
Pothos
Likely causeJun 5, 2026 · Pothos prefer a slightly snug pot that's only 1-2 inches larger in diameter than their root ball. Getting the pothos pot size right matters more than most people realize. A pot that's too big holds excess moisture around the r
Quick fixConfirm diagnosis on your Pothos, then address the most likely care or pest factor described in current extension guidance.