Poor Potting Setup: Signs, Causes, and Fixes
The container matters as much as soil and watering. Poor Potting Setup with Wrong pot size, drainage, or soil combination causes decline often means the pot is wrong sized, lacks holes, or traps water in a decorative outer shell. Track weekly progress after you change care, and note watering, light, and repotting dates so you can tell whether the symptom is improving or returning. Compare upper versus lower leaves, new versus old growth, and soil moisture at root depth before you treat, because the same visible symptom can come from watering, light, pests, or normal aging on different plants.
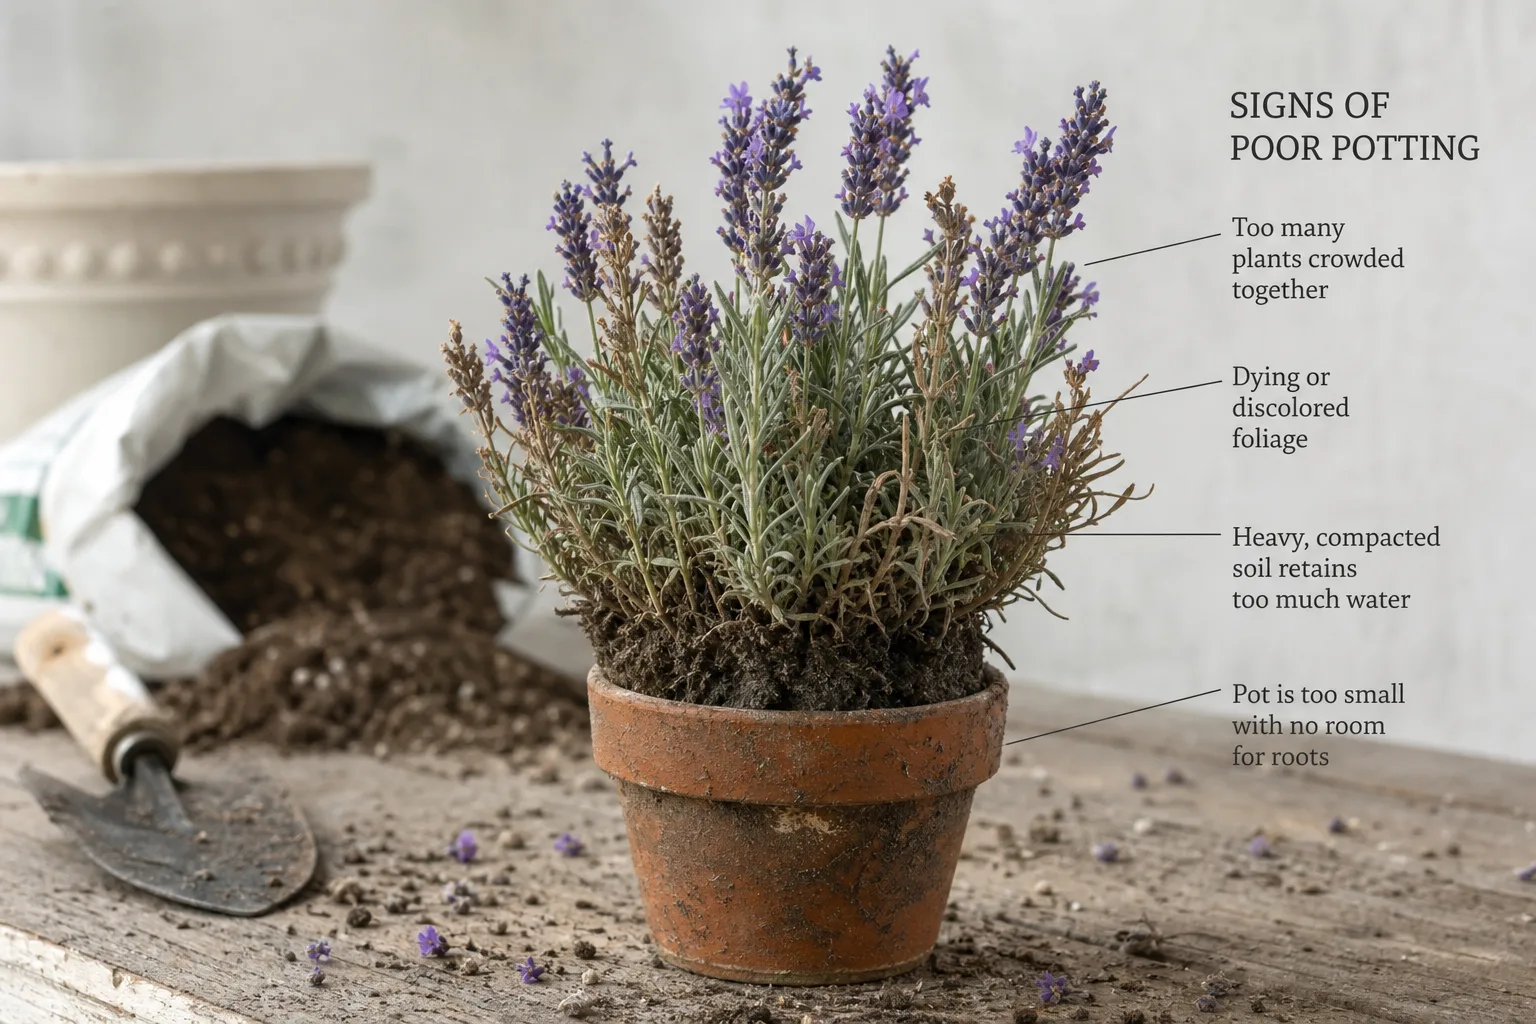
Poor Potting Setup on Houseplants
Still unsure?Match your symptoms to the most likely problems in under a minute.Run diagnosis →Understand and fix poor potting setup
The container matters as much as soil and watering. Poor Potting Setup with Wrong pot size, drainage, or soil combination causes decline often means the pot is wrong sized, lacks holes, or traps water in a decorative outer shell. Track weekly progress after you change care, and note watering, light, and repotting dates so you can tell whether the symptom is improving or returning. Compare upper versus lower leaves, new versus old growth, and soil moisture at root depth before you treat, because the same visible symptom can come from watering, light, pests, or normal aging on different plants.
Overview
The container matters as much as soil and watering. Poor Potting Setup with Wrong pot size, drainage, or soil combination causes decline often means the pot is wrong sized, lacks holes, or traps water in a decorative outer shell. Track weekly progress after you change care, and note watering, light, and repotting dates so you can tell whether the symptom is improving or returning. Compare upper versus lower leaves, new versus old growth, and soil moisture at root depth before you treat, because the same visible symptom can come from watering, light, pests, or normal aging on different plants.
How to identify it
- No drainage holes or holes blocked by roots or debris
- Plant in a pot much larger than the root ball
- Water sits in outer decorative pot for days
- Terracotta vs plastic drying at very different rates
- Roots growing out holes or pushing pot outward
When to worry
Standing water in cache pots with no drainage plus wilting means root damage-unpot and inspect immediately.
Common causes
No drainage holes
Water has nowhere to exit. Even careful watering leads to soggy roots and Poor Potting Setup.
Oversized pot
Too much soil holds excess moisture around a small root system.
Double-potting without emptying saucers
Cache pots look great but become reservoirs when inner pots drain into standing water.
Wrong material for watering style
Terracotta dries fast; glazed ceramic holds moisture longer-mismatch causes Wrong pot size, drainage, or soil combination causes decline.
Step-by-step fix
Confirm drainage path
Water should exit within minutes. Drill holes if safe, or repot into a container with drainage.
Right-size the pot
Choose a pot 1–2 inches wider than the root ball for most houseplants.
Empty saucers after watering
Never let plants sit in runoff for more than 30 minutes.
Match pot material to plant needs
Use terracotta for succulents; glazed or plastic for moisture-loving tropicals if you water less often.
Repot if roots are severely bound
Gently loosen circling roots and move to appropriate size with fresh mix.
Prevention tips
- Always use drainage holes for long-term houseplant health
- Size up gradually, not dramatically
- Empty decorative pot reservoirs after watering
- Choose pot material consciously for your watering habits
Common mistakes
- Keeping plants in nursery pots inside sealed decorative pots forever
- Drilling no holes because 'this plant likes moisture'
- Jumping from a 4-inch to a 10-inch pot
A poor potting setup is not one specific defect. It is a mismatch among the plant’s roots, the volume and structure of the potting mix, the container’s drainage, and the conditions in which the plant must use water. A beautiful pot can fail because it traps runoff; a high-quality mix can fail when compressed into an oversized bowl; and a correctly sized nursery pot can fail when it sits in a full cachepot.
Treat the root zone as a system. Before repotting, establish which part is actually limiting the plant. Check moisture below the surface, confirm that water can leave, compare the root ball with the container, inspect how deeply the crown is buried, and consider light and temperature. Correcting the wrong variable can turn a manageable issue into transplant stress.
What a poor potting setup actually means
A functional setup gives roots access to water and oxygen, supports the plant physically, and lets the grower repeat care reliably. That does not require one universal pot or recipe. A fern and a succulent can need very different moisture retention, while a fast-growing tropical plant may outgrow a container that would suit a slow-growing specimen for years.
Problems arise when several small mismatches reinforce each other. A pot that is somewhat large may be manageable in bright warmth with a coarse mix, but the same pot can remain wet for a long time in cool low light with fine media. Unglazed clay may help a generous waterer, yet make a moisture-demanding plant dry too quickly. Context determines whether a feature is helpful.
The most important distinction is between an imperfect setup and an actively damaging one. A slightly awkward-looking pot is cosmetic. Standing water, a blocked outlet, a buried crown that is softening, or a root ball that never moves toward drier conditions can threaten plant health and deserves prompt correction.
Start with symptoms, not assumptions
Write down what changed and when. Yellow leaves, drooping, slow growth, leaf drop, and brown edges have many causes. Ask whether symptoms began after repotting, relocation, a seasonal light change, fertilizing, or a different person taking over watering. A timeline prevents the container from becoming the default explanation for every decline.
Treat this as a structured diagnosis rather than a visual verdict. Illinois Extension notes that excess moisture can deprive roots of air, but wilt alone does not distinguish excess water from insufficient water. Confirm the container, media, and root evidence before choosing a correction.
Check the moisture pattern at root depth, not just the top centimeter. A dry crust can sit over a wet core, especially when mix has shrunk from the pot wall or water has repeatedly traveled down one channel. Conversely, a peat-heavy root ball can become difficult to rewet: poured water runs around it and exits while the center stays dry.
Inspect the whole plant for pests and environmental injury. Webbing, scale-like bumps, stippling, sticky residue, cold-window contact, or a hot-air vent may explain symptoms that repotting cannot fix. A useful diagnosis combines the plant pattern, root-zone condition, and recent care history rather than relying on one leaf.
Inspect the drainage path
Find every place water should travel: through the mix, out of the inner pot, across the saucer, and away from the base. Open holes that are sealed by a flat cachepot floor cannot drain freely. Roots, compacted particles, mesh, and mineral deposits can also obstruct small outlets.
Penn State Extension states that drainage holes are necessary for excess water to leave and recommends removing excess water from cachepots. Waterlogged media restricts the air available to roots; Penn State’s container guidance explains that roots need oxygen and containers should let excess water flow out.
Test a manageable pot over a sink. Add water gradually over the surface and observe whether it exits from several points. Immediate runoff is not proof that the root ball became evenly moist—it may indicate channeling—but no runoff plus a heavier pot deserves investigation. Never perform a flooding test on a plant already in saturated media.
Judge pot size against the root ball
Pot size is better judged against the root mass than against leaf spread. Tall leaves do not necessarily mean a large root system, and a recently divided plant may have far fewer roots than its canopy suggests. Slide the plant out only when necessary, supporting the stem base and root ball rather than pulling foliage.
A balanced root ball has visible roots while still retaining structured media. Roots circling the outer wall, forming a dense mat at the base, or occupying nearly all available space can indicate crowding. A sparse root system surrounded by a thick shell of persistently wet mix suggests excess volume, recent root loss, or an unnecessarily large container.
Penn State recommends a replacement container only slightly larger than the current one. Treat familiar “one or two inch” rules as starting points, not laws: container shape, species, root vigor, media, and climate change the appropriate increment.
When a pot is too large
An oversized pot creates a reservoir of mix that roots do not yet occupy. That mix can remain wet longer than expected, particularly in low light or cool rooms. The plant may wilt even though the media is damp because stressed roots are not functioning normally, tempting the grower to add still more water.
Size alone does not cause rot. Root disease involves susceptible tissue, damaging conditions, and often pathogens. An airy mix, strong light, active growth, and careful irrigation can make a larger container workable. The risk rises when extra volume combines with dense media, frequent watering, blocked drainage, or a weakened root system.
Correct severe oversizing by moving the intact root ball into a closer-fitting draining pot. If the roots are healthy, avoid stripping all media. If root loss has occurred, size the new container to the remaining firm roots rather than the former canopy and delay fertilizer until recovery is evident.
When a pot is too small
A crowded container holds less water and can dry rapidly. Roots may circle, emerge from holes, push the plant upward, or form such a dense mass that water passes around the outside. The plant may require increasingly frequent watering and can become unstable as the canopy outgrows the pot’s footprint.
Visible roots at a drainage hole are a clue, not an automatic diagnosis. Some vigorous roots find holes before the rest of the pot is occupied. Confirm by examining the root ball and the drying pattern. Penn State identifies rapid drying and dense circling roots among signs that repotting may be needed.
Move up gradually. A modest increase gives fresh rooting space without creating a wide zone of unused wet media. Root pruning may be an option for some established plants that must remain in the same decorative size, but it is species- and season-dependent and should be conservative.
Evaluate the potting mix
Container media must retain useful moisture while preserving pore space. Straight garden soil is often too dense for indoor containers and can compact after repeated watering. Penn State recommends soilless container mixes containing components such as bark, perlite, vermiculite, sphagnum, or coir because they can balance drainage with water and nutrient retention.
Do not equate “fast draining” with “dries immediately.” A mix can release excess water yet hold moisture inside small pores. The right balance depends on the plant and room. Dry-adapted plants generally need more air and shorter periods of saturation; moisture-demanding plants still need oxygen but may benefit from greater water retention.
Old mix changes. Organic components break down, particles settle, roots occupy pore space, and repeated watering can concentrate soluble salts. A crust on the surface, water that pools rather than infiltrates, or a root ball that stays wet far longer than before can justify partial or full replacement.
Check planting depth and root position
The crown—the transition between stems and roots—should generally remain near its previous level unless species-specific guidance says otherwise. Burying a crown or fleshy stem in continually damp mix increases contact with moisture and can promote decay. Planting too shallow can expose roots and leave the plant unstable.
Remove decorative topdressings to see the actual surface. Thick moss, stones, or bark can conceal depth and slow surface evaporation. Topdressing is not inherently harmful, but it should not hide standing water, press against soft stems, or prevent you from testing moisture.
Orient roots outward where practical without forcing or tearing them. Do not create a compact “soil plug” around the stem. Add mix in stages and settle it gently; hard packing destroys the pore structure you selected the mix to provide.
Match container material to conditions
Unglazed terracotta is porous and commonly loses moisture faster than plastic or glazed ceramic. Penn State notes that clay can pull water and soluble salts from the mix, so plants in clay may need watering more often. This can suit succulents or generous waterers but may work poorly for a small moisture-loving plant in a warm dry room.
Plastic and glazed pots reduce evaporation through the sidewall. They are lightweight and easier to lift for moisture comparison, but they can stay wet longer. Heavy stone or concrete provides stability for a top-heavy plant, yet a large mass can be difficult to move and inspect. A draining plastic inner pot inside a heavy outer pot can provide both control and stability.
Dark containers in direct sun can heat more than the surrounding air, while metal can transfer heat rapidly. Indoors, surface protection also matters: use a waterproof saucer, but never plug drainage merely to save furniture.
Use cachepots and saucers correctly
A cachepot is a decorative outer vessel, often without holes. It works well when the draining inner pot is easy to remove. Water outside the cachepot, let runoff slow, return the plant, and check again for delayed drips. If you water in place, lift the inner pot afterward and empty every reservoir.
A saucer is a collector, not permanent storage. Penn State’s myth guidance says to empty saucers after watering. Use feet or a waterproof spacer where necessary so openings do not sit flush against a flat surface.
Gravel beneath the mix does not substitute for drainage. The same extension review explains that a coarse bottom layer can hinder drainage rather than improve it. Mesh over holes can limit media loss without sealing the path; stones inside a sealed bowl merely hide the water.
Decide whether to repot now
Repot promptly when the outlet cannot be restored, free water remains trapped, the crown is buried and softening, or declining foliage accompanies persistently saturated media. Root inspection is also reasonable when there is a sour odor, the root ball has collapsed, or wilting continues despite appropriate moisture.
Monitor rather than repot when the plant is stable, media is moving through a normal wet-to-drier cycle, and the issue is primarily decorative. You may be able to remove standing cachepot water, open a blocked hole, or change watering without disturbing roots.
Timing matters but does not override urgency. Active growth often helps a healthy plant establish in new media, yet an unsafe saturated setup should not be left for months solely to wait for spring. Provide stable warmth and species-appropriate light after an off-season rescue.
Rebuild the setup step by step
Prepare the new container, mix, clean tools, and work surface before unpotting. Confirm open holes. Choose a pot modestly larger than healthy roots—or smaller when root loss has left excess space. Lightly premoisten very dry mix so it wets evenly.
Slide the plant out and inspect rather than automatically washing roots bare. Retain structured media that smells normal and contains firm roots. Remove material that is sour, collapsed, or inseparable from clearly decayed tissue. Set the plant at the right depth and fill around it gently.
Water to settle the mix, allow complete drainage, and discard runoff. Do not add a strong fertilizer dose to “help it recover.” Damaged roots may be sensitive to salts, and fresh commercial mixes may already contain nutrients. Resume feeding only according to the plant’s needs and visible recovery.
Handle damaged and circling roots conservatively
Healthy root appearance varies. Judge firmness, smell, and integrity rather than color alone. Decayed roots are often soft or easily stripped; firm tan roots may be normal. Cut only clearly dead tissue with cleaned tools, preserving as much functional root mass as possible.
Dense circling roots can be teased outward gently. More severe woody circling is handled differently from fine tropical houseplant roots; outdoor tree guidance should not be copied blindly indoors. If extensive cutting is required, seek species-specific advice and avoid combining aggressive root loss with a dramatic pot enlargement.
If very few roots remain, a smaller pot is usually easier to manage. Some species can be propagated from sound stems, leaves, offsets, or divisions as insurance, but propagation capacity varies. Confirm the method before removing material.
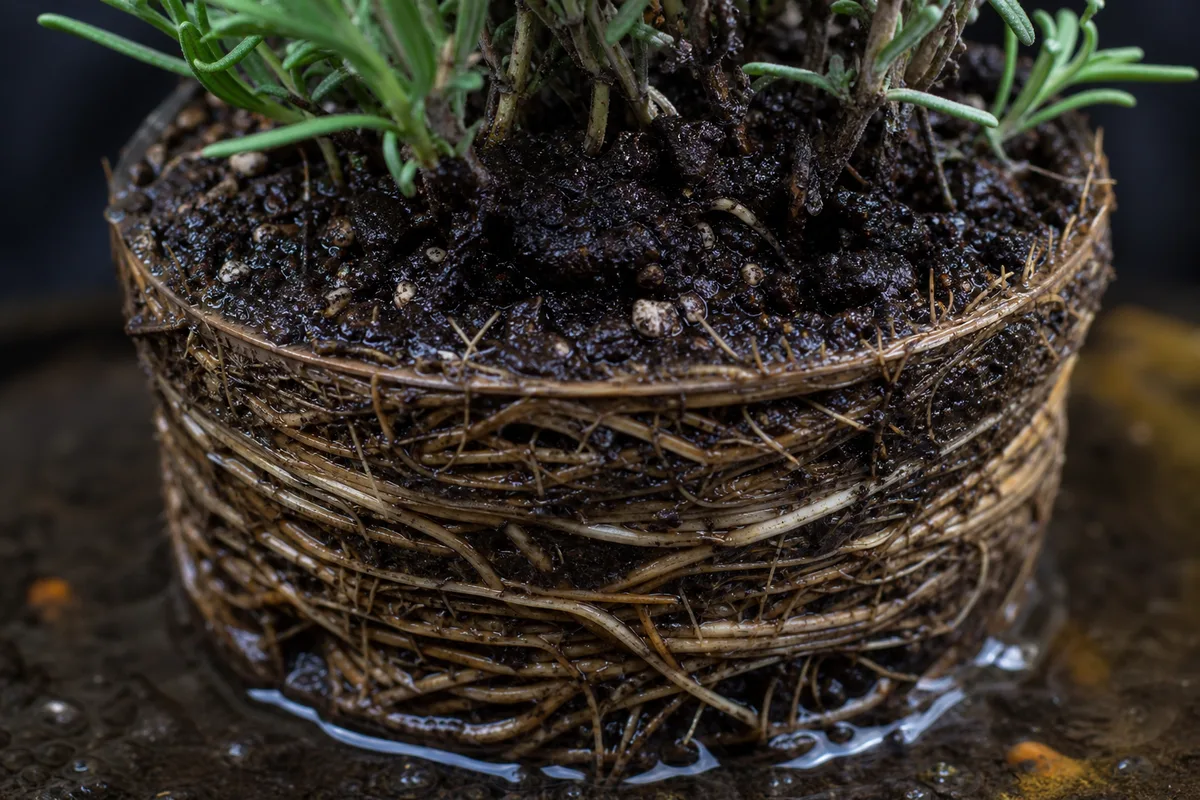
Aftercare and recovery
Return the plant to stable, appropriate light rather than using intense sun to dry the pot. Sudden exposure can burn foliage while roots are least able to replace water. Maintain normal warmth and airflow, but do not direct a heater or fan at the plant.
Check moisture at root depth before watering again. A freshly repotted plant may droop briefly from disturbance; repeated watering is not automatically the answer. Track pot weight, lower-zone moisture, and the time between waterings. The objective is a repeatable wet-to-drier cycle appropriate for that plant.
Existing damaged leaves may not recover. Judge success by halted decline, firm stems or crowns, and healthy new growth over subsequent weeks. Photograph the plant under similar lighting and change one care variable at a time so you can interpret the response.
Special setups and exceptions
Self-watering planters use a designed reservoir and wick or soil column. They are not equivalent to an ordinary sealed pot. Follow overflow, reservoir, media, and cleaning instructions because continuously filling a reservoir can still be wrong for a plant that needs a drier interval.
Hydroponic and semi-hydroponic systems manage roots with different media, nutrient solutions, and oxygen conditions. Their success does not show that dense organic potting mix can remain saturated safely. Converting a plant requires system-specific acclimation.
Orchids, carnivorous plants, cacti, epiphytes, bulbs, and bonsai may need specialized containers and media. Use this diagnostic framework—drainage, air, water, root volume, and depth—but follow species-specific practice for the final setup.
Common correction mistakes
The biggest mistake is changing everything at once. Repotting, root pruning, moving to brighter light, fertilizing, and treating with pesticide creates several stressors and destroys the diagnostic trail. Fix urgent physical hazards first, then stabilize.
Another mistake is choosing a huge pot to avoid repotting later. Extra mix is not useful rooting space until roots occupy it, and it changes water storage immediately. Likewise, squeezing a root-bound plant into the same exhausted media without addressing circling or water penetration only changes the exterior.
Avoid rigid schedules and universal recipes. “Water weekly,” “always use terracotta,” and “add two inches of rocks” ignore plant, room, and media. University of Maryland Extension advises checking potting-media moisture and emphasizes watering according to need rather than a fixed calendar.
A practical prevention routine
At each watering, notice pot weight, surface condition, and how promptly water exits. Empty the saucer or cachepot. Monthly, confirm that holes remain open and inspect for roots, residue, or compressed media. Rotate the pot for balanced light when appropriate, without using rotation to compensate for inadequate overall exposure.
Review the setup seasonally. Shorter days and cooler rooms reduce water use for many plants, while active summer growth can increase it. Adjust the interval based on observation rather than pouring a smaller amount on the same date.
Before buying a decorative pot, test whether the nursery pot lifts out easily and leaves room for runoff. Before repotting, compare root-ball dimensions with the new container. These two checks prevent many failures without requiring a perfect formula.
Keep the inspection repeatable. Use the same skewer depth or moisture-check location, photograph from the same angle, and note whether the pot was recently moved. If another person helps with care, agree on one watering decision and record it; two well-intentioned people can keep a root zone wet simply because neither knows the other already watered.
Replace vague observations with useful ones. “The soil looks bad” is less actionable than “the upper layer dries in three days while the lower third remains wet for ten.” “The plant is drooping” becomes more diagnostic when you record whether stems are firm, whether the mix is wet or dry, and whether the symptom improves overnight. That evidence helps you decide whether the setup needs physical correction or only a better routine.
Retest after every meaningful change, allowing enough time for the root zone to respond before changing another low-risk variable.
Conclusion
A poor potting setup is best solved as a system, not with a single slogan. Trace the drainage path, compare roots with pot volume, evaluate media structure, verify crown depth, and account for light, temperature, material, and watering behavior.
Correct the highest-risk mismatch with the least necessary disturbance. A modestly sized draining pot, suitable structured mix, visible runoff path, and repeatable moisture check give roots a far more dependable environment than decorative fixes or calendar watering.
Plants commonly affected
These houseplants often struggle with poor potting setup. Open a care guide or plant-specific troubleshooting page for tailored fixes.
 Medium
Lavender
Likely causeApr 18, 2026 · Lavender dies in soggy soil—here are 5 well-draining mixes that prevent root rot, plus which common potting soils to skip for healthy plants.
Quick fixConfirm diagnosis on your Lavender, then address the most likely care or pest factor described in current extension guidance.
 Medium
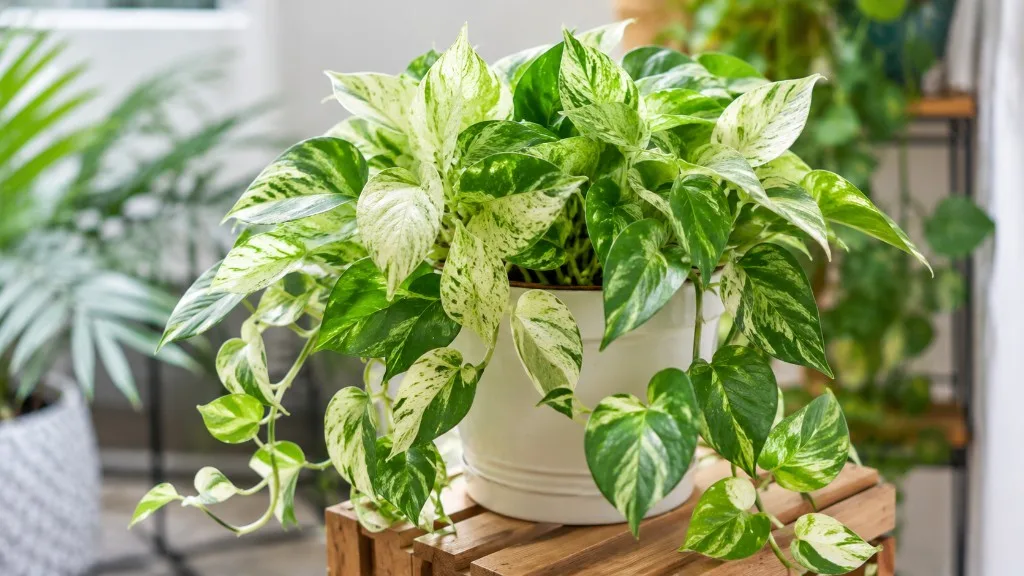
Marble Queen Pothos
Likely causeDec 26, 2025 · This guide highlights soil options and care strategies to help you grow lush, variegated vines in indoor spaces. The selections below feature plant soils and mixes that work well with Marble Queen Pothos , plus compatible pot
Quick fixConfirm diagnosis on your Marble Queen Pothos, then address the most likely care or pest factor described in current extension guidance.
 Medium
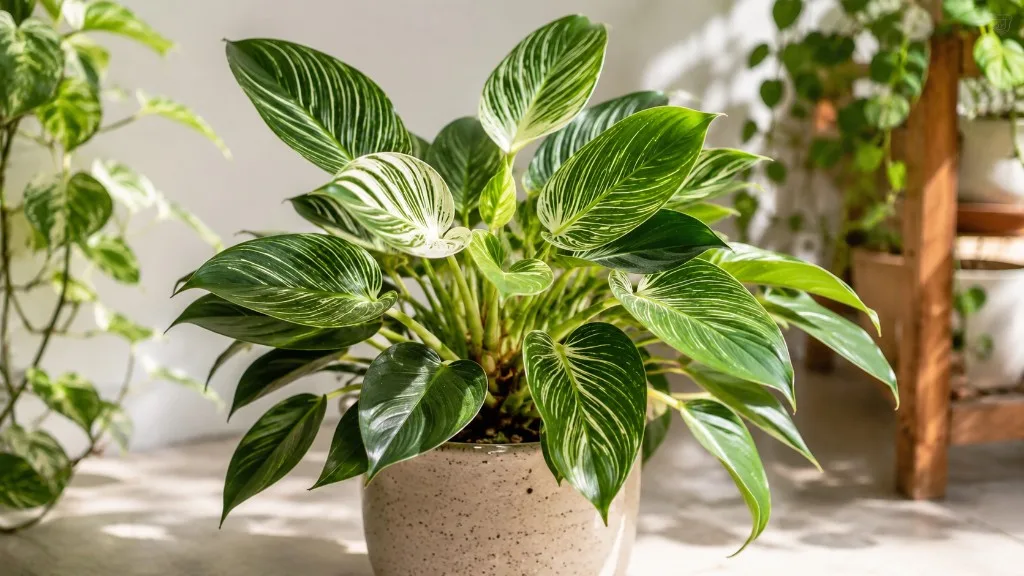
Philodendron Birkin
Likely causeSep 16, 2025 · Here are the main care requirements for growing a philodendron birkin : Place it in a location with bright, indirect light. Use a potting mix for aroids or make your own. Water only when the top layer of soil has dried out. K
Quick fixFollow extension or botanical guidance for Philodendron Birkin poor potting setup; adjust care before applying broad treatments.
 Medium
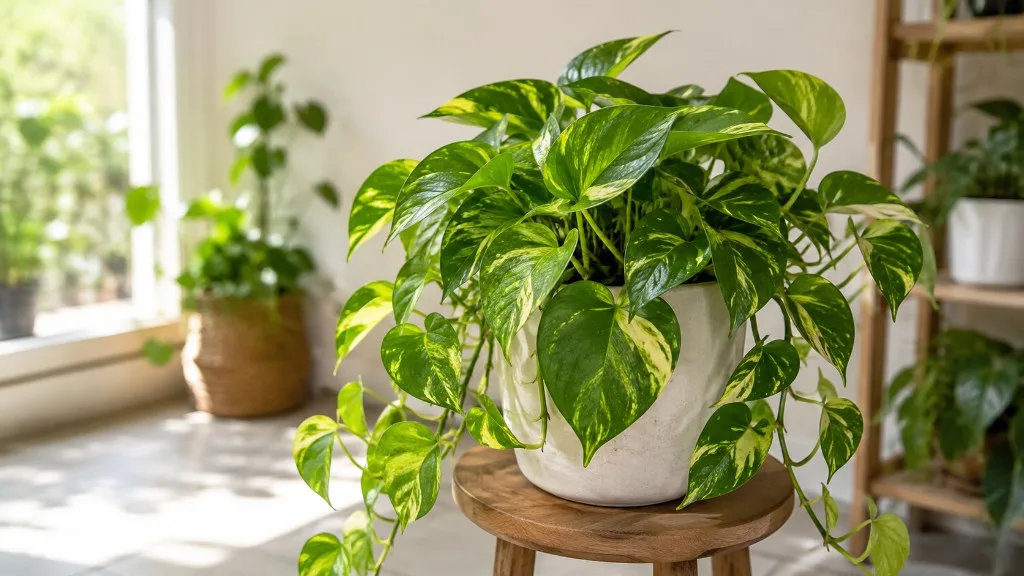
Pothos
Likely causeOct 13, 2025 · Learn when to repot pothos , what pot size and soil to use, and how to avoid shock, yellow leaves, and root rot after moving your plant.
Quick fixConfirm diagnosis on your Pothos, then address the most likely care or pest factor described in current extension guidance.
 Medium
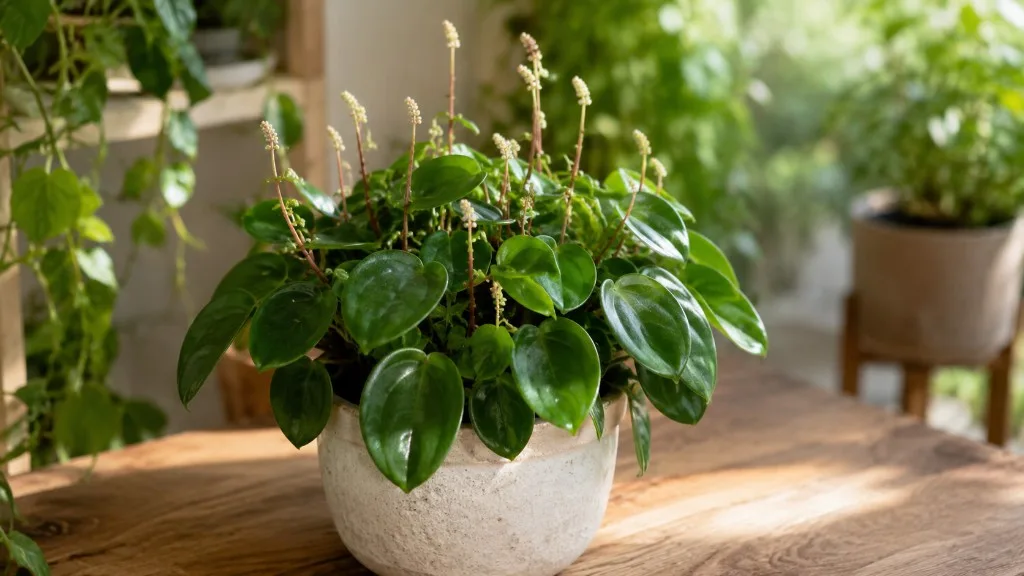
Raindrop Peperomia
Likely causeJun 30, 2020 · Generally, plants – let alone raindrop peperomia – don’t require repotting unless you started to care for the plant when it was very small and rooted in a fairly compact pot.
Quick fixConfirm diagnosis on your Raindrop Peperomia, then address the most likely care or pest factor described in current extension guidance.
 Medium
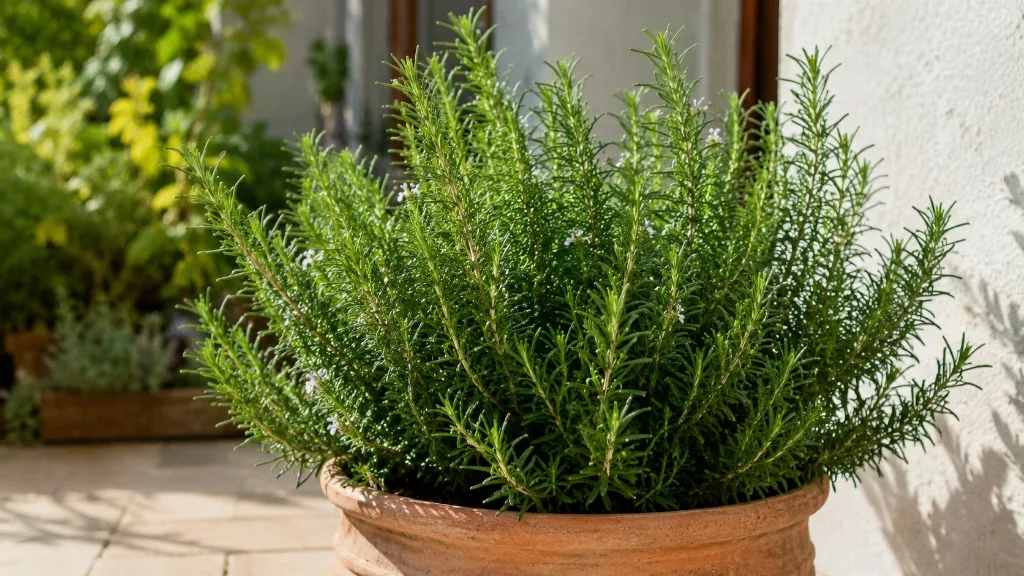
Rosemary
Likely causeUse a free draining potting mix and do not allow the root ball to sit in water. Containers let you move plants to shelter for winter protection in marginal zones.
Quick fixConfirm diagnosis on your Rosemary, then address the most likely care or pest factor described in current extension guidance.