Avoid These 5 Repotting Mistakes for Healthier Roots
Repotting houseplants this spring? Avoid the five errors that cause root rot, transplant shock, and stalled growth, with timing and pot-size rules that actually work.
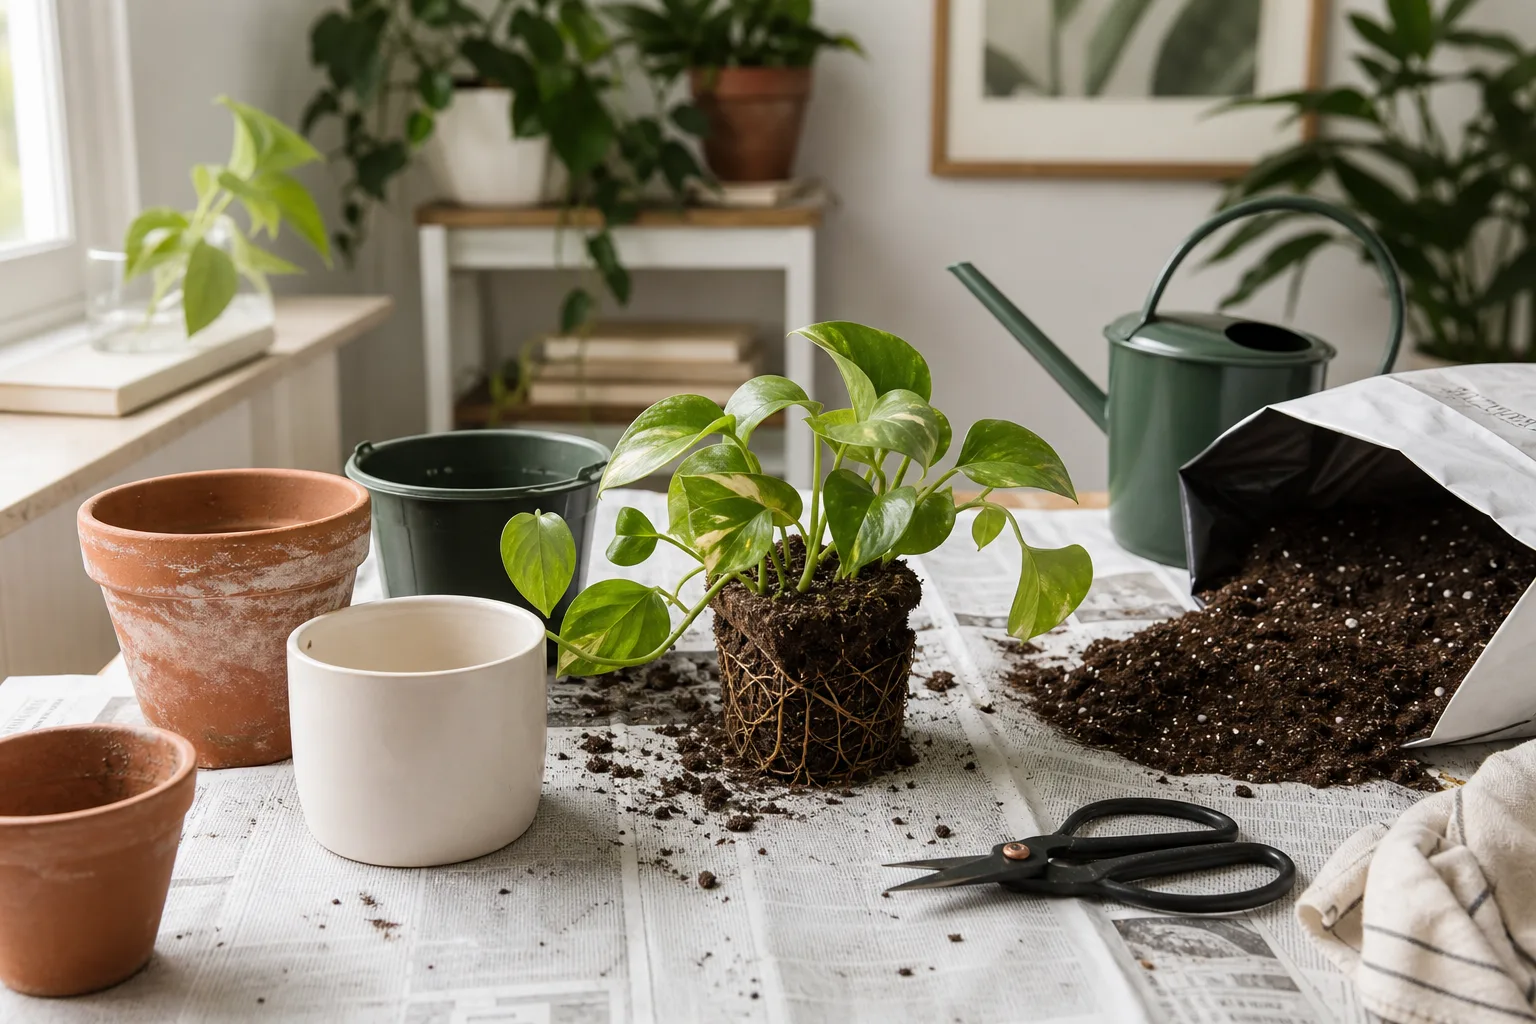
The first sunny weekend in March sends a lot of houseplants into new pots they were not ready for. Spring is the right season for repotting when a plant has genuinely outgrown its container—but enthusiasm is not the same as timing. Repotting mistakes made in those first warm weeks—oversized pots, mismatched soil, rough root handling, and packed mix—often show up three weeks later as drooping leaves, sour-smelling soil, or growth that never restarts. The fix is not to avoid repotting altogether. It is to match the job to the plant’s growth stage, root condition, and soil needs before you disturb anything.
This guide walks through the five spring repotting errors that cause the most damage indoors, what extension services recommend instead, and how to recover if you already made one of them. For the full hands-on workflow, keep repotting houseplants and when to repot open as you work.
Why Spring Repotting Goes Wrong So Often
Spring feels like a reset button. Days lengthen, indoor heat eases, and many tropical foliage plants push new leaves after a quiet winter. That active growth window is exactly why cooperative extension offices call spring the best time to repot: roots have months of warmth and light ahead to colonize fresh mix (Penn State Extension; NC State Extension). The problem is that “spring” on the calendar and “spring” in your plant’s metabolism do not arrive on the same day.
Plants waking from winter rest need stable light, moisture, and temperature before their roots can handle disturbance. Repot too early, into the wrong mix, or into a pot that is dramatically larger, and you trade a snug root zone for a wet, oxygen-poor one. That is how a well-intentioned refresh becomes transplant shock or root rot—especially on pothos, peace lilies, ferns, and other fast-drainers that hate sitting in unused soil. The five mistakes below are the patterns extension educators and experienced indoor growers see most often once March arrives.
Mistake 1: Repotting on the Calendar Instead of the Plant
A warm afternoon is not a repotting appointment. The most common spring repotting mistake is acting on the season before the plant shows it is actively growing. Early March repots often land while roots are still sluggish. Fresh, moist potting mix surrounds a root ball that cannot use it yet, so the outer ring stays wet for days. Fungal issues follow, and the plant looks worse than if you had waited two weeks.
Wait for New Growth, Not the First Warm Day
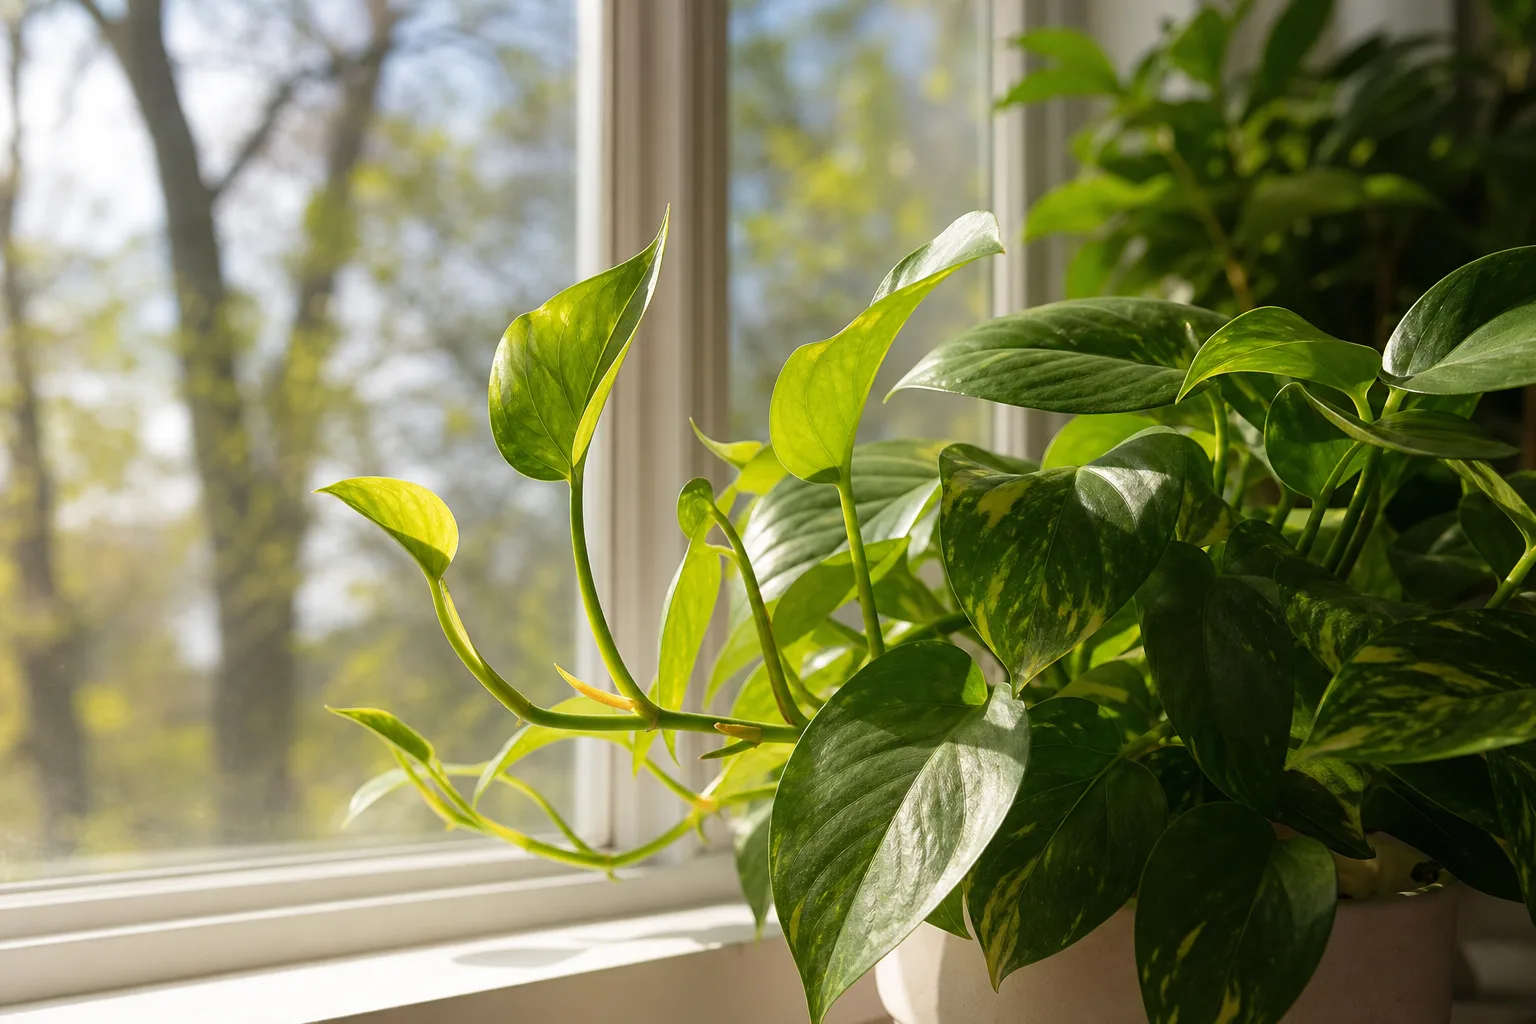
Reliable green lights include unfurling leaves, extending stems, faster dry-down between waterings, and visible root tips at drainage holes—not just “it is April now.” Penn State Extension notes that spring repotting works because the plant naturally begins seasonal growth and roots expand into new media. In most homes, that window runs from late March through May, with fast growers like monstera and pothos often ready earlier than slow species like snake plant or ZZ plant.
Before you unpot, run the when to repot checklist: roots circling or exiting holes, soil that dries in a day or less, stalled growth despite good winter care, or mix that has broken down and will not absorb water evenly. If none of those signs are present, skip the full repot. A light top-dress—scraping off the top inch of crusty mix and replacing it—may be enough until true growth starts.
When Spring Repotting Is a Bad Idea
Not every houseplant belongs in a new pot this season. Avoid routine spring repotting when:
- The plant is in full bloom and otherwise healthy (you will sacrifice flowers and stress a flowering root system).
- You brought it home within the last two to three weeks (let it acclimate unless roots are rotting).
- It still shows no new growth and the pot dries on a normal winter schedule.
- You are correcting a problem that is really light, pests, or overwatering—not root binding.
Emergency repots—root rot rescue, a pot with no drainage, daily wilt in wet soil—override seasonal timing. For borderline cases, see plants dropping leaves in early spring to separate transplant stress from other causes.
Mistake 2: Choosing a Pot That Is Too Large
“Bigger pot, bigger plant” sounds logical. Indoors, it is one of the fastest routes to decline. When the container is much larger than the root ball, a thick ring of unused mix stays wet because roots cannot drink it quickly enough. That wet ring is low in oxygen—the environment root rot pathogens prefer (Wisconsin Horticulture). The plant may stop producing leaves and pour energy into filling empty soil instead, which is the opposite of what you wanted.
The 1-to-2-Inch Step-Up Rule
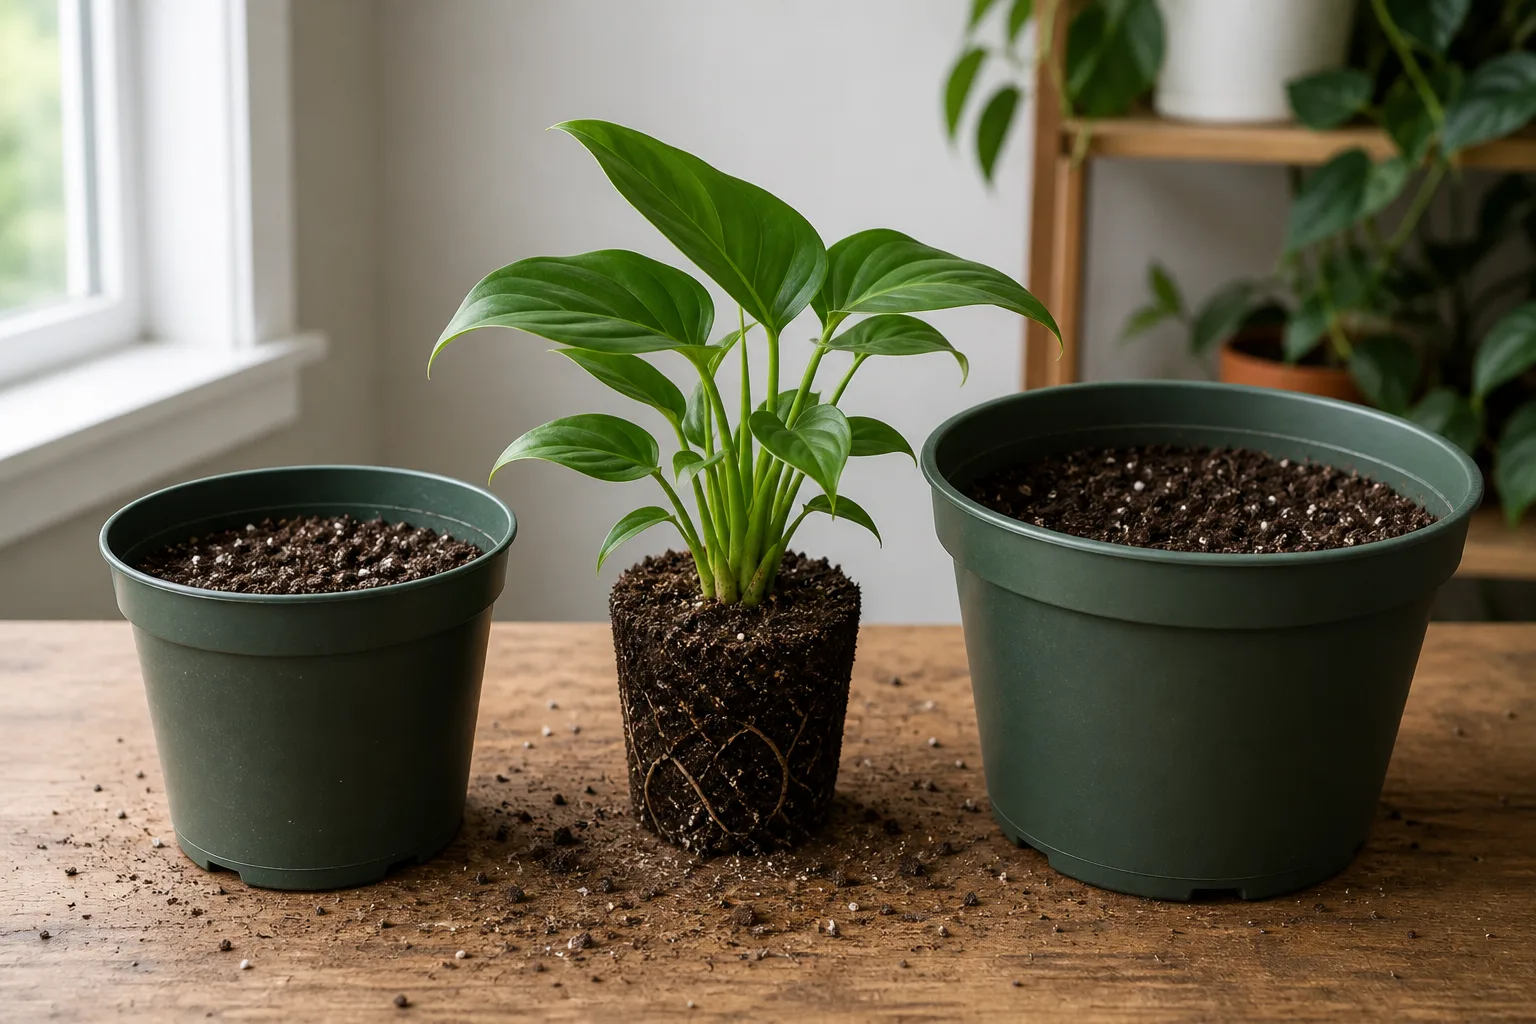
For most houseplants, choose a pot only 1 to 2 inches (2.5–5 cm) wider in diameter than the current one. NC State Extension is explicit: the new container should be no more than 2 inches larger than the pot the plant is in now. RHS guidance on overpotting similarly warns against jumping to a much bigger pot and recommends modest step-ups—often no more than about one-third larger for containers under 10 inches wide.
Measure the root ball, not the foliage span. A top-heavy peace lily can look like it needs a mansion while its roots still fit a modest nursery pot. If the roots are healthy but the mix is exhausted, repot into the same size with fresh soil rather than upsizing. Full overpotting mechanics and rescue steps live in plant pot too large.
Overpotting Signs You Can Spot in the First Month
Catch this mistake early:
- Soil stays damp for a week or more while the center root ball feels only lightly moist.
- Yellow lower leaves while the pot still feels heavy.
- New growth stalls after an enthusiastic upsize.
- A small root ball floating in a wide ocean of wet mix when you tip the plant out.
If you already overpotted, downsize to a root-matched pot or commit to weight-based watering—and read the recovery section below before adding fertilizer.
Mistake 3: Using Soil Your Plant Cannot Live In
Repotting is not just a bigger home. It is a change in the root environment. Using the wrong potting mix—or outdoor soil in a container—is a spring repotting mistake that shows up as chronic droop, edema, or rot even when pot size and timing were fine.
Match the Mix to the Root Zone
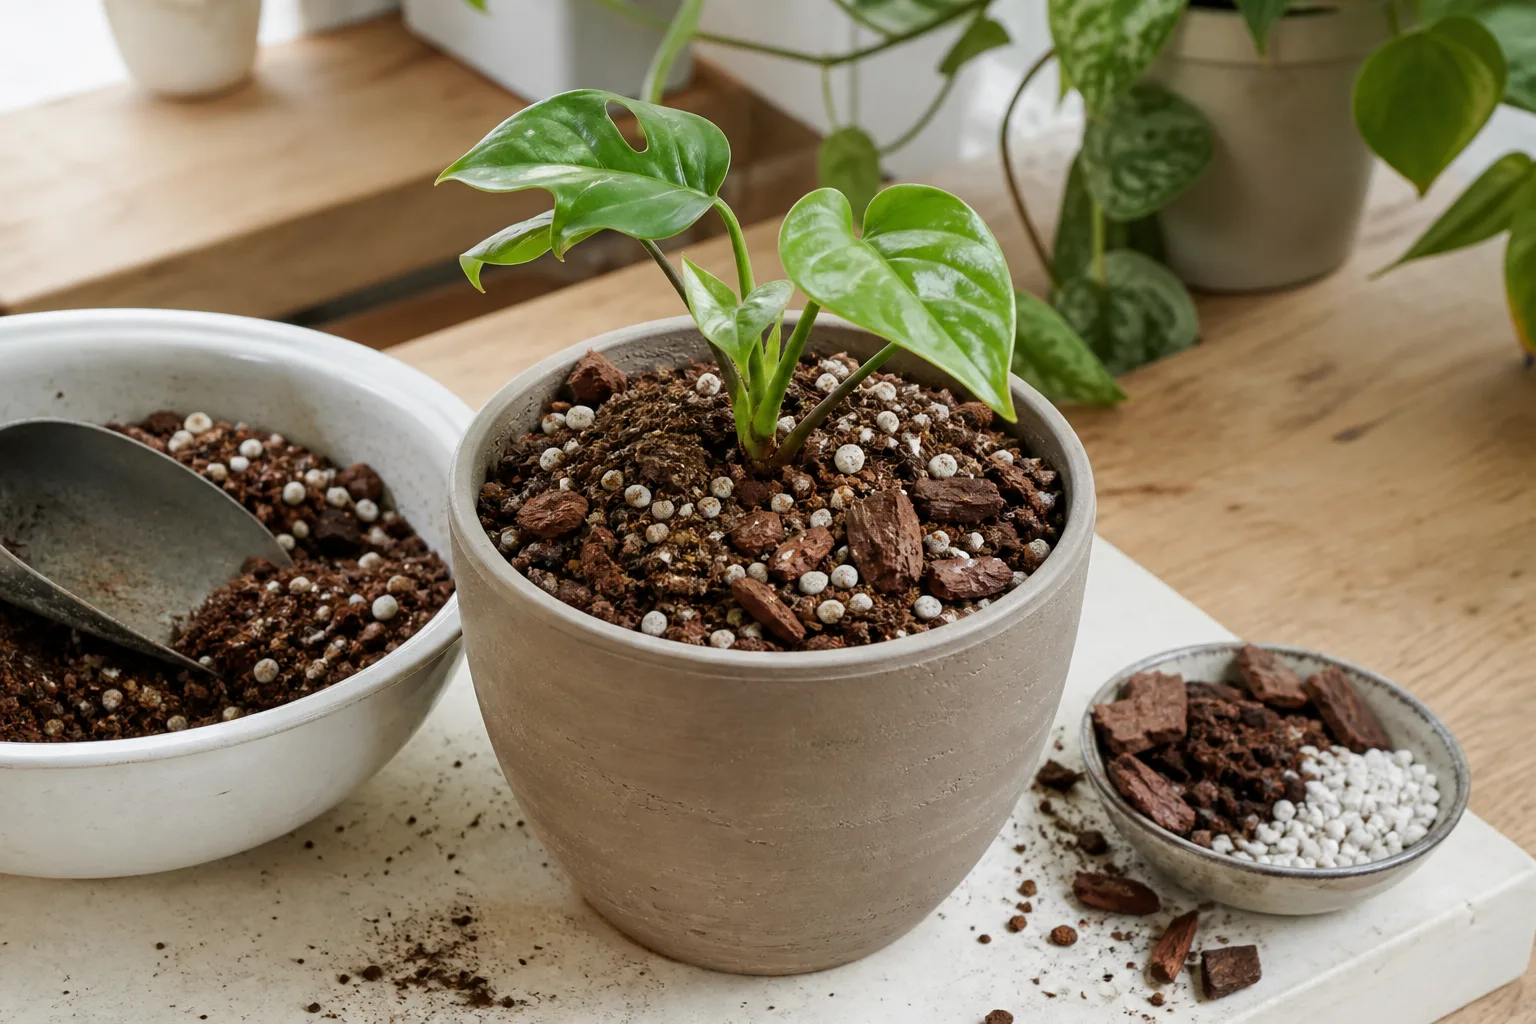
Container plants need soilless mixes formulated for pots: perlite, bark, coir, peat, and similar components that hold air as well as water (Penn State Extension). Match the blend to the plant’s native habits:
- Moisture-loving tropicals (ferns, calathea, many aroids): peat- or coir-based mixes with moderate drainage; not straight succulent blend.
- Epiphytic or chunky-rooted aroids (monstera, philodendron): bark and perlite additions for airflow; see best soil for indoor plants.
- Succulents and cacti: fast-draining, gritty mixes; regular “houseplant” bags stay too wet.
- Orchids: bark-based orchid media—not all-purpose potting soil.
NC State Extension warns against garden soil in containers: it compacts, drains poorly, and may carry pests and diseases. If you are repotting edible indoor herbs or vegetables in pots, choose a nutrient-rich container mix rather than cactus soil—but still not backyard dirt.
When in doubt, stay close to what the plant grew in before. Transitioning from peat-heavy to bark-heavy mix is fine, but blend some of the old, healthy media into the new if texture changes sharply. Problem-specific guidance: wrong soil mix for houseplants.
Garden Soil and the “One Bag Fits All” Trap
Grab-bag potting soil on sale is not a plan. A moisture-retentive mix that suits a fern will suffocate succulent roots. Conversely, repotting a hungry foliage plant into dry, sandy cactus mix starves it even in spring growth. Read the label for peat/coir ratio, added fertilizer (some repotted plants do not need immediate feeding), and wetting agents. Pre-moisten mix before repotting so it absorbs water evenly afterward (Penn State Extension).
Mistake 4: Traumatizing the Root Ball
Roots are the plant’s lifeline, and fine root hairs are easy to destroy. Yanking the plant by the stem, shaking off every crumb of old soil, or aggressive “haircuts” on healthy roots are repotting mistakes that extend shock by weeks. NC State Extension recommends removing the plant by inverting the pot and supporting the root ball—not pulling the stem.
When to Tease, Score, or Leave Roots Alone
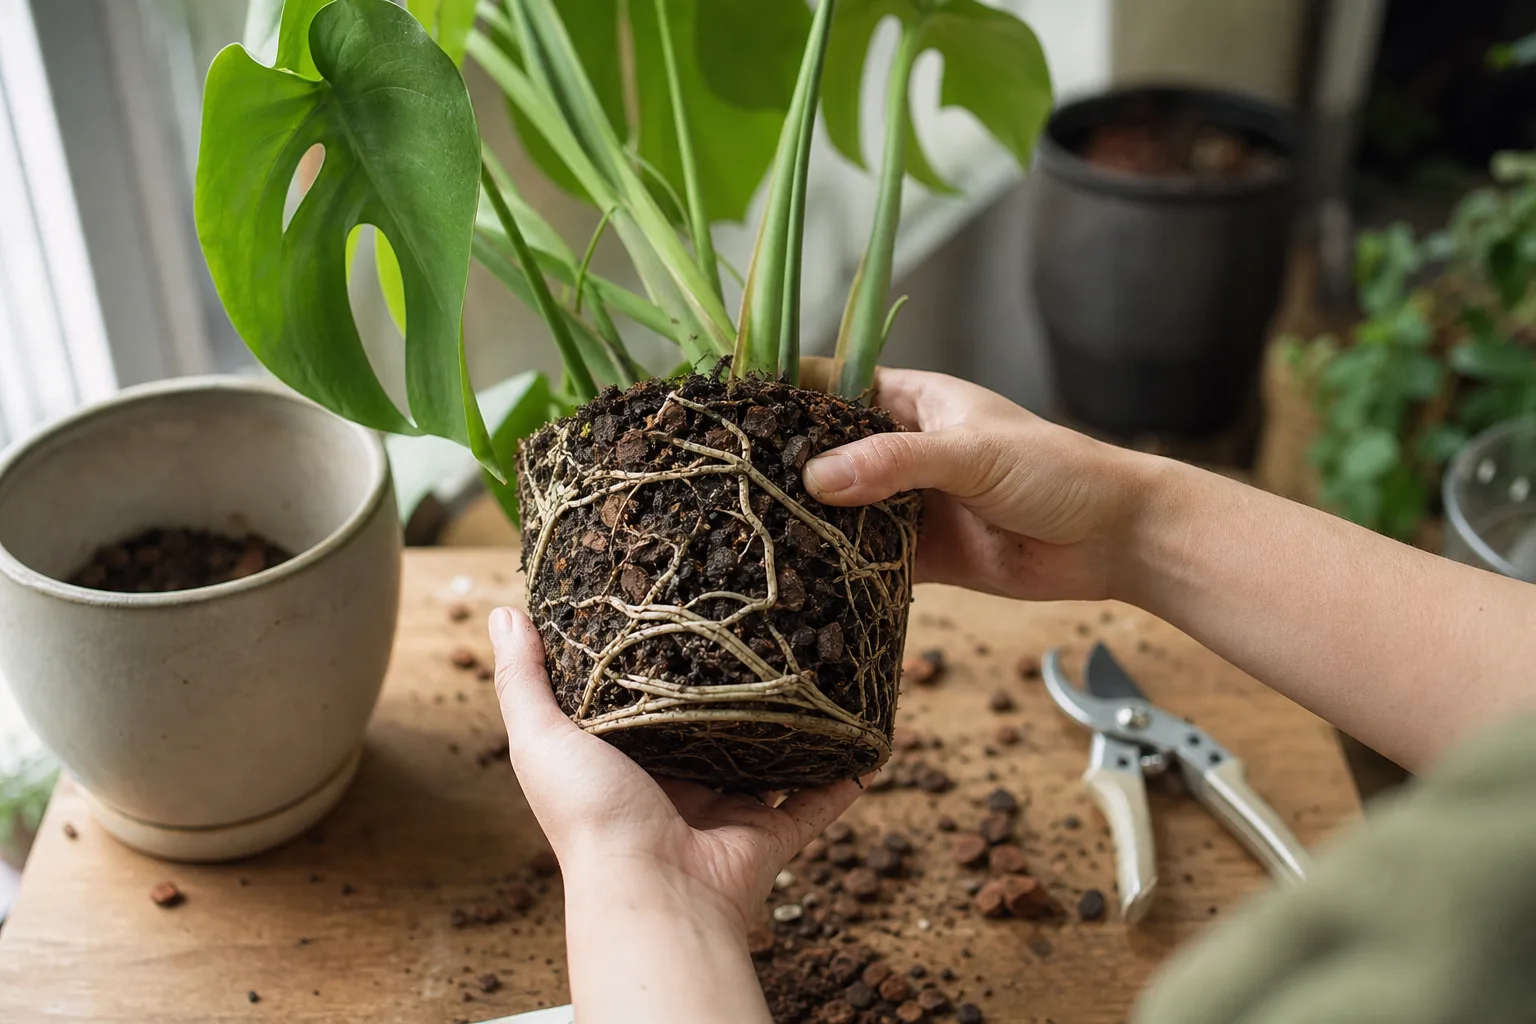
Use a tiered approach:
- Lightly pot-bound: Gently tease the outer edge with fingers or a blunt stick so circling roots point outward. Leave the core intact.
- Moderately bound: Make three or four shallow vertical scores on the sides of the root ball rather than ripping it apart.
- Severely root-bound: Trim only dead, mushy, or densely circling woody roots after inspection; keep healthy white tips.
If the plant is not root-bound, minimal disturbance is best. You do not need to “fluff” a loose root ball for its own sake. For inspection photos and binding grades, see root-bound houseplants.
How Much Old Soil to Keep
Keeping some familiar soil around the roots reduces shock when the new mix differs in texture or pH—as long as the old media is not pest-infested, moldy, or part of a rot rescue. Discard soil from rot cases entirely; sanitize the pot with a 1:9 bleach solution and rinse well (NC State Extension). If salt crust coats the old surface, scrape the top inch away before setting the ball in fresh mix.
Never bury the crown deeper than it sat before. NC State Extension advises against adding soil above the original rootball level except to cover exposed roots or replace removed crust.
Mistake 5: Packing, Poking, or Waterlogging Fresh Mix
Fresh mix needs structure, not compression. Patting soil down hard, packing wet media, or leaving the plant in a cachepot with no air gap suffocates roots almost as quickly as overpotting.
Settle Soil Without Suffocating Roots
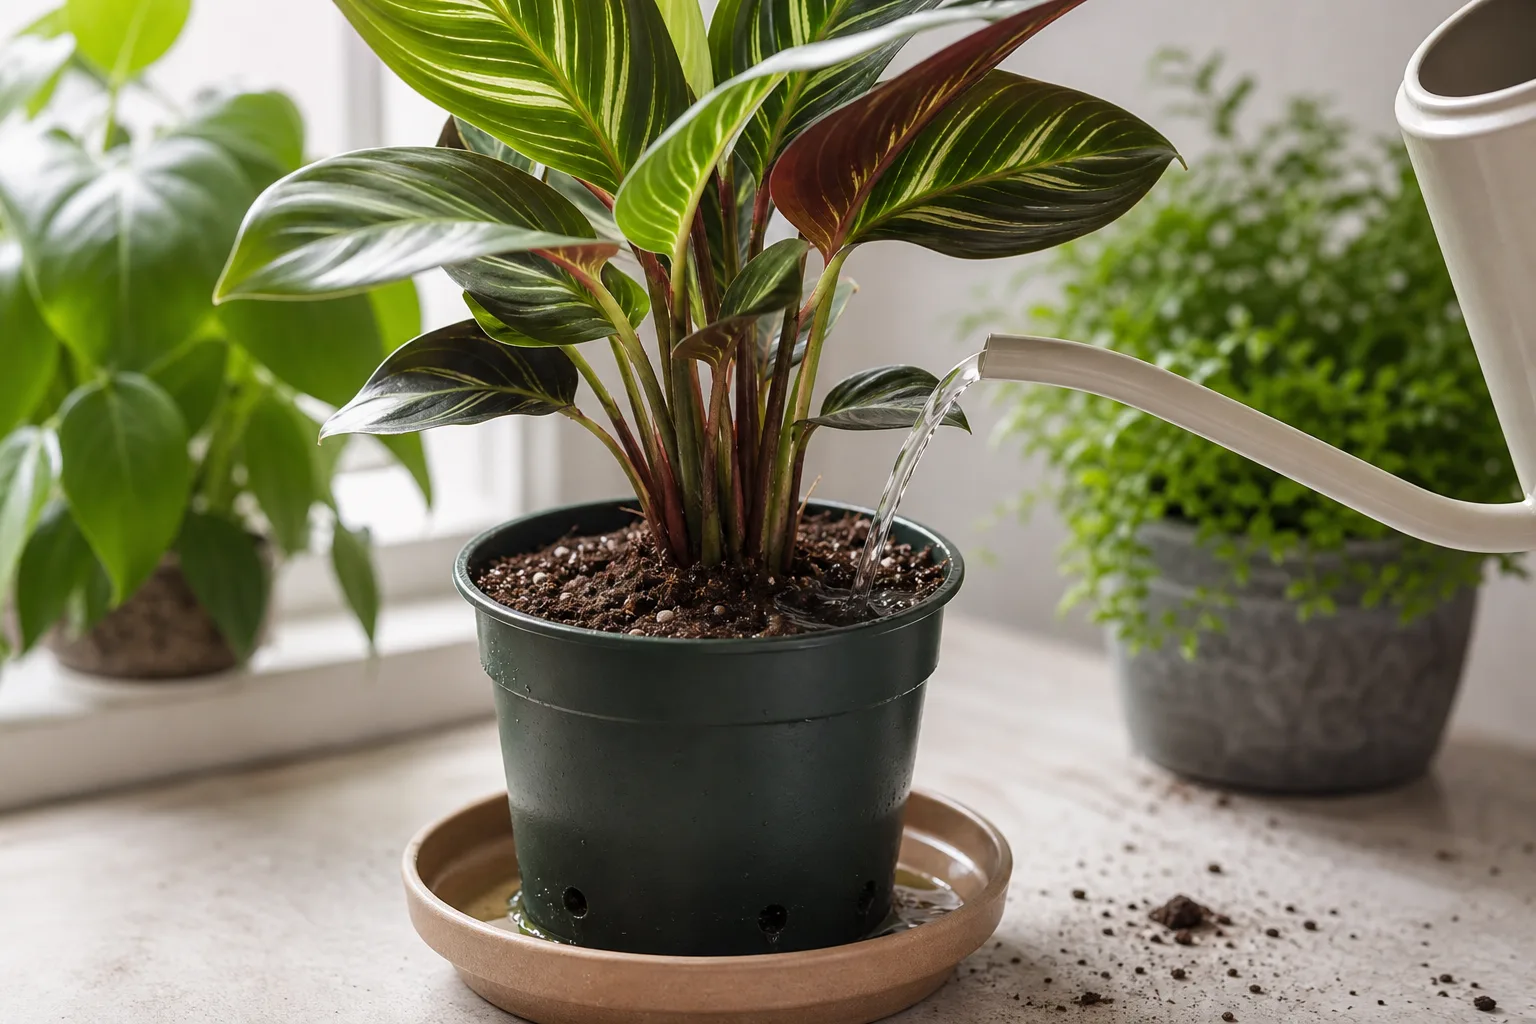
After placing the root ball so its top sits about an inch below the pot rim (Penn State Extension; NC State Extension), backfill around the sides and firm lightly with fingers—or tap the pot on the bench—so gaps close without eliminating air pores. NC State Extension specifically warns: never pack media after it is wet; that collapses air space and invites root problems.
Water once thoroughly after repotting to settle the mix, let the pot drain fully, and empty the saucer. Then return to checking the top inch before the next drink. Some growers pre-moisten mix and wait a day if the root ball was already wet; the goal is even moisture, not a swimming pool.
Drainage Holes, Gravel Layers, and Cachepots
Every repotting container needs open drainage holes. Decorative pots without holes are cachepots: plant in a nursery pot that drains, then slip it inside—and never let standing water pool at the bottom.
Skip the gravel layer myth. NC State Extension notes research showing gravel or stones at the bottom reduce drainage because water must saturate the soil above before moving downward. Use quality mix and holes instead.
A Smarter Spring Repotting Sequence
When the plant—not the calendar—says go, work in this order:
- Confirm need: two or more repot signs from the when-to-repot list, or an emergency rot/no-drainage case.
- Choose pot: 1–2 inches wider (or same size for mix refresh only); clean used pots; soak new terra-cotta overnight if porous.
- Pre-moisten mix matched to the species.
- Water the plant lightly 1–2 hours before; invert and support the root ball to remove it.
- Inspect roots; tease, score, or trim only as needed.
- Set depth with an inch of headspace; backfill and firm gently.
- Water to settle; drain; keep the plant in the same bright, stable spot for 2–3 weeks.
That sequence prevents most spring repotting mistakes before they start. Species-specific walkthroughs: how to repot a peace lily, how to repot succulents, and when and how to repot monstera.
After Repotting: Recovery Without Fertilizer Shock
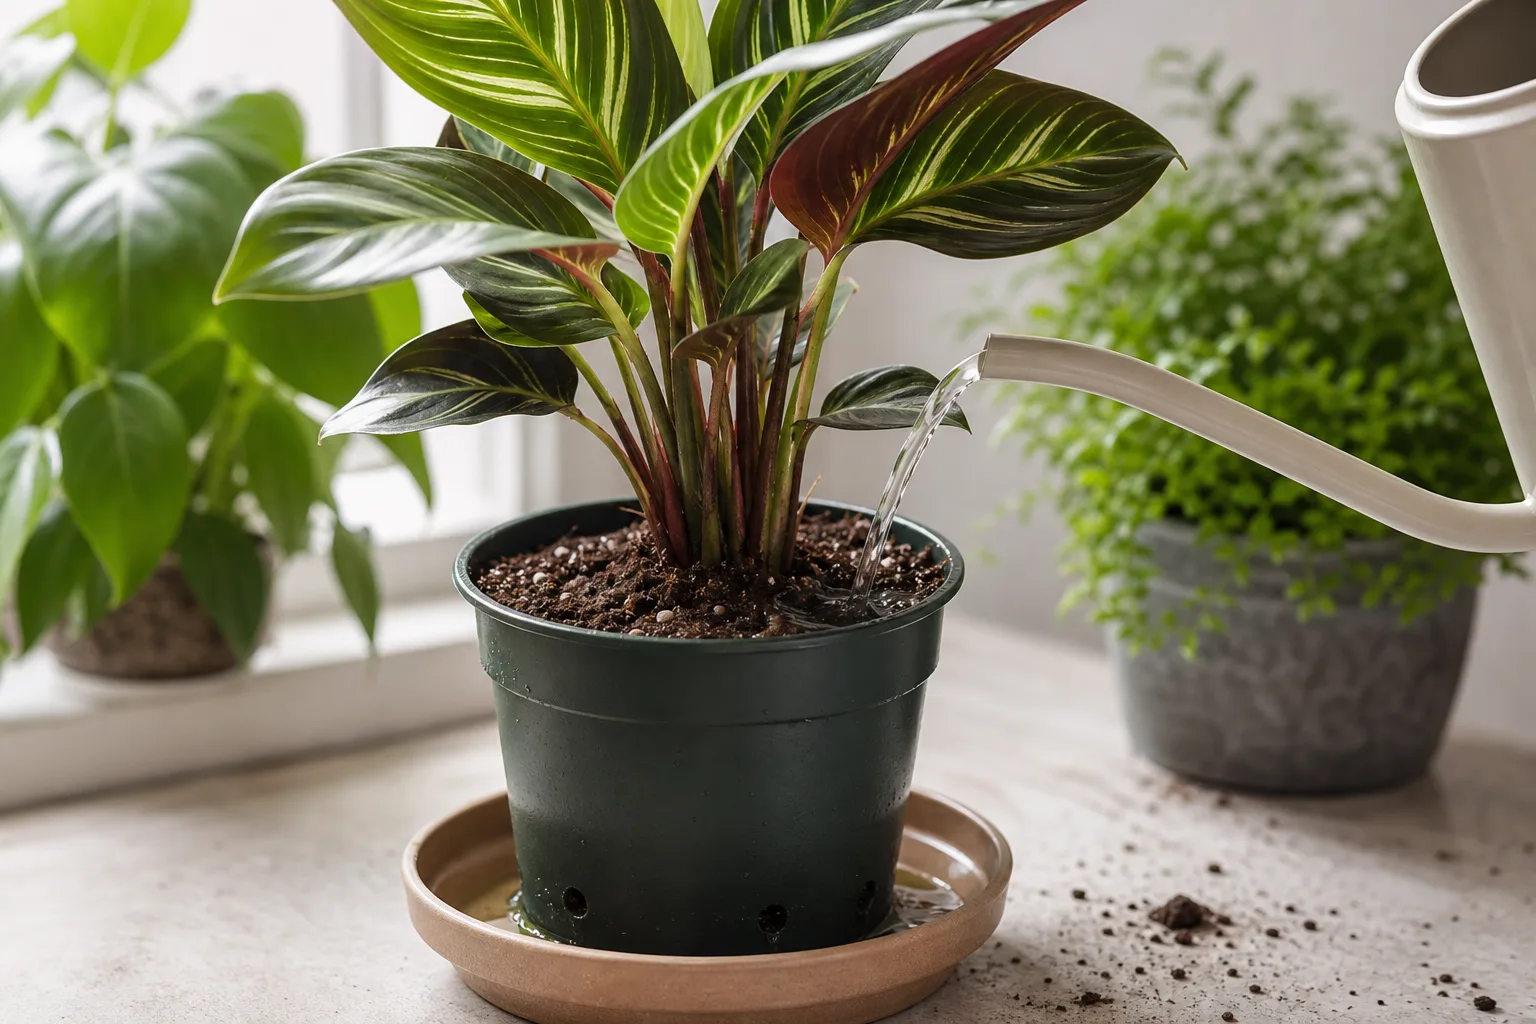
Even a careful repot stresses roots. Expect mild droop for several days to about three weeks if light and moisture stay stable. Do not relocate the plant to a new window, crank up fertilizer, or overwater on sympathy.
Hold fertilizer for four to six weeks after repotting. Fresh mix often contains starter nutrients, and damaged roots cannot handle full-strength salts (Penn State Extension). Resume at half strength once new growth appears.
Watch for warning signs that cross from shock into trouble: persistent wilt with sour soil, black mushy roots, or yellowing that climbs the plant while the pot stays heavy. Those point to rot or severe overpotting—not normal recovery. Act with a downsized pot, trimmed dead roots, and drier conditions rather than another “upgrade.”
Conclusion
Spring repotting should give roots room and fresh mix—not a months-long setback. The five mistakes that cause the most indoor damage are repotting before the plant is ready, jumping to an oversized pot, using the wrong soil, traumatizing healthy roots, and packing or waterlogging the new mix. Extension guidance boils down to modest pot step-ups, soilless media matched to the plant, gentle handling, firm-but-aerated settling, and patience afterward.
Read the plant’s growth signals first. Size the pot to the root ball, not your optimism. Match the mix, disturb roots only as much as binding requires, and let the plant recover in stable conditions without an immediate fertilizer hit. Get those decisions right and spring becomes the productive repotting season it is meant to be—not the reason your houseplant collection stalled until summer.



