How to Repot Succulents in 6 Easy Steps
Repot succulents the right way: signs you need a new pot, spring timing rules, a fast-draining mix, six steps, and what to do in the first two weeks.
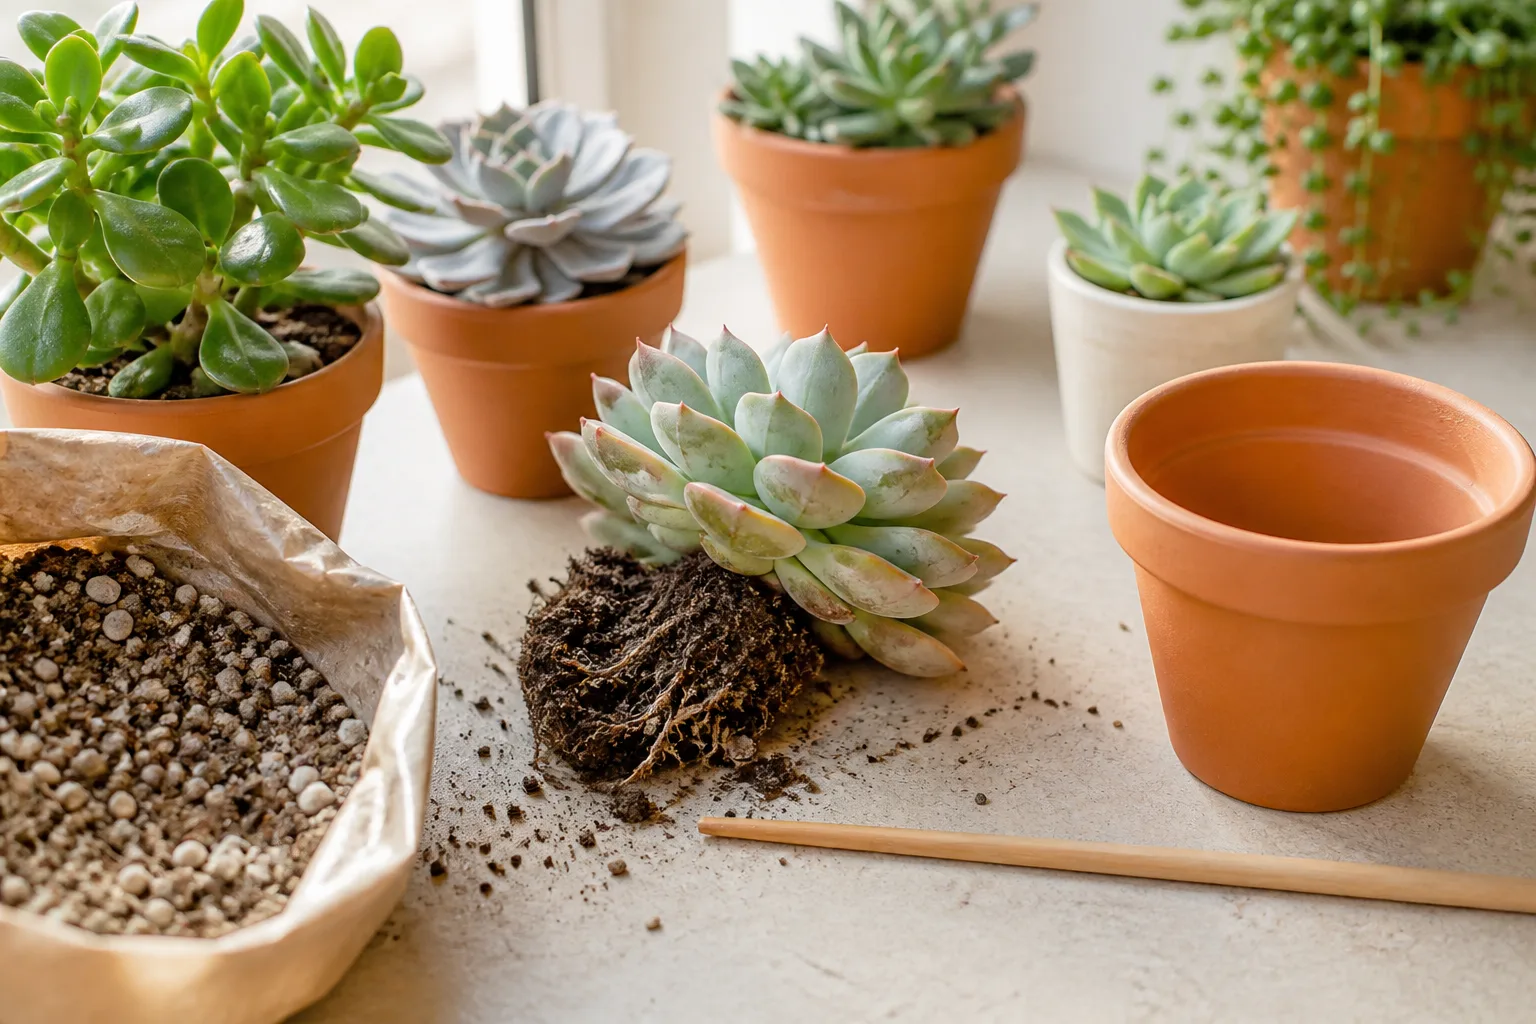
Repotting succulents means moving a plant into fresh, fast-draining mix and a container that fits its root system — not automatically into the biggest pot you own. Done at the right time, with the right soil and a short dry rest afterward, repotting gives cramped roots room to grow, replaces tired mix that holds water too long, and is often the fastest fix for a newly purchased nursery pot that dries out in hours. Done at the wrong time or with regular potting soil, it is one of the most common ways people trigger rot.
This guide covers when to repot, what supplies you need, how to size the next pot, the six-step process for a single plant, how to handle tangled arrangements, and the first two weeks of aftercare. If you are still building baseline care habits, pair this with the indoor succulent care guide and how to care for succulents before you disturb roots.
What Repotting Fixes (and What It Cannot)
Repotting solves space and soil problems, not light or watering mistakes. It helps when roots have filled the pot, the mix has broken down into a dense brick, you need to inspect for rot after overwatering, or you want to separate offsets into their own containers. The Royal Horticultural Society notes that cacti and succulents grown as houseplants should be repotted when they have outgrown their pot, ideally in spring, and warns against moving into a container so large that excess soil stays wet and causes rot (RHS cacti and succulent houseplant guide).
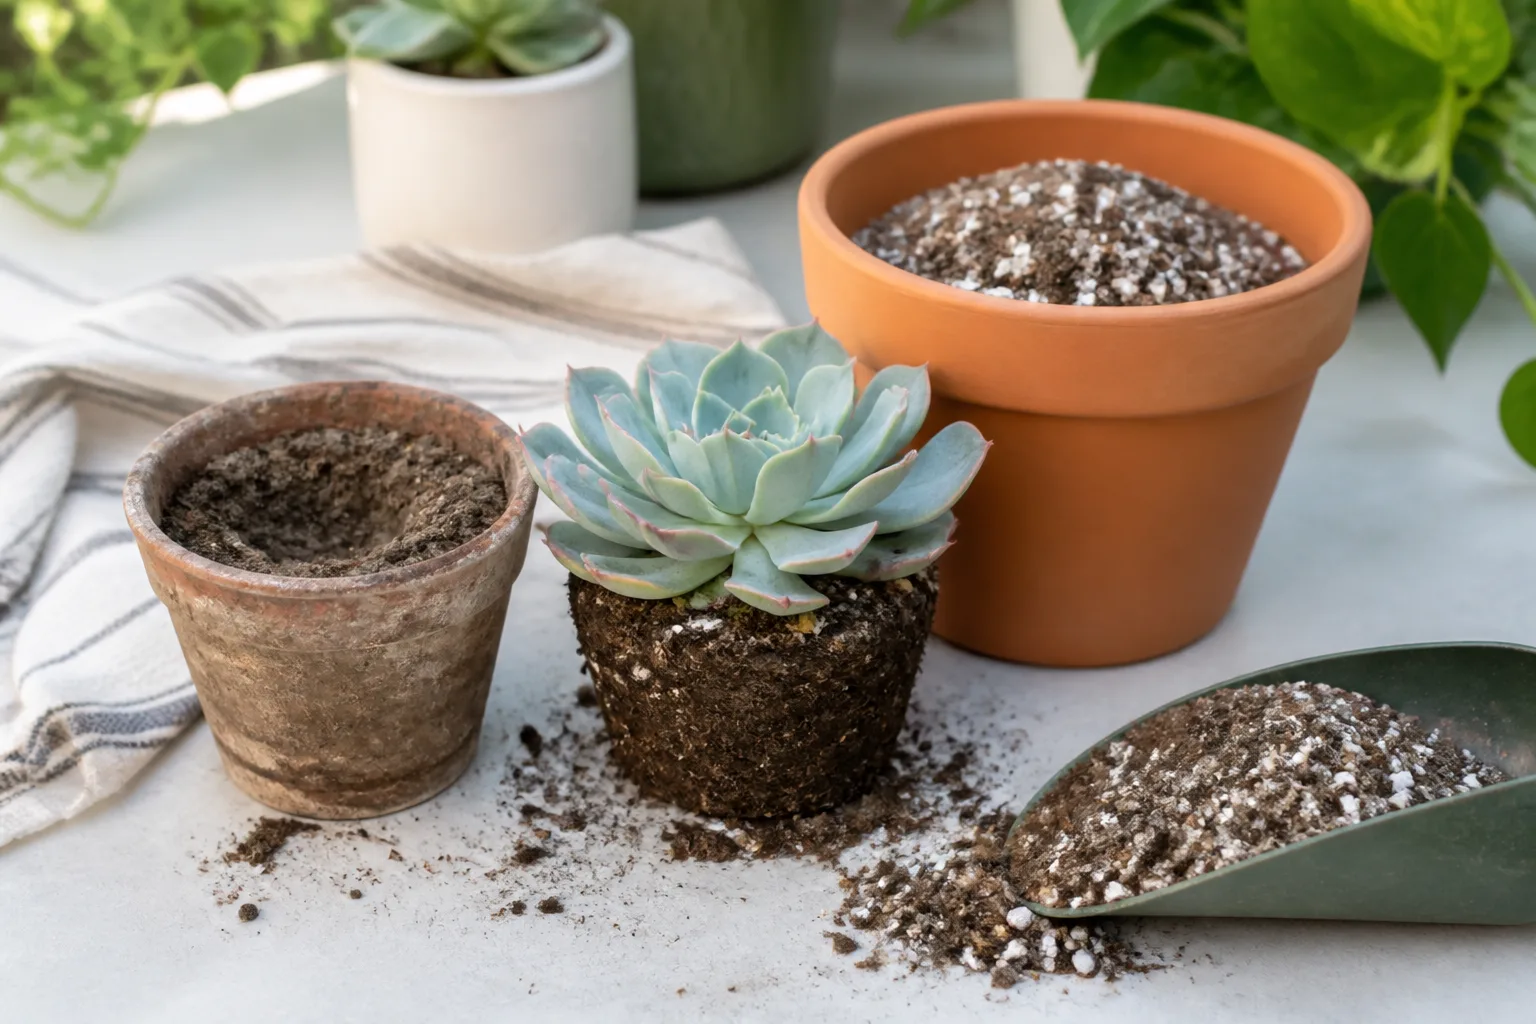
Repotting will not fix etiolated stretching from low light, sunburn from a sudden window move, or chronic overwatering if you keep the same schedule in soggy mix. It also will not rescue a plant whose stem base is already soft and black. In those cases, you may need propagation from healthy tissue — see how to propagate succulents — rather than a simple upsize.
Signs Your Succulent Needs a New Pot
Plants do not come with calendar alerts. Repot when you see structural or soil signals, not because two years passed on the clock.
Roots, Weight, and Wobble
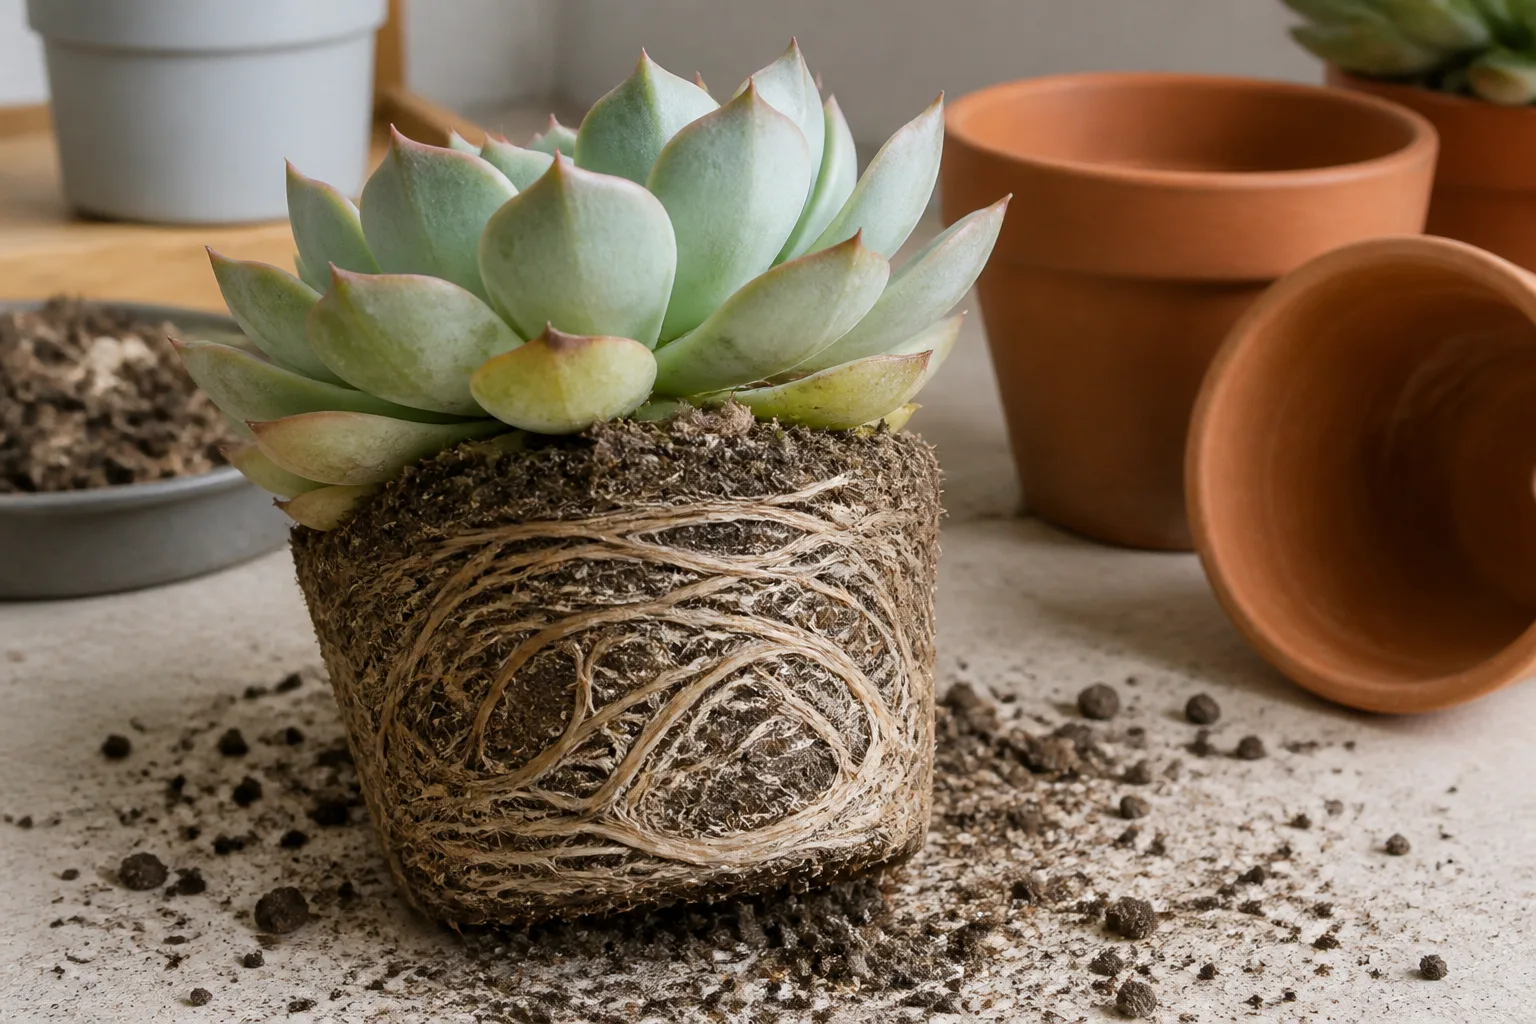
Slide the plant out of its pot (after a light pre-water if the mix is bone dry and glued to the sides). You are looking for:
- Roots circling the soil ball or growing through drainage holes
- More root than soil when you tip the plant out
- Water running straight through seconds after you soak the pot, because there is little mix left to hold moisture
- Top-heavy wobble where the plant tips even though the stem looks healthy — sometimes you need a heavier pot, not a wider one
West Virginia University Extension describes repotting offsets once they resist a gentle tug, meaning roots have formed (WVU Extension succulents guide). The same root-check logic applies to the parent plant: if the root mass is dense and pot-bound, fresh mix and a modest upsize help.
Degraded or Hydrophobic Soil
Old succulent mix compacts, sheds structure, and can develop a white mineral crust from tap water and fertilizer. Press a finger in: if the surface is hard, water beads and rolls off, or the soil has shrunk away from the pot walls, the mix is failing even if the plant still looks fine. Refreshing soil on a similar-sized pot is often smarter than upsizing — especially for slow growers like haworthia.
Other repot triggers include new plants in temporary nursery pots, visible pests or fungus gnats tied to wet mix, and pups crowding the mother plant. For general houseplant timing cues that also apply to succulents, see when to repot indoor plants.
When to Repot Succulents
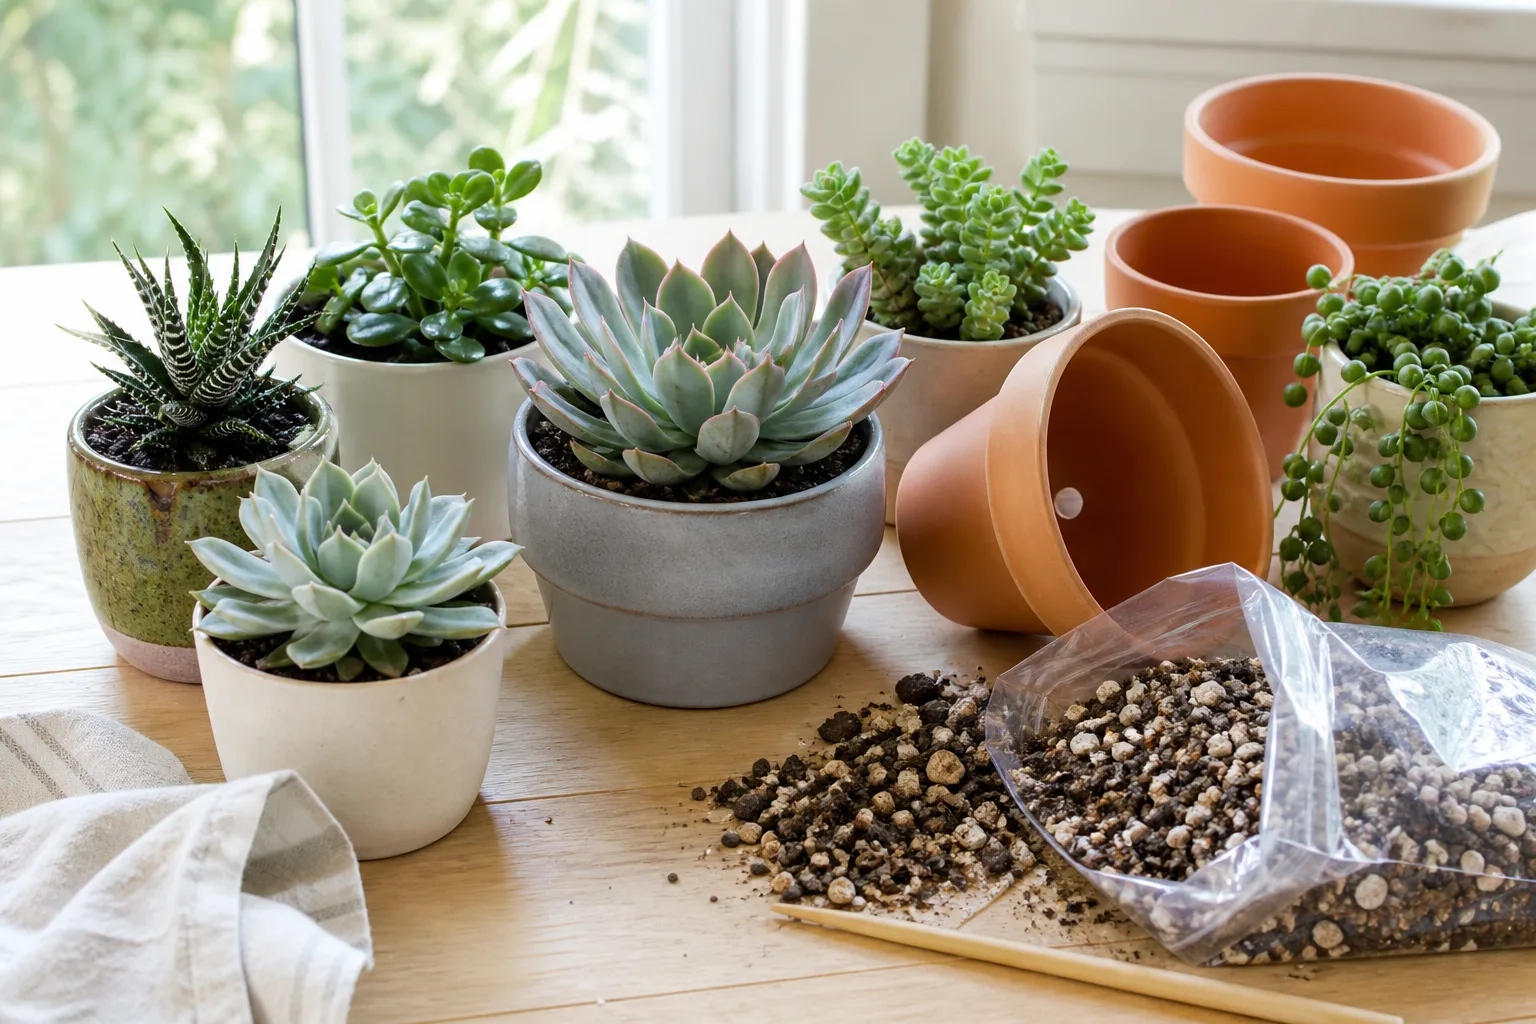
Best window: spring through early summer, when days lengthen and most indoor succulents enter active growth. Early fall can work for summer-dormant types that wake as temperatures cool. Avoid repotting in the depth of winter unless you must address rot or a completely failed mix.
Match Timing to Growth Cycle
Succulents are not one schedule. Group yours before you pick a weekend:
| Type | Typical active growth | Better repot window |
|---|---|---|
| Winter growers (many aloes, aeoniums, some crassulas) | Cooler bright months | Late winter to spring |
| Summer growers (many echeverias, sedums, kalanchoes) | Warm bright months | Spring to early summer |
| Summer-dormant types (some lithops-adjacent groups, certain caudiciforms) | Cooler season | Early fall |
Do not repot while the plant is in full bloom. Flowering is a high-energy phase; disturbing roots often shortens the show. Wait until petals fade.
Do not repot during hard dormancy unless it is an emergency (active rot, pest infestation in the root zone). A dormant plant has little energy to rebuild roots. If you must repot off-season, keep the plant warm, bright but not harsh, and extend the dry rest afterward.
Emergency Repots vs Planned Moves
Planned repot: roots circling, soil refresh, separating pups, moving from a 2-inch nursery pot to a 4-inch home.
Emergency repot: sour-smelling mix, black mushy roots, or mealybugs clustered at the soil line. In emergencies, sacrifice timing — but still use dry gritty mix, trim rotten tissue, and wait to water. Emergency does not mean “soak to help it recover.”
Gather Supplies and Safety Gear
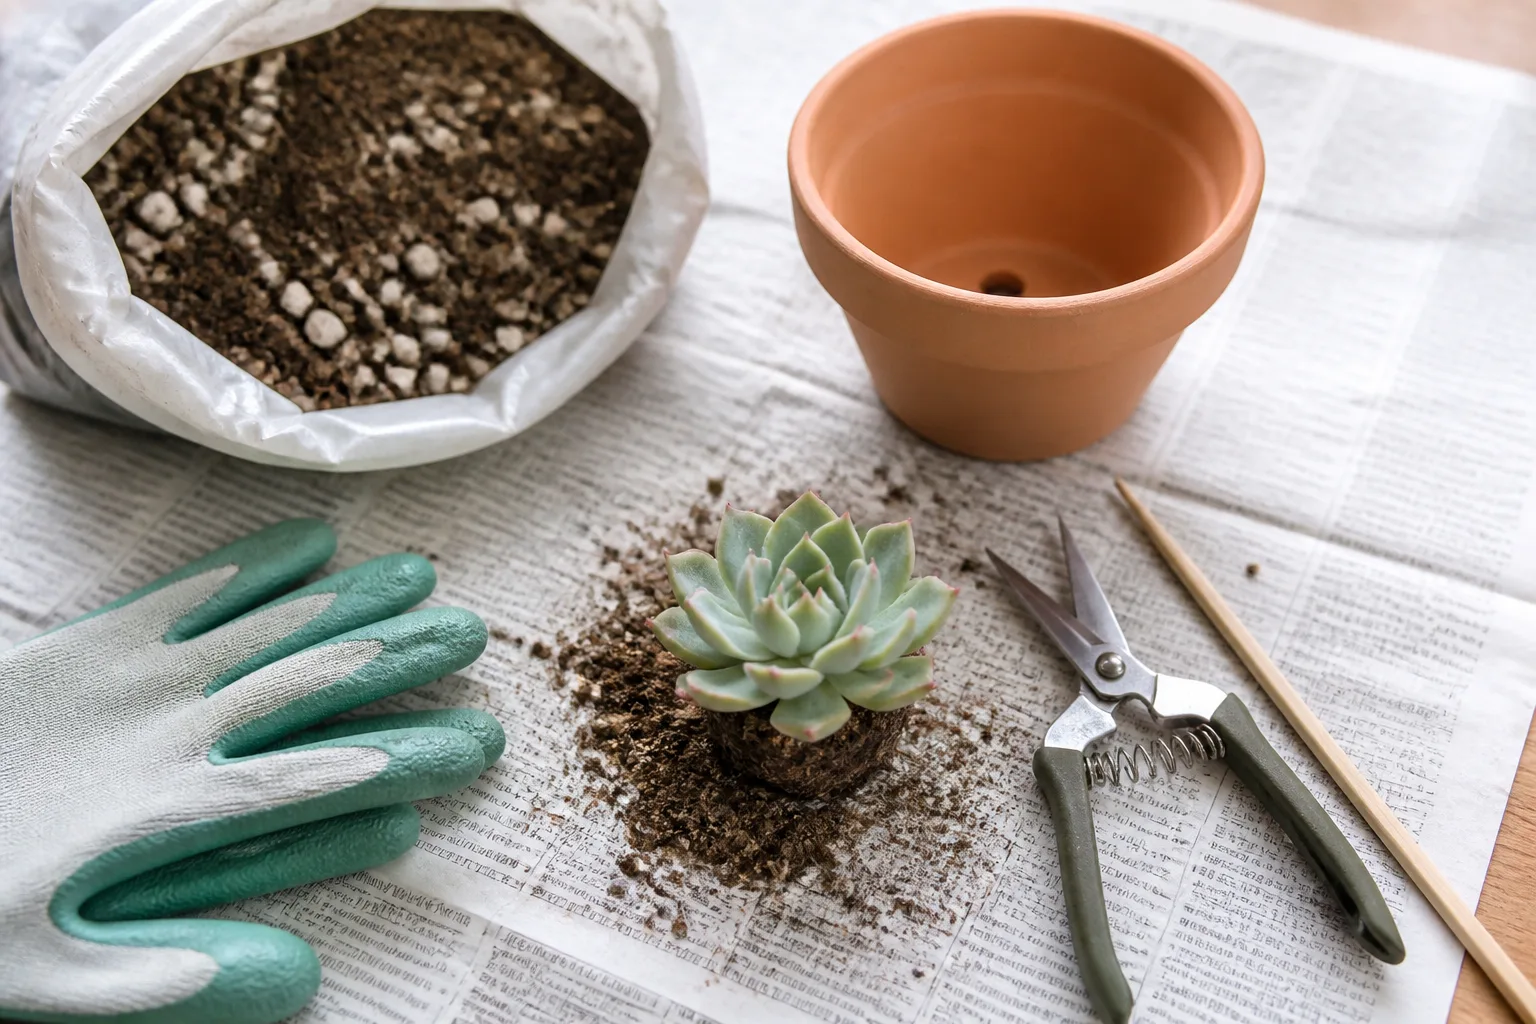
Before you unpot anything, set out:
- New pot with drainage hole(s) — see sizing below
- Gritty succulent or cactus mix, or ingredients to blend your own
- Chopstick or thin dowel to loosen soil and backfill air pockets
- Clean scissors or pruners for dead roots and leaves
- Newspaper or tray — repotting is messy
- Optional: rubbing alcohol to wipe blades between cuts
Wear gloves for spiny cacti and for Euphorbia species, which bleed a milky sap that irritates skin and eyes. Leather or nitrile gloves beat fabric ones for spines. Wash tools and hands after handling sap.
Choose a Pot That Drains Fast
Drainage holes are non-negotiable for most succulents. West Virginia University Extension stresses that containers should have holes at the bottom; gravel in a holeless pot does not create true drainage and can still leave roots in wet mix (WVU Extension). Cachepots are fine only if you lift the inner pot to drain every time.
Size up modestly:
- Slow growers (haworthia, many gasterias): about 10% taller and wider than the old pot, or one nursery size up
- Moderate growers (echeveria, jade, many sedums): 1–2 inches (2.5–5 cm) wider than the root ball diameter — not the leaf spread
An oversized pot holds excess wet soil around a small root system. That is how healthy-looking plants rot after a “helpful” huge upgrade. The RHS explicitly warns against repotting into too large a container (RHS).
Material trade-offs: Unglazed terracotta dries faster — excellent for beginners who tend to overwater. Plastic and glazed ceramic hold moisture longer; pair them with extra perlite and a lighter hand on watering. Heavy ceramic helps top-heavy plants like tall jade or large aloe without necessarily needing a wider pot.
Build or Buy the Right Succulent Mix
Store-bought cactus and succulent mix is a solid starting point, but many bags still retain too much water indoors. Missouri Botanical Garden describes cacti and succulents as plants with water-storing tissue that require excellent drainage and quick drying between waterings (Missouri Botanical Garden cacti and succulents factsheet).
DIY blend that works on a windowsill:
- 1 part peat-free potting mix or coco coir
- 1 part perlite or pumice
- 1 part coarse sand or fine horticultural grit
The RHS suggests peat-free cactus compost or John Innes No. 2 amended with up to 30% grit by volume (RHS). WVU Extension offers a simpler ratio of one part potting soil to one part coarse sand (WVU Extension).
Squeeze test: dampen a handful. If it forms a tight ball, add more perlite or grit. It should crumble apart easily.
Match the old mix when possible if the plant is healthy — a drastic change from pure pumice to heavy peat can stress roots. Transition unhealthy plants to a grittier blend.
Repot Succulents in 6 Steps
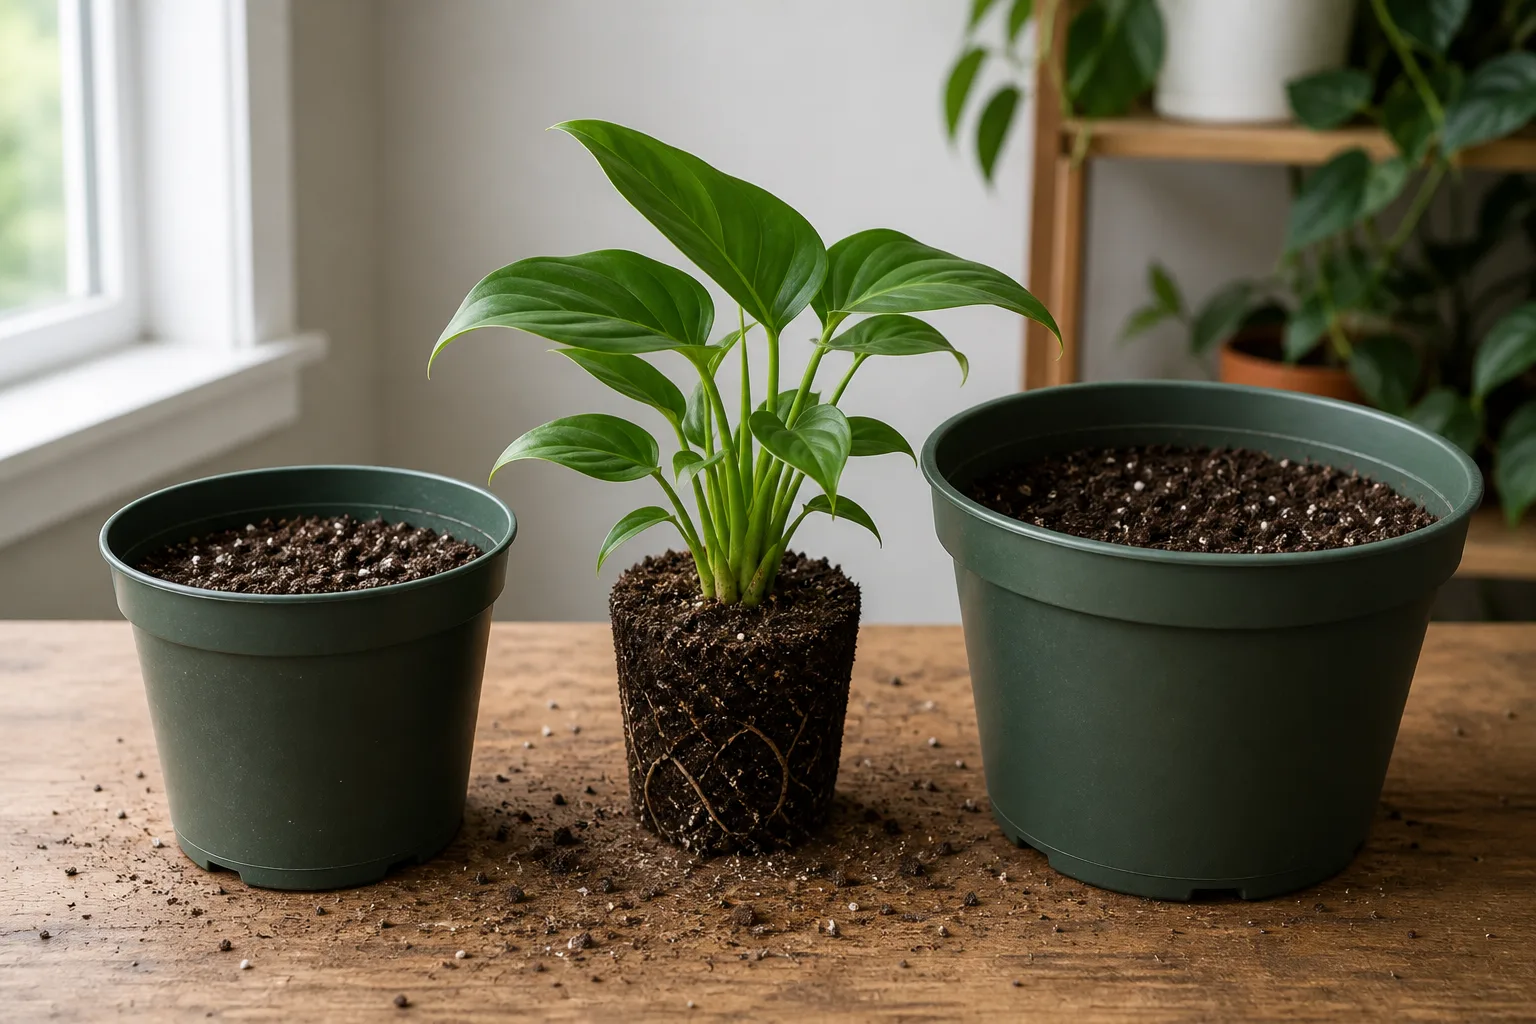
Set aside 20–30 minutes per plant. Work in shade or indoors; hot sun on exposed roots dries them out fast. Lay out newspaper, pre-moisten your mix only if the bag is dust-dry (the planted mix itself should go in dry), and sterilize blades if the plant had prior rot.
Remove, Inspect, and Trim the Roots
Step 1 — Water lightly one to two days ahead (optional but helpful). Slightly moist soil flexes around roots. Bone-dry roots snap more easily. The soil should not be wet or muddy. If you forgot to pre-water and the plant is stuck, mist the surface lightly and wait an hour — do not drench.
Step 2 — Unpot without yanking leaves. Tip the pot sideways, support the plant at the base, and squeeze flexible nursery pots. For rigid pots, run a chopstick around the inner edge. Tap the bottom. If it will not budge, cut the nursery pot away rather than tearing roots. On spiny cacti, fold newspaper into a belt to grip the body, or use silicone tongs with padding.
Step 3 — Loosen and clean the root ball. Brush away old mix from the bottom and sides with your fingers or a soft brush. Tease circling roots outward with gentle pressure — think combing, not ripping. You are not washing unless the old soil is contaminated or hydrophobic. If you must rinse, use room-temperature water, shake off excess, and let roots air in shade for 24–48 hours before replanting.

Step 4 — Inspect and trim. Healthy roots are firm and pale tan to white. Cut away black, mushy, or hollow roots with clean blades. Trim only dead or circling roots — you do not need to prune healthy roots for fun. Remove dried lower leaves at the base. If you removed more than a third of the root mass, treat the plant like a cutting: extra dry rest and brighter indirect light until new growth appears.
Plant, Backfill, and Set the Depth
Step 5 — Partially fill the new pot. Add dry mix to about one-third depth. For top-heavy plants, a shallow layer of coarse gravel or a pottery shard over the hole can keep mix from washing out — but the hole itself must stay open. Create a small mound in the center so the root crown sits slightly elevated; succulents hate sitting in a sunken bowl of wet mix.
Step 6 — Center the plant and backfill. Hold the succulent so the stem junction sits at the same depth as before — never bury living leaves. Rosette succulents like echeveria rot when lower leaves touch wet soil. Fill around the sides with mix, using a chopstick to poke air pockets without packing tightly. Leave ¼–½ inch (6–12 mm) below the rim for watering. Do not water yet. If the plant wobbles, stake loosely with a bamboo skewer for one week — remove it once roots grip.
Top dressing: a thin layer of grit on the surface is optional. It keeps wet mix off rosette leaves, reduces fungus gnat habitat on constantly damp peat, and looks tidy in arrangements.
Newly purchased succulents: Big-box and online plants often arrive in peat-heavy plugs inside decorative sleeves. Repot within the first two weeks if possible — not because of a superstition about “shock,” but because those plugs stay wet too long on a windowsill. Move the plant into gritty mix at the same depth, skip fertilizer for a month, and follow the same dry rest even if the nursery soil felt damp at purchase.
For a parallel workflow on tropical houseplants, the repotting houseplants guide shares useful root-inspection photos — the succulent difference is drier mix and a longer wait before the first soak.
Repotting Multi-Plant Arrangements
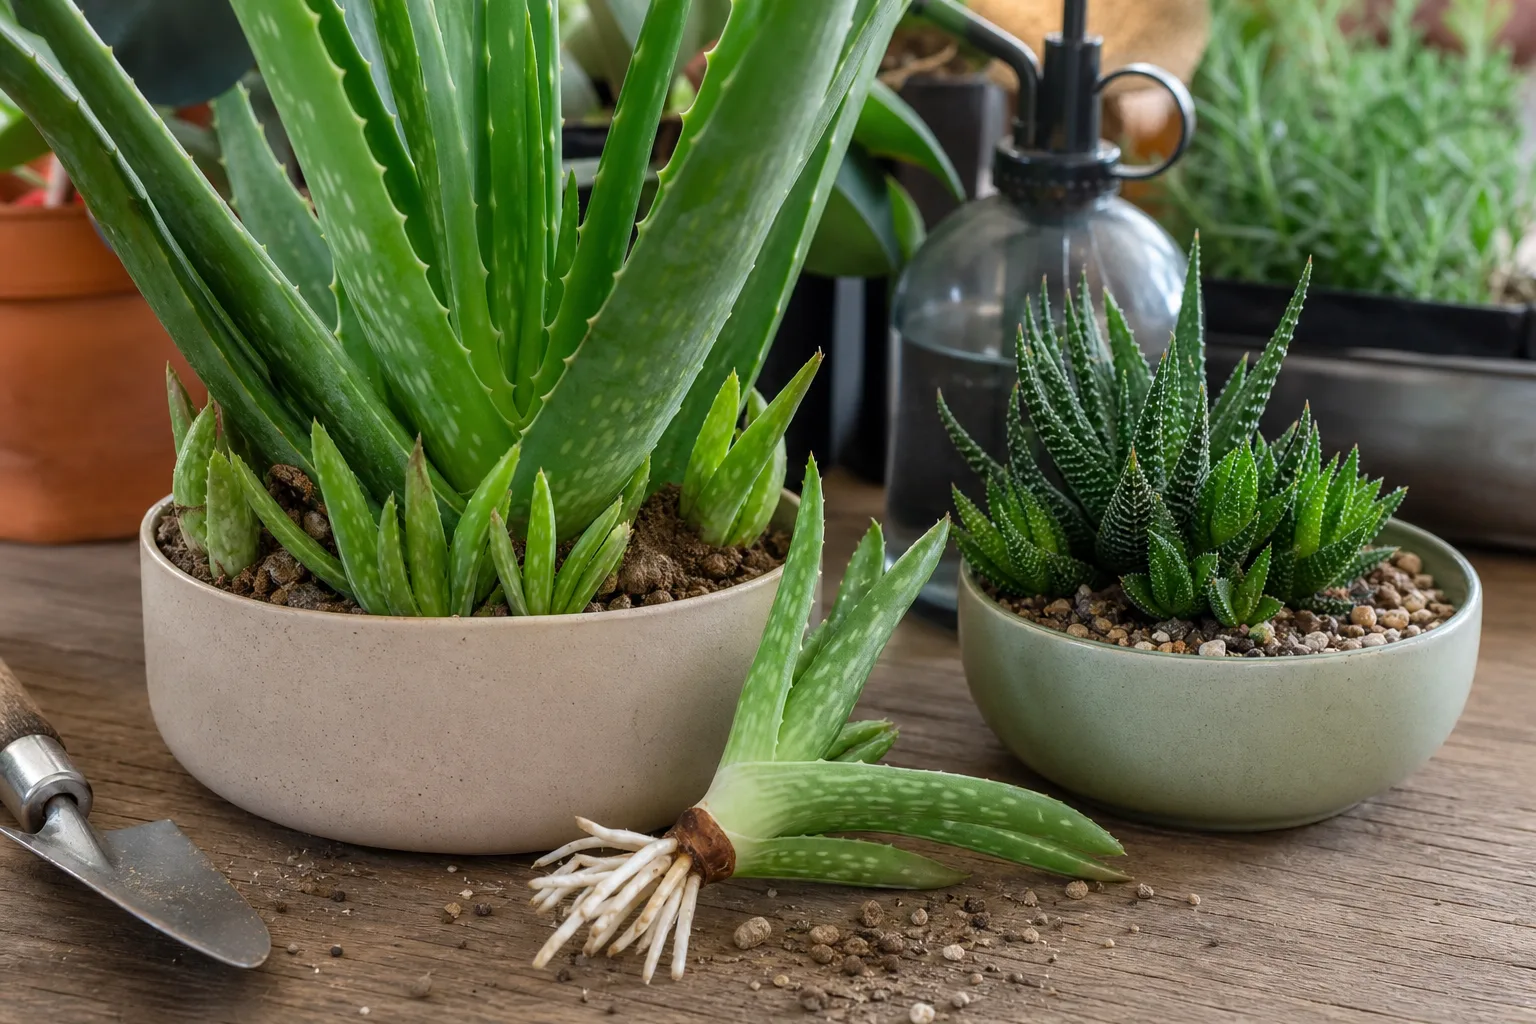
Mixed bowls and fairy-garden-style pots are repotted as one unit first, then separated only if you want individual plants.
- Slide out the entire arrangement instead of pulling one stem at a time.
- Shake off loose mix and tease roots apart with fingers. Some tearing is inevitable; cut only where needed to free each plant.
- Quarantine weaklings. Anything mushy, mealybug-covered, or missing roots stays out of the new design.
- Replant with spacing. Leave ½–1½ inches (1–3 cm) between rosettes depending on size so air can move. Use the same depth and dry-mix rules as single plants.
- Propagate extras. Healthy leaves and offsets removed during separation can go to a propagation tray — see propagate succulents.
Fast-growing trailers like sedum burrito and stacked crassulas tangle aggressively. If the arrangement is purely aesthetic and roots are hopelessly fused, treating it as one organism in a slightly larger pot is sometimes less risky than surgery.
Aftercare for the First Two Weeks
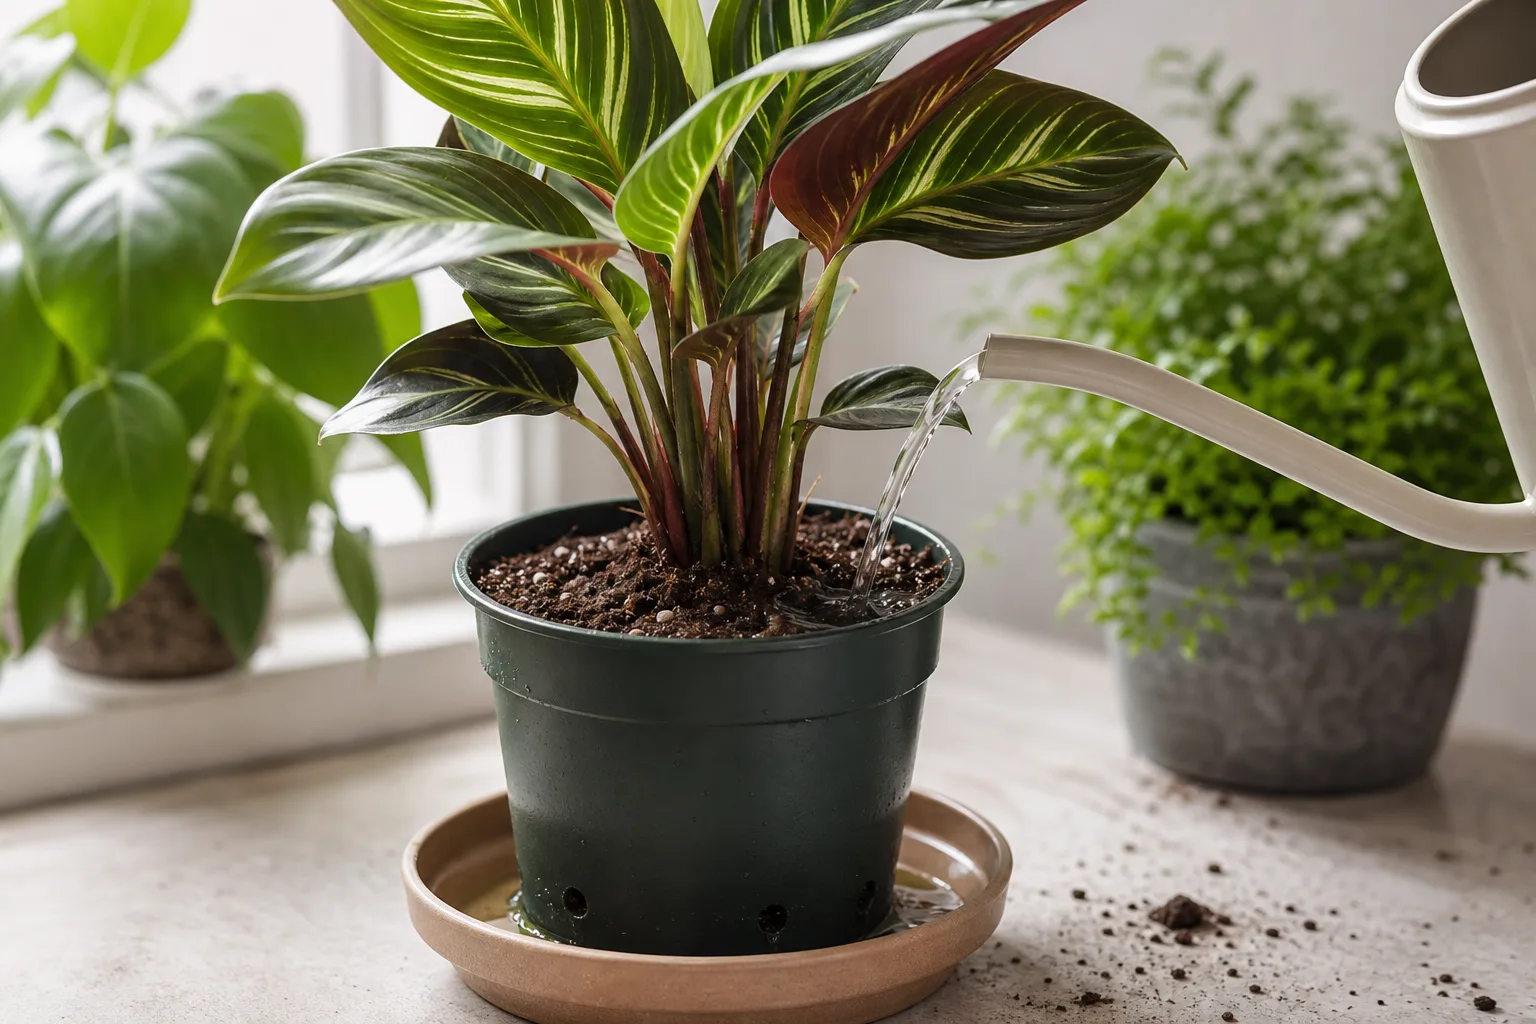
Transplant shock — slight wrinkling, soft leaves, or a paused look — is common for a week or two. The goal is dry roots, gentle light, and patience.
Watering, Light, and Fertilizer Rules
- Wait 5–7 days before the first thorough soak in most homes. Hot, dry rooms may lean toward five; cool, humid rooms toward seven. The dry rest lets cut root ends callus.
- First watering: soak until a little runs from the hole, then drain completely. Empty saucers.
- Light: bright indirect light for several days, even for sun-loving species. Move back toward previous exposure gradually.
- Fertilizer: none for three to four weeks. Roots need to settle before you push new growth.
If leaves yellow and feel mushy with wet mix, stop watering, unpot, and inspect for rot — do not “reward” stress with more water.
Wrinkled but firm leaves during the dry rest are usually normal — the plant is drawing on stored water while roots heal. Wrinkling plus softness at the base is not normal; unpot and check for black stem tissue.
Pups and offsets removed during repotting can be potted separately once they have their own roots. Bare offsets without roots need a callus period of several days on dry paper before you set them on mix. WVU Extension notes that damaged offsets should callus like stem cuttings before planting (WVU Extension).
How often to repot: Many succulents need repotting every two to three years in moderate light, but fast growers in small pots may need it annually. Slow haworthias can stay put three to five years if the mix still drains well. Repot on signals, not autopilot.
Common Mistakes and Quick Fixes
| Mistake | Why it hurts | Fix |
|---|---|---|
| Regular potting soil only | Holds water; roots suffocate | Repot into gritty mix; amend store cactus soil with perlite |
| Huge pot “so it can grow” | Wet outer soil rots small root ball | Downsize to one step larger; remove excess wet mix |
| Watering immediately | Fresh root cuts rot in wet mix | Let dry 5–7 days; then soak |
| Burying leaves | Basal rot on rosettes | Unpot, raise plant, let wound dry |
| Repotting in bloom or deep dormancy | Bloom abort; slow recovery | Wait unless emergency |
| No drainage hole | Chronic wet feet | Drill hole or use inner grow pot |
| Pulling by leaves | Breaks rosette; scars stem | Push from drainage hole; cut pot |
Droopy after repotting? Firm stem base + dry mix usually means temporary shock. Soft base + sour smell means rot — triage roots immediately.
Conclusion
Repot succulents when roots or soil — not the calendar — demand it, during active growth when you can, into a barely larger pot with fast-draining mix, using six careful steps and a week without water afterward. Match pot size to root mass, not leaf fantasy. Inspect roots every time you unpot; that minute of triage prevents months of decline.
Keep a chopstick, sharp blades, and gritty mix on hand and repotting stops feeling like surgery and starts feeling like routine maintenance — the kind that keeps compact rosettes, upright jade, and clustered arrangements healthy for years.



