How to Propagate Succulents: Leaf, Stem, and Offset Methods
Propagate succulents from leaves, stem cuttings, and offsets with step-by-step instructions, timing, soil, watering and aftercare tips.
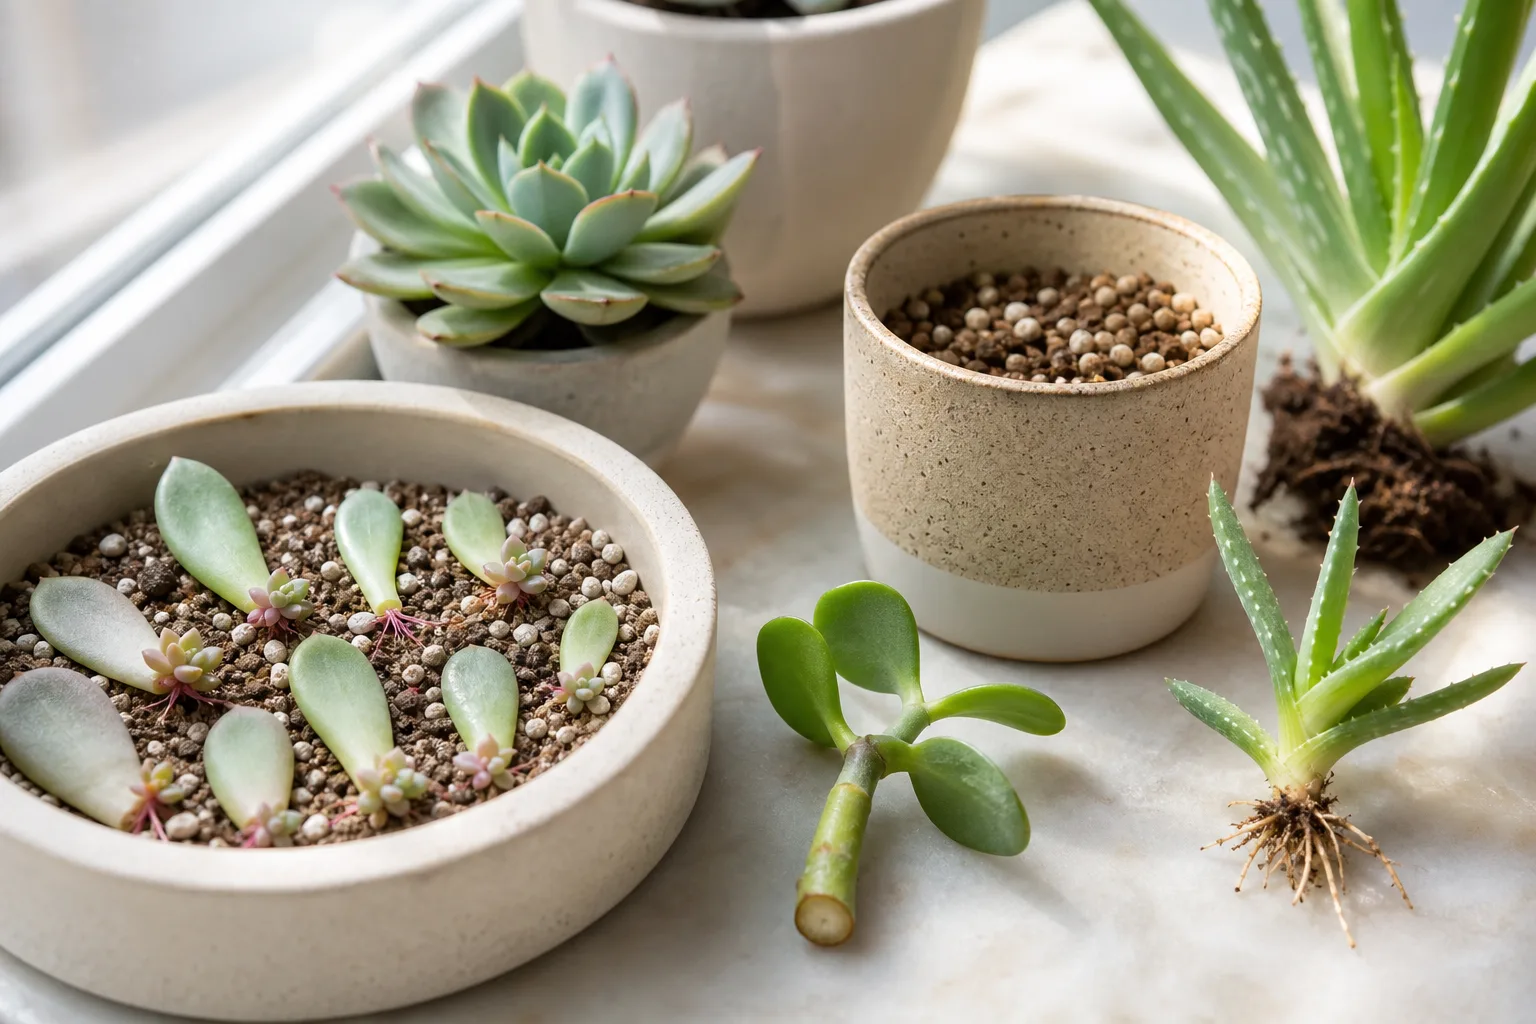
Propagating succulents means creating new plants from leaves, stem cuttings, or offsets of an existing succulent. It is one of the most satisfying skills in indoor plant care — turning one healthy plant into several, for free, with nothing more than patience, light, and the right setup. This guide covers all three methods, when to use each one, and how to avoid the mistakes that turn propagation trays into rot trays.
Succulents are built for this. Their fleshy leaves and stems store water and meristematic tissue capable of regenerating an entire plant from a single detached part. WVU Extension notes that succulents can be easily propagated by stem cuttings, leaf cuttings, and offsets, with each method creating a clone genetically identical to the parent plant (West Virginia University Extension). But “easy” does not mean “automatic.” The difference between a tray of rotting leaves and a tray of thriving baby succulents comes down to timing, moisture discipline, and method matching.
If you are new to succulent care, start with the indoor succulent care guide first — healthy parent plants make healthy propagations. If you already know which succulent species you own, the species-specific propagation hubs linked throughout will give you cultivar-level detail.
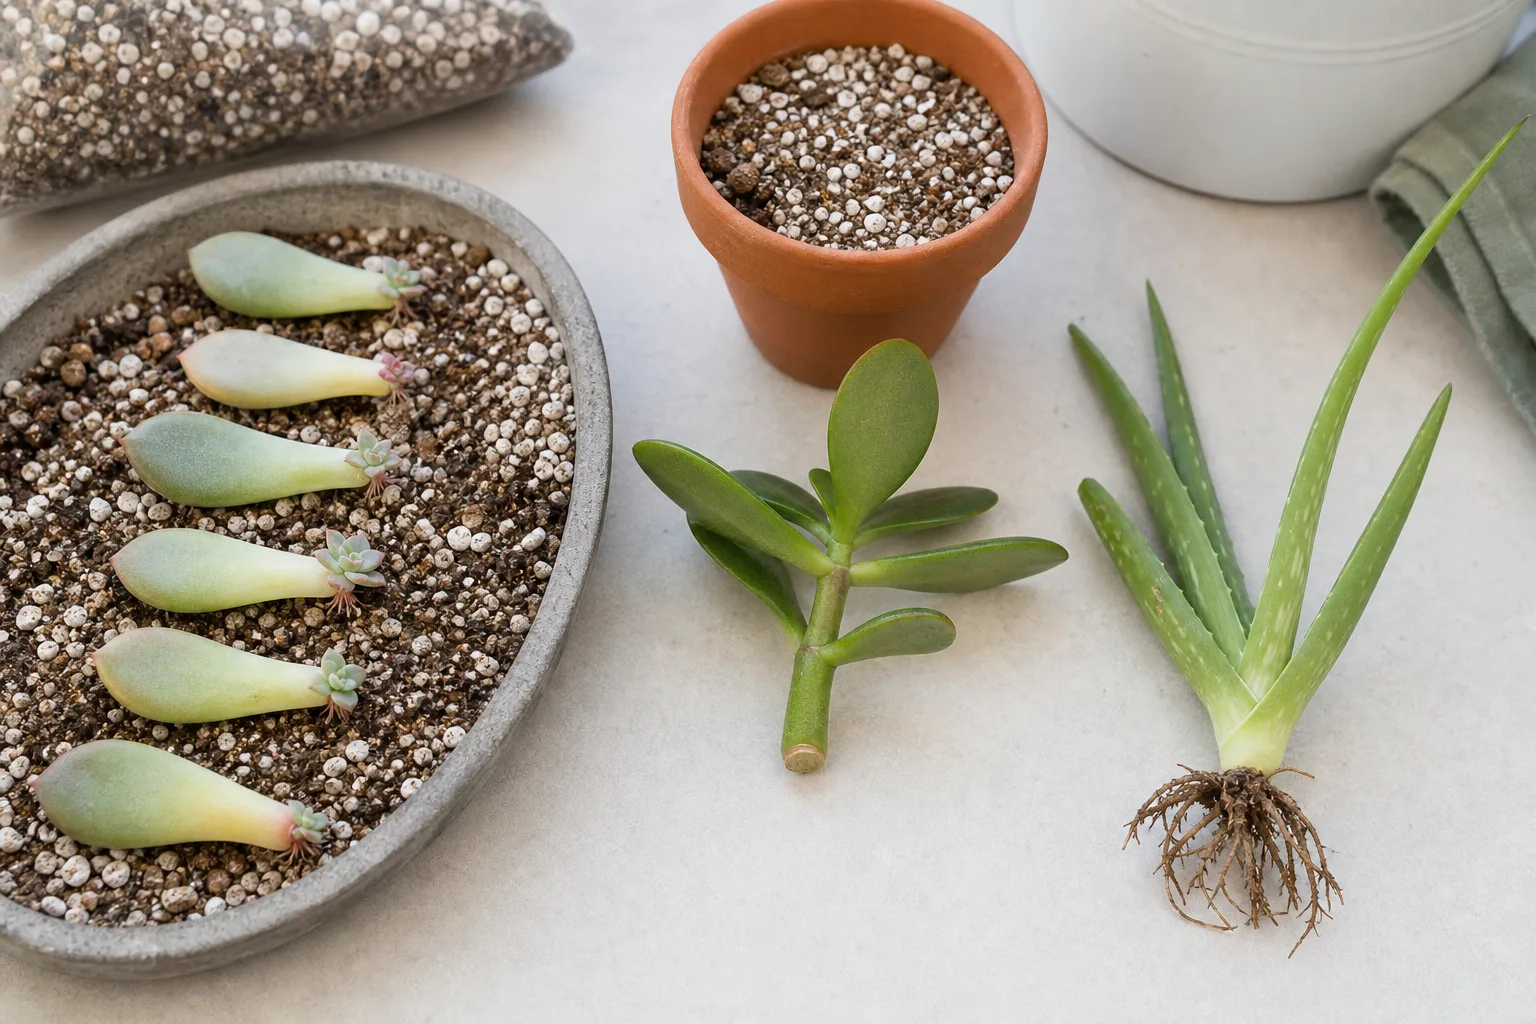
The Three Propagation Methods at a Glance
| Method | Best for | Speed | Difficulty | Key rule |
|---|---|---|---|---|
| Leaf | Echeveria, Sedum, Graptopetalum, Pachyphytum | Slowest (weeks to months) | Easy | Clean pull, dry callus, no water until roots form |
| Stem cutting | Jade, Aeonium, stretched rosettes, Kalanchoe | Moderate (2–6 weeks to root) | Easy | Cut below a node, callus, plant in gritty mix |
| Offsets / pups | Aloe, Haworthia, Sempervivum, Agave, Gasteria | Fastest (roots already forming) | Very easy | Separate with roots attached, let heal, pot up |
 |
Before You Start: The Rules That Apply to All Methods
Propagate from healthy plants only. A stretched, pest-infested, or rotting succulent produces weak propagations. Water the parent a day or two before taking cuttings so tissue is fully hydrated.
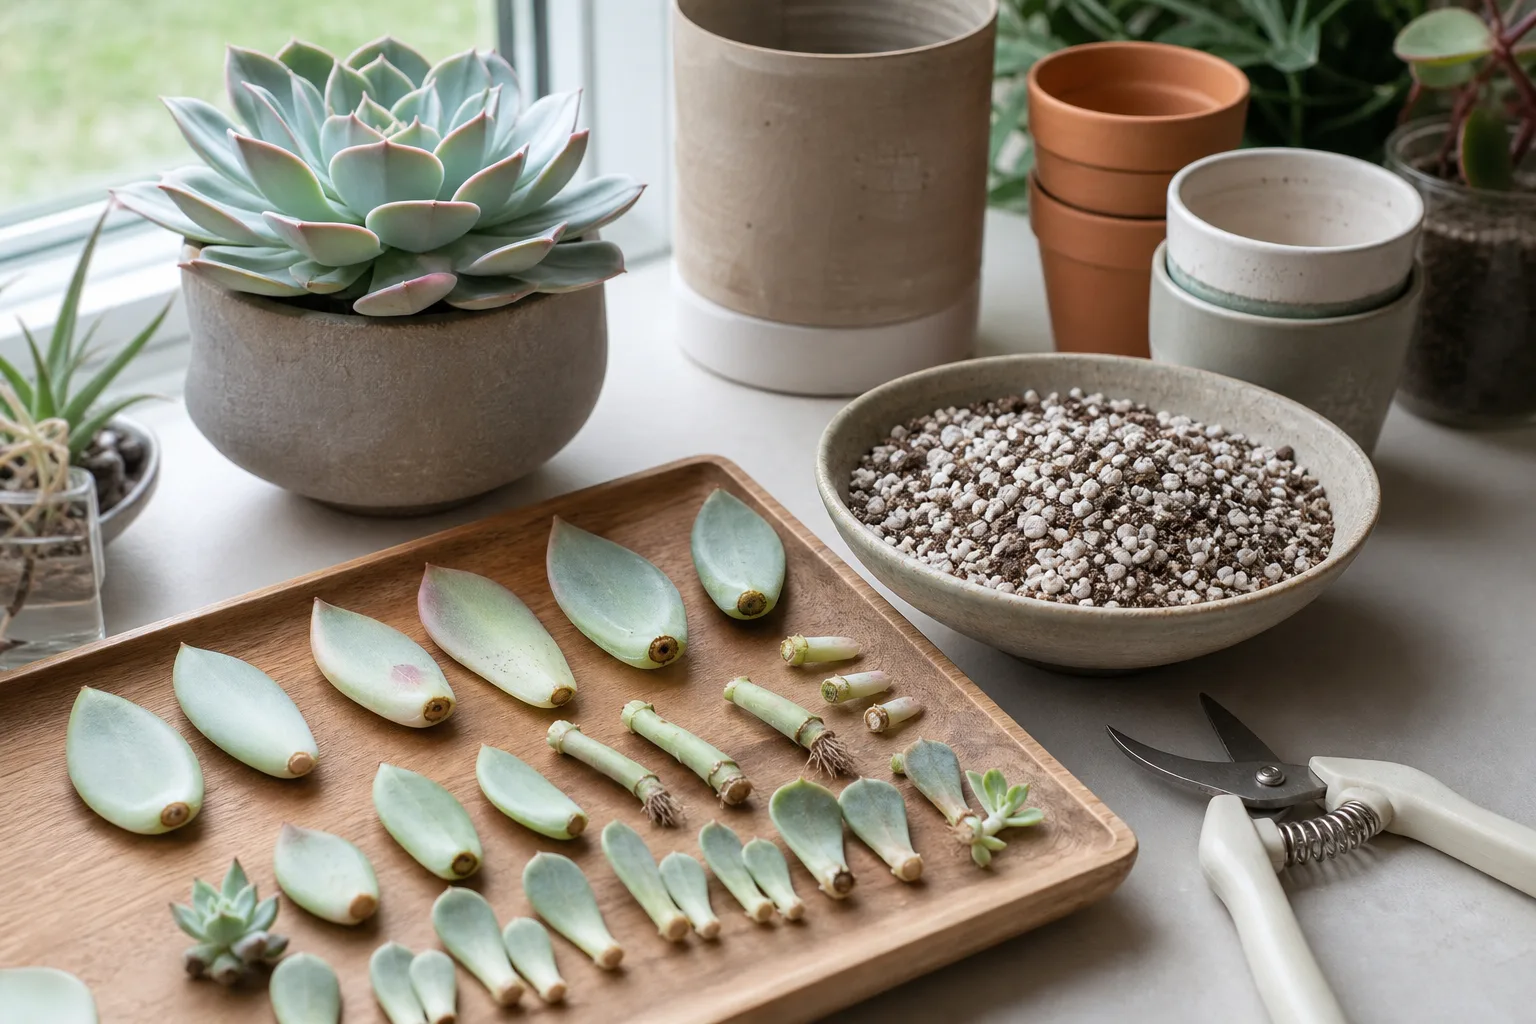
Callus everything. WVU Extension recommends allowing cuttings to air dry on a counter for a minimum of four to seven days before planting (West Virginia University Extension). A fresh wound placed on damp soil invites bacterial rot. The cut surface should look dry and matte, not glossy or wet. In humid environments, callusing may need more time. In dry indoor air, three to five days often suffices.
Use gritty, fast-draining mix. Iowa State Extension recommends laying leaves on slightly damp, well-drained rooting media such as cactus potting soil (Iowa State Extension). Standard potting soil holds too much moisture for succulent propagations. A mix of roughly one part potting mix and one part perlite, or pre-bagged cactus and succulent mix, works well. Missouri Botanical Garden describes cacti and succulents as plants with fleshy water-storing parts that need fast drainage (Missouri Botanical Garden).
Bright indirect light wins. Direct sun scorches unrooted cuttings. Dim light produces stretched, weak growth. A bright windowsill without harsh midday rays, or a grow light positioned within 12 inches above the tray, is ideal.
Timing matters. Spring through early summer, when succulents are actively growing, produces faster results. Propagation still works in fall and winter under grow lights, but expect slower rooting and a longer rot-risk window. The RHS separates active-season growing from reduced winter care for cacti and succulents (Royal Horticultural Society). Match your propagation window to active growth when possible.
Leaf Propagation — Best for Echeveria, Sedum, and Graptopetalum
Leaf propagation is the method that hooks people on succulents. A single plump leaf, placed on dry soil, eventually pushes out tiny roots and a miniature rosette. It is the slowest method but the most rewarding to watch — and one healthy Echeveria can supply a dozen leaves.
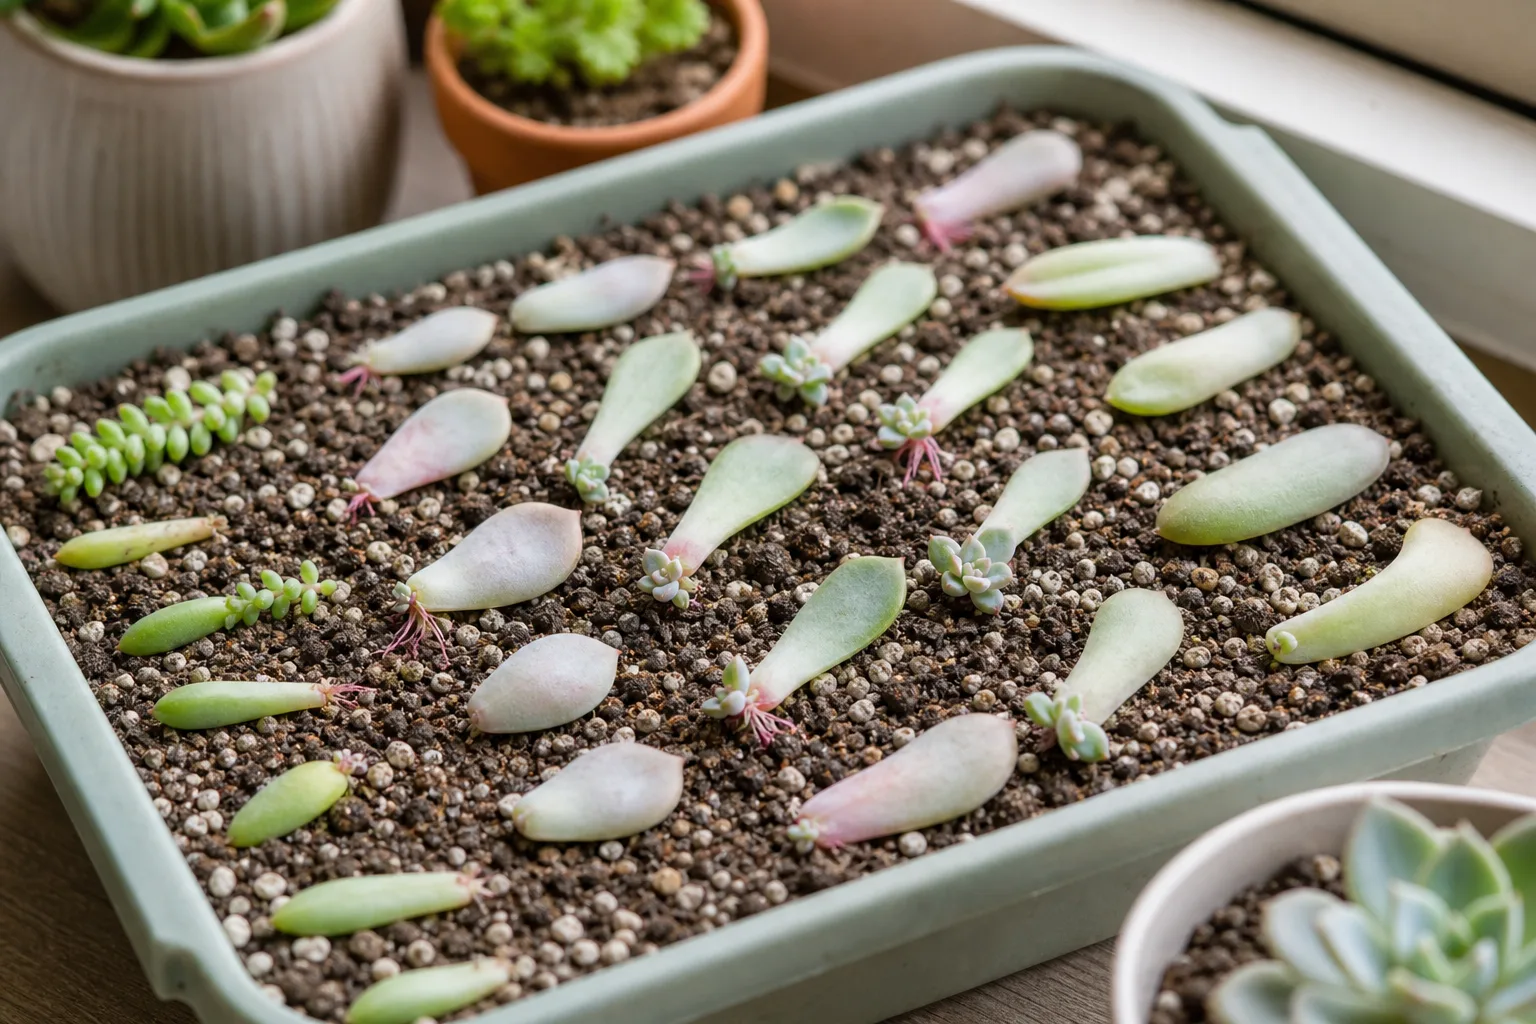
Leaf propagation works well for succulents with fleshy, easily detached leaves: Echeveria, Graptopetalum, Pachyphytum, Sedum, and many Crassula species. Aloe, Haworthia, and Sempervivum generally do not propagate from individual leaves — use offsets instead. For species-specific leaf success rates, see the Echeveria propagation hub.
Step-by-step: Leaf Propagation
- Select a firm, healthy leaf from the middle or lower part of the plant. Avoid yellowing, translucent, or damaged leaves.
- Remove the leaf cleanly. Grip near the base and gently twist and pull sideways. The goal is a clean separation at the stem — a torn or cut leaf tip without the basal attachment point will not produce a plant.
- Callus the leaf for 3–7 days in dry, bright indirect light. The wound end should form a dry, slightly hardened surface.
- Place the leaf on dry gritty mix. Do not bury it. Iowa State Extension recommends laying leaves flat so the end that was attached to the stem sits right at the soil surface, but not covered in soil (Iowa State Extension). Roots will grow downward on their own.
- Wait. Roots typically appear in 2–4 weeks under warm, bright conditions. A tiny rosette follows 4–8 weeks after that. The mother leaf supplies water and nutrients — it will slowly shrivel as the new plant becomes self-sufficient.
- Begin watering lightly only after roots are visible and the mother leaf starts to shrink. Use a spray bottle or squeeze bottle to dampen only the soil around the roots. Avoid getting the baby rosette wet.
- Transplant when the new plant has several sets of leaves and the mother leaf has dried up or fallen off naturally.
Why Some Leaves Fail
- The leaf was torn, not pulled clean. The meristem tissue at the base of the leaf must remain intact.
- The leaf was watered too soon. Wet, unrooted leaves rot. Dry is safe until roots appear.
- The leaf was from an unhealthy plant. Stressed, overwatered, or pest-damaged parent plants produce weak propagations.
- It produced roots but no leaves. This can happen when the growth node was damaged during removal. The leaf may survive for months on stored water but never produce a rosette. Discard and try fresh leaves.
Stem Cutting Propagation — Best for Jade, Aeonium, and Leggy Rosettes
Stem cuttings are faster than leaves and give you a larger plant from the start. Any succulent with visible stems — jade plants, aeoniums, stretched echeverias, kalanchoes, sedums — can be propagated this way. This is also the rescue method for a succulent that has grown tall and bare at the base.
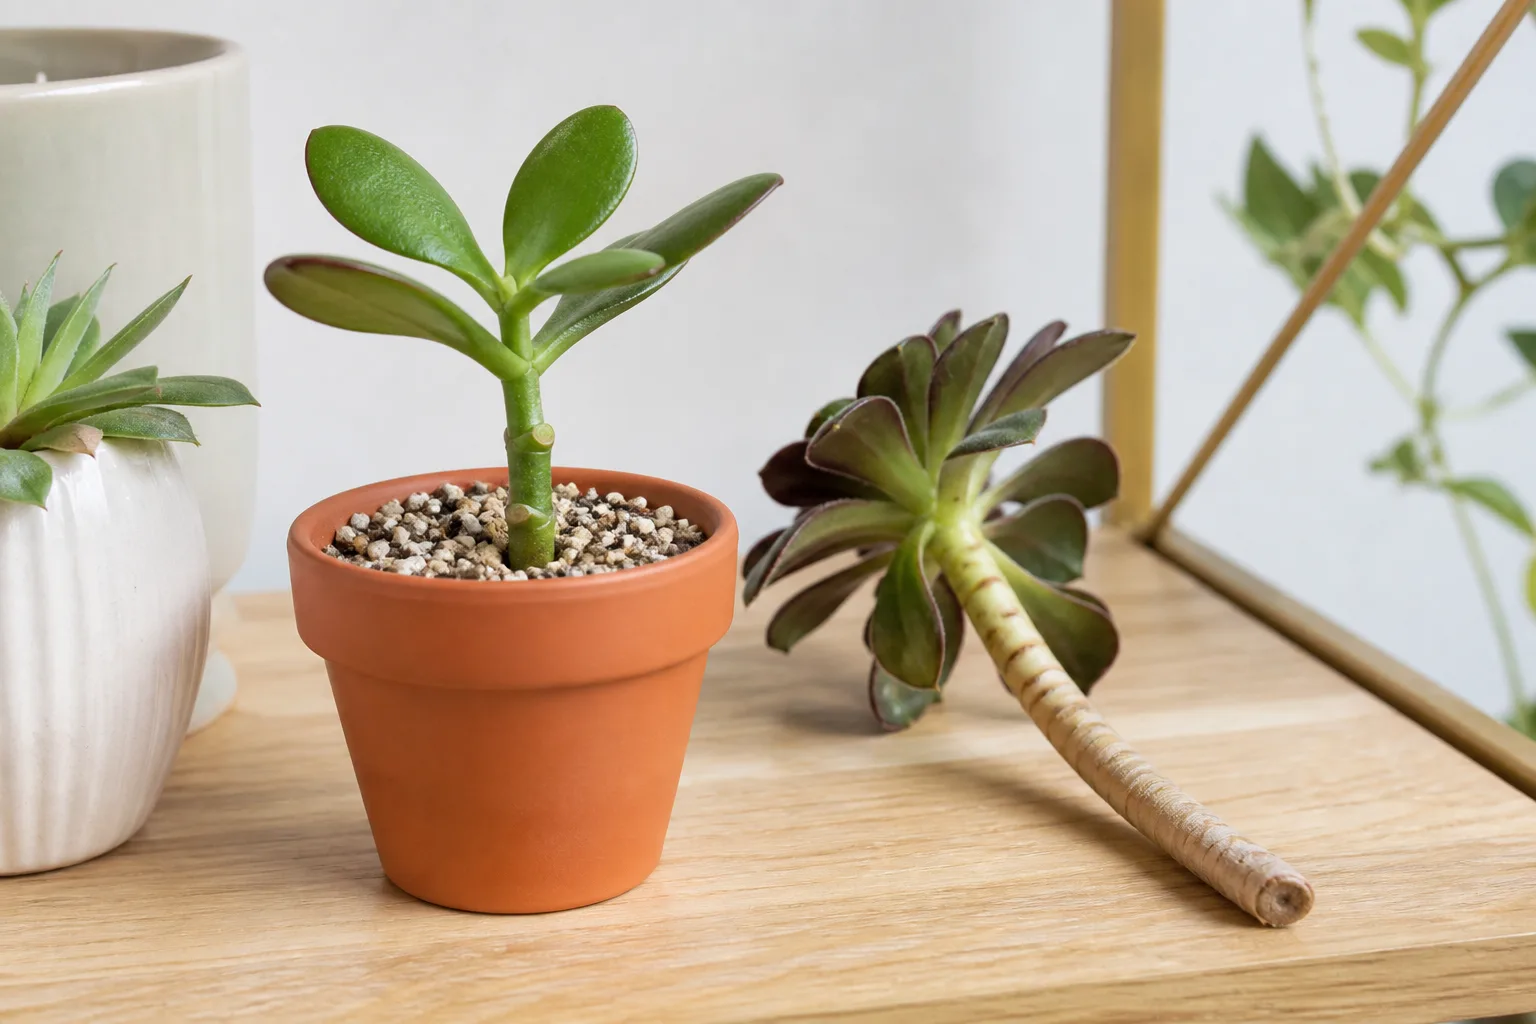
For Echeveria that have lost lower leaves and now sit atop a naked stem, this is often called “beheading.” Cut the rosette off, callus the stem, and replant it — the bare stem left behind will often push out multiple new rosettes along its length. For species-specific beheading steps and aftercare, use the Echeveria propagation page.
Step-by-step: Stem Cuttings
- Choose a healthy stem section 3–4 inches long from an actively growing part of the plant. WVU Extension recommends finding an actively growing section and cutting 3 to 4 inches long (West Virginia University Extension).
- Use a clean, sharp knife or pruners wiped with rubbing alcohol. Make a clean cut straight across.
- Remove lower leaves from the bottom inch or two of the cutting. These nodes are where roots will emerge.
- Callus the cutting for 4–7 days, longer for thick-stemmed succulents. The cut end should be dry and slightly hardened. In dry conditions, three weeks of callusing is fine for thick Echeveria stems — in humid conditions, a week usually suffices.
- Insert the callused end into dry or barely moist gritty mix. Bury enough stem so the cutting stands upright — roughly 1–2 inches deep depending on cutting size. Do not bury leaves.
- Wait before watering. Place in bright indirect light. After a week, water lightly around the stem base. Keep the mix barely moist, never wet. SDSU Extension emphasizes that overwatering may cause root rot, which applies doubly to unrooted cuttings (South Dakota State University Extension).
- Check for roots after 3–6 weeks by giving a very gentle tug — resistance means roots have formed. Avoid digging up the cutting to check.
- Transition to normal care once the cutting is firmly rooted. Gradually introduce more light and water using the soak-and-dry method described in the indoor succulent watering section.
Cutting Size and Leaf Management
Large cuttings with many leaves lose water faster than their nonexistent roots can replace. If the cutting is top-heavy or has large leaves, remove a few extra lower leaves to reduce transpiration while roots form. The cutting does not need to look like a finished plant on day one — it needs to survive long enough to root.
Species Notes
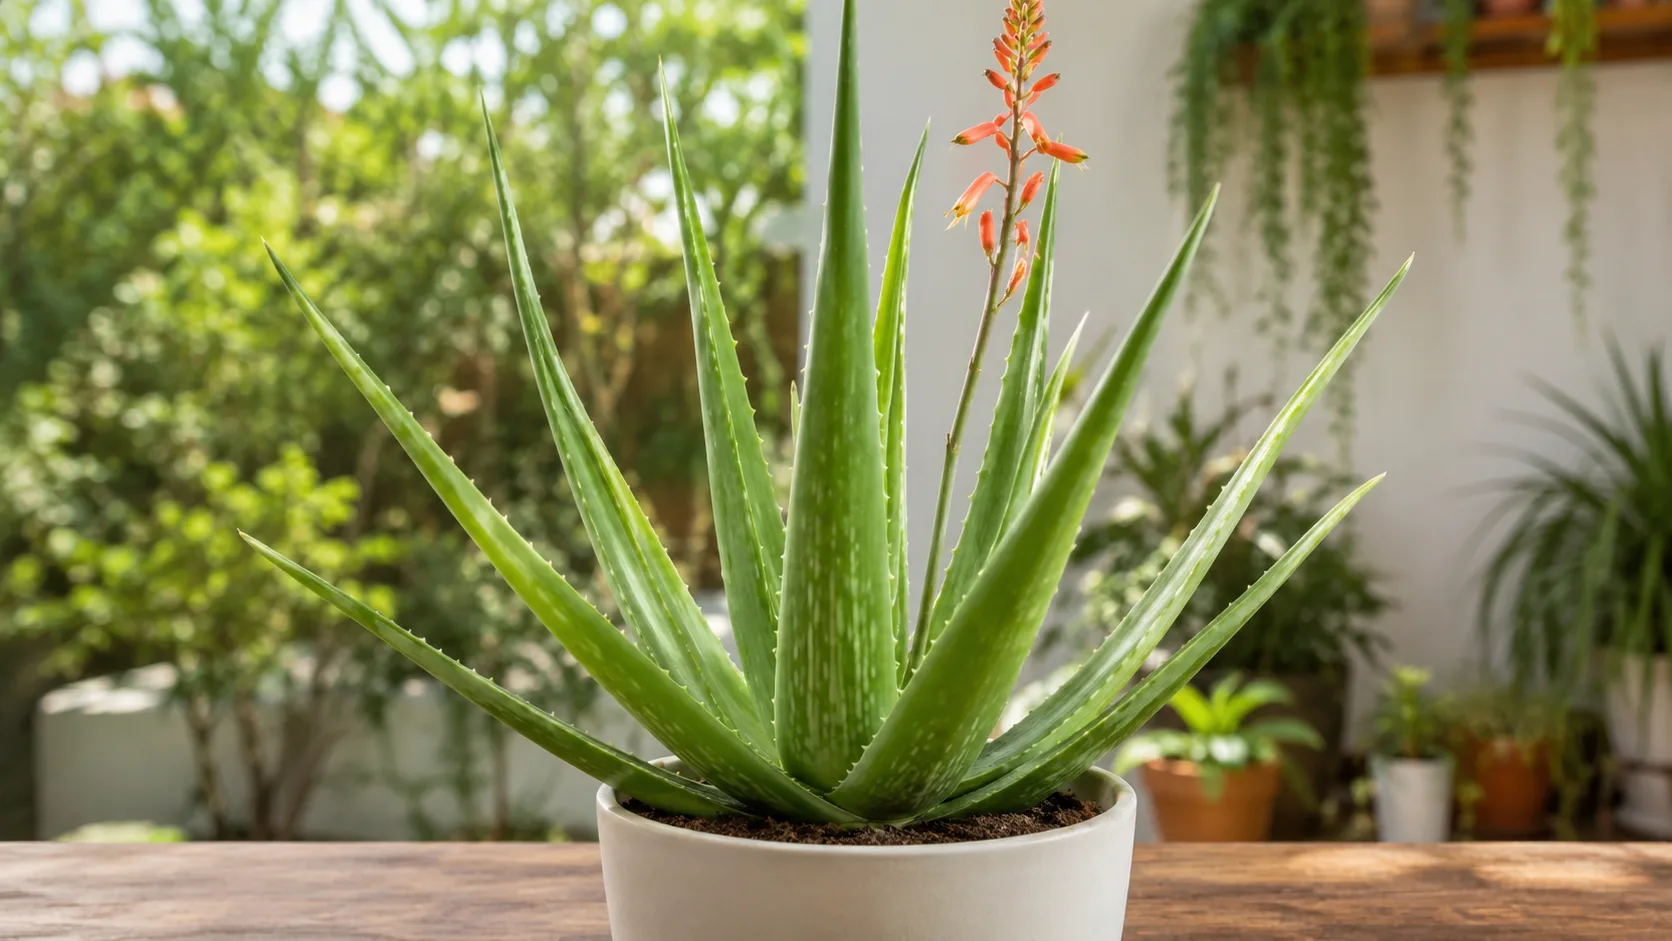
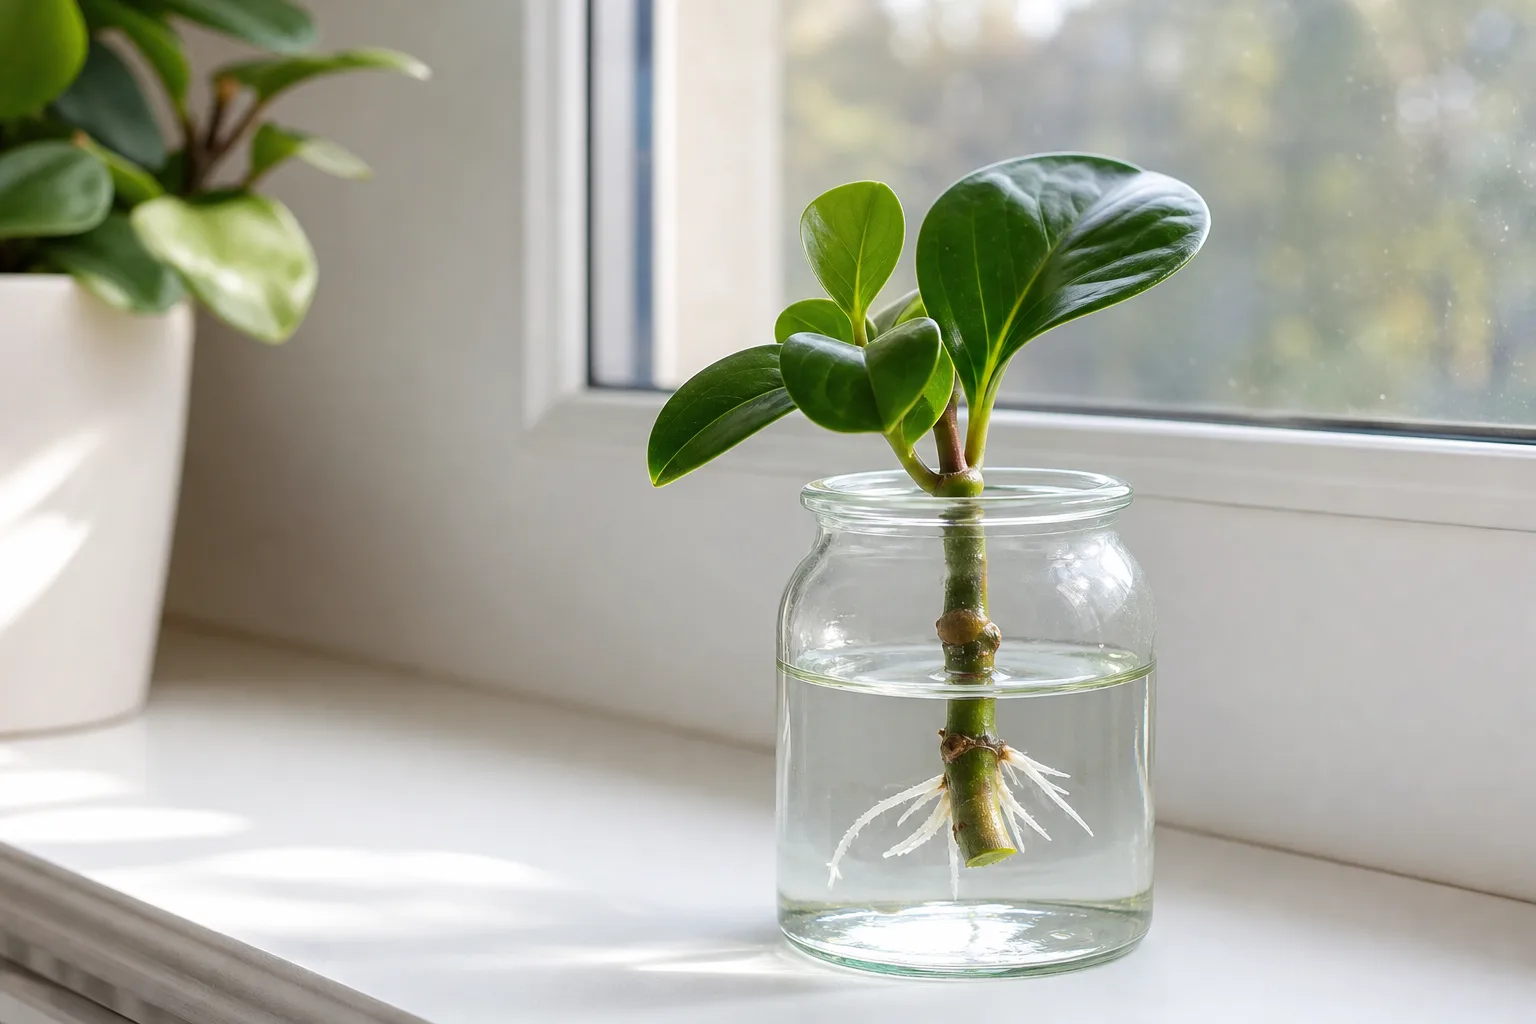
Jade plants (Crassula ovata) are among the easiest succulents to propagate from stem cuttings. A dropped jade stem will often produce roots in open air. For jade-specific care, see the Jade Plant hub. Aeoniums with tall bare stems can be cut and rerooted similarly. For Aloe, offsets are generally easier — see below.
Offset and Pup Propagation — Best for Aloe, Haworthia, Sempervivum, and Agave
Offsets — also called pups or plantlets — are miniature clones that grow at the base of the parent plant. WVU Extension explains that offsets occur when root tissue forms leaf buds, causing them to sprout at the base of the mother plant (West Virginia University Extension). Because pups often already have roots or root primordia, this is the fastest and most reliable method.
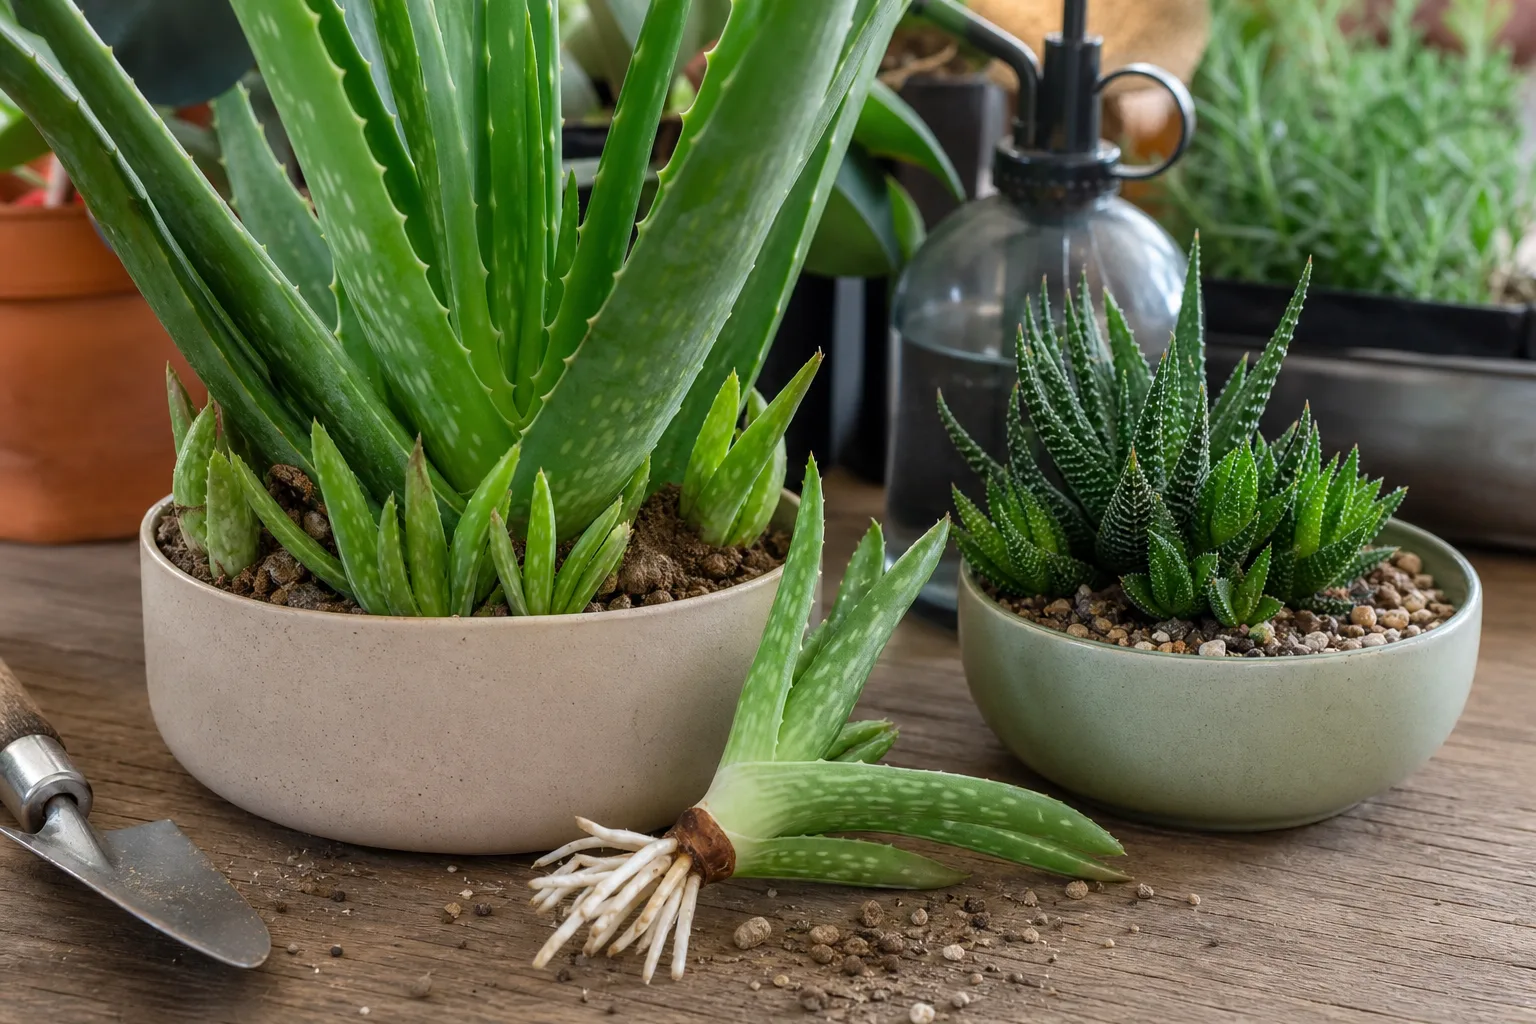
Succulents that reliably produce offsets include Aloe vera, Haworthia, Gasteria, Sempervivum (hens and chicks), Agave, and many clustering Echeveria. Some Kalanchoe species produce plantlets along leaf margins — these can be gently pulled off and treated like small offsets. Thrive recommends selecting a parent plant that is healthy and clearly has well-developed offsets before attempting separation (Thrive).
Step-by-step: Offset Propagation
- Identify offsets with visible roots or at least a well-developed base. Pups roughly one-third to one-half the size of the parent are ideal.
- Remove the parent plant from its pot if offsets are tightly clustered at the base. Brush away soil to expose the connection point. Alternatively, dig gently around the offset without unpotting.
- Separate the offset. Grip near the base and wiggle gently. Most offsets release with a combination of pulling and twisting. If the connection is thick or stubborn, use a clean knife to cut between the pup and parent. WVU Extension suggests gently tugging on the offset — if resistance is felt, roots have formed (West Virginia University Extension).
- Trim damaged roots with clean scissors and remove any old soil clinging to the pup.
- Callus the offset if the separation created a fresh wound. Thrive recommends allowing the callus to form for 1–7 days after removal, as the callus helps protect the young plant from bacterial infection (Thrive).
- Pot the offset in a small container with drainage and gritty succulent mix. Plant shallowly — the base of the offset should sit at soil level, not buried deep.
- Wait 3–5 days before watering to let any root damage heal. Then water lightly. After the offset shows new growth, transition to normal soak-and-dry watering.
- Keep in bright indirect light for the first few weeks. Gradually move to stronger light as the plant establishes.
Offset Troubleshooting
- Offset has no roots: Callus the wound end and treat it like a stem cutting — insert into dry gritty mix and wait. Roots usually form within a few weeks.
- Offset wilts after potting: Normal transplant adjustment. Keep light indirect and avoid overwatering. New growth should resume within a few weeks.
- Parent plant looks sparse after offset removal: Healthy parent plants recover. Fill gaps in the pot with fresh mix and resume normal care.
Aftercare: The First 60 Days
The weeks after propagation are when people kill their new plants with kindness. The prop has limited roots or none at all, so its water needs are minimal. Overwatering is the top cause of failure at this stage.
Watering: For leaf propagations, use a spray bottle or squeeze bottle to dampen only the soil surface around roots once they appear. Avoid soaking the tray. For stem cuttings and offsets in pots, water lightly around the base, allowing the mix to dry between waterings. The soak-and-dry method used for mature succulents in the indoor succulent care guide is too aggressive for young propagations — wait until the plant is established with a solid root system.
Light: Bright indirect light throughout the rooting phase. Direct sun on a shallow propagation tray can cook leaves and cuttings in hours. Once the new plant has several leaves and is potted individually, gradually increase light over 7–10 days.
Temperature: Warmth speeds rooting. Room temperatures of 65–80°F (18–27°C) are ideal. A propagation heating mat under the tray can help in cool homes, but avoid overheating — the mix should not dry out completely in hours.
Fertilizer: None. Young propagations do not need feeding. Fertilizing unrooted cuttings can damage tissue and encourage weak, stretched growth. Wait until the plant has been in its own pot for at least a month and is actively growing before considering a diluted feed.
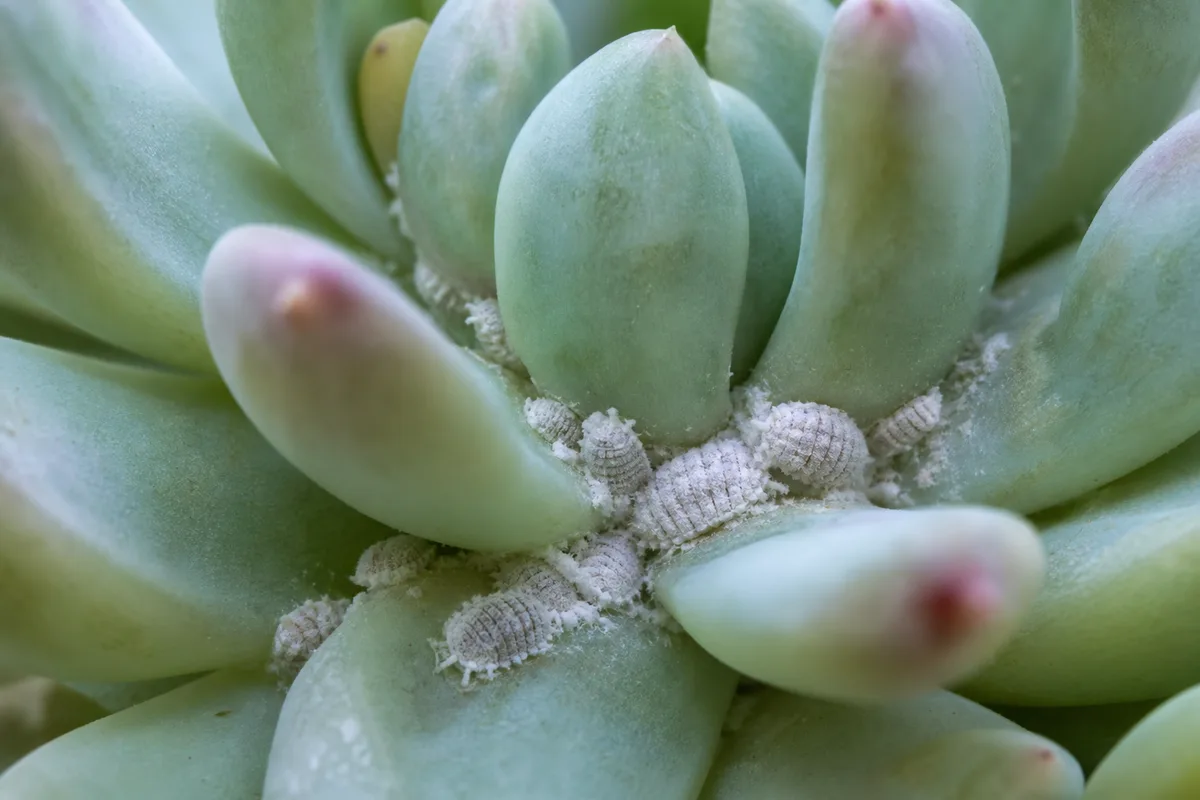
Pest prevention: Propagating from a plant with mealybugs or scale copies the infestation into every tray. Inspect the parent thoroughly before taking material. Quarantine new propagations away from other plants for a few weeks. For pest identification and treatment, see mealybugs on Echeveria.
Common Propagation Mistakes and How to Fix Them
Watering too soon. The single most common error. Uncallused cuttings and unrooted leaves rot when they touch moisture. Let cuts dry before soil contact. Do not water leaf propagations until roots appear and the mother leaf begins to shrivel.
Using dense, water-retentive soil. Standard potting mix suffocates succulent roots. Use a gritty cactus mix or amend potting soil with perlite or pumice at roughly a 1:1 ratio.
Buried leaves. Leaf propagations rest on top of the soil, not in it. Burying the leaf traps moisture and promotes rot. Roots find their way down without help.
Insufficient light. Propagation trays in dim corners produce pale, stretched, weak growth. Bright indirect light is non-negotiable. If natural light is poor, position a grow light above the tray.
Method mismatching. Pulling leaves off Haworthia or trying to root a single Aloe leaf rarely works. Match the method to the species: leaves for Echeveria and Sedum, stem cuttings for Jade and Aeonium, offsets for Aloe and Haworthia.
Impatience. Succulent propagation is measured in weeks and months, not days. A firm leaf with no visible roots after two weeks is not a failure — it is normal. WVU Extension notes it will take at least a month for cuttings to develop sufficient root growth (West Virginia University Extension). Resist the urge to dig up cuttings to check progress.
Overpotting. A tiny pup in a large pot sits in a large volume of wet soil. Use small pots — 2-inch to 4-inch containers — matched to the size of the propagation. Repot gradually as the plant grows.
When to Use Each Method: A Quick Decision Guide
| Your situation | Best method | Why |
|---|---|---|
| You have an Echeveria with plump leaves | Leaf propagation | One rosette = many leaves, each a potential plant |
| Your succulent is tall, bare-stemmed, and leggy | Stem cutting (beheading) | Cut and reroot the rosette; the stem often produces offsets |
| Your Aloe or Haworthia has babies at the base | Offset removal | Pups often have roots already — fastest method |
| A jade plant branch broke off | Stem cutting | Let it callus, pot it up, it will root |
| You bought a mixed succulent bowl and want more | Leaf or stem (depends on type) | Identify the species first, then match the method |
| A leaf fell off and you want to try | Place on dry soil, wait | Worst case: it dries up. Best case: free plant |
Pet Safety
Not all succulents are pet-safe. Jade plants (Crassula ovata) are toxic to cats and dogs and can cause vomiting, lethargy, and loss of appetite if ingested. ASPCA warns that jade plant may cause vomiting, diarrhea, lethargy, and loss of appetite in pets (ASPCA). Kalanchoe species and some Euphorbias contain compounds that can harm animals if eaten. Aloe vera, while medicinal for humans, can cause gastrointestinal distress in pets.
Keep propagation trays, loose leaves, and small pots out of reach of cats and dogs. Trays at counter height or on open shelves are accessible to curious pets. If a pet ingests succulent material and shows distress, contact your veterinarian or the ASPCA Animal Poison Control Center at (888) 426-4435 (consultation fee may apply).
For pet-safe succulent choices, the Haworthia hub covers a genus that is generally considered safer around animals, though no plant should be treated as edible.
Explore Species-Specific Propagation Guides
- Echeveria — leaf propagation, beheading, light requirements, and problem pages
- Haworthia — offset separation, bright-indirect care
- Aloe Vera — pup removal, watering, and medicinal use
- Jade Plant — stem and leaf cuttings, pet toxicity
- Snake Plant — division, leaf cuttings, water vs soil
- Burro’s Tail — leaf and stem propagation for trailing sedums
- String of Pearls — delicate stem propagation for cascading succulents
Related Guides
- Indoor succulent care guide — light, water, soil, and troubleshooting for all succulents
- How to water indoor plants the right way — dry-down checks that apply to propagation aftercare
- Can you use a pebble tray for succulents and cacti? — humidity myths for dry-climate plants
- Root rot in houseplants — what to do when a propagation goes wrong
- Monstera propagation guide — node-based propagation for tropical aroids
- Snake plant propagation: water vs soil — medium comparison for leaf cuttings
Conclusion
Succulent propagation comes down to three method choices and one universal rule. Match the method to the plant: leaf propagation for Echeveria, Sedum, and Graptopetalum; stem cuttings for Jade, Aeonium, and leggy rosettes; offsets for Aloe, Haworthia, and clustering species. Then follow the rule that applies to all three: callus before soil contact, keep moisture minimal until roots form, and provide bright indirect light throughout.
The plants want to reproduce — succulent leaves and stems carry the tissue to do it. Your job is to avoid the two things that stop them: wet wounds and dim light. Get those right, and a single healthy Echeveria on your windowsill can become a tray of new plants.