How to Propagate ZZ Plant: Stem Cuttings, Leaf Propagation, and Division
Propagate ZZ plants with stem cuttings, leaf cuttings, or root division. Step-by-step water and soil methods, timeline expectations, and aftercare for Zamioculcas zamiifolia.
Quick Answer: How to Propagate a ZZ Plant
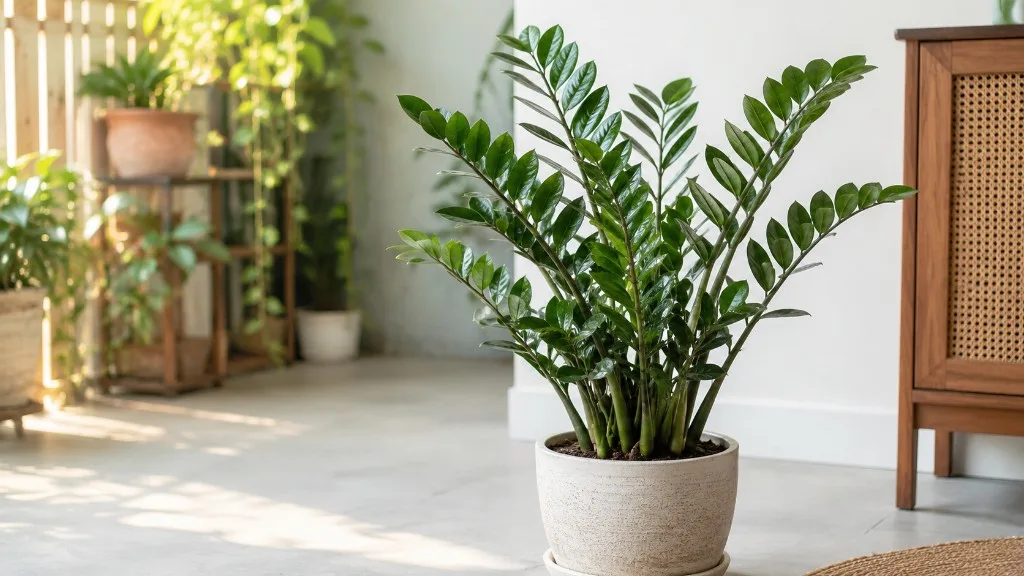
You can propagate a ZZ plant in three ways: stem cuttings rooted in water or soil, leaf cuttings planted in soil, or root division using a mature plant. Stem cuttings in water are the most popular method for beginners because you can watch roots develop. Division is the fastest — you get a new plant immediately because each section already has its own rhizomes and roots.
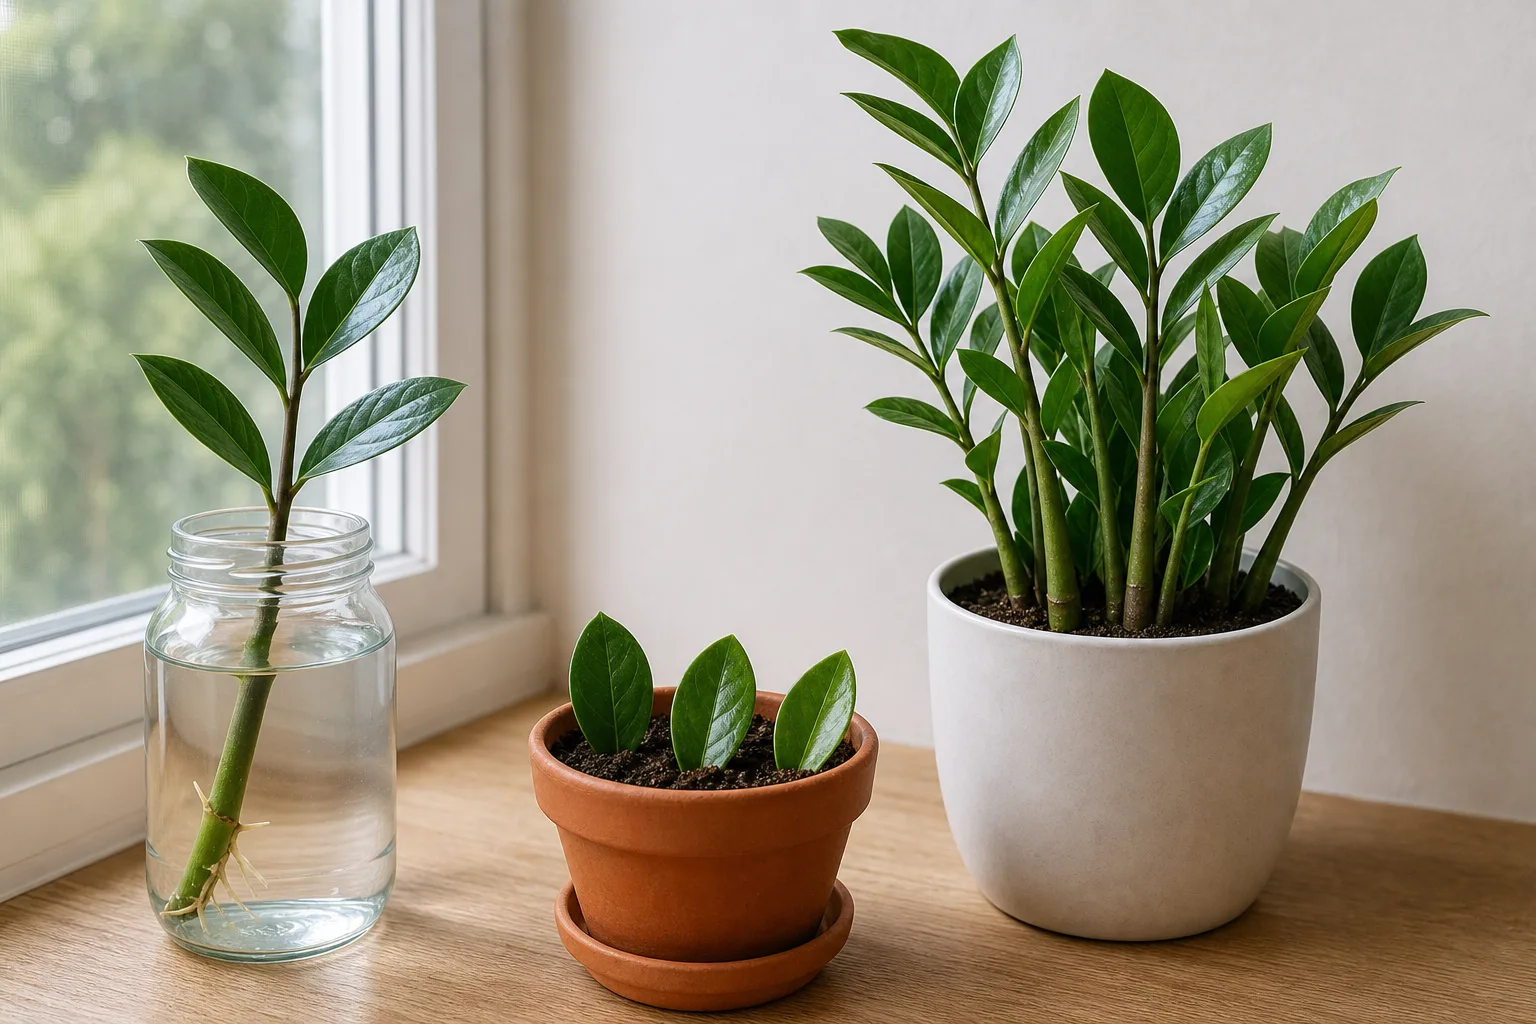
ZZ plant propagation is a patience project, not a speed project. The plant is a slow grower by nature, and cuttings can take 3 to 4 months to form roots and rhizomes. Leaf cuttings take even longer — often 6 to 9 months before you see a new shoot. But the process is straightforward, and a healthy ZZ plant rewards restraint more than heavy-handed intervention.
How This Guide Relates to the ZZ Plant Hub
This guide focuses specifically on propagation methods and timelines. For general care — watering, light, soil, repotting, and troubleshooting — use the ZZ Plant care guide. For deeper symptom-first diagnosis on specific problems, use the ZZ Plant care hub which links to dedicated guides on watering, light, soil, repotting, overwatering, root rot, and more.
How ZZ Plant Propagation Works
The ZZ plant — Zamioculcas zamiifolia — stores water and energy in thick underground rhizomes. These potato-like structures are the key to both the plant’s drought tolerance and how propagation works. Every new stem grows from a rhizome, and every successful propagation must eventually produce one.
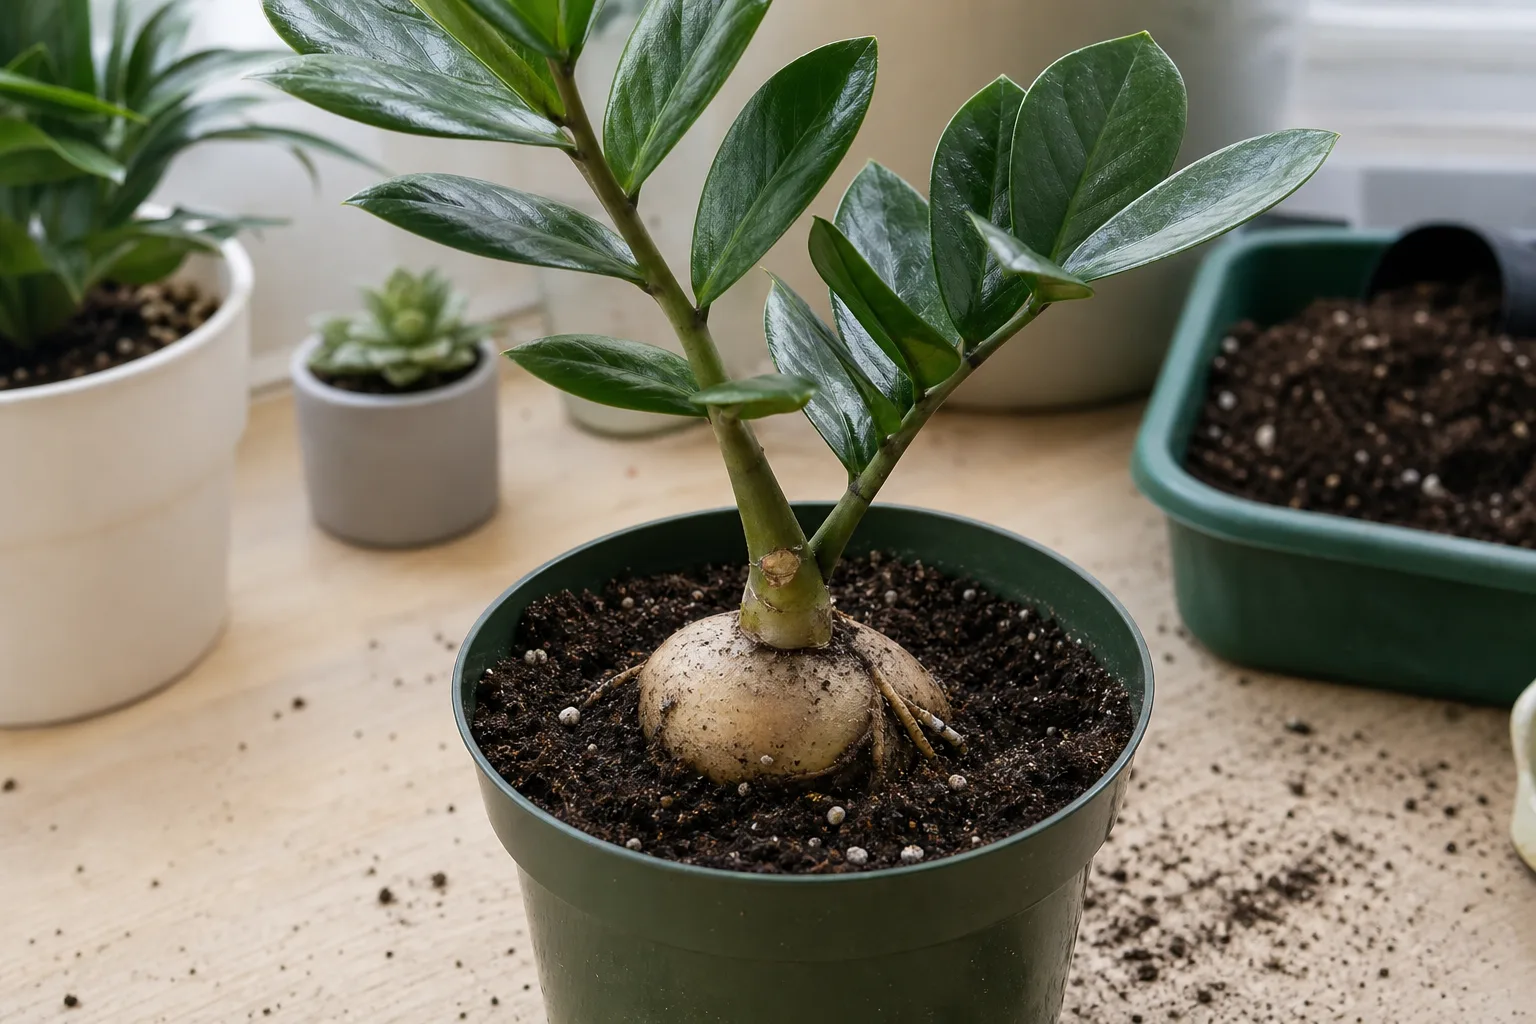
NC State Extension describes ZZ plant as a slow grower reaching 2 to 4 feet, with bulbous rhizomes and glossy leaves that contribute to drought tolerance. (NC State Extension) That slow growth rhythm applies directly to propagation. Unlike fast-rooting plants like pothos, a ZZ cutting works on rhizome time — building underground storage before pushing visible growth above the soil.
This is why the most common propagation failure is impatience. People see no change for weeks, assume the cutting failed, and either overwater or discard it. In reality, a firm green cutting in clean conditions is probably doing exactly what it should — building roots and a tiny rhizome you cannot see yet.
Brooklyn Botanic Garden notes the species is native to East Africa, from Kenya to South Africa. (Brooklyn Botanic Garden) This tropical origin means cuttings root best in warmth — the kind of room temperature that feels comfortable to you, not a cold drafty windowsill in winter.
When to Propagate a ZZ Plant
The best time is spring through summer, when the plant is actively growing and indoor temperatures are warm. Clemson HGIC recommends keeping ZZ plants above 60°F, and University of Connecticut notes faster growth at warmer temperatures. (Clemson HGIC) (University of Connecticut Home & Garden) Propagation in winter is possible but slower — lower light and cooler rooms extend rooting time and increase rot risk.
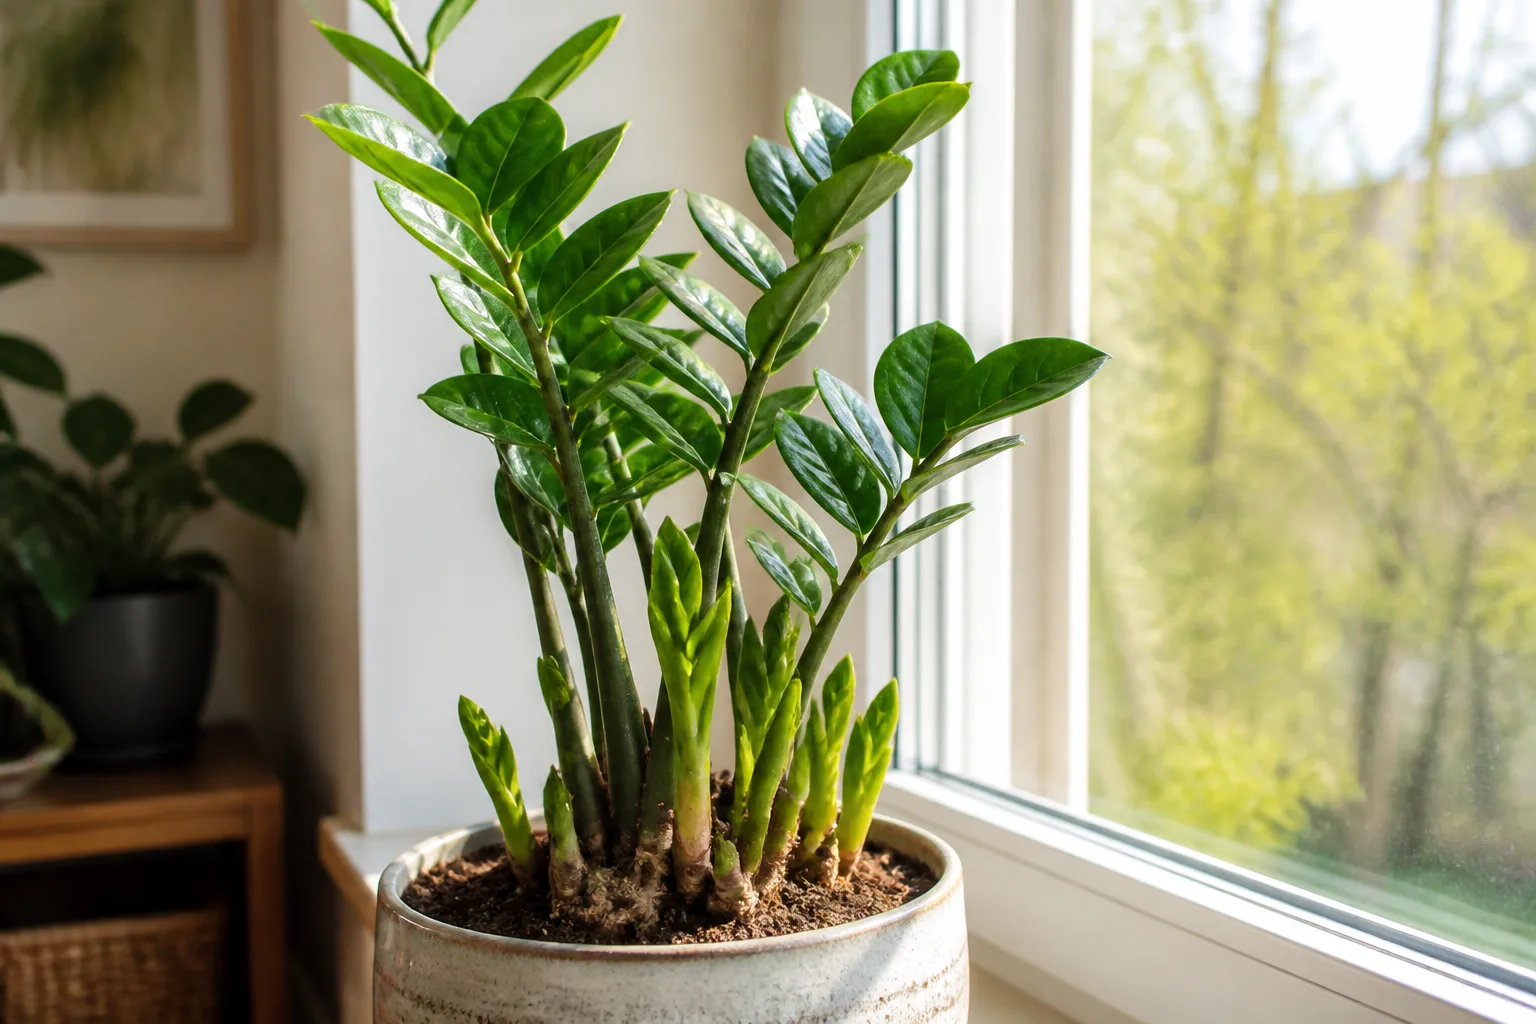
You can propagate a ZZ plant whenever you have healthy material, but the warm growing season gives your cuttings the best odds. If you must propagate in winter, use a propagation heating mat set to 70–75°F (21–24°C) and provide supplemental bright indirect light.
What You Need Before You Start
Gather these materials before taking any cuttings. Clean tools reduce the risk of introducing rot into open wounds.
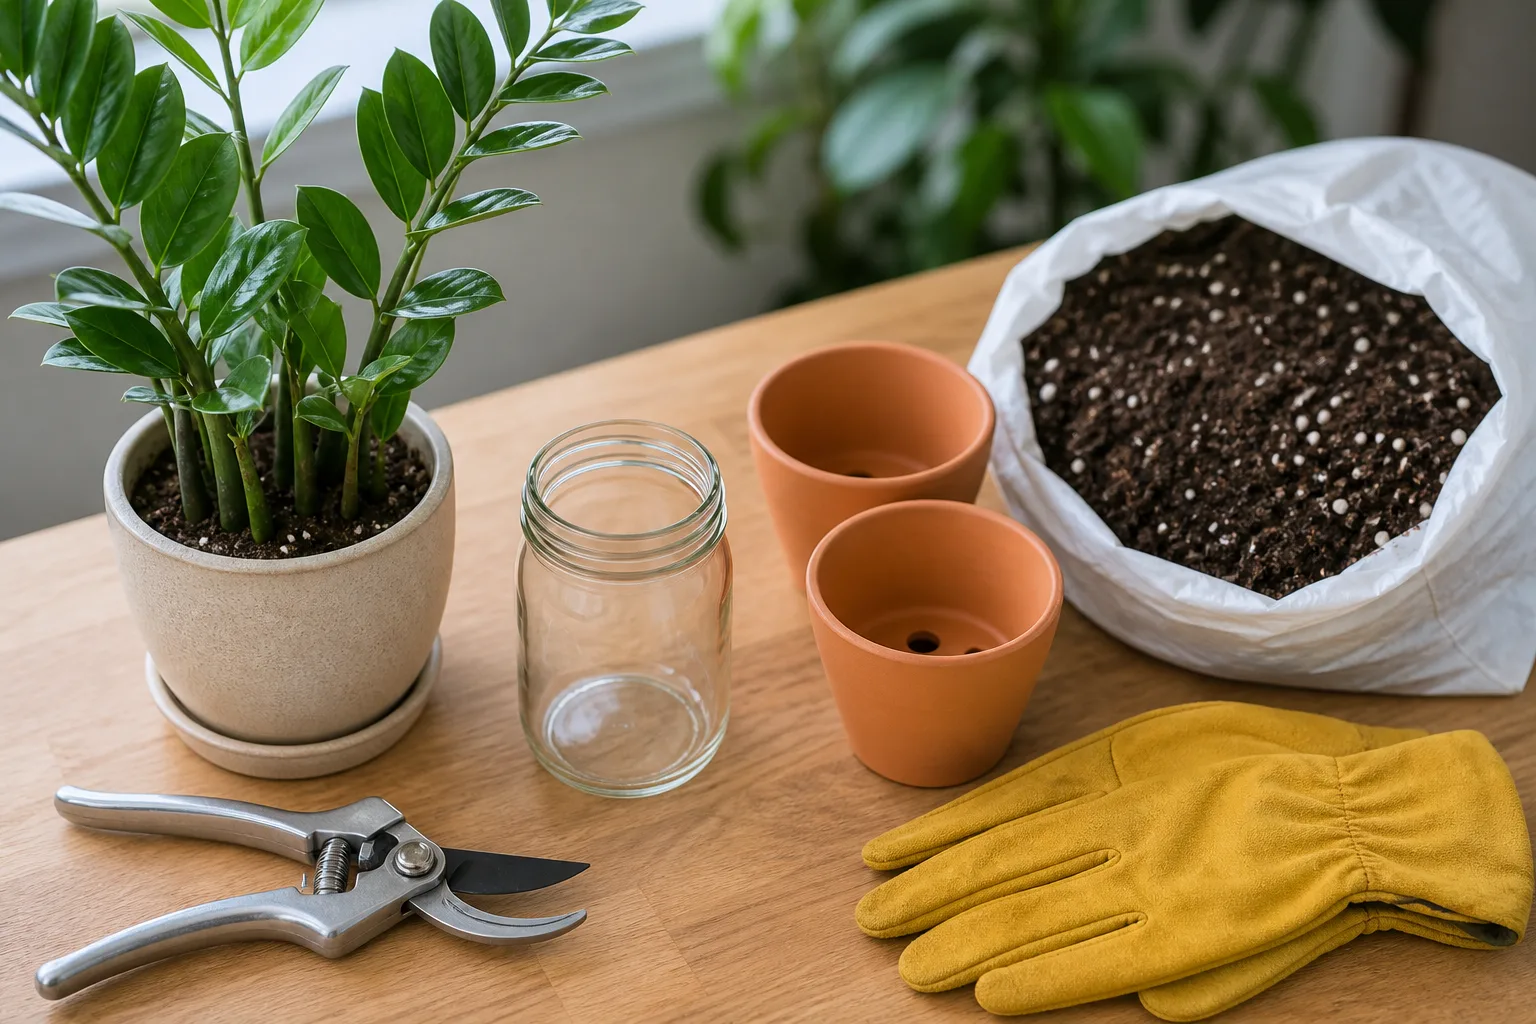
- Sharp, sterile pruning shears or scissors — wipe blades with 70% isopropyl alcohol
- A healthy mature ZZ plant — do not propagate from a stressed, pest-infested, or recently repotted plant
- Clear glass jar or vase — for water propagation of stem cuttings
- Small pots with drainage holes — 3 to 4 inch pots work well for new plants
- Well-draining potting mix — Missouri Botanical Garden recommends medium moisture, well-drained soil while avoiding wet conditions. (Missouri Botanical Garden) For propagation, a mix of roughly 50% potting soil, 25% perlite or pumice, and 25% coarse sand or orchid bark gives the drainage cuttings need
- Gloves — ZZ plant sap contains calcium oxalate crystals that can irritate skin. (ASPCA)
- Optional: rooting hormone, propagation heating mat, clear plastic bag or humidity dome for leaf cuttings
Method 1: Stem Cuttings in Water
Water propagation is the most popular method because you can see roots develop. It is reliable, straightforward, and gives you a window into the rooting process. Stem cuttings root faster than leaf cuttings because the stem already contains stored energy and the cutting includes multiple leaves to power photosynthesis.
Step-by-Step: Rooting Stem Cuttings in Water
-
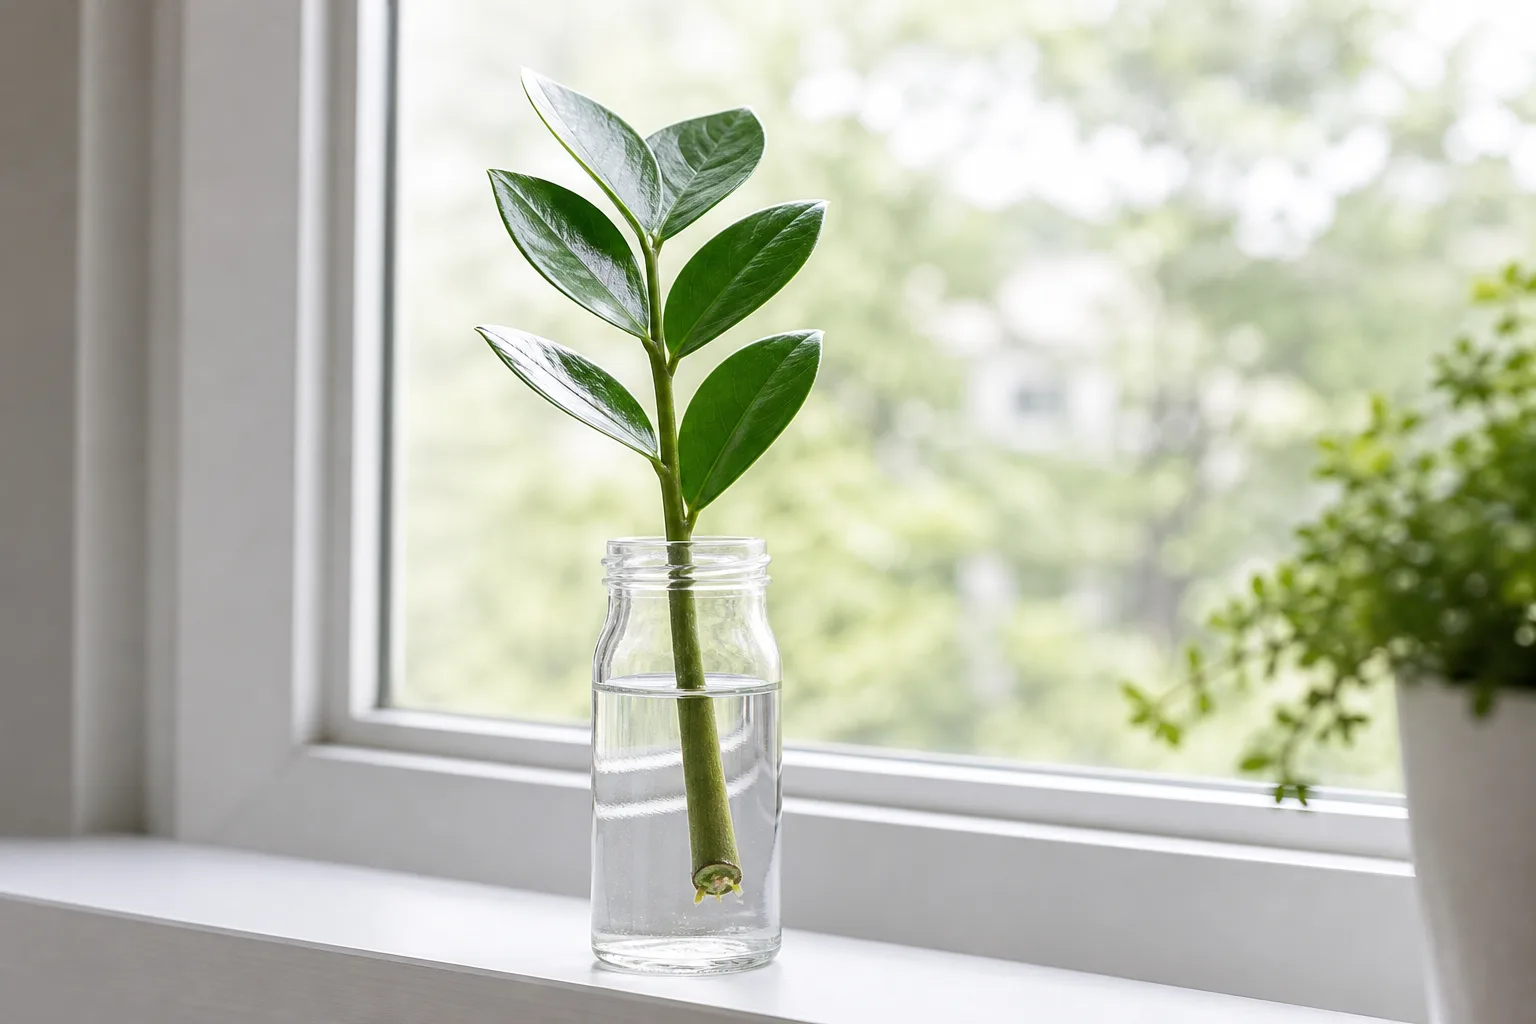
Select and cut a healthy stem. Choose a firm, green stem with several healthy leaves. Using clean shears, cut the stem at the soil line — as close to the base as possible. A stem that is 6 to 8 inches long with 4 to 6 leaves is ideal.
-
Remove lower leaves. Strip off the bottom 1 to 2 leaves so the lower portion of the stem is bare. Any leaf tissue that sits below the water line will rot, so make sure the cut end and the lower stem section are leaf-free.
-
Optional: Let the cut end callus. Place the cutting in a warm, dry spot for a few hours to let the cut end form a protective callus. This step reduces the chance of rot once the cutting goes into water. Fresh succulent cuts can absorb too much water and decay.
-
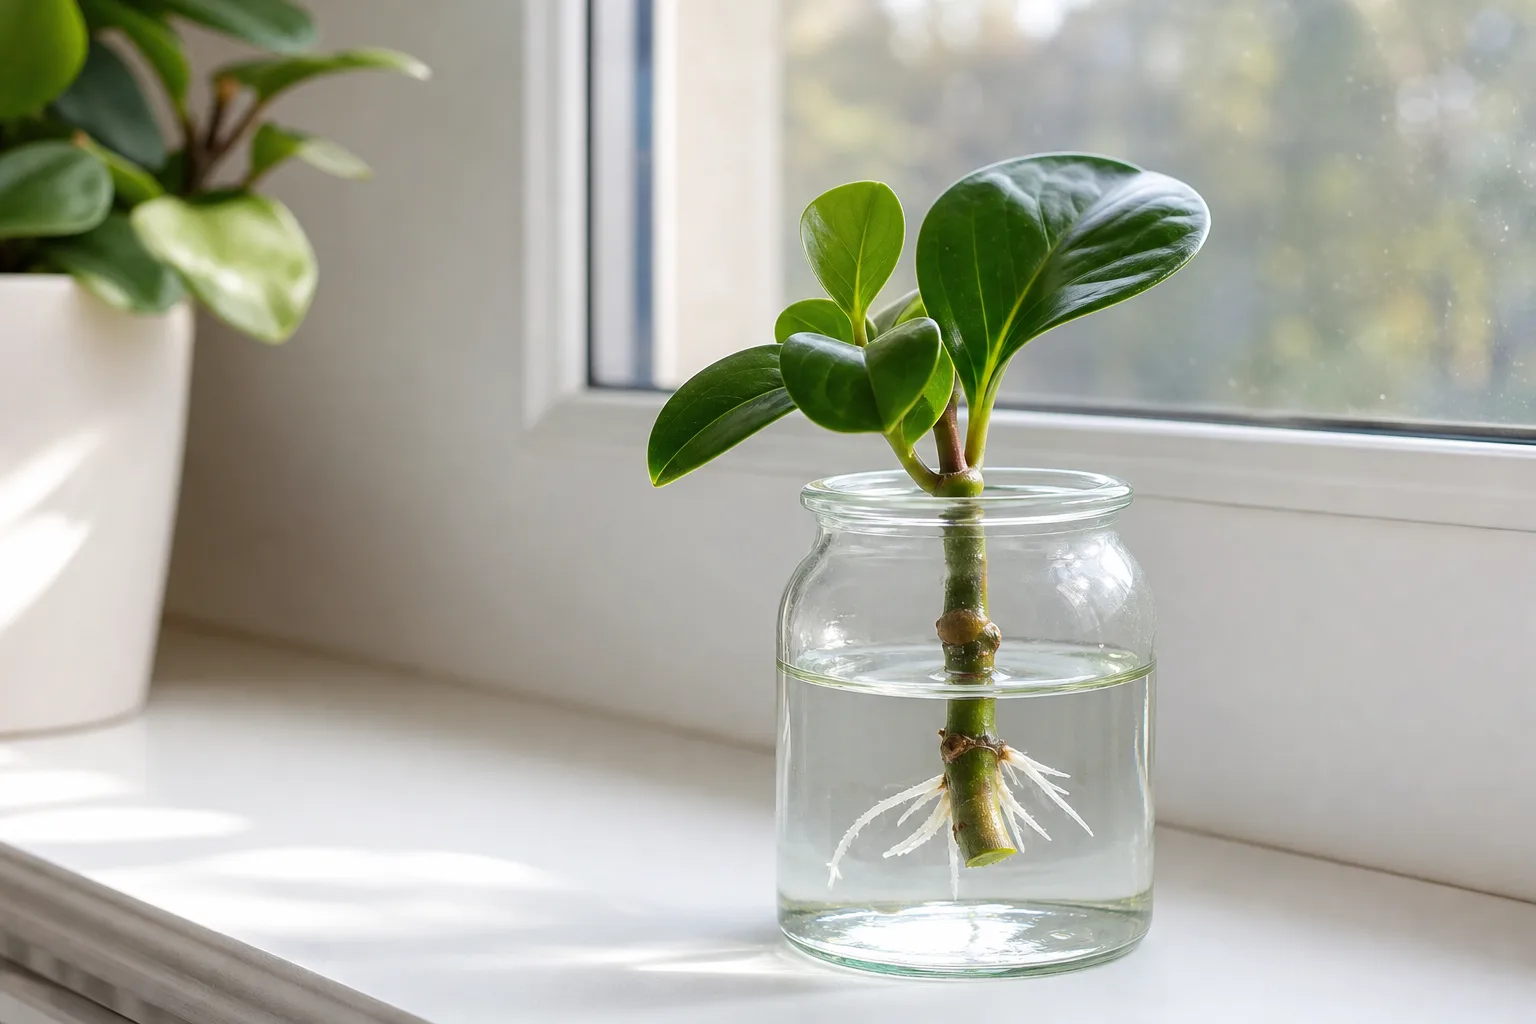
Place in water. Fill a clean glass jar with enough room-temperature water to submerge the bare stem base — roughly 1 to 2 inches of water. The remaining leaves must stay above the water line. Use a narrow jar or vase so the cutting stays upright without support.
-
Position in bright indirect light. Place the jar near a window with bright, indirect light. Avoid direct sun, which can heat the water, encourage algae, and stress a cutting that has no roots. An east-facing windowsill or a spot a few feet from a south or west window works well.
-
Change the water weekly. Pour out old water and replace with fresh room-temperature water every 5 to 7 days, or sooner if it looks cloudy. Stagnant water is the fastest route to rot. Top off evaporation between changes if the water level drops below the cut end.
-
Wait for roots and rhizomes. Under warm, bright conditions, you should see small white root nubs emerging from the cut end in 4 to 8 weeks. A tiny rhizome — a small rounded swelling — often forms near the base before roots extend. The full process typically takes 3 to 4 months before the cutting is ready to pot.
-
Pot up when roots are 1 to 2 inches long. When roots are at least an inch long and the rhizome is visible, the cutting is ready for soil. Do not leave cuttings in water indefinitely — the longer they stay, the harder the transition to soil becomes.
-
Transplant into well-draining mix. Fill a small pot with drainage holes using a well-draining potting mix. Plant the rooted cutting at the same depth it sat in water, firm the mix lightly, and water thoroughly. Place the new plant in bright indirect light and treat it like a young ZZ — see the ZZ Plant care guide for ongoing watering and light routines.
Method 2: Stem Cuttings in Soil
Soil propagation skips the water-to-soil transition. Roots form directly in the medium the plant will keep using, so there is no transplant shock when roots are established. The trade-off is that you cannot see progress underground — you must trust the process and avoid the temptation to dig up the cutting to check.
Step-by-Step: Rooting Stem Cuttings in Soil
-
Take a stem cutting as described above. Cut a healthy stem at the soil line, remove lower leaves, and let the cut end callus for a few hours in dry air.
-
Prepare a pot with moist, well-draining mix. Fill a small pot with a drainage hole using a fast-draining mix. Pre-moisten the mix until it feels like a wrung-out sponge — damp but not dripping. RHS recommends well-drained compost for ZZ plants. (RHS)
-
Plant the cutting. Insert the bare stem base about 1 to 2 inches deep into the mix. Firm the soil gently around the stem so it stands upright. You can plant 2 to 3 stem cuttings in the same pot for a fuller-looking plant from the start.
-
Water lightly and cover optionally. Water just enough to settle the mix around the cutting — do not soak. If your home is dry, cover the pot with a clear plastic bag or humidity dome to trap moisture around the leaves. Remove the cover for a few hours every few days to let fresh air circulate.
-
Place in bright indirect light at warm room temperature. Keep the pot in a warm spot with bright indirect light. A propagation heating mat set to 70–75°F (21–24°C) can speed rooting in cooler rooms.
-
Water sparingly. Let the top inch of mix dry before watering again. Overwatering is the biggest risk at this stage — the cutting cannot absorb much water without roots, so wet mix sits stagnant around the stem. Err on the side of drier.
-
Wait 3 to 4 months. Roots and a small rhizome should develop within this window under good conditions. The first sign of success is often a new shoot emerging from the soil — this means the underground rhizome is established and producing growth.
-
Resist the urge to tug. Do not pull on the cutting to check for roots. New roots are fragile and break easily. A gentle nudge that meets resistance suggests rooting is underway. Leaves that stay firm and green for months are also a good sign even if you see no visible change.
Method 3: Leaf Cuttings
Leaf propagation is the slowest method, but it lets you start multiple new plants from a single stem. It is a good option if you accidentally knock a leaf off your plant, or if you have a small ZZ plant and do not want to remove an entire stem.
Success is not guaranteed with every leaf. Some leaves may shrivel without rooting, especially if conditions are cold, dim, or too wet. Start with 3 to 5 leaves to improve your odds.
Step-by-Step: Leaf Propagation in Soil
-
Select and cut healthy leaves. Choose firm, glossy leaves from a healthy stem. Cut each leaf as close to the stem as possible, keeping a small piece of the petiole — the short stalk that attaches the leaf to the stem — attached. Leaves with a bit of petiole root more reliably than leaves snapped at the blade.
-
Let the cut ends callus. Place the leaves in a warm, dry, shaded spot for several hours or up to a day. The tiny cut surface needs to dry and seal before it touches moist soil.
-
Prepare a shallow container with moist mix. Use a wide shallow pot, seed tray, or even a disposable roasting pan with drainage holes. Fill with well-draining potting mix and pre-moisten it so it is damp but not soggy.
-
Insert the leaves. Push the base of each leaf — the cut end with the petiole — about ¼ to ½ inch into the mix. The rest of the leaf blade should sit above the surface. Space leaves about 1 to 2 inches apart so they do not overlap.
-
Cover for humidity (optional but recommended). Cover the container with a clear plastic bag, humidity dome, or plastic wrap to create a humid microclimate. Leaf cuttings lose moisture through their surface without roots to replace it, so trapped humidity helps them survive the long rooting period. Remove the cover briefly every few days for air exchange.
-
Place in bright indirect light. Keep the container warm — ideally 70°F or above — and in bright indirect light. Avoid direct sun, which will cook the leaves under plastic.
-
Keep the mix lightly moist. Water sparingly — just enough to keep the mix from going bone-dry. Soggy soil rots leaf cuttings faster than anything else. The plastic cover reduces evaporation, so you may need to water very little.
-
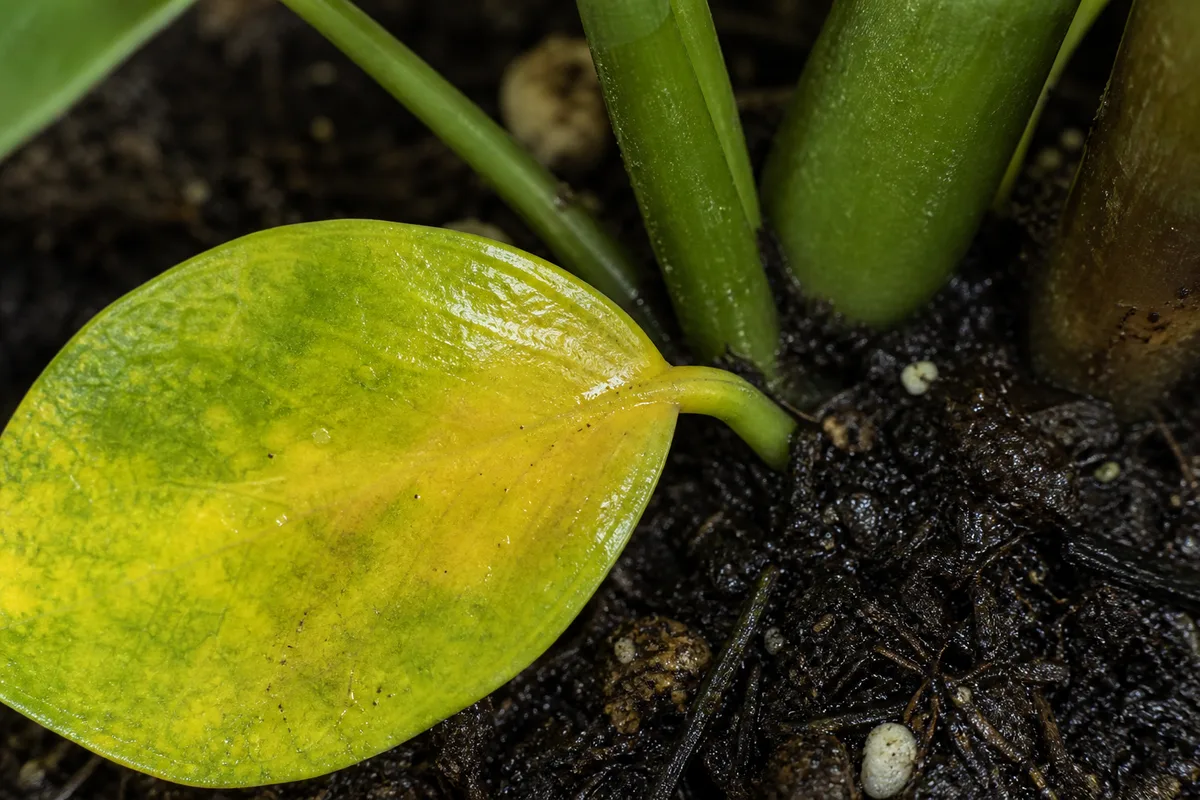
Wait 3 to 4 months for rhizomes. Under the soil, the base of each successful leaf cutting will form a tiny rhizome and roots. The leaf itself may stay green the whole time, or it may gradually yellow and shrivel as the new rhizome consumes its stored energy. Both outcomes can be normal — a leaf that yellows after 3 months may have successfully transferred energy to a new rhizome.
-
Watch for new shoots. New stems emerge from the rhizome, often 6 to 9 months or longer after planting. The original leaf may still be attached or may have died back by this point. Once a new shoot appears, the young plant is on its way.
Can You Propagate ZZ Plant Leaves in Water?
Some growers root single ZZ leaves in water, but this is less reliable than soil for leaf tissue. The thin cut surface of a leaf rots more easily in standing water than a thick stem base does. If you try water, use a very narrow container so only the very tip of the petiole touches the water, change it every 3 to 4 days, and transplant to soil as soon as a tiny rhizome forms. Soil is the safer default for leaf cuttings.
Method 4: Root Division
Division is the fastest and most reliable method, but it requires a mature ZZ plant with multiple stems and a large root ball. If your plant is overcrowded, the pot is bulging, or you see new stems pushing up at the edges, division gives you two or more healthy plants in a single session.
Step-by-Step: Dividing a ZZ Plant
-
Time it right. Division is easiest in spring or early summer when the plant is entering active growth. It also pairs naturally with repotting — if your ZZ needs a larger pot, consider dividing it into smaller pots instead.
-
Remove the plant from its pot. Lay the pot on its side and gently work the root ball free. If the plant is stuck, squeeze the sides of a plastic pot or run a knife around the inside edge. Avoid pulling hard on the stems.
-
Separate the rhizomes. Gently tease apart the root ball with your hands. Look for natural separation points where stems connect to distinct rhizome clusters. Each division should have at least one firm rhizome, a healthy stem with leaves, and attached roots. If rhizomes are tightly connected, use a clean sharp knife to cut them apart — but try hand separation first to minimize damage.
-
Inspect and trim. Check each division for mushy, black, or foul-smelling rhizomes — these indicate rot and should be cut away with clean shears. Healthy rhizomes should feel firm like a potato. Trim any excessively long or circling roots.
-
Pot each division. Use a pot that is only slightly larger than the rhizome mass — an oversized pot holds excess wet soil around the roots. Fill with fresh well-draining potting mix, plant the division at the same depth it was growing before, and firm the mix gently.
-
Water and place. Water each new pot thoroughly until water drains from the bottom, then empty the saucer. Place the divisions in bright indirect light and treat them as established plants going forward.
-
Skip the adjustment period. Unlike cuttings, divisions have functioning roots and rhizomes from day one. New growth often resumes within a few weeks. Resume normal ZZ plant care — watering only when the soil dries, as covered in the ZZ Plant care guide.
Method Comparison: Which One Should You Use?
| Method | Speed | Difficulty | Number of New Plants | Best For |
|---|---|---|---|---|
| Stem cuttings in water | 3–4 months | Easy | Limited by stems | Beginners who want visible roots |
| Stem cuttings in soil | 3–4 months | Easy | Limited by stems | Growers who want to skip water-to-soil transition |
| Leaf cuttings | 6–9+ months | Moderate | Many from one stem | Maximizing output from limited material |
| Root division | Immediate | Easy | Depends on plant size | Fastest results; mature overcrowded plants |
Best Method by Goal
- Fastest new plant: Root division — already rooted and established
- Watch roots develop: Stem cuttings in water — visible progress in a jar
- Get many plants from one stem: Leaf cuttings — each leaf becomes a potential plant
- Skip transplant shock: Stem cuttings in soil — roots form in their permanent medium
- Fix a broken stem: Stem cuttings in water — salvage a snapped-off stem into a new plant
Aftercare for Newly Propagated ZZ Plants
Once your cutting has roots and is potted up — or your division is in its new container — aftercare follows the same rules as mature ZZ plant care. The plant does not need special treatment; it needs the right fundamentals.
Watering: Water only when the potting mix has dried out. New roots are vulnerable to rot, and a small pot with a small root system dries differently than a large established pot. Check below the surface before watering, and never let the pot sit in standing water. For full watering guidance, see the ZZ Plant watering guide.
Light: Bright indirect light encourages steady growth. A newly potted cutting or division does not need a dim recovery spot — it needs the light to photosynthesize and build energy. Just keep it out of harsh direct sun, which can scorch leaves that are already adjusting to a new pot.
Fertilizer: Skip it. Newly propagated plants do not need fertilizer. The fresh potting mix contains nutrients, and young roots are sensitive to salt stress from fertilizer. Wait until you see active new growth — a new shoot or stem — before feeding at half strength with a balanced houseplant fertilizer, and only during spring or summer.
Humidity: Average household humidity is fine. ZZ plants do not need misting or pebble trays. If you propagated leaf cuttings under a humidity dome, remove the cover gradually over a week once shoots appear to let the young plant acclimate.
Repotting: Do not rush to repot. A ZZ plant grows slowly, and a slightly snug pot is better than an oversized one. Repot only when the rhizomes crowd the pot or drainage suffers — see the ZZ Plant repotting guide.
Common Propagation Problems and How to Fix Them
Cutting rots in water: The water was not changed often enough, the cutting was placed in dim cool conditions, or the cut end was not callused. Cut back to firm green tissue, let the wound callus for several hours in dry air, and restart in a clean jar with fresh water. Change water weekly.
Cutting rots in soil: Mix was too wet, too dense, or the pot lacked drainage. Remove the cutting, trim any soft tissue, let it callus, and replant in fresh barely-moist mix. Use a smaller pot with better drainage this time.
No roots after 3 months but cutting still green: The cutting may be in low light or cool temperatures. Move it to a warmer, brighter spot and continue changing water or maintaining light soil moisture. ZZ cuttings are slow — a firm green cutting that has not rotted may simply need more time.
Leaf cutting shrivels without rooting: The leaf may not have had enough petiole attached, conditions were too dry, or it was a weak leaf to start. Start multiple leaf cuttings to account for some losses, and use a humidity dome to reduce moisture loss through the leaf surface.
Original leaf yellows and dies during leaf propagation: This is often normal. The leaf cutting transfers its stored energy into forming a rhizome, and the original leaf may die back once that transfer is complete. Do not discard the pot — a new shoot may emerge weeks or months later. Only give up if the pot has been empty and dry for an extended period with no sign of a rhizome below the surface.
New shoots are small or pale: This is common with the first growth from a newly formed rhizome. As the plant establishes and receives adequate light, subsequent growth should be larger and richer in color. If new growth stays weak, check light levels — move the plant closer to a bright indirect light source before reaching for fertilizer.
Pet Safety During Propagation
ZZ plants contain calcium oxalate crystals that can irritate the mouth and digestive tract if chewed. ASPCA lists ZZ plant as toxic to cats and dogs. (ASPCA) Propagation creates extra hazards: jars of cuttings on low shelves are easy for pets to reach, and fallen leaves or trimmed stems on counters are tempting to curious animals.
Keep water jars and propagation pots out of pet reach. Wear gloves when handling cut stems, wash hands after working with the plant, and clean up fallen leaves immediately. If a pet chews plant material and shows drooling, vomiting, pawing at the mouth, or distress, contact a veterinarian or ASPCA Animal Poison Control at (888) 426-4435.
Related Guides
- ZZ Plant care guide — complete care setup for light, water, soil, and troubleshooting
- ZZ Plant watering — how often to water and seasonal adjustments
- ZZ Plant light requirements — best placement for steady growth
- ZZ Plant soil guide — mix recipes and drainage setup
- ZZ Plant repotting — when and how to upsize
- How to water indoor plants the right way — dry-soil logic for all houseplants
- ZZ Plant care hub — full cluster with 27 problem-specific guides including overwatering and root rot
Conclusion
ZZ plant propagation rewards patience. Stem cuttings in water give you a clear view of the process and are the best starting point for beginners. Stem cuttings in soil skip the transplant shock. Leaf cuttings maximize output from a single stem but demand the most patience — 6 to 9 months or more. Root division is the fastest route when your plant is mature enough to split.
Every method follows the same core rules: start with healthy material, let cuts callus, keep moisture restrained, provide warmth and bright indirect light, and let rhizome time run its course. A ZZ plant that can survive forgotten waterings for weeks can also take months to build new roots. Give it the right setup, then step back — the plant knows what to do.