Rubber Plant Losing Leaves: 7 Causes and Fixes
Rubber plant losing leaves? Use this symptom-first guide to tell dry soil from root rot, correct light and drafts, treat pests, and prevent repeat drop.
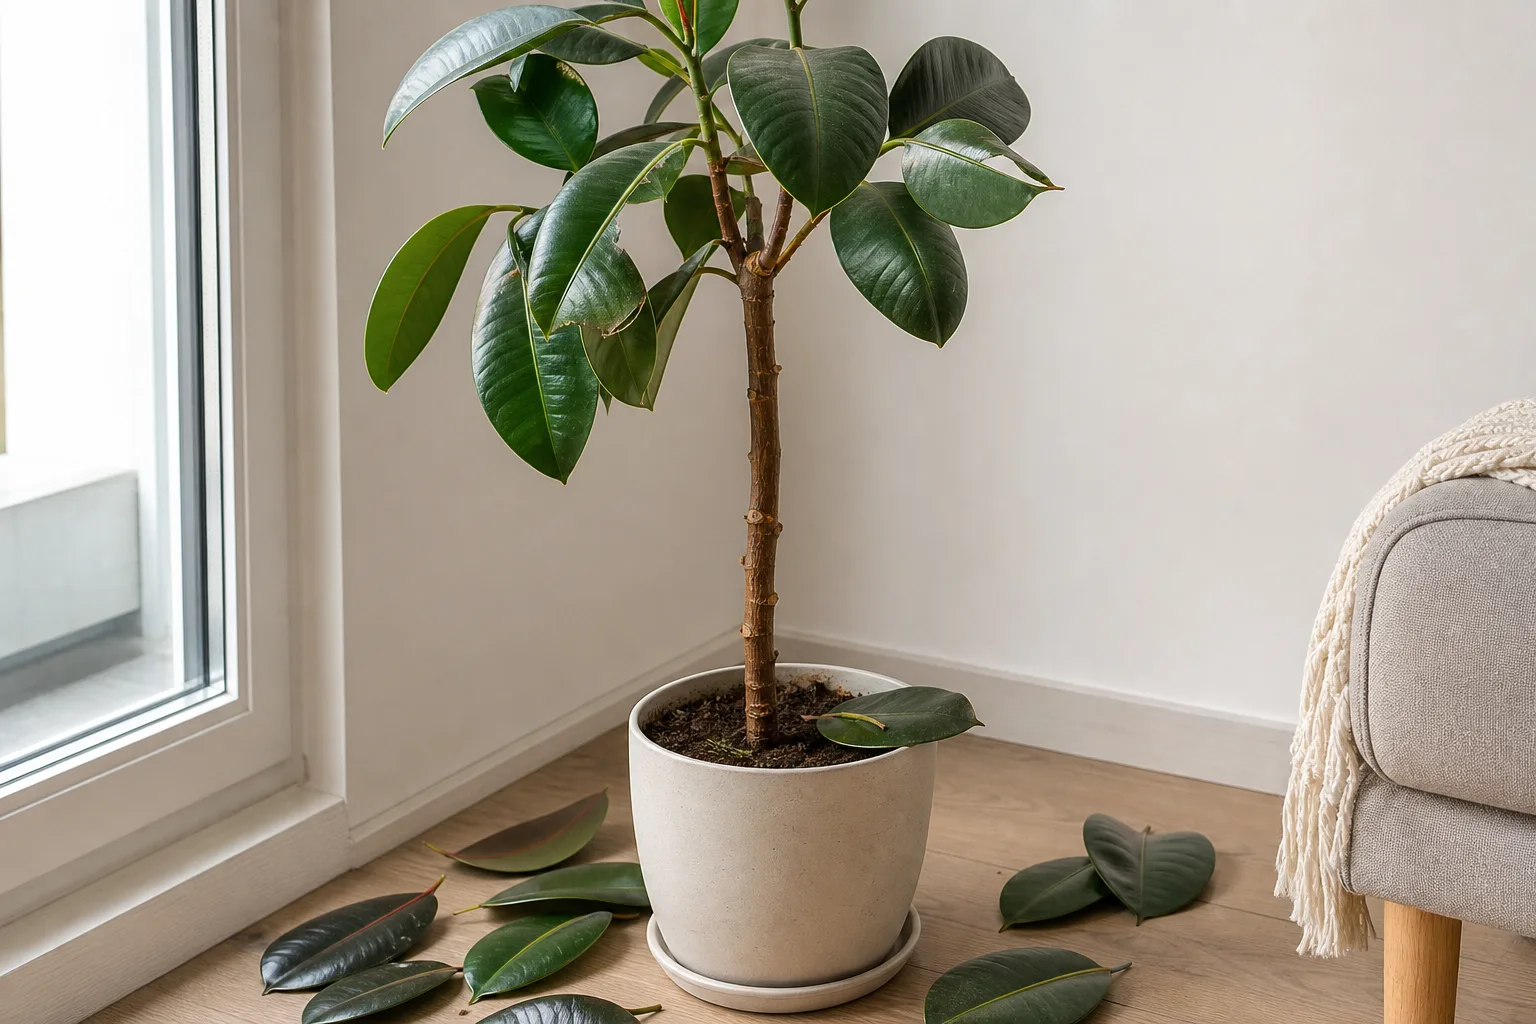
If your rubber plant is losing leaves, resist the reflex to water it more. Leaf drop is a response to stress, and the same symptom can come from bone-dry soil, roots that have been wet too long, low light, a cold draft, dry air, or sap-sucking pests. The fastest fix is to match the first action to the evidence in front of you.
Rubber plant usually means Ficus elastica, a tropical broadleaf evergreen with thick, glossy leaves. Extension references agree that it prefers bright filtered light, a root zone that dries slightly between thorough waterings, good drainage, and stable warmth (NC State Extension; Clemson Extension). When those conditions change sharply, the plant may sacrifice older leaves before it can support the whole canopy.
The short answer: occasional leaf drop is normal, but a pattern is a warning
One old lower leaf turning yellow and dropping on an otherwise firm, actively growing plant can be normal aging. NC State Extension specifically notes that some bottom leaves naturally yellow and fall. You do not need to rescue a plant for shedding one tired leaf.
The pattern is more informative than the leaf count. Several leaves falling within days, green leaves dropping after a move, leaves that become limp or crispy first, a sour-smelling pot, or visible pests all point to stress rather than routine turnover. A bare lower stem with healthy new growth at the top suggests a different problem from a plant whose stem base is soft and whose soil never dries.
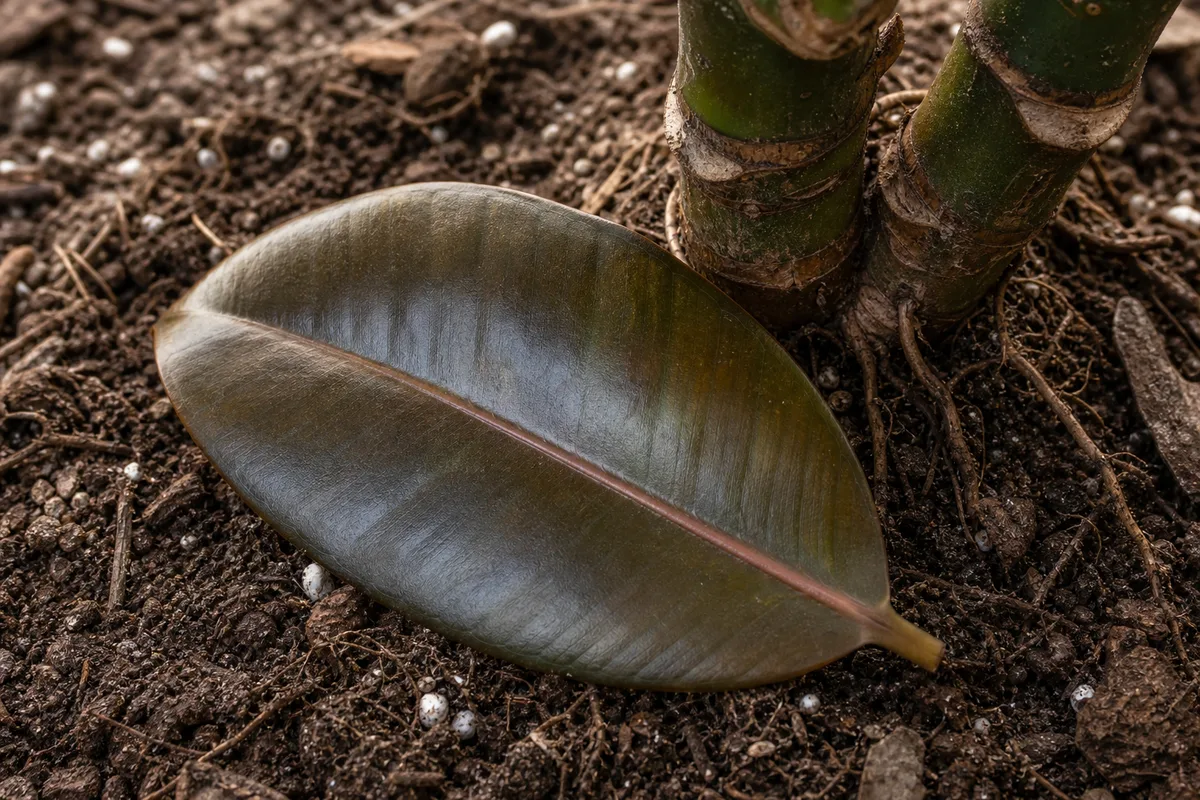
The good news is that leaf drop often stops once the trigger is corrected. The fallen leaves will not reattach, and a leaf already scorched, rotten, or fully crispy will not become healthy again. Your first recovery milestone is no new abnormal drop; fresh leaves come later and depend on season, light, and root health.
Run a five-minute triage before you water or move the plant
Do these checks in order. They keep you from treating the most visible symptom while missing the cause.
Read the leaves and soil together
Do not diagnose from yellow color alone. Feel the potting mix about 1 to 2 inches below the surface, then compare that moisture with the leaf texture and the timing of the drop.
| What you find | More likely explanation | First action |
|---|---|---|
| Dry mix several inches down; leaves thin, wrinkled, papery, or crisp | Underwatering or hot, dry air | Rehydrate slowly and thoroughly, then reset the check-before-watering routine |
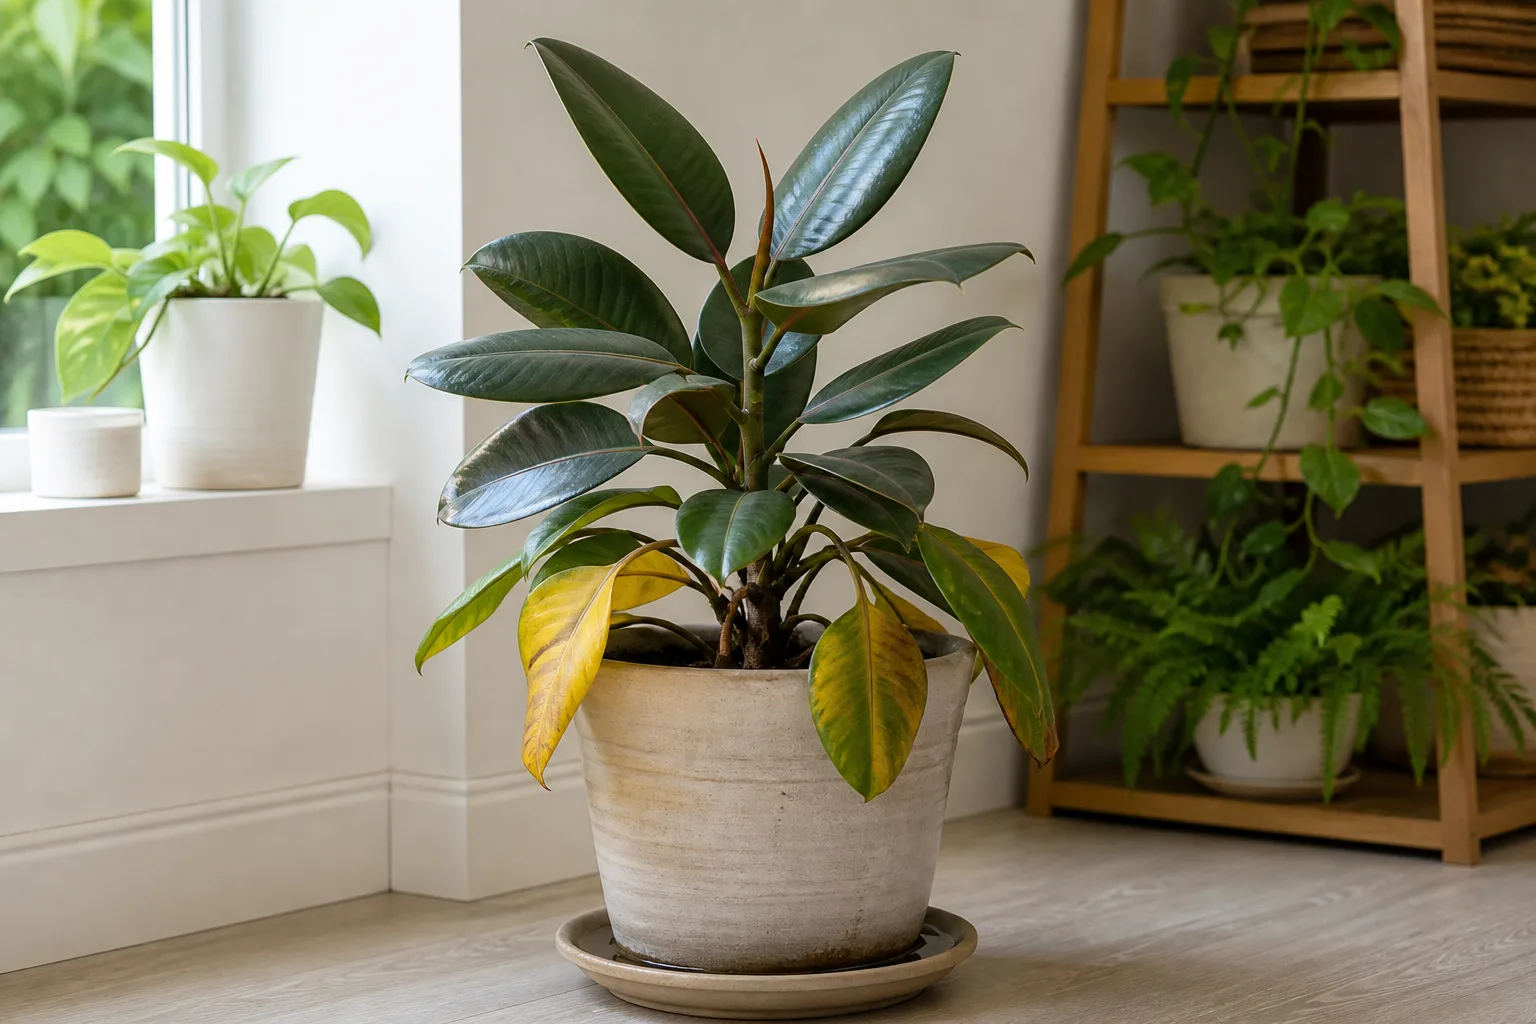
| Wet mix for many days; leaves yellow, limp, or unusually soft | Overwatering, poor drainage, or root damage | Stop watering, check drainage, and inspect roots if the pot stays wet or smells sour |
| Firm green leaves fall soon after a move or temperature change | Acclimation shock, cold air, or a draft | Return the plant to one stable, bright location and stop making extra changes |
| Fine pale speckling, webbing, brown bumps, or cottony clusters | Spider mites, scale, or mealybugs | Isolate the plant and inspect every leaf, stem, and node |
| One older lower leaf yellows while new growth is healthy | Normal aging | Remove the detached leaf and keep the routine steady |
This table is a starting point, not a substitute for checking the roots. A plant with root rot can look thirsty because damaged roots cannot move water, even while the pot is saturated. That is why wet soil plus limp foliage means “inspect,” not “water.”
Check recent changes and the plant’s location
Write down what changed during the week before the drop: a new room, a trip home from a nursery, a move outdoors or indoors, a new window, a missed watering followed by a heavy soak, a repot, a heater switching on, or a nearby air-conditioner vent. Timing is valuable evidence. Leaf drop that begins immediately after relocation is more consistent with environmental shock than with a pest that would have been building for weeks.
Look at the glass, vents, and floor around the pot. A bright window can be cold at night, while a heating vent can dry one side of the canopy even when the room’s average humidity seems comfortable. NDSU Extension’s rubber-tree guidance recommends bright indirect light away from vents, thorough watering followed by full drainage, and a stable location; it also advises keeping the plant away from drafts (NDSU Extension).
Inspect leaf undersides, stems, and the pot
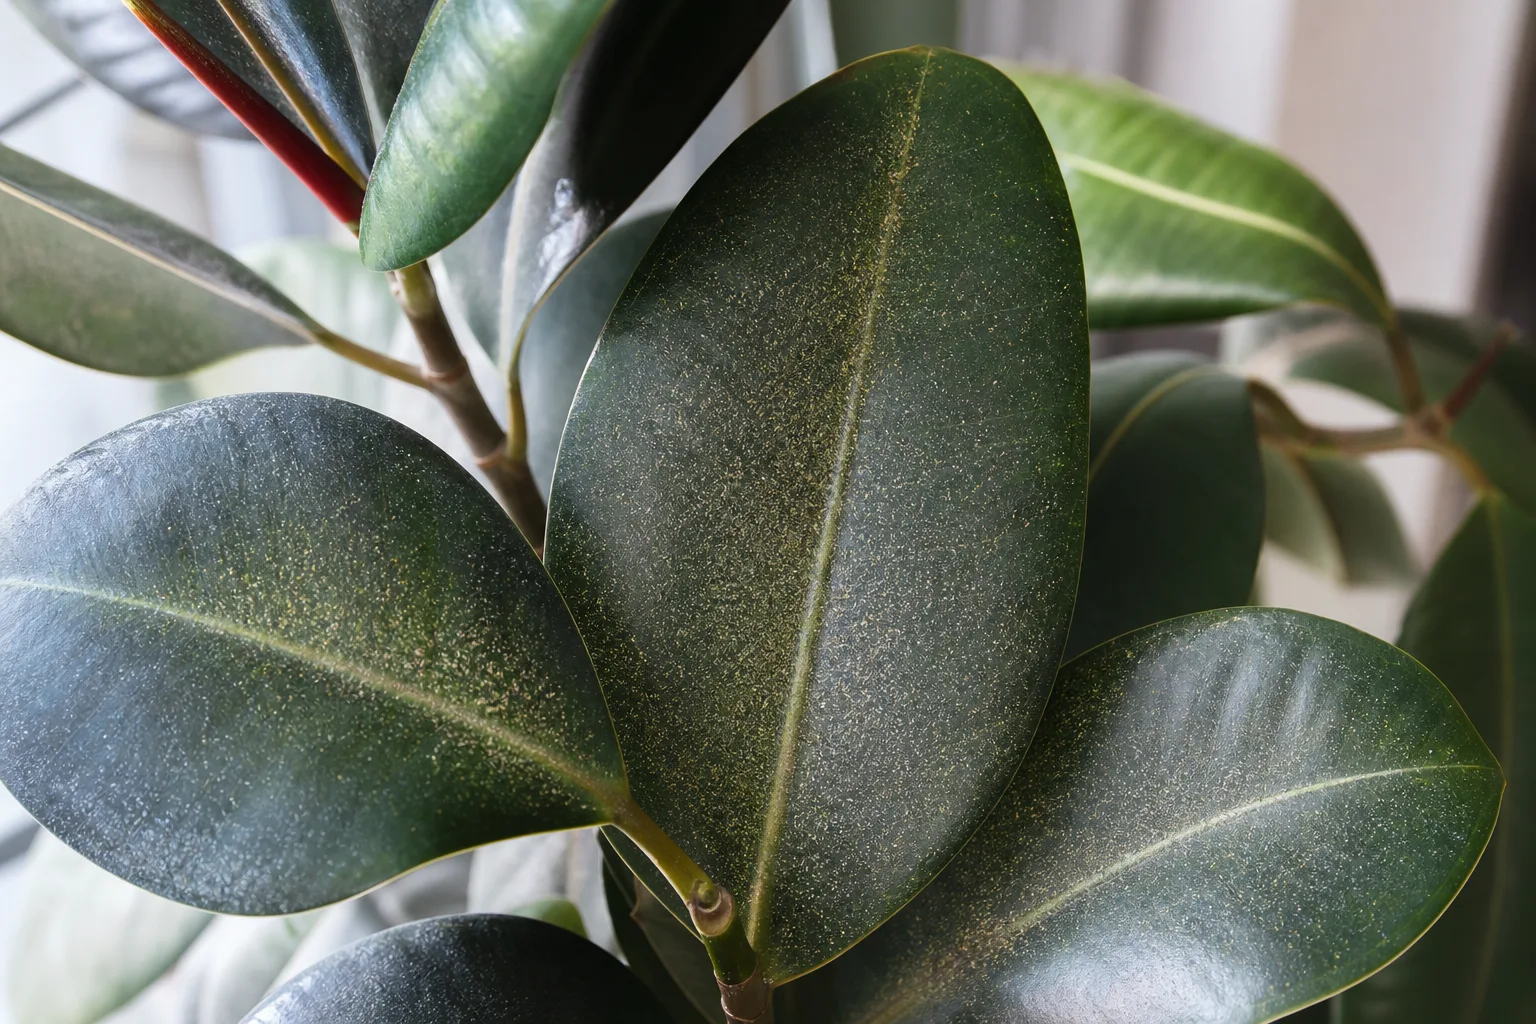
Turn over several leaves, especially those closest to the stem. Look for fine webbing and sand-like stippling, fixed brown or tan bumps, white cottony residue, sticky patches, shed skins, or clusters in leaf joints. Wipe a suspicious bump with a cotton swab; a scale cover may lift, while a scar or normal lenticel will not.
Then check the container. Confirm that it has open drainage holes, that the inner pot is not sitting in collected saucer water, and that the mix is not packed into a dense, airless mass. A decorative cachepot can hide standing water even when the top of the soil looks dry. The bottom of the root ball may still be saturated.
1. Underwatering dries leaves before they fall
An underwatered rubber plant usually gives you a texture clue before it drops foliage. Leaves may droop, curl inward, wrinkle, or develop dry brown edges; the potting mix feels dry below the surface and may pull away from the pot. Heat, bright light, a small root-bound pot, and a missed watering can make the decline faster.
The fix is a deep, controlled rehydration. Pour room-temperature water slowly over the soil until a little drains from the bottom. If water immediately runs down the gap between a shrunken root ball and the pot wall, place the pot in a shallow basin of water for about 20 to 30 minutes, then let it drain completely. Do not leave the pot standing in water afterward.
Once the plant is rehydrated, do not compensate with daily watering. Check the upper 1 to 2 inches of soil every few days while the plant is recovering, then extend the interval as the room cools or light decreases. Rubber plants use less water in slower winter growth than in a bright, warm growing season. A calendar can suggest when to check; it cannot tell you whether this pot has dried.
Remove leaves that are fully crispy or detached. Partly green leaves can still contribute energy, so do not strip the plant simply because an edge is brown. If the soil is dry but leaves remain limp after a thorough soak, investigate root damage or a pot that has become severely root-bound rather than watering repeatedly.
2. Overwatering damages roots beneath the soil
Overwatering is not just “too much water at one time.” It is a root zone that stays wet too long for the available light, warmth, pot size, and mix. Clemson Extension identifies overly frequent watering and slow-draining soil as major causes of root rot in rubber plants, while persistent wetness can also cause yellowing and leaf loss (Clemson Extension).
Watch for lower leaves turning yellow, a limp or water-soaked feel, slow growth, soil that stays wet for many days, or a sour or musty smell. The plant can wilt even in wet soil because damaged roots are no longer functioning normally. That “wet wilt” is the trap: another drink adds water without restoring the roots.
Stop watering while you confirm the diagnosis. If the mix is only slightly damp and the plant is otherwise firm, let it dry to the appropriate level and correct the routine. If it is saturated, smells sour, or the stem base is soft, move to a root inspection rather than waiting for the next leaf to fall.
How to inspect roots without guessing
Slide the plant from its pot over a protected surface. Healthy roots should feel firm and look white, tan, or light brown depending on the mix. Rotten roots are soft, collapsing, dark, or coated in slimy tissue; a sour smell strengthens the case but its absence does not rule rot out.
Trim only roots that are clearly dead with clean, sharp scissors. Remove as much clinging, waterlogged mix as you can without tearing firm roots. Repot into a clean container with drainage holes and fresh, airy potting mix. Choose a pot only slightly larger than the remaining root ball; a much larger pot holds extra wet mix around damaged roots and can restart the problem.
After repotting, place the plant in bright filtered light and stable warmth. Do not fertilize immediately, flood the new mix, or move the plant from room to room. A recovering root system needs oxygen and time more than it needs a stronger feeding. If the trunk or stem base is soft and collapsing, the chance of saving the original plant is lower; take healthy cuttings only if clean, uninfected material remains, and handle the milky sap carefully (Epic Gardening).

3. Poor drainage keeps the root ball wet
You can overwater a rubber plant without watering often if the container or mix cannot release moisture. A pot without a drainage hole, a blocked hole, a saucer that never gets emptied, compacted mix, or a nursery pot nested in standing water all create the same root problem.
Test the container after watering. Water should move through the mix and exit the bottom rather than pooling on top for minutes. Empty the saucer once drainage slows. If you use a cachepot, lift the inner pot to check for water hidden below it. Do not add a layer of gravel to the bottom of a pot as a substitute for a drainage hole; the root zone still needs a real outlet.
If the mix has collapsed into a dense, peat-heavy block, repot during active growth when practical. Use a well-draining houseplant mix, keep the root flare at the same height, and avoid packing the soil tightly around the stem. Clemson recommends a well-drained houseplant mix and proper drainage holes; RHS likewise recommends a suitable loam-based mix and moving established container plants into a slightly larger pot rather than an oversized one (RHS ornamental-fig growing guide).
The goal is not a pot that dries instantly. It is a pot that becomes moderately dry in the upper layer while the lower roots still have air. A terracotta container may dry faster than plastic, but it is not a cure for a waterlogged mix or a saucer full of water.
4. Low light makes the plant shed its lower canopy
Rubber plants tolerate some lower light, but prolonged dimness can slow growth and make the plant unable to support a large canopy. Typical clues include long gaps between leaves, a lean toward a window, dull foliage, small new leaves, and gradual loss of older lower leaves. Variegated cultivars need more light than solid green forms to maintain their cream, pink, or white markings.
Move the plant closer to a bright window rather than placing it directly against hot afternoon glass. An east-facing window is a useful starting point because it provides gentler morning light. South- and west-facing exposures may work a few feet back or behind a sheer curtain, especially in summer. RHS recommends bright indirect light, with only some gentle morning or evening sun tolerated by many ornamental figs (RHS ornamental-fig growing guide).
Increase light gradually if the plant has been in a dark corner. A sudden jump from dim indoor light to intense midday sun can scorch leaves and trigger another round of stress. If natural light is unreliable, a grow light on a consistent schedule can help, but keep it far enough away that leaves do not heat or bleach.
Low light also changes the watering equation. The same pot that dries in five days beside a bright window may remain wet for two weeks in a dark corner. Improve the light before increasing water, and recheck the soil after the move.
5. Temperature swings and drafts trigger sudden drop
Rubber plants prefer warmth, but the sudden change is often more damaging than a small difference in the room’s average temperature. Cold air from a frequently opened door, a drafty window, or an air-conditioner vent can chill foliage quickly. Hot forced air from a heater or radiator can dehydrate leaves on one side of the plant.
Clemson gives a useful indoor target of roughly 75 to 80°F during the day and 60 to 65°F at night, with protection from temperatures below 55°F, sudden drops, and cold drafts (Clemson Extension). You do not need to keep a room at one exact number, but you should avoid placing the pot where conditions swing every few hours.
If green leaves began falling after a move, choose a final location with bright filtered light and gentle air circulation. Pull the pot away from cold glass at night and keep it out of direct vent flow. If you are moving an outdoor plant indoors, acclimate it gradually when conditions allow; inspect for pests before bringing it near other houseplants.
There is no way to reverse a leaf that has already dropped from temperature shock. The useful response is to stop stacking changes. Do not repot, prune heavily, fertilize, and relocate in the same week; each makes it harder to see which condition is helping.
6. Low humidity speeds moisture loss in dry rooms
Rubber plants are more forgiving of ordinary household air than many tropical plants, but very dry air can magnify other stress. A plant in dry winter air, bright light, and under-watered soil loses moisture faster than one in a stable room with moderate humidity. Leaves may develop dry edges, curl, or drop after a heater or dehumidifier begins running.
Gardeners’ Path gives a practical moderate-to-high humidity range of about 40 to 60 percent, while Clemson notes that rubber plants prefer humidity but can tolerate the dry air common in homes (Gardener’s Path; Clemson Extension). That difference is a useful reminder: do not chase a number at the expense of drainage and light. Measure near the foliage with a hygrometer if the room feels unusually dry.
The most reliable adjustment is a small humidifier used in a room with airflow, positioned according to its instructions and cleaned regularly. Grouping plants can modestly raise the local humidity. A pebble tray may help close to the foliage, but the pot must sit above the waterline on the stones; the pot’s base should never stand in water.
Misting is temporary and can leave large leaves wet without meaningfully changing the room’s humidity. If leaf drop began beside a heater, first move the plant out of the hot air stream, then correct the watering and light. Humidity alone will not rescue roots that are already rotting.
7. Pests weaken leaves until they detach
Sap-feeding pests can cause leaf drop, especially when a plant is already stressed. NC State and Clemson list mealybugs, scale, and spider mites among the problems associated with rubber plants; aphids can also appear. Pests may cause pale stippling, curling, sticky honeydew, black sooty residue, distorted new growth, or gradual leaf loss (NC State Extension; Clemson Extension).
Isolate the plant before treating it. Inspect the undersides of leaves, midribs, stems, and nodes, then check nearby plants because mites and crawlers can spread before the damage is obvious. A heavy infestation can coexist with a watering problem, so correct the root-zone conditions as well as treating the insects.
Match the pest clue to the first treatment
Spider mites are tiny and often reveal themselves through fine webbing and many pale specks on the leaf surface. Rinse or wipe the foliage gently, especially underneath, then use a houseplant-labeled product according to its label. Reinspect and repeat only as directed; one treatment rarely reaches every life stage.
Scale looks like fixed brown, tan, or gray bumps on stems or leaves. Small numbers can be removed manually with a cotton swab, followed by careful monitoring. For a larger outbreak, choose a product labeled for scale on houseplants and follow the application directions exactly.
Mealybugs appear as white cottony clusters around nodes, leaf joints, or the midrib. Wipe visible insects away and keep the plant isolated. Insecticidal soap or horticultural oil can help when the label permits the use and the entire plant is covered as directed; test a small area first because stressed leaves and some products do not mix well.
Aphids cluster on tender new growth and can leave sticky residue. Wash them away when practical and continue scouting. Avoid mixing multiple pesticides or adding homemade concentrations. Clemson’s extension guidance stresses that pesticide products must be used according to the label, and registrations can differ by location (Clemson Extension).
A recovery routine that stops the cycle
Once you identify the most likely trigger, make the fewest changes that solve it. A rubber plant recovers better from one deliberate correction than from a week of alternating drought, soaking, relocation, fertilizer, and misting.
Use this order:
- Stabilize the location. Give the plant bright filtered light, stable warmth, and distance from vents, doors, and cold glass.
- Correct moisture. If soil is dry, rehydrate and drain. If soil is wet, stop watering and determine whether the container or roots are the reason it stays wet.
- Remove only dead material. Cut fully brown or rotten leaves with clean shears; keep partly green leaves when they are not diseased.
- Treat confirmed pests. Isolate, clean the foliage, apply only a labeled product if needed, and repeat inspection on the product’s schedule.
- Pause fertilizer after shock. Resume light feeding only when the plant is stable and actively producing growth; a stressed root system cannot use extra fertilizer safely.
What recovery looks like and when to escalate
A successful correction usually shows up in stages. First, the soil begins drying at a sensible rate and no new leaves fall. Next, the remaining leaves hold their shape and color. Only after the roots and growing point have stabilized should you expect a new leaf or bud to expand, and that can take several weeks or longer in low light or winter.
Inspect again if leaf drop continues for roughly two to three weeks despite stable care, if the stem base softens, if the pot remains wet far beyond the normal interval, or if a pest population is increasing. Persistent decline is a reason to unpot the plant and check roots rather than to add more water or fertilizer.
If most leaves are gone but the stem is firm and green, the plant may still recover from an environmental shock. Keep the growing point in suitable light and do not prune healthy bare stems in hopes of forcing instant leaves. If the roots or trunk are extensively rotten, save clean cuttings only from healthy tissue and discard contaminated mix rather than spreading the problem to other pots.
Prevent the next round of rubber plant leaf drop
Build the routine around observations, not a fixed weekly promise. Check the soil before watering, soak thoroughly, and empty the saucer. Recheck after a change in season, a move to a brighter or dimmer room, or a repot because those events change how quickly the root ball dries.
Keep the plant in bright filtered light with gentle morning sun if it tolerates it. Rotate it occasionally for even growth, but do not keep relocating it. Protect it from temperatures below the low- to mid-50s, cold drafts, heating blasts, and sudden outdoor-to-indoor transitions.
Wipe dust from the large leaves with a damp soft cloth so you can see pests early. Inspect new plants before they join a collection. If the plant is variegated, give it enough light to hold its pattern without jumping straight to harsh afternoon sun.
Repot when roots fill the container, the mix has broken down, or drainage has become unreliable, preferably during active growth. Move up only slightly in pot size. Prune for shape in spring or summer when possible, wear gloves because the latex sap can irritate skin, and clean your shears before and after the cut.
The best prevention is boring but effective: stable light, a breathable root zone, thorough watering at the right time, empty saucers, and fewer sudden changes. Those basics address more leaf-drop cases than any single tonic, misting schedule, or rescue product.
Conclusion: stabilize the roots and environment first
Rubber plant leaf drop is a symptom, not a diagnosis. One aging lower leaf can be normal; repeated loss usually points to one of seven pressures: underwatering, overwatering, poor drainage, low light, temperature swings, low humidity, or pests.
Start with the soil and roots, then check recent changes, light, air movement, and the undersides of leaves. Dry soil with crispy foliage needs a thorough drink; wet soil with yellow or limp leaves needs a drainage and root check. Green leaves falling after a move need stability, not a new room every day.
Once you correct the matching cause, give the plant time. The first sign of recovery is that abnormal drop stops; new leaves follow when healthy roots, light, and warmth give the growing point enough energy to rebuild the canopy.



