Spider Mites on Houseplants: Signs and Treatment
Spider mites are microscopic sap-feeding pests that can multiply rapidly in warm, dry indoor environments. They puncture leaf cells and suck contents, leaving pale speckling, dull color, and eventual bronzing. Because they are tiny, infestations are often advanced before they are noticed. Fine webbing between leaves and stems is a late warning of significant population pressure. Control success depends on early detection, repeated treatment, and environmental correction. A single spray is rarely enough because eggs hatch in cycles. Washing foliage, improving humidity, and applying contact controls at proper intervals can break the outbreak. Isolate affected plants immediately to limit spread. Even after mites are eliminated, damaged leaves may remain mottled, so evaluate recovery by cleaner new growth and reduced stippling over several weeks.
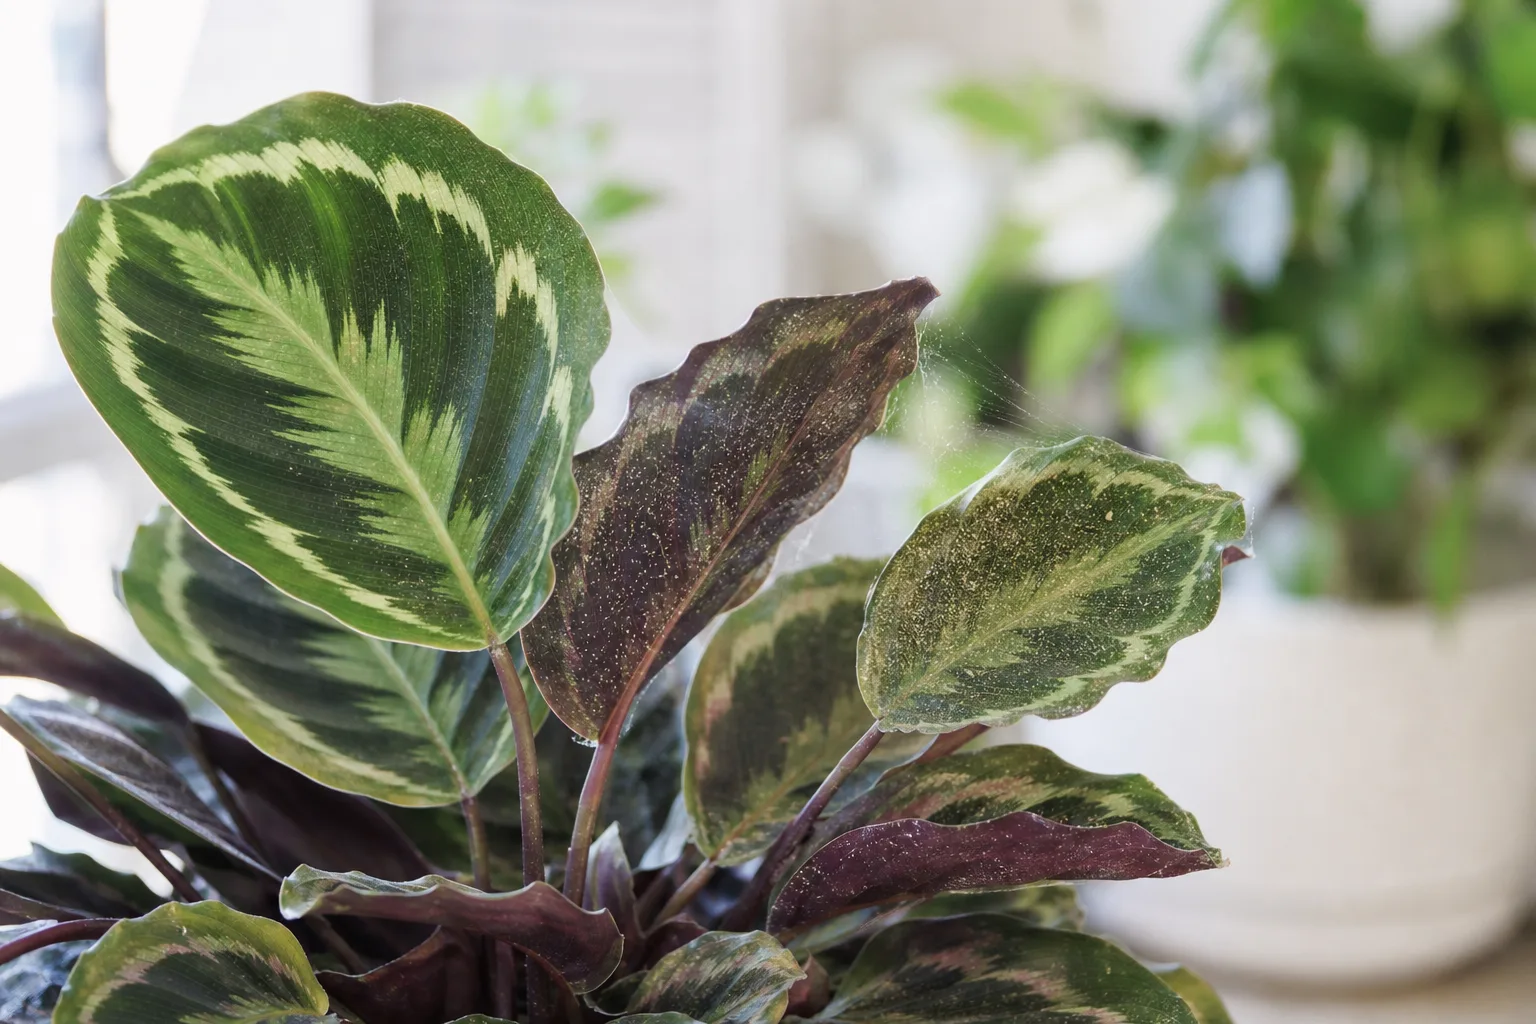
Spider Mites on Houseplants
Still unsure?Match your symptoms to the most likely problems in under a minute.Run diagnosis →Understand and fix spider mites
Fine stippling on leaves with tiny webbing on undersides and node joints strongly indicates spider mites, especially in warm, dry indoor air.
Overview
Spider mites are microscopic sap-feeding pests that can multiply rapidly in warm, dry indoor environments. They puncture leaf cells and suck contents, leaving pale speckling, dull color, and eventual bronzing. Because they are tiny, infestations are often advanced before they are noticed. Fine webbing between leaves and stems is a late warning of significant population pressure.
Control success depends on early detection, repeated treatment, and environmental correction. A single spray is rarely enough because eggs hatch in cycles. Washing foliage, improving humidity, and applying contact controls at proper intervals can break the outbreak. Isolate affected plants immediately to limit spread. Even after mites are eliminated, damaged leaves may remain mottled, so evaluate recovery by cleaner new growth and reduced stippling over several weeks.
Spider Mites patterns: what you see vs. likely cause
Match your plant to the closest pattern, then start with the first step before trying other fixes.
| What you see | Likely cause | First step |
|---|---|---|
| Fine webbing on leaf undersides | Spider mite colony in dry conditions | Shower foliage; apply insecticidal soap every 5–7 days |
| Stippled yellow dots; no webbing yet | Early mite feeding | Isolate plant; increase humidity and begin soap treatments |
| Mites on plants near heating vents | Warm, dry air favors reproduction | Move plant and run humidifier; repeat treatments 3× minimum |
| Spreading to multiple plants on a shelf | Contagious infestation | Quarantine all affected plants; treat entire collection |
How to identify it
- Tiny pale stippling appears across upper leaf surfaces.
- Leaf undersides show moving specks under magnification.
- Fine silk webbing at petiole joints or leaf tips.
- Leaves become dusty, dull, or bronze over time.
- Infestation worsens in hot, dry rooms.
- Nearby plants show similar speckling after exposure.
When to worry
Escalate quickly if webbing is visible across multiple leaves, new growth is deformed, or leaf drop begins despite treatment.
Common causes
Low humidity environments
Dry air favors rapid mite reproduction and weakens plant defenses, accelerating visible damage.
High indoor temperatures
Warm conditions shorten mite life cycles, allowing explosive population growth in days.
Lack of routine inspection
Early colonies on leaf undersides are easy to miss, enabling spread before symptoms are obvious.
Plant-to-plant crowding
Dense canopies and touching leaves allow mites to migrate quickly across a collection.
Stressed host plants
Underwatered or light-stressed plants are less resilient and show faster decline under mite feeding.
Step-by-step fix
Isolate infested plants
Move affected plants away from the collection immediately to reduce cross-contamination.
Physically wash foliage
Rinse leaf undersides thoroughly with lukewarm water to remove mites, webbing, and debris before treatments.
Apply repeat contact treatment
Use insecticidal soap or horticultural oil every 5-7 days for at least 3 cycles to target new hatchlings.
Increase ambient humidity
Raise humidity to reduce mite-favorable conditions while maintaining airflow to prevent fungal issues.
Prune severely damaged leaves
Remove heavily infested foliage to lower pest load and improve spray coverage.
Monitor adjacent plants
Inspect nearby plants weekly with a magnifier for early stippling so you can treat quickly if needed.
Prevention tips
- Inspect leaf undersides weekly, especially in dry seasons.
- Maintain moderate humidity and avoid excessive heat pockets.
- Quarantine and treat new plants before placement.
- Rinse foliage periodically to discourage early colonies.
- Keep spacing between plants for airflow and inspection access.
Common mistakes
- Stopping treatment after one visible improvement.
- Spraying only top leaf surfaces.
- Ignoring nearby plants that seem symptom-free.
- Using strong oils in direct sun and causing leaf burn.
Related care topics
These care guides help prevent repeat issues once you have treated the immediate problem.
The first clue is often not a mite. It is a Calathea leaf that looks dusty despite being clean, a scatter of pale pinpricks near a vein, or a fine thread stretched between a petiole and the leaf blade. By the time dense webbing is obvious, the infestation may already occupy several leaves and the neighboring plants deserve inspection too.
Spider mites on houseplants are tiny plant-feeding arachnids that remove cell contents from foliage, producing pale stippling, dull bronzing, yellowing, and eventually leaf drop. The most reliable response is a sequence: confirm live mites, isolate the plant, physically remove as many as practical, apply a suitable labelled treatment with complete coverage, and inspect repeatedly until you stop finding moving mites or fresh damage.
The sequence matters more than any miracle ingredient. A treatment that misses the leaf undersides, folded new growth, petiole joints, or the next hatch of mites can appear successful for a few days and then fail. A careful plan also protects delicate houseplants from unnecessary spraying when the “mites” turn out to be dust, thrips, or harmless spider webbing.
How to Identify Spider Mites on Houseplants
Spider mites belong to the mite family Tetranychidae. They are related to spiders and ticks rather than insects, and adults have eight legs; newly hatched larvae have six. Adult females are still less than 1/20 inch long, so to an unaided eye they usually look like moving cream, greenish, amber, red, or dark specks rather than recognizable animals. UC IPM recommends a 10× hand lens for seeing their oval bodies, eggs, and activity on the undersides of leaves (UC Statewide IPM).
The two-spotted spider mite, Tetranychus urticae, is an especially important houseplant pest and feeds on a wide range of hosts. Color is a poor standalone test because mite appearance changes with species, age, diet, and season. Movement, feeding damage, eggs, and fine silk in the same area make a much stronger diagnosis.
Start where mites prefer to feed: the underside of an older or middle leaf, especially near the midrib and branching veins. Then inspect sheltered junctions where leaves meet petioles, tight foliage, and the side of the plant facing a warm bright window. Look at several leaves; an early colony can be patchy, while a heavy population spreads across the canopy.
What Early Damage Looks Like
Spider mites pierce surface cells and consume their contents. Each feeding point leaves a tiny pale mark, and many marks merge into a sandblasted or faded area called stippling. Colorado State University Extension describes the progression from light flecking to gray or bronze discoloration, scorching, premature leaf loss, and serious plant stress when populations become severe (Colorado State University Extension).
On a dark green leaf, early stippling may look like flour dust that will not wipe away. On a variegated or patterned plant such as Calathea, the first change may be a loss of contrast or a muted patch rather than obvious white dots. Turn the leaf over: mites and translucent round eggs may be concentrated directly beneath the discolored patch.
Fresh damage matters more than old scars when you judge treatment. Stippled tissue does not refill with chlorophyll after the mites die, and bronzed leaves may remain unattractive for the rest of their life. Mark the edge of a damaged patch with a photo, note which leaves are affected, and watch for expansion or new stippling on younger leaves.
Webbing usually becomes conspicuous later, although some colonies produce it before the plant looks severely damaged. Fine silk may hug a vein, bridge a leaf fold, or form a gauzy layer beneath the blade before it stretches between leaves. In a heavy infestation, mites, cast skins, and eggs can be suspended within the web.
The White-Paper Test
When the specks are too small to identify on the plant, use the tap test. Hold a clean sheet of white paper beneath a suspect leaf, tap the leaf or petiole sharply several times, and wait. Dust stays still; live mites begin to crawl. Purdue Extension identifies that movement across the paper as the feature that most clearly separates mites from grit shaken off the plant (Purdue Extension).
Use a hand lens or phone macro lens to examine the dots. Spider mites tend to move steadily and may leave a faint smear if pressed, but color alone is not decisive. Repeat the test over several leaves and compare the suspect plant with a healthy plant from another room so ordinary potting debris does not become evidence.
A negative test does not always clear the plant. A very small colony may stay attached, and eggs do not move. If the leaf shows convincing fresh stippling, inspect the underside in bright side lighting and test again in two or three days before applying a pesticide “just in case.”
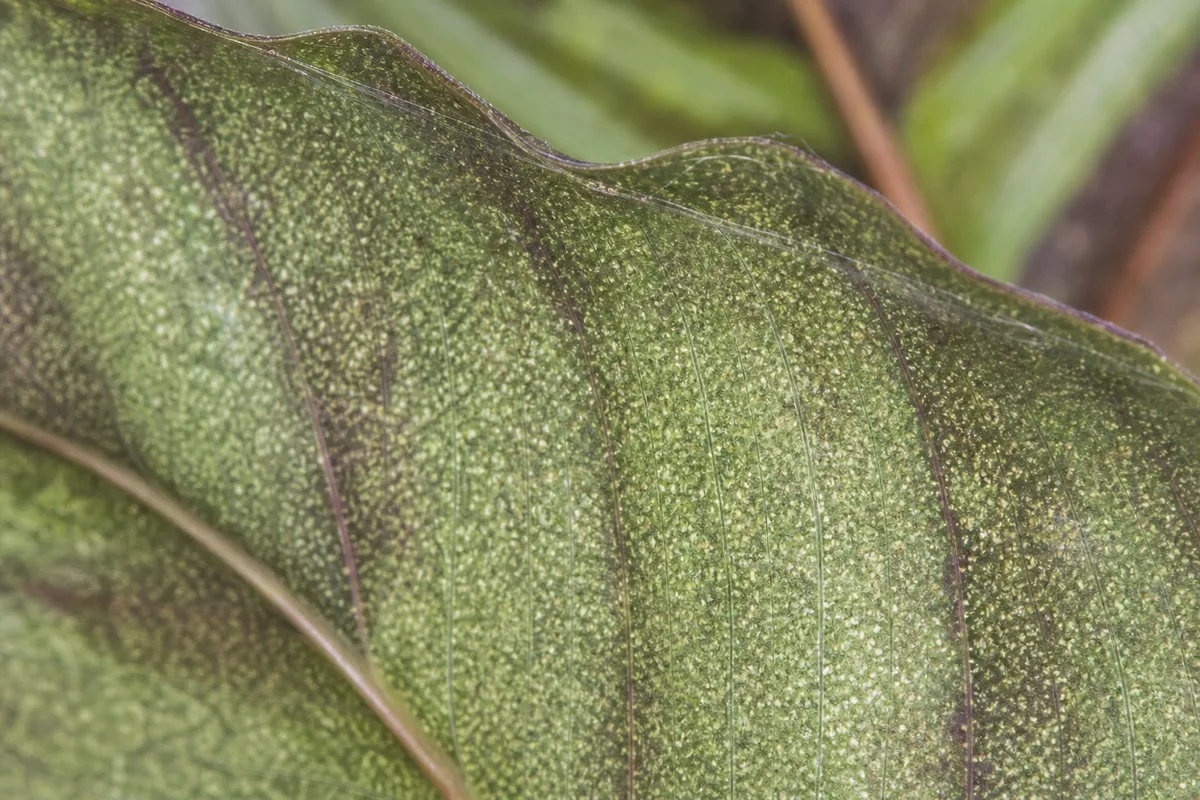
Spider Mites vs Thrips, Dust, and True Webs
Several houseplant problems create pale or silvery leaves, but their evidence differs. Thrips scrape and feed on leaf tissue, often leaving irregular silver scars, distorted new growth, and tiny dark fecal spots. Spider-mite injury is usually finer and more evenly stippled, with mites clustering on leaf undersides and silk appearing as the population grows.
Mineral residue and dust sit on the surface and can usually be reduced with a damp wipe; feeding injury remains inside the leaf. Edema, sun injury, nutrient problems, and leaf aging can also discolor foliage, yet none produces moving specks in a paper test. Diagnosis should join the symptom to the organism rather than selecting a treatment from leaf color alone.
| Evidence | Spider mites | Thrips | Dust or mineral residue |
|---|---|---|---|
| Typical damage | Fine pale stippling, dull bronzing | Irregular silver scarring, distortion | Surface haze without tissue injury |
| What moves | Tiny rounded dots, often beneath leaves | Slender insects, often faster and more visible | Nothing |
| Extra clues | Fine silk, round translucent eggs | Black fecal specks, damaged new growth | Wipes or rinses away |
| Best confirmation | Hand lens plus white-paper tap test | Hand lens, sticky card, direct sighting | Damp-cloth test |
Sticky cards can help reveal winged thrips but are not a dependable way to measure a spider-mite colony living on leaves. Likewise, changing fertilizer will not remove a confirmed pest. Use the evidence to choose the tool: physical and contact control for spider mites, a thrips-specific plan for thrips, and simple cleaning for residue.
Why Webbing Alone Is Not Proof
True spiders can build loose, strong strands around a pot or between stems without feeding on the plant. Their webs usually span larger gaps and may contain an identifiable spider, prey remains, or an organized sheet or orb. Spider-mite silk tends to cling closely to leaves, veins, and growing tips, with stippling and tiny mites beneath it.
Cottony mealybug wax, airborne lint, pet hair, and fine roots caught on foliage can also resemble webbing in a photograph. Colorado State notes that spider webs and windblown plant fluff are often confused with mite webbing. Confirm by examining the plant tissue under and beside the material; silk plus fresh feeding damage and moving mites is persuasive, silk alone is not.
Do not spray a harmless house spider simply because its web touches a plant. It is not causing stippling and may catch flying pests. Remove the web only if it obstructs inspection, then look for the much finer, close-fitting silk associated with a mite colony.
Why Spider Mites Multiply So Quickly Indoors
A typical webspinning spider mite develops through egg, six-legged larva, nymphal stages, and adult. Under favorable heat and food conditions, UC IPM reports that a generation can be completed in less than a week. Colorado State gives a broader one-to-two-week life cycle for two-spotted spider mites under favorable houseplant conditions, a useful reminder that temperature and conditions change the timetable rather than obeying one fixed number.
That speed turns a small missed colony into visible damage quickly. Mature females place round eggs along veins and within protected webbing, and the young begin feeding after hatch. Warm indoor rooms allow activity to continue when outdoor conditions might otherwise interrupt it.
Dry conditions favor many spider mites, but “they only occur in dry homes” is too simple. A humid bathroom can still receive mites on an infested plant, and raising humidity does not sterilize leaves. Warmth, host suitability, plant stress, colony size, and treatment history all affect the outcome.
Indoor infestations commonly arrive on a purchased plant, cutting, or specimen returned from a balcony or garden. Once established, mites can crawl between touching leaves; when a host declines, adult females can also disperse on air currents (UC Statewide IPM). Treat the plant and inspect its immediate neighborhood rather than focusing on the worst leaf.
Why Eggs and Hidden Mites Cause a Rebound
Spider-mite eggs are small, immobile, and easy to miss among leaf hairs and veins. Many contact treatments work only where the liquid reaches, and a webbed pocket, folded leaf, or dense crown can shelter mites from the spray. A product may reduce exposed adults while leaving enough eggs or hidden individuals to rebuild the colony.
This is why “I sprayed once and they came back” often describes incomplete control rather than a new invasion. The visible adults fell, the plant looked cleaner, and then another cohort appeared. Repeat inspection is designed to catch survivors and newly emerged mites before they mature and reproduce.
Old webbing can remain after control, so it is not a perfect activity gauge. Remove accessible silk during washing, photograph persistent damage, and use the paper test to look for live movement. Fresh stippling on a previously clean leaf is stronger evidence of continuing feeding than an old thread at a stem joint.
What to Do the Moment You Confirm Spider Mites
Move promptly but do not panic-spray the whole collection. First contain the confirmed plant, then inspect every plant that touched it or shared the same shelf, windowsill, watering area, or recent transport. A plant with live mites needs action; an exposed plant needs close monitoring unless you also confirm the pest.
Choose a treatment area that can be cleaned, such as a shower, bathtub, utility sink, or sheltered outdoor space permitted by the product label. Keep runoff away from food-preparation surfaces, aquariums, pets, children, and other plants. Gather a hand lens, white paper, clean cloths, a bag for prunings, and any product you intend to use before moving back through the collection.
| What you find | Proportionate next step |
|---|---|
| Suspicious stippling, no live mites | Retest several leaves before treating |
| A few live mites, little webbing | Isolate, wash carefully, then monitor |
| Live mites across several leaves | Isolate, remove heavily occupied foliage, and use a labelled contact treatment if washing is insufficient |
| Dense webbing and a failing crown | Protect the collection; disposal may be more practical than rescue |
Isolate the Plant and Map the Infestation
Isolation reduces leaf-to-leaf movement and gives you a controlled place to repeat treatment. A separate room is ideal, but physical distance and a non-touching position are still useful when space is limited. Do not crowd several infested plants into a dense “quarantine jungle”; touching foliage makes coverage harder and allows mites to move between hosts.
Map the infestation before you wash it away. Record which leaves test positive, whether mites occur on only one plant or several, and whether fresh growth is affected. This baseline tells you whether the next inspection is finding improvement, a missed pocket, or continued spread.
Inspect nearby plants twice: once immediately and again over the following weeks. Focus on susceptible thin-leaved plants, warm window positions, and any canopy that touched the infested specimen. Montana State University Extension recommends quarantining infested houseplants and notes that badly infested plants may need disposal before they infest others (Montana State University Extension).
Do not carry the plant from room to room for casual checks. Treat, monitor, and water it in a predictable area, and wash your hands after handling foliage. Clean cutting tools before using them on another plant.
Wash, Wipe, and Prune Before Spraying
Physical removal gives every later treatment less work to do. Support the pot, protect the soil surface if necessary, and rinse the foliage with a firm but plant-safe stream of lukewarm water. Direct the spray especially at leaf undersides and petiole junctions; Colorado State calls periodic washing with a vigorous jet particularly effective for dislodging spider mites and aphids (Colorado State University Extension).
For broad, sturdy leaves, follow with a damp cloth, using a clean section for each pass. Do not scrub velvety, fragile, unfurling, or easily bruised foliage. A soft artist’s brush can help move silk from a crevice, but aggressive cleaning can turn pest damage into mechanical damage.
Prune a leaf when it is mostly dead, densely webbed, impossible to treat, or acting as a major reservoir. Keep enough functional foliage for recovery; stripping every marked leaf may remove far more photosynthetic area than the mites did. Seal discarded material in a bag instead of walking uncovered prunings through the plant room.
Water washing can sharply reduce numbers, but it is not always a complete cure. UC IPM includes forceful water sprays among useful management tools and emphasizes reaching the undersides. Resume the paper test after the plant dries, then decide whether continued washing or a labelled contact product is justified.
A Treatment Plan That Breaks the Cycle
An effective plan has five parts: knock down the population, cover the hiding places, repeat according to evidence and the label, protect the plant from treatment injury, and verify the endpoint. The best option is the least hazardous method that can realistically reach the colony on that particular plant.
For a small early infestation on washable foliage, repeated rinsing and wiping may be sufficient. For a larger population, labelled insecticidal soap or horticultural oil can add contact control. A valuable greenhouse-style collection may justify compatible predatory mites, while a collapsing, heavily webbed plant beside rare specimens may be safer to discard.
Using Insecticidal Soap or Horticultural Oil
Commercial insecticidal soap and horticultural oil can suppress spider mites when they directly contact the pest. They have little value as a ceremonial mist over the top of the canopy. Spray coverage must include leaf undersides, petioles, stem junctions, and other occupied surfaces without leaving the plant sitting in a puddle of runoff.
Read the full current label before purchase and again before mixing or applying. Confirm that the product permits the intended plant, pest, and indoor or houseplant setting. The U.S. EPA explains that a pesticide label is legally enforceable and that users must follow its directions and precautions (U.S. Environmental Protection Agency).
Spot-test one or two leaves and wait the label-directed observation period before treating the whole plant. Soaps and oils can mark or burn sensitive foliage, especially when a plant is water-stressed, the dose is wrong, or conditions are hot and bright. UC IPM advises against applying soaps or oils to water-stressed plants or in very hot conditions and notes that excellent underside coverage is essential because these materials act by contact.
“Neem oil” is not one uniform remedy. Products differ in active ingredients, concentration, formulation, and approved uses. Use a registered, labelled product rather than mixing kitchen oil, detergent, alcohol, peroxide, or essential oils into an improvised spray whose plant safety and effective dose are unknown.
Move a treated plant out of intense direct sun while the foliage dries if the label directs it, and provide ventilation without blowing spray around the home. Never assume “natural” means harmless to eyes, skin, pets, aquatic life, beneficial organisms, or tender leaves. Label precautions apply regardless of marketing language.
Special Care for Calathea Leaves
Calathea and other prayer plants make early damage easy to miss because stippling can blend into patterned foliage. Thin leaves can also show marks from forceful rinsing or a poorly tolerated spray, so use the gentlest pressure that still dislodges mites. Do not scrub an unfurling leaf.
Treat representative leaves first and wait the product label’s test interval before expanding coverage. Keep an untreated reference leaf in your photo log: new speckling on both treated and untreated areas suggests continuing mites, while damage confined to sprayed tissue may indicate phytotoxicity. The comparison is imperfect, but it discourages repeat spraying merely because old leaves remain blemished.
Timing Repeat Treatments
There is no responsible universal instruction to spray every three, five, seven, or fourteen days with every product. The interval depends on the label, active ingredient, mite stage affected, indoor temperature, plant tolerance, and whether live mites remain. Follow the label’s minimum interval and maximum number of applications; do not intensify the schedule because the old leaf scars are still visible.
Build inspection into the schedule. Before each permitted repeat application, tap representative leaves over white paper and inspect new growth and leaf undersides. If live mites remain, retreat according to the label and improve coverage. If you find no moving mites and no fresh stippling, continue monitoring rather than spraying indefinitely.
Use the same sample leaves or marked canopy zones at each check. A simple log—date, leaves tested, live mites seen, treatment used, and any leaf injury—prevents guesswork. Continue watching nearby plants after the treated plant appears clear because a small satellite colony may have developed separately.
Do not rotate products casually as if more ingredients automatically create better control. Repeated exposure to poorly chosen pesticides can injure the plant, increase household exposure, and disrupt natural enemies; some broad-spectrum insecticides can even worsen mite problems. UC IPM warns that certain organophosphate and pyrethroid insecticides often kill mite predators and may be followed by population spikes.
When Predatory Mites Make Sense
Predatory mites are living biological-control agents that feed on pest mites. They can work well in an indoor grow room, greenhouse cabinet, conservatory, or larger plant collection where temperature, humidity, timing, and food supply can be managed. They do not feed on the houseplant, and they do not become a replacement pest.
Species selection matters. Some predators perform better in warm dry conditions, while others need higher humidity or a particular pest density; Colorado State Extension identifies several commercially produced species and notes that supplier guidance is important (Colorado State University Extension). Buy from a reputable insectary, describe the environment and infestation, and follow its release and storage directions promptly because the organisms are perishable.
Do not combine predators blindly with pesticide residues. A spray that kills pest mites may also kill the organisms you release, and oils or soaps can contact predators just as they contact pests. Ask the supplier about compatibility and waiting periods, and reduce a very heavy infestation mechanically before release when advised.
Biological control is less convenient for a single windowsill plant that is moved frequently or repeatedly washed. It also does not erase old damage. Treat it as a management system involving monitoring and suitable conditions, not as a packet of invisible workers that guarantees eradication.
Common Mistakes and When to Discard a Plant
The most common failure is incomplete coverage followed by premature celebration. Spraying visible upper leaves leaves the real colony under the canopy. A second failure is treating damage rather than mites: bronzed tissue remains bronzed, so repeated spraying after the population is gone only adds phytotoxicity risk.
Repotting is usually not the central treatment because spider mites primarily occupy foliage, not potting mix. Replacing soil can stress an already weakened plant without removing mites and eggs from its leaves. Clean the pot exterior and shelf, but reserve repotting for an independent substrate or root problem.
Humidity is supportive care, not a standalone cure. Avoiding excessively hot, dry stress may slow favorable conditions and help the plant tolerate injury, but a pebble tray or humidifier does not reliably remove a confirmed colony. Raising humidity too far without air movement may create separate leaf-disease problems.
Homemade detergent, alcohol, essential-oil, or peroxide recipes are another avoidable risk. Household detergents are not formulated or labelled as plant pesticides and can strip protective leaf waxes. A commercial product still requires a spot test; a kitchen mixture provides even less certainty about dose, residue, and plant sensitivity.
Discarding can be the rational choice when nearly every growing point is webbed, most foliage is nonfunctional, the plant repeatedly tests positive despite careful treatment, or treatment access is impossible. It is also reasonable when an inexpensive replaceable plant threatens a valuable nearby collection or when the time, isolation space, and exposure required exceed the plant’s value to you.
Bag the plant and substrate where it stands, close the bag, and clean the shelf and nearby pots. Do not donate, compost, or place an actively infested plant in a shared hallway. If a healthy node or cutting is worth saving, inspect it under magnification and understand that propagation material can carry mites and eggs too.
Preventing Spider Mites From Returning
Prevention begins at the door. Inspect every new plant in strong light, tap several leaves over white paper, and quarantine it away from the collection long enough to repeat the inspection. Check cut flowers, outdoor summer plants, and borrowed tools as possible pathways rather than focusing only on nursery purchases.
Make leaf inspection part of ordinary care. Each time you water, glance beneath a few leaves and notice whether their color, sheen, or texture has changed. Wipe dust from smooth-leaved plants and periodically rinse species that tolerate it, because clean foliage makes early stippling and moving mites easier to see.
Keep plants appropriately watered and lit for their species. Water stress can increase the severity of mite damage, while chronically wet potting mix creates different health problems and is not a sensible mite treatment. The goal is a resilient plant, not a permanently soggy one.
Give foliage enough space that leaves do not form a continuous bridge across the shelf. Clean shears between plants, avoid carrying infested prunings through the collection, and inspect a plant before returning it indoors after a warm season outside. If a plant had mites before, watch it closely during warm indoor periods rather than assuming one clean month makes recurrence impossible.
Retain records for difficult cases. A photo and brief treatment log reveal whether the same plant truly relapses, a nearby colony reseeds it, or old cosmetic damage is being mistaken for current feeding. Prevention becomes much easier when you can distinguish a new moving mite from a scar left by the last infestation.
Conclusion
Success with spider mites on houseplants starts with proof. Fine stippling and tight silk raise suspicion, but a hand lens and white-paper tap test confirm whether moving mites are present. Once confirmed, isolate the plant, inspect its neighbors, wash away as much of the population as the foliage can tolerate, and choose the least hazardous labelled treatment that can reach every occupied surface.
Expect control to be a process rather than a dramatic one-time spray. Eggs, hidden mites, and incomplete coverage explain many rebounds, while old leaf scars can falsely suggest failure after the colony is gone. Repeat inspection according to the product label, protect the plant from treatment injury, and judge recovery by the absence of live mites and fresh stippling.
The final decision should protect the whole collection. Continue with careful physical, contact, or biological control when the plant has useful foliage and the infestation is accessible. Discard it when treatment remains impractical or the risk to nearby plants is greater than the likely recovery. Either choice is sound when it follows evidence rather than wishful spraying.
Plants commonly affected
These houseplants often struggle with spider mites. Open a care guide or plant-specific troubleshooting page for tailored fixes.
 Medium
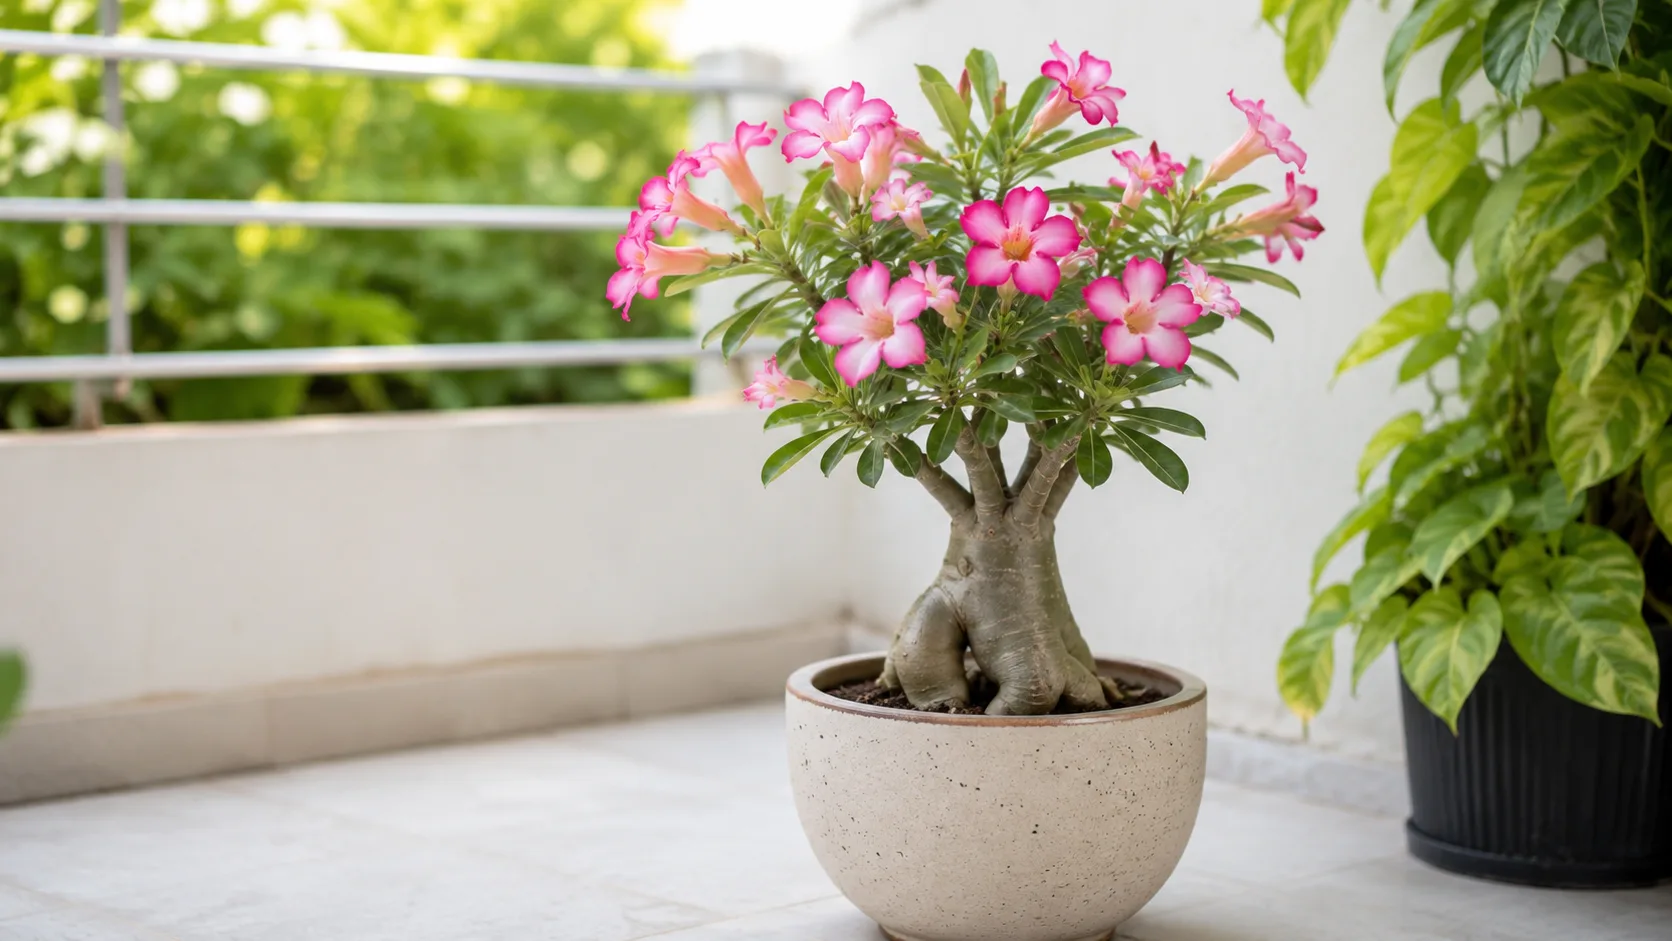
Adenium
Likely causeHot dry indoor air favors spider mites causing stippled yellow leaves and fine webbing on Adenium.
Quick fixRinse foliage, increase humidity briefly, and apply insecticidal soap or neem every 5–7 days.
 Medium
African Milk Tree
Likely causeCommon on this plant type; confirm with recent watering, light, and root checks.
Quick fixInspect the plant and correct the most likely care stressor before stacking treatments.
 Medium
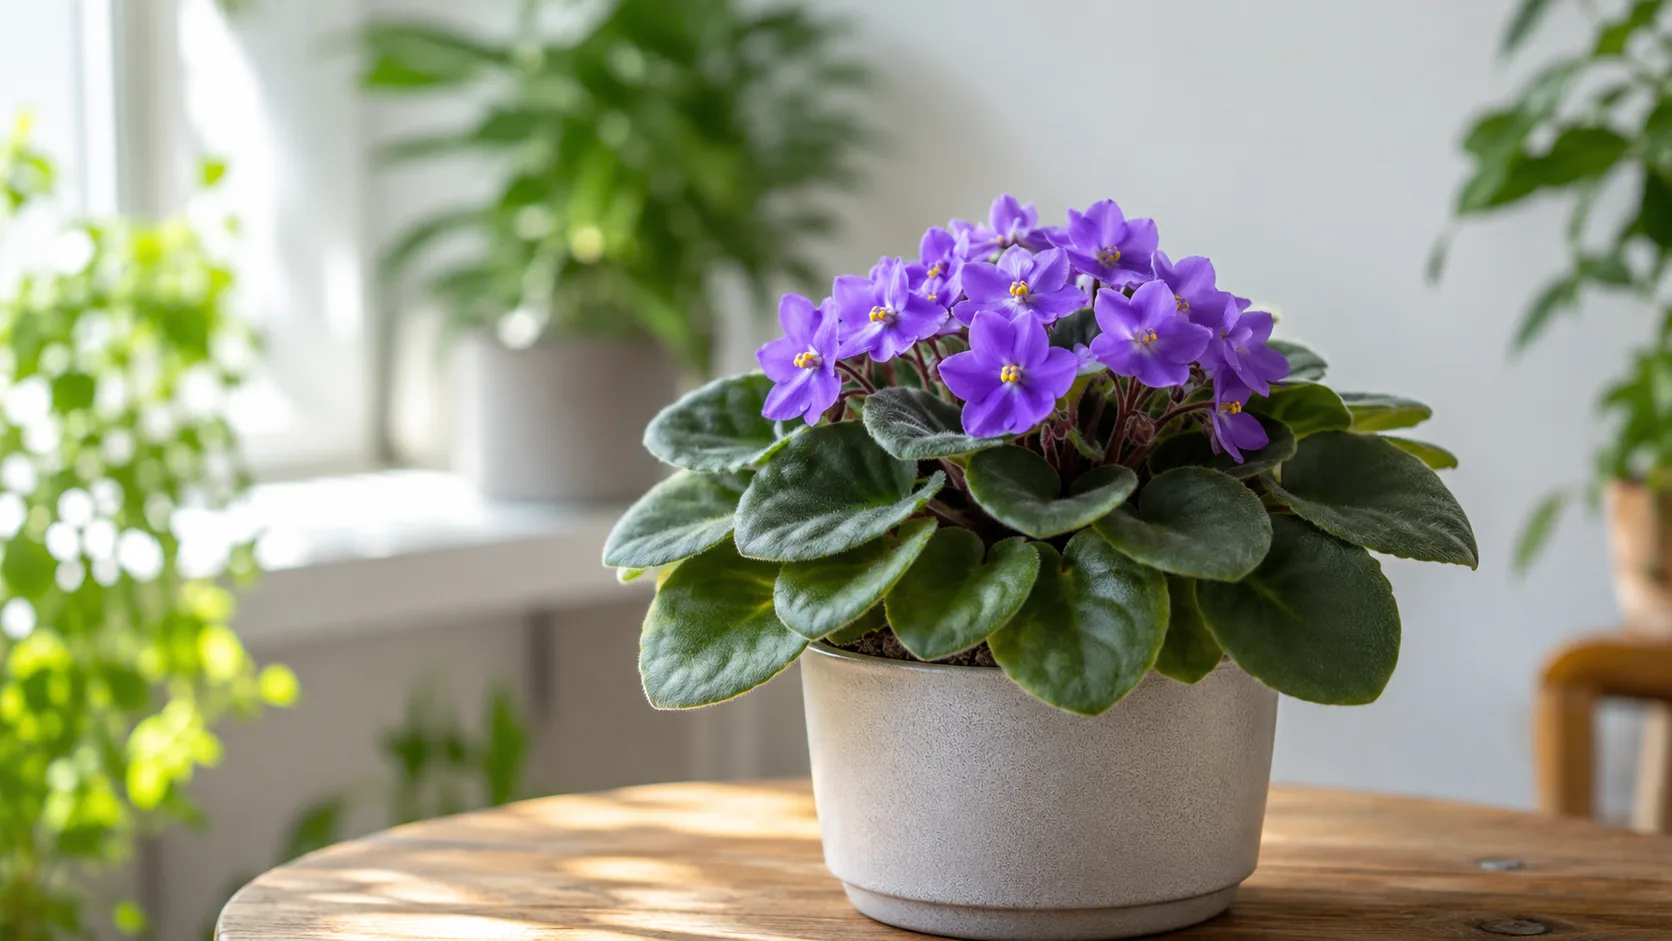
African Violet
Likely causeSpider Mites on African Violet: Spider mites can be the sneaky little troublemakers of the plant world, especially when they decide to set up camp on your cherished African violets. These tiny pests might be hard to spot at first, b
Quick fixInspect African Violet, confirm spider mites matches your symptoms, then adjust care or treat per authoritative guides.
 Medium
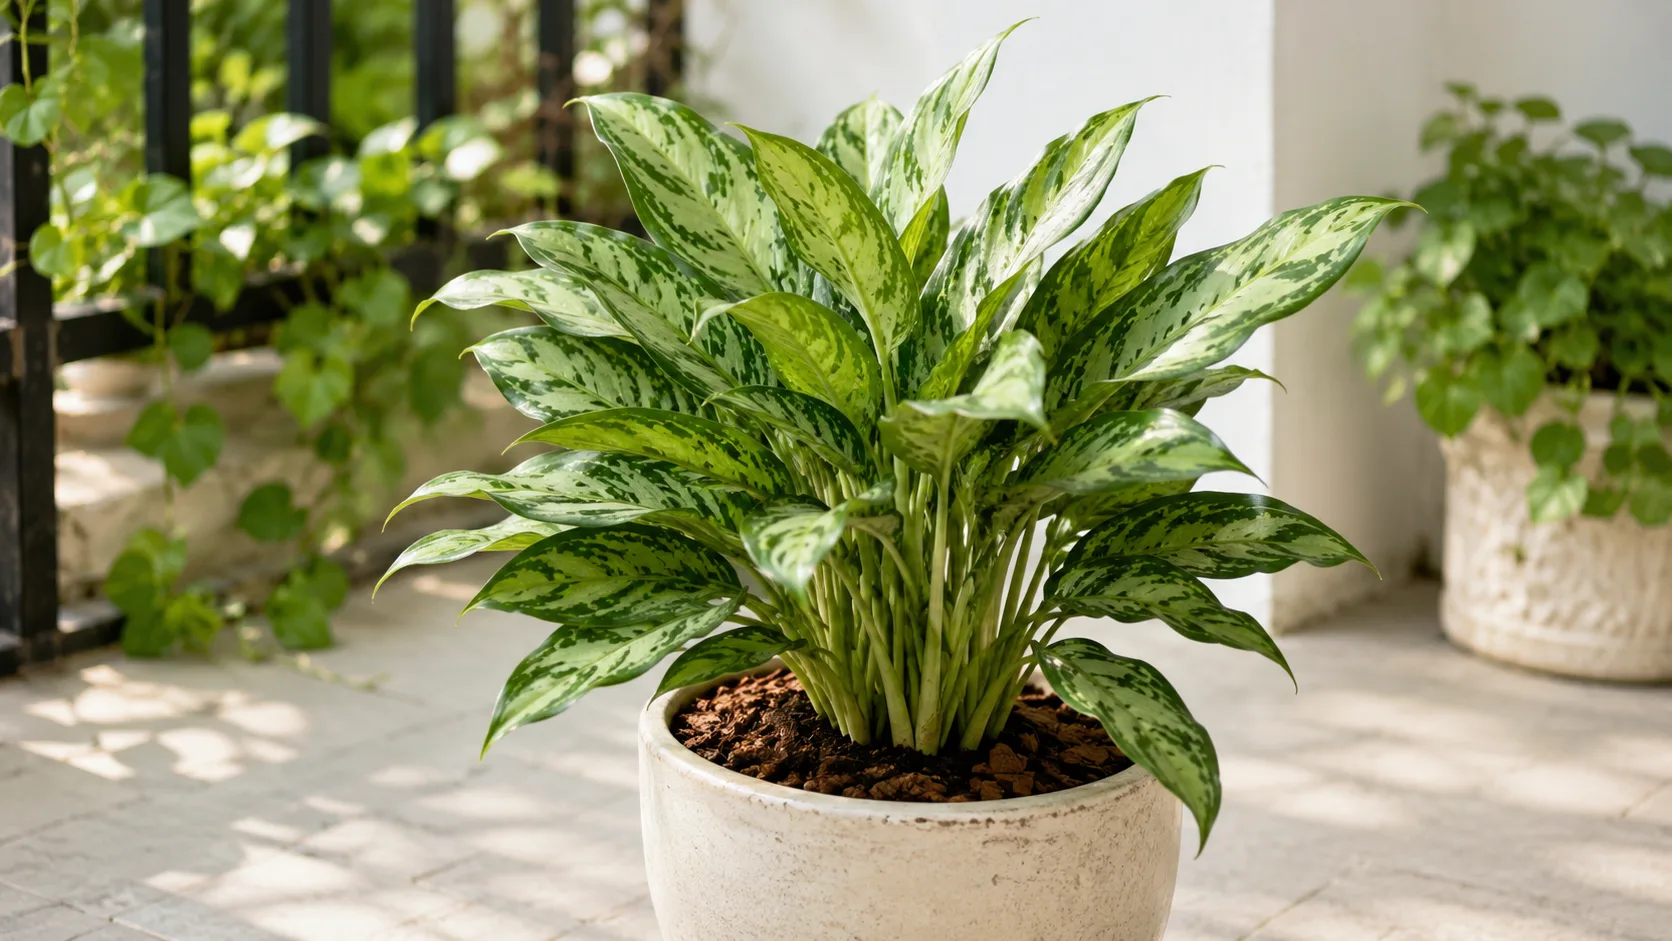
Aglaonema
Likely causeDry indoor air in winter creates favourable conditions for spider mites
Quick fixIsolate, wipe leaves with neem oil solution; increase humidity; repeat weekly
 Medium
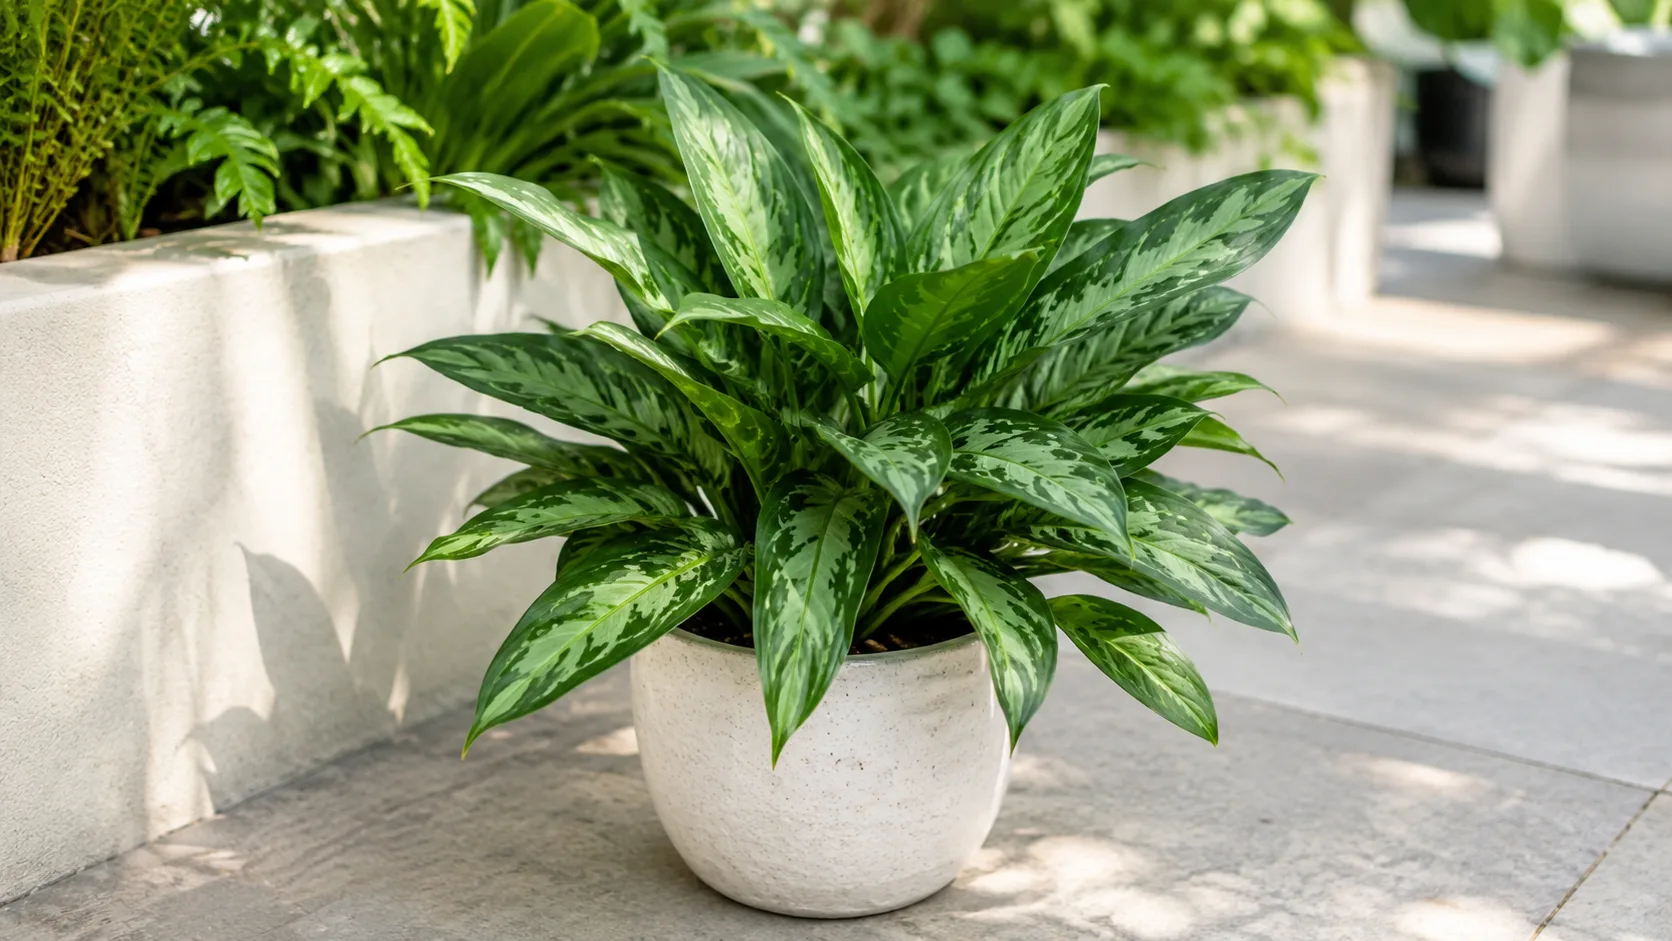
Aglaonema Cutlass
Likely causeCommon on this plant type; confirm with recent watering, light, and root checks.
Quick fixInspect the plant and correct the most likely care stressor before stacking treatments.
- Medium
Aglaonema Lady Valentine
Likely causeCommon on this plant type; confirm with recent watering, light, and root checks.
Quick fixInspect the plant and correct the most likely care stressor before stacking treatments.
- Medium
Aglaonema Maria
Likely causeCommon on this plant type; confirm with recent watering, light, and root checks.
Quick fixInspect the plant and correct the most likely care stressor before stacking treatments.
- Medium
Aglaonema Pictum Tricolor
Likely causeCommon on this plant type; confirm with recent watering, light, and root checks.
Quick fixInspect the plant and correct the most likely care stressor before stacking treatments.
 Medium
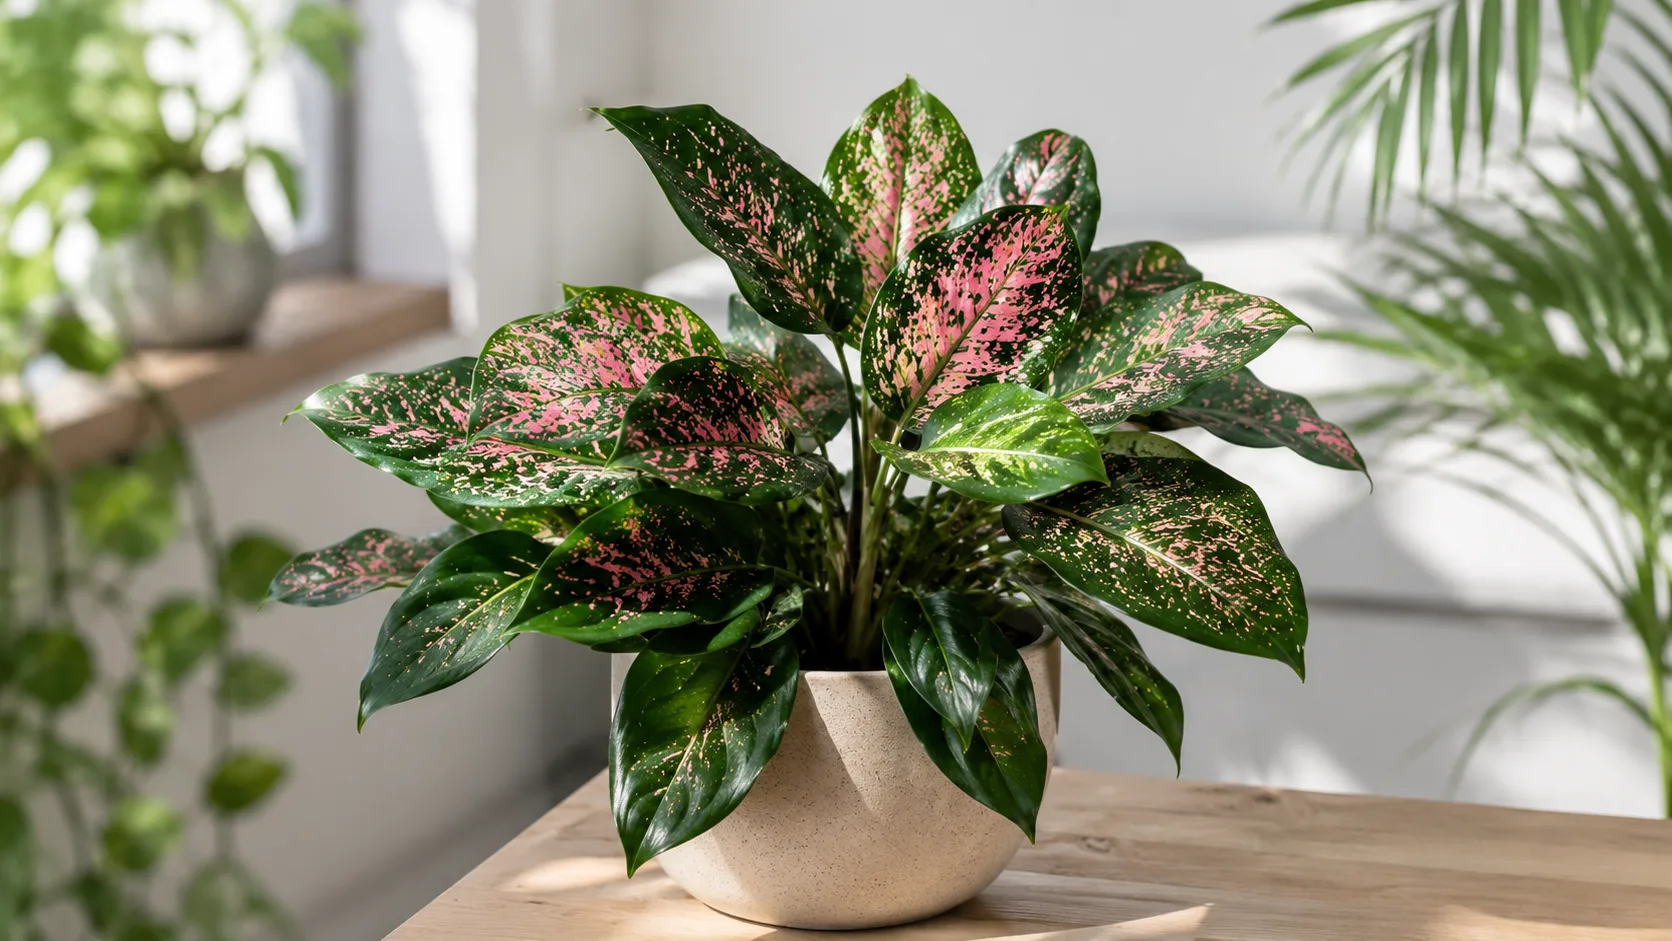
Aglaonema Pink Dalmatian
Likely causeCommon on this plant type; confirm with recent watering, light, and root checks.
Quick fixInspect the plant and correct the most likely care stressor before stacking treatments.
- Medium
Aglaonema Red Siam
Likely causeCommon on this plant type; confirm with recent watering, light, and root checks.
Quick fixInspect the plant and correct the most likely care stressor before stacking treatments.
 Medium
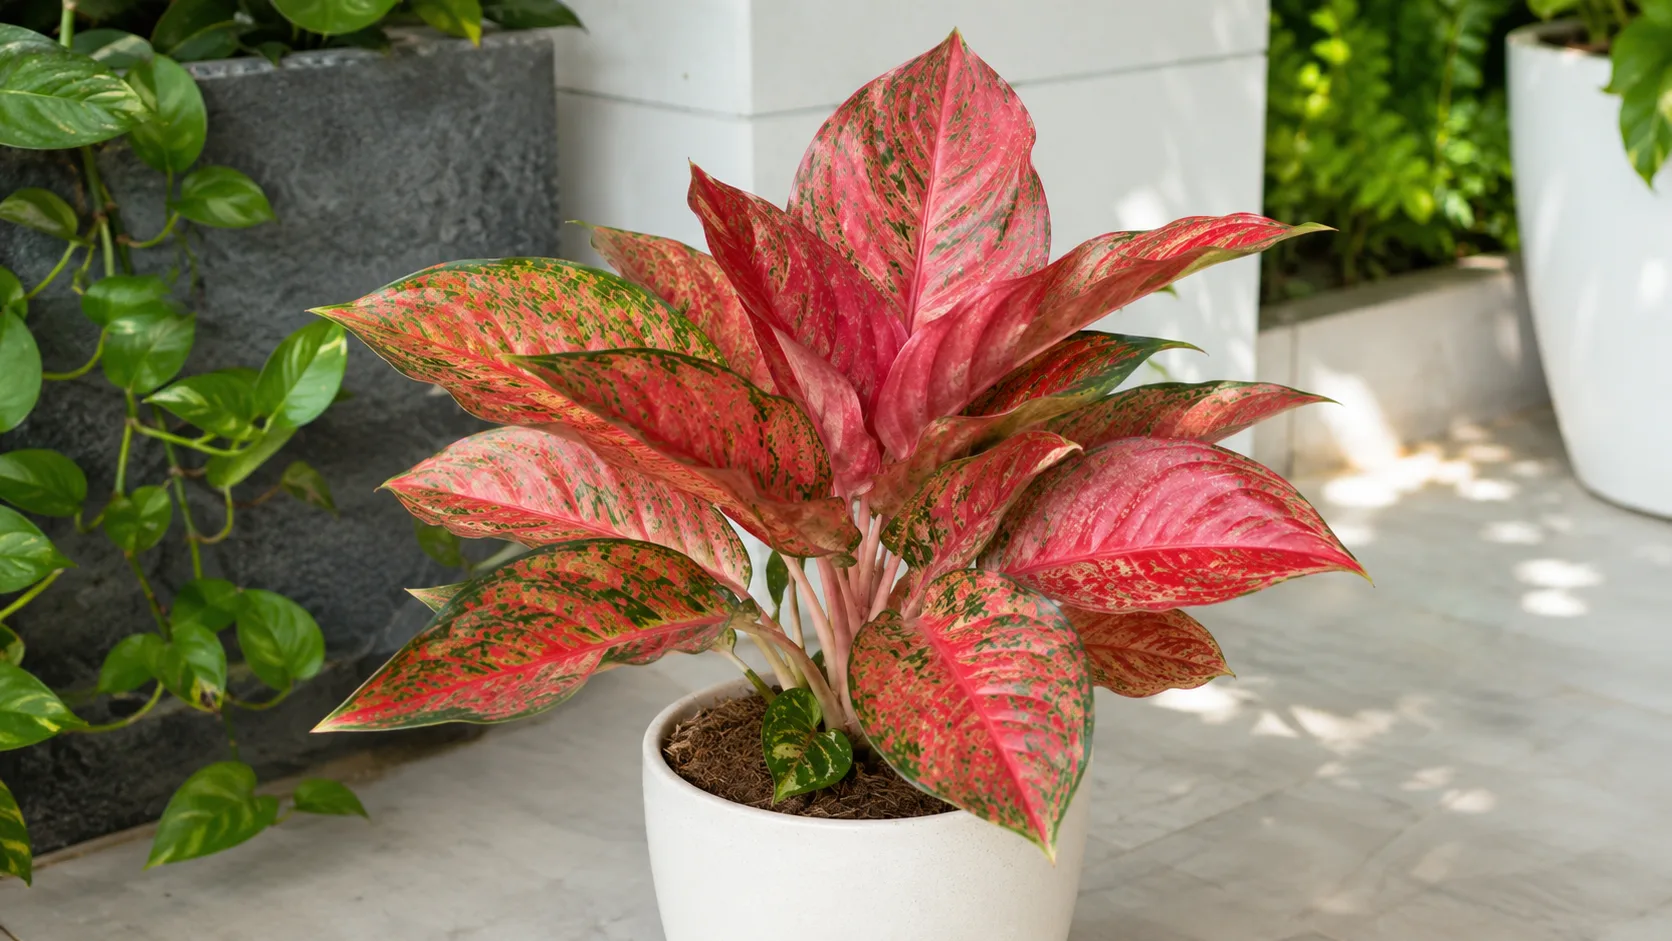
Aglaonema Red Valentine
Likely causeCommon on this plant type; confirm with recent watering, light, and root checks.
Quick fixInspect the plant and correct the most likely care stressor before stacking treatments.
 Medium
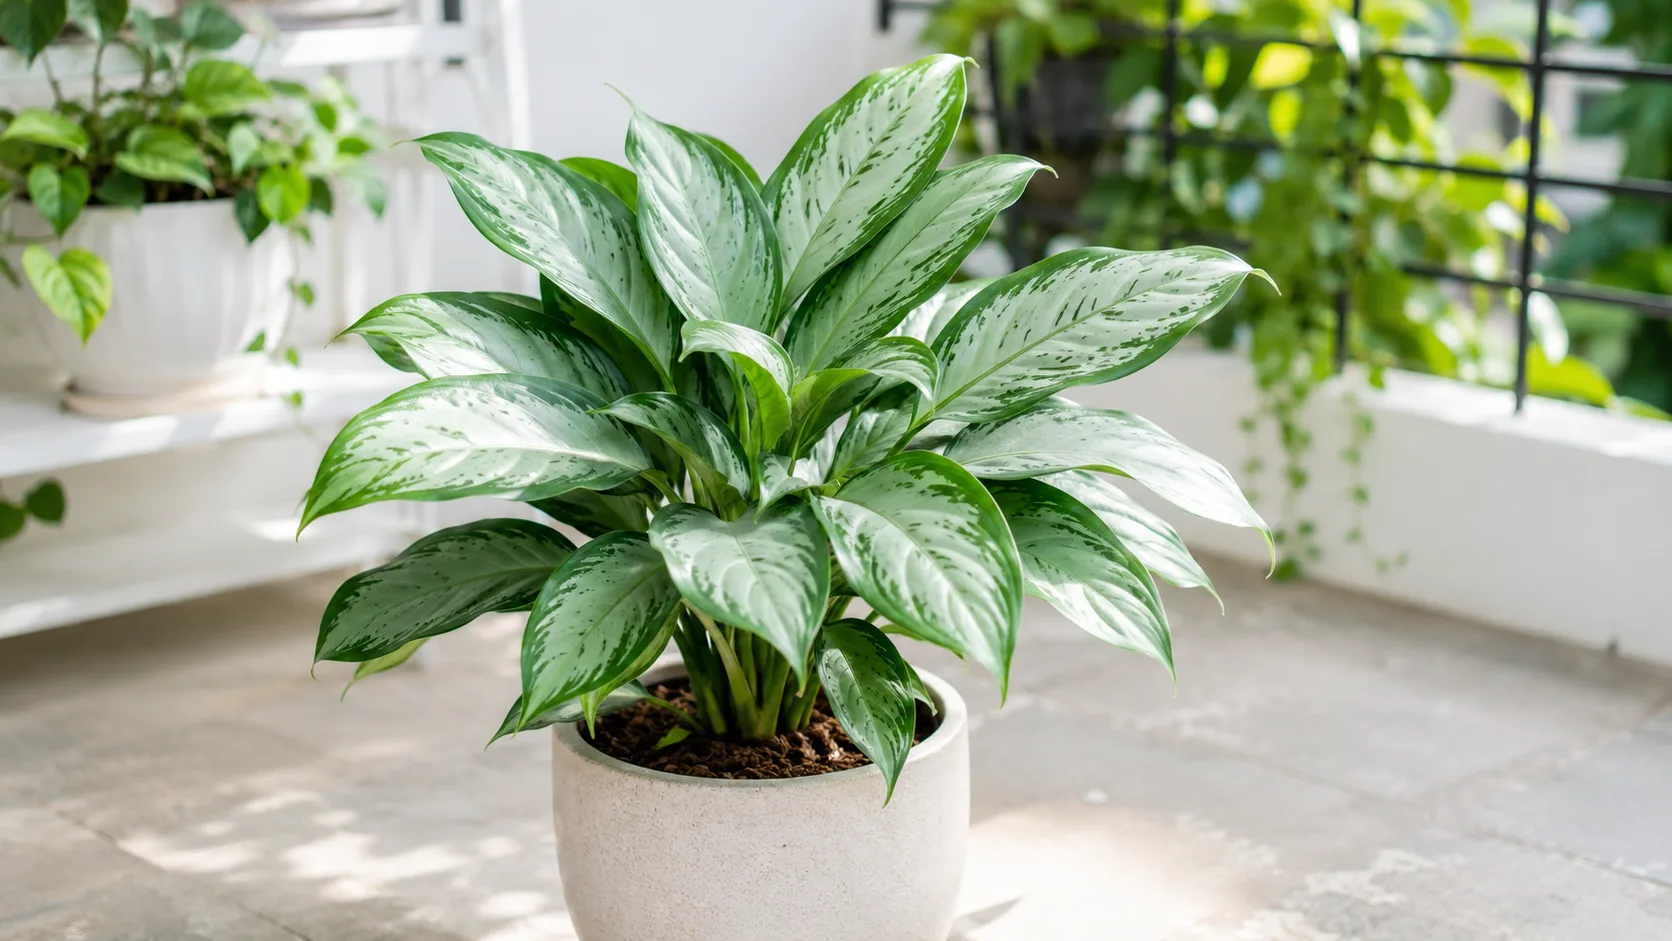
Aglaonema Silver Bay
Likely causeCommon on this plant type; confirm with recent watering, light, and root checks.
Quick fixInspect the plant and correct the most likely care stressor before stacking treatments.