Curling Leaves on Houseplants: Causes and Fixes
Leaf curl is a protective plant response that reduces exposed leaf surface under stress. Indoors, curling usually points to moisture imbalance, environmental extremes, or pest pressure rather than a single nutrient issue. Inward curl can reflect dehydration or heat load, while twisted, deformed new leaves may signal pests such as thrips or mites feeding on unfolding tissue. Reading the pattern across old and new leaves helps narrow the cause quickly. Effective treatment starts with environmental stability. Plants exposed to hot glass, dry airflow, or irregular watering often cycle between stress and partial recovery, producing ongoing curl. If environmental corrections do not improve new growth within a few weeks, inspect underside veins and growth tips for pests using magnification. Existing curled leaves may remain misshapen, so success is measured by normal new foliage. Early response prevents long-term stunting and improves overall canopy quality.
Curling Leaves on Houseplants
Still unsure?Match your symptoms to the most likely problems in under a minute.Run diagnosis →Understand and fix curling leaves
Leaves that cup, twist, or roll inward often indicate moisture imbalance, heat/light stress, or sap-sucking pests affecting tender growth.
Overview
Leaf curl is a protective plant response that reduces exposed leaf surface under stress. Indoors, curling usually points to moisture imbalance, environmental extremes, or pest pressure rather than a single nutrient issue. Inward curl can reflect dehydration or heat load, while twisted, deformed new leaves may signal pests such as thrips or mites feeding on unfolding tissue. Reading the pattern across old and new leaves helps narrow the cause quickly.
Effective treatment starts with environmental stability. Plants exposed to hot glass, dry airflow, or irregular watering often cycle between stress and partial recovery, producing ongoing curl. If environmental corrections do not improve new growth within a few weeks, inspect underside veins and growth tips for pests using magnification. Existing curled leaves may remain misshapen, so success is measured by normal new foliage. Early response prevents long-term stunting and improves overall canopy quality.
Curling Leaves patterns: what you see vs. likely cause
Match your plant to the closest pattern, then start with the first step before trying other fixes.
| What you see | Likely cause | First step |
|---|---|---|
| Leaves roll inward; soil often dry | Underwatering or heat stress | Water evenly and move away from hot glass or vents |
| New leaves twisted or cupped | Thrips, mites, or aphids on tender growth | Inspect with magnification; isolate and treat pests |
| Curl on calathea or fern near AC vent | Low humidity and dry airflow | Raise humidity to 55–65% with humidifier or plant grouping |
| Curl on side facing the window | Excess direct sun | Shift to bright, filtered light |
How to identify it
- Leaf blades roll inward, cup upward, or twist unevenly.
- New leaves may unfurl smaller or distorted.
- Edges can feel dry in low humidity or heat.
- Fine stippling, silvering, or tiny black dots may indicate pests.
- Curling worsens near bright windows or vents.
- No widespread mushy tissue unless root issues are also present.
When to worry
Investigate immediately if new leaves emerge distorted repeatedly, curling is paired with stippling/webbing, or growth tips blacken and stall.
Common causes
Water stress swings
Alternating dryness and saturation disrupts steady leaf expansion. Curling appears as tissue develops under unstable hydration.
Low humidity with warm airflow
Dry, warm air increases transpiration and triggers leaf rolling to reduce water loss.
Excess direct light or heat
Light stress causes leaves to curl or cup as a self-shading response, especially on sun-facing sides.
Pest feeding on new growth
Thrips, mites, and aphids can damage expanding leaves, resulting in permanent distortion and curling.
Root restriction
Rootbound plants have uneven water supply and nutrient uptake, which can impair leaf formation.
Step-by-step fix
Normalize watering consistency
Avoid extremes by watering at species-appropriate dryness points and ensuring full, even rehydration each cycle.
Reduce heat and direct sun stress
Shift the plant to bright, filtered light and keep leaves away from hot glass and forced-air vents.
Raise humidity for sensitive species
Aim for 50-65% around calathea, ferns, and similar plants to support proper leaf unfurling.
Inspect and treat pests methodically
Check leaf undersides and growth points weekly; use insecticidal soap or neem at repeat intervals if pests are found.
Repot if rootbound
If roots circle densely and mix dries too fast, repot one size up with fresh, breathable substrate.
Judge recovery from new leaves
Old curled leaves may remain deformed. Track whether subsequent leaves emerge flatter and fuller.
Prevention tips
- Keep watering and humidity stable through seasonal shifts.
- Quarantine new plants to reduce pest introduction.
- Rotate pots for balanced light exposure.
- Inspect growth tips weekly for early pest signs.
- Repot before severe root binding develops.
Common mistakes
- Treating only with fertilizer without checking pests or environment.
- Using strong sun exposure to speed growth on stressed plants.
- Applying one pest treatment and stopping too early.
- Expecting already-curled leaves to flatten completely.
Related care topics
These care guides help prevent repeat issues once you have treated the immediate problem.
Curling leaves are a symptom, not a diagnosis. A thirsty pothos may fold its leaves to conserve water, but a pothos sitting in saturated mix can look surprisingly similar because damaged roots cannot supply the foliage. Heat, dry air, harsh light, pests, accumulated fertilizer, and a badly compacted root ball can all bend a leaf away from its normal shape.
The safest response is to inspect before you intervene. Look at the direction and location of the curl, then confirm the clue with soil moisture, pot weight, root condition, recent care, and any marks on the leaf. That short pause matters: automatically adding water can rescue a dry plant or further drown a wet one.
This guide helps you choose the next diagnostic step, not a universal moisture target. A fern, pothos, succulent, and prayer plant do not use water or hold their leaves in the same way, so compare the symptom with that species’ normal shape and care requirements before changing the routine.
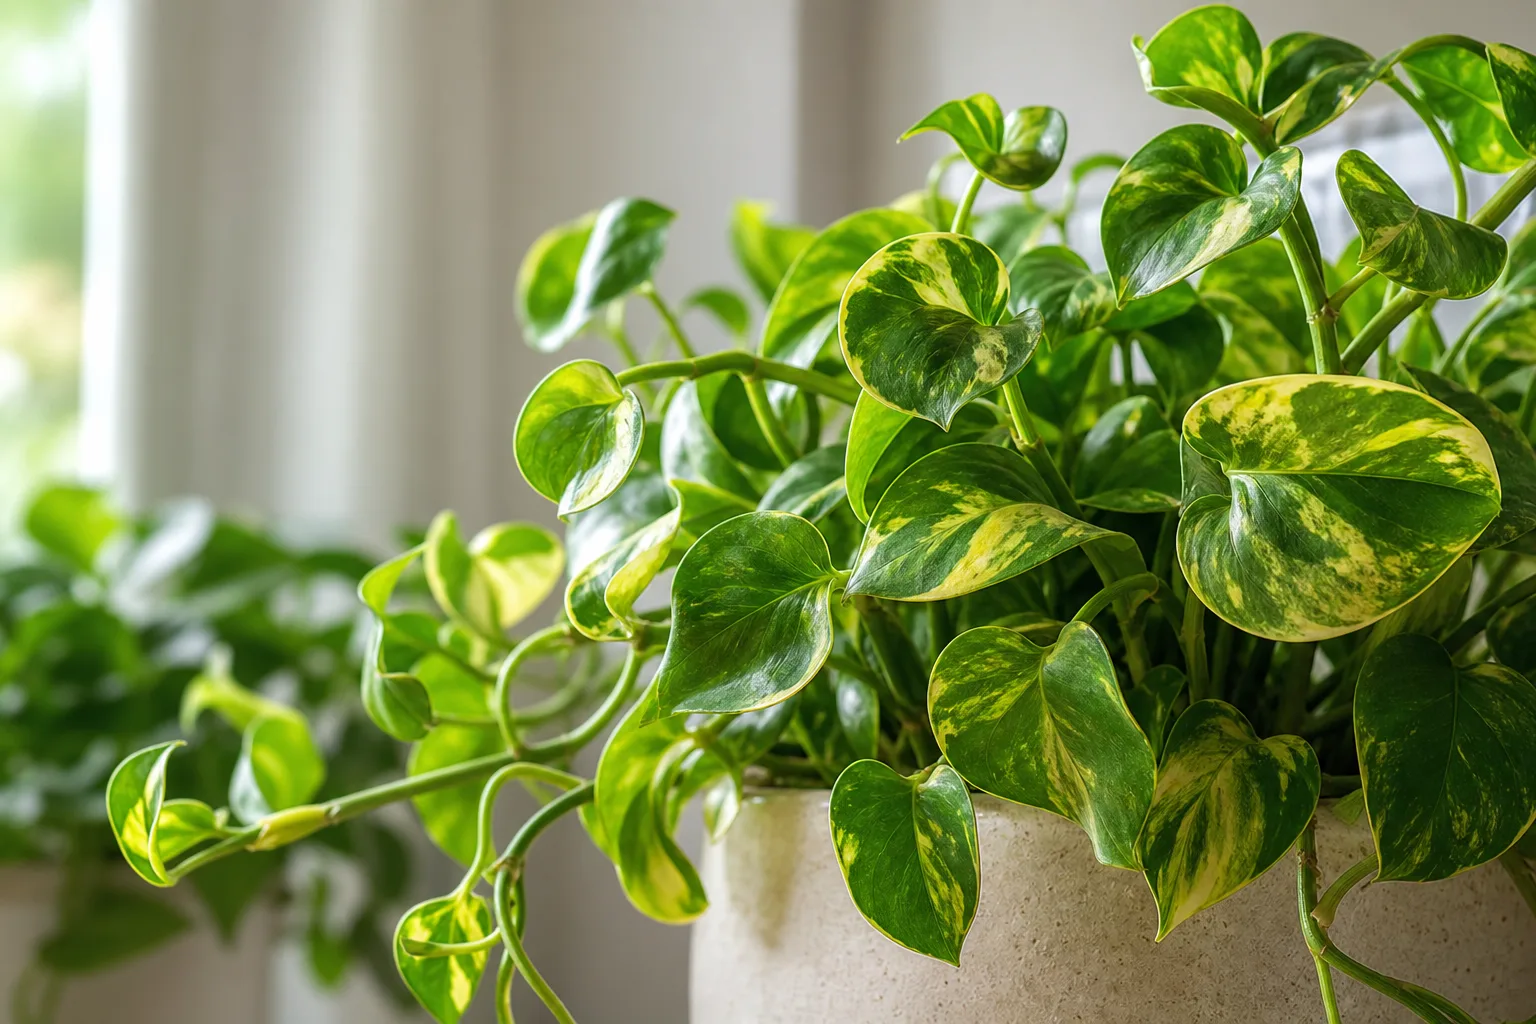
What the image shows: several pothos leaves folding inward across the same plant. That distribution makes a shared root-zone or environmental change worth checking, but the photograph alone cannot distinguish a dry root ball from wet, declining roots.
Quick diagnosis: why houseplant leaves curl
Houseplant leaves commonly curl when water loss and water supply fall out of balance. That can happen because the root ball is too dry, because warm or dry air accelerates water loss, or because wet, unhealthy roots cannot move enough water into the plant. Leaves lose firmness when roots cannot replace water lost through transpiration, but the reason for that shortfall still has to be confirmed.
Other causes change the way a leaf develops rather than simply reducing its firmness. Sap-feeding pests injure expanding tissue; inconsistent watering during leaf formation can leave permanent creases; excess fertilizer can damage roots; and sudden changes in light or temperature can distort tender growth. This is why the newest leaves, oldest leaves, and whole plant should be compared rather than treating one curled blade as the complete story.
Use the accompanying clues to narrow the field. Dry mix, a very light pot, limp stems, and papery edges make drought likely. Wet mix, a heavy pot, yellowing, a sour smell, or soft dark roots make root stress more likely. Fine stippling, silver scars, sticky residue, black specks, cast skins, insects, or webbing move pests higher on the list.
| What you observe | Check next | More likely explanation |
|---|---|---|
| Soft leaves folded inward; pot feels very light | Moisture several centimeters down | Underwatering or a dry pocket in the root ball |
| Curling with wet mix and yellow leaves | Drainage, root color, odor, pot size | Overwatering or root decline |
| Upturned or cupped leaves near a bright window | Leaf temperature and timing of direct sun | Heat or excess light |
| Crisp edges in heated or air-conditioned air | Relative humidity and proximity to vents | Fast moisture loss or low humidity |
| Distorted young leaves with stippling, scars, or residue | Undersides, nodes, and unfurled growth | Sap-feeding pests |
| Curl began after feeding or repotting | Fertilizer strength, crust, root disturbance | Salt injury or transplant stress |
This table is a triage tool, not a rulebook. Prayer plants naturally move and fold their leaves, some peperomias have curved leaf blades, and a new monstera or philodendron leaf can remain rolled while it hardens. Diagnose a change from that plant’s normal form, especially when several leaves repeat the pattern.
Read the curl pattern before you treat the plant
Curl direction is useful because it shows where the leaf is losing support or how growing tissue expanded, but it cannot prove a cause on its own. The Royal Horticultural Society links crinkled or creased foliage with stop-start development and notes that irregular watering during new-leaf growth is a common contributor. It also describes inward curl in some plants under bright, dry conditions and outward curl under cold, dry conditions—good evidence that context matters as much as shape.
Map the pattern across the plant. If nearly every leaf folds at once, investigate a root-zone or environmental change shared by the whole plant. If only the side facing a sunny window curls, light and heat deserve attention. If only tender tips are twisted while older leaves remain normal, inspect closely for pests and review what happened while those leaves were forming.
Leaves curling inward or upward
An inward fold reduces the exposed leaf area and often appears when a plant cannot maintain normal cell pressure. In a genuinely dry plant, the leaf may feel thin and flexible, the petiole may droop, and the entire pot may be noticeably lighter. Water thoroughly only after verifying dryness below the surface; a splash on top will not correct a root ball that has shrunk away from the pot wall and now channels water straight through.
Upward cupping can also accompany high leaf temperature. A window may provide acceptable light for part of the year, then become intense as the sun angle changes. Look for a one-sided pattern, faded patches, dry tan areas, or curling that becomes most obvious during the bright part of the day. Move the plant slightly back or filter midday sun, then let it acclimate rather than sending it directly to deep shade.
Dry air amplifies both situations by increasing the difference between moisture inside the leaf and the surrounding atmosphere. Virginia Cooperative Extension explains that warm air and low humidity increase transpiration, but thin-leaved tropicals may show the consequences sooner than waxy succulents in the same room. A hygrometer, the plant’s location near a vent, and the timing of heating or air-conditioning provide better evidence than assuming every tropical plant needs a fixed humidity percentage.
Leaves curling downward, twisting, or puckering
Downward curl is sometimes described online as a sure sign of overwatering, but real plants are less tidy. Persistently wet roots, excessive nitrogen, heat, pest injury, and species-specific growth habits can all turn margins down. Check the root zone and new growth rather than deciding from direction alone.
Twisted or puckered young leaves deserve a close inspection. Thrips can feed within folded tissue before a leaf opens; aphids cluster on tender tips; mites feed mainly on leaf undersides. Physical obstruction can do it too: a low-humidity leaf may stick while unfurling, or a developing leaf can be bruised against a wall or caught in a tight sheath.
A single malformed leaf surrounded by healthy growth often records a past interruption, not an active emergency. Mark its emergence date and watch the next leaf. Repeated distortion is more important than one imperfect leaf, particularly if it arrives with slow growth, discoloration, residue, or visible organisms.
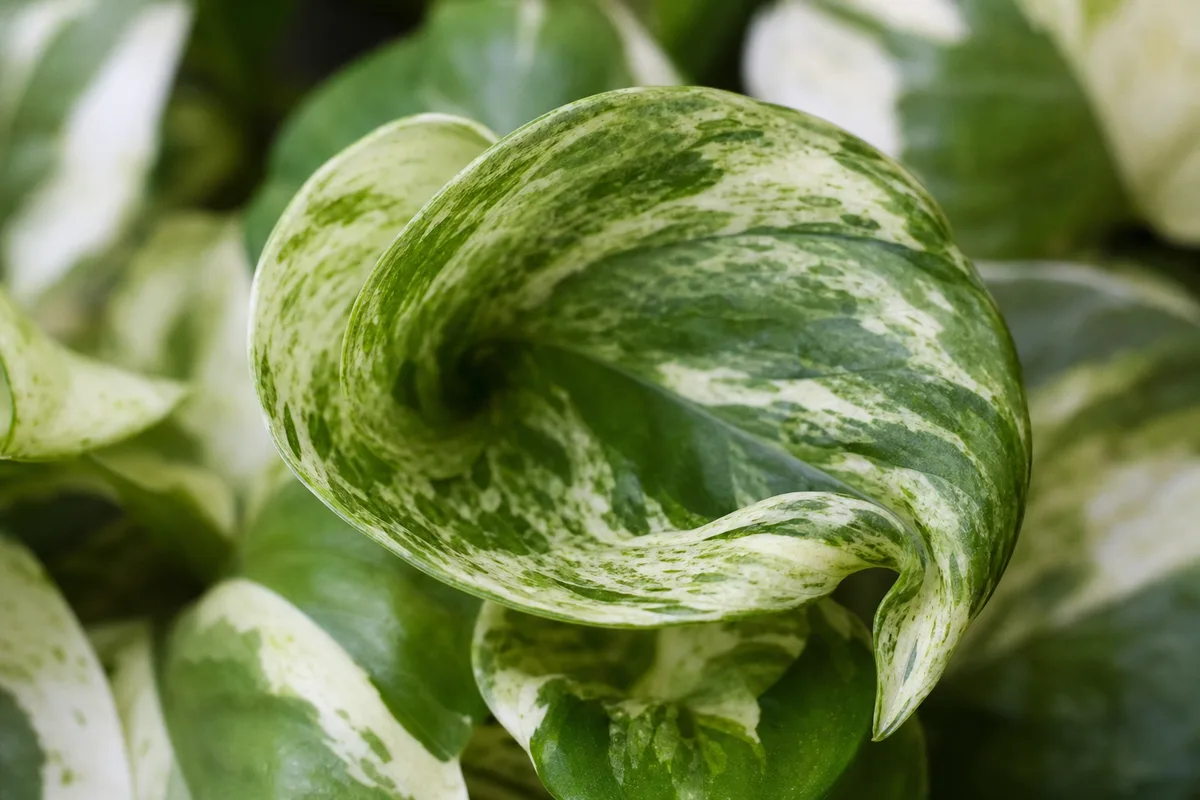
What the close-up can test: inspect the protected fold, midrib, and underside for stippling, silver scars, dark specks, cast skins, webbing, or insects. A clean surface does not rule out a root problem, and a curled edge without pest evidence is not enough reason to spray.
The most common causes of curling leaves
Start with the common and reversible causes: moisture distribution, drainage, temperature, light, and active pests. Do not begin by adding fertilizer or repotting blindly. Those actions change the root environment and can erase the clues that would have led to an accurate diagnosis.
Recent history often supplies the strongest lead. A plant that curled after a missed watering, a weekend beside a heater, a move into direct sun, a fertilizer dose, or a repot has a clear event to investigate. When no event stands out, compare how quickly the pot dries now with how quickly it dried during healthy growth; a sudden change can reveal blocked drainage, root crowding, lower seasonal light, or a failing root system.
Underwatering and an unevenly dry root ball
Underwatering reduces turgor, the internal pressure that keeps hydrated cells firm. Leaves may fold, stems may droop, and dry margins can develop when roots cannot replace water lost through transpiration. The most convincing evidence is not the curled shape but a dry root zone, a light pot, and a plant that regains firmness after a thorough watering.
Check deeper than the surface. Potting mix can look dry on top while remaining wet around the roots, or it can feel damp in one spot while hydrophobic pockets stay dry elsewhere. Push a wooden skewer into several areas, feel through a drainage hole, and learn the difference between the pot’s watered and ready-to-water weight.
If the root ball is dry and has pulled from the container, water slowly in several passes. Let each pass soak in, confirm that the interior becomes evenly moist, and allow excess to drain. Bottom soaking can help rewet a resistant mix, but remove the pot once it is saturated and let it drain; permanent standing water trades drought stress for oxygen stress.
Do not turn the correction into a rigid weekly schedule. Water use changes with light, temperature, leaf area, pot material, root health, and season. Check at regular intervals, but water according to the species and current moisture—not merely because a calendar alert appeared.
Overwatering and oxygen-starved roots
Too much water can curl or wilt foliage because roots need oxygen as well as moisture. When pore spaces remain filled with water, roots lose function and may decay, so the leaves behave as though water is unavailable even while the pot is wet. RHS guidance warns that overwatering can also cause wilting, making it easy to misread the symptom and add still more water.
Look for wet mix that persists unusually long, a heavy pot, simultaneous yellowing of old and new leaves, soft stems, mold, or a stale odor. Slide the plant out only when these signs justify disturbance. Healthy roots are generally firm; seriously damaged roots become dark, soft, or mushy, and the Connecticut Agricultural Experiment Station associates brown-to-black mushy roots with water-saturated potting mixes and plant collapse.
Correct the reason the mix stays wet. Empty the cachepot, unblock drainage, increase appropriate light, and stop watering until the plant reaches its species-specific moisture point. A pot far larger than the root mass or a dense decomposed mix may require repotting, but use the smallest suitable container and an aerated medium rather than stripping every root for a cosmetic curl.
When active rot is present, remove collapsed tissue with clean tools and repot into fresh suitable mix. Severe rot can outrun recovery, so propagate a healthy cutting when the species allows. Avoid fertilizing until the root system is functioning and new growth confirms recovery.
Low humidity, heat, direct sun, and temperature swings
Low humidity does not affect every plant equally. It is most persuasive when curl begins with heating or air-conditioning, appears on thin-leaved tropicals, and accompanies crisp margins or stalled unfurling. The RHS explains that low air humidity increases transpiration and can create shrivelled, crispy foliage, especially during the heating season.
Move the plant away from radiators, forced-air vents, and cold drafts before buying equipment. Grouping plants can make the immediate microclimate slightly less dry, while a room humidifier produces a measurable change. Keep indoor humidity compatible with the building; condensation on windows is a warning that the room, not just the plant, needs consideration.
Misting provides only a brief film of water and does not repair a dry root ball. It can also obscure pest residue and keep foliage wet where airflow is poor. Use a hygrometer to decide whether humidity is actually low, then solve sustained dryness with placement or humidification instead of spraying leaves repeatedly.
Heat and direct sun can create rapid curl even when the mix is moist. Feel the leaf and nearby glass during peak exposure, look for bleaching or tan scorch, and compare the window-facing side with the shaded side. Cold injury tends to follow contact with winter glass, transport in freezing weather, or a draft; damaged tissue may become translucent before browning.
Spider mites, thrips, aphids, and other sap feeders
Pest-caused curl rarely arrives alone. Spider mites leave pale stippling and, as numbers rise, fine webbing; thrips often create silvered scars and tiny dark fecal spots; aphids shed white skins and produce sticky honeydew; mealybugs resemble cottony deposits at nodes. The Connecticut Agricultural Experiment Station confirms that spider mites feed on leaf undersides and that yellow stippling and webbing are characteristic signs.
Inspect with bright light and magnification. Turn over several leaves, examine petiole joints, look inside emerging growth, and tap foliage over white paper to reveal moving specks. Check more than the most damaged leaf: pests and their residue often collect on protected undersides, nodes, and tender growth before the whole plant looks affected.
Isolate a suspect plant from the collection. Rinse sturdy foliage where appropriate, remove only heavily damaged material, and choose a control labeled for that pest, plant, and indoor use. Coverage matters because many pests shelter on undersides and in folds; repeat treatment according to the label because one application rarely reaches every life stage.
Do not spray “just in case.” Oils and soaps can injure sensitive foliage, especially in heat or strong light, and a broad pesticide may not be labeled for the organism you found. Confirm the pest first, test any treatment on a small area when the label allows it, and follow all label directions for dosage, safety precautions, and indoor use.
Root crowding, compacted mix, fertilizer salts, and repotting stress
A rootbound plant can curl when a dense root mass dries so quickly that normal watering no longer reaches it evenly. Typical evidence includes roots circling the pot, water racing through channels, a plant that wilts soon after watering, and little loose mix remaining. Move it up only one modest pot size; an oversized volume of wet mix can create the opposite problem.
Old potting mix can collapse and lose useful air spaces. If water pools on top, the center remains wet for many days, or roots occupy a hard, compressed block, repotting into a species-appropriate medium may restore a healthier moisture-and-air balance. Do this because the root environment is failing, not because every curled leaf supposedly requests a new pot.
Excess fertilizer and soluble salts can injure roots and disrupt water uptake. The Connecticut Agricultural Experiment Station lists white crystalline deposits on the pot or mix as an indicator of high soluble salts, though a soil test may be needed to separate salt injury from root rot. Where the container drains and the roots are not waterlogged, leach the mix with suitable water and let it drain fully; otherwise replace severely saline mix carefully.
Repotting itself can temporarily reduce water uptake when fine roots are disturbed. Keep light and temperature stable, avoid fertilizing immediately, and water according to the new mix rather than the old routine. A small amount of temporary curl can settle, but worsening collapse, wet mix, or dark roots needs investigation.
Diagnose curling leaves without making the problem worse
Good diagnosis uses several independent clues. Curl direction tells you where to look, soil and roots reveal whether water is available, and leaf-surface evidence distinguishes environmental stress from pests. The order matters because the easiest reaction—adding water—is also the one most likely to harm a plant whose roots are already saturated.
Take a dated photograph before changing care. Include the whole plant, the pot, and close-ups of the newest and most affected leaves. This establishes whether the curl is spreading and helps separate an old scar from continuing damage.
A ten-minute inspection from leaf to root zone
- Map the damage. Note whether curl affects old leaves, new leaves, one side, one stem, or the whole plant.
- Read the leaf surface. Look for crisp edges, bleaching, yellowing, translucent tissue, stippling, silver scars, honeydew, dark specks, insects, and webbing.
- Check the root-zone moisture. Test several centimeters down and compare pot weight; do not trust the surface alone.
- Confirm drainage. Make sure the nursery pot has open holes and is not standing in water inside a decorative cover.
- Review the environment. Check direct sun, nearby glass, vents, heaters, drafts, humidity, and recent moves.
- Review recent care. Include missed watering, fertilizer, pesticide, repotting, a new water source, or a seasonal light change.
- Inspect roots only when evidence warrants it. Persistent wetness, odor, collapse, or a severely rootbound plant justifies sliding it from the pot; one mildly curled leaf does not.
Treat moisture meters as one clue, not an oracle. Their readings can shift with salts, mix composition, and probe placement. A physical moisture check, pot weight, and root-zone history usually give a more reliable combined picture.
Match the evidence to the safest fix
For confirmed drought, rewet the entire root ball and improve the checking routine. For confirmed saturation, stop adding water, restore drainage and suitable light, then inspect roots if decline continues. For dry air or heat, change placement and measure conditions; for excess sun, reduce intensity gradually.
For confirmed pests, isolate and use a pest-specific, label-compliant plan. For fertilizer salts, pause feeding and leach only when the pot can drain safely. For severe root crowding or failed mix, repot modestly; for a stable plant with no root evidence, leave the roots alone and observe the next growth.
Change one major variable at a time unless an urgent condition demands more. Standing water, active rot, freezing exposure, or a serious infestation requires immediate action. A stable plant with mild curl gives you time to run a cleaner test and learn which correction actually helped.
| Evidence level | Best next action | Escalate when |
|---|---|---|
| One old curled leaf; roots and environment appear normal | Photograph, mark the leaf, and observe the next growth | Curl begins spreading or new leaves emerge distorted |
| Dry interior mix and a very light pot | Rewet the root ball evenly, drain, and reassess firmness | The plant remains collapsed after the mix is evenly moist |
| Wet mix plus odor, yellowing, or soft dark roots | Stop adding water and correct drainage; remove collapsed tissue only when rot is confirmed | The stem base softens, rot is extensive, or no healthy material remains |
| Stippling, scars, residue, webbing, or visible pests | Isolate, identify the organism, and use a labeled control plan | The pest cannot be identified or damage continues after label-directed treatment |
| Repeated unexplained distortion | Check species needs, recent chemical exposure, and the full environment | Symptoms spread despite corrected care; contact a local Extension diagnostic service |
What recovery looks like
A droughted plant may regain firmness within hours after the root ball is evenly rehydrated, but that quick response is not universal. Root-damaged plants recover more slowly because they must produce functional roots before the canopy receives a reliable water supply. Pest recovery also depends on stopping new feeding, not merely washing the leaves once.
Judge progress by three signals: the curl stops worsening, stems and leaves regain stable firmness, and new leaves emerge closer to the species’ normal shape. An existing crease, torn margin, or deformed leaf may remain. Do not keep escalating treatment just because yesterday’s damaged leaf still looks damaged.
Give the plant stable conditions while you monitor it. Avoid compensatory fertilizer, repeated relocation, heavy pruning, and constant soil disturbance. Photograph the same leaf and the newest growth every week or two; comparison is more reliable than memory.
Preventing curled leaves from returning
Build the routine around the plant’s changing water use. Check often enough to catch dryness, but water only when the species and root zone are ready. Thorough watering followed by appropriate drainage usually creates a more even root environment than frequent small sips, though moisture-loving and drought-tolerant plants need different endpoints.
Match pot, mix, and light. The container should be only modestly larger than the roots, the medium should balance moisture retention with air, and the plant should receive enough suitable light to support normal growth and drying. Reassess the setup when seasons change, because winter light and indoor heating can alter both water use and humidity.
Inspect new plants before they join the collection and quarantine them when practical. Clean leaves make stippling, residue, and insects easier to see. A brief weekly look under leaves and into new growth catches sap feeders before curled foliage becomes widespread.
Feed according to active growth, species needs, and the product label. More fertilizer does not force a stressed plant to recover; it raises salt concentration around vulnerable roots. Record feeding, repotting, and location changes so recurring curl can be linked to a real event rather than another guess.
When an old curled leaf will not uncurl
A leaf that curled only because it temporarily lost water may partially or fully flatten after hydration. A leaf that hardened in a distorted form, developed scar tissue, or suffered cell death will not rebuild itself. Its continued curl does not prove the treatment failed.
Keep a damaged leaf when it remains substantially green and free of active pests or disease. It can still contribute to photosynthesis and serves as a marker for whether damage expands. Remove it with clean tools when it is mostly dead, collapsing, heavily infested, or blocking inspection—not merely because it looks imperfect.
The plant’s next leaf is the fairest test. If new growth remains distorted after moisture, roots, environment, and pests have been checked, revisit species-specific needs or seek a local extension diagnostic service. Repeated unexplained deformation can involve pathogens, chemical exposure, or a pest too small to identify casually.
Conclusion
Curling leaves on houseplants are most useful as a prompt to investigate. The direction of the curl offers a clue, but soil moisture, pot weight, roots, light, temperature, humidity, recent care, and pest evidence determine what the plant actually needs.
Start with the lowest-risk inspection, correct the strongest evidence, and resist stacking water, fertilizer, repotting, and pesticide into one panicked response. Existing leaves may retain their curl, but stable damage, firmer growth, and normally shaped new leaves show that the underlying stress has been resolved.
Plants commonly affected
These houseplants often struggle with curling leaves. Open a care guide or plant-specific troubleshooting page for tailored fixes.
 Medium
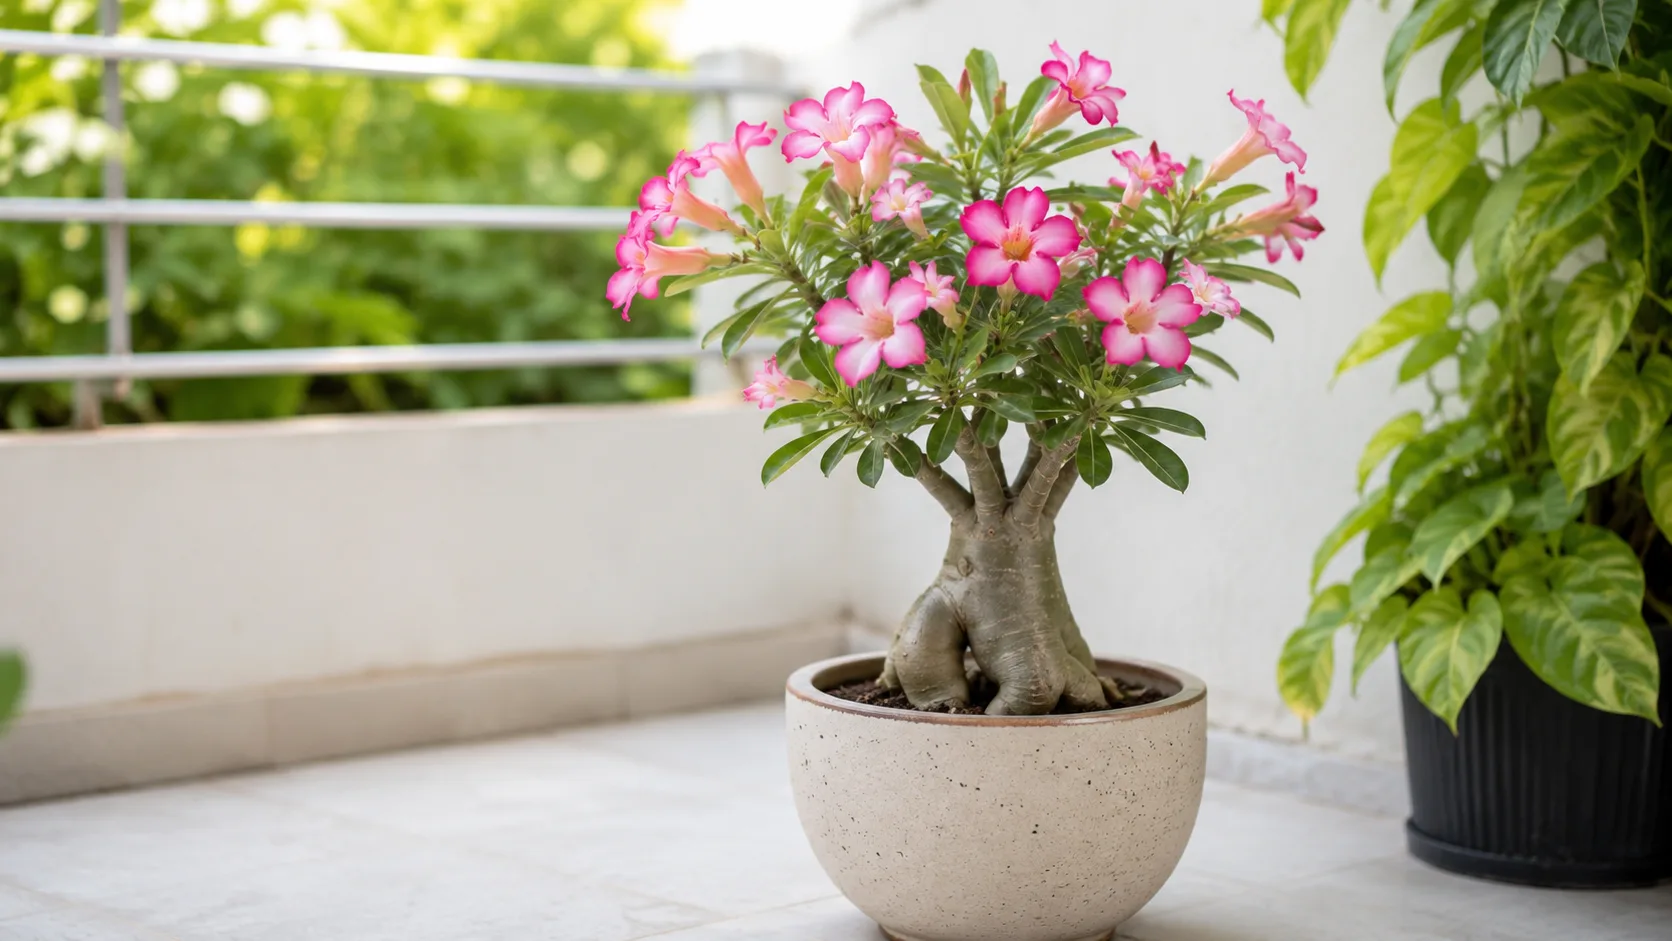
Adenium
Likely causeLeaves curl inward from water stress, aphid feeding, or heat after a sudden environment change.
Quick fixCheck soil moisture and caudex firmness; treat pests if present and stabilize light and temperature.
 Medium
African Milk Tree
Likely causeCommon curling leaves pattern on African Milk Tree under indoor care stress.
Quick fixInspect roots, watering, light, and pests; adjust one variable and monitor new growth.
 Medium
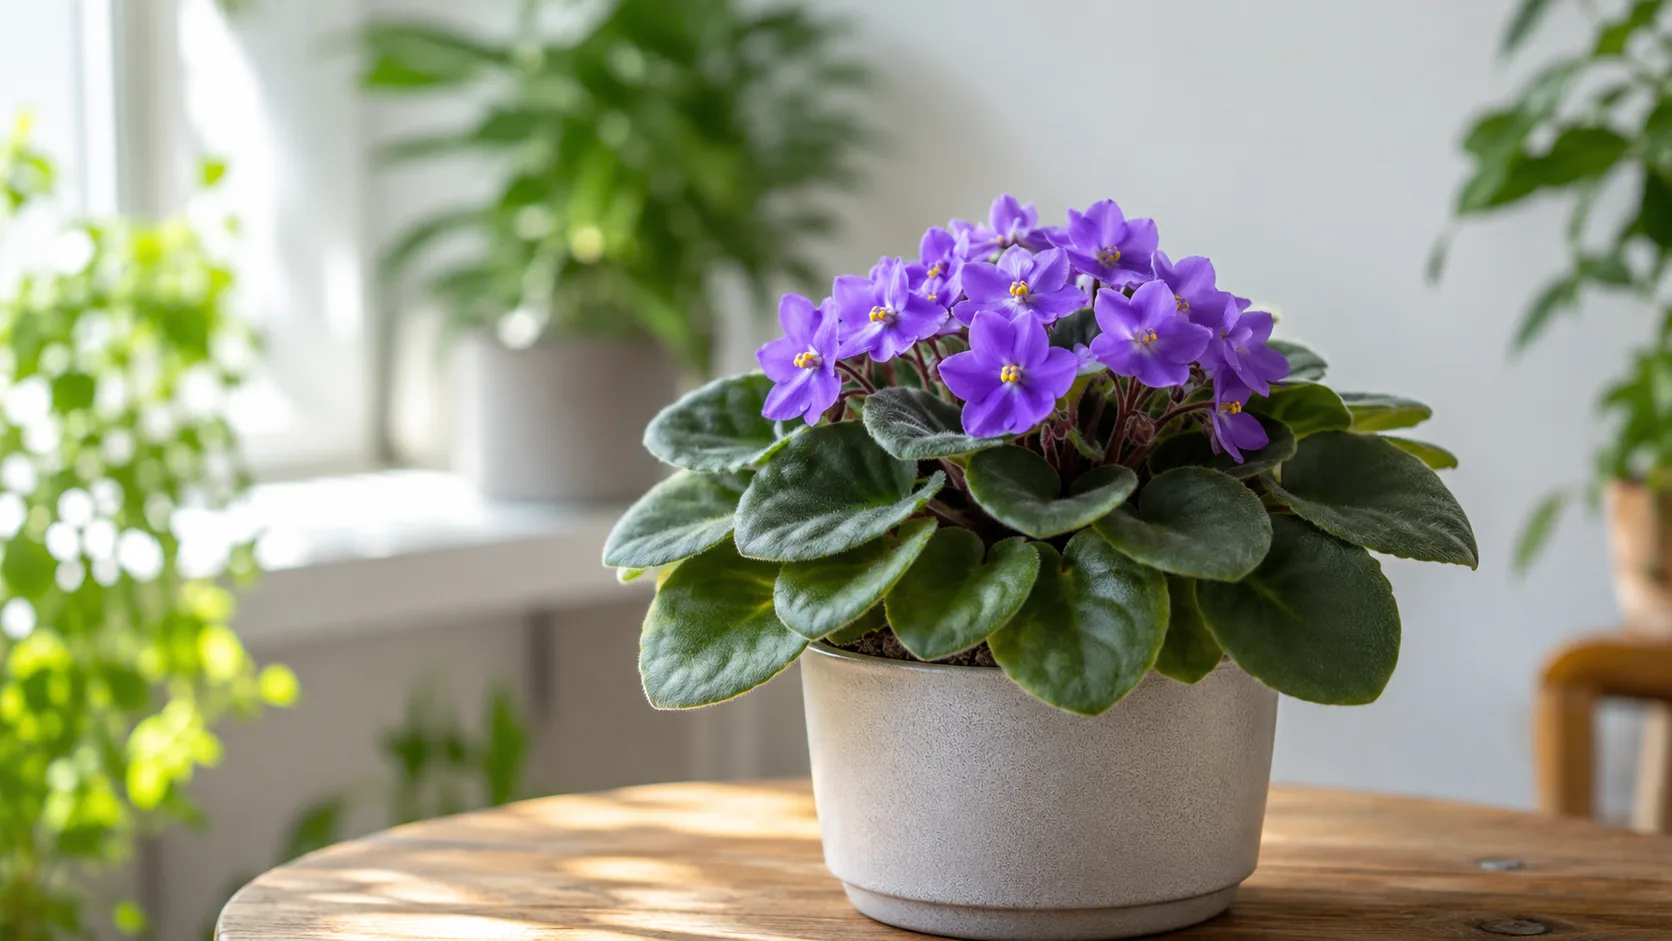
African Violet
Likely causeCommon curling leaves pattern on African Violet under indoor care stress.
Quick fixInspect roots, watering, light, and pests; adjust one variable and monitor new growth.
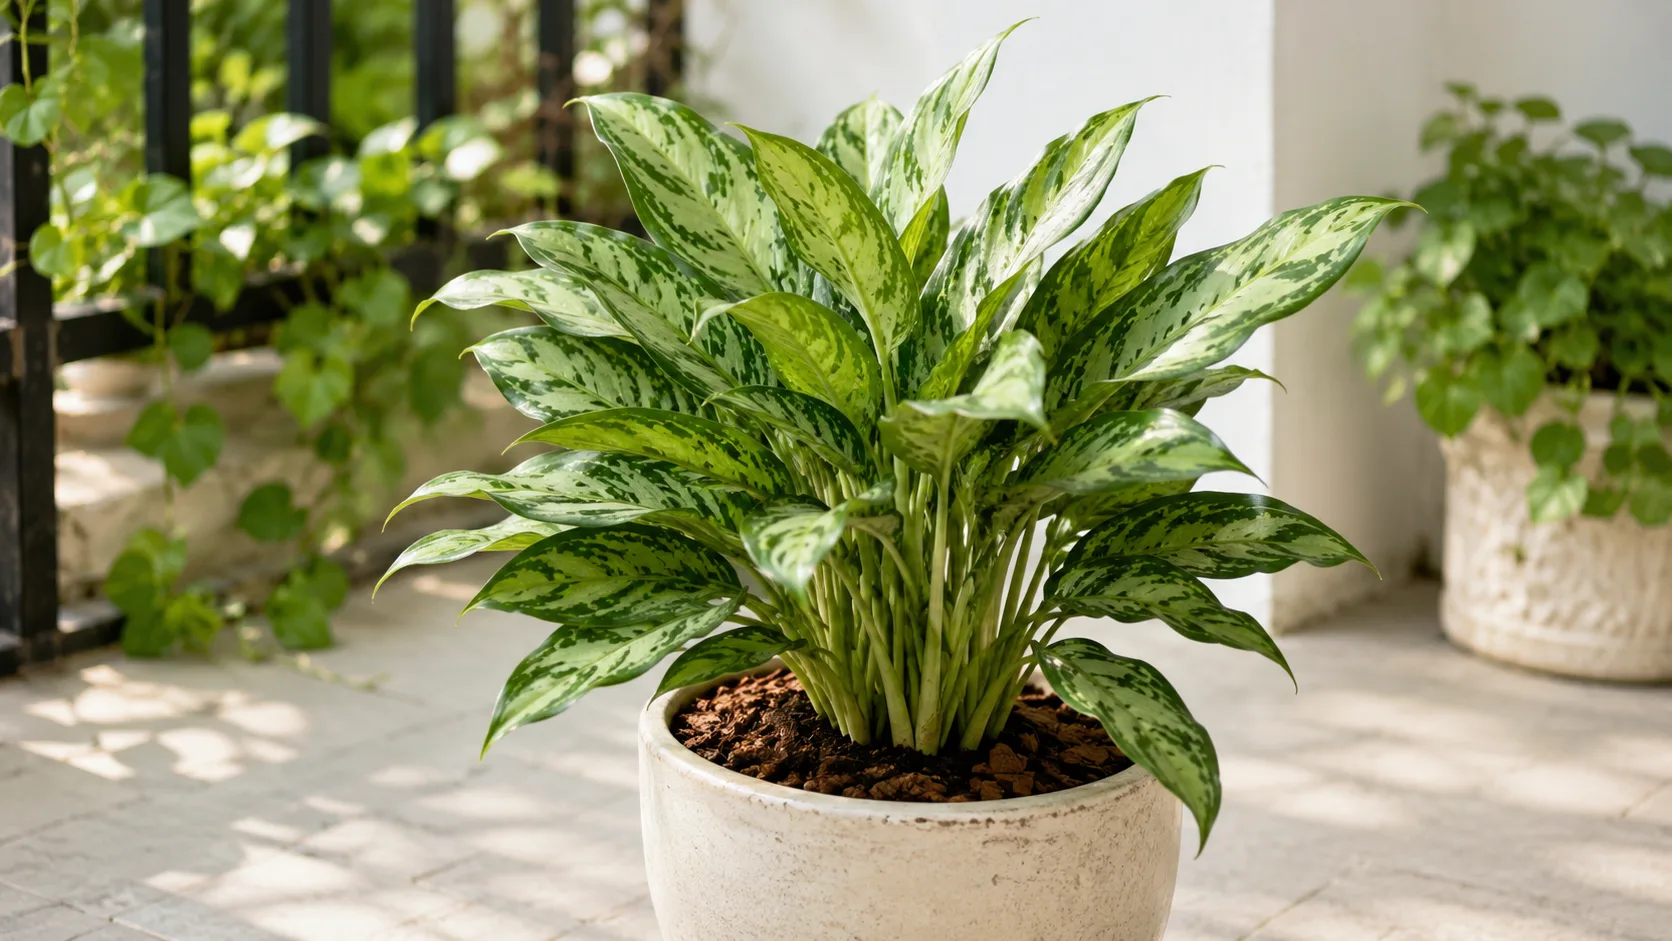 Medium
Aglaonema
Likely causeCommon curling leaves pattern on Aglaonema under indoor care stress.
Quick fixInspect roots, watering, light, and pests; adjust one variable and monitor new growth.
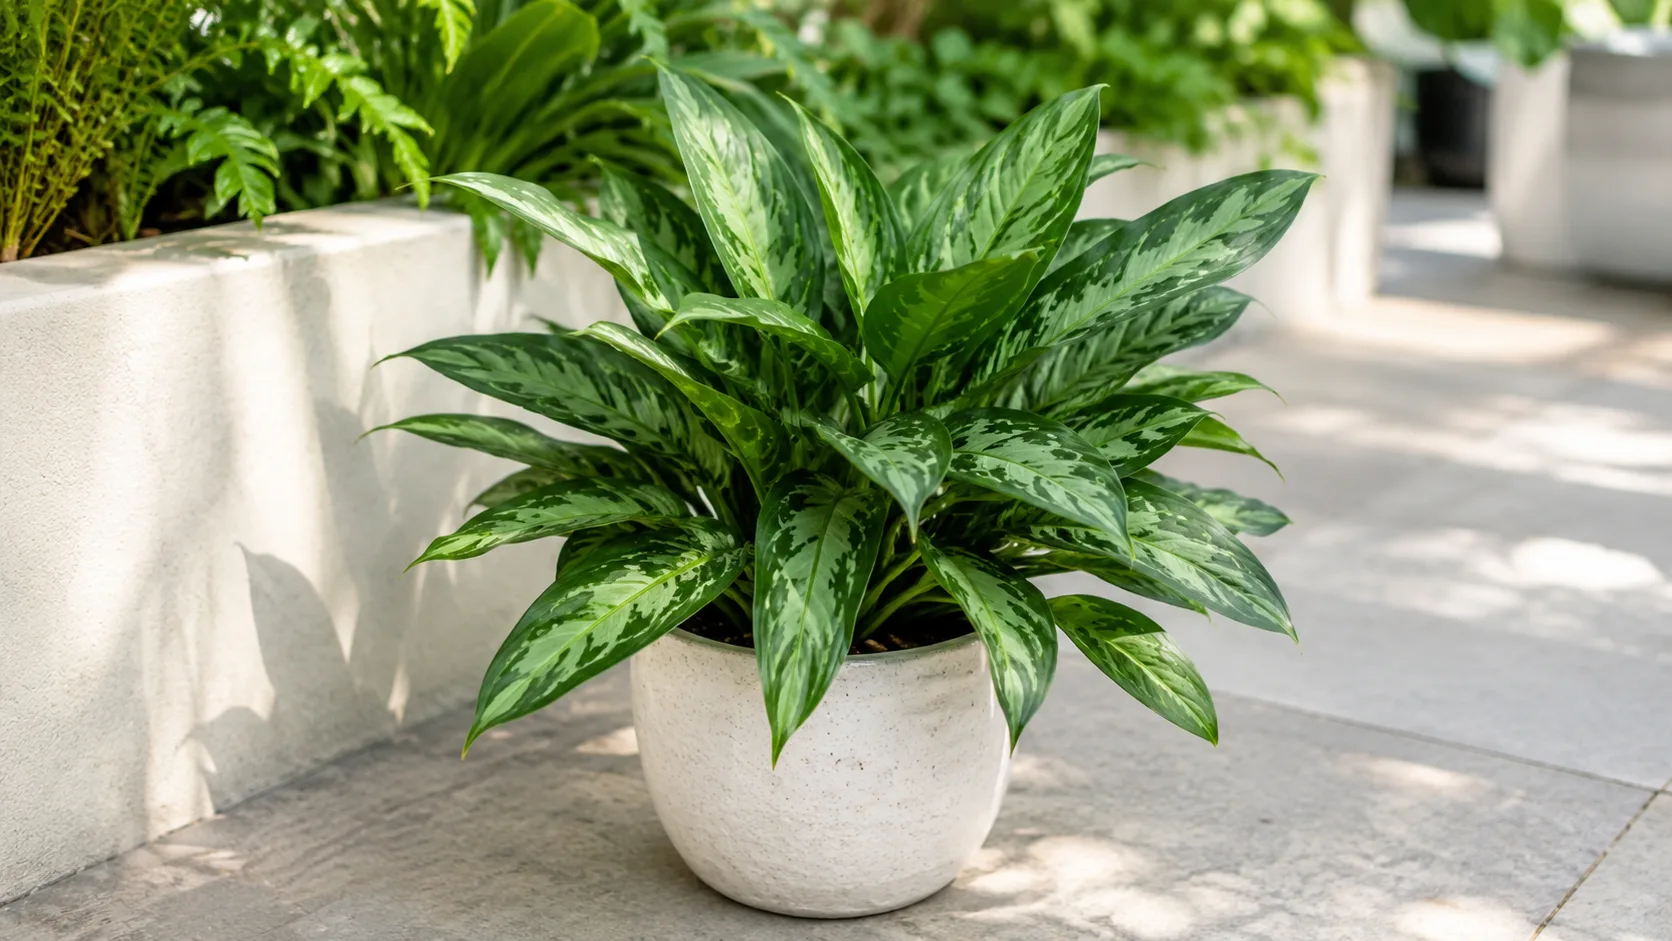 Medium
Aglaonema Cutlass
Likely causeCommon curling leaves pattern on Aglaonema Cutlass under indoor care stress.
Quick fixInspect roots, watering, light, and pests; adjust one variable and monitor new growth.
- Medium
Aglaonema Lady Valentine
Likely causeCommon curling leaves pattern on Aglaonema Lady Valentine under indoor care stress.
Quick fixInspect roots, watering, light, and pests; adjust one variable and monitor new growth.
- Medium
Aglaonema Maria
Likely causeCommon curling leaves pattern on Aglaonema Maria under indoor care stress.
Quick fixInspect roots, watering, light, and pests; adjust one variable and monitor new growth.
- Medium
Aglaonema Pictum Tricolor
Likely causeCommon curling leaves pattern on Aglaonema Pictum Tricolor under indoor care stress.
Quick fixInspect roots, watering, light, and pests; adjust one variable and monitor new growth.
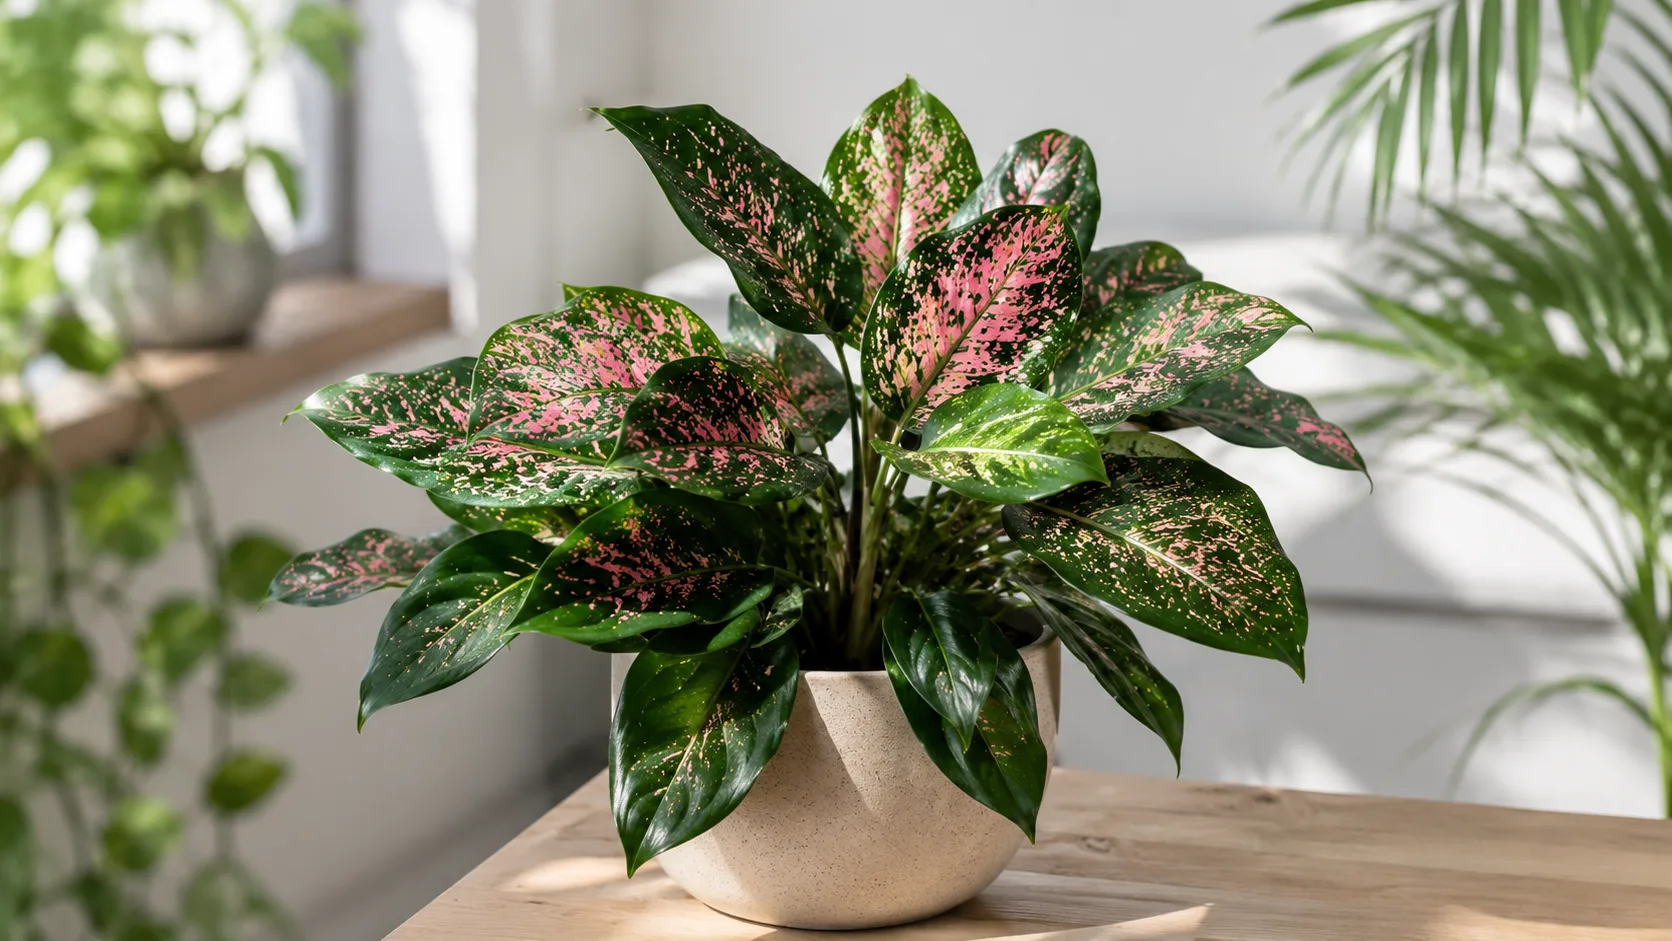 Medium
Aglaonema Pink Dalmatian
Likely causeCommon curling leaves pattern on Aglaonema Pink Dalmatian under indoor care stress.
Quick fixInspect roots, watering, light, and pests; adjust one variable and monitor new growth.
- Medium
Aglaonema Red Siam
Likely causeCommon curling leaves pattern on Aglaonema Red Siam under indoor care stress.
Quick fixInspect roots, watering, light, and pests; adjust one variable and monitor new growth.
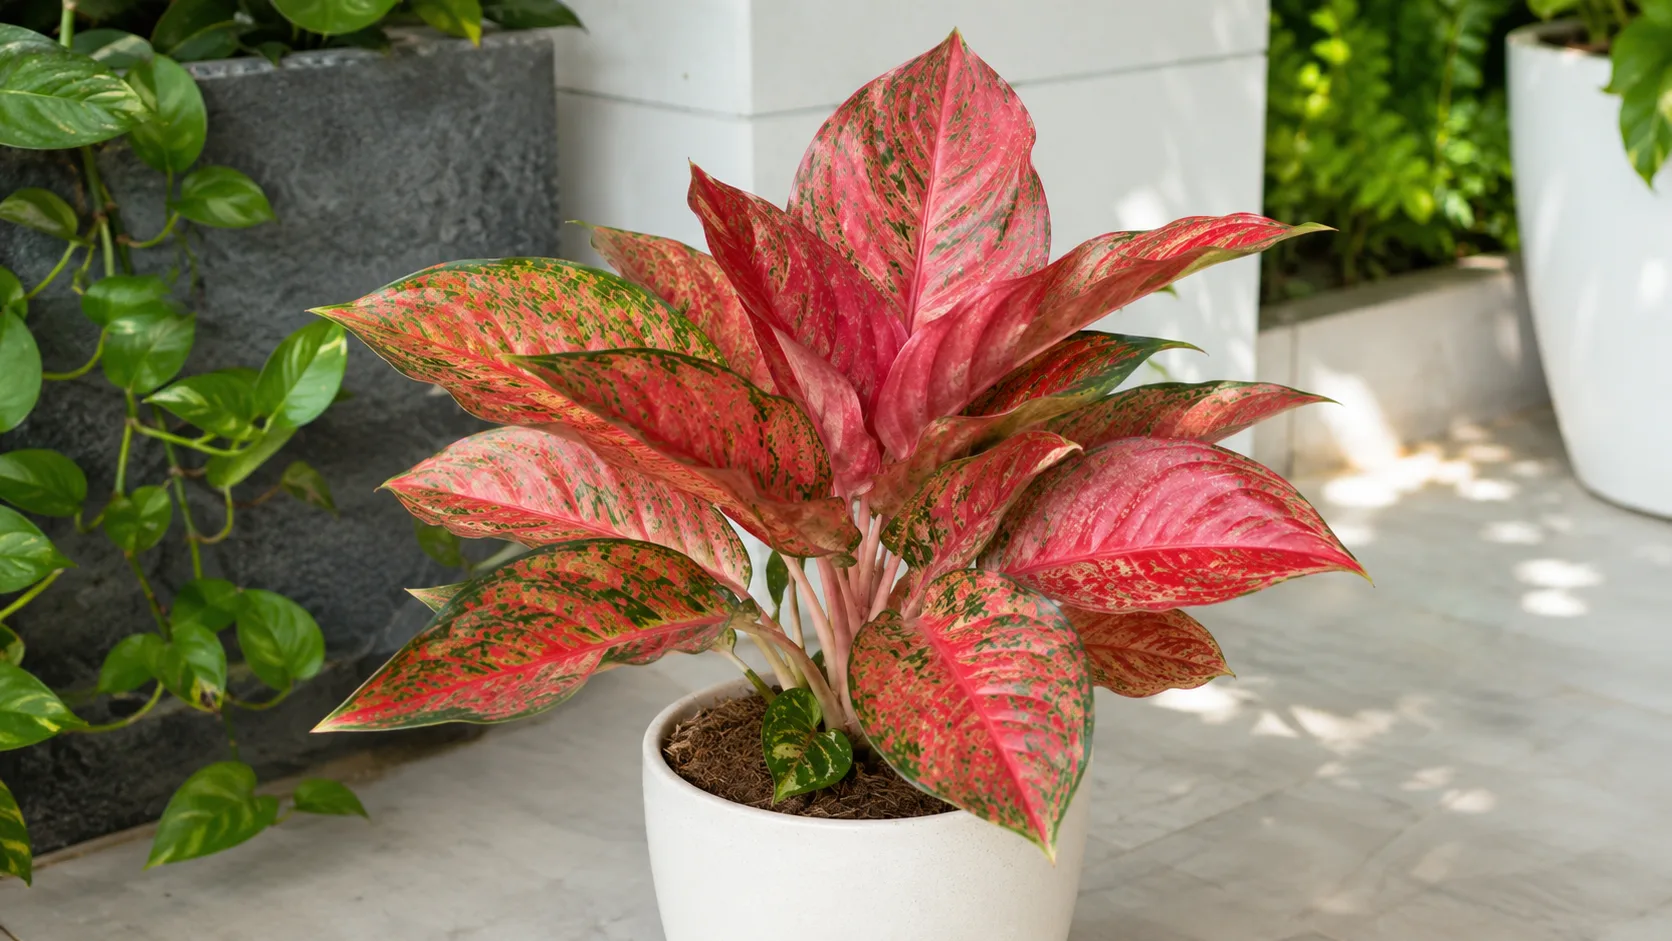 Medium
Aglaonema Red Valentine
Likely causeCommon curling leaves pattern on Aglaonema Red Valentine under indoor care stress.
Quick fixInspect roots, watering, light, and pests; adjust one variable and monitor new growth.
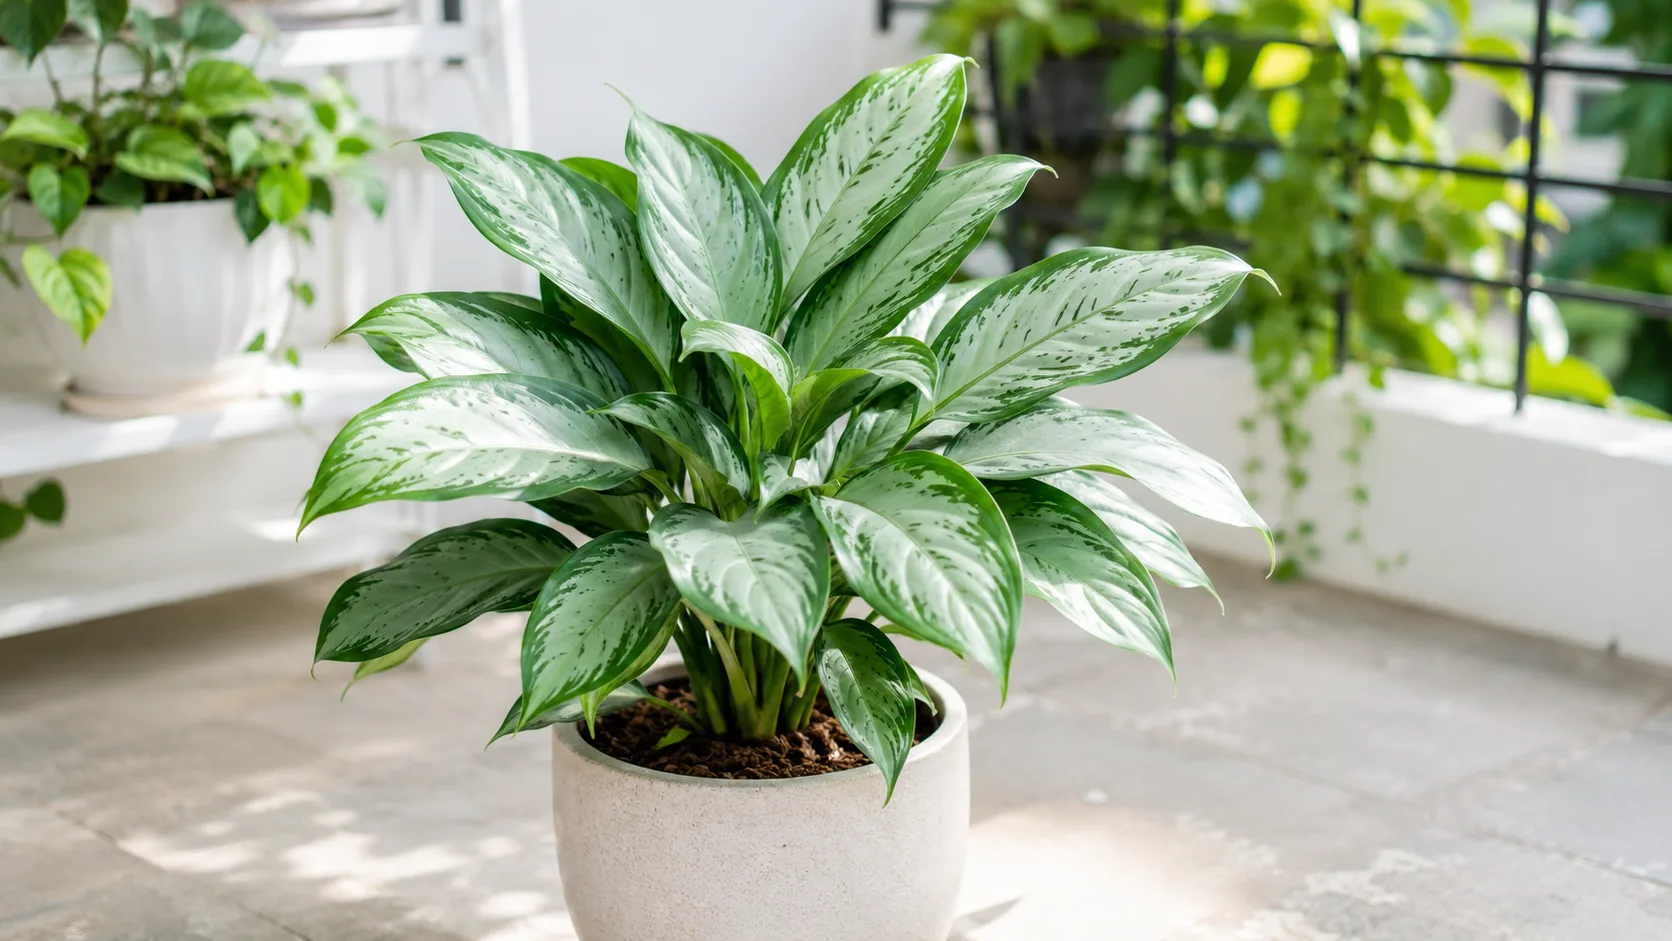 Medium
Aglaonema Silver Bay
Likely causeCommon curling leaves pattern on Aglaonema Silver Bay under indoor care stress.
Quick fixInspect roots, watering, light, and pests; adjust one variable and monitor new growth.