How to Repot a Peace Lily: Timing, Pot Size, and Steps
Learn when to repot a peace lily, how to choose pot size and soil, divide crowded clumps, and recover from transplant shock without losing blooms.
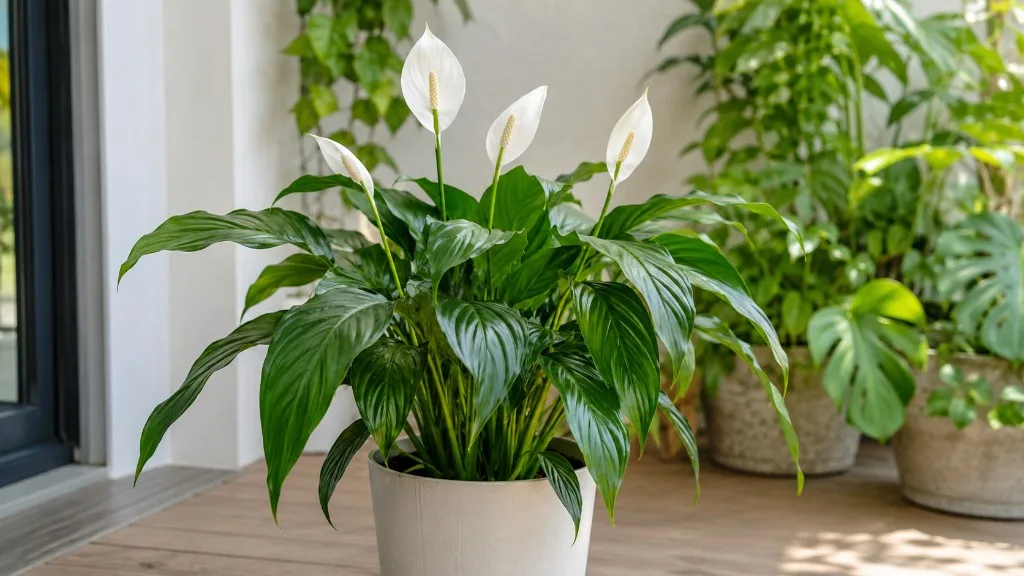
Your peace lily looked fine on the shelf until you watered it and the whole plant collapsed an hour later—even though the soil felt damp. That pattern usually means the root ball has outgrown its job, not that you forgot to water. Spathiphyllum is a rainforest-floor aroid that wants loose, organic soil around its roots and a pot that dries evenly between drinks. When the mix breaks down or roots circle the container, water channels through without hydrating, nutrients stall, and white spathes become rare. Repotting a peace lily resets that root zone so the plant can hold moisture predictably, push new leaves, and bloom on a steadier schedule.
Most healthy peace lilies need attention every 18 to 24 months, sometimes longer in cool, low-light rooms. The goal is not the biggest pot you can find; it is fresh, porous mix and a container only slightly larger than the root mass. Done in early spring, repotting lines up with active growth so roots re-establish before summer heat and dry indoor air. This guide walks through when to repot, what supplies actually matter, how to inspect roots without tearing them, when to divide instead of upsize, and how to recover if the plant droops for a week afterward. For species-specific watering and soil depth, keep the Peace Lily hub and repotting care page bookmarked as you work.
Why Repotting Matters for Roots and Blooms
Peace lilies are often sold as forgiving houseplants, and they are—until the pot becomes a root sponge with no soil left in the middle. Clemson Cooperative Extension notes that peace lilies like to be slightly pot-bound but need repotting when roots grow through drainage holes or circle on the soil surface (Clemson HGIC). That single distinction drives every good repot decision: snug encourages flowering; suffocated encourages wilt.
Fresh mix matters because peat and bark decay, pores collapse, and salts from tap water and fertilizer accumulate at the root surface. NC State Extension describes peace lilies as plants that should be kept somewhat pot-bound in a large pot relative to leaf spread, repotted in February or March when necessary, using a high-organic potting mix (NC State Extension). Repotting is how you restore that organic structure without jumping to an oversized container that stays wet for days.
Blooms connect directly to root health. A peace lily that cannot take up water evenly spends energy on survival, not spathes. Mature plants often flower best with mild root pressure, but severe binding starves the crown. After a proper repot, many growers see new leaves within two to four weeks and spathes on the next growth cycle—provided light and humidity are adequate. Repotting alone will not fix a plant sitting in a dark hallway; it removes a ceiling on performance.
Mild Root Binding vs Severe Root Binding
Mild root binding means the root ball fills most of the pot but water still soaks in, the plant perks up within a day after a thorough watering, and you see healthy white tips when you peek through a drainage hole. Many peace lilies flower better with a little root pressure. Mild binding is not an emergency.
Severe root binding shows up as daily wilt cycles even when soil feels moist, water running straight through the pot in seconds, roots matted in a solid disk when you slide the plant out, or crusty, hydrophobic soil that repels water. Yellow lower leaves on an otherwise cared-for plant often trace back to exhausted mix rather than random “old age.” Severe binding needs action this season—waiting another year usually means more leaf loss and higher rot risk after you finally repot into too large a pot out of frustration.
Six Signs Your Peace Lily Needs a New Pot
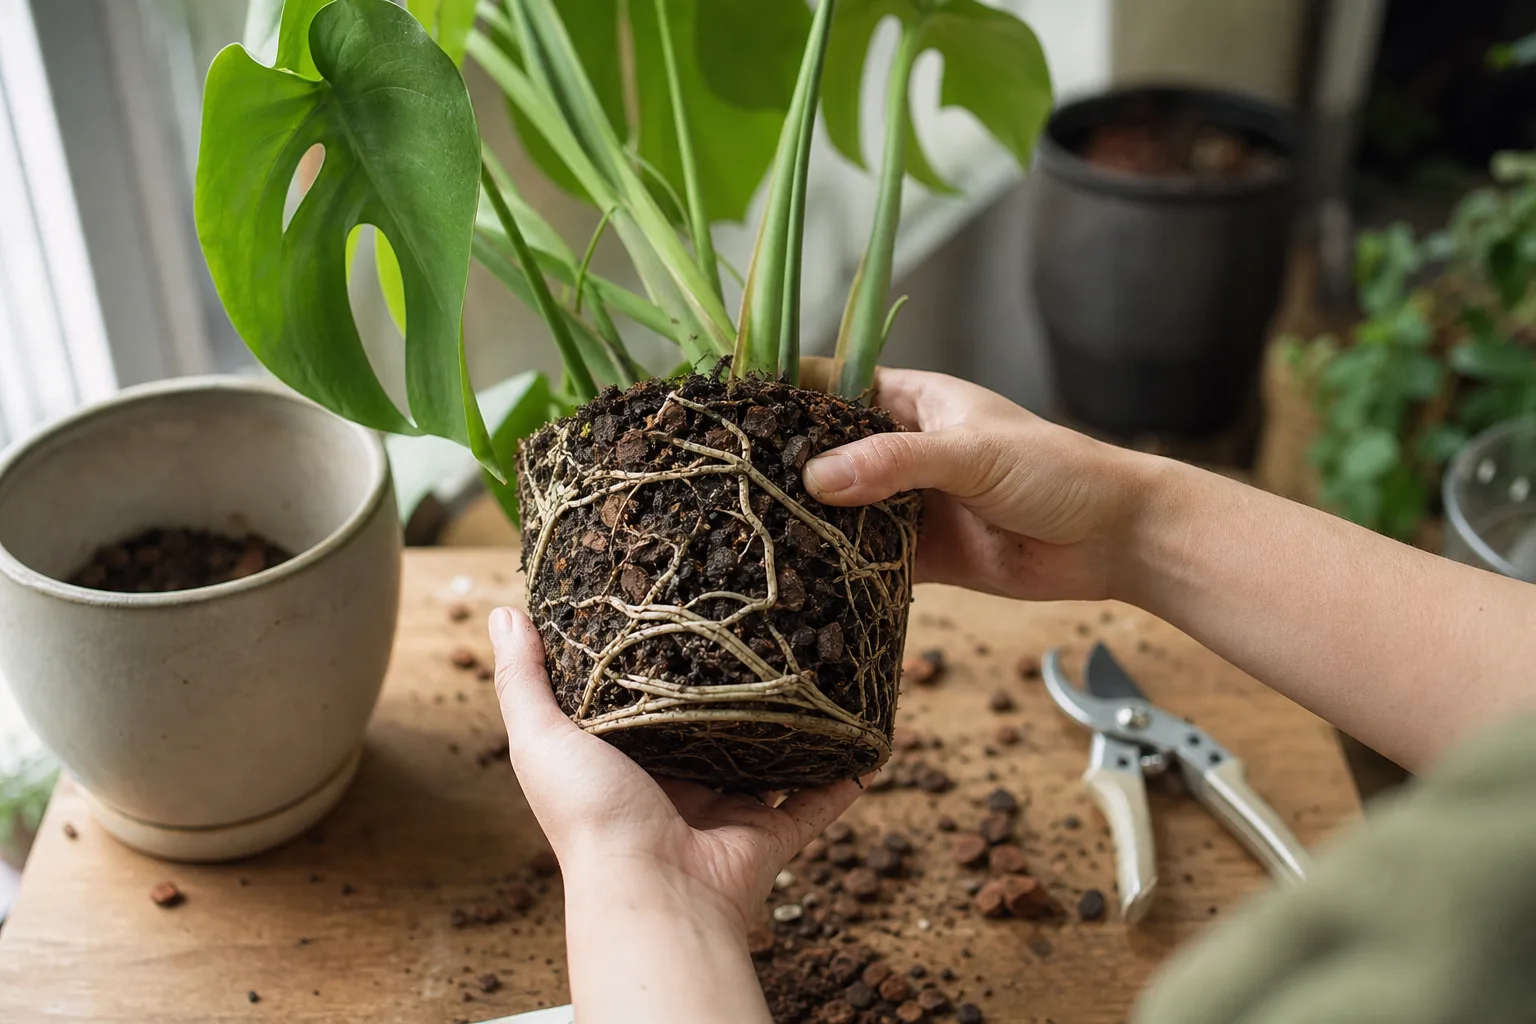
Calendar reminders (“repot every two years”) miss the point. Read the plant. Repot when two or more of these signs persist after you rule out recent underwatering or cold drafts:
- Roots visible at the soil surface or protruding from drainage holes
- Water races through the pot without the top inch absorbing; saucer fills instantly while the center stays dry
- Wilting returns within 24–48 hours of watering even though soil is not bone dry
- Stalled growth for several months in spring or summer despite adequate light
- Crusty, compacted soil that shrinks away from the pot wall; top dressing no longer helps
- Yellowing lower leaves on a plant you have not repotted in 18+ months, especially with salt crust on the rim
If only one sign appears, investigate before unpotting. Recent relocation, heater drafts, and fluoride burn can mimic binding. Slide the plant out once: a solid white root mat with little visible mix confirms the diagnosis. For droop that does not match soil moisture, see peace lily drooping leaves and overwatering before you upsize.
Best Time to Repot (and When to Wait)
Early spring—roughly March through May in the Northern Hemisphere—is the best window for routine peace lily repotting. Active growth is starting, days are lengthening, and roots repair faster in fresh mix. NC State’s February–March guidance aligns with this; late winter repot is acceptable if the plant is clearly root-bound and your home stays above 65°F (18°C) (NC State Extension).
Late summer repot can work if you missed spring and the plant is struggling, but avoid the hottest, driest weeks when air conditioning desiccates leaves. Mid-winter repot is a last resort: peace lilies do not go fully dormant indoors, but growth slows, and recovery from root damage takes longer. Clemson notes repotting can be done any time but recovers quicker during the growing season (Clemson HGIC).
When to wait: skip repotting if the plant is in full bloom and otherwise healthy—you will sacrifice open spathes and may trigger bud drop. Also wait two to three weeks after bringing a new peace lily home; let it acclimate unless roots are rotting. Do not repot purely because the calendar says so while the mix still drains and the plant holds water normally.
Emergency Repots You Should Not Delay
Some situations override seasonal timing. Repot immediately when you find mushy brown roots and sour-smelling mix, when the pot has no drainage holes and soil stays saturated, or when the plant wilts daily in wet soil and the root ball is a hard mat. These are rescue jobs, not upgrades. Trim rot, discard saturated old mix, and move to a properly sized pot with fresh media—even in winter—because leaving rot untreated kills faster than transplant shock.
Gather Supplies Before You Unpot
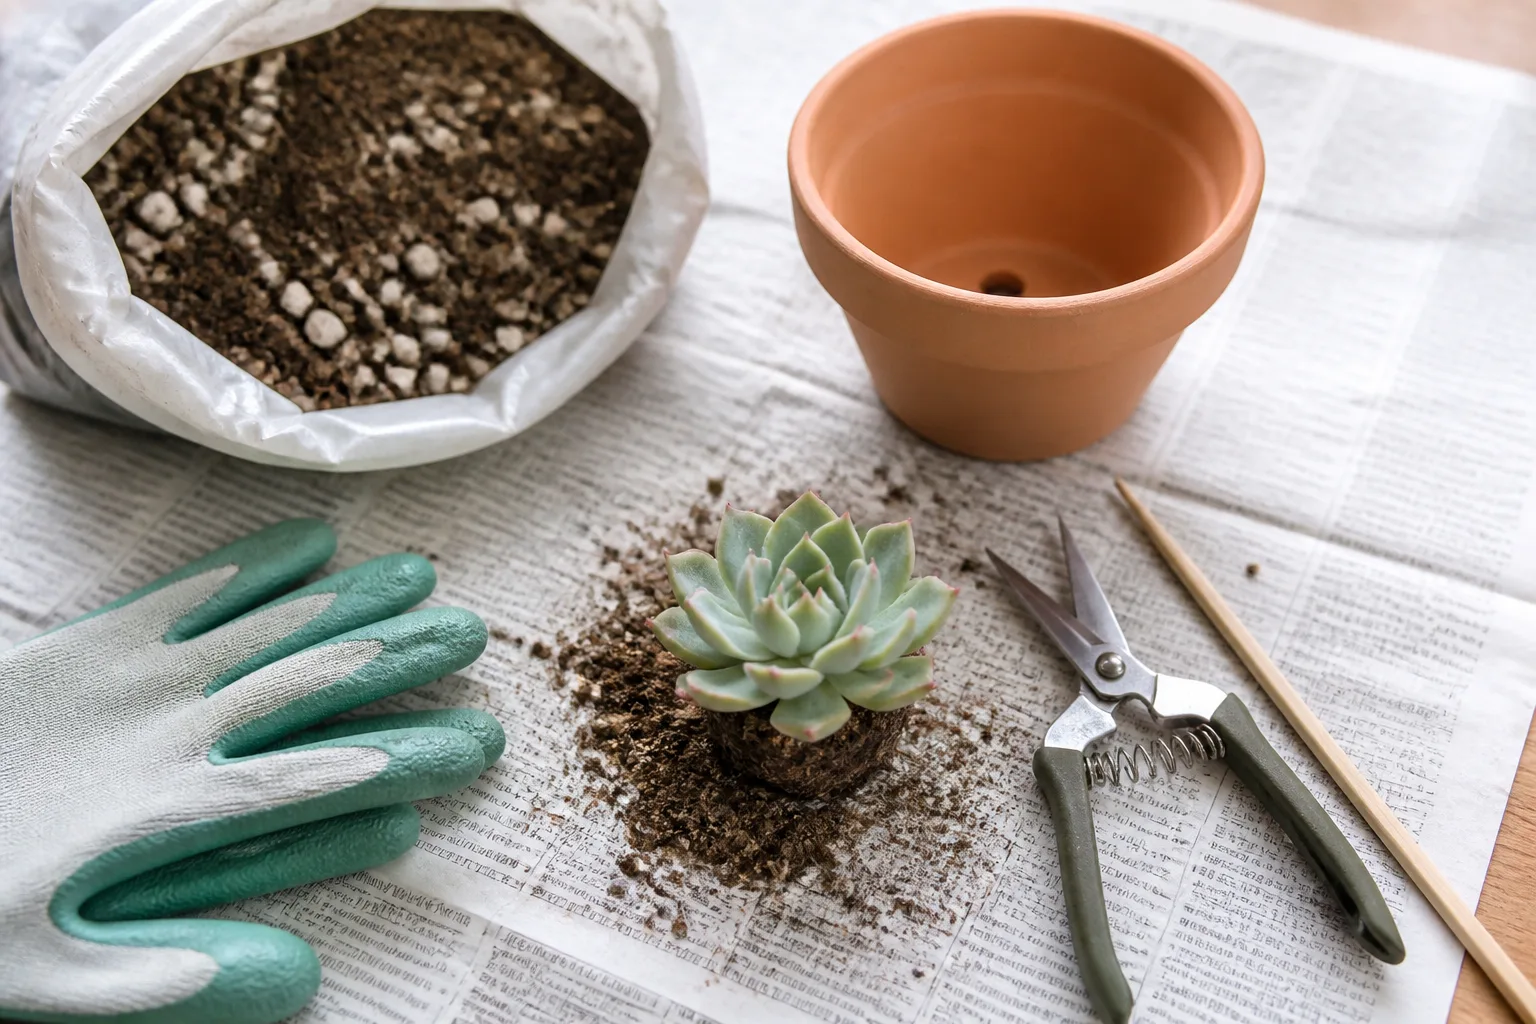
Set everything within reach before you disturb roots. Peace lily roots are fleshy and tear easily when left bare on a counter.
You will need:
- New container (see sizing below) with clean drainage holes
- Fresh potting mix—high in organic matter, labeled for houseplants
- Perlite or coarse bark if your mix is heavy
- Scissors or pruning shears wiped with rubbing alcohol
- Newspaper or a tray to contain mess
- Room-temperature water for pre-moistening mix and the initial soak
- Optional: horticultural charcoal for rot-rescue repots; slow-release fertilizer only after recovery (four to six weeks)
Water the plant two to four hours before repotting so the root ball holds together and old mix releases cleanly. Do not repot bone dry (roots snap) or dripping wet (mix smears into a paste).
Choosing the Right Pot Size and Material
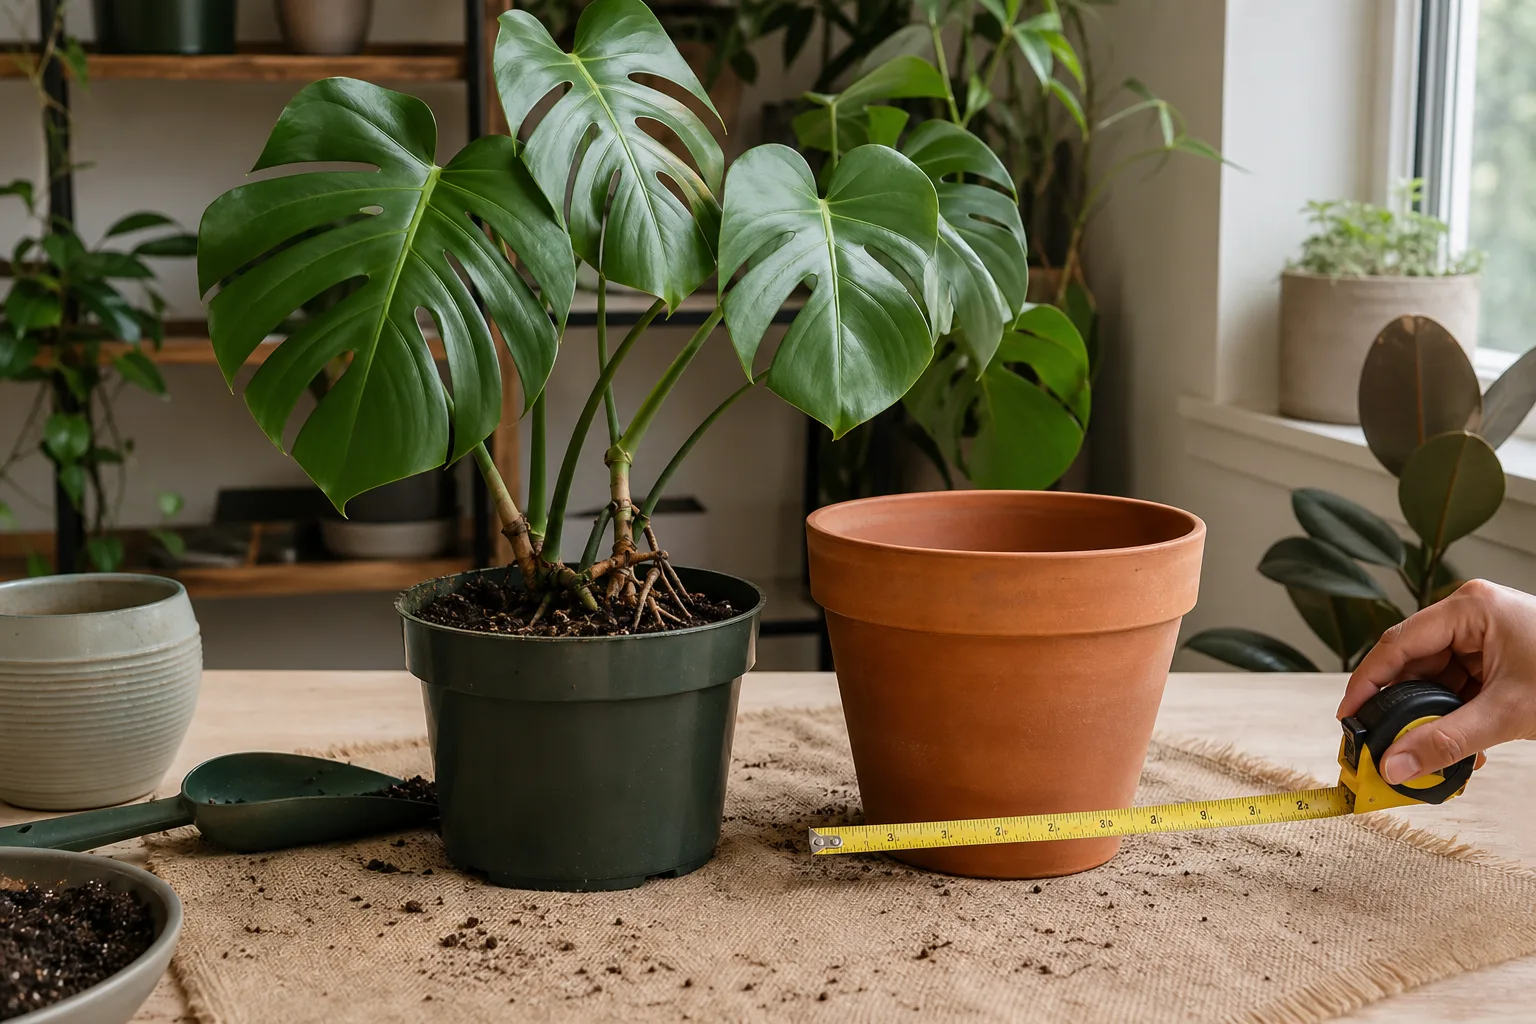
Go up only 1 to 2 inches (2.5–5 cm) in pot diameter compared with the current root ball—not the foliage span. Clemson is explicit: too large a pot keeps mix too wet and invites root rot (Clemson HGIC). If roots still fit the current pot with room to spare but mix is exhausted, repot into the same size with fresh soil instead of upsizing.
Terracotta or unglazed clay wicks moisture through the walls and forgives slightly heavy watering—excellent for heavy-handed waterers. Glazed ceramic and plastic hold moisture longer; pair them with chunkier mix and lighter watering after repot. Whatever material you choose, confirm saucers are emptied after watering; peace lilies hate standing water (Clemson HGIC).
Depth matters less than width for peace lilies because roots spread relatively shallow. A pot that is too deep with a small root ball creates a wet basement layer. Aim for the root ball to sit 1 to 2 inches below the rim after planting so you can water without instant overflow.
The Best Potting Mix for Peace Lilies
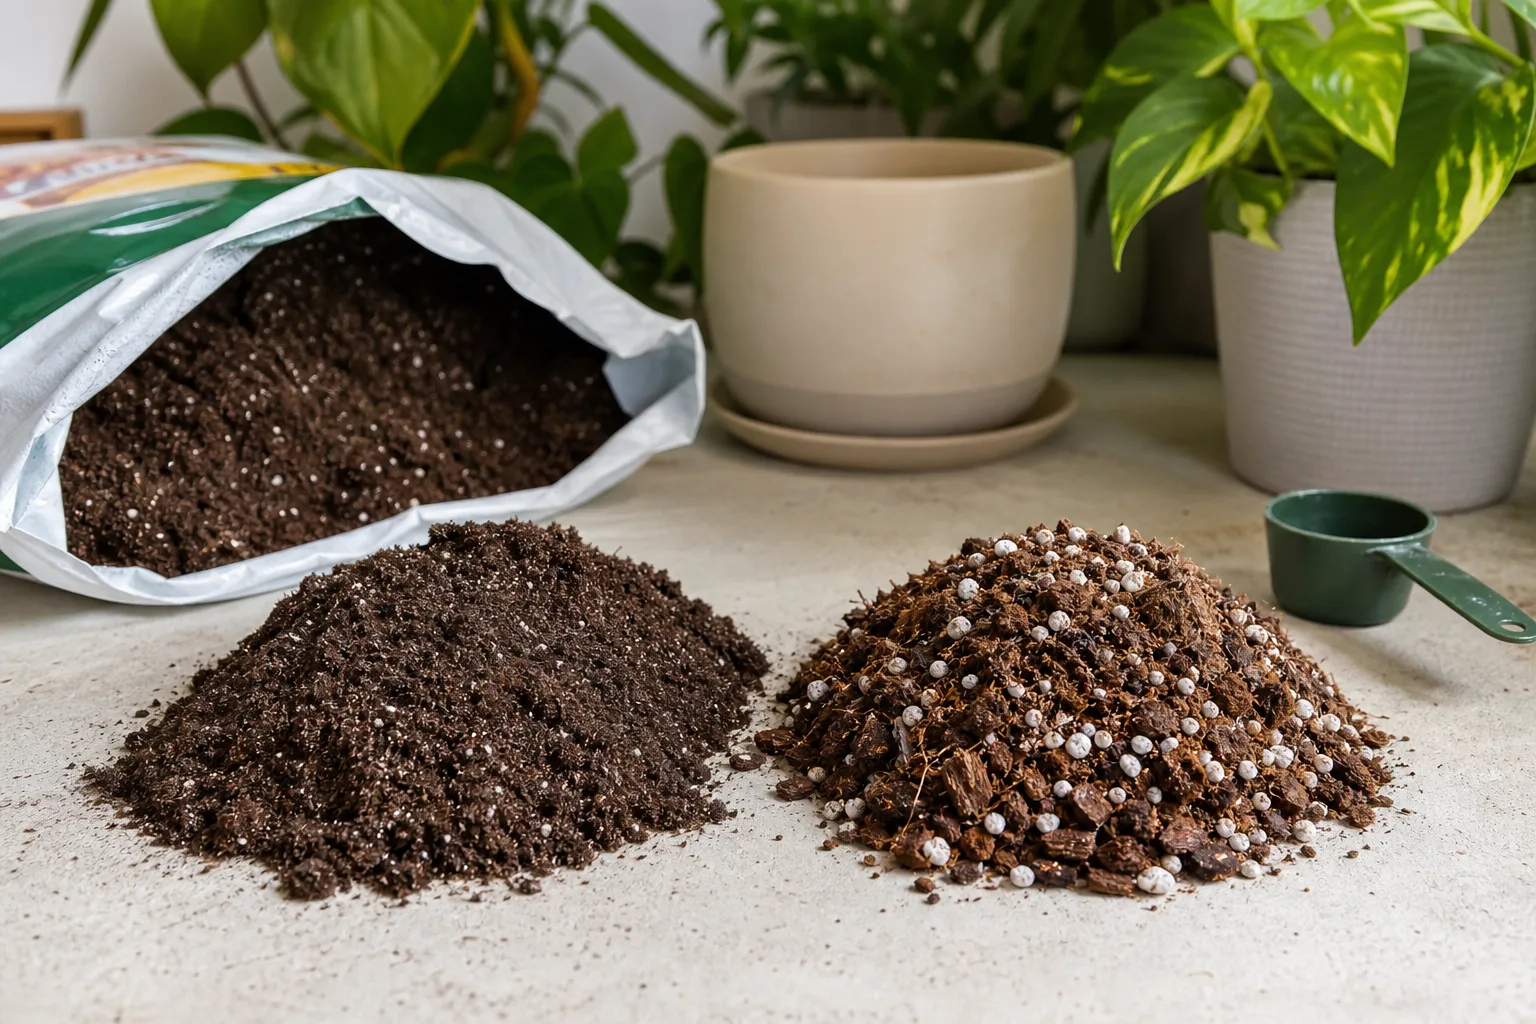
Peace lilies evolved in leaf litter on tropical forest floors. They want rich, well-draining potting mix—not garden soil, not cactus mix straight from the bag. Clemson recommends any quality well-drained houseplant potting mix kept moist but not soggy (Clemson HGIC). NC State adds high organic matter as the key trait (NC State Extension).
A reliable DIY blend for repotting:
- 2 parts quality peat- or coir-based indoor potting mix
- 1 part perlite or pumice for aeration
- ½ part fine orchid bark or coco chips to slow compaction
Pre-moisten mix until it feels like a wrung-out sponge. Dry mix pulled into air pockets after repotting can leave roots stranded. If your tap water is heavily fluoridated and the plant already shows brown tips, repotting is a good moment to switch to low-mineral water for the first month—see peace lily watering and brown tips for long-term habits.
Avoid topping old crusty soil with fresh mix only; that traps salts above the root zone. Full repot or same-pot refresh replaces depleted media. Our best potting mix for indoor plants guide explains how to tune blends by plant type if you grow a mixed collection.
Step-by-Step: How to Repot a Peace Lily
1. Pre-water and prepare the new pot. Moisten fresh mix. Add an inch layer to the pot bottom—no gravel “drainage layer” required if holes are open.
2. Unpot gently. Tip the plant on its side, support the base, and slide the pot off. Tap the rim if needed; never yank stems. If the root ball is stuck, run a knife around the inside wall.
3. Inspect roots in good light. Healthy peace lily roots are firm and white to cream. Note density and any odor.
4. Trim only what is dead. Remove black, mushy sections with sterile shears. Leave healthy roots intact even if circling.
5. Loosen the outer root mantle. Tease circling roots on the bottom and sides with your fingers. For a severely bound mat, make two to four vertical scores halfway up the ball with a clean knife—shallow, not through the crown.
6. Center the plant. Crown at the same depth it grew before; burying the crown causes rot. Root ball top should sit 1–2 inches below the rim.
7. Backfill and settle. Add mix around the sides, tapping the pot to remove large air voids. Do not pack like concrete.
8. Water thoroughly once. Let excess drain fully. Empty the saucer.
9. Hold fertilizer for four to six weeks unless you used a mild slow-release mixed into the soil at label rate.
10. Place in bright indirect light away from direct sun and HVAC blasts for the first week. NC State warns that direct sun scorches foliage and cold drafts below 60°F (15°C) damage leaves (NC State Extension).
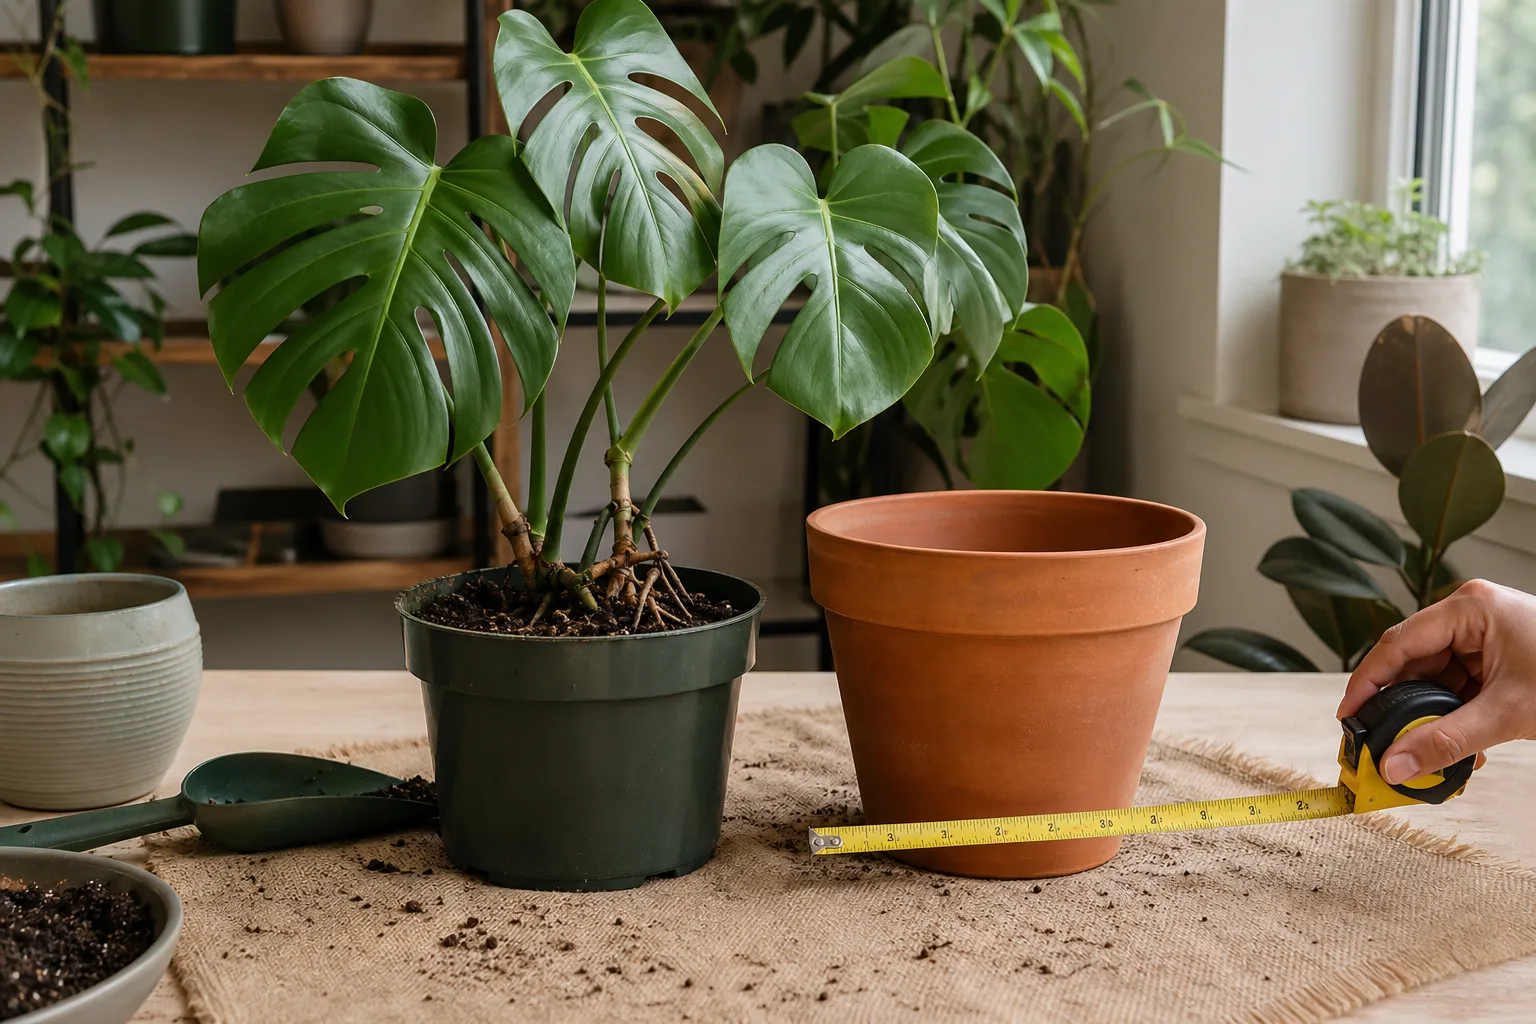
Inspect, Trim, and Loosen the Root Ball
This step separates a repot that holds water evenly from one that fails in a month. If more than one-third of the root mass is brown and soft, treat it as root rot rescue (below), not a routine upsize. Firm white roots in a tight circle only need teasing—aggressive pruning of healthy roots causes unnecessary shock.
Check the crown where leaves emerge. Brown, mushy tissue at the base means rot has climbed above the roots; trim back to firm white tissue or the division may not recover. If the ASPCA-listed calcium oxalate crystals are a concern in your home, wear gloves when handling damaged tissue and keep pets away from trimmings (ASPCA).
Plant, Fill, and Water In
Set the plant so the previous soil line matches the new line. Peace lilies often sulk if buried deeper. Fill in stages, shaking the pot lightly so mix settles under the root ball without leaving a hollow core.
The first watering should be slow and deep until a little runs from holes—not a flood that compacts mix. For the next two to three weeks, water lightly and more often than your old schedule because new mix dries differently and damaged root tips absorb less. The finger test on the top inch remains your guide; see peace lily soil for long-term moisture targets.
Divide During Repot to Multiply Your Plant
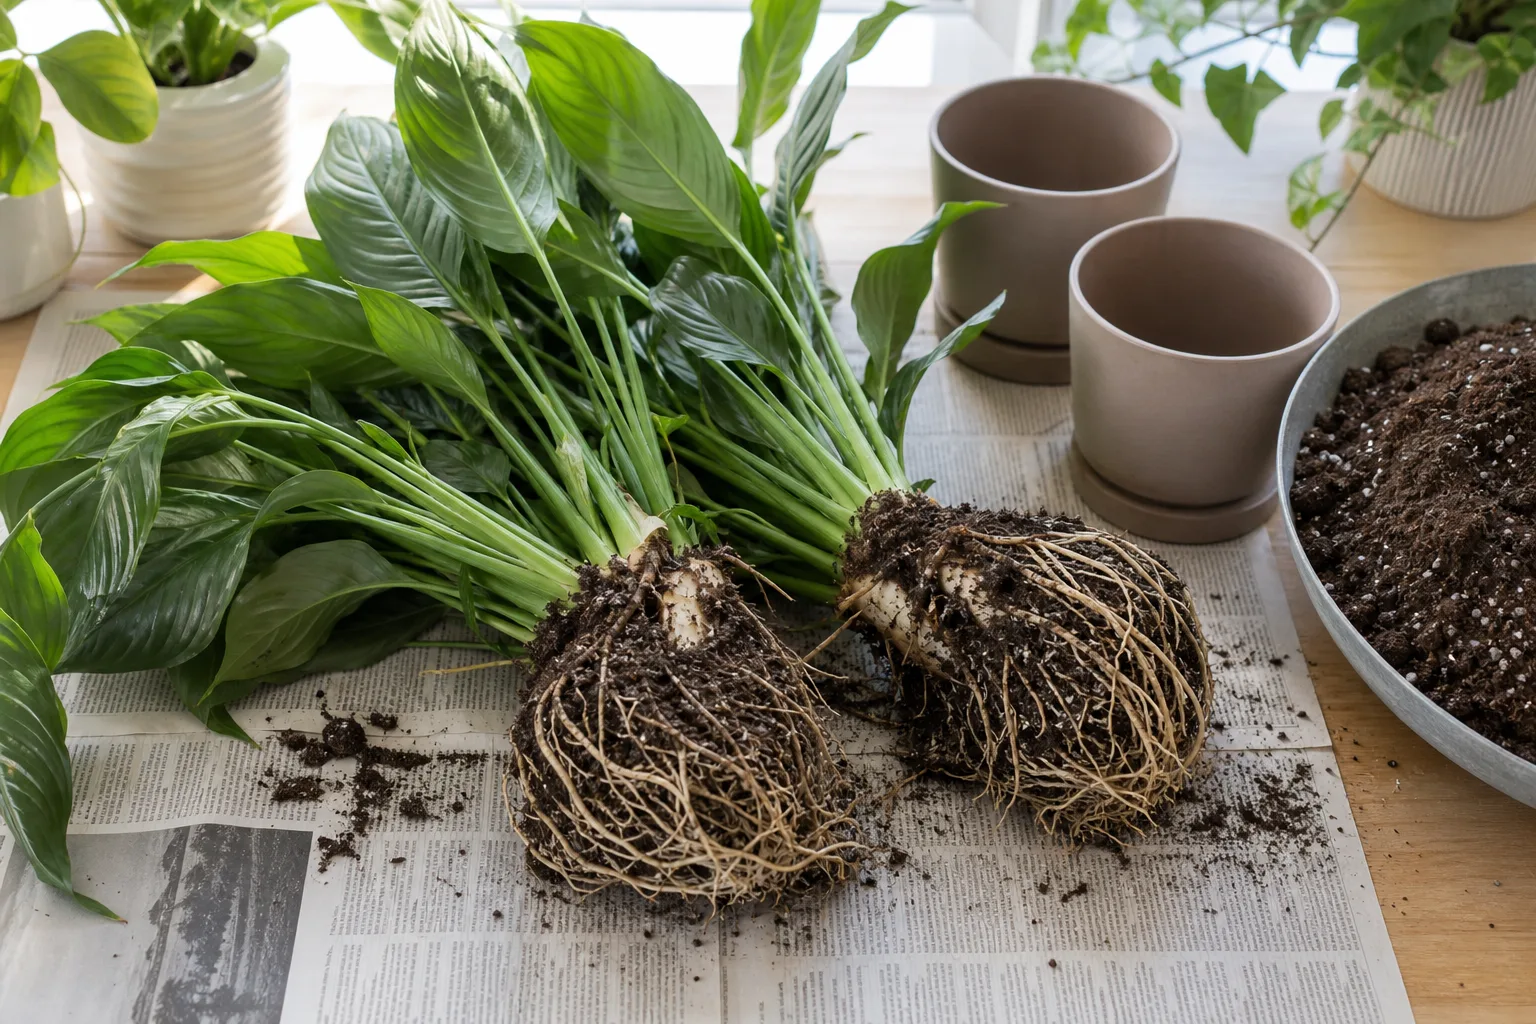
Spring repotting is the ideal time to divide a crowded peace lily into two or more plants. NC State lists division as the recommended propagation strategy for Spathiphyllum (NC State Extension). Each division needs at least three to four healthy leaves and a solid section of roots attached to a crown.
Workflow: after unpotting, rinse or brush away old mix so you can see natural clumps. Gently pull apart at weak points, or cut between crowns with a sterile knife—each piece must include roots. Pot divisions in containers sized to their root mass, not their leaf span. Water lightly and keep humidity high (a pebble tray or grouped plants helps). Expect one to three weeks of mild wilt while new roots form. Full division detail lives in how to propagate peace lily.
Do not divide a plant in active rot or heavy pest infestation; fix health first or you multiply the problem.
Same-Pot Refresh When Upsizing Is Not the Answer
Growers often upsize when the real issue is depleted mix, not root volume. If you slide the plant out and roots occupy roughly half to two-thirds of the volume with healthy tips—but soil is crusty, salty, or hydrophobic—refresh in the same pot.
Trim up to one-quarter of the outer root mantle if needed, shake off old mix gently, and repack with fresh blend. Same-pot refresh fixes nutrient crash and water-channeling without the rot risk of an oversized container. It is especially useful for large specimens like ‘Mauna Loa’ or ‘Sensation’ where the next pot size would be unwieldy indoors.
If roots truly fill the pot wall-to-wall with little soil visible, move up one size instead. The decision is visual, not calendar-based.
Prevent and Treat Repotting Shock
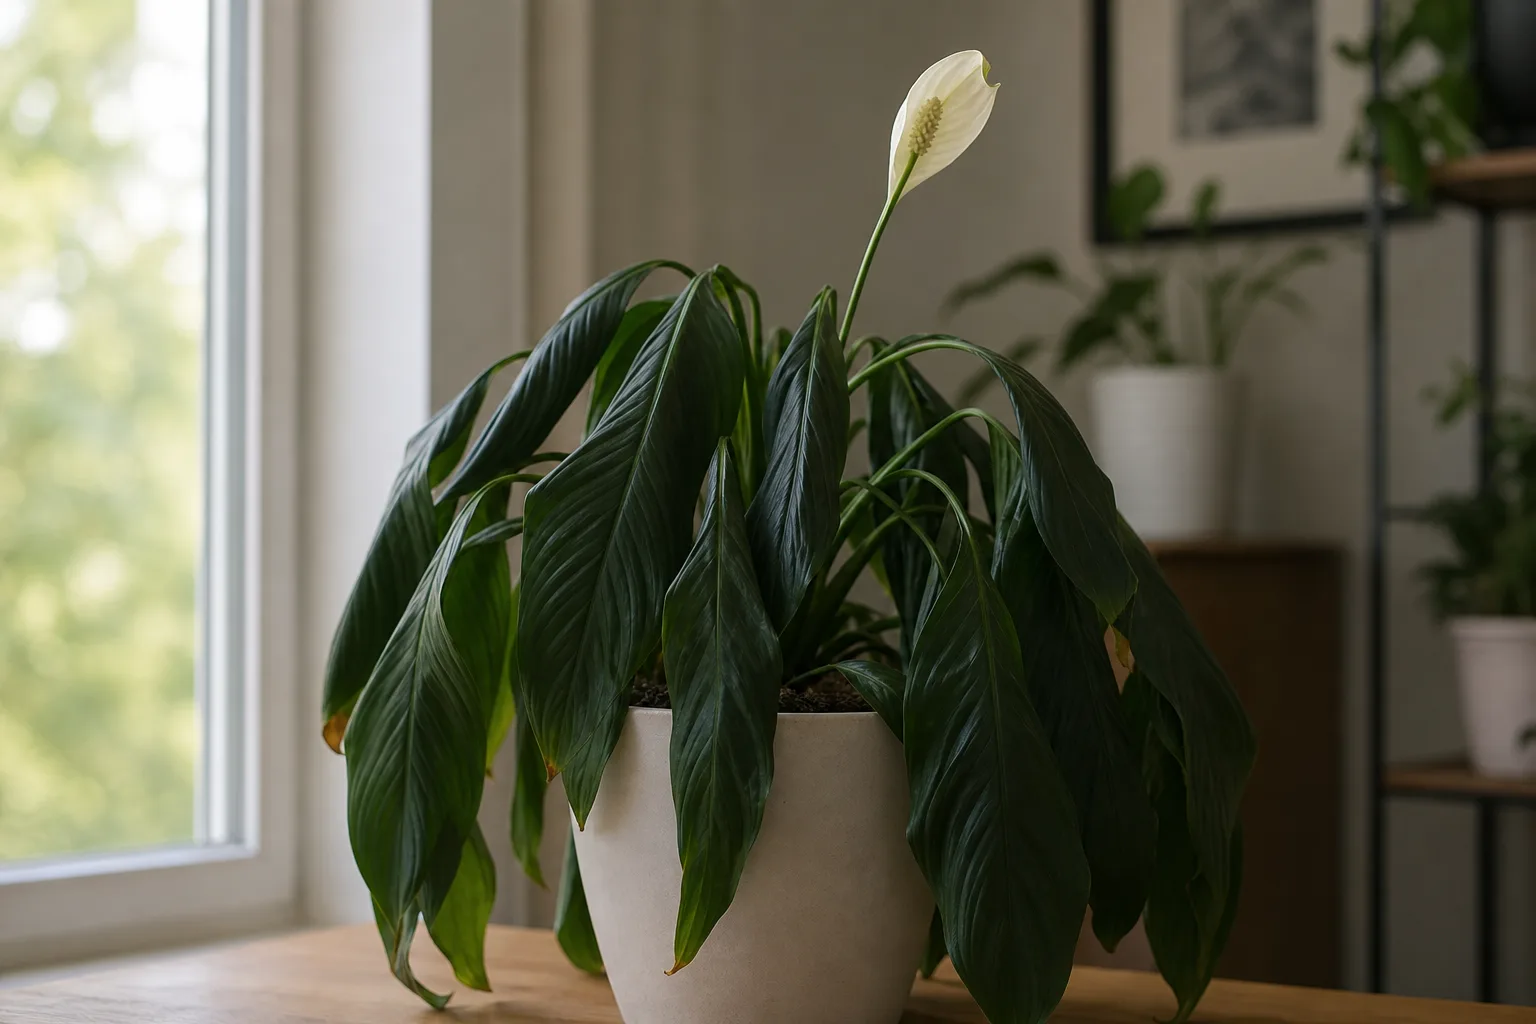
Transplant shock—limp leaves, slight yellowing, paused growth—happens when roots are damaged, mix moisture changes abruptly, or light/temperature shifts coincide with repotting. It is common and usually temporary if you avoid compounding stresses.
Prevention checklist:
- Repot in spring when possible
- Pre-water; handle roots gently
- Do not upsize more than 2 inches
- Skip fertilizer for the first month
- Keep out of direct sun and cold drafts
- Do not repot during peak bloom unless emergency
If the plant droops after repotting: verify you did not bury the crown, confirm drainage holes are open, and water only when the top inch dries. Droopy leaves on wet soil after repot suggest rot or overwatering in too large a pot—inspect roots again rather than adding more water. Most peace lilies recover visible turgor within one to two weeks; full growth momentum may take three. Persistent wilt beyond three weeks with foul soil means rot or crown damage—trim and repot into a smaller container with fresh mix.
Post-Repot Watering and Light Rules
Your old watering rhythm will lie to you for a few weeks. Fresh mix holds moisture differently; fewer roots absorb less after trimming. Water when the top 1 inch (2.5 cm) feels dry, not on the old twice-weekly autopilot. Empty saucers within 30 minutes.
Light should be bright indirect—an east window or filtered south exposure. NC State recommends partial to deep shade indoors; direct sun browns tips (NC State Extension). Night temperatures roughly 10°F cooler than day, in the 65–85°F (18–29°C) daytime range, support recovery (Clemson HGIC). Resume dilute fertilizer at one-quarter label strength only after new growth appears.
Repotting for Better Blooms
Peace lilies can bloom sporadically indoors, with many cultivars flowering most freely when mature and slightly root-bound. That is why repotting too often—or into too large a pot—can delay spathes: the plant spends energy colonizing empty soil instead of initiating flowers.
Repot when binding hurts function (wilting, poor uptake), not when you see roots at a hole as a curiosity. After repot, expect a bloom pause of one growth cycle while roots establish; new spathes often follow once the plant refills its pot modestly. Light is still the limiting factor for many indoor peace lilies—low light prevents blooms regardless of perfect roots. Pair repotting with a brighter filtered location if your plant has not flowered in a year.
Removing spent spathes and dusting leaves helps the next cycle; full bloom troubleshooting sits in peace lily care.
Root Rot Rescue Repot
When rot is the driver—not routine binding—repotting is triage. Unpot, rinse away soggy mix, and cut all brown, mushy roots back to firm white tissue. If you remove more than half the root mass, match pot size to the remaining root ball, which may mean downsizing. Discard old mix completely; do not recycle into other plants.
Repot into fresh, airy mix with a handful of horticultural charcoal optional for extra buffering. Water once lightly, then let the top inch dry before watering again—rot recovery requires less water, not more. Hold fertilizer until new white root tips appear. Severe crown rot may not be salvageable; propagate healthy divisions if any crowns remain firm. Deep symptom photos and recovery steps: peace lily root rot.
Five Mistakes That Undo a Good Repot
Oversized pots are the number-one peace lily killer after repotting. Extra soil stays wet; roots suffocate; leaves yellow while soil feels damp. Stay with the one-size-up rule.
Pulling the plant by stems tears the crown connection. Always unpot from the base.
Repotting into dry, heavy garden soil eliminates drainage and introduces pests. Use sterile houseplant mix.
Fertilizing immediately burns stressed roots. Wait for new growth.
Ignoring drainage holes or saucer water reverses your work in days. Peace lilies need moist mix, not submerged crowns (Clemson HGIC).
Conclusion
Repotting a peace lily is not a calendar chore—it is root-zone maintenance you do when the plant shows functional stress: channeling water, wilting in moist soil, or running on exhausted mix. Choose early spring, move up only 1–2 inches, use organic-rich well-draining mix, tease circling roots gently, and divide crowded clumps while you have the plant out. Expect a short wilt phase while roots settle; protect from sun, drafts, and heavy feeding until new growth returns.
Read the root ball before you read the calendar. A same-pot refresh beats an unnecessary upsize; a timely one-size-up beats waiting until the only option is a huge pot and rot risk. Link your repot to honest light and watering habits on the Peace Lily hub, and you give the plant what it needs for stronger roots—and a fair shot at the white blooms you bought it for.



