How to Fill a Large Planter: 5 Free Fillers
Save potting mix without putting roots at risk. Compare five free large-planter fillers, drainage limits, root depth, settling, and planting steps.
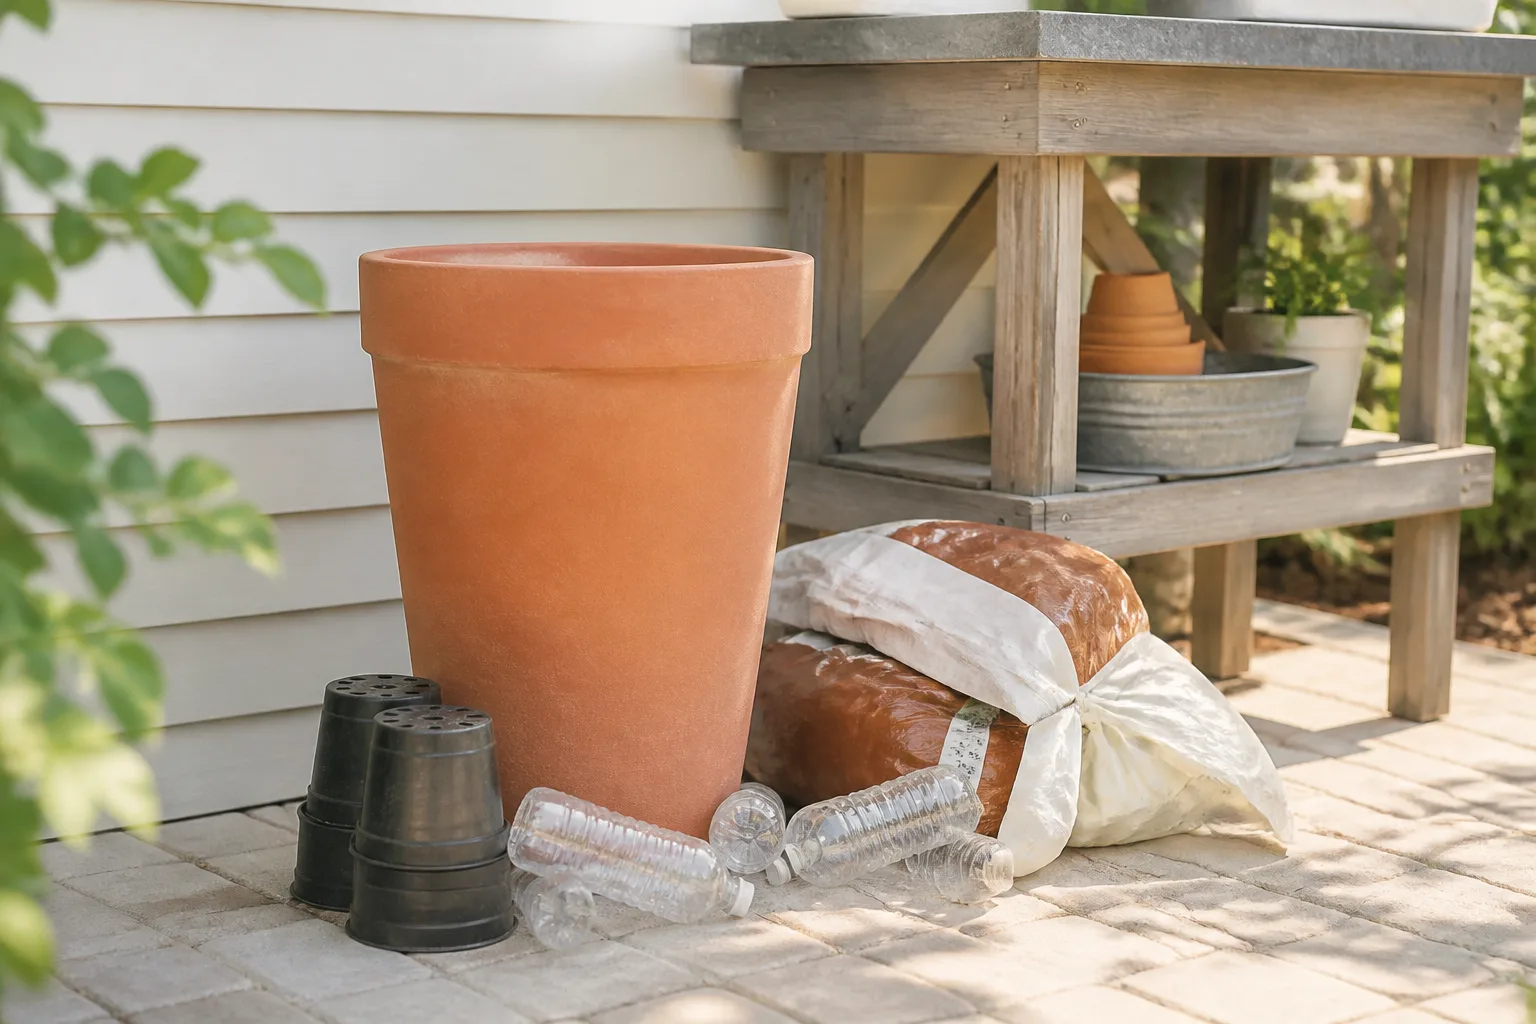
A tall planter can swallow an astonishing amount of potting mix before a plant is even added. The affordable fix is not to fill the bottom with whatever is closest; it is to displace unused volume without blocking drainage, stealing root space, or creating a hidden layer that collapses under the soil.
The short answer: match filler to the root run
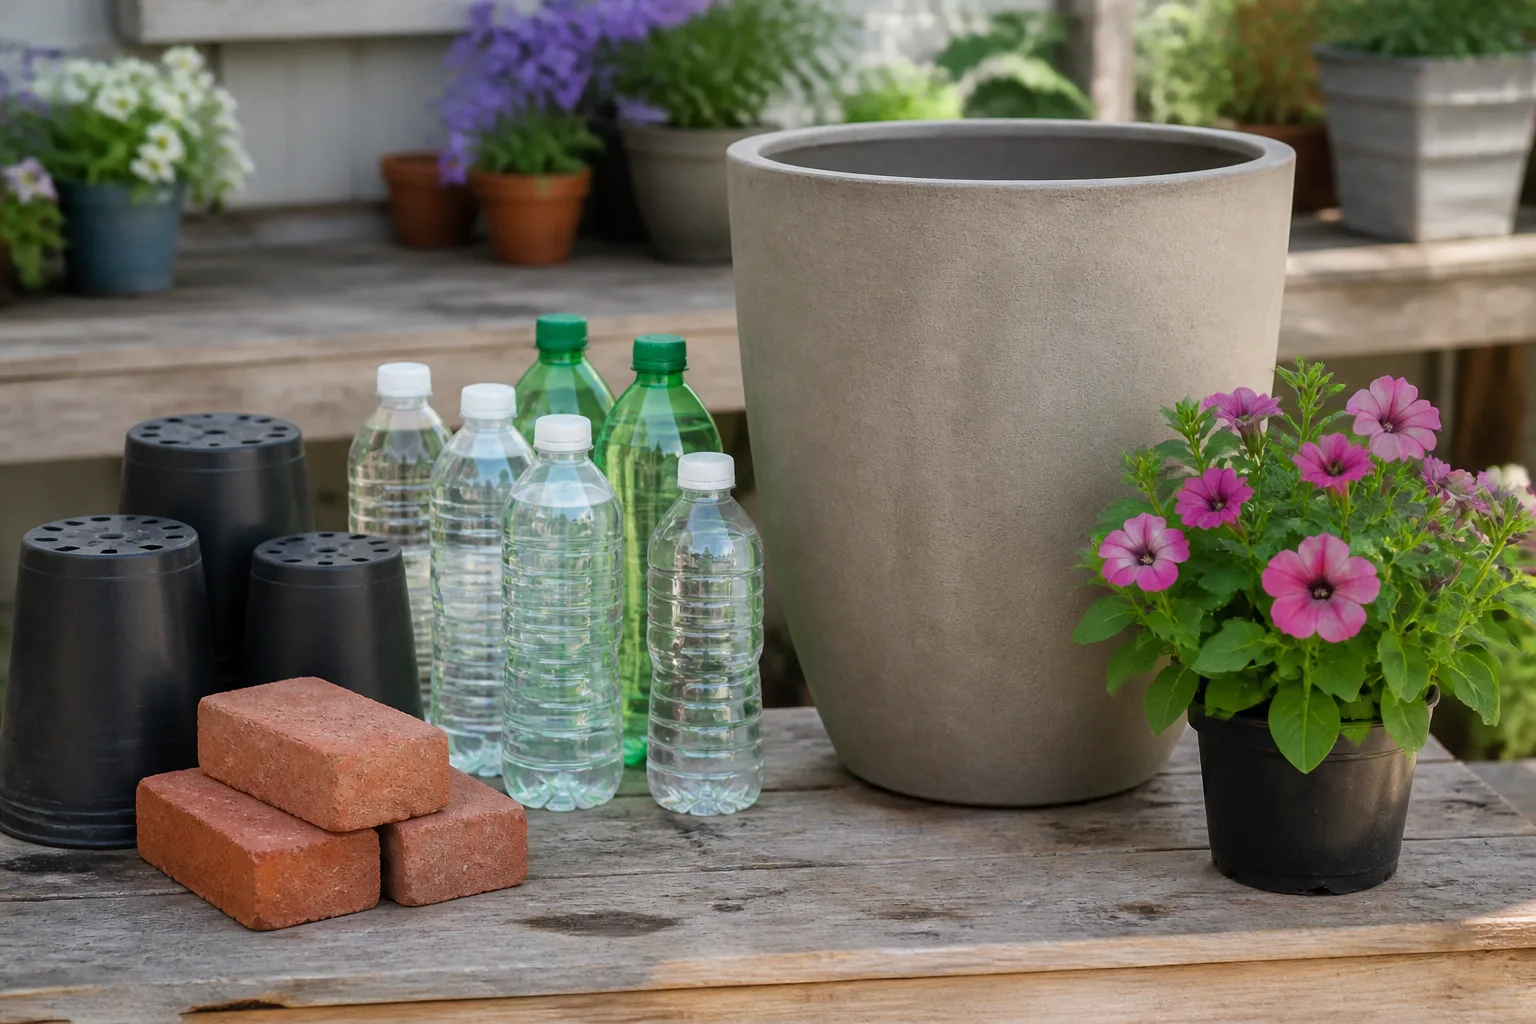
For a large planter holding seasonal flowers or a shallow-rooted annual, the most predictable fillers are clean upside-down nursery pots or clean, capped plastic bottles and jugs. They take up volume, do not rot during one growing season, and are light enough that the planter remains movable. Bricks and broken terracotta are useful when wind is a problem, but they make the finished container much heavier.
Shredded cardboard, newspaper, dry leaves, pinecones, and clean woody prunings are best treated as temporary, settling materials. They can work in a planter you will empty or replant regularly, but they are a poor foundation for a tree, shrub, long-lived perennial, or any plant that needs a deep, stable root run. The right answer depends less on whether a material is free than on how long the planting must last.
Why a large planter needs a bottom-layer plan
A planter has two jobs that are easy to confuse: it must hold a usable root zone, and it must let excess water leave. Filler can reduce the first job’s unused volume, but it cannot replace potting mix around the roots. It also cannot rescue a container with no drainage hole or a hole pressed flat against a patio.
The source page’s basic idea—use low-cost material below a layer of soil—is useful, but a better working rule is to build the container from the plant upward. First decide how much depth the plant needs. Then use filler only below that depth, leave a clear path to the drainage holes, and account for the fact that organic materials may shrink as they decompose. RHS container guidance makes the same broader point: a container crop still needs a growing medium that balances body, moisture retention, and drainage, not just an empty cavity filled with loose material (RHS).
Four checks before you add anything
Before putting a single bottle or pot into the planter, inspect the container and the plant’s likely future. These four checks prevent the most expensive mistake: saving on mix today and repotting a struggling plant next month.
Root depth and planting life
Look at the plant tag, mature size, and root ball. A compact annual, trailing flower, lettuce, or many herbs may be happy with a shallower usable layer than a shrub, small tree, tomato, ornamental grass, or deep-rooted perennial. Do not judge by the planter’s outside height alone; a thick rim, false bottom, or tapered shape can remove several inches of internal depth.
Use the plant’s current root ball as the minimum starting point, then leave room for new roots to move downward and outward. The longer you plan to keep the plant in the same container, the more conservative you should be with filler. A seasonal display can tolerate some settling and replacement. A permanent planting needs a continuous, stable soil column.
Drainage and finished weight
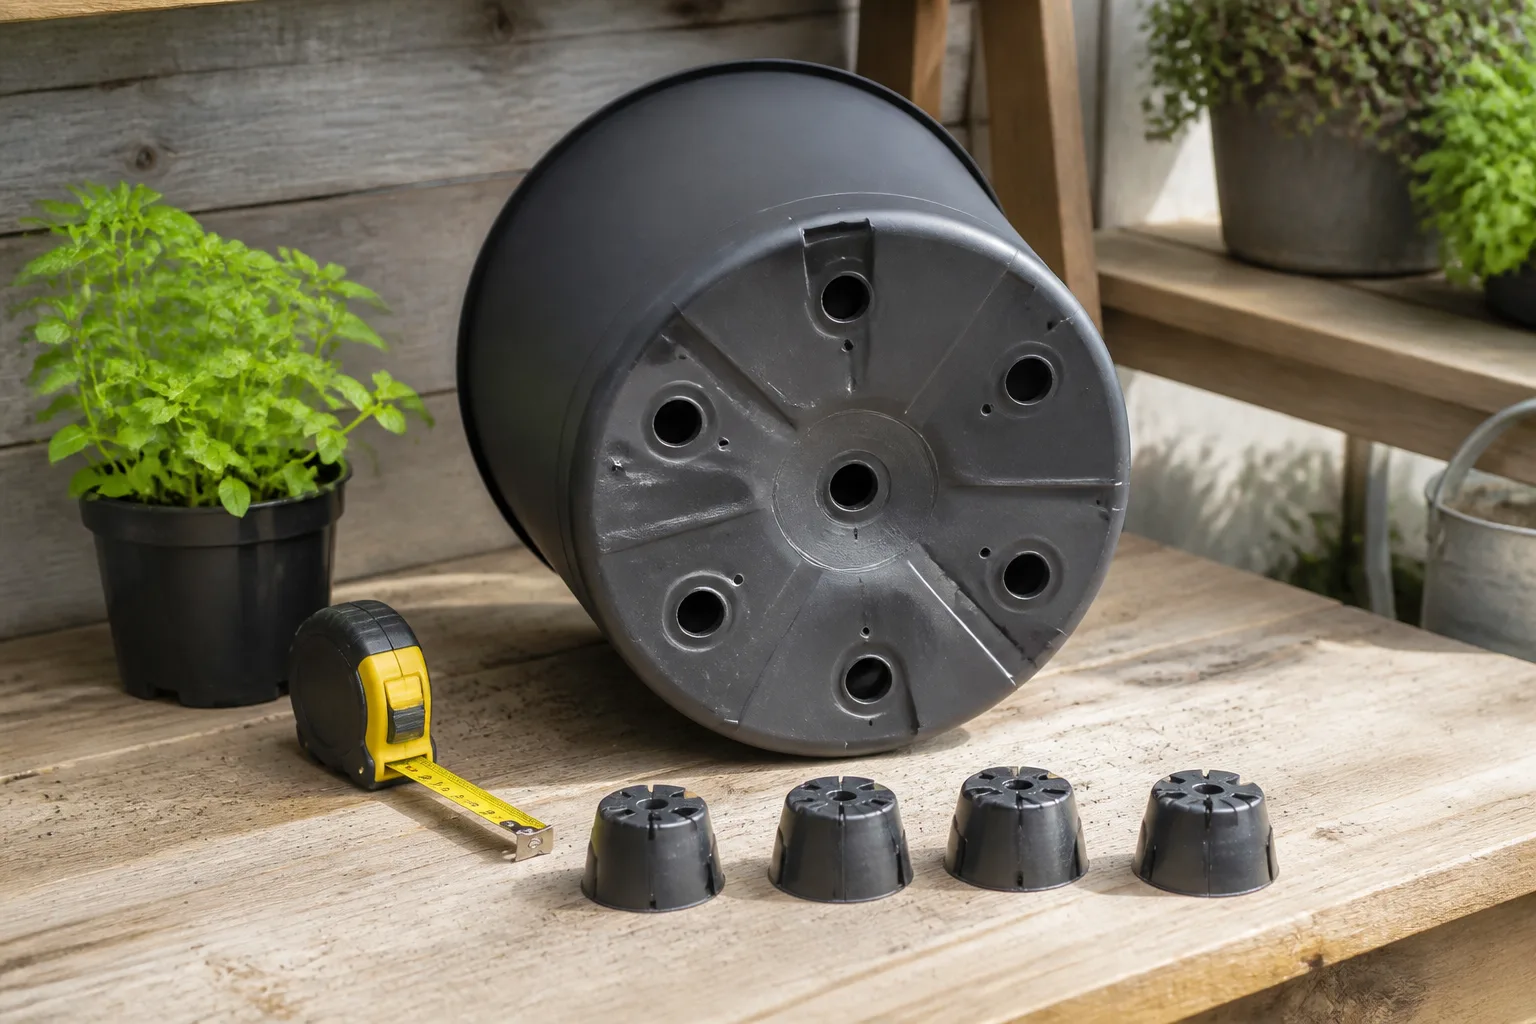
Turn the empty planter over. You need open drainage holes, and you need enough clearance underneath for water to exit. If the pot will sit on a saucer, deck, or paving, use pot feet or spacers so the holes do not seal against the surface. A permeable piece of mesh over a hole can keep mix from washing out without turning the bottom into a sealed basin.
Next, imagine the container after a heavy rain. A tall plastic pot full of dry bottles is easy to move; the same pot filled with bricks, saturated mix, and a mature shrub can become too heavy for a balcony, shelf, or weak stand. Put a heavy planter in its final position before filling it. Stability is helpful, but weight is not a free benefit if the surface cannot support it.
1. Upside-down nursery pots for reusable air space
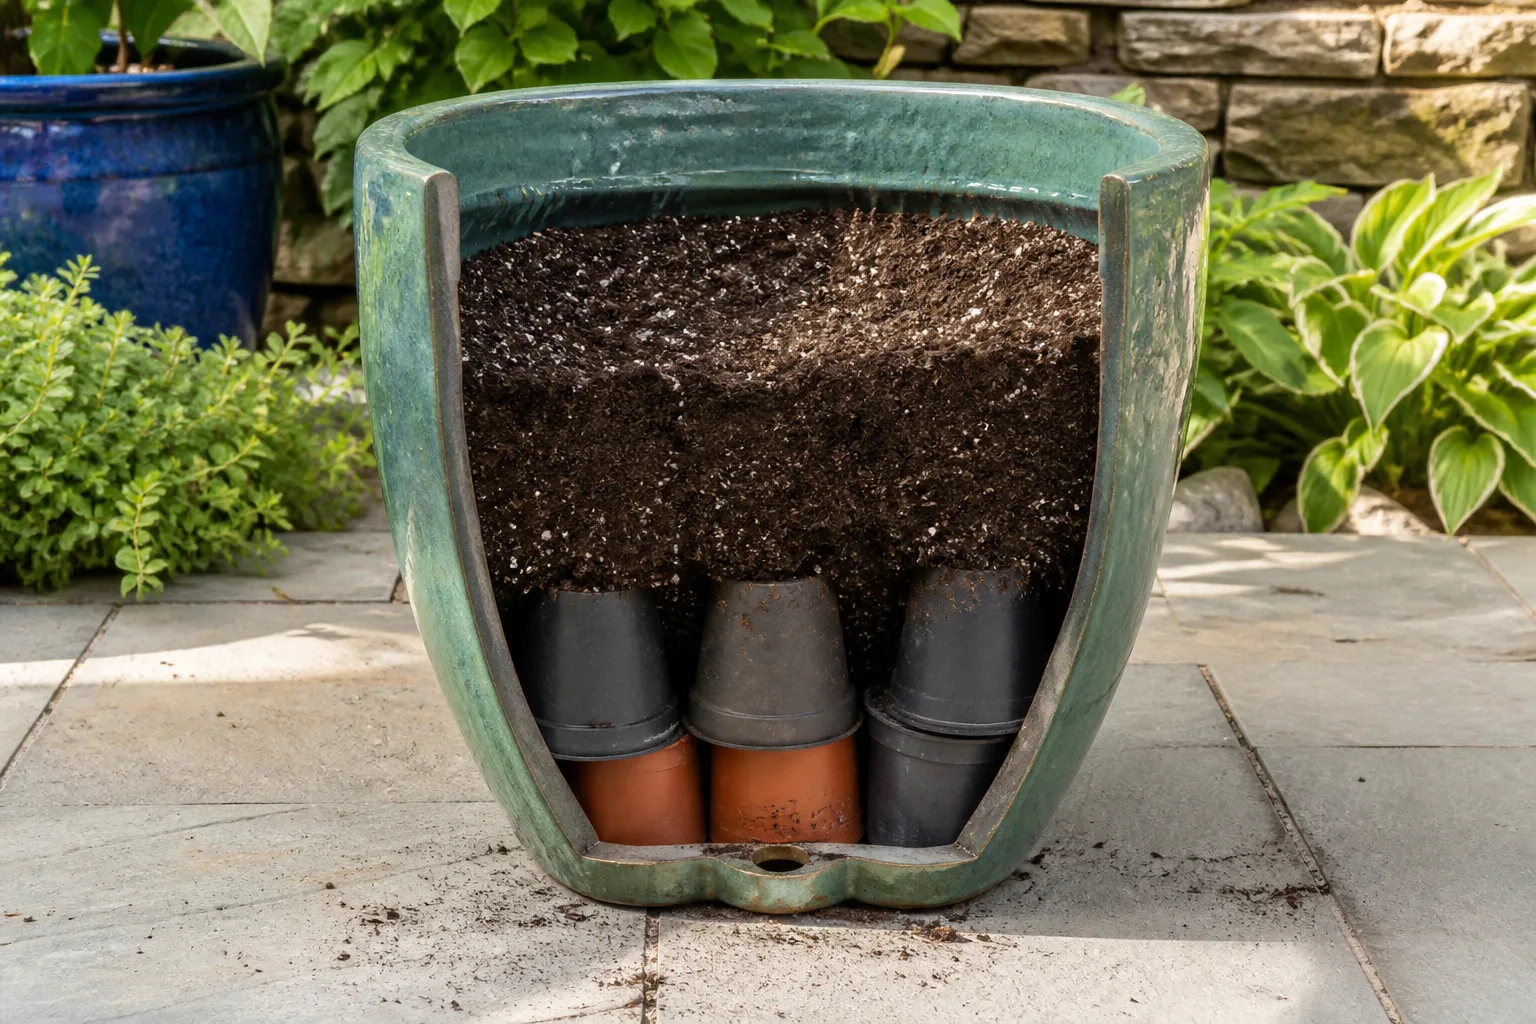
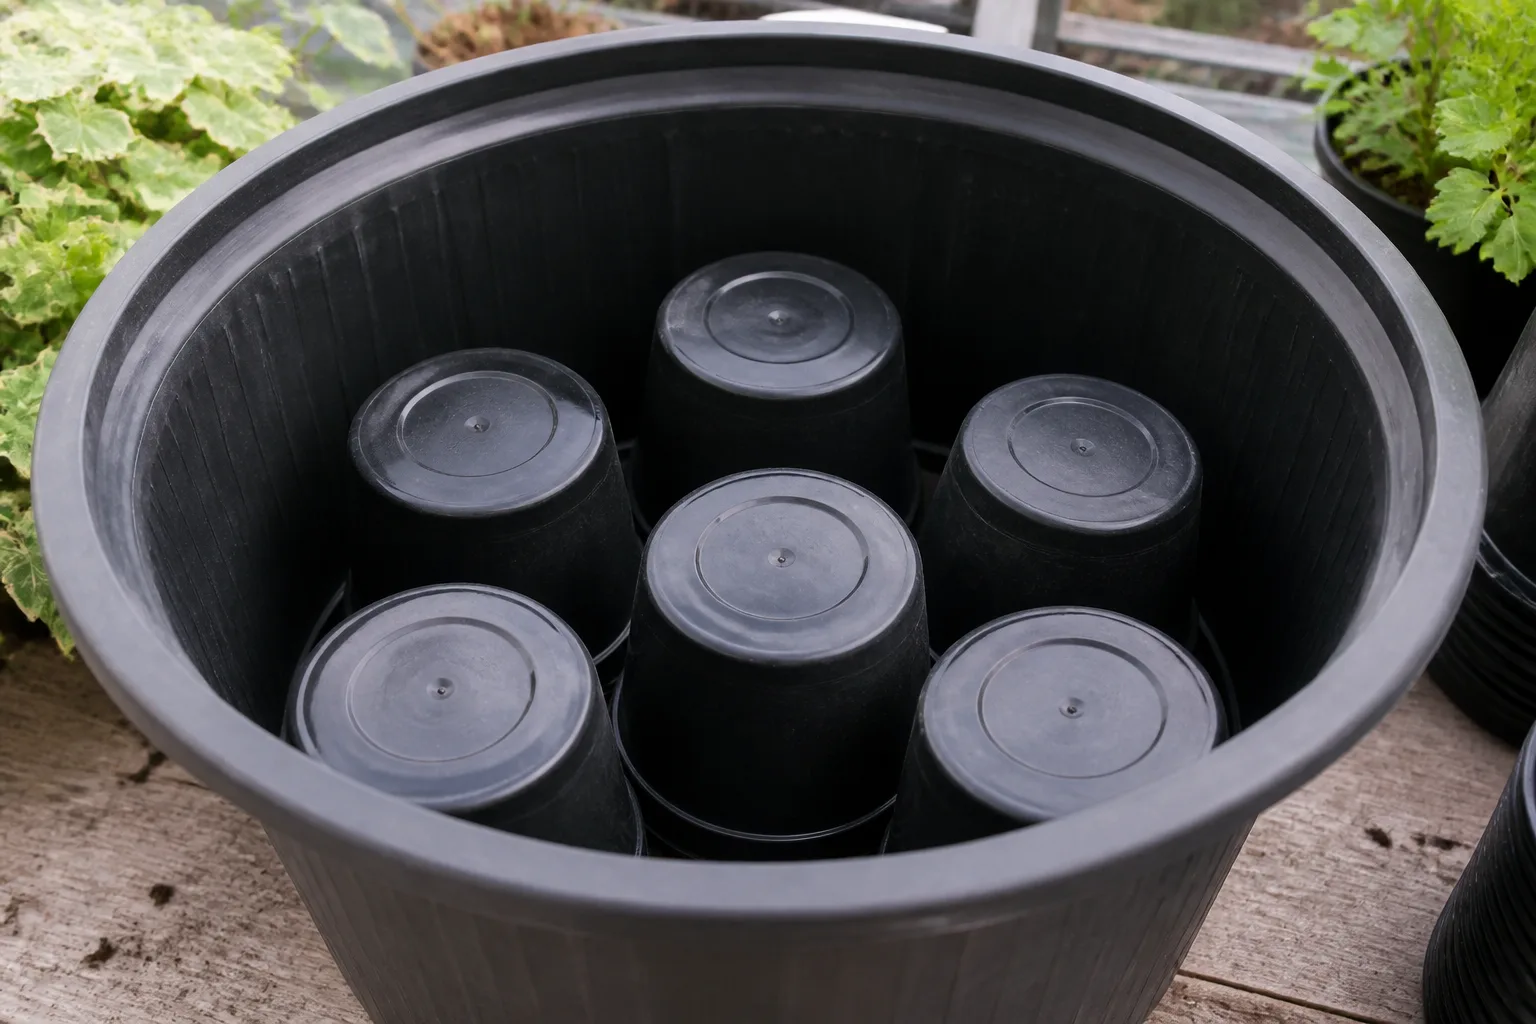
Clean, empty nursery pots are the most controllable filler on this list. Set sturdy pots upside down across the base so their closed bottoms face upward and their rims create pockets of air below. Use several pots rather than one large pot if you need to distribute the load, and choose pieces that are not cracked, chalky, or soft from sun exposure.
This method is especially useful when the planter is deep but the plant’s active roots occupy only the upper portion. The pots do not add nutrients, but they do not consume nutrients or collapse quickly either. They can be removed when the display changes, washed, and reused in another container.
The limitation is geometry. A large upside-down nursery pot can create a broad hollow that is difficult to fill around, and a narrow root run may dry unevenly. Keep the filler well below the planting surface, and never let the root ball sit on a wobbly rim. If the plant is a tree or shrub, the pots should not form a false shelf directly beneath the future root mass.
2. Capped bottles and jugs for lightweight volume
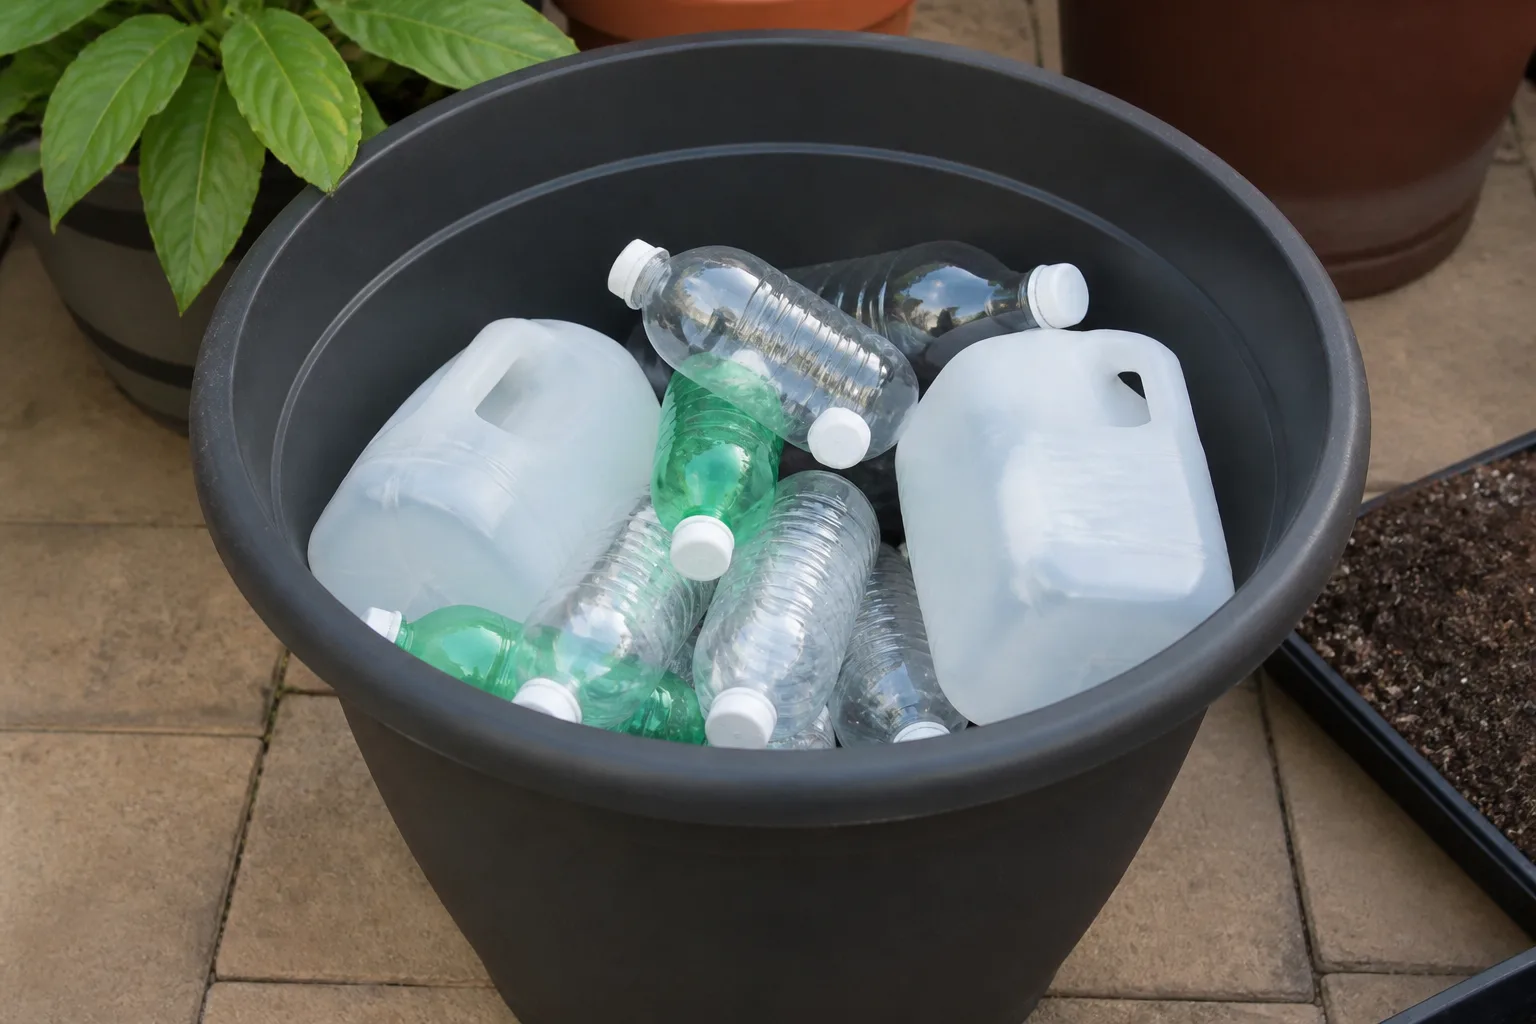
Empty soda bottles, water bottles, and rigid milk or juice jugs can fill a surprising amount of space. Wash out sugary residue, let them dry, replace the caps, and arrange them so they sit snugly rather than rolling into a single corner. Keeping the caps on preserves the air space and helps the containers resist collapse under a layer of mix.
Use bottles for lightweight volume, not for drainage. A bottle does not make water move through a heavy soil layer faster; it simply occupies space. Large bottles also leave irregular gaps, so fill slowly and check that the soil is not funneling down between them.
Plastic is a better choice than thin metal cans when the planter will stay wet. Empty cans can crush, rust at cut edges, or shift under pressure. If cans are all you have, reserve them for a short-lived decorative pot, remove sharp tabs, and do not rely on them beneath a permanent planting. Never put a bottle that contained pesticides, solvents, fuel, or an unidentified chemical into a planter.
3. Bricks and broken pottery when stability matters
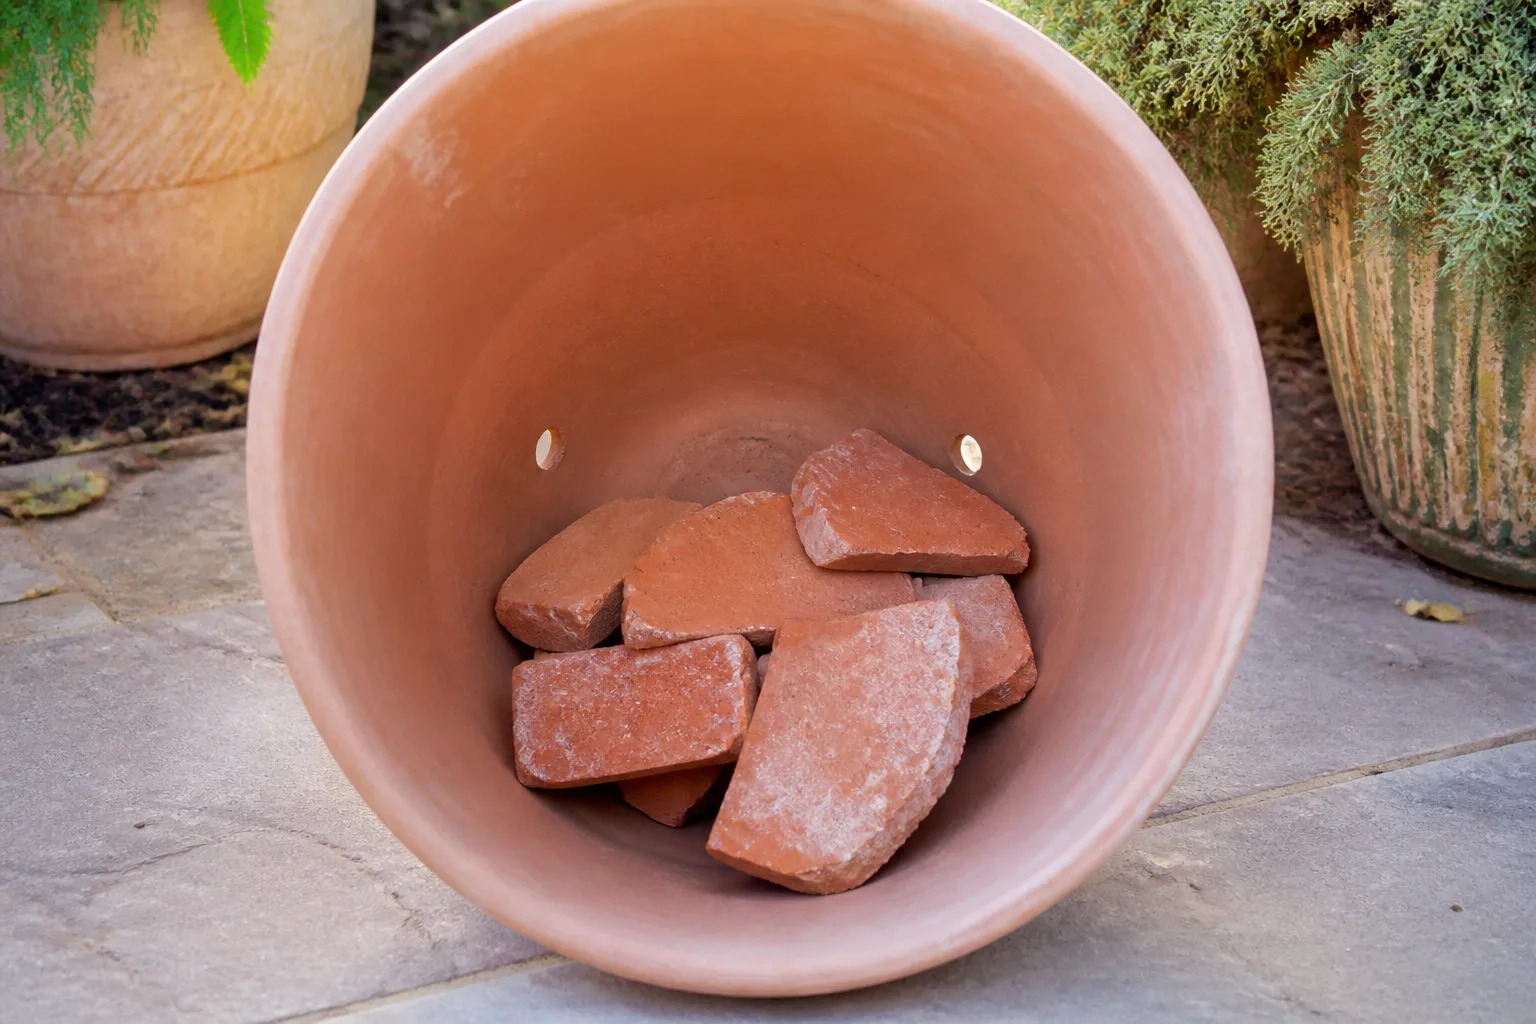
Bricks, pavers, and large pieces of broken terracotta are the right kind of filler when a tall planter is too top-heavy or the planting site gets strong wind. Their weight lowers the center of gravity, and they will not shrink as the season progresses. They are also easy to remove when you clean the planter.
Use large, blunt-edged pieces rather than a layer of fine shards. Small fragments can settle tightly and take up space without creating a useful structure. Keep every piece clear of the drainage holes, and place a sheet of permeable mesh or landscape fabric above the pieces if the potting mix is dropping into gaps.
The trade-off is permanent weight and lost root depth. A brick-filled planter can be difficult to move, and broken terracotta does not improve drainage by itself. If your goal is only to save mix, plastic or nursery pots are usually more practical. If your goal is to stop a lightweight pot from tipping, a few heavy pieces at the lowest point may solve a genuine problem.
4. Shredded cardboard and newspaper for short-term displays
Plain corrugated cardboard and newspaper are free, easy to cut, and eventually compostable. Tear or shred them instead of laying whole sheets across the base. Smaller pieces create less of a single water-resistant mat and break down more evenly.
This is a short-term option for annual flowers, a temporary porch display, or a planter you expect to empty at the end of the season. Paper absorbs moisture, compresses under wet soil, and can leave the planting surface lower than it was in spring. If the paper is printed with glossy coatings, waxed, plastic-lined, heavily dyed, or contaminated with cleaners, do not use it in a planter.
RHS compost guidance classifies shredded paper and cardboard as carbon-rich “brown” material and advises chopping or shredding paper and prunings to help them break down. That is good compost practice, but a container is a smaller, wetter system than a well-managed compost bin. Use the guidance as a warning to expect decomposition and settling, not as a promise that paper will remain a firm false bottom (RHS composting guidance).
Use clean, dry fiber—not a wet mat. Never pack paper tightly against the pot walls or press it into a dense plug. A wet, compressed layer can slow water movement and become an unpleasant odor source. Mix small amounts of shredded paper with a more stable filler, or use it only beneath a modest soil layer in a display that will be replanted soon.
Do not use cardboard filler for a plant that must stay in place for years. By the time the roots need more room, the material may have collapsed and left a hollow that makes watering unpredictable.
5. Prunings, pinecones, and dry leaves from the yard
Clean yard debris is the cheapest filler because it may already be on the ground. Short sticks, dry woody trimmings, pinecones, and coarse dry leaves can occupy space while leaving air gaps. They are most suitable for seasonal pots, not for a permanent woody planting.
Avoid a thick layer of fresh green leaves, grass clippings, or wet hedge waste. Fresh material can mat, heat, smell, and decompose quickly. Use dry material that is free of visible disease, and keep it loose enough that water can pass rather than forming a compact sponge.
The Garden Planner Almanac notes that shredded leaves are useful as mulch and that leaf mold can eventually become a moisture-holding ingredient in potting mixes (Garden Planner Almanac). That distinction matters here: leaf mulch or mature leaf mold is not the same as a fresh pile of leaves at the bottom of a planter. One is a prepared soil amendment; the other is an unstable filler that will change volume.
Why natural filler settles
Organic material loses its original loft as it gets wet and decomposes. Soil then drops into the space it leaves behind, and the plant’s crown can end up too low or its roots can become exposed at the surface. Check a natural-filled planter after the first few heavy waterings and top up with appropriate potting mix if the level falls, while keeping the plant at its original planting depth.
Never use trimmings from a plant that was recently treated with an unknown pesticide, or debris from a diseased plant. Cached U.S. EPA compost guidance specifically warns against chemically treated yard trimmings and diseased or insect-ridden plant material because unwanted residues, diseases, or pests can be carried back into growing areas (U.S. EPA composting guidance).
Build the soil layer around the plant you chose
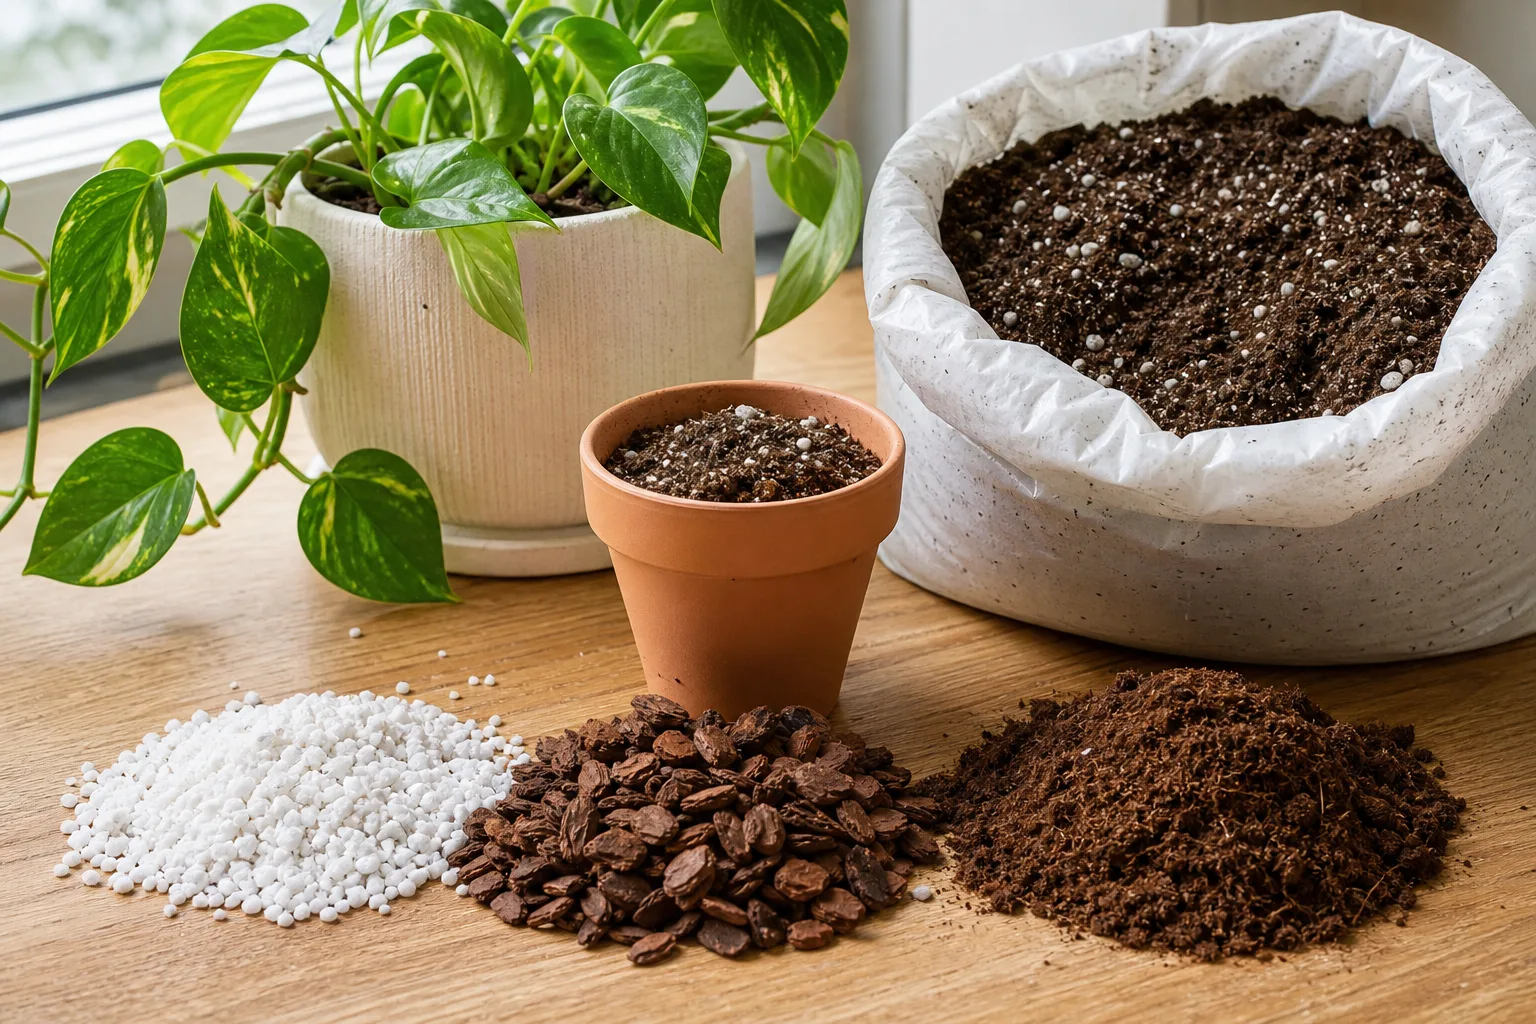
The soil layer is the part that determines whether the plant can live in the container. Use a quality potting mix or a container mix suited to the plant; do not fill a pot with heavy garden soil just because it is free. Garden soil can compact in a container and leave less air around roots. For edible plants, herbs, and anything that will remain in place, use materials whose history you know.
Place the plant temporarily in the empty planter and estimate the final soil line before adding filler. The root ball should sit at the right height, with the crown or stem base no deeper than it was in its original pot. Leave a small watering lip below the rim so water can soak in rather than run down the sides.
The soil must cover the root ball and extend below it. Do not treat the filler’s top surface as the plant’s new “bottom” if that leaves roots perched in a shallow pocket. A plant can look perfectly placed on planting day and still dry out rapidly or become unstable when its roots have nowhere to move.
Step-by-step: fill a large planter without wasting mix
- Confirm the drainage holes. Clear old roots and crust from every hole. Put the planter where it will live, especially if you are using bricks or a large ceramic pot.
- Measure the root-zone requirement. Set the plant, still in its nursery pot, inside the container. Mark the height where the top of its root ball should sit. The space below that mark is the only space available for filler.
- Choose one filler family. Do not create a random sandwich of cans, wet leaves, broken pottery, and cardboard. Combining materials makes settling and later removal harder to predict.
- Fill the lower space loosely. Arrange bottles or pots so they cannot roll. Place heavy pieces low and centered. Keep a clear channel around each drainage hole.
- Cover large gaps. Use permeable landscape fabric or plastic mesh, not an impermeable plastic sheet. The cover should keep mix from falling through while still allowing water to reach the holes.
- Add potting mix in stages. Pour a few inches, settle it with your hands, and check that the filler has not shifted. Do not tamp hard; compacted mix loses the air spaces roots need.
- Set the plant at its original depth. Backfill around the root ball and stop below the rim. Make sure the stem base or crown is not buried.
- Water slowly and inspect. Apply water in two or three passes. If the level drops sharply, pause and add more mix around the root ball rather than flooding the planter repeatedly.
How to hold the filler in place
A single layer of permeable fabric is helpful above bottles, nursery pots, or large broken pieces when the potting mix is fine enough to fall into every gap. It is not a reason to line the entire container with plastic. A sealed liner can trap water above it and make the drainage holes functionally irrelevant.
For a very wide planter, a ring of upside-down nursery pots can leave a central gap around the plant. Fill that gap with potting mix rather than forcing the root ball onto the filler. The goal is a stable transition from filler to soil, not the maximum number of empty objects in the pot.
What not to put in the bottom
Skip loose gravel, pebbles, and a thick layer of sand when the only reason is “better drainage.” Water does not automatically drain faster because a different material sits under the mix. Drainage depends on open holes, container shape, the mix, and whether the bottom is blocked.
Avoid food scraps, dairy, meat, oily material, pet waste, and unfinished compost. They can attract pests, smell, and create a small decomposition pocket directly below the roots. Do not put treated lumber, painted scraps, plaster, insulation, foil-lined packaging, or unknown plastics into a planter.
Also skip fresh grass clippings, thick wet leaf mats, and diseased or pest-ridden plant debris. If an organic material belongs in a compost system, that does not mean it belongs in the bottom of a live container. The planter has limited air, limited space, and roots immediately above the material.
Which filler is best? A quick comparison
| Filler | Best use | Main benefit | Main drawback |
|---|---|---|---|
| Upside-down nursery pots | Seasonal displays and movable planters | Reusable, light, predictable | Can shift or create uneven pockets |
| Capped plastic bottles or jugs | Tall, lightweight containers | Takes up volume without much weight | Irregular gaps; not a drainage fix |
| Bricks or broken terracotta | Windy sites and top-heavy pots | Adds stability and lasts | Makes the container heavy and uses root depth |
| Shredded cardboard or newspaper | Short-term annuals | Free and compostable | Compresses, holds moisture, and settles |
| Dry prunings, pinecones, or leaves | Temporary seasonal pots | Available from the yard | Decomposes, can harbor pests, and needs topping up |
If you are choosing between two options, use this order: root safety first, stability second, weight third, and cost fourth. A free filler is not a bargain if it forces you to replace a plant or move a dangerous, saturated container.
What to do if the planter settles or stays wet
If the soil level drops after watering, do not automatically pile more filler on top. Check whether the plant’s root ball is still at the correct depth. If roots are exposed, add fresh potting mix around them while keeping the crown or stem base clear. If a large hollow has formed, the lasting fix is to unplant, rebuild the lower layer more securely, and reset the plant.
If the planter stays wet for days, first check the drainage holes and the surface underneath. Then inspect the mix and the filler transition. A blocked hole, compacted garden soil, tight paper layer, or fabric pressed against the bottom can all restrict water. Do not solve a wet pot by adding more porous material on top; remove the obstruction and improve the actual exit path.
If the plant wilts while the soil is wet, treat that as a root-zone warning rather than a request for more water. Move the container out of reflected heat if appropriate, improve airflow, and allow the mix to drain before watering again. A filler choice cannot compensate for a plant placed in too little or too wet a root zone.
When to skip filler altogether
Fill the planter with a complete root zone when you are growing a tree, shrub, fruiting plant, deep-rooted perennial, large ornamental grass, or edible crop for more than one season. Also skip filler if the planter is only moderately deep, the plant already fills most of the container, or you cannot measure how much depth remains below the root ball.
Full soil is also the simpler choice for a planter that will be moved frequently. Filler can make a pot lighter, but it can also make the contents shift when you lift it. A properly sized container with less empty volume may save more money and effort than a very large pot packed with unstable objects.
Conclusion
The best way to fill a large planter is to reserve the upper volume for roots and use the lower volume only when the plant can spare it. Clean upside-down nursery pots are the most reusable option; capped bottles and jugs are the lightest; bricks and broken terracotta add stability; cardboard and yard debris are workable for short-lived displays but will settle.
Whichever filler you choose, start with open drainage holes, keep water paths clear, leave enough potting mix for the plant’s mature root run, and put the container in its final position before filling. If the plant is permanent or deep-rooted, the most economical choice may be the least clever one: buy or make enough good container mix to give the roots the space they need.



