Black Spots on Houseplant Leaves: Causes and Fixes
Black spots on houseplant leaves often indicate localized tissue death caused by pathogens, prolonged leaf wetness, or severe stress injury. The spots may start small and water-soaked, then turn dark brown to black. Some develop yellow halos as surrounding tissue reacts. While a few isolated spots can be cosmetic, spreading lesions across new leaves usually signal active disease pressure or unfavorable humidity/airflow conditions. Control requires sanitation and environment correction at the same time. Removing infected tissue slows spore spread, but recurrence is common if leaves stay wet or crowded. Water at the soil level, increase airflow, and avoid nighttime leaf wetness. In persistent cases, species-safe fungicidal support may be necessary. Recovery is tracked by clean new leaves, not disappearance of old lesions. Early isolation protects nearby plants in dense indoor collections.
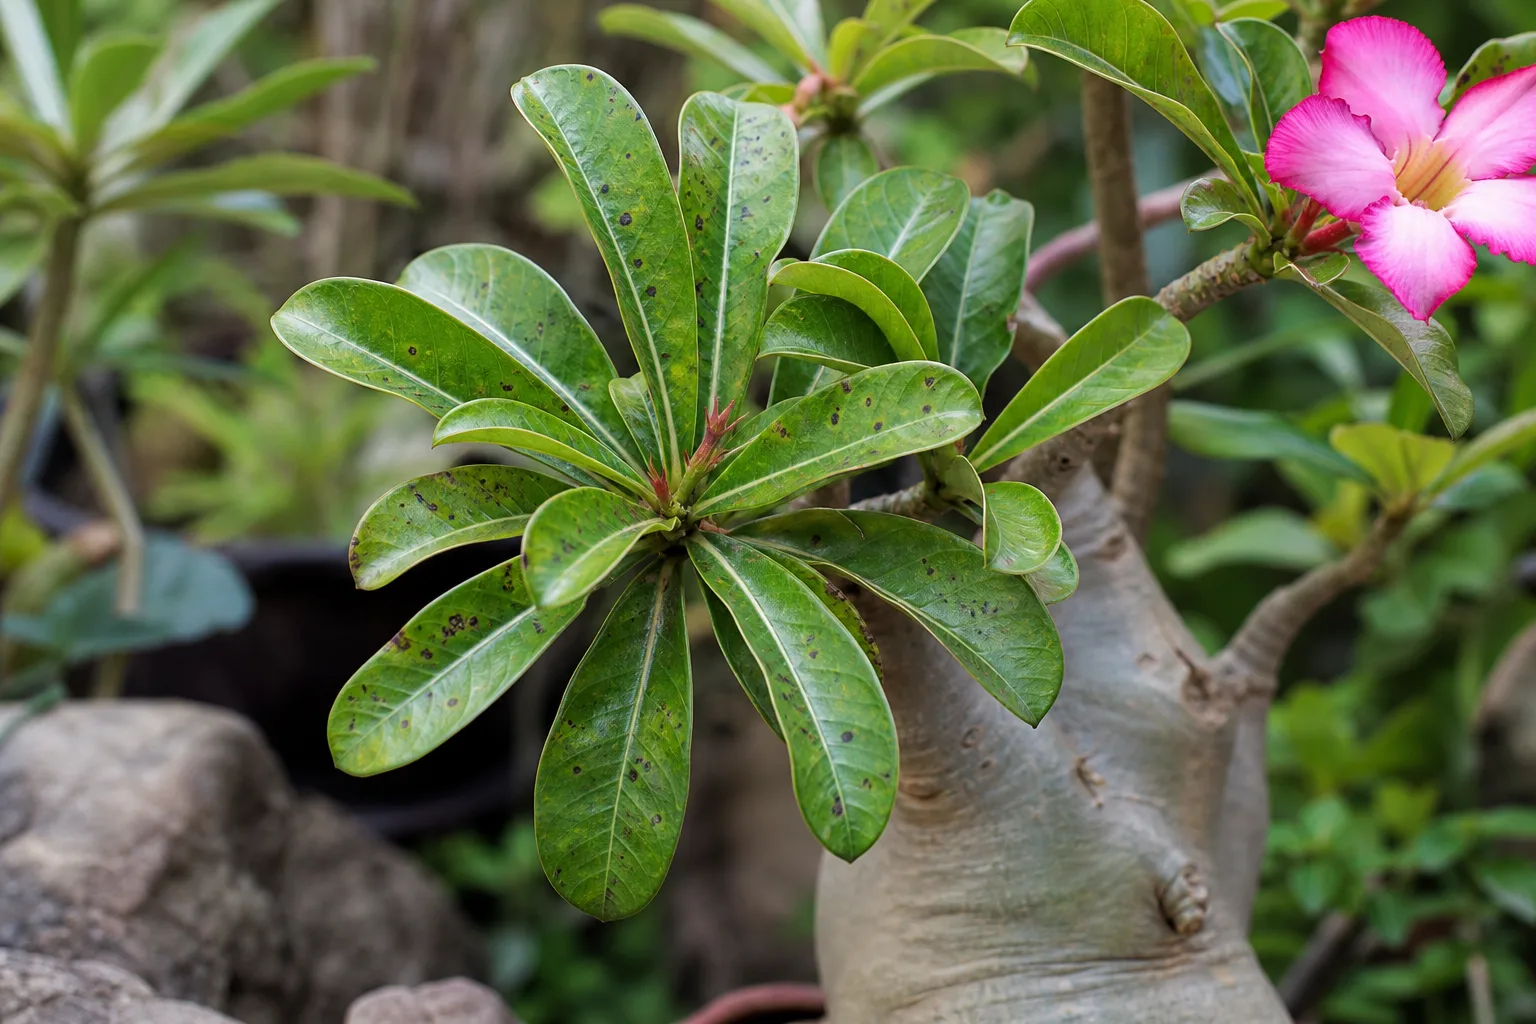
Black Spots on Houseplants
Still unsure?Match your symptoms to the most likely problems in under a minute.Run diagnosis →Understand and fix black spots
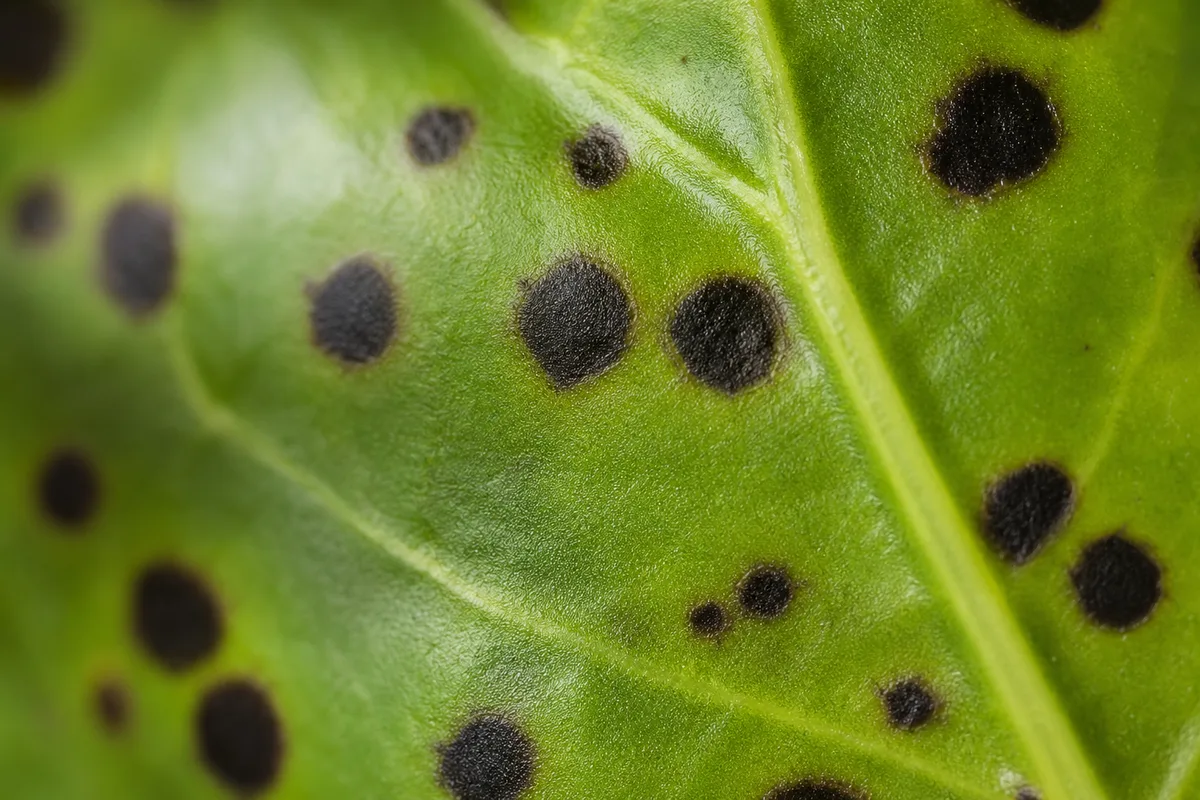
Dark circular or irregular leaf lesions, especially with yellow halos or wet texture, suggest fungal or bacterial leaf spot rather than simple dryness.
Overview
Black spots on houseplant leaves often indicate localized tissue death caused by pathogens, prolonged leaf wetness, or severe stress injury. The spots may start small and water-soaked, then turn dark brown to black. Some develop yellow halos as surrounding tissue reacts. While a few isolated spots can be cosmetic, spreading lesions across new leaves usually signal active disease pressure or unfavorable humidity/airflow conditions.
Control requires sanitation and environment correction at the same time. Removing infected tissue slows spore spread, but recurrence is common if leaves stay wet or crowded. Water at the soil level, increase airflow, and avoid nighttime leaf wetness. In persistent cases, species-safe fungicidal support may be necessary. Recovery is tracked by clean new leaves, not disappearance of old lesions. Early isolation protects nearby plants in dense indoor collections.
Black Spots patterns: what you see vs. likely cause
Match your plant to the closest pattern, then start with the first step before trying other fixes.
| What you see | Likely cause | First step |
|---|---|---|
| Round black spots with yellow halos | Fungal leaf spot | Remove infected leaves; avoid wetting foliage when watering |
| Spots after misting or overhead watering | Moisture sitting on leaves overnight | Water soil only; improve air circulation |
| Spots enlarging and merging on lower leaves | Advanced fungal infection | Prune heavily affected foliage; consider fungicide |
| Soft black patches, not dry spots | Bacterial or advanced rot (not classic leaf spot) | Isolate plant; inspect stems and roots for decay |
How to identify it
- Dark brown-to-black lesions on leaf blades or margins.
- Some spots have yellow halos or wet-looking centers.
- Spots enlarge over days and may merge into patches.
- Leaf wetness or poor airflow is often present in history.
- Older infected leaves may drop early.
- Pattern differs from pest stippling or mineral residue.
When to worry
Immediate intervention is needed when spots spread rapidly, merge into large dead patches, or appear on most new leaves.
Common causes
Fungal leaf spot pathogens
Fungal spores germinate on persistently wet leaves and penetrate tissue, creating expanding necrotic lesions.
Bacterial spotting
Bacterial infections can produce dark, water-soaked spots that spread quickly in warm, humid conditions.
Poor airflow and crowding
Stagnant microclimates prolong leaf moisture and increase pathogen persistence on surfaces.
Overhead watering habits
Frequent wet foliage, especially late in the day, increases infection windows for many leaf pathogens.
Stress-weakened foliage
Nutrient imbalance, low light, and root stress reduce plant defenses and make infection more likely.
Step-by-step fix
Isolate the plant
Separate affected plants from the collection to limit splash and contact spread during treatment.
Prune infected leaves
Remove heavily spotted leaves with sterile tools and discard them in sealed waste, not compost.
Water at soil level only
Avoid wetting foliage and water early in the day so incidental moisture dries quickly.
Improve air circulation
Increase spacing and airflow around leaves to shorten moisture duration after watering.
Apply targeted treatment if needed
For ongoing spread, use a species-safe fungicidal or bactericidal product according to label intervals.
Monitor new growth closely
Check emerging leaves weekly; successful control is indicated by reduced new lesion formation.
Prevention tips
- Keep leaf surfaces dry whenever possible.
- Avoid crowding plants tightly in low-airflow corners.
- Sanitize pruning tools between plants.
- Remove fallen, decaying foliage from pots promptly.
- Strengthen baseline plant health with proper light and watering.
Common mistakes
- Leaving infected leaves on the plant too long.
- Mistaking black spots for harmless mechanical damage while they spread.
- Using overhead misting in already humid, stagnant rooms.
- Applying treatments once without environmental correction.
Related care topics
These care guides help prevent repeat issues once you have treated the immediate problem.
Quick Diagnosis
Black spots on leaves are areas of dead or discolored tissue, not a diagnosis by themselves. Fungal leaf spots are common indoors, but bacterial disease, edema, cold injury, sun scorch, chemical damage, sooty mold, and advanced root stress can look dark from a distance. The safest first response is therefore diagnostic: isolate a rapidly worsening plant, keep its foliage dry, inspect both leaf surfaces and the root zone, and document whether lesions are increasing.
The University of Maryland Extension describes fungal leaf spots as tan, reddish-brown, or black lesions that may merge into irregular blighted areas. Its bacterial guidance notes that some bacterial lesions can appear greasy or water-soaked and may be bounded by veins. Those patterns overlap, so a photo alone rarely identifies the organism.
Start with five observations: whether spots are dry or wet-looking; round or angular; stable or expanding; limited to one exposed side or distributed through the canopy; and associated with yellow halos, pest residue, soft roots, or recent leaf wetness. Do not spray until those clues support a treatment category.
What Black Spots Look Like
Disease-associated spots commonly begin as small lesions that enlarge over several days. Fungal lesions are often roughly circular, sometimes with tan centers, darker margins, or yellow halos. Bacterial lesions may look water-soaked, greasy, or angular where veins restrict their spread. Either can coalesce into larger dead patches under favorable conditions.
The safest distinction is often not “which microbe?” but “what evidence would change the next action?” The Penn State diagnostic framework emphasizes combining the host, symptom pattern, signs, distribution, and environmental history. A dry mark that is stable after a known scorch event needs monitoring; water-soaked lesions multiplying across plants need isolation and stronger diagnostic support.
Abiotic marks behave differently. Sun scorch usually develops on the most exposed surface after a rapid light change and stops progressing once exposure is corrected. Cold injury follows contact with cold glass or a temperature event. Edema may begin as translucent blisters and later turn corky or dark. Sooty mold wipes partly from the surface and points toward honeydew-producing insects rather than an infection inside the leaf.
Use the two photographs as comparison aids, not proof of cause. Check a healthy leaf and an affected leaf from the same plant under bright light, including the underside. Record the lesion boundary and photograph it again in three to seven days.
Why Houseplants Develop Black Spots
Many foliar pathogens need moisture on the leaf surface to infect or spread. Splashing water also moves spores and bacteria between leaves. The University of Maryland recommends reducing leaf wetness and increasing air circulation, while avoiding overhead watering and allowing incidental moisture to dry promptly.
Crowding, stagnant air, wet foliage late in the day, contaminated scissors, and fallen diseased leaves can sustain a cycle of new lesions. Root stress may compound the problem because a plant in degraded, waterlogged, or severely dry mix has less capacity to replace damaged foliage.
Noninfectious injuries create black tissue too. Strong direct sun after a move can bleach and kill exposed cells. Cold contact, aerosol sprays, concentrated fertilizer splashes, and pesticide phytotoxicity may create sharply localized marks. Sap-feeding pests can leave black fecal specks, while scale, aphids, mealybugs, and whiteflies produce honeydew on which superficial sooty mold grows. The UC IPM houseplant diagnostic guide connects these residues and pest signs with specific insect groups.
How to confirm the cause
Work through these checks before treating. The goal is to confirm fungal leaf spot-not rot, sunburn, cold damage, or pests.
- Leaf history. Did spots appear after misting, overhead watering, crowding, or a period when foliage stayed wet? That history raises the likelihood of infectious leaf spot but does not identify a pathogen.
- Spot appearance. Yellow halos, angular boundaries, concentric zones, or water-soaked tissue are useful clues. None is conclusive by itself. Crispy marks on one exposed side fit scorch more closely, while uniform yellowing without discrete lesions points away from leaf spot.
- Stem-base feel. Press the base gently. Firm and solid: continue with leaf-focused diagnosis. Soft, mushy, or malodorous: stop and assess root or stem rot.
- Soil moisture. Stick a finger 5–7 cm into the mix. Soggy soil plus spots may mean overlapping issues; very dry soil with spots still points to humidity on leaves, not drought.
- Undersides and stems. Look for webbing, cottony clusters, scale covers, sticky honeydew, black fecal specks, or chewing damage. These clues redirect the diagnosis toward pests or surface mold rather than an internal leaf lesion.
- Spread speed. New spots on fresh leaves over a week confirm active disease. Static old spots on a few bottom leaves after a corrected environment may be leftover damage.
If most checks align with wet foliage and expanding lesions on an otherwise firm plant, an infectious leaf spot is a reasonable working category—not a confirmed organism. Keep foliage dry, isolate if lesions are multiplying, and reassess progression. Do not dry the root ball beyond the species’ normal tolerance or choose a fungicide until the plant, site, and target disease are supported.
The first fix to try
Move the plant to a dry, bright location where leaves will not get wet.
That step reduces a condition that favors many foliar pathogens and preserves evidence needed for diagnosis. Specifically:
- Pull outdoor pots under cover before rain, or move them to a sunny porch with overhang.
- Stop misting and overhead watering immediately.
- Increase spacing or run a fan on low nearby to move air across leaves (not directly blasting the stem base).
- Water at the soil surface or via saucer so no splash hits foliage.
Wait two to three days after the move before removing spotted leaves or considering fungicide. Cultural correction-dry leaves, bright air, no splash-is the foundation; chemicals only protect tissue that has not yet infected.
Step-by-Step Recovery
Begin with sanitation and environmental correction. Move the plant away from close contact with others, but keep it in species-appropriate light. Stop misting and direct irrigation to the potting mix. Remove fallen debris and only the most heavily affected leaves, using clean tools and sanitizing them before another plant.
Check the root zone before watering. If the mix is dry to the species-appropriate depth and roots are firm, water thoroughly and drain. If the mix is still wet, wait and correct blocked drainage or trapped cachepot water. Dark, soft roots or a soft stem base shift the priority to root-rot assessment.
Monitor untreated new growth for seven to fourteen days. If no new lesions appear, environmental correction and sanitation may be sufficient. If spots continue to form, obtain a more confident diagnosis through a local extension service, plant clinic, or clear comparison with a host-specific disease reference.
Use a pesticide only when the label lists the plant, target problem, and intended indoor or ornamental site. A fungicide cannot treat bacterial injury, and no product restores dead tissue. The RHS houseplant guidance emphasizes ventilation, spacing, and improved growing conditions for fungal problems. Follow every label direction for dilution, ventilation, protective equipment, re-entry, and repeat timing; test sensitive foliage when the label advises it.
The UC IPM leaf-spot guidance also prioritizes sanitation, avoiding overhead irrigation, and improving conditions before relying on fungicides. For water-soaked, rapidly advancing injury, consult a bacterial-disease reference such as Penn State’s ornamental disease guidance and seek host-specific confirmation.
Recovery Timeline
During the first week, existing lesions may darken as already injured cells die. That does not automatically mean treatment failed. Mark the newest spot on a photograph and look for additional lesions rather than expecting old tissue to clear.
Over the next two to four weeks, successful control appears as fewer new spots, clean emerging leaves, firm stems and roots, and a normal drying rhythm. Slow-growing plants may take longer to produce a test leaf. Rapid lesion expansion, extensive leaf drop, soft stems, or the same pattern on neighboring plants warrants prompt expert diagnosis.
Lookalike symptoms
| Symptom pattern | Likely cause | Key differentiator |
|---|---|---|
| Dry lesions that enlarge after repeated leaf wetness | Possible fungal leaf spot | Progression and moisture history support the category; host-specific diagnosis may be needed |
| Water-soaked or greasy lesions, sometimes angular | Possible bacterial leaf spot | Rapid spread and vein-bounded shape raise concern; isolate and avoid splashing |
| Crispy tan tips/margins, no halos | Sun scorch | After sudden move to harsh midday sun |
| Uniform yellow-then-drop, cool weather | Dormancy or chill | No expanding lesions; firm stem base, dry soil |
| Yellow leaves, soft stem base, sour soil | Root or stem base rot | Base tissue fails before isolated dry spots |
| Ragged holes, orange caterpillars, skeletonized patches | Oleander caterpillar | Insect feeding, not fungal halos |
| Tiny yellow dots, fine webbing | Spider mites | Stippling, not enlarging black blotches |
Fungal and bacterial leaf spots can overlap in appearance. Dry foliage, reduced splash, sanitation, and spacing are sensible first controls for both, but pesticides are not interchangeable. A fungicide will not control a bacterial problem, and a product labeled for one host or outdoor site may not be suitable for another.
Insect injury and residue usually reveal additional evidence: chewing holes, stippling, webbing, scale covers, cottony wax, sticky honeydew, or pepper-like fecal spots. Black residue that partly wipes away may be sooty mold growing on honeydew rather than dead tissue inside the leaf. Confirm the pest before selecting a treatment.
Sun scorch browns leaf tips and margins to a dry, crispy tan-not black with yellow halos. It follows a sudden move to harsh midday sun without acclimation. stem base stays firm; spots do not spread leaf to leaf over days.
Cold damage yellows and drops leaves uniformly when temperatures fall below about 10°C (50°F). Blackening may appear on tender tips after frost, but the pattern is weather-linked, not splash-linked.
Root or stem base rot yellows leaves and can cause drop, but the defining sign is a soft stem base, sour soil, and sometimes stem blackening from the base up-not isolated dry spots with halos on an otherwise firm plant.
Spider mite stippling shows as tiny yellow dots, not enlarging black blotches. Fine webbing on undersides confirms mites.
Mistakes to avoid
- Misting or showering the plant to “clean” leaves-this extends wetness and spreads spores.
- Watering more because leaves dropped-defoliation from fungus is not thirst; wet soil makes rot more likely.
- Immediate fungicide without drying the environment-chemicals protect new tissue but cannot substitute for dry culture on houseplant.
- Spraying fungicide in full midday sun-succulent leaves can burn; test one leaf in shade first.
- Stacking repot, prune, feed, and spray on one day-pick one intervention, watch the response, then add the next if needed.
- Composting suspect leaves without local guidance—when an infectious disease is plausible, household disposal avoids returning uncertain material to an indoor collection.
- Treating dormancy leaf loss as disease-winter rest drops leaves evenly without black lesions; reduce water and wait for spring.
How to Prevent Black Spots
Water at soil level, provide spacing, and avoid leaving foliage wet overnight. Keep tools clean, remove dead plant material, and quarantine new plants long enough to inspect emerging growth. Match watering, pot size, mix, light, temperature, and humidity to the species rather than applying one dry or humid regime to every houseplant.
Inspect leaves during routine watering. Early lesions are easier to photograph, isolate, and diagnose before pruning or products obscure the evidence. Avoid routine “just in case” spraying: unnecessary oils, soaps, fungicides, or household mixtures can cause additional spotting.
The Penn State indoor plant disease overview distinguishes brown or black leaf-spot lesions from wet gray mold injury and root-rot symptoms. Use such symptom keys to choose the next check, while remembering that laboratory confirmation may be needed for a valuable plant.
When to worry
Treat black spots as urgent if:
- The stem base softens or smells unpleasant-shift to rot protocol, not leaf-spot care.
- Stems develop spreading black lesions or dieback above the stem base-see crown rot.
- Every new leaf spots within days despite two weeks of dry, bright culture-escalate to labeled fungicide or discard severely infected stock to protect others.
- The plant loses most of its foliage during peak growth and shows no clean replacement leaves after a month.
An isolated, stable mark may be cosmetic; multiplying lesions or soft tissue deserve faster action. Wet leaves can favor foliar disease, while persistently wet, airless mix can damage roots. Those processes may occur together, so inspect the root zone without assuming every black spot began there.
Use the watering, overwatering, root-rot, mold-on-soil, and leaf-drop guides only when their defining evidence is present. Contextual routing is more reliable than choosing a page because two symptoms share a color.
A Safe Treatment Decision
Use the least disruptive action supported by evidence. Stable, dry, nonspreading marks after a known sun or cold event usually need protection and patience. Expanding dry lesions after repeated leaf wetness support sanitation and moisture correction. Water-soaked, rapidly spreading lesions justify isolation and professional identification. Surface mold plus sticky residue calls for pest inspection. Soft roots or stems make the root zone the emergency.
Do not combine repotting, heavy pruning, fertilizer, and pesticide on the same day. Staged changes preserve useful diagnostic evidence and reduce the chance of adding treatment injury to the original problem.
When Expert Diagnosis Is Worthwhile
Contact a local extension service or plant clinic when lesions spread despite dry foliage, affect the growing point or stems, recur on several plants, or threaten a rare or valuable specimen. Provide whole-plant and close-up photos, the plant name, watering and light history, recent products, and a timeline. That context is usually more useful than one cropped image.
Before changing care, check the plant label or a reliable species reference. A fern, orchid, succulent, aquatic plant, and woody indoor shrub do not share one moisture or light target. “Keep leaves dry” is useful during suspected leaf-spot management, but it does not mean withholding root-zone water from a plant that is actually dry. Water the mix when the identified species requires it and allow excess to drain without splashing foliage.
When pruning, remove only leaves that are heavily affected, soft, or likely to spread contamination during handling. A leaf with one old, dry, stable mark may still photosynthesize. Place removed tissue in household waste when infectious disease is suspected, and clean cutting tools before the next plant. Avoid aggressive canopy removal that leaves a weak plant with too little green tissue.
A yellow halo is a clue rather than a laboratory result. Some fungal and bacterial lesions develop halos, but nutrient stress, edema, and chemical injury can also alter color around dead cells. Angular lesions bounded by veins can support a bacterial hypothesis; circular lesions with fruiting structures can support a fungal one. Host species, environmental history, and progression remain essential.
If you use a product, “houseplant-safe” marketing language is not enough. Confirm the active ingredient, target pathogen or pest, listed plant or ornamental use, indoor-site permission, and precautions. More concentrated is not more effective or safer. Household bleach, peroxide, baking soda, dish detergent, essential oils, and alcohol mixtures can injure foliage when used outside evidence-based or labeled directions.
The diagnosis can include more than one cause. A plant may have sun injury on an exposed side while persistently wet roots slow recovery, or a pest may create honeydew that supports sooty mold. Address the urgent, well-supported problem first, then reassess. This staged approach is safer than trying every plausible remedy simultaneously and makes the plant’s response interpretable.
For collections with recurring spots, separate prevention into three controls. First, reduce splash: water slowly at the substrate, empty runoff, and avoid carrying droplets from one canopy to another. Second, reduce persistence: space foliage, remove debris, and provide gentle air movement without exposing a sensitive plant to a harsh draft. Third, reduce transfer: dedicate or sanitize tools, wash hands after handling suspect leaves, and inspect new plants before integration.
Keep expectations realistic. A preventive routine lowers risk but cannot guarantee that no lesion will appear, and environmental controls must remain compatible with the species. Some plants naturally require higher humidity, but relative humidity is not the same as liquid water sitting on a leaf. The practical goal is appropriate ambient conditions with foliage that dries promptly after accidental wetting.
Documenting Progress
Review the routine after seasonal light, heating, or ventilation changes. A pot that dried predictably in summer may remain wet much longer in winter, while foliage near a newly used heater may suffer noninfectious injury. Recalibrating care to current conditions helps prevent both genuine disease pressure and convincing look-alikes.
Use one fixed camera angle and similar lighting for weekly photographs. Record the newest lesion, whether it is dry or water-soaked, root-zone moisture, and any intervention. This avoids mistaking the natural darkening of old dead tissue for continued spread and gives an extension diagnostician a usable timeline if escalation becomes necessary.
Conclusion
Black spots are a pattern to investigate, not a diagnosis to guess. Compare lesion shape, texture, spread, leaf position, recent moisture, roots, and pest evidence before treating. Isolate a rapidly worsening plant, remove badly affected tissue with clean tools, keep foliage dry, and improve airflow while you confirm the cause. Existing dead tissue will not heal; clean new growth and a declining rate of new lesions are the useful signs of recovery.
Plants commonly affected
These houseplants often struggle with black spots. Open a care guide or plant-specific troubleshooting page for tailored fixes.
 Medium
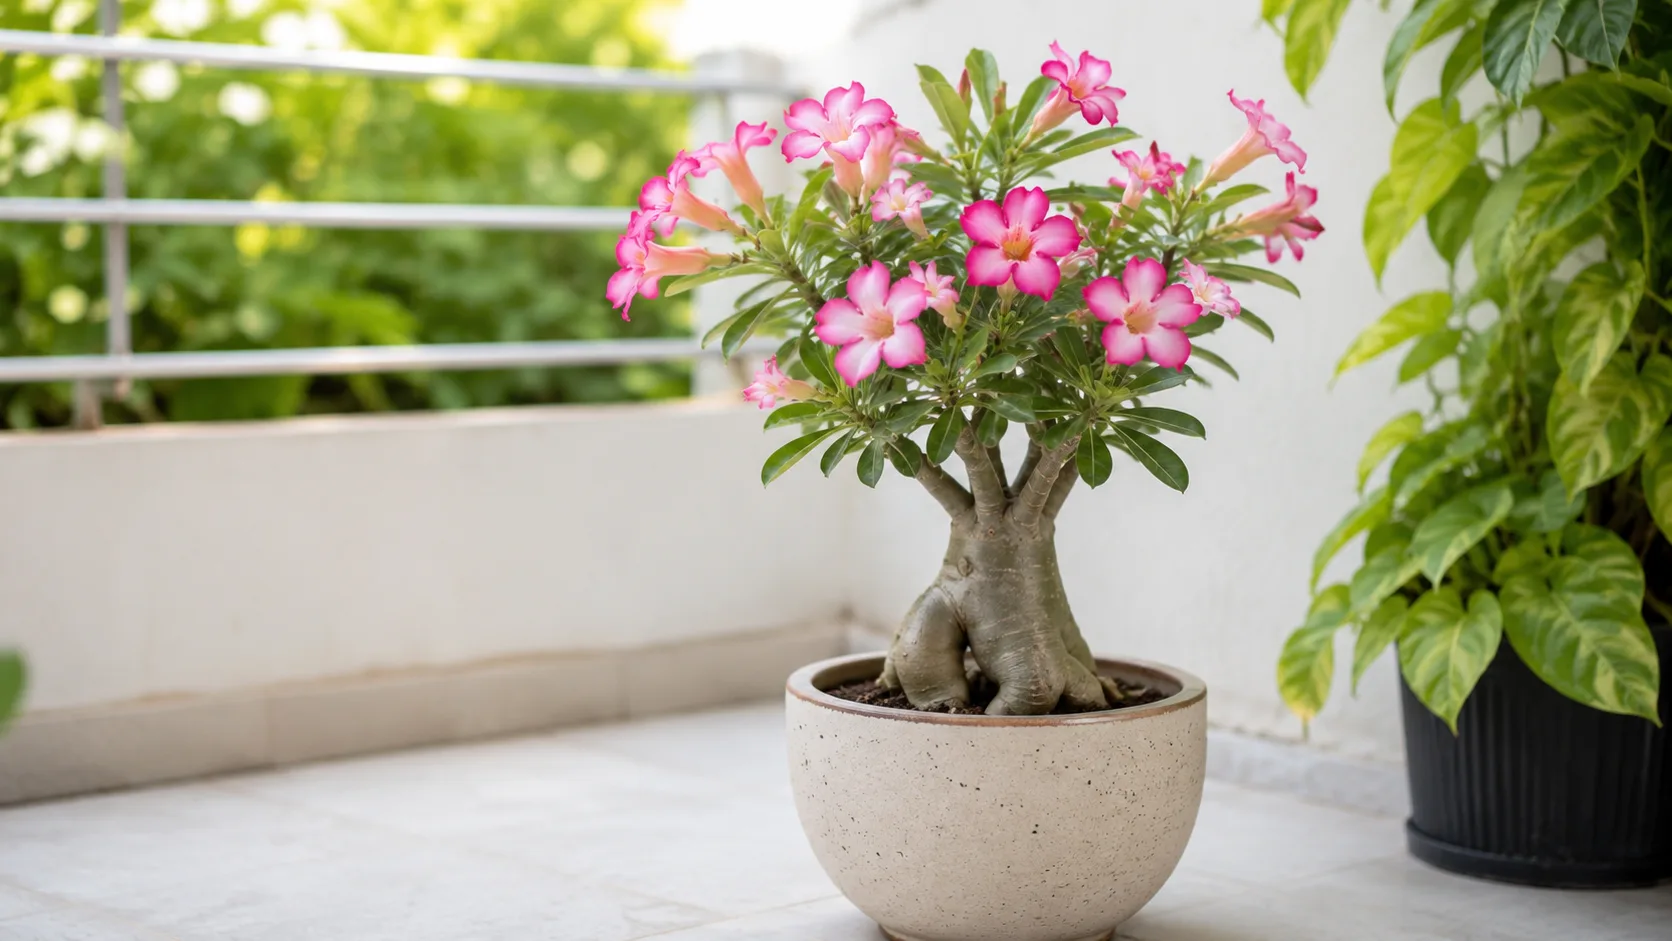
Adenium
Likely causeAnthracnose (Colletotrichum) in humid/wet conditions causes yellowing then black spots and leaf drop on desert rose.
Quick fixMove out of rain/high humidity, bottom-water only, remove spotted leaves, and improve airflow.
 Medium
African Milk Tree
Likely causeCommon black spots pattern on African Milk Tree under indoor care stress.
Quick fixInspect roots, watering, light, and pests; adjust one variable and monitor new growth.
 Medium
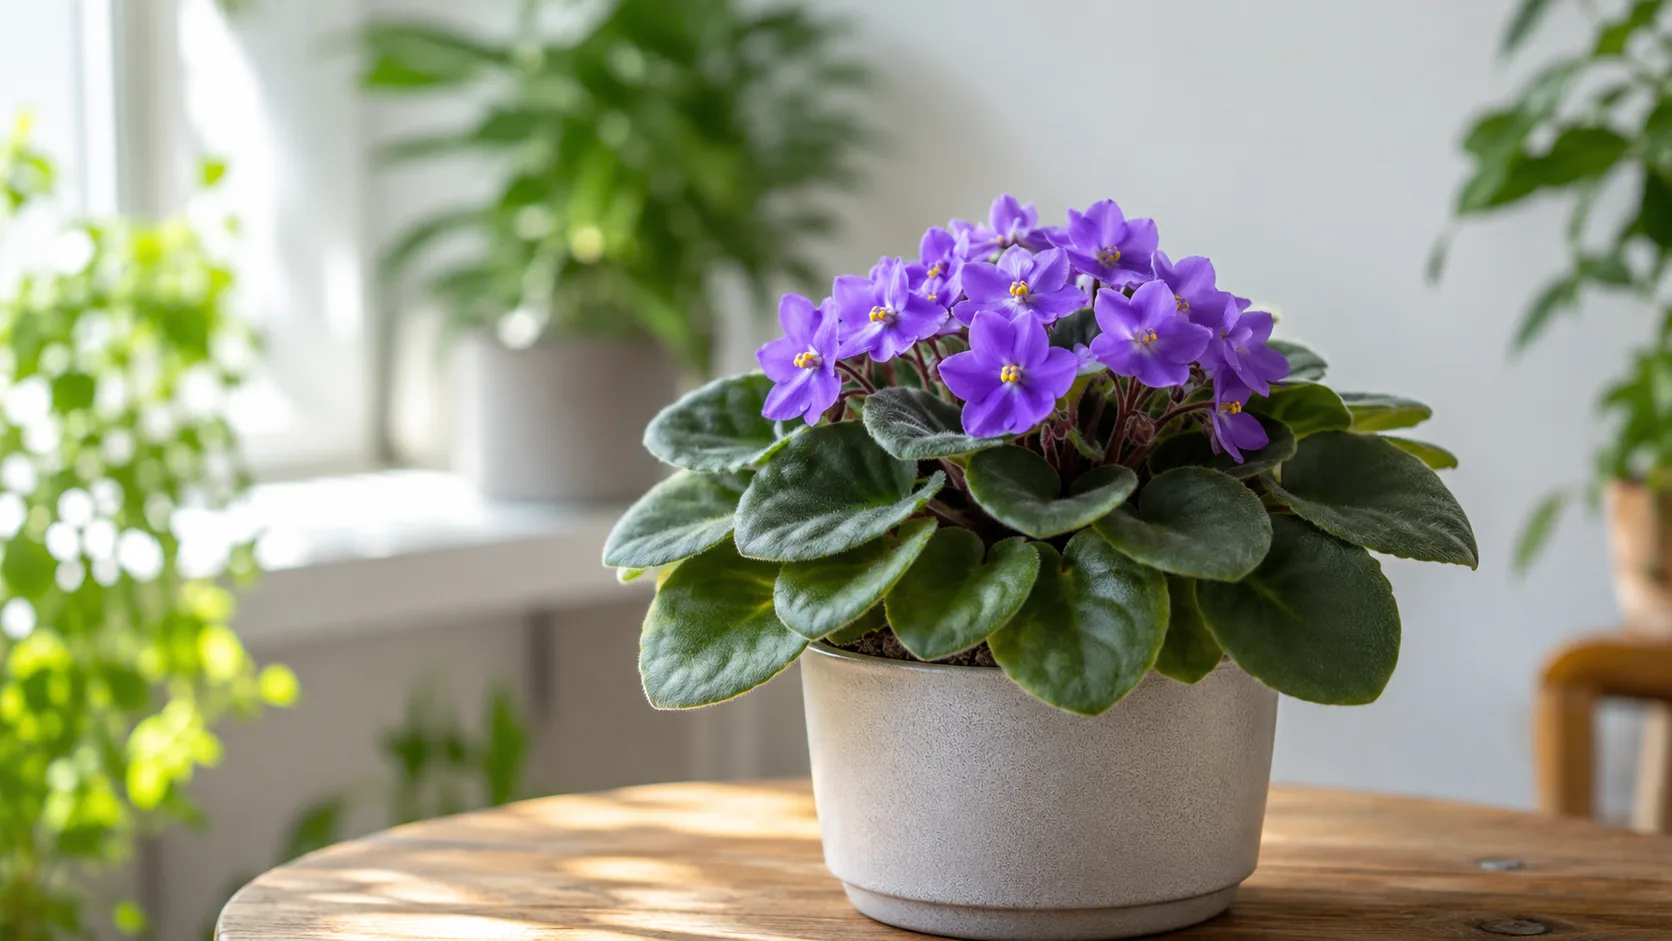
African Violet
Likely causeBlack Spots on African Violet: Fungal Diseases Several fungal diseases can cause black spots on African Violet leaves. These diseases thrive in humid conditions and can spread quickly if left unchecked. Botrytis Blight Botrytis bli
Quick fixInspect African Violet, confirm black spots matches your symptoms, then adjust care or treat per authoritative guides.
 Medium
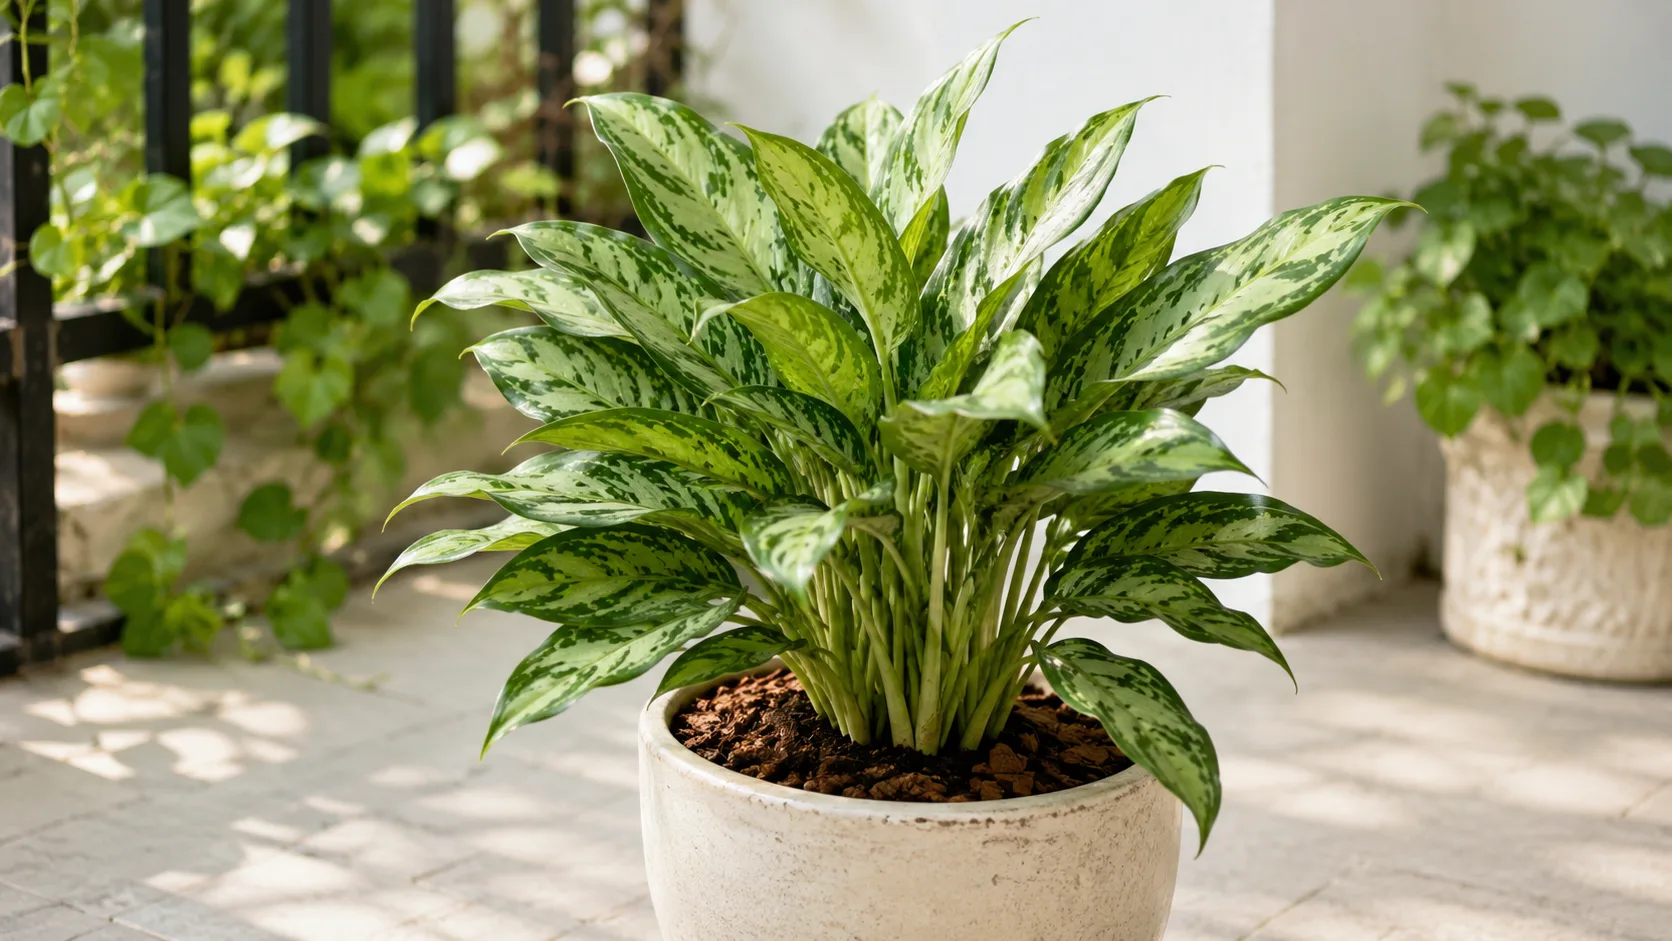
Aglaonema
Likely causeCommon black spots pattern on Aglaonema under indoor care stress.
Quick fixInspect roots, watering, light, and pests; adjust one variable and monitor new growth.
 Medium
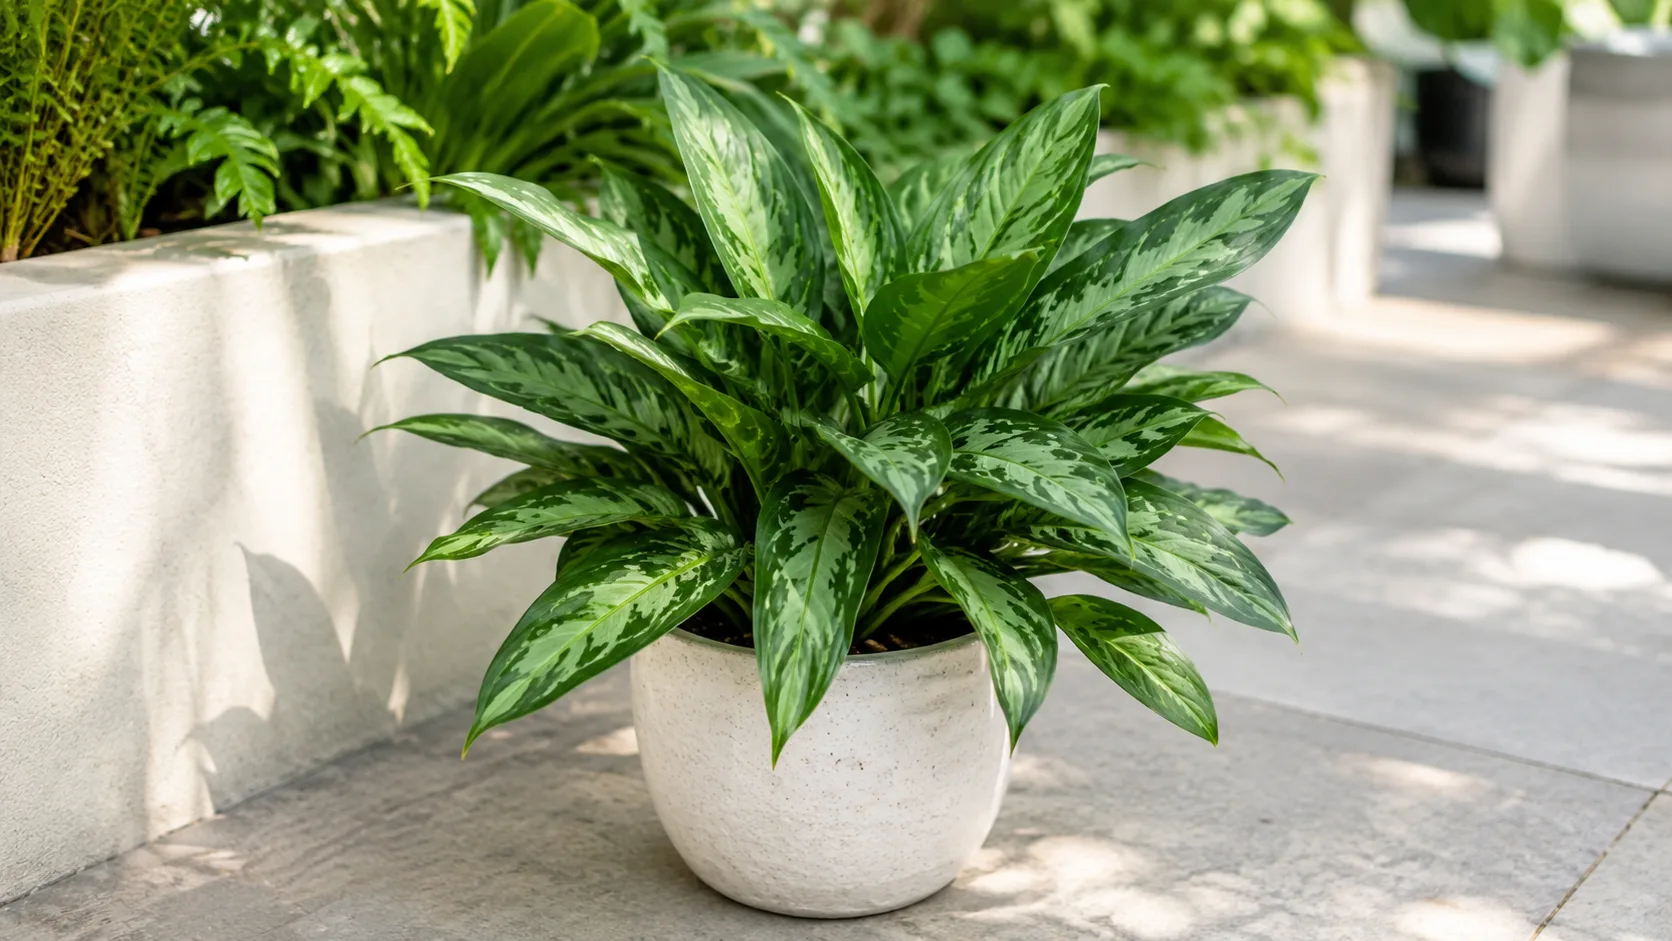
Aglaonema Cutlass
Likely causeCommon black spots pattern on Aglaonema Cutlass under indoor care stress.
Quick fixInspect roots, watering, light, and pests; adjust one variable and monitor new growth.
- Medium
Aglaonema Lady Valentine
Likely causeCommon black spots pattern on Aglaonema Lady Valentine under indoor care stress.
Quick fixInspect roots, watering, light, and pests; adjust one variable and monitor new growth.
- Medium
Aglaonema Maria
Likely causeCommon black spots pattern on Aglaonema Maria under indoor care stress.
Quick fixInspect roots, watering, light, and pests; adjust one variable and monitor new growth.
- Medium
Aglaonema Pictum Tricolor
Likely causeCommon black spots pattern on Aglaonema Pictum Tricolor under indoor care stress.
Quick fixInspect roots, watering, light, and pests; adjust one variable and monitor new growth.
 Medium
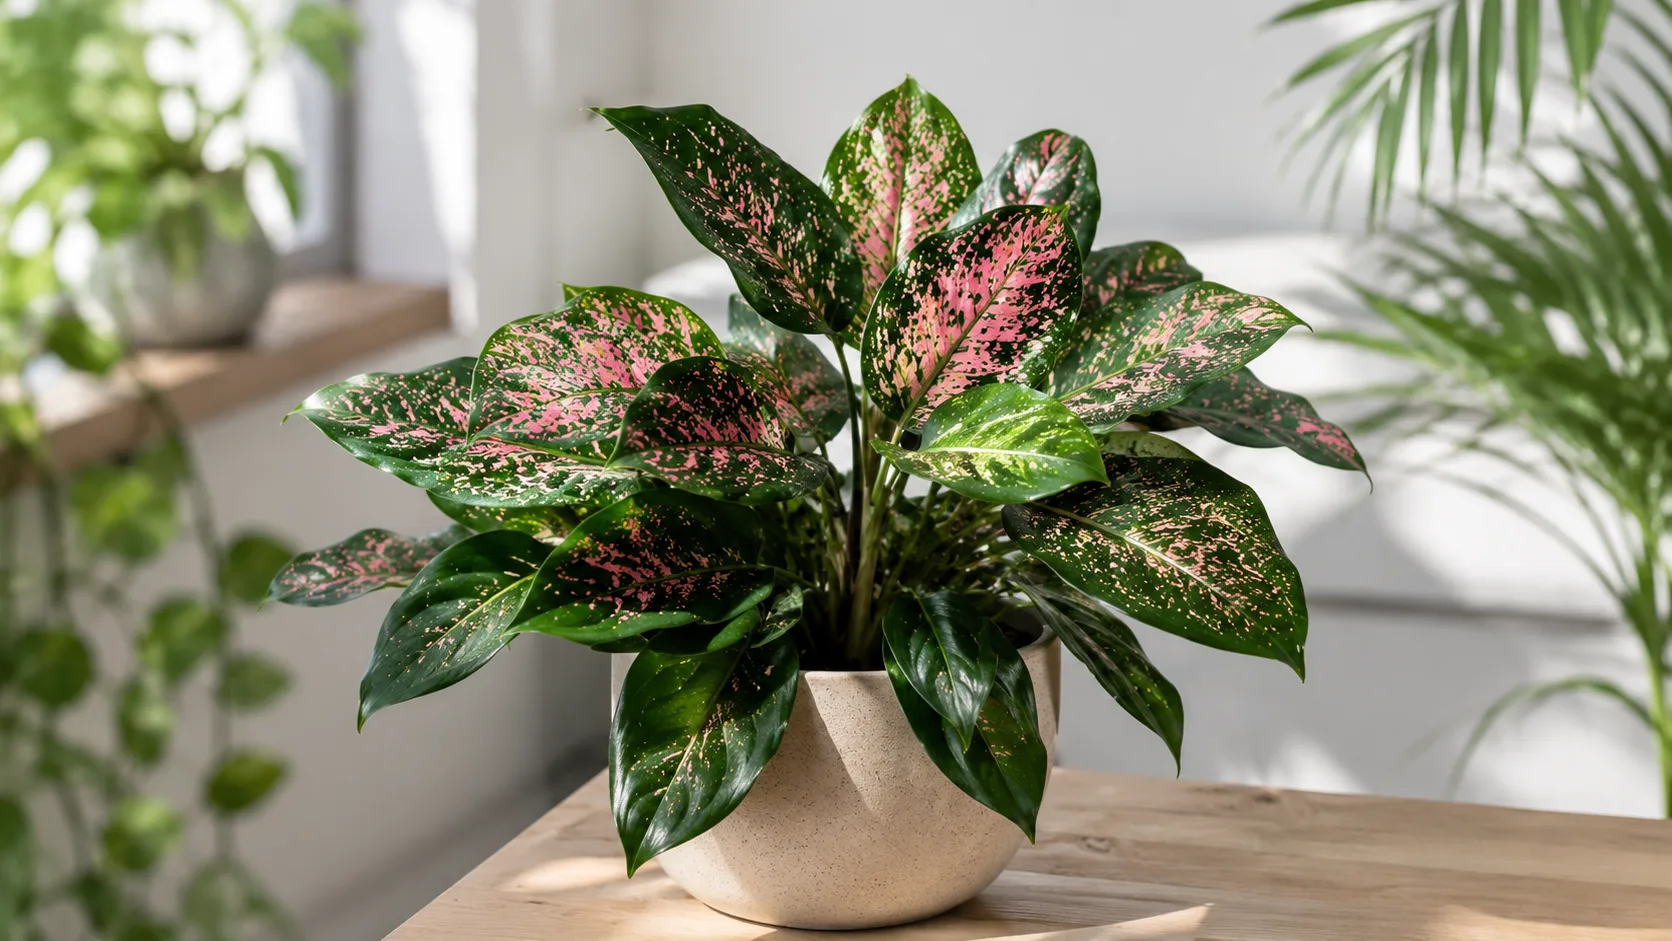
Aglaonema Pink Dalmatian
Likely causeCommon black spots pattern on Aglaonema Pink Dalmatian under indoor care stress.
Quick fixInspect roots, watering, light, and pests; adjust one variable and monitor new growth.
- Medium
Aglaonema Red Siam
Likely causeCommon black spots pattern on Aglaonema Red Siam under indoor care stress.
Quick fixInspect roots, watering, light, and pests; adjust one variable and monitor new growth.
 Medium
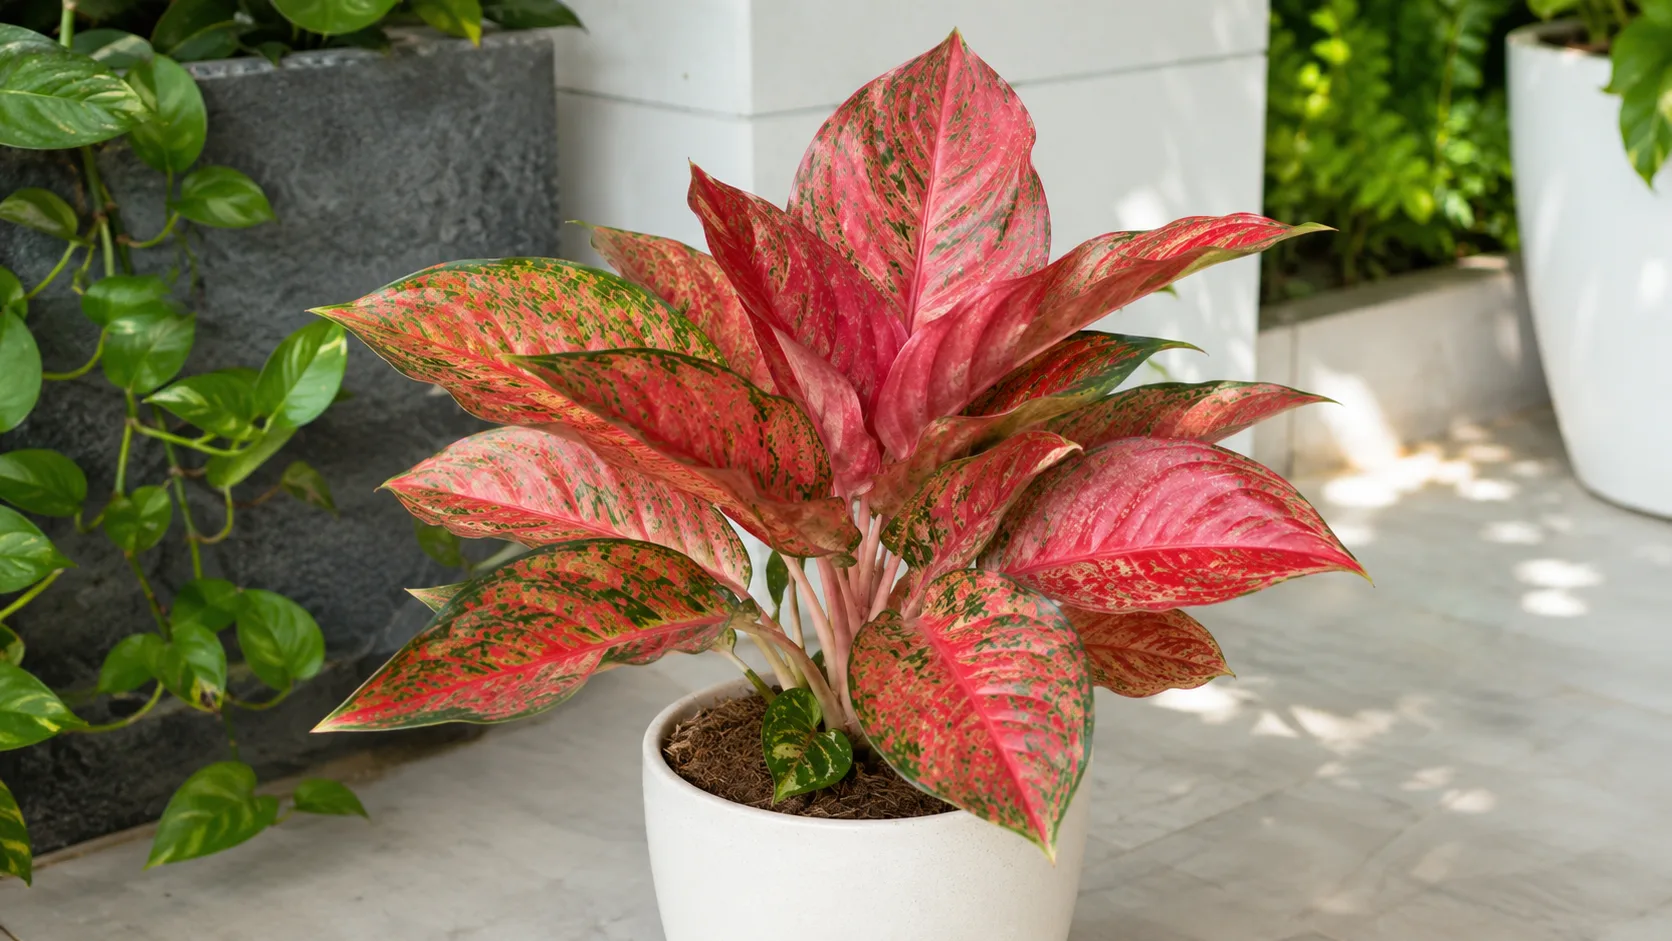
Aglaonema Red Valentine
Likely causeCommon black spots pattern on Aglaonema Red Valentine under indoor care stress.
Quick fixInspect roots, watering, light, and pests; adjust one variable and monitor new growth.
 Medium
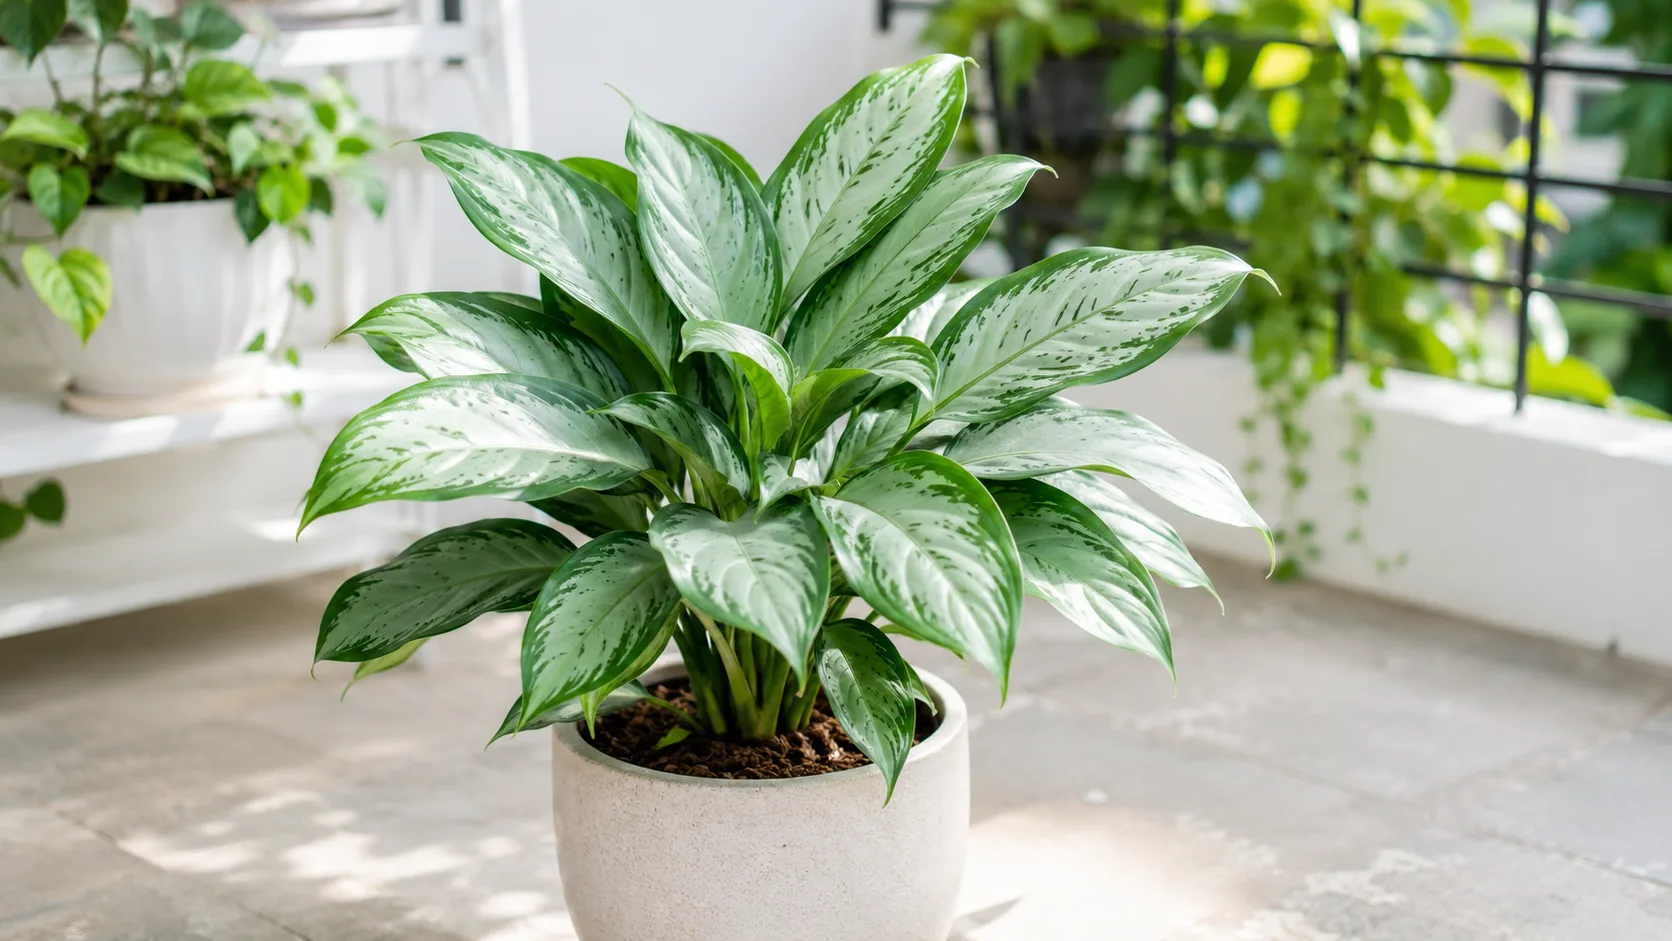
Aglaonema Silver Bay
Likely causeCommon black spots pattern on Aglaonema Silver Bay under indoor care stress.
Quick fixInspect roots, watering, light, and pests; adjust one variable and monitor new growth.