38 Herb Garden Ideas for Indoor or Outdoor Spaces
Find a herb garden layout for your space, from a sunny kitchen window to a raised bed. Compare 38 ideas by light, water, access, and upkeep.
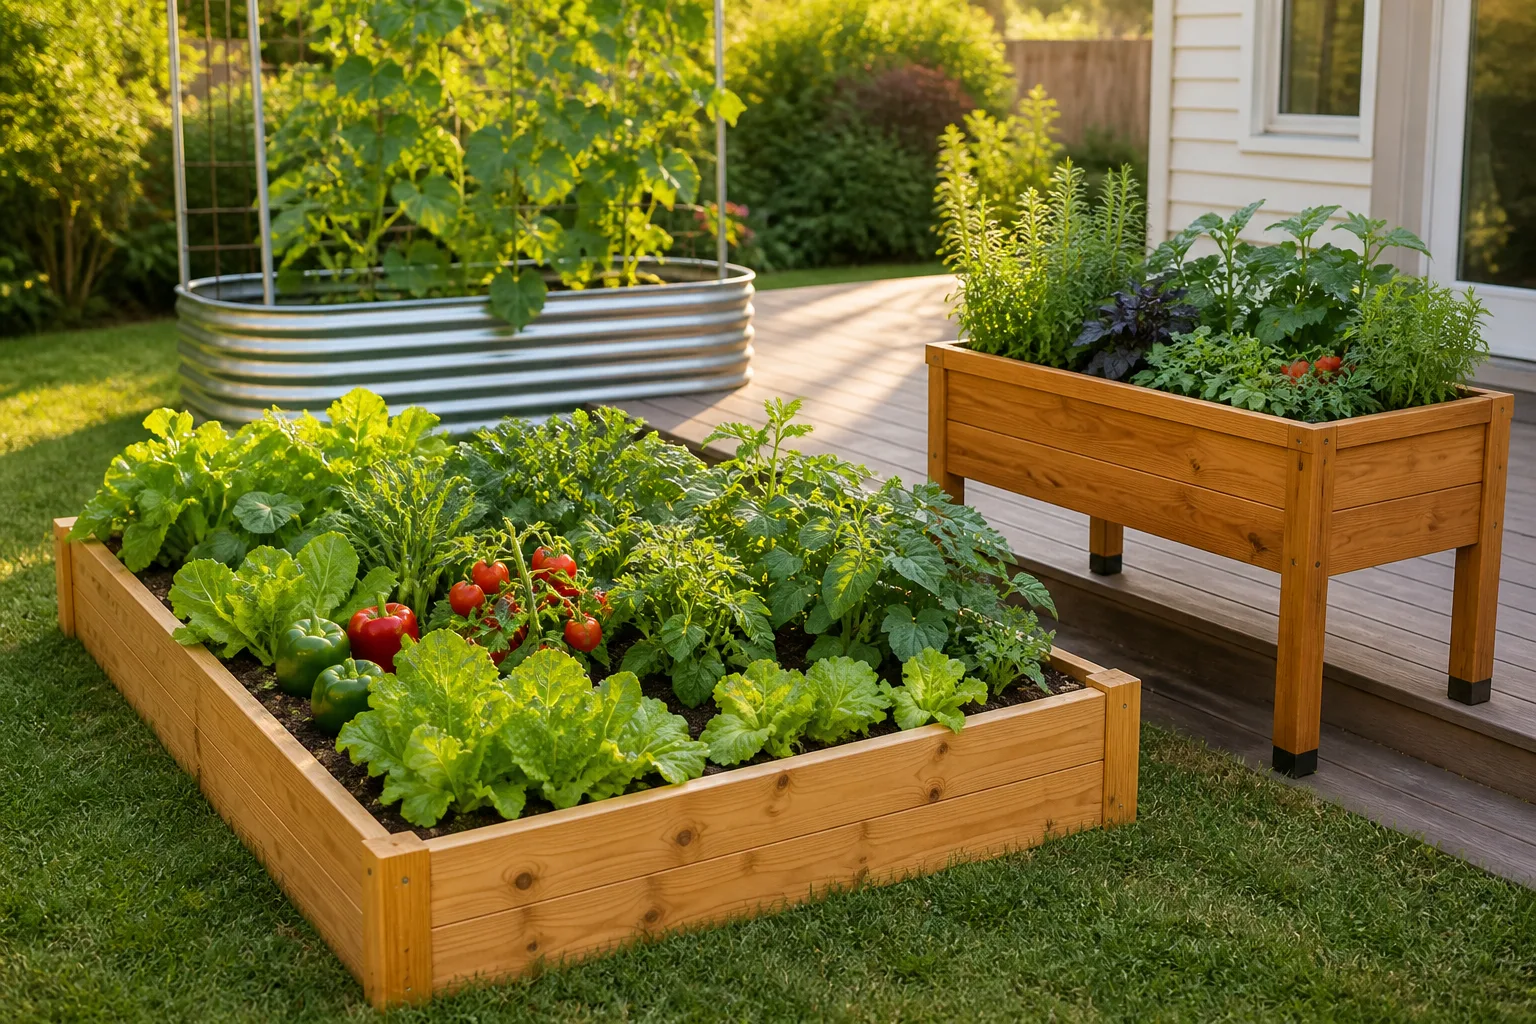
A useful herb garden can be a raised bed beside the kitchen, a row of pots on a balcony, or three plants under a lamp. The design matters less than the match between each herb and its light, moisture, root room, and your own harvesting routine. Choose those conditions first, then use these 38 ideas to make the garden attractive as well as productive.
Make the Spot Work Before You Choose an Idea
A sunny-looking corner can be shady for most of the day, and a group of pretty pots can hide plants with opposite watering needs. Spend a day noticing when direct light reaches the site, check where runoff goes, and put the herbs you cook with often along a route you already take. A garden you can reach and water easily tends to earn its space.
Group Herbs by Moisture and Drainage
Rosemary, thyme, sage, oregano, and lavender generally prefer sharply drained soil and a chance to dry slightly between waterings. Basil, parsley, cilantro, and dill usually need more consistent moisture, especially in warm weather. The RHS overview of growing herbs describes a broad preference for sunny positions and fertile, well-drained soil, but individual herbs differ; group pots or beds by actual needs instead of assuming every herb wants the same mix.
Map the Sun, Access, and Spreaders
Many herbs perform best in a sunny site, but a hot climate, nearby wall, or afternoon shade can change what thrives. Watch the spot rather than relying only on compass direction, and choose shade-tolerant herbs such as mint, chives, or parsley where light is limited. Keep mint and other vigorous spreaders in a pot or controlled area, and make sure a wall planter or railing box is securely mounted and easy to water.
Outdoor Herb Garden Ideas That Shape the Landscape
An outdoor garden can contribute structure, fragrance, color, and food at once. The designs below range from a practical raised box to low-growing herbs that stitch planting areas together; choose them according to drainage and how much room you can reach without stepping on the bed.
Make Formal Beds Easy to Reach
1. Divide a raised bed into dry and moist zones. Reserve the fastest-draining, sunniest edge for thyme, rosemary, oregano, or sage, and keep basil, parsley, and cilantro in a richer, more moisture-retentive section. If one irrigation line waters the whole box, use separate containers within the bed or choose herbs with closer water needs so the soil mix does not work against half the plants.
2. Build a four-square kitchen garden. Divide a rectangular bed into four plots with narrow cross paths or a central stepping stone. Put annuals you replant, such as basil and dill, in one section; hardy perennials can anchor the other corners. A grid gives you an easy rotation and a place to label varieties, but keep the paths wide enough to harvest the center without leaning across fragile stems.
3. Edge a kitchen path with cut-and-come-again herbs. Place chives, parsley, thyme, and compact oregano beside a route to the back door, where a quick harvest is genuinely convenient. Leave walking clearance and avoid putting slippery foliage where people step. A path-side planting also makes it easier to see when an herb needs water or a trim than a hidden bed at the far end of the yard.
4. Turn a narrow side yard into a herb corridor. A strip beside a fence can hold a slim bed or a series of containers, provided it receives enough direct light and has room for airflow. Put taller herbs toward the fence and low-growing thyme at the path edge. If the corridor stays shaded or damp, focus on herbs that tolerate those conditions rather than forcing sun-loving rosemary into a site it will outgrow poorly.
Use Slopes, Stone, and Living Edges
5. Add a pollinator ribbon outside the vegetable bed. Place flowering chives, dill, thyme, or flowering oregano along a bed edge, with locally appropriate nectar plants nearby. Leave a few herbs to bloom after you have enough leaves for cooking. The flower strip can bring movement and seasonal color to the vegetable area, but it is not a substitute for identifying and managing a crop pest.
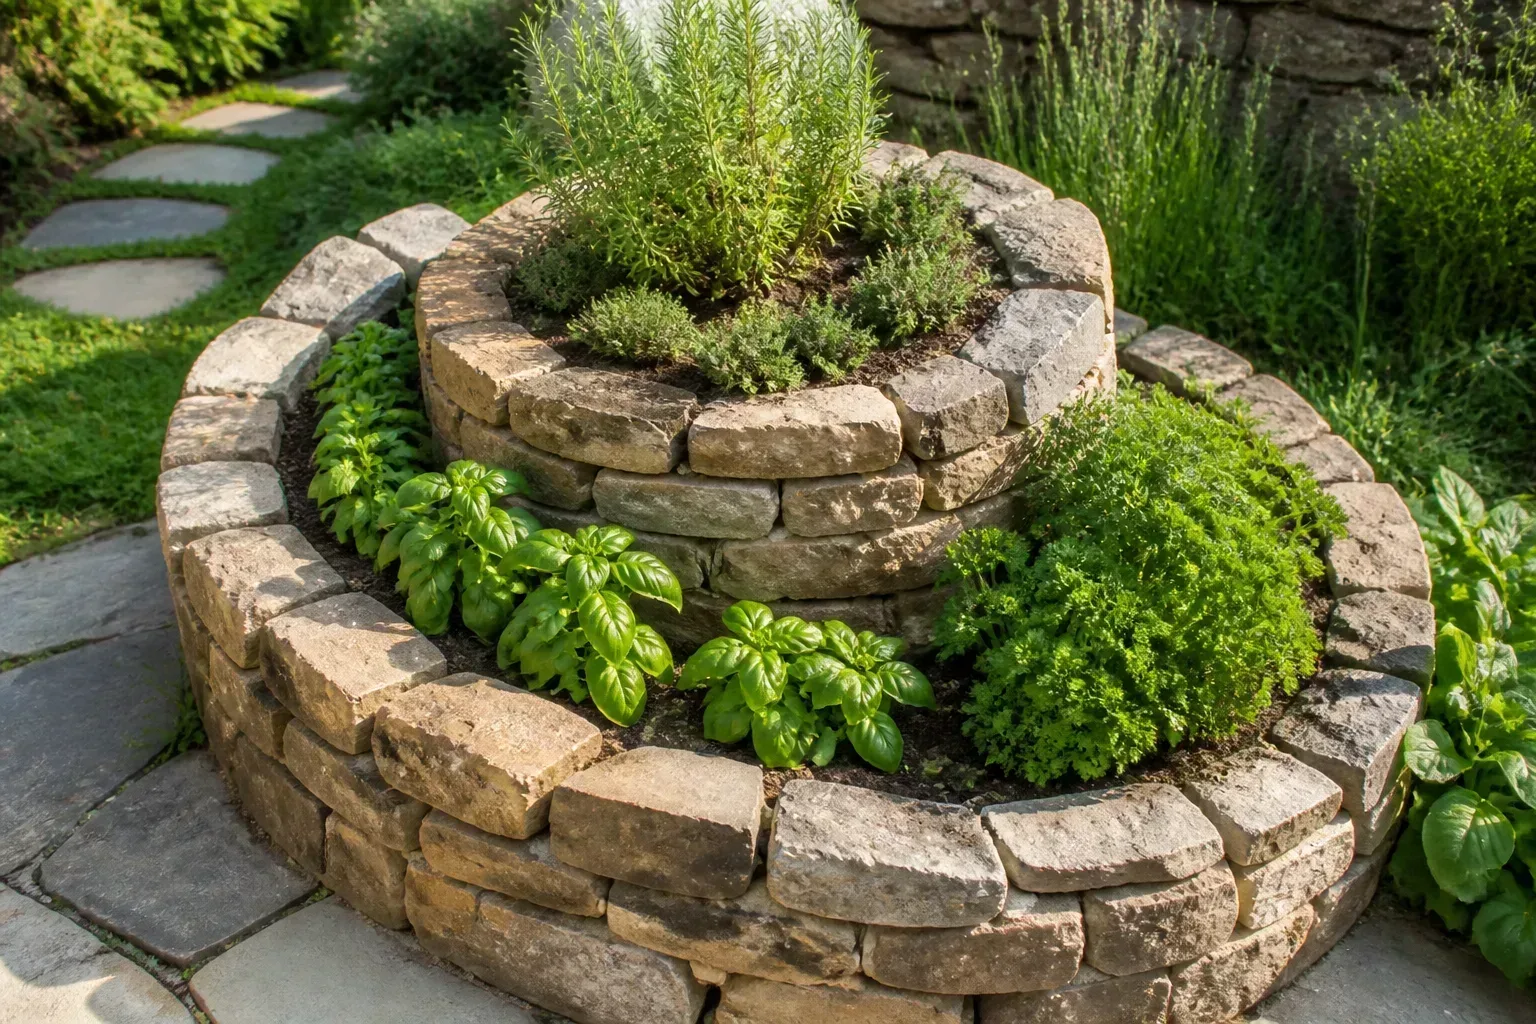
6. Make an herb spiral for different drainage levels. A low stone or brick spiral creates a raised center and lower outer coils; water drains faster near the top and the base tends to stay moister. Put dry-loving herbs higher and moisture-loving plants lower, while keeping mint in its own sunk pot. Keep the spiral modest enough to reach from both sides—an elaborate mound that cannot be weeded or harvested becomes a stone obstacle.
7. Tuck Mediterranean herbs into a rock garden or wall. Thyme, oregano, and some sages can suit sunny pockets between stones where soil drains quickly. Use a wall or rock feature only if its exposure fits the plant; reflected heat can scorch tender foliage in very hot regions. A few pockets are easier to maintain than filling every crevice, and they preserve open space for pruning and access.
8. Use creeping thyme as a low groundcover. Plant creeping thyme or a suitable low oregano around the edge of a bed or between widely spaced stepping stones for a fragrant, flowering border. These are not durable lawn substitutes for constant foot traffic. Keep them out of the main walking line, and give them a sunny, well-drained position so the center does not thin or rot in wet soil.
Container Herb Garden Ideas for Patios and Kitchens
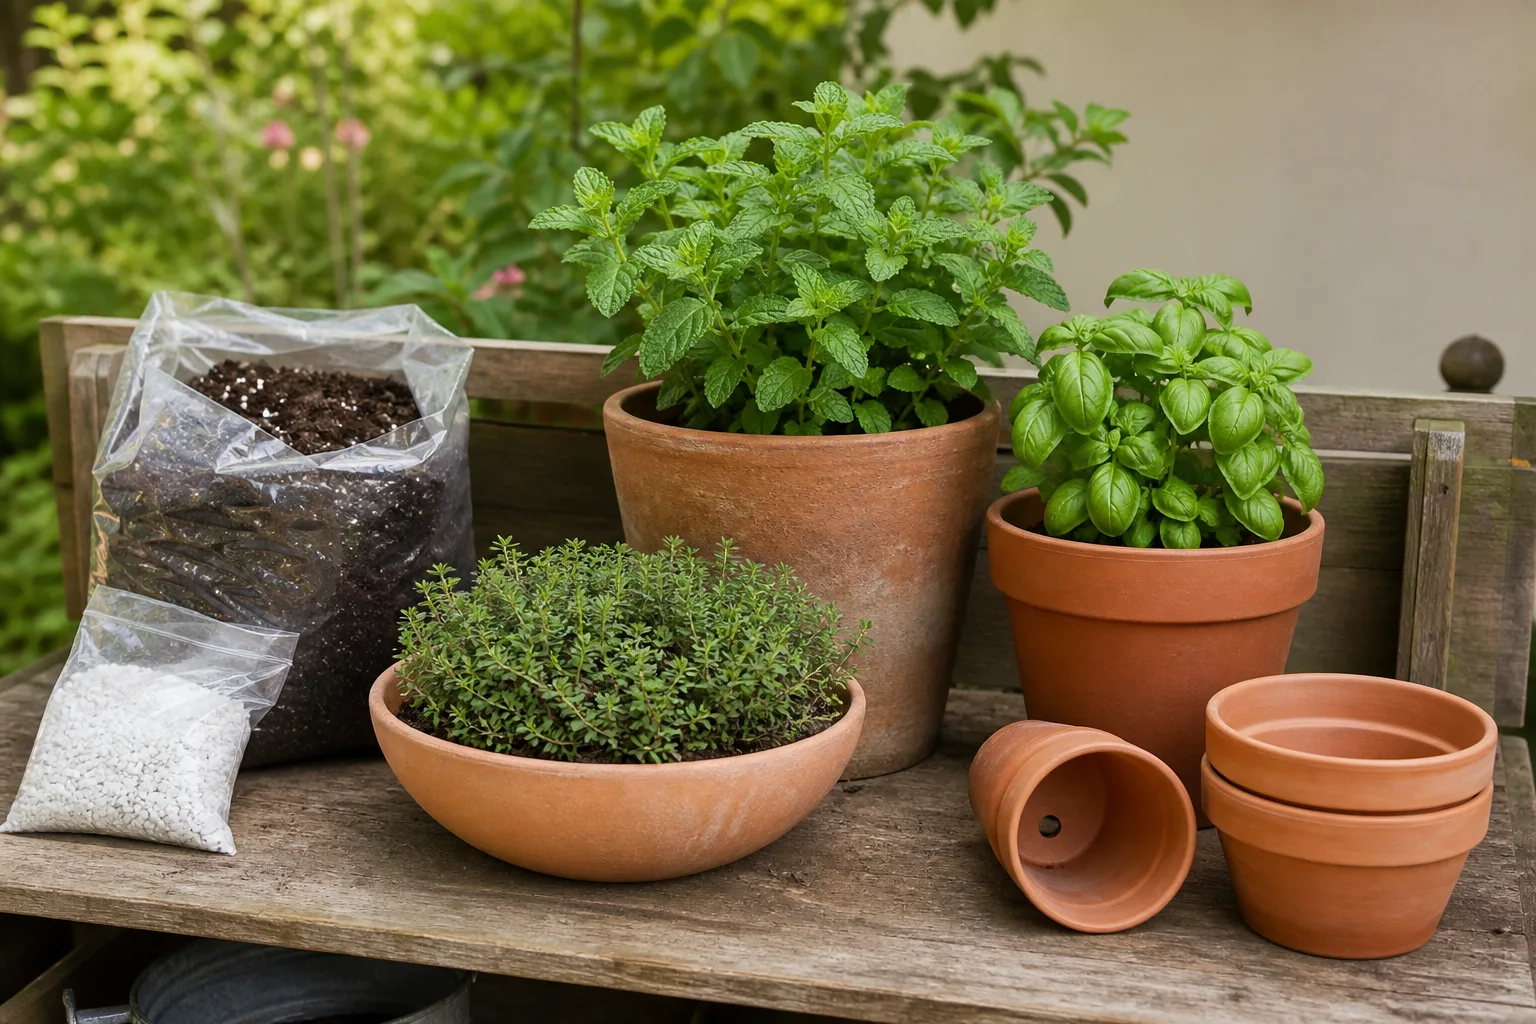
Containers are often the simplest way to control soil and move herbs toward better light. They also dry faster than garden beds, particularly in wind or on hot paving. The RHS guide to herbs in containers and Georgia Extension’s container-herb advice both emphasize choosing suitable containers, drainage, and a position that meets the plants’ light needs.
Group Pots by Watering Needs
9. Cluster patio pots by how often they need water. Put basil, parsley, and chives together on a tray or stand where you can check moisture often; group rosemary, thyme, and sage separately in faster-draining pots. The cluster still looks like one garden, but you can water each group correctly. Leave small gaps between containers so leaves dry after rain and air can move around the plants.
10. Use terracotta for a Mediterranean herb collection. A few substantial clay pots filled with thyme, sage, oregano, or rosemary create a cohesive, sun-loving display. Terracotta loses moisture through its sides, which suits many dry-soil herbs but can make watering a chore in heat. Choose deeper pots for larger perennials and protect tender or cold-sensitive plants according to your local winter conditions.
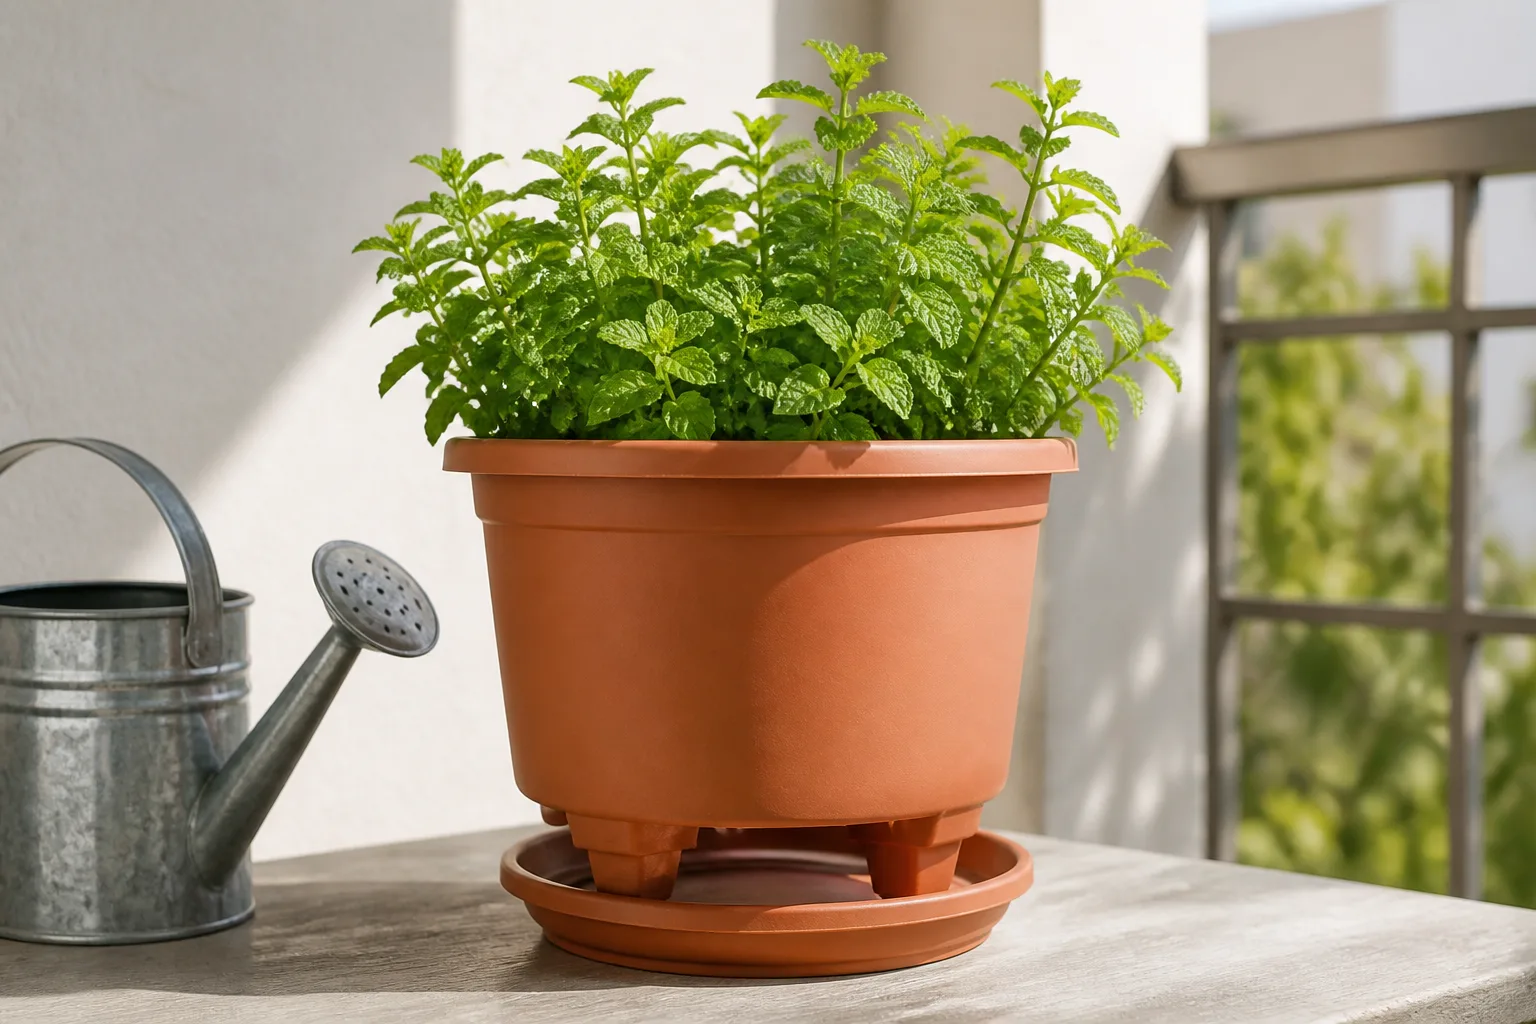
11. Give thirsty herbs a self-watering planter. A reservoir-style container can reduce how quickly basil, parsley, or chives dry out in a sunny, exposed spot. It does not eliminate checking: refill the reservoir as directed, occasionally water from above to wet the mix, and avoid leaving roots permanently waterlogged. Keep drought-adapted herbs out of that same reservoir unless the design lets you manage their moisture separately.
12. Put a small pot collection on a rolling caddy. Wheeled plant stands make it easier to move containers into morning sun, away from a storm, or under shelter before frost. This is useful for renters and gardeners who change their patio layout seasonally. Check the loaded weight, wheel stability, and drainage runoff before moving a full caddy, and do not let indoor-to-outdoor moves expose tender herbs to cold nights abruptly.
Make Containers Flexible and Personal
13. Mix planter colors, shapes, and heights while keeping roots separate. A collection of coordinated pots can look designed without forcing every herb into one shared soil volume. Keep plants with different moisture needs in separate containers, and use the taller pots at the back so shorter herbs stay visible. Repeating one color or material helps a varied group feel intentional rather than like a row of unrelated nursery purchases.
14. Repurpose a food-safe container as a planter. A clean wooden box, sturdy food-grade tub, or metal vessel can become an herb garden if it is safe for growing food and allows excess water to drain. Drill drainage holes where appropriate, or place a drainable nursery pot inside as a removable liner. Skip containers with unknown chemical residues, flaking paint, or coatings that could contact the potting mix.
15. Build a herb garden table with a planted center. An outdoor side table or coffee table with a contained planter can keep chives or compact basil close to meals while leaving a usable surface around the planting area. The inset needs drainage that will not damage the furniture or deck, and the soil should be deep enough for the chosen herbs. Choose compact varieties and keep the planter accessible for pruning rather than making it purely decorative.
16. Give mint its own generous pot. A wide, stable container keeps mint convenient for tea and cooking while preventing its runners from invading a shared bed or outcompeting other herbs. Set the pot on paving or a stand, and trim stems before they trail onto soil where they can root. Utah State University Extension explains why mint needs containment; inspect drainage holes and nearby ground for escapees during the growing season.
Small-Space Herb Garden Ideas for Balconies and Walls
Going vertical can free floor space, but it also exposes shallow planters to wind and faster drying. Before adding a wall or railing garden, confirm the structure can carry the wet weight, direct runoff safely, and leave enough room to reach every pot for watering and harvest.
Put Windows, Ledges, and Railings to Work
17. Install a kitchen-side window box. An exterior window box gives you a small harvest within sight of the kitchen, and a sunny position can suit thyme, chives, parsley, or compact basil. Check the box’s depth, drainage, brackets, and water runoff before planting. Use a liner that does not block drainage, and thin the herbs as they mature instead of packing seedlings tightly for an instant full look.
18. Turn a balcony railing into a planter shelf. A purpose-built railing planter can hold several compact herbs without using the balcony floor. Measure the rail and choose a secure attachment rather than balancing a box on top; consider how wind and watering affect stability below. Railing pots heat and dry quickly, so choose herbs and container volume for the exposure and put more moisture-sensitive plants on the less intense side.
19. Grow a balcony herb trellis. Attach a narrow trellis behind a bench or to a wall, then arrange pots at reachable heights for basil, dill, parsley, or cilantro. The trellis provides a visual backdrop and can support nearby climbers, but most culinary herbs do not need to climb. Keep each pot removable so you can rotate it, check roots, and water without soaking the wall.
Grow Upward Without Drying Plants Out
20. Make a wall-mounted planter from food-safe modules. A modular vertical system turns a blank wall into a small herb display when each pocket has enough root depth and a drainage path. Plant compact herbs in the highest or most exposed pockets only if you can water them often; reserve lower, cooler pockets for plants that dry more slowly. Test one module before filling an entire wall.
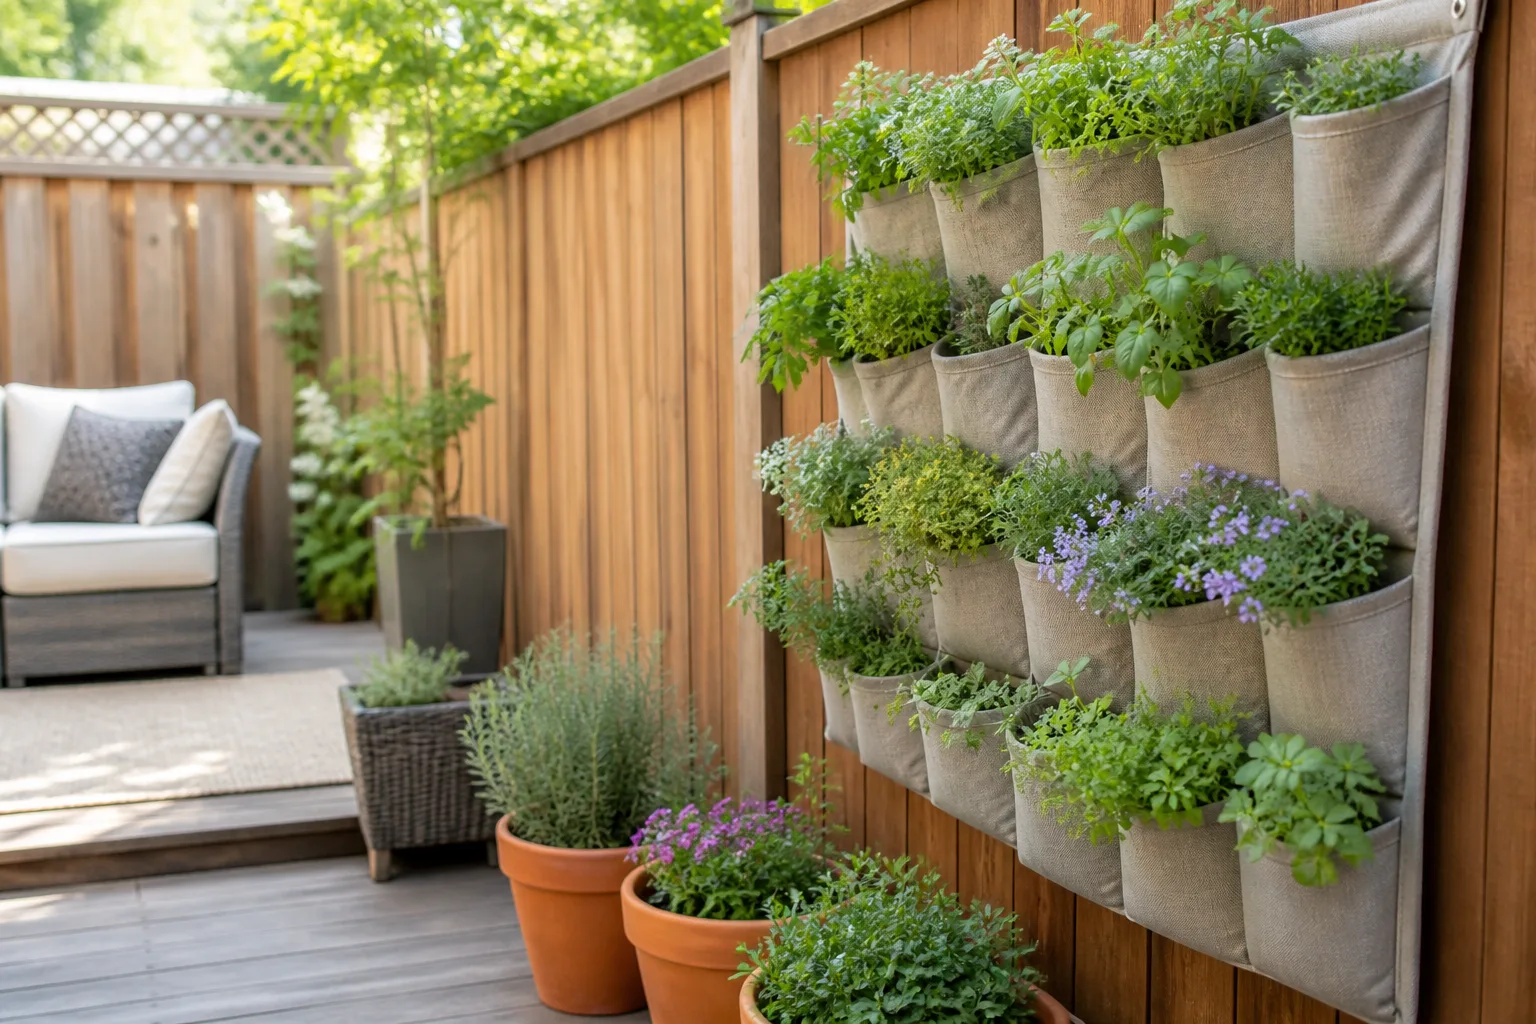
21. Reuse a pallet as a tiered herb garden. A pallet can hold separate pots or lined planting pockets against a sunny fence, but choose clean, food-safe wood with no chemical treatment history. Give every pocket drainage and enough soil volume; shallow cells can dry out in hours during hot, windy weather. A removable-pot arrangement is easier to maintain than planting directly into narrow slots.
22. Stack pots to make a compact column. A tiered planter or stack of nested pots gives a small patio more planting levels for thyme, oregano, chives, and compact leafy herbs. Check that water from upper pots does not saturate a dry-soil herb below. Keep the top reachable, make sure the base is stable, and avoid placing thirsty and drought-tolerant herbs in a single connected reservoir.
23. Hang a basket of trailing herbs where it gets light. Trailing thyme or oregano can soften a sunny porch or balcony and stay accessible for clipping. Hanging baskets lose moisture faster than floor pots, so use a generous basket, quality potting mix, and a placement you can water safely. A hanging location may discourage casual nibbling, but it is not a substitute for checking which plants are safe around pets.
Indoor Herb Garden Ideas With Realistic Light Expectations
The strongest indoor herb garden is often a small one with enough light, not a crowded row of pots on a dim sill. A bright window changes with season, latitude, nearby buildings, and the glass itself. If stems stretch and leaves stay small, move the plants or add a grow light rather than compensating with extra fertilizer.
Build Around the Window You Have
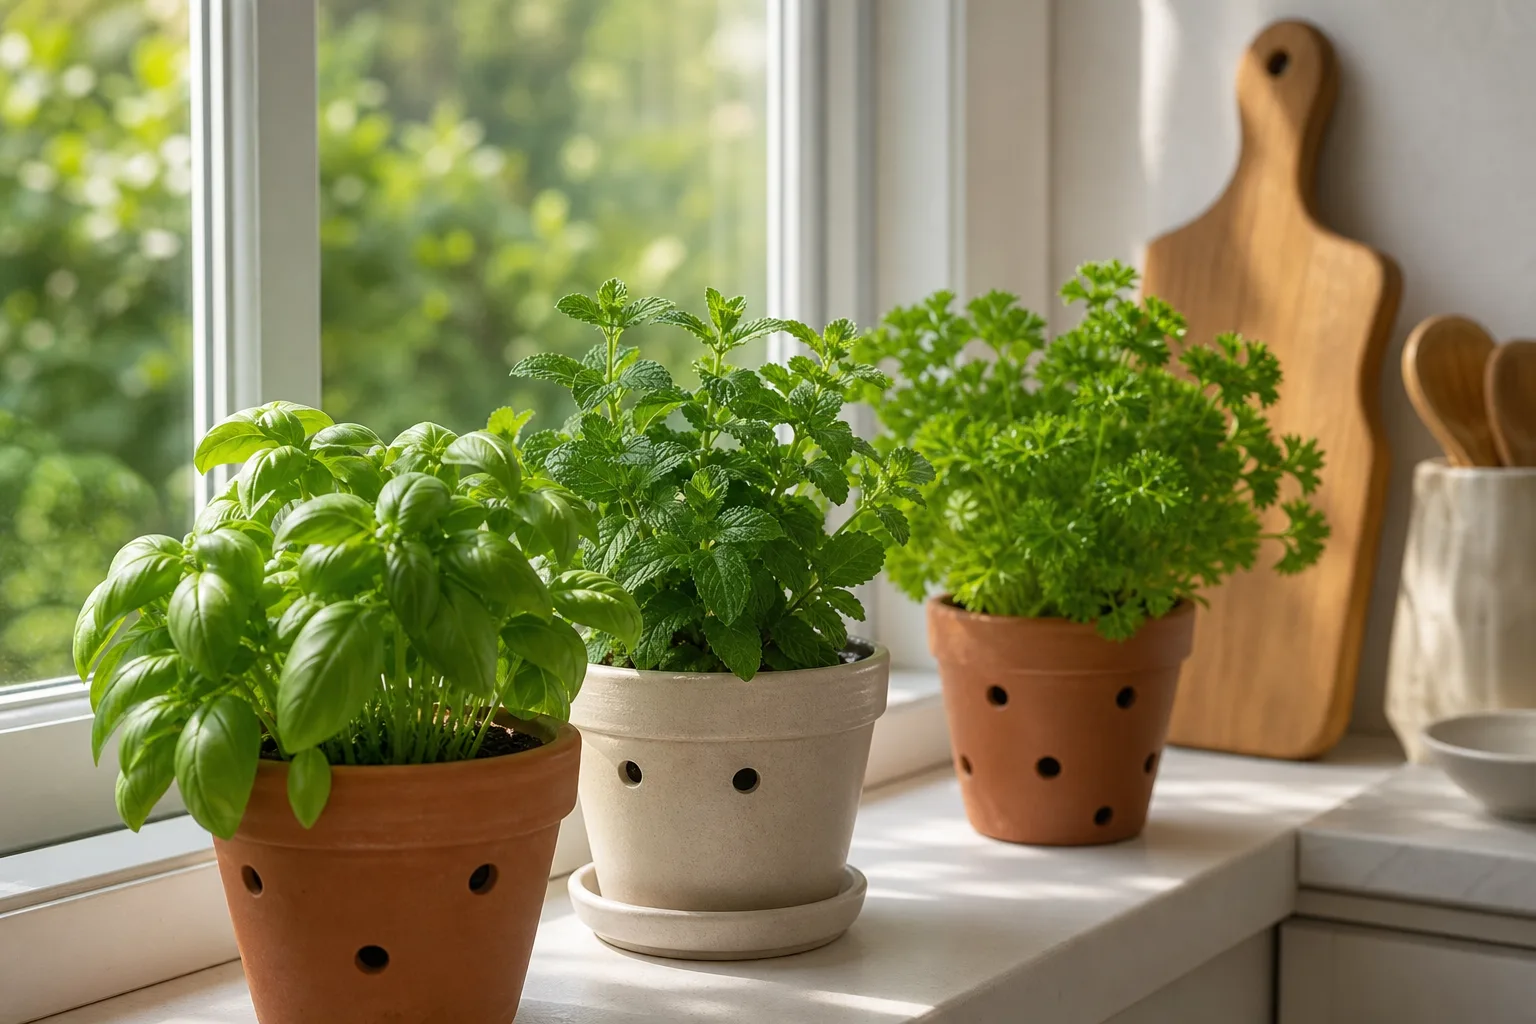
24. Line a bright kitchen window with individual pots. Start with a few herbs you use weekly, such as chives, parsley, and basil, each in its own drainable container. A sunny window can work well, but rotate the pots and keep leaves from touching cold glass. Use saucers to protect the sill, empty standing runoff, and allow enough room to harvest without knocking stems against the window.
25. Add an under-cabinet grow-light shelf. A slim shelf with a suitable full-spectrum grow light can keep herbs near the kitchen even when the window is weak. Set the lamp according to its instructions and keep plants close enough to receive useful light without touching a hot fixture. Savvy Gardening’s kitchen-window herb guide also stresses the light challenge indoors; the practical solution is to assess growth and adjust placement, not assume every sill provides a full day of sun.
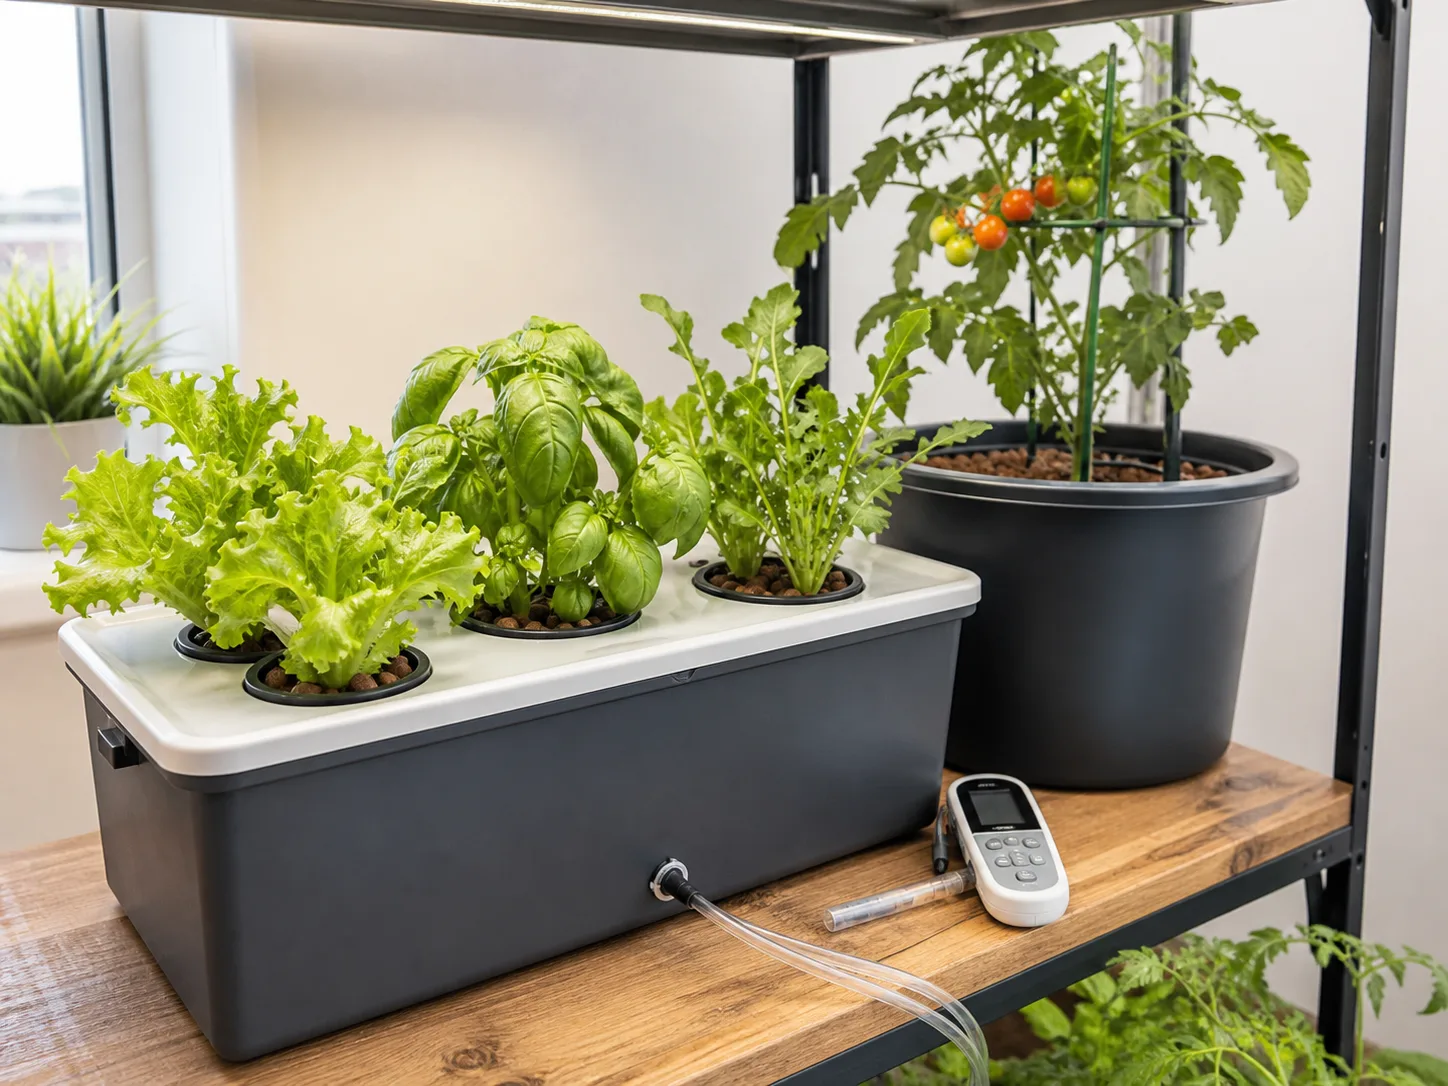
26. Choose a compact countertop hydroponic garden. A small recirculating system can grow leafy herbs without potting soil and may suit a kitchen with limited sill space. It still needs adequate light, periodic reservoir cleaning, and the correct nutrient mix; “water-grown” does not mean maintenance-free. Start with herbs recommended for compact systems, follow the manufacturer’s crop spacing, and do not crowd a fast grower beside slow seedlings.
Start Seeds and Cuttings in Useful Setups
27. Set up a small seed-starting station. A tray, labels, and a bright window or grow light let you start basil, chives, parsley, and other herbs before outdoor planting weather arrives. Basil, cilantro, and dill are useful seed-starting choices; for a quicker harvest of a slow-growing woody herb such as rosemary, begin with a healthy young plant instead. Use a seed-starting mix and transplant seedlings when they have enough growth to handle. A heat mat is useful for warmth-sensitive germination only when conditions call for it; it is not a replacement for strong light after seedlings emerge.
28. Sow cilantro or dill in succession pots. These quick-to-flower herbs rarely provide tender leaves indefinitely in warm conditions. Sow a small pot every couple of weeks during the suitable season, using the timing in your local climate; the RHS suggests fortnightly sowing for a continuous supply. Staggered pots mean one can be harvested while another is young, instead of having the entire crop bolt at once.
29. Root a few herb cuttings in water as a temporary display. Basil and mint stems can make attractive jars on a bright counter while they form roots, and rooting cuttings is a useful way to multiply plants. Replace the water and pot rooted cuttings into a suitable mix when they are ready; a jar alone does not provide every nutrient or root condition for long-term growth. Keep the glass clean and out of direct heat.
30. Create a mobile indoor-outdoor herb station. Keep movable pots of chives, parsley, or rosemary on a tray you can shift to the brightest available location or shelter from harsh weather. Tender herbs need a gradual transition when moved outside, and cold-sensitive plants may need to come in before temperatures drop. Epic Gardening’s small-space herb ideas discuss using compact, adaptable setups; your local frost dates still determine when a move is safe.
Ornamental Herb Garden Ideas That Feed Pollinators
Herbs can contribute flowers, texture, and fragrance beyond the kitchen, especially when you let a portion bloom. Keep edible plants away from pesticide drift and choose flowers that suit your climate. A design should support easy harvesting and pollinator visits without promising that a fragrant herb will repel mosquitoes or other pests on its own.
Blend Foliage, Flowers, Scent, and Wildlife
31. Make a cottage-style herb border. Combine airy dill, flowering chives, compact thyme, sage, and a few compatible flowers in a loose border rather than lining every plant in a rigid row. Give larger perennials space to reach their mature size, and keep vigorous spreaders contained. A lightly informal look works best when you still remove weeds, trim paths, and leave enough space to harvest.
32. Use purple- or pink-flowering herbs as color anchors. Lavender, flowering sage, chives, and some basils can bring color as well as leaves or flowers for cooking. Match the plant to the soil and winter climate before choosing it for a focal point—lavender can struggle in heavy, wet ground even if its flowers suit the palette. Repeat one or two bloom colors rather than buying every flowering herb at once.
33. Leave selected herbs to flower for beneficial insects. Allow some dill, cilantro, chives, oregano, or thyme to bloom after you have harvested enough foliage. The flowers add fine texture and provide forage for visiting insects, while the rest of your plants can stay clipped for cooking. Keep an extra plant if you need both regular leaf harvests and a reliable display of flowers.

34. Weave herbs into an edible ornamental bed. Tuck chives or parsley along a perennial border, add thyme at the sunny edge, or place a pot of basil beside vegetables and flowers. This “foodscaping” approach makes harvest plants part of the design, but similar sun and water needs still matter. Use the bed’s actual conditions to choose plants, and keep paths open so repeated harvesting does not trample flowers.
35. Plant a fragrant border near outdoor seating. Put rosemary, thyme, lavender, or mint in containers where people brush past the leaves on the way to a patio. Fragrance is a pleasant design benefit, not dependable pest control; rubbing or crushing leaves releases more scent, but planted herbs do not replace other measures for mosquitoes. Keep mint isolated and choose non-spiny, accessible plants around chairs and paths.
Plan a Garden Around the Harvest You Use Most
A theme garden is easier to maintain when each plant has a role in meals you already make. Arrange separate pots together if the herbs want different watering, and plant enough of a fast-growing favorite to meet its harvest demand without stripping a single small plant bare.
36. Build a pizza-and-pasta collection. Put basil, oregano, thyme, and parsley near the cooking door or grill, but keep them in separate pots or compatible moisture groups. Basil likes a steadier supply of moisture than many Mediterranean herbs, so a decorative cluster is safer than one mixed planter. Add a second basil pot if you cook with it often and harvest by pinching growing tips rather than removing the whole plant.
37. Dedicate a bed or large pots to tea herbs. Mint, lemon balm, chamomile, lemon verbena, and a little lavender can make a useful tea garden, with mint and lemon balm confined so they do not crowd the others. Match the plants to your climate—lemon verbena is tender in cold winters—and harvest flowers or leaves when they are clean and dry. Dry small batches in a shaded, airy place and label them by variety.
38. Put a cocktail or mocktail herb pot beside the serving area. Mint is the obvious choice for drinks, while basil, lemon balm, and rosemary can supply different flavors for garnishes. Keep mint in its own pot and move the herbs where they receive suitable light, rather than leaving a decorative bar-cart plant in a dim indoor corner. Place containers on a stable surface and use a drip tray so water does not stain furniture.
Conclusion
The best herb garden idea is the one that fits your sunlight, watering habits, available room, and the herbs you actually harvest. Start with a small set of plants, split them by moisture needs, and choose raised beds, containers, a windowsill, or vertical planters according to the site rather than appearance alone. Add ornament and extra varieties after the first layout proves easy to maintain.



