45 Backyard Walkway Ideas for Every Yard and Garden
Use 45 backyard walkway ideas to connect patios, pools, gardens, and side yards. Compare materials, plan the route, and avoid drainage and upkeep mistakes.
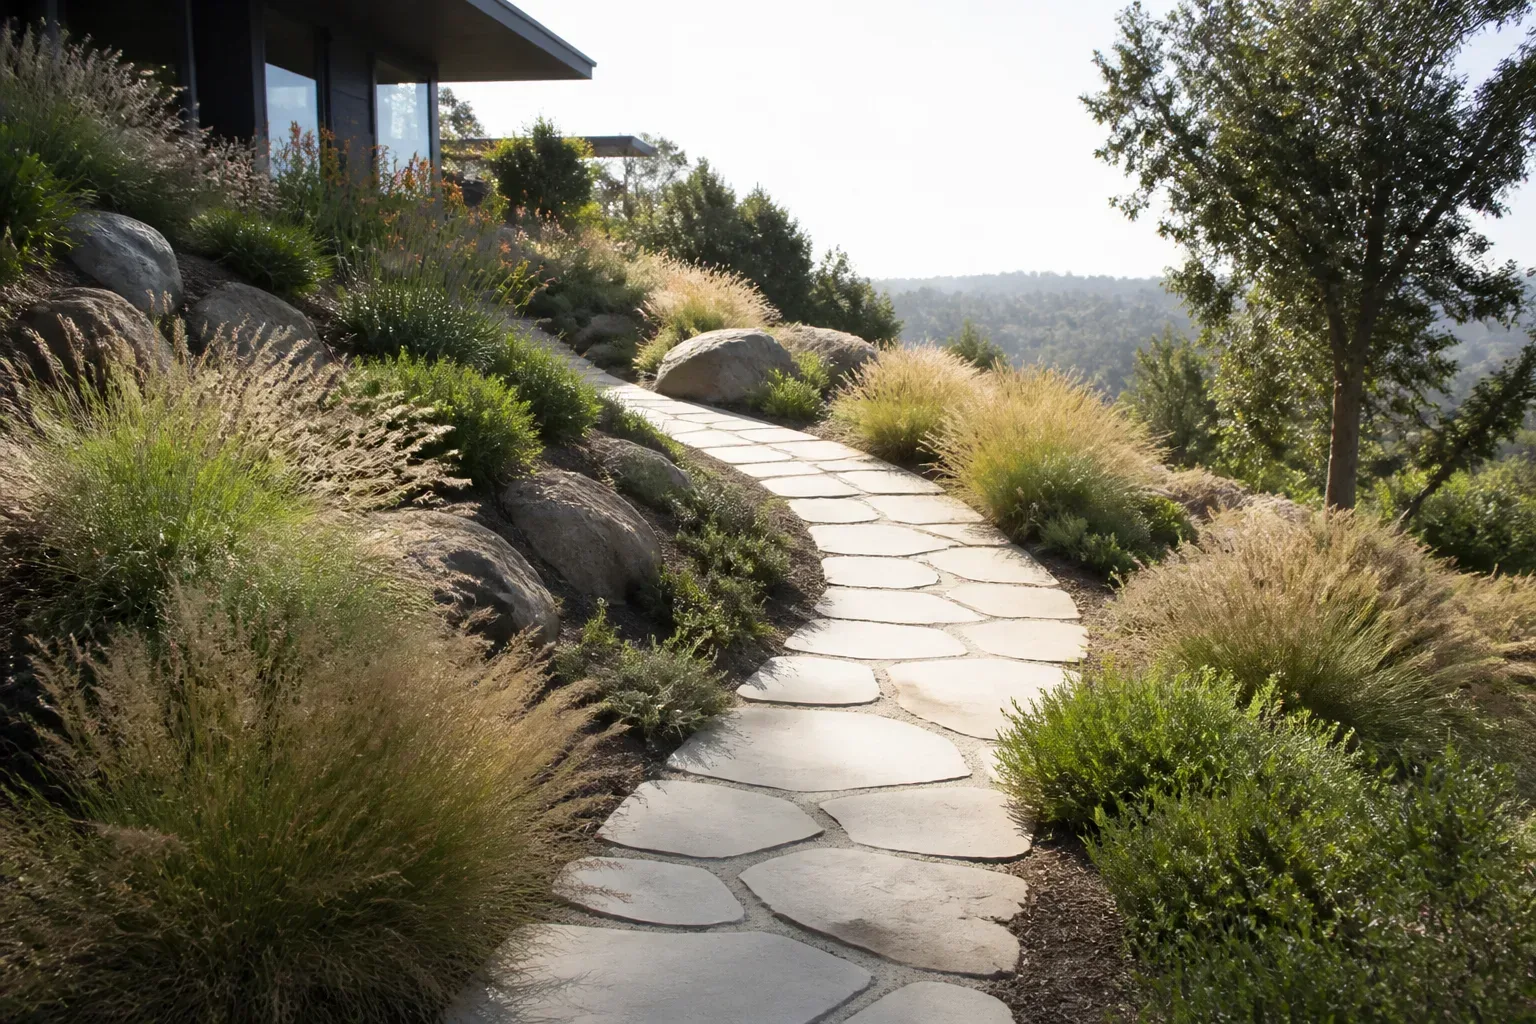
A backyard walkway works hardest when its route makes sense before its surface looks beautiful. It should take people where they actually want to go, stay comfortable under the traffic it receives, and send rainwater somewhere safe. Once those jobs are clear, a path can also become a strong design feature: a clean line to the patio, a quiet walk through planting, or a textured transition from lawn to garden.
The ideas below cover formal and informal yards, small side passages, pool areas, vegetable beds, and sloped ground. Use them as starting points, then choose by traffic, wheels, drainage, and upkeep.
Start with the route, not the paver
Walk from the door to each destination before sketching a route. Notice where people already cut across the lawn, where you carry tools or food, which doors need a dry approach, and where water collects after a storm. Ignore those habits and a worn shortcut may appear beside the new path. NC State Extension recommends surveying site features, soil, views, and water flow before design; a quick plan can reveal conflicts before you dig.
Match width and shape to the people using it
A garden stroll can be narrower than the main route between a house and patio. UF/IFAS suggests at least 3 feet where more than one person should use a path at once; NC State Extension recommends 4.5 feet for a front walk comfortable for two people side by side. These are context-specific design recommendations, not accessibility codes. For a wheelchair, walker, cart, or stroller, verify the applicable clear width, slope, cross-slope, and landing requirements and choose a firm, even surface.
Use a garden hose, rope, or marking paint to test a curve at full scale. Walk it with a basket or wheelbarrow before settling on the line. A curve should have a reason—avoiding a tree, fitting the grade, or revealing a destination—not simply add length and cost.
Let grade and water influence the line
Look for downspouts, low spots, erosion, and where rainwater flows. A path can send runoff toward a foundation or property line if it has no safe outlet. UF/IFAS notes that a slight cross-slope can help drainage, while NC State Extension recommends observing site water patterns before changing the landscape. Get site-specific advice for a steep slope, retaining wall, or recurring wet area.
45 backyard walkway ideas by job and material
1–9: Routes that organize the yard
1. Put the main route on the everyday desire line. Connect the back door with the patio, grill, or most-used seating area along the route people already take. A slightly curved line is better than a geometrically perfect one if it avoids a tight turn around furniture or a muddy patch at the gate.
2. Turn a side yard into a useful service lane. A firm, narrow path can connect the driveway, gate, bins, hose bib, and backyard without asking people to step through wet planting beds. Keep access to meters, condensers, and hose connections clear, and avoid making the corridor so tight that maintenance becomes awkward.
3. Run a small-yard path along one edge. An edge-hugging route preserves an open patch of lawn or a larger planting bed in the center. Use a border or change in material to keep the path distinct, and widen it near a gate or seating area where two people naturally stop.
4. Make a loop around a garden room. A short circuit around a lawn, island bed, or seating area creates two ways through the yard and encourages a slower walk. It works best when both sides lead somewhere useful; a loop that merely circles a small lawn can consume planting space without improving circulation.
5. Reveal a destination around a planting screen. A gentle bend behind a tall shrub, fence panel, or perennial bed lets a bench or small patio appear gradually. Keep the curve wide enough to see the walking surface and approaching people, and choose screening plants that will not grow across the route.
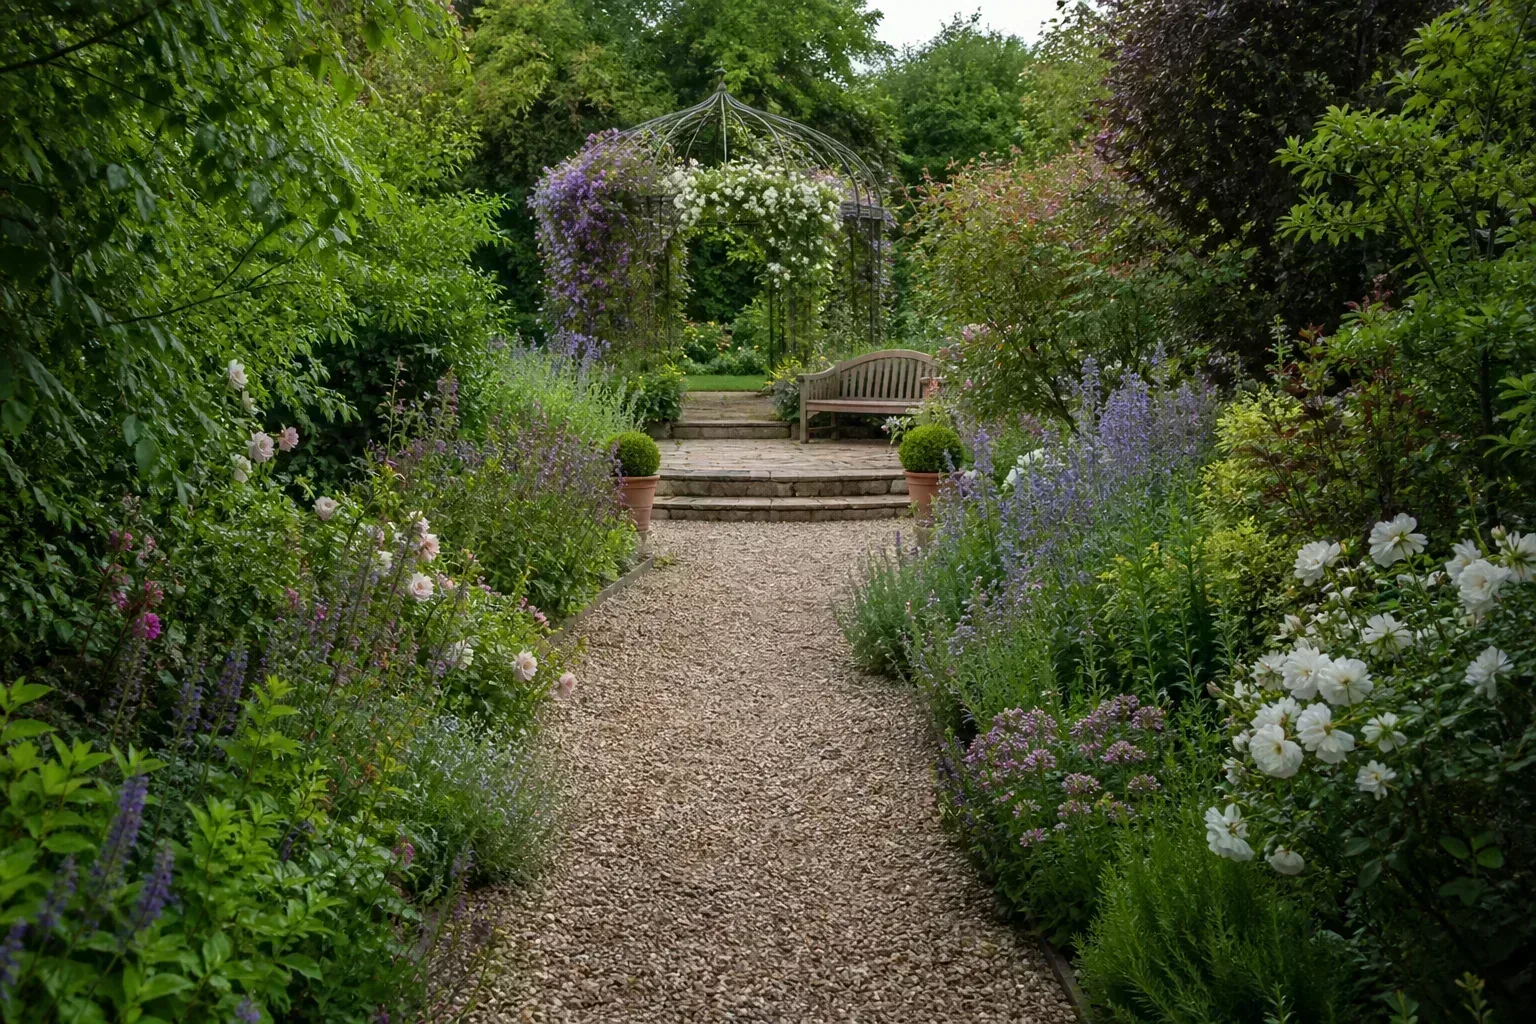
6. Use a switchback instead of a steep shortcut. On a slope, a longer route with turns can be easier to walk than a direct, sharply rising path. The design may require landings, stable edges, and careful water control; steep or retaining work is a reason to consult a qualified landscape professional and check local requirements.
7. Give branching paths a clear hierarchy. Make the route from the house to the main outdoor room visually strongest, then let a narrower spur lead to a compost area, shed, or quiet corner. Repeating the same surface everywhere can make the yard feel like a plaza, while a thoughtful change in texture signals that the side route is secondary.
8. Frame a straight formal axis. A straight path aligned with a door, fountain, specimen tree, or garden gate creates a deliberate view. Brick, cut stone, or rectangular pavers reinforce the geometry; a low planting edge can soften it. Check the view from indoors so the line ends on something worth seeing.
9. Cross the lawn diagonally only when it saves a real trip. A diagonal route can connect a back door to a shed or vegetable beds without forcing a long detour along the fence. Mark it out first: if the diagonal divides the lawn into unusable triangles or cuts across play space, try placing it at the lawn’s edge instead.
10–18: Stone, brick, concrete, and wood surfaces
10. Set irregular flagstones in a natural sequence. Large, varied stones suit an informal garden and can shift slightly around existing roots or beds. Leave comfortable, consistent walking gaps rather than making every step a leap. Each stone needs a stable seat; loose or tilted flagstone becomes a trip point, especially in a frequently used route.
11. Lay cut stone in a calm rectangular grid. Rectangular bluestone or another locally available paving stone gives a clean transition from a modern home to the garden. A repeating size reduces visual noise in a narrow yard. Ask the installer how the base, joints, and edge restraint will handle local freeze-thaw cycles and rain before choosing the finish.
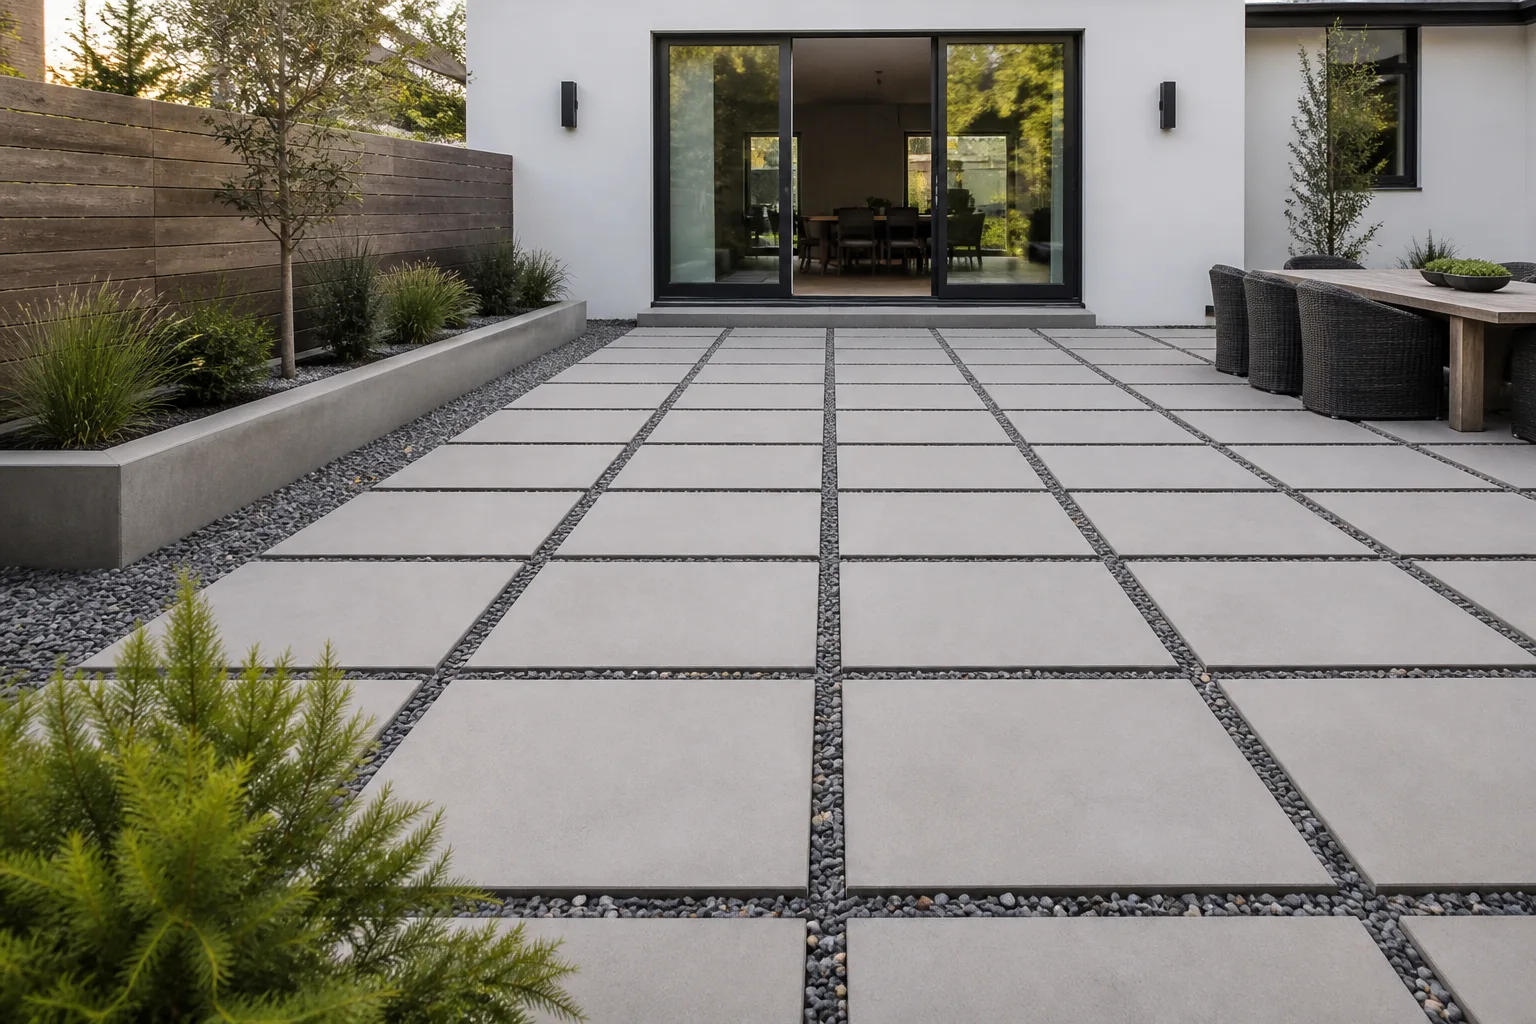
12. Use oversized concrete slabs with narrow joints. Large slabs create fewer seams and a strong contemporary line from the house to a seating area. Keep them level and choose an exterior-rated, textured finish for wet locations. Oversized units are heavy and need a suitable base, so the visual simplicity should not be mistaken for a lightweight DIY installation.
13. Try a brick herringbone path. The interlocking pattern adds movement to a narrow straight route and suits homes with brick or traditional detailing. It takes careful setting out and cuts at the edges; use paving brick intended for outdoor ground contact, not soft interior brick, and decide how the joints will be maintained before installation.
14. Add a soldier-course border to running-bond brick. A row of bricks set perpendicular to the main field gives a simple path a finished edge and helps visually separate it from lawn. The border can echo brickwork on the house, but avoid matching so exactly that the yard looks overdesigned; one consistent accent is usually enough.
15. Use cobbles as a border, not a bumpy main lane. A line of small cobblestones can define a larger, smoother walking surface or edge a gravel path. Their rounded shape is charming but uncomfortable for small wheels and uneven underfoot. Keep the main tread firm if the route serves a cart, mobility device, or daily passage.
16. Space poured-concrete pads as a rhythm. Separate slabs with narrow gravel joints to break up a long expanse of paving and give rain a place to drain. This can work along a pool or patio, but the individual pads still need a stable subgrade and even transitions. Do not rely on grass to hide a height difference.
17. Use grass-joint pavers for a softer modern grid. Wide concrete slabs separated by turf can visually connect a path with the lawn. This works best where grass receives enough light and can be mowed or trimmed without scalping the paver edges. In deep shade, hot reflected heat, or a dry climate, choose gravel or a suitable groundcover instead.
18. Build a short timber boardwalk over a problem patch. A low boardwalk can keep shoes above a damp crossing or protect roots where excavation would be disruptive. Specify outdoor-rated material, secure the structure, leave room for water and debris to pass beneath, and use a finish that stays grippy when wet. Inspect boards and fasteners regularly.
19–27: Loose, planted, and permeable paths
19. Choose compacted angular gravel for an informal route. Angular pieces tend to lock together better than round pea gravel, so they are less likely to roll underfoot. Edge the path and compact a suitable base rather than simply pouring loose stone over soil. This is a flexible look, but it takes more attention to keep the edges tidy.
20. Make a stabilized stone-dust path through a cottage garden. Fine crushed stone can form a quieter surface than coarse gravel and pairs well with informal planting. It needs appropriate compaction and drainage for the local soil; in a clay basin or a spot that stays wet, a fine top layer may turn muddy or wash away.
21. Set broad stepping stones into a gravel ribbon. Larger stones create a stable tread while gravel fills the spaces between them, so the route reads as one path rather than isolated pads. This combination can be easier to walk than loose gravel alone. Set the stones flush with the fill and keep aggregate from migrating into beds.
22. Use bark mulch for a low-cost garden spur. A mulch path is easy to reshape as beds change and can work well for occasional access through a naturalistic garden. It compresses and decomposes, so expect to replenish it; it is not a dependable surface for wheeled traffic, steep slopes, or a route that must stay clean after rain.
23. Mow a simple path through meadow or orchard grass. A regularly cut ribbon costs little to establish and gives a relaxed garden an immediate route. It needs mowing, and repeated foot traffic can wear a muddy trench in wet or shaded soil. Use it for seasonal strolls rather than the only access to a shed or kitchen.
24. Test a locally sourced shell path as a short accent. Crushed shells can create a pale, coastal-looking route where the material is locally appropriate and permitted. They can shift, crunch, or feel sharp underfoot, so try a small sample before committing and avoid assuming a shell surface will suit every region, foot, or wheel.
25. Build a permeable paver lane with open joints. Purpose-made permeable pavers can pass water through the joints into a designed subsurface. They are not regular patio blocks with gaps filled by any gravel: the aggregate, base, soil, and outlet have to work together. Penn State Extension explains that these systems need a prepared subsurface and maintenance to prevent clogging.
26. Scatter flat steppers through a low groundcover. A series of level stones can protect soil while leaving more of the planting visible than a continuous paved strip. Choose a groundcover suited to local sun, moisture, and foot contact, and leave enough exposed stone for a safe tread. Do not expect a delicate plant to tolerate daily trampling.
27. Give a gravel path a crisp steel or stone edge. Metal edging makes a narrow aggregate line look intentional beside lawn, while a low stone edge can tie it to a patio. The restraint must hold the fill in place without creating a toe-catching lip. Check that mower wheels and path users can pass the edge comfortably.
28–36: Planting that frames the walk
28. Plant creeping thyme between wide-set stones. In a sunny, well-drained setting, a low herb can soften the gaps and release scent when brushed. Leave enough stone surface to carry the actual step and choose a variety suited to your climate. Treat the plant as an accent that tolerates occasional contact, not as the primary walking surface.
29. Let moss fill joints on a shaded, low-use path. A mossy seam can make stone look settled into a woodland garden. It depends on a suitable damp, shaded microclimate and can be slippery where people walk often. Use this treatment beside the tread or in a quiet garden corner rather than on steps or a wet entrance.
30. Edge the route with a low groundcover band. A continuous planting strip gives a path a softer boundary and can reduce the amount of lawn that needs mowing. Keep plants low enough to reveal the edge and leave access for weeding. Choose species by local conditions, then account for mature spread so they do not narrow the walkway.
31. Use raised beds to make a kitchen-garden path feel enclosed. A straight path between raised beds creates a practical harvest aisle and makes the garden feel organized. Leave room to kneel, turn, and carry a bucket; a person needs more clearance than a line on a plan suggests. Keep soil and mulch from spilling onto the walking surface.
32. Frame a sunny route with culinary herbs. Rosemary, thyme, oregano, and other locally suitable herbs can make a path feel abundant and fragrant. Put them where stems will not snag clothing or lean into the tread. The combination works best with a firm stone or gravel center and a border wide enough for mature growth.
33. Use ornamental grasses outside the clear walking width. Repeating clumps along one side can create movement and seasonal texture without forming a hedge. Choose a mature size that will not arch across the path or hide a turn. Leave room to cut back the plants without standing in the route or damaging the edge.
34. Line a spring path with bulbs in a separate bed. A narrow band of bulbs can make the route feel seasonal without interrupting the walking surface. Plant them outside the path base so future digging does not unsettle the pavers, and let foliage mature before cutting it back. Avoid tightly filling a narrow strip where flowers will flop into the tread.
35. Plant a pollinator border beside—not in—the main route. A flowering edge can turn an ordinary walk into a garden experience, but it still needs a maintained clear path. Place taller plants behind lower ones and account for mature height, thorniness, and seasonal dieback. NC State Extension emphasizes choosing plants for site conditions and mature size rather than constant pruning.
36. Add a small arbor to mark the transition into a garden room. A freestanding arbor can frame a gate or the start of a winding walk and make a destination feel distinct. Set it outside the walking clearance, secure it for wind, and select climbers that can be trained without tangling around lights or obstructing the opening.
37–45: Paths that serve a destination
37. Widen the path into a small sitting landing. A widening at a bench or garden sculpture gives people somewhere to pause without blocking the through-route. Repeat the path material on the landing to make it feel connected, then use a different joint or border to signal that the space is for stopping rather than passing through.
38. Match the house-to-patio route to one patio detail. Repeating the patio’s paver color, brick border, or stone texture on the path creates continuity without paving the whole yard. A narrow accent band is enough; using the exact surface everywhere can flatten the distinction between route and destination.
39. Create a wheelbarrow-friendly garden-work path. A firm, smooth route from the driveway or shed to beds makes soil, compost, and harvest easier to move. Use a continuous surface with manageable joints and enough clear width for the cart to turn. Loose stones and widely spaced steppers can make routine work frustrating.
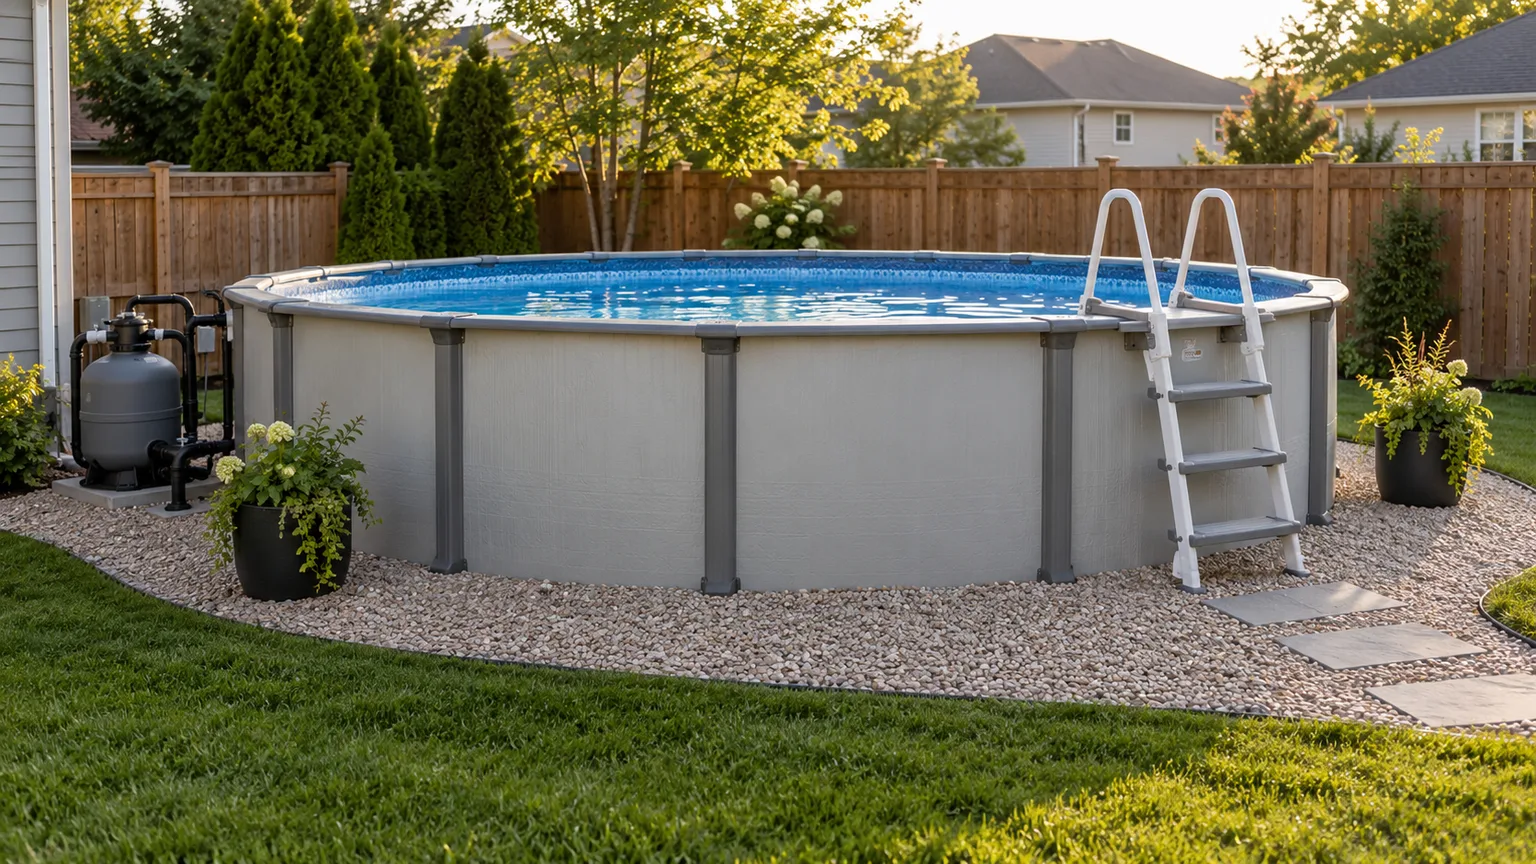
40. Add a dry-foot path between pool steps and seating. Broad pavers connect the pool exit to a towel bench or deck and reduce the muddy strip people cross when wet. Choose an outdoor-rated textured finish and keep water draining away from the pool structure.
41. Give the fire-pit area its own short spur. A branch path lets people reach a fire-pit seating zone without widening the main yard route. Use a stable, noncombustible walking surface around the feature, and follow the fire-pit maker’s clearances and local rules for placement. Keep chairs, fuel, and the walkway from crowding the access line.
42. Bridge a dry creek with one simple, sturdy span. A small bridge can make a drainage swale or dry creek part of the garden experience. It must remain safe when the channel carries stormwater, and its supports cannot obstruct flow or erode the banks. Treat a decorative bridge as a structural feature; get help where water, height, or span raises the stakes.
43. Break a level change into generous steps and landings. Where the route must climb, a sequence of stable steps can feel more natural than one abrupt rise. Keep steps consistent, provide a flat place to pause, and send runoff away from the treads. Confirm dimensions and handrail requirements locally; uneven improvised stone steps are difficult to navigate.
44. Light the route with low, shielded fixtures. Low path lights or downlights can make edges and changes in level easier to see after dark. Space them so the walking surface is legible without shining into windows or producing glare. Bury or protect cables as directed by the manufacturer and use a qualified electrician when the installation requires one.

45. Put a small decorative inlay at the threshold. A contrasting band, a few glazed tiles rated for outdoor use, or a stone motif can mark the transition from patio to garden. Keep the inlay flush and slip-resistant; a decorative strip is a poor trade if it creates a raised edge, slick spot, or difficult joint to repair.
Choose a surface for traffic and upkeep
A material can look perfect in a photograph and still be wrong for a daily route. Before deciding, answer four questions: Will people use it every day? Must a stroller, mobility device, mower, or wheelbarrow pass? Does the yard freeze, bake, or remain wet? Are you willing to replenish or weed it? UF/IFAS describes options from brick and cut stone to gravel, shell, mulch, and stepping stones and emphasizes matching the material to the landscape’s style and use.
Firm surfaces and joint details
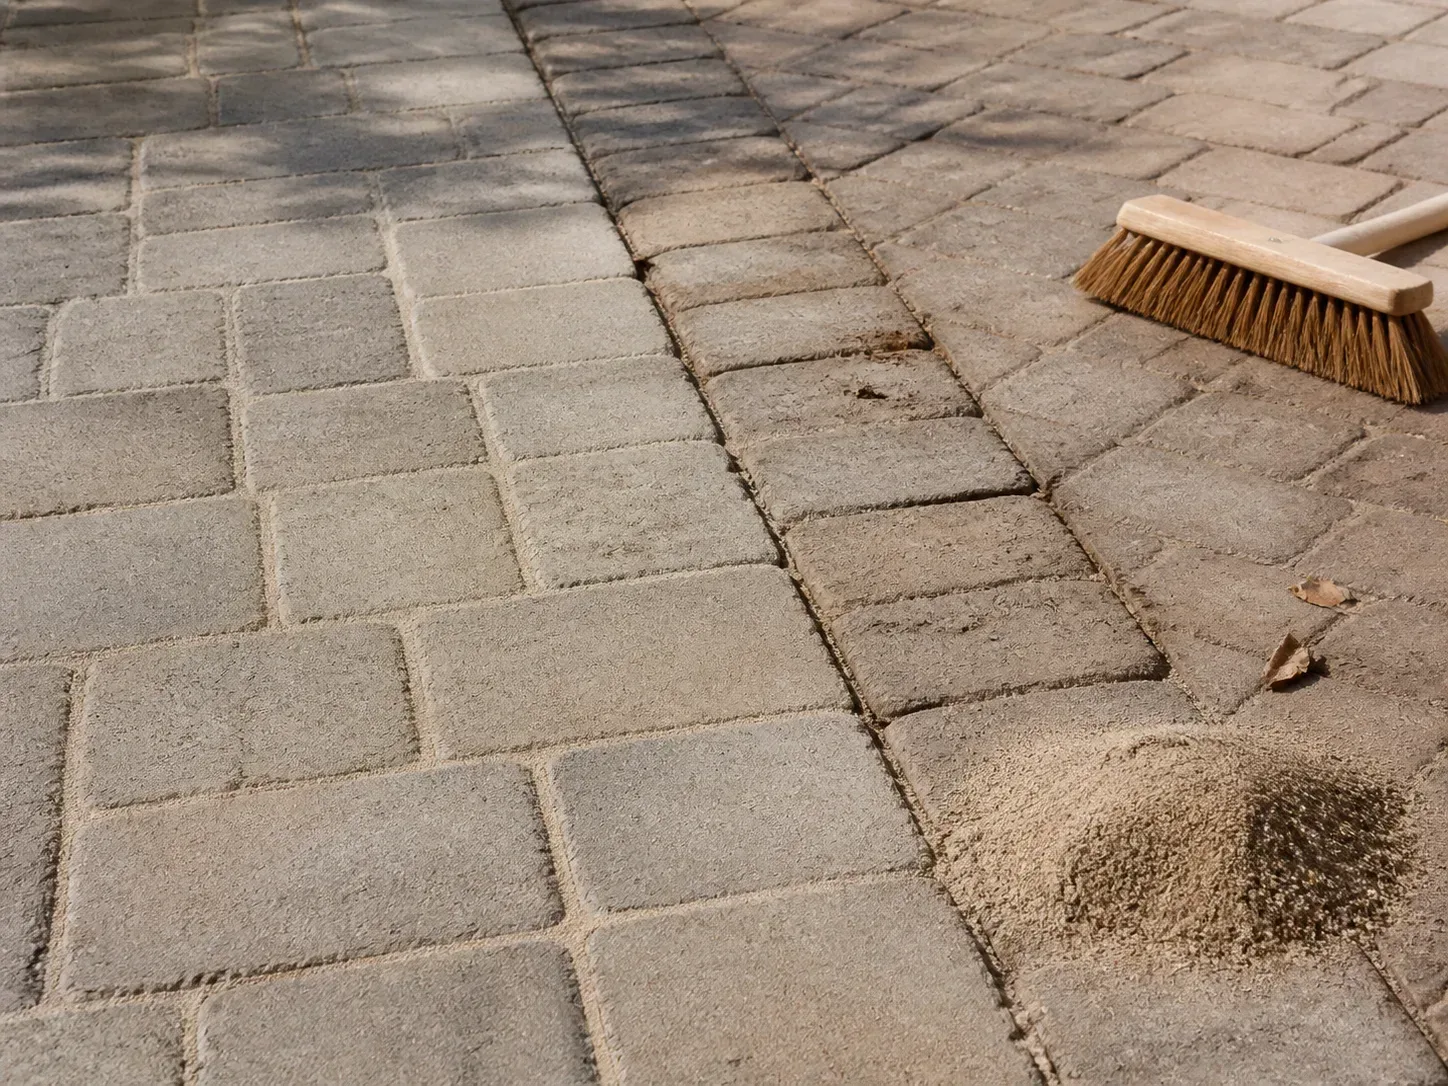
Concrete slabs, brick, and cut stone provide a continuous surface for frequent movement. Their comfort depends on level installation, stable edges, and intact joints. Smooth finishes may be slippery when wet or shaded by algae; rougher textures add grip but can be harder to sweep or roll over. Check a sample wet as well as dry.
Open joints and permeable pavers help water pass only when the whole system works. Penn State Extension explains that the prepared subsurface stores or conveys water and that clogging can undermine performance. A conventional paver walk with a suitable slope may be simpler for a small route; where runoff is the problem, assess soil infiltration, the outlet, and maintenance before choosing permeable paving.
Loose materials and living routes
Gravel, bark, and mown paths often cost less to establish than masonry, but they shift effort to upkeep: fill migrates, leaves and soil accumulate, weeds seed in, and mulch decomposes. Garden designer Lee Burkhill of Garden Ninja favors angular gravel for stability and stresses base preparation and edging. Alexandra Campbell of The Middle-Sized Garden notes that mulch and gravel need replenishment; the purchase price is only one part of the commitment.
Choose angular aggregate and firm edging for a compact surface; use mulch or a mown strip for an informal spur. Loose gravel and spaced stones may not work for a wheelchair, walker, cart, or stroller. Test the surface with its actual users and wheels before building a long route.
Make drainage and changes in elevation safer
A path should not dam a slope or act like a gutter aimed at the house. Keep runoff on your property and direct it to a suitable planted area or drainage system. Raising the path over a low spot can trap water beside it or shift the problem elsewhere. Get local professional advice before changing grade near a foundation, property boundary, retaining wall, or watercourse.
A subtle crossfall can shed water from paving, but its direction matters. UF/IFAS describes a slight cross-slope as a drainage tool; an accessible route must also meet its applicable slope criteria. Keep steps and transitions predictable, and save uneven flagstone for low-traffic areas. After installation, check the route after rain and correct standing water or settlement.
Finish edges, planting, and lighting
Edging keeps gravel contained, supports pavers, and stops soil or mulch from spilling onto the tread. Use a visible, low transition where people cross it. At turns, gates, and steps, leave room to change direction without stepping into a bed.
Plan planting for mature size, not the nursery pot. NC State Extension recommends choosing plants suited to site conditions and mature dimensions instead of relying on constant pruning. Keep thorny plants out of tight passages and foliage clear of lights, turns, and changes in grade.
Light turns, steps, and thresholds instead of lining every inch with bright fixtures. Shielded, downward light helps people read the surface while limiting glare. Use weather-rated fixtures and follow local electrical requirements.
Scope installation before buying materials
The surface is only the visible layer. A path may also require excavation, compacted base, bedding, edge restraints, joint fill, drainage, cuts, and soil disposal. Ask contractors to price the same scope, not just a square foot. For DIY, start with a short, low-traffic route on level, well-drained ground; complex grading, retaining, large stone, or accessibility requirements call for experienced help.
Before digging, contact your local utility-locating service. Mark the route with a hose or string and test it for a few days around gates, furniture, and beds. View a sample of the surface beside the home in sun and shade. NC State Extension connects site survey, use, and water flow in landscape planning; choosing stone before resolving them can make corrections expensive.
Include upkeep in the design brief. After the first wet season and winter, check for rocking stones, open joints, spreading gravel, weeds, algae, and damaged lights. If that routine sounds like too much, choose a simpler surface or a smaller paved area.
Conclusion
The strongest backyard walkway ideas begin with a real route and end with a surface that fits the people and weather it serves. A flagstone curve, a brick axis, a compacted gravel spur, or a row of large stepping stones can all improve a yard when they lead somewhere useful and stay stable underfoot.
Mark the route first, observe drainage, and decide whether the path is decorative, daily, or meant for wheels. Then compare the complete installation and maintenance—not just the paving material. Those steps turn a walkway from a pretty afterthought into a durable connection between the parts of your yard you want to use.



