42 Coffee Station Ideas for Every Kitchen
Find a coffee station idea for your kitchen, brew style, and routine. Learn what to store, where to place it, and how to keep your daily setup easy to clean.
A coffee station works when it shortens the path between deciding what to brew and taking the first sip. That might mean clearing one counter corner, moving a grinder into a drawer, or dedicating a pantry shelf to a machine you already own. A separate coffee room, matching jars, and a new appliance are optional.
The most useful coffee station ideas solve a specific friction point: not enough counter space, mugs stored across the kitchen, a machine that is awkward to refill, or supplies that scatter after every cup. Start with the brewer and the steps you repeat; then choose the look and storage that support them.
Put the station where your morning routine already happens
Watch one ordinary brew before rearranging the kitchen. Note where you get water, coffee, filters or pods, a mug, milk or sweetener, and where the used filter or spoon goes. If you have to cross a busy cooking path or move another appliance to make a cup, the station is in the wrong spot even if it looks polished.
Think in four small zones: brew, finish, serve, and reset. The machine needs a stable surface and room for the lid, reservoir, portafilter, or carafe to move; a mug needs a landing spot; add-ins should stay close to the finish step; and used grounds or pods need an obvious exit. One tidy tray can define those zones on a counter, while a drawer or basket can keep backups out of sight.
42 coffee station ideas grouped by footprint and routine
Use these as building blocks, not a shopping list. Choose one footprint, one storage move, and one visual detail; a small number of well-matched pieces usually works better than filling every shelf. Better Homes & Gardens shows how a coffee station can fit a console, cabinet, pantry, or open-shelf layout; the key is matching the cabinet opening and storage to the actual appliance you brew with.
Countertop stations that earn their space
1. A washable tray with a low rim. Set the daily coffee, one scoop, and two or three add-ins on a tray so the station reads as one zone instead of loose items across the counter. Keep the brewer directly on the counter unless the tray is wide, stable, and rated for its weight; lift and wipe the tray regularly so small spills do not sit underneath.
2. An espresso corner with a separate grinder lane. Arrange the espresso machine and grinder in an L shape if the counter turns a corner, leaving the machine’s service side accessible. Place the tamper, brush, and knock box in a shallow drawer or caddy so they do not occupy the mug landing space.
3. A drip brewer with a carafe landing pad. Leave a clear strip beside the machine where the carafe can slide out without knocking into a jar or backsplash decor. Store filters and a scoop in the nearest drawer; this keeps the brewing area ready while leaving the full counter available for cooking.
4. A pour-over station with a kettle dock. Keep the dripper, filters, server, and scale together, and give the kettle a stable, heat-safe spot where its cord does not cross the sink or a walking path. If you use a gooseneck kettle, leave room to fill it and set it down without reaching over the cup.
5. A French-press and insulated-carafe pairing. Set the press beside a carafe when several people want coffee at different times, then move the press to the sink after plunging. This avoids letting brewed coffee sit on a hot plate and gives the station a useful serving piece without adding another appliance.
6. A single-cup pod station with only current flavors. Place the brewer, a small pod holder, and the mugs used most often in one compact footprint. Store bulk pods elsewhere and label decaf clearly; an oversized pod display can consume more counter than the machine it is meant to support.
7. A shallow riser behind the brewer. Use a sturdy, wipeable riser for light items such as napkins, filters, or a sugar bowl to create a second level without taking more counter depth. Do not elevate a hot or heavy brewer unless the surface is made for it and the higher machine remains stable and easy to fill.
Vertical storage for tight kitchens
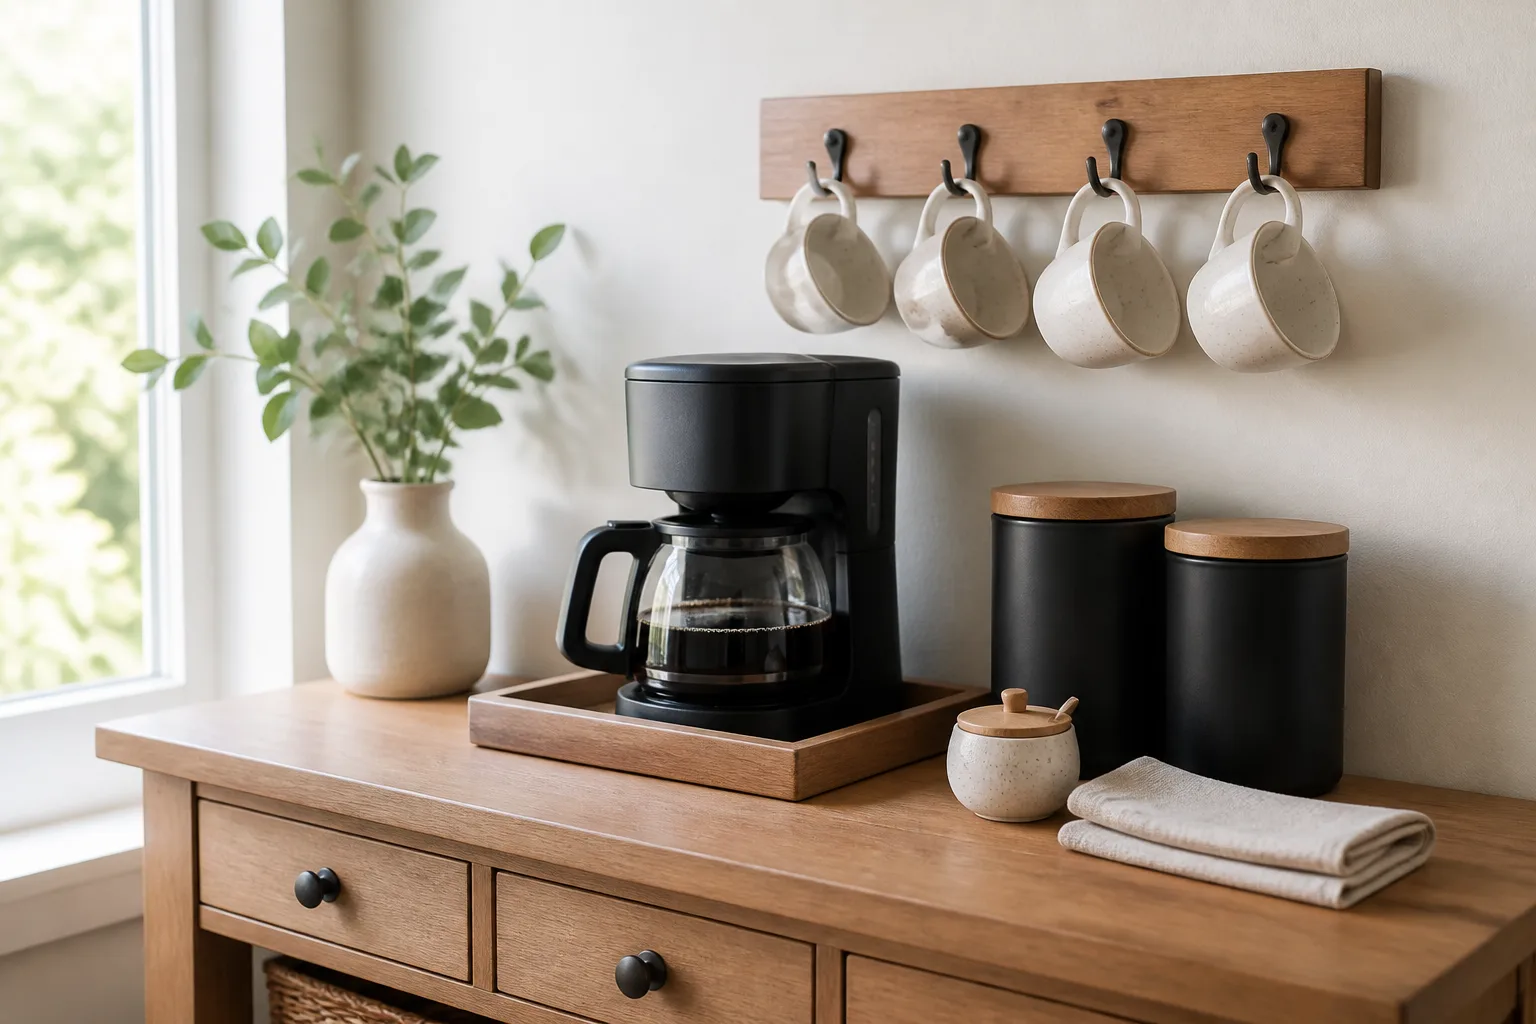
8. An under-cabinet mug rail. Hang a short rail for the cups used every day and keep the rest in a cabinet. Before installing it, check that mug handles will not collide with the machine or the person opening its lid, and anchor the rail into suitable support.
9. One floating shelf for light supplies. A single shallow shelf can hold filters, a small canister, and a few mugs above a compact brewer. Measure the machine with its top open, then leave the clearance its maker specifies so steam and heat do not get trapped beneath the shelf.
10. A mug hook strip on the side of a cabinet. Use the cabinet’s side panel for a few lightweight hooks when wall space is scarce. Keep the hooks away from a doorway and avoid hanging cups where a shoulder or appliance handle could knock them loose.
11. A narrow wall ledge for the finishing step. Put sugar, spoons, and napkins on a ledge near the mug landing area, not directly above the machine’s steam outlet. This separates the small finishing items from the busy counter while keeping them reachable with one hand.
12. A corner turntable for tea and add-ins. A compact turntable makes the back of a deep corner easier to reach, especially for tea bags, cocoa, and sweeteners. Keep it low and light; a spinning organizer is less helpful if tall bottles tip or it blocks access to the machine’s water tank.
13. A wall-mounted cup rack with a firm capacity limit. Display a small collection of mugs on a securely mounted rack and keep extras in a cupboard. Decide how many cups the rack can hold before filling it, and use a position that lets everyone remove one without brushing the brewer.
14. A narrow console against an unused kitchen wall. If the main counters are full, a slim, freestanding table can give a pod brewer or kettle its own surface. Measure the remaining walkway with cabinet and appliance doors open; the console should not turn the route to the sink into a squeeze.
Cabinet, pantry, and appliance-garage stations
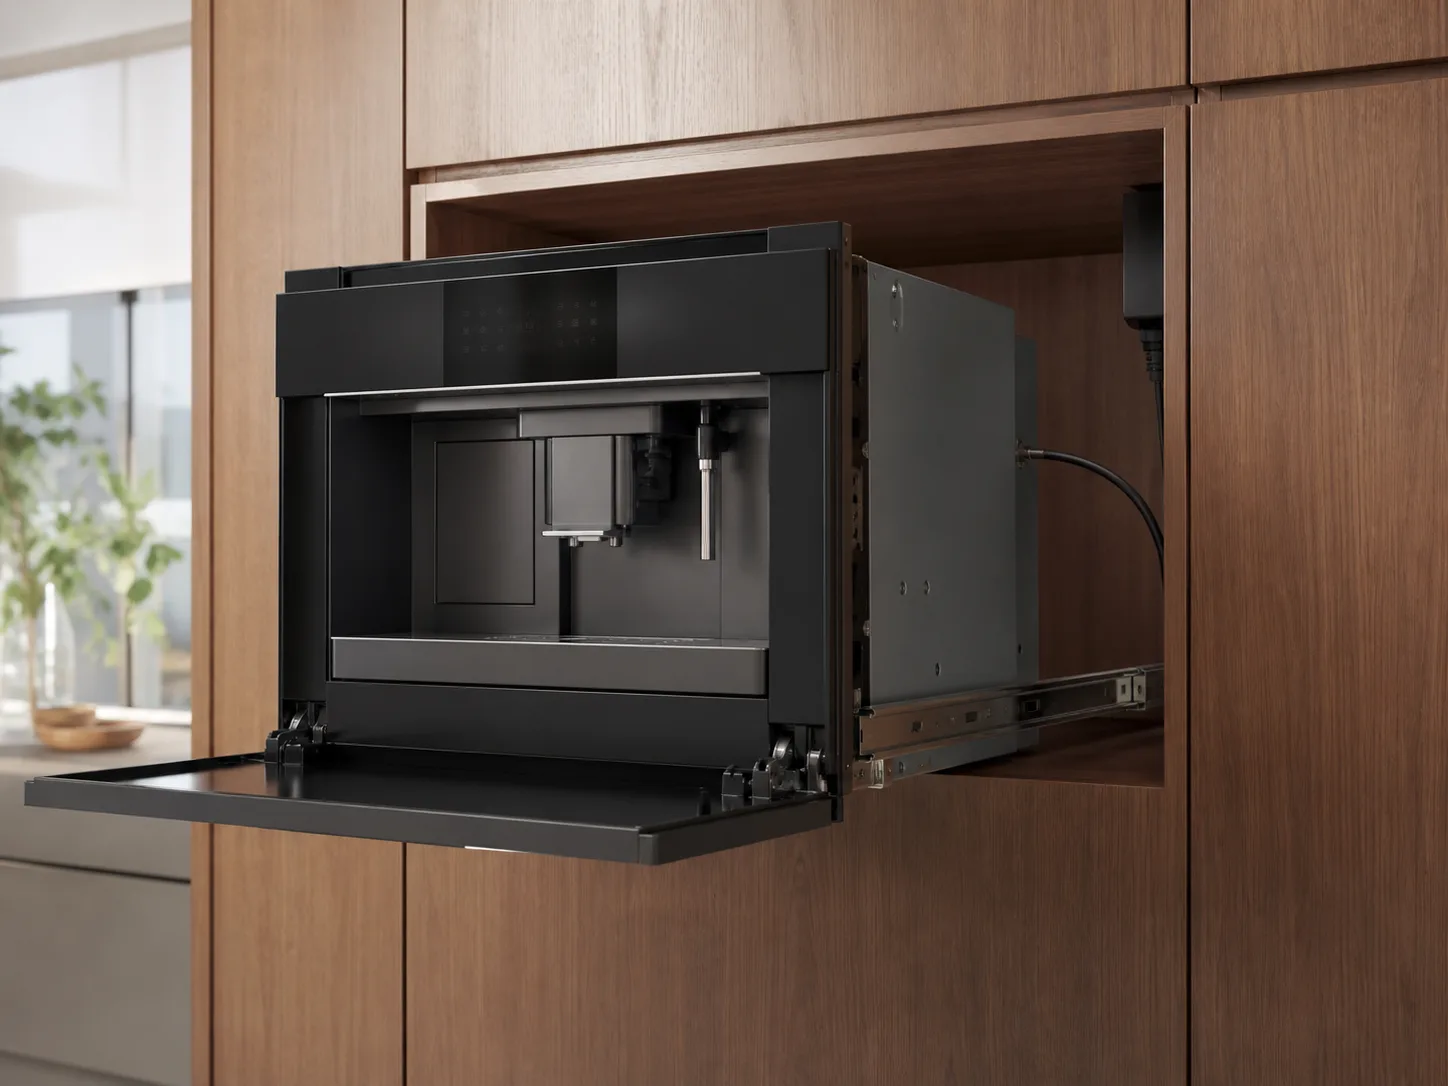
15. An appliance garage with doors that fully retract. Hide the machine and its daily supplies behind pocket or folding doors when the station is idle. Open the doors for brewing, follow the appliance’s clearance instructions, and let hot steam escape before closing the cabinet.
16. A pull-out shelf built for the machine’s weight. A supported slide-out shelf can bring a deep pantry appliance into a comfortable working position. Check the shelf’s load rating and lock or support it before brewing; a flexible decorative pull-out is not a safe substitute for a stable counter.
17. A pantry coffee niche at reachable height. Reserve a shelf or short counter for the brewer, mugs, and the current coffee, with backup filters and pods below or above. Better Homes & Gardens illustrates why shallow, reachable zones help keep small supplies visible; avoid placing the machine so high that filling its reservoir becomes awkward.
18. A cabinet drawer for the small tools. Dedicate a shallow drawer to filters, scoops, clips, brushes, and reusable pod accessories. Dividers keep tiny parts from tangling, and a label on the drawer helps other household members put supplies back instead of leaving them beside the machine.
19. A washable niche back panel. Use tile, a solid wipeable panel, or washable paint behind the brewer to protect the wall from drips and occasional splashes. Keep electrical outlets accessible and do not cover an outlet, cable, or service opening with a decorative panel.
20. A coffee-and-breakfast pantry zone. Combine coffee with the breakfast items you actually reach for, such as oats, tea, or a small cereal basket. Keep food containers sealed and separate from the hot appliance, and leave enough room for the mug and plate that make the station useful beyond one drink.
21. A renovation-only built-in appliance niche. If you are remodeling, plan the built-in machine around its own installation manual, not a generic cabinet dimension. Confirm the required opening, heat management, outlet or plumbing, door movement, and service access with the installer before cabinetry is ordered.
Freestanding and movable coffee stations
22. A narrow rolling cart with locking wheels. Choose a cart whose top supports the full machine footprint and whose wheels lock on your floor. Put heavier backup supplies on a lower shelf for stability, and brew only when the cart is parked so a bump does not tip a hot cup.
23. A dining-room sideboard for after-dinner coffee. A sideboard can hold cups and serving pieces behind doors while giving the brewer a stable top near the table. Protect the surface from heat and spills, and keep the station outside the route people use to carry plates.
24. A repurposed hutch with the appliance on the open counter. Use a vintage or freestanding hutch to store mugs, napkins, and backup coffee, while the machine sits on its open work surface. Check hinges, shelves, and the finish before loading it; do not brew inside a closed cabinet that was never designed for an appliance.
25. A breakfast-nook coffee shelf. If the breakfast table is far from the main kitchen counter, dedicate a small adjacent shelf or console to mugs and the brewer. This can make self-service easier, but keep the hot-water route short and avoid running a cord across the dining path.
26. A home-office beverage corner. Place a single-cup brewer or kettle on a stable side table away from computers, paper, and chargers. Keep water containers on a separate tray and choose a location where a used cup can be returned to the kitchen instead of accumulating beside a keyboard.
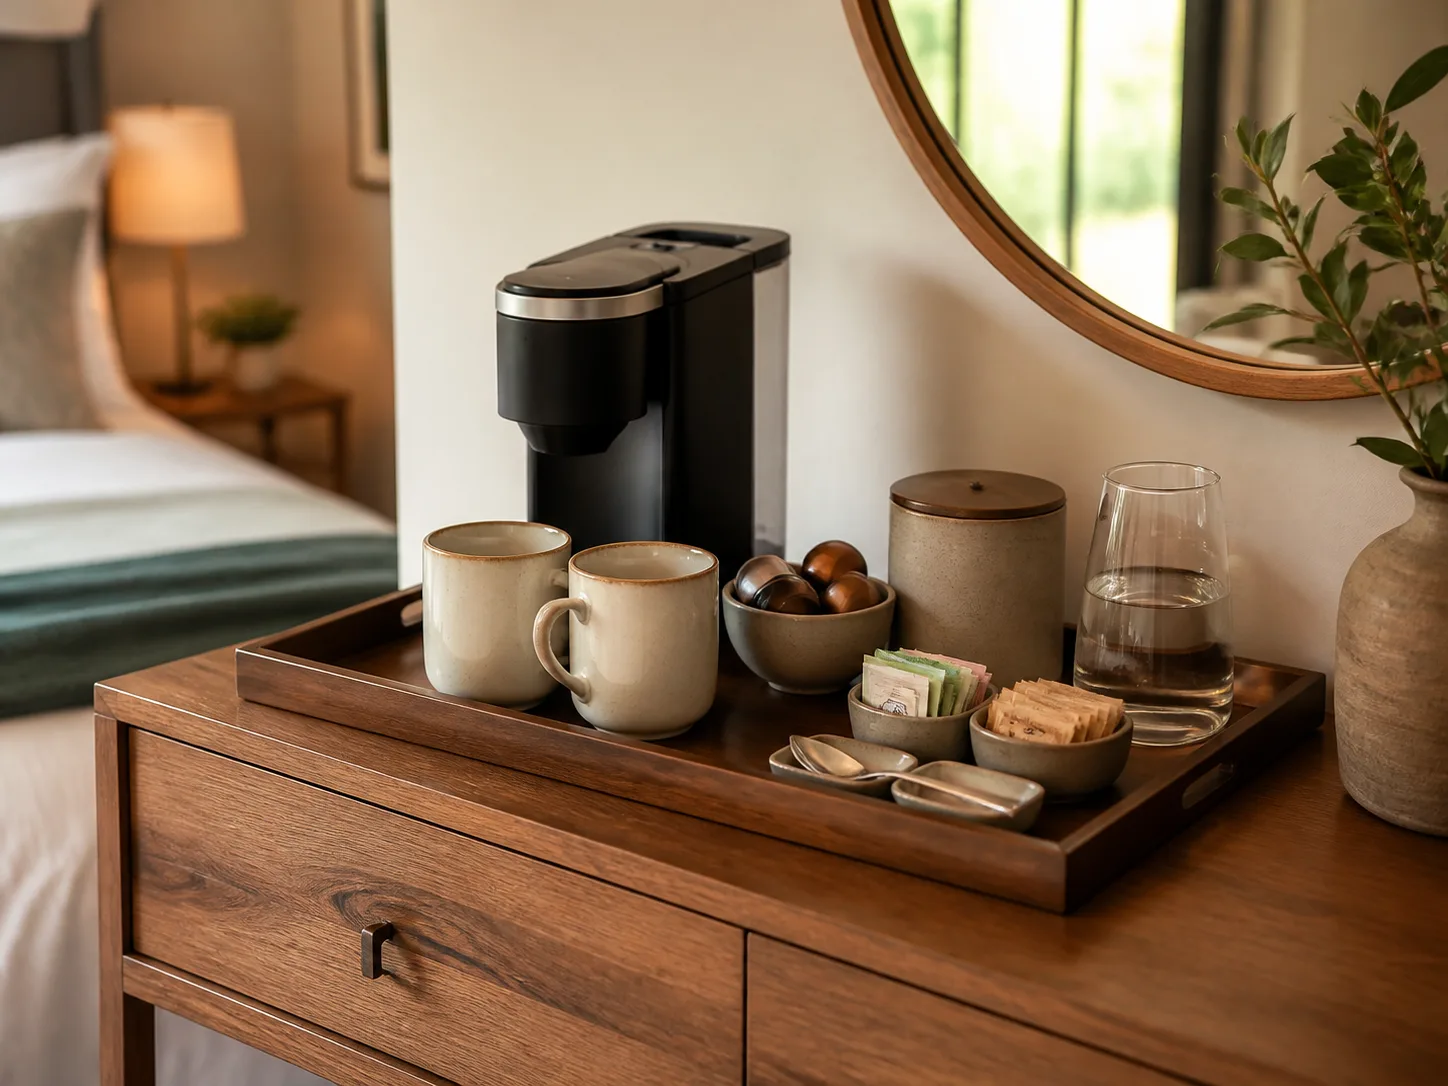
27. A guest-room tray with labeled choices. For a guest suite or spare room, group two cups, water, coffee choices, and a simple instruction card on a dresser or console. The station should be easy to understand without opening drawers, and the brewer should stand securely near an appropriate outlet.
28. A fold-away tray for a shared counter. Keep only the daily kit on a portable tray that can move to a pantry shelf when someone needs the work surface. Treat the tray as a boundary for accessories, not a reason to lift a heavy or hot machine every time dinner prep begins.
Shared and specialty coffee routines
29. Two brewing methods with separate landing zones. If one person uses a drip brewer and another makes espresso, give each method its own tools and clear mug space. Keep the more frequently used machine closest to water, and avoid plugging multiple high-draw appliances into a crowded strip without checking their instructions.
30. A coffee-and-tea station with a visible divider. Split a drawer, tray, or shelf into coffee on one side and tea on the other so noncoffee drinkers do not have to search. Put the kettle where it can be filled and emptied easily, and keep tea bags away from the coffee grinder’s loose grounds.
31. A labeled regular-and-decaf pair. Use distinct labels or container shapes so no one mistakes decaf for regular or vice versa. Keep the labels readable from the normal standing position, and store a backup bag in the cabinet rather than decanting a large supply onto a sunny counter.
32. An iced-coffee add-in shelf near the refrigerator. Set out the cold-brew pitcher, glasses, straws, and a small tray for add-ins, while keeping milk and other perishables in the refrigerator. The station works best when the pitcher can be removed without moving a hot brewer or blocking the fridge door.
33. A milk-frother landing spot with a rinse route. Give the frother and its cup a small washable section near the sink, rather than burying the tool behind the espresso machine. This makes cleanup after steaming part of the normal route and keeps milk residue from becoming a hidden chore.
34. A batch-brew serving end for a household. Put the carafe or thermal server at the end of the counter where people can pour without reaching over the brewer. Keep mugs and spoons nearby, but leave enough open space for the carafe handle and for someone else to pass through.
35. A self-serve add-ins caddy for visitors. Place spoons, sugar, napkins, and shelf-stable options in a single divided caddy so guests can finish a drink without asking where every item lives. Refill it with a small quantity and wipe the compartments, especially if loose sugar or cocoa tends to spill.
Style details that still work on weekdays
36. Repeat one material already in the kitchen. Echo the cabinet wood, counter stone, or metal hardware in a tray or shelf so the station feels connected to the room. Repeating one finish is enough; buying a matching set for every jar can make the area look staged and harder to adapt.
37. Use a restricted color palette for the small pieces. Let the brewer stay as-is and repeat two or three colors through mugs, canisters, or a small mat. A limited palette makes an assortment of tools feel deliberate while allowing you to replace one broken cup without restyling the whole station.
38. Add one washable backsplash accent. A panel of tile or washable paint can visually mark a coffee zone without adding countertop clutter. Keep the accent easy to wipe and plan around outlets, switches, and cabinet movement rather than adding an element that makes ordinary cleaning or repairs harder.
39. Display a small rotation of favorite mugs. Put the cups used most often on an open shelf and store the collection elsewhere. A rotation keeps the display personal without sacrificing space to mugs no one reaches for on a weekday.
40. Choose opaque canisters for coffee and open jars for dry add-ins. Matching containers can reduce visual noise, but put coffee beans or grounds in an airtight, light-blocking container rather than a sunny display jar. Clear jars work well for individually wrapped tea or stir sticks that do not need protection from light.
41. Add a single seasonal accent on a removable tray. A small vase, holiday mug, or bowl of wrapped treats can change the mood without displacing the brewer. Keep textiles, dried decor, and paper away from hot surfaces and leave all vents and controls clear.
42. Use a small lamp only when the corner needs task light. A plug-in lamp can make an early-morning station easier to use if the counter is dim, but it should not crowd the machine or compete for an already busy outlet. Choose a stable base and keep the cord behind the work area, away from water and movement.
Choose the footprint with a three-minute counter test
Before buying a tray, cart, or shelf, measure the machine in its working position, not just the dimensions on its box. Open the lid, remove the water tank, pull out the drip tray, lift the carafe, and stand a mug under the spout. That quick test reveals whether the appliance can actually operate under a shelf or inside a niche.
Then map the usable surface with painter’s tape. Mark the machine base, a mug landing zone, a place for add-ins, and the route to the sink; if you cannot fit those without blocking a prep area or cabinet door, move the station or use a smaller brewer. There is no universal counter-width requirement because an espresso machine with a grinder needs more working room than a one-cup pod maker.
| Setup | Best fit | Check before choosing |
|---|---|---|
| Counter corner or tray | One brewer and a short daily routine | Reservoir, lid, mug, and cleanup access |
| Shelf or mug rail | Tight counter with a clear wall | Anchoring, reach, and appliance clearance |
| Pantry or appliance garage | A kitchen that needs a hidden station | Venting, door position, outlet, and service access |
| Cart or console | Renters, guests, or a flexible layout | Stability, wheel locks, walkway, and cord route |
Organize mugs and brewing gear in the order you use them
Put the coffee, filter or pod, scoop, mug, and add-in in the same sequence you reach for them. If the next step is blocked by a vase or a container lid, move the decor before buying another organizer. Keep daily supplies within arm’s reach and put extra bags, seasonal cups, and rarely used accessories in a nearby cabinet.
Reserve a small reset spot for wet spoons, used filters, pods, or grounds. A washable tray, a lidded bin, or one drawer near the station can prevent cleanup items from migrating across the kitchen. Keep towels and cleaning brushes close enough to use after brewing, but not under a machine that can drip or release steam.
Keep coffee fresh away from heat and light
A coffee station is convenient, but the prettiest place to display beans may be the worst place to preserve them. The National Coffee Association advises protecting roasted coffee from air, moisture, heat, and light, and recommends an airtight, opaque container in a cool, dark spot. Use a small working canister at the station and store the rest in a cabinet away from the oven, dishwasher, and direct sun.
Clear glass is better for sugar, tea sachets, or stirrers than for a large supply of beans sitting beside a bright window. If you want a decorative jar, fill it with a modest amount you will use soon and keep the main bag sealed in a darker, cooler cupboard. Label regular coffee, decaf, and flavored varieties before transferring them so an attractive row of canisters remains practical.
Plan outlets, water, heat, and cleanup before closing doors
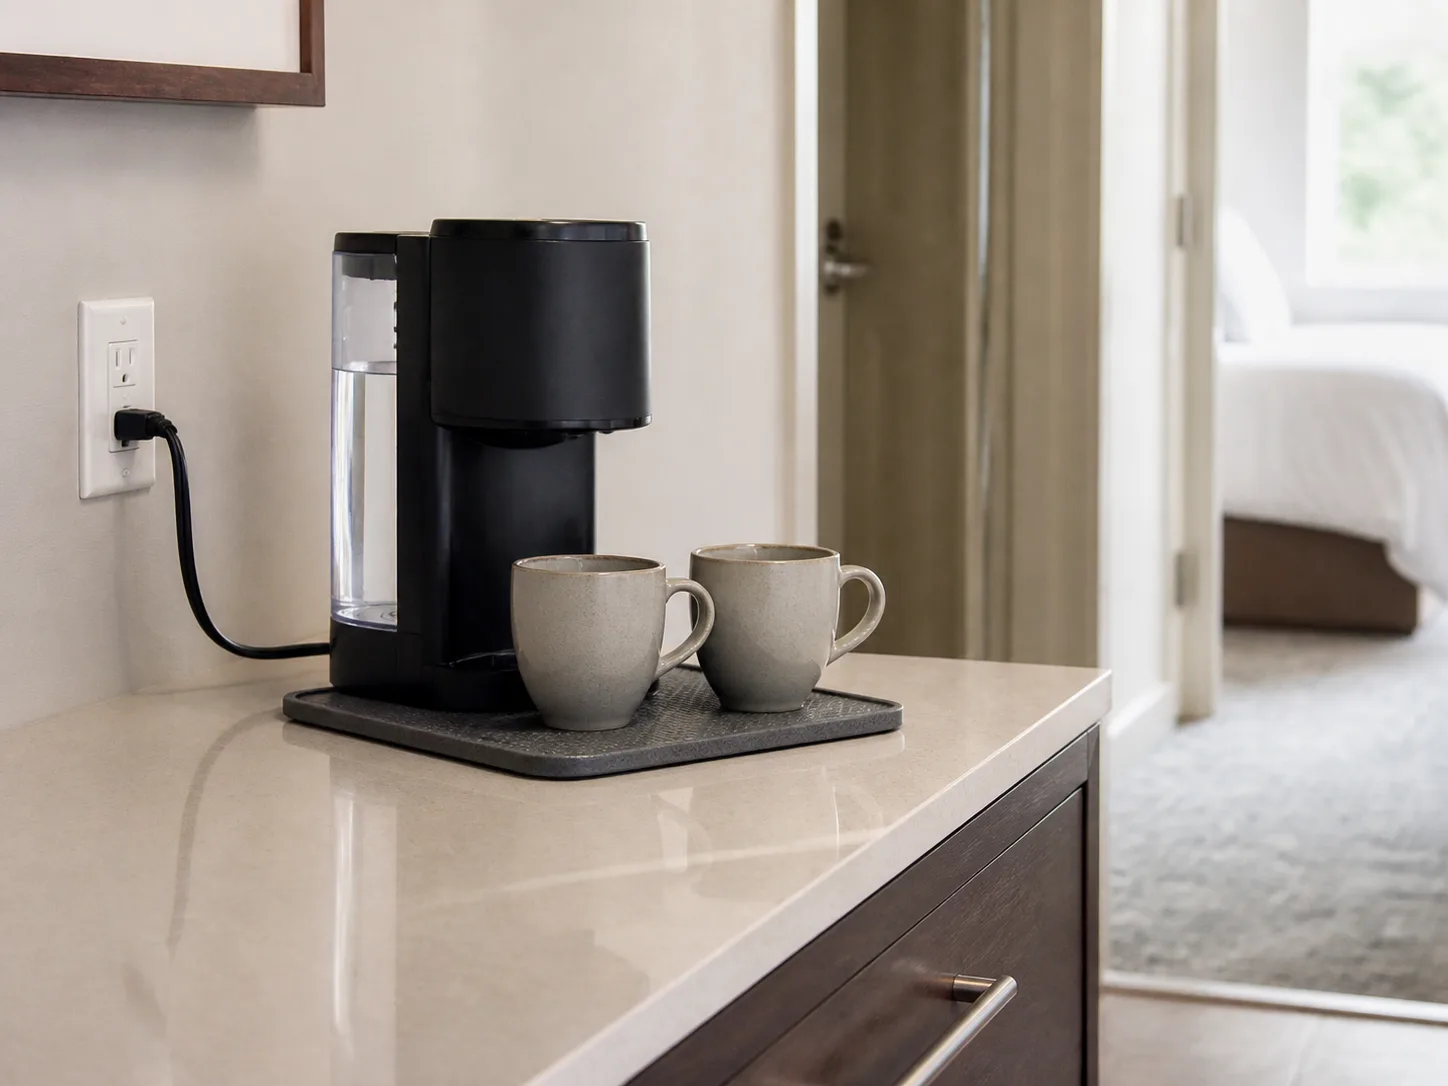
Choose a stable surface near a properly installed outlet and a realistic water source. Keep electrical cords away from sinks, drips, hot surfaces, and walkways; the U.S. Consumer Product Safety Commission warns that extension cords missing applicable safety features can present a shock or fire hazard. If the only way to reach the station is a cord stretched across traffic or tucked under a rug, move the brewer or ask a qualified electrician about a permanent outlet.
For any machine inside cabinetry, follow that exact model’s installation and operating instructions. A normal counter appliance may need space above and around it for heat, steam, opening parts, and service; do not run it behind closed doors unless the manufacturer designed the installation for that arrangement. Wait for surfaces to cool and wipe up spills before shutting the doors.
Plan cleanup as carefully as brewing. Removable reservoirs need room to lift out; espresso machines may need access to a side panel or drip tray; and pour-over equipment needs a place for wet filters. Keep a small bin or compost caddy nearby only if it can be emptied and cleaned easily, and avoid storing damp grounds in a sealed container for long periods.
Make a shared station simple for family and guests
If several people use the station, prioritize clear labels and predictable homes over decorative uniformity. Separate tea from coffee, mark decaf, leave mugs where a shorter household member can reach them, and keep hot-water controls or heavy equipment out of a child’s easy reach. Make the setup intuitive enough that one person can brew while another uses the kitchen.
For guests, add only what they need to make one drink: the machine, a cup, water, the current coffee choice, and a concise instruction card if the controls are unfamiliar. The Merrythought shows one DIY coffee-cart approach to a movable station; for any cart, choose a stable top, lock the wheels, and place the machine before loading breakable cups. A small tray near the guest station can hold add-ins without asking visitors to search the pantry.
Avoid the mistakes that make a coffee station harder to use
The most common design mistake is buying organizers before measuring the appliance. A machine that cannot open fully or be refilled where it sits will force a daily shuffle, and containers that crowd the mug area turn a tidy station into another pile to move before cooking.
Another mistake is trying to hide every sign of the routine. A closed cabinet can look calm, but if the machine cannot vent, cords are pinched, or the reservoir is trapped behind mugs, the station is only decorative. Use doors to conceal equipment between brews, not to bypass the appliance’s clearance and cleaning needs.
Finally, do not treat every unused counter as available coffee space. Keep the station out of the main prep zone, protect the walking route, and leave a clear surface for hot cups. A station earns its footprint when it is easy to use and easy to reset, not when it contains the most accessories.
Conclusion
Choose the coffee station that removes the most friction from your real morning. Measure the brewer open, place coffee and mugs in brew order, protect beans from heat and light, and make power and cleanup part of the layout rather than last-minute fixes. Once those basics work, one tray, shelf, cart, or color detail is enough to make the setup feel finished.