How to Connect a Garden Hose to a Faucet
Learn how to connect a garden hose to a faucet, choose a quick connector, stop drips at the washer, and reduce backflow risk at an outdoor tap.
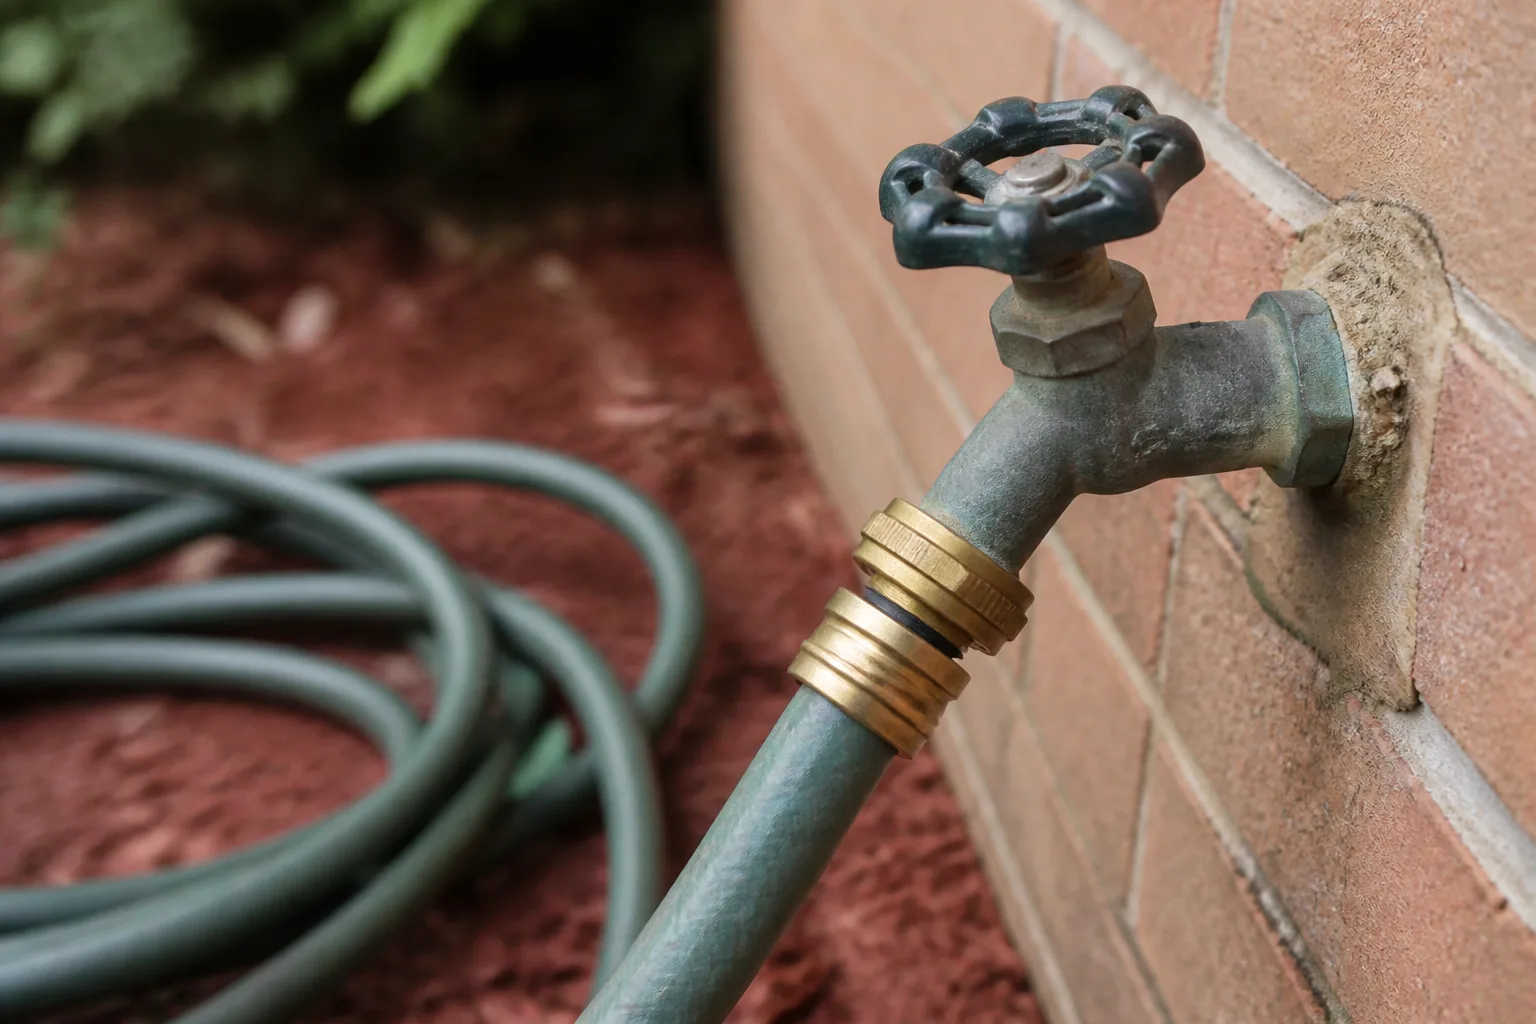
To connect a standard garden hose to an outdoor faucet, check that the faucet has hose threads, confirm the hose’s female coupling contains a rubber washer, then screw the coupling straight onto the faucet by hand. Open the faucet slowly and inspect the joint. If you want faster repeat connections, add a matched quick-connect pair; if the hose will feed a timer or drip line, install those fittings in the right order and preserve any backflow device required for your water supply.
Most connection failures come from one of four mismatches: a faucet without hose threads, a missing or hardened washer, parts that use different connector standards, or a coupling started at an angle. A few seconds spent identifying the faucet and the sealing surface can prevent a frustrating leak—and keep you from reaching for pliers when the actual repair is a small rubber washer.
Choose a connection that matches your faucet
Start by looking at the end of the water source. A typical outdoor hose bibb or spigot has a threaded male outlet sized for a garden-hose coupling. The hose’s female end rotates independently from the hose, so you can tighten it without twisting the hose itself. If the faucet outlet is smooth, has an unusual shape, or already carries a vacuum breaker, you may need a compatible adapter before the hose will attach.
| Connection | What it does | Best fit | Main trade-off |
|---|---|---|---|
| Standard threaded coupling | Hose’s female swivel screws onto the faucet | One hose that stays connected for a watering session | Slower to remove; washer must be present |
| Quick-connect pair | Faucet and hose adapters snap together | Frequent attachment and removal, or switching between tools | More joints and O-rings to maintain; bore can restrict flow |
| Faucet adapter | Converts a smooth or different outlet to a hose connection | Certain indoor taps or nonstandard outlets | Must match the faucet model and thread |
| Permanent hose-end quick-connect | Replaces the hose’s factory female coupling | A dedicated hose used often with one connector system | Requires cutting off the original hose end |
Standard threaded hose connections vs. quick-connect fittings
A standard connection uses the female coupling already attached to most hoses. A quick-connect system adds two matching pieces: one remains on the faucet, and the other remains on the hose. To connect, push the pieces together until they seat; to release, pull back the collar or use the release buttons specified by that model. The LSU AgCenter notes that quick-connects are sold in different male/female orientations, so check both sides of the package before buying a set. A mismatched pair may look close but cannot lock together.
Quick-connects are most useful when the hose comes off often or when you rotate between a hose, sprinkler, and watering attachment. For a hose that stays attached all afternoon, the factory threaded swivel is simpler and has fewer seals to inspect. Do not assume every brand is interchangeable: the LSU AgCenter reports some plastic systems may connect across brands but generally work more smoothly when kept to one system. LSU AgCenter’s guide to garden-hose quick-connectors explains the different orientations and collar styles.
Hose diameter does not tell you thread size
The hose diameter printed on its label describes the inside passage that carries water—common sizes include 1/2, 5/8, and 3/4 inch. It is not a reliable way to choose the connector thread. A hose with a smaller bore can still have a coupling that fits the same outdoor faucet as a larger hose, while a faucet adapter for an indoor tap follows a different design entirely. Gardening Know How explains that hose diameter and length affect water delivery, so choose them for the distance and flow your watering job needs, then verify the fitting separately. Its overview of garden-hose types is useful when you are also deciding how long or wide a hose should be.
For a U.S. outdoor spigot, look for packaging that explicitly says it fits a standard garden-hose outlet or hose bibb. If a product lists pipe-thread dimensions rather than garden-hose compatibility, do not infer that it will fit from a shared “3/4-inch” label. Pipe threads and garden-hose threads serve different joints; when in doubt, take a photo of the outlet and the existing fitting to the hardware counter or check the faucet manufacturer’s specifications.
Check the faucet, hose, and washer first
Turn the faucet off before assembling anything. Unscrew the old hose or connector gently, then check the faucet outlet for grit, corrosion, cross-thread damage, and any adapter that should remain in place. Look at the hose coupling too: the circular rubber washer sits inside the female end, flat against its shoulder. That washer, not extra tightening, normally seals a standard hose connection.
Look at the sealing surfaces
If the washer is missing, flattened, split, brittle, or pushed off-center, replace it before testing. A new washer costs little and usually solves a drip at the joint more reliably than tightening harder. Check the inside of a quick-connect for its O-ring as well; a small cracked ring can leak even when the hose washer is sound. Wipe dirt from both mating surfaces with a clean cloth so debris does not hold the seal open.
Do not wrap plumber’s tape around ordinary garden-hose threads as a substitute for the washer. Those threads pull two flat faces together; the rubber washer does the sealing. Plumber’s tape is used on many tapered pipe-thread joints, a different connection. Adding tape here may make the coupling harder to turn without fixing a missing gasket, and excessive force can split a plastic adapter or damage the faucet’s threads.
If the faucet is equipped with a hose vacuum breaker or anti-siphon fitting, identify its outlet before removing it. The breaker is an important safety part on many installations, and the garden hose normally attaches to the male hose threads on the breaker. Do not remove it just because the hose does not reach the faucet body itself; use a compatible hose-end fitting instead.
Connect a standard hose to an outdoor faucet
Lay the first few feet of hose straight so it is not pulling sideways on the faucet. Hold the female swivel coupling square to the faucet’s outlet, then turn the coupling counterclockwise slightly until you feel the threads settle into their starting grooves. Now turn it clockwise by hand. If it binds after a partial turn, stop and back it off; forcing it can cross-thread soft metal or plastic and make future connections leak.
Thread it straight and hand-tight
Tighten until the washer contacts the faucet outlet and the coupling feels snug. You should not need a pipe wrench or locking pliers for a normal garden-hose fitting. Tools can crush a plastic swivel, deform the washer, or put twisting force on the spigot where it enters the wall. If the coupling cannot reach the washer without binding, the problem is usually alignment, a damaged thread, a wrong adapter, or a washer sitting incorrectly—not lack of torque.
Once the hose is secure, keep the nozzle or sprayer open for the first test if it has a shutoff at the far end. Turn the faucet on gradually and watch the connection for 10 to 15 seconds. A dry joint means it is seated; a slight bead that appears around the circumference usually points to a misaligned or worn washer. Turn the faucet off before removing the hose or adjusting the fitting.
Add a quick-connect coupling
A quick-connect kit usually contains a faucet-side adapter and one or more hose-side pieces. Match the thread size and male/female orientation before installation; use the adapter specified for the spigot rather than stacking several loose reducers. If the hose will attach to more than one faucet, put the matching faucet adapter on each water source and use the same connector family on all the hoses and tools.
Set up a threaded quick-connect
Shut off the water and hand-thread the faucet adapter onto the spigot, with its washer correctly seated if the design calls for one. Attach the corresponding hose adapter to the hose’s female coupling. Most no-cut designs screw into the existing hose connection, so you can return the hose to a regular fitting later by unscrewing the piece. Start each threaded piece carefully; the quick-release collar handles the snap connection, but the screw-on adapters still need straight threads and sound gaskets.
Pull back the female collar if the manufacturer’s instructions require it, push the two halves together until they click or bottom out, then release the collar. Give the connection a gentle tug before turning on the water. If it separates, it did not lock. A connector with an internal shutoff valve may stop water when you disconnect it, which is convenient when swapping tools; it may also narrow the flow path. The LSU AgCenter measured some quick-connect passages at about 3/8 inch and cautions that this can restrict flow through a typical 5/8-inch hose. Designs vary, so compare the connector’s bore and flow-through feature if you need a strong sprinkler stream or want to fill a large container quickly.
When a permanent connector makes sense
Some systems attach directly to a cut hose end with a clamp or compression ring. They can be lighter and less likely to loosen when the hose twists, but installation is permanent enough that you should choose it only when the hose will stay in that connector system. Drain the hose, cut squarely, remove loose burrs, and follow the connector maker’s insert depth and clamp instructions. If you are not comfortable making a clean cut or the hose is old and cracked, replace the hose or use a threaded adapter instead.
A quick-connect pair is not automatically better because it is faster. It adds parts that sit in sun, collect grit, and require periodic washer or O-ring replacement. The LSU AgCenter recommends keeping connectors clean and replacing aged rubber components when they harden or crack. Brass connectors generally last longer than plastic ones exposed to sunlight, while plastic is lighter and costs less; choose based on how often you use the hose and whether the connector will live outdoors.
Connect a hose to an indoor sink faucet
A kitchen or laundry faucet is not necessarily designed for a garden hose. Many have a removable aerator at the tip, but the aerator’s threads are not the same as the outdoor hose outlet. If the aerator unscrews, identify whether it has male or female threads and use a faucet-specific adapter that matches the faucet model. Some adapters use a rubber sleeve that clamps around a smooth spout; those are temporary connections and should only be used within their stated size and pressure limits.
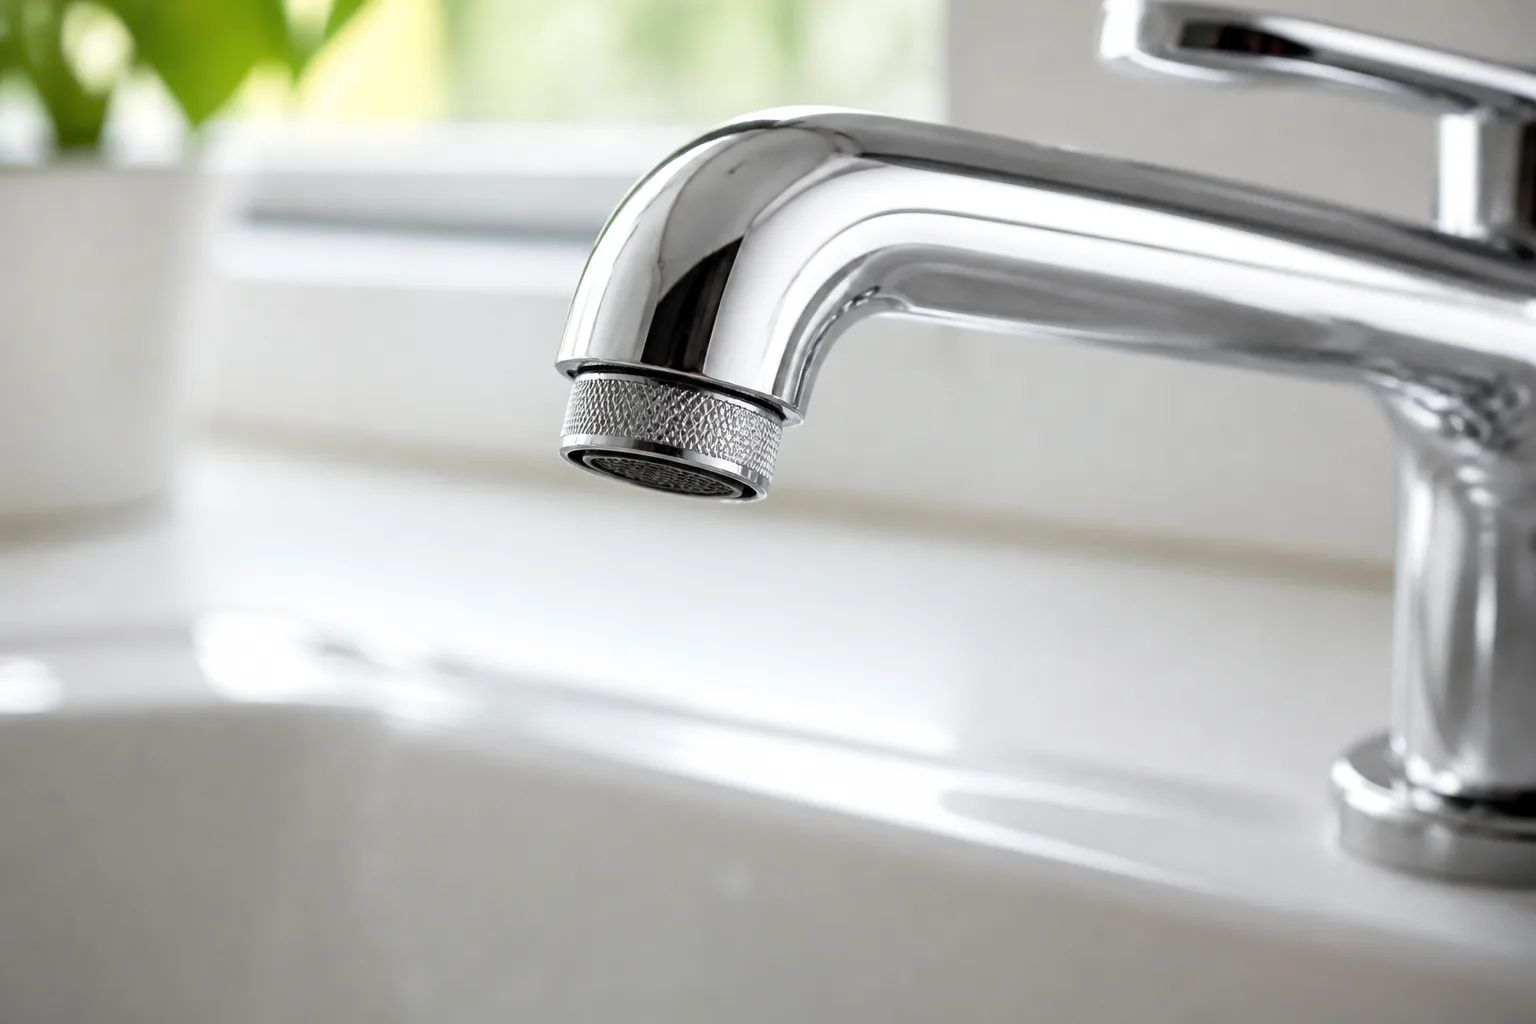
Remove a screw-on aerator by hand or with the soft tool recommended by the faucet maker, taking care not to scratch the finish. Keep the aerator and its washers in a labeled bag so the faucet can be restored afterward. A hose connected to a sink can be heavy when full and may pull on the faucet, so support it, keep pressure low, and do not leave the connection unattended. Avoid adapters on pull-down or pull-out sprayers, proprietary spray heads, or faucets whose manufacturer prohibits external hose connections; use a laundry sink with a threaded outlet or an outdoor bibb instead.
If the adapter leaks, do not keep tightening the hose coupling against the faucet body. The leak may be at the aerator adapter’s small gasket rather than the hose end. Shut off the faucet, remove the adapter, inspect the washer, and confirm that the threads are a true match; a generic adapter that catches only one or two turns is not secure enough to pressurize.
Add an inline valve, timer, or irrigation attachment
When adding accessories, plan the order from the source outward: faucet, any required vacuum breaker, timer or flow-control valve, hose, then sprinkler, drip kit, or nozzle. Check each fitting’s inlet and outlet standard because timers and irrigation filters may use hose threads on one end and a different thread or quick-connect on the other. Avoid stacking adapters simply because each one can be made to turn; extra joints create more places to leak and more leverage against a wall-mounted spigot.
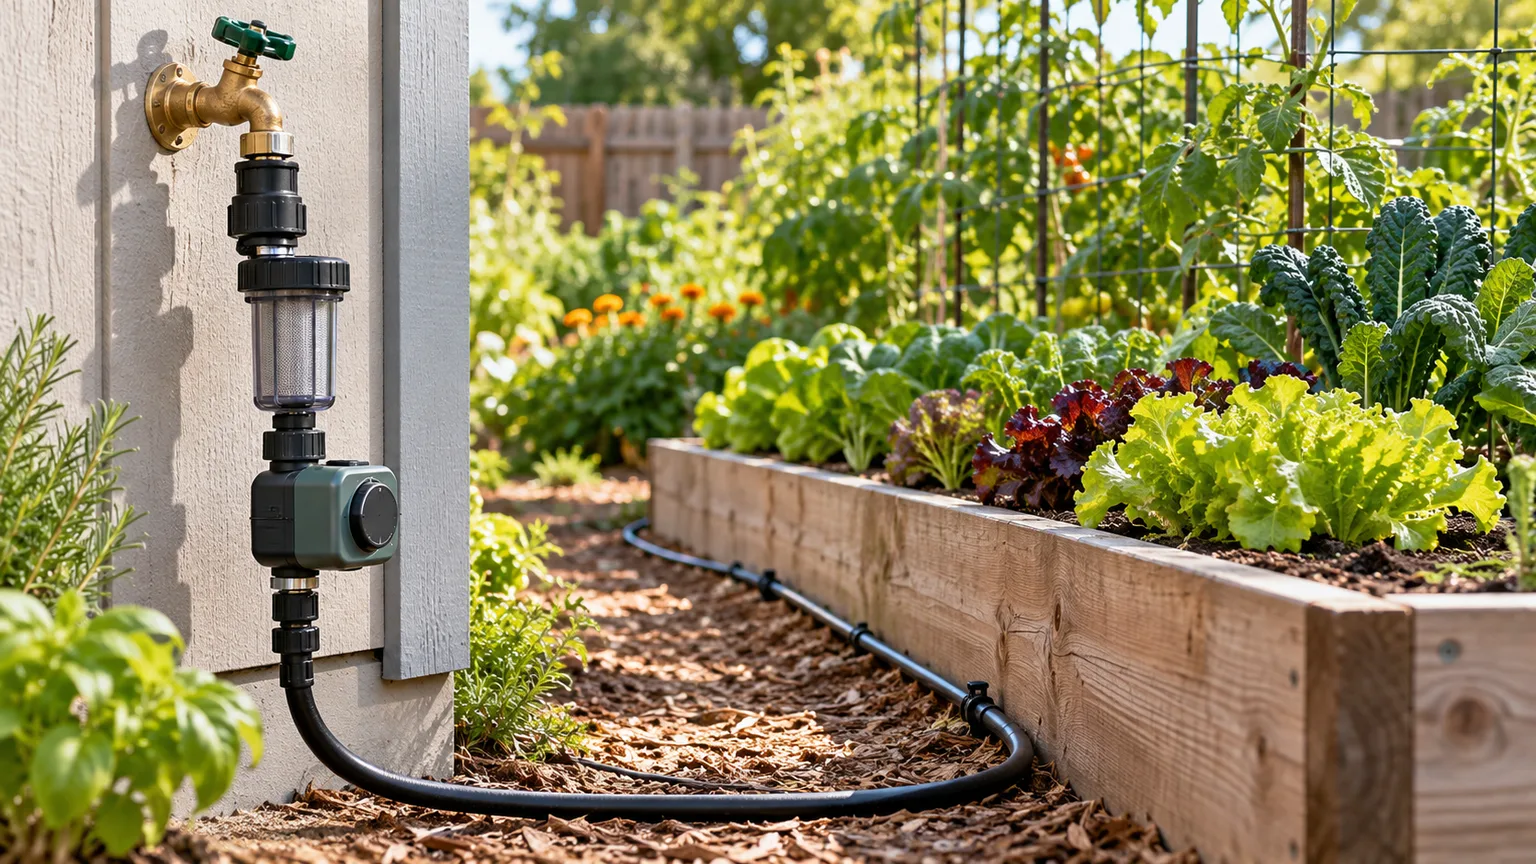
A shutoff valve at the hose end is useful for stopping flow while you move a sprinkler or switch a nozzle, but close the faucet itself when the hose is not in active use. A timer automates water delivery; it does not replace a backflow preventer. Before leaving an automated setup pressurized, check the timer and fittings for leaks, confirm that the system is compatible with the water source, and follow the timer maker’s maximum pressure and installation instructions.
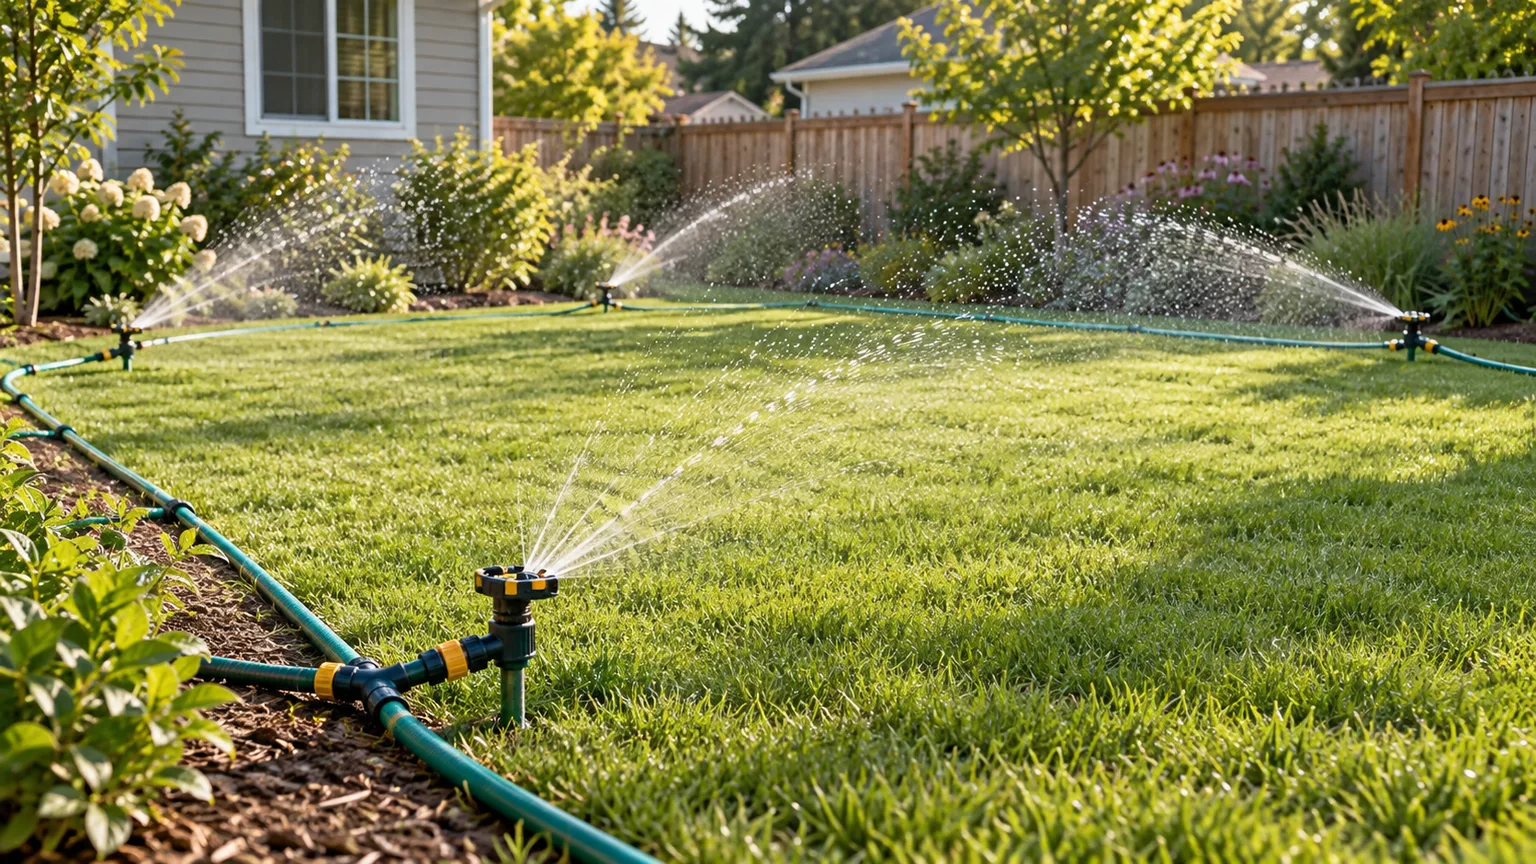
For watering, the hose is one delivery option rather than a guarantee of efficient watering. The RHS says hoses can be useful for larger areas or where lifting a watering can is difficult, while cans give more control for containers; whichever method you use, aim water at the root zone rather than wetting paths and foliage. The RHS guide to garden-watering methods compares hoses with drip lines, soaker hoses, and other approaches. Joe Gardener also describes quick-connect couplers, a shutoff valve, and a timer as useful parts of a configurable drip-irrigation setup in Joe Gardener’s guide to watering tools and methods.
Keep hose water out of the household supply
A hose can sit in muddy water, a fertilizer bucket, a pool, or a pesticide sprayer. If pressure in the plumbing drops while the hose is connected, water can move backward toward the house supply. The LSU AgCenter describes a hose vacuum breaker as a device that screws onto a hose bibb, allows water to flow out normally, and vents if pressure reverses; it notes that such devices are required by many plumbing codes. Its hose vacuum-breaker guidance explains the backflow risk and installation position. Requirements and approved device types vary by location, so follow your local water utility and plumbing rules.
A vacuum breaker is typically installed at the hose bibb, with the hose connected to its outlet—not at the spray nozzle end. Keep it above ground and unobstructed so its vent is not sitting in a puddle or buried under mulch. Do not remove or defeat a breaker that is already installed, and do not mistake a quick-connect shutoff for backflow protection. The two parts solve different problems: one makes attachment easier, while the other reduces the chance of contaminated hose water being siphoned into the supply.
A double-check valve or air gap may be required for certain fixed irrigation systems, particularly where fertilizer injection or other chemical equipment is involved. That is a different installation from simply attaching a hose to an outdoor tap. The RHS notes a double-check valve requirement for outside taps under UK water regulations; that legal detail is specific to its jurisdiction, not a universal rule for every home. Ask your local water provider or a licensed plumber which device is required for your specific faucet and irrigation equipment.
Fix leaks without damaging the faucet
First, identify exactly where the water appears. A drip at the faucet-to-hose joint has a different cause from a leak at the quick-connect collar, a split hose, or water seeping from the faucet stem or wall. Turn off the faucet before disassembly, then dry the area with a towel and run a short test so the first wet point is visible.
| Where water appears | Likely cause | First fix |
|---|---|---|
| Around the hose coupling at the faucet | Missing, dirty, crooked, or flattened washer; cross-threading | Reseat or replace washer; reconnect straight by hand |
| At the quick-connect collar or adapter | Worn O-ring, mismatched halves, incomplete lock | Clean and seat the parts; replace O-ring or matching coupler |
| Along the hose or crimped end | Split hose wall or failed end fitting | Replace the damaged section or hose-end repair coupling |
| Behind faucet handle or from wall | Faucet valve, packing, or supply connection leak | Stop using it and arrange a plumbing repair |
Leak at the faucet-to-hose joint
Remove the coupling and check that the washer is flat and centered. A washer that has slipped toward the edge can look intact but fail to cover the sealing surface. Replace it if it is hard, cracked, deeply grooved, or permanently compressed; then wipe away grit and reconnect the hose squarely. A hand-tight connection is usually enough once the washer is in place.
If the joint still leaks, inspect the faucet threads and adapter. A wobbling coupling, visibly flattened threads, or a fitting that only catches a fraction of a turn suggests a compatibility or damage problem. Do not keep adding tape or tightening with a wrench. If an old connector has corroded onto the faucet, use a purpose-made fitting removal method carefully; if the spigot itself twists at the wall, stop and call a plumber before the pipe connection loosens inside the house.
Leak at a quick-connect, hose, or faucet body
A quick-connect that drips around the collar may need a new O-ring or a correctly matched male/female half. Disconnect it, rinse out sand, inspect the seal, and reconnect until the collar locks. If it leaks only when the connector is under pressure, the O-ring may be nicked or the connector’s plastic shell may be cracked; replacing the part is safer than gluing or forcing it.
If water escapes from the hose’s female end even when the faucet joint is dry, replace the female-end washer. A split hose or leaking crimp may call for a repair coupling, but repair only clean, sound hose material; a long crack or several weak spots mean the hose has reached the end of its useful life. Water that runs from under the faucet handle or wall is not a garden-hose coupling repair. Close the valve, avoid using that spigot, and have the plumbing checked.
Disconnect, drain, and store the hose
Close the faucet before disconnecting the hose. If the hose contains pressure, open the nozzle briefly to release it, then pull back the quick-connect collar or unscrew the coupling by hand. Drain the hose downhill before coiling it so stored water does not freeze, add weight, or sit against the fitting seals.
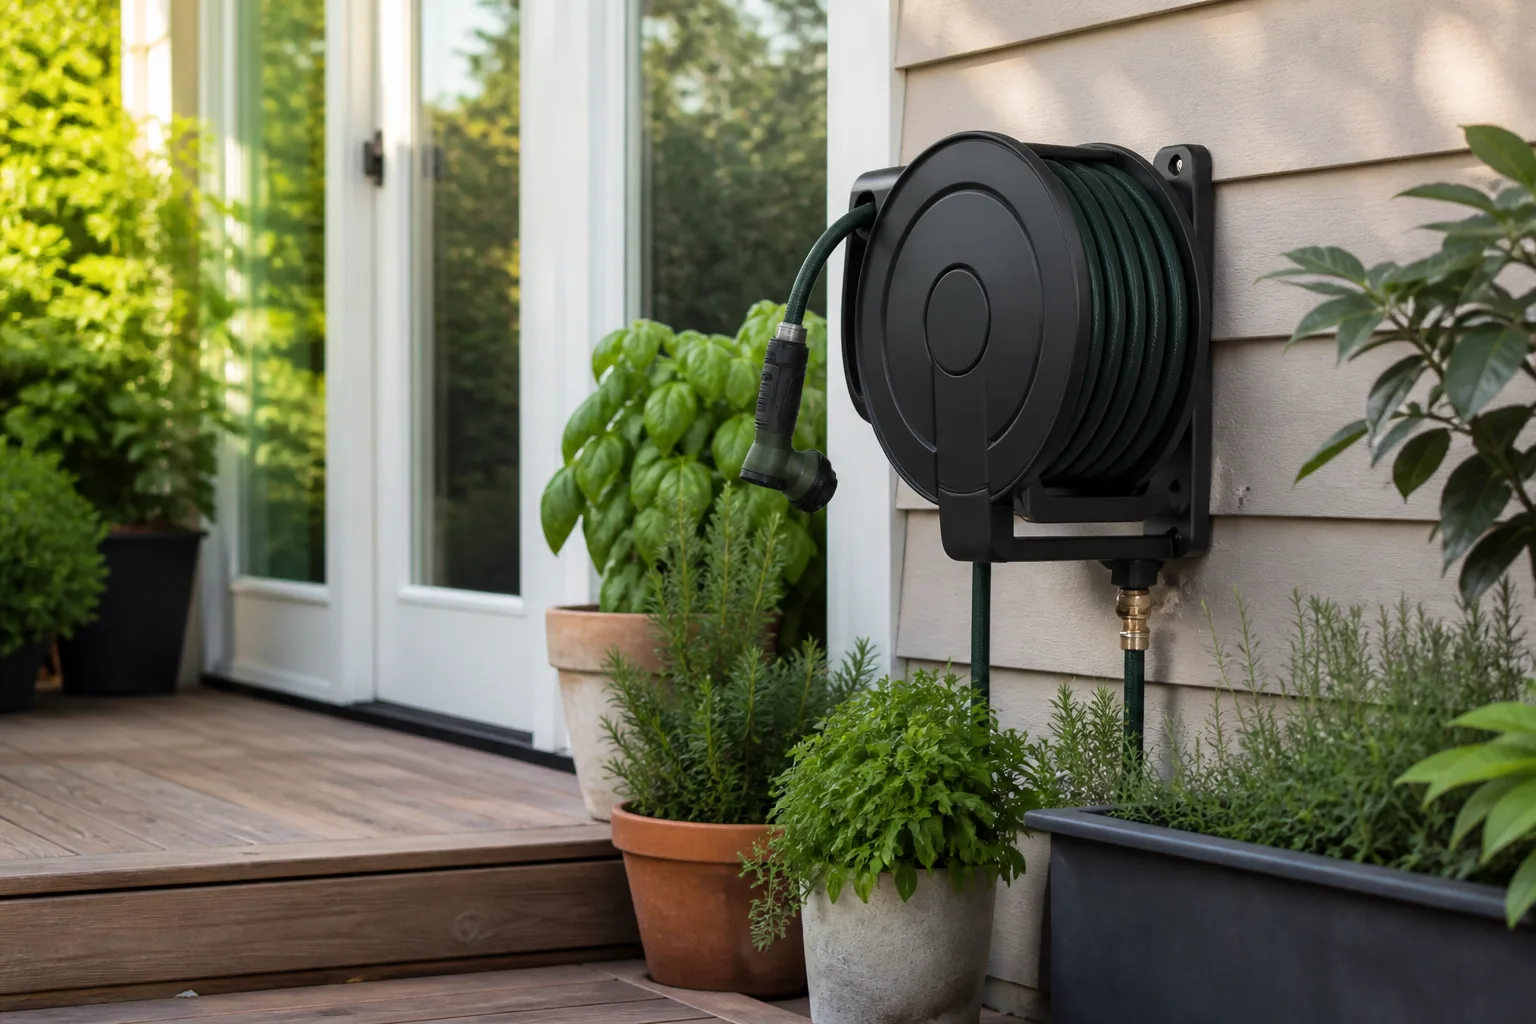
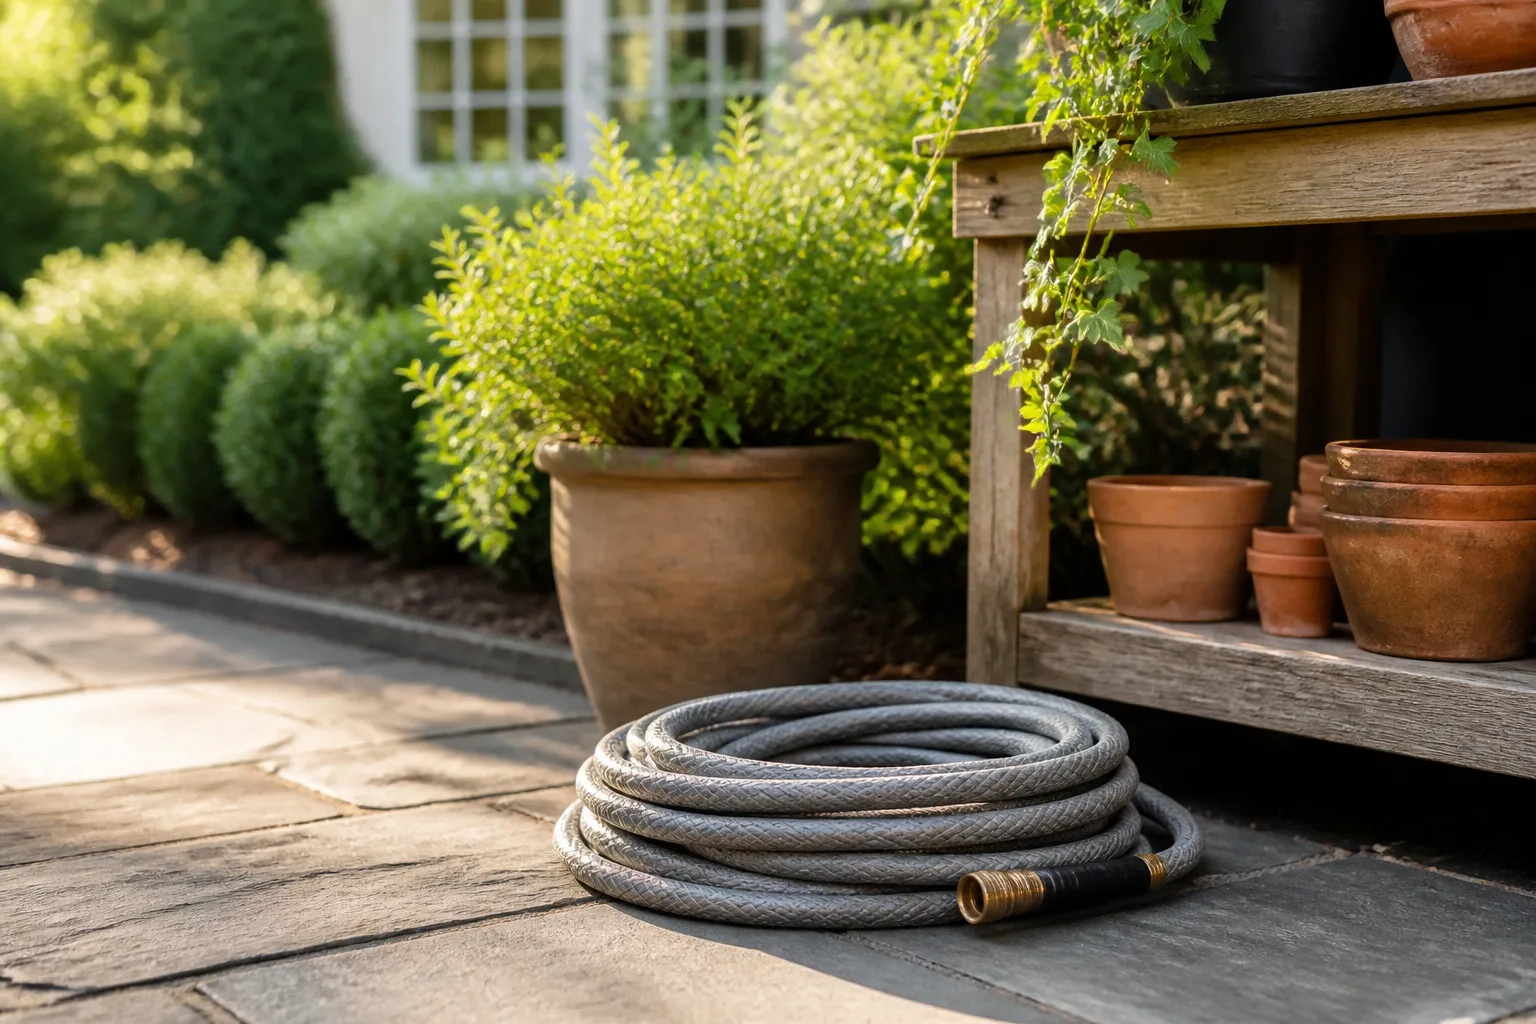
Store the hose out of harsh sunlight when practical, avoid tight kinks, and keep the connector ends off soil and grit. Gardening Know How recommends draining and coiling hoses between uses and storing them in a garage or shed through winter; its advice also warns against leaving a hose kinked or where it can be run over. If your area freezes, disconnect the hose before cold weather even if the faucet is labeled frost-free: a connected hose can trap water and interfere with drainage. For freeze-prone plumbing, follow the faucet maker’s winter instructions and local guidance.
If you use a vacuum breaker that is designed to drain or release pressure, inspect it periodically and do not block its vents. A small discharge from a breaker during a pressure-reversal test may be normal for that model, but persistent leaking in ordinary use can signal wear or debris. Use the device maker’s instructions; if it is stuck, damaged, or difficult to remove, ask a plumber rather than applying force to the faucet.
Mistakes that create leaks or damage
The most common mistake is tightening harder before checking the washer. A missing gasket cannot be repaired with torque, and overtightening can deform the coupling so it leaks more. The second is starting the female coupling at an angle; cross-threading feels like sudden resistance, and the correct response is to back it off and realign it.
Other avoidable errors include buying a quick-connect without checking its orientation, mixing connector systems that do not lock securely, assuming a hose diameter is the fitting size, and using a sink aerator adapter on an incompatible faucet. Avoid leaving a closed nozzle pressurized for long periods if the hose or fitting is damaged, and never treat a timer or quick shutoff as a substitute for a required backflow device. If the fitting does not seat smoothly, stop and verify compatibility instead of trying to make it fit with pliers.
Conclusion
For a standard outdoor faucet, the reliable connection is simple: use a compatible hose coupling, make sure its washer is present and centered, start the threads straight, tighten by hand, and test the joint with the faucet opened slowly. Add a quick-connect only if you often switch hoses or tools, and check the male/female orientation, internal flow passage, and replacement seals before buying.
When water leaks, fix the part at the first wet point: washer at the faucet joint, O-ring at the quick-connect, repair fitting for a small hose-end failure, or a plumber for a leak from the faucet body or wall. Keep any vacuum breaker in place, confirm local backflow requirements for timers and irrigation equipment, and disconnect and drain the hose before winter. That sequence protects the threads, keeps the water where it belongs, and gets you back to watering without turning a simple hookup into a plumbing repair.