How to Drain a Pool With a Garden Hose
Learn how to siphon pool water with a garden hose, estimate drain time from actual flow, choose a safe outlet, and avoid chemical runoff or pool damage.
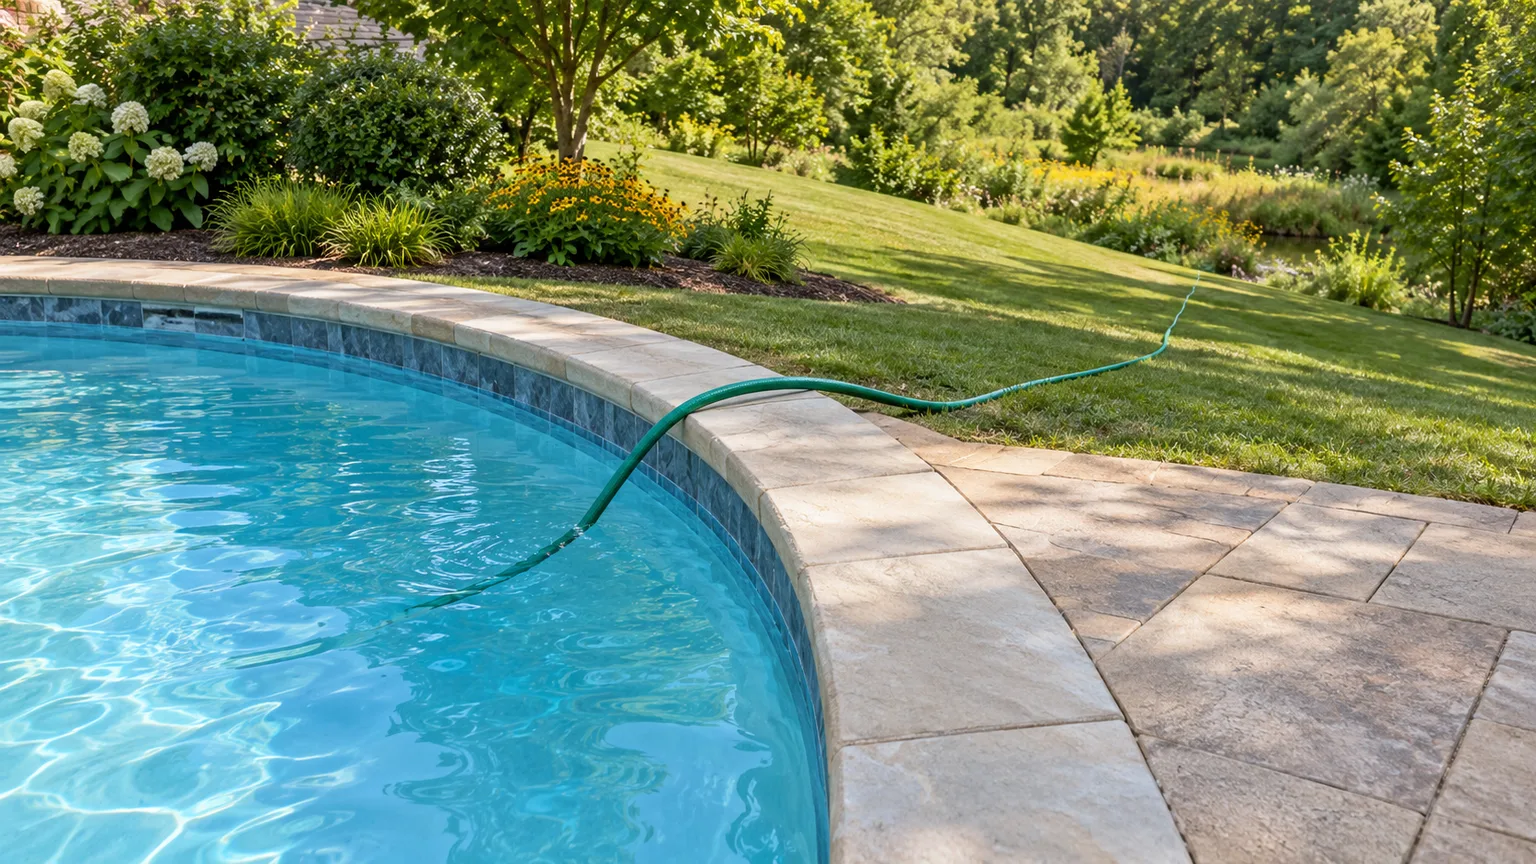
A garden hose can lower pool water without a pump or electrical power, but it works only when the hose is full of water and its outlet is lower than the pool’s surface. It is a slow siphon, not a way to make every pool safe to empty. Before starting, decide where the water may go and whether your pool can be lowered at all.
For routine water-level adjustment, an above-ground pool, or a small temporary pool, a siphon can be useful if the route and discharge area are suitable. If you are planning to empty an in-ground pool, draining a saltwater pool, or sending water into a street, storm drain, or sewer, stop and check with the relevant pool professional or local authority first.
The short answer: a hose can lower water only when the outlet is lower
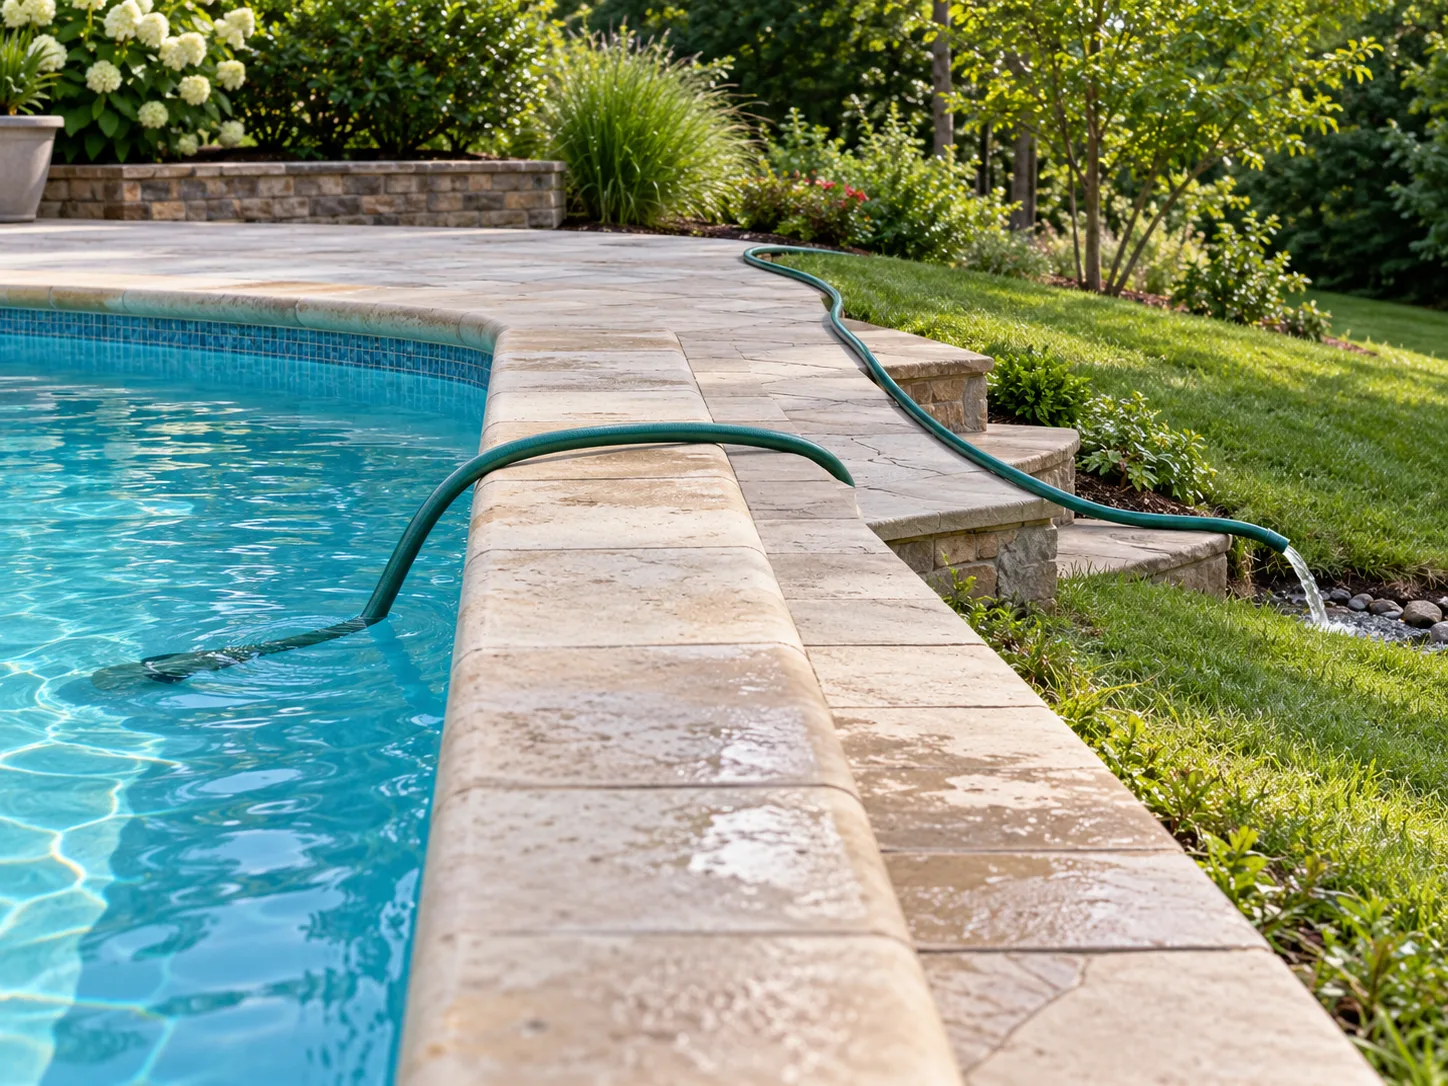
To drain with a garden hose, submerge the hose until it fills completely, keep its pool end underwater, and place the other end at a lower elevation outside the pool. Once the outlet is opened, gravity pulls water down the hose while atmospheric pressure helps push pool water into the inlet. If air enters, the hose kinks, or the outlet is no longer low enough, flow slows or stops.
The most important practical limit is not the hose’s advertised watering flow. A siphon has no faucet pressure behind it; its rate depends on the height difference between the pool surface and outlet, hose diameter and length, bends, and restrictions. A standard garden hose can take many hours to move thousands of gallons, so use it for a controlled partial drain rather than an urgent emptying job.
A siphon is a continuous column of water that runs from a higher water surface, over the pool wall, and down to an outlet below that surface. The hose may rise over the pool rim, but avoid high loops, kinks, or trapped air. The outlet’s height relative to the waterline is what keeps the water moving; placing it at the same height or higher will not drain the pool reliably.
Think of the hose as a route that must stay sealed by water from end to end. The inlet has to remain submerged, and the outlet has to stay open and downhill. A downhill slope helps the water leave, but the hose does not need to be perfectly straight; smooth curves are fine if they do not pinch the tube or trap air.
Decide whether your pool is safe to drain
Start by identifying the job: lowering water after heavy rain is different from emptying a pool for a repair or winter storage. Use the hose only if the pool manufacturer’s instructions allow the intended water-level change and the water has a permitted destination. A siphon cannot reduce the structural risks that come with removing the water’s weight.
Above-ground pools still have wall and liner limits
Above-ground frames and soft-sided pools are designed to hold water in a particular configuration. Water pressure supports the liner and walls, so taking out too much can wrinkle a liner, deform a wall, or leave an empty structure exposed to wind, heat, or shifting ground. Check the model’s instructions before lowering the level below its recommended minimum, especially before winterizing or repairing a liner.
For a small temporary pool, drain it only when the manufacturer’s directions say it is safe and you have a place for the water to soak in without runoff. Keep the hose inlet away from the liner so it cannot rub, snag, or pull the material as the water drops. If the frame shifts, the liner folds, or the ground around it softens, stop the siphon.
Leave full in-ground pool drainage to a professional
Do not use a garden hose to empty an in-ground pool as a do-it-yourself project. When a pool is empty, groundwater pressure can lift or shift the shell, while a vinyl liner can loosen or wrinkle; the risk depends on construction, groundwater, recent rain, and drainage design. Swim University’s pool-draining guide warns that an empty in-ground pool can move under groundwater pressure and recommends professional help for full draining.
A hose can still lower the surface for a permitted maintenance task, but follow the pool builder’s or service professional’s limit and monitor the level. If you see shell movement, new cracks, liner separation, unusual groundwater seepage, or a rapid change after rain, stop and call a pool professional. Do not treat a slow hose as a safety measure: it changes the rate of removal, not the pressure under the pool.
Choose the discharge destination before starting
Do not prime the hose until you know exactly where the water will end up. Pool water may contain chlorine or bromine, salt, algaecide, metals, stabilizer, and suspended debris; even clear water can create a problem if it reaches a storm drain, stream, neighbor’s lot, or overloaded patch of soil.
Contact your city or county stormwater office and wastewater utility, and ask which destination is allowed for your pool type and current water chemistry. Ask specifically whether the rules differ for a saltwater pool, whether you need to test chlorine or pH, whether you need permission to use a sanitary sewer cleanout, and whether a maximum discharge rate applies. Save the instructions or note the department and date, because the rule belongs to that jurisdiction.
Landscape discharge needs chemical and runoff checks
A lawn or broad, well-vegetated area may be an option where local rules allow it, but do not assume pool water is safe for grass or garden beds. Chlorine, bromine, salt, pH adjustment chemicals, and the sheer volume can stress plants or saturate soil. Fairfax County’s pool-water guidance, one local example, recommends pervious, well-vegetated ground on the owner’s property when possible and cautions against puddles, runoff across neighboring property, and draining too quickly.
If your local authority permits a landscape outlet, use a spot that can absorb water without running toward the house, retaining walls, a well, a slope, edible beds, or a property line. Stop if water ponds, cuts a channel, reaches a sidewalk or street, or begins flowing toward a storm inlet. Saltwater pools need special care; Fairfax County says salt-pool water should not go to its storm drains or streams. Its guidance identifies local alternatives, including a household sanitary drain only when plumbing can handle the flow and a licensed sewage-handling service; it also says not to use a septic system or open a manhole. These are Fairfax-specific options, not permission to use the same routes elsewhere.
Storm drains and sanitary sewers follow local rules
Storm drains and sanitary sewers are different systems. A storm inlet may carry runoff toward local waterways, while a sanitary sewer sends wastewater to a treatment system; that does not mean either route is automatically approved for pool water. Never assume a curb inlet is a safe disposal point, and do not open a public manhole or pour water into a sewer cleanout unless the utility specifically authorizes that route and explains how to control the flow.
Rules can be highly specific. For chlorinated or brominated pool water, Fairfax County says to allow 7–10 days for the treatment to dissipate or use a chemical agent, then test for total residual chlorine or bromine below 0.1 mg/L and pH from 6.0 to 8.0 before an allowed county storm-drain or stream discharge; the water must also be clear and free of debris. The county recommends 12–15 gallons per minute for stream or storm-drain releases, with 25 gpm as a maximum, and says direct discharge there should be a last resort after pervious ground on the owner’s property is considered. These numbers and steps describe Fairfax County guidance only. Check your own stormwater and wastewater authorities for current limits, testing methods, and approved destinations instead of copying Fairfax’s wait time or thresholds.
Estimate how much water you will remove and how long it will take
A timing estimate helps you decide whether a garden hose is practical and whether the receiving area can handle the discharge. First estimate the gallons you plan to remove, then measure the siphon’s actual flow once it is running. Do not use the flow rate printed on a hose package or the flow from a pressurized faucet; neither measures a gravity-fed siphon.
Estimate gallons from pool dimensions
If your pool has a volume label or manual, use that figure. For a rough estimate in U.S. gallons, multiply water-surface area in square feet by average water depth in feet by 7.48. A round pool’s water-surface area is about 3.14 times the radius squared; for an oval, use about 0.79 times the length times the width. This is an estimate because sloped floors, steps, benches, and irregular shapes change the true volume.
For a partial drain, use the average depth you intend to remove rather than the pool’s full depth. For example, a 20-by-40-foot rectangular pool lowered by three inches has a rough surface area of 800 square feet, and three inches is one-quarter of a foot. That change removes about 1,500 gallons before accounting for steps or a nonrectangular shape. The estimate tells you the scale of the job, not an exact water bill.
Measure your siphon flow with a bucket
Once the outlet is flowing steadily, time how long it takes to fill a known-size bucket. Divide the bucket’s gallons by the minutes it took to fill it to get gallons per minute. Then divide the gallons you plan to remove by that rate, and divide again by 60 for hours.
For example, if a five-gallon bucket fills in four minutes, flow is about 1.25 gallons per minute. Moving 1,500 gallons at that measured rate would take about 20 hours, assuming the rate stayed constant. It may not: a low outlet, a longer or narrower hose, bends, a falling water level, or a partly blocked end can slow the flow. Recheck after a few minutes and plan to monitor the pool rather than leaving it unattended overnight.
Gather the hose and simple setup tools
Use an intact, full-size garden hose that reaches the pool and the approved discharge area without a tight stretch. A hose with a crushed section, leaky coupling, nozzle, shutoff valve, or narrow adapter can make priming harder or restrict flow. Remove the nozzle and any unnecessary fittings so the outlet is open.
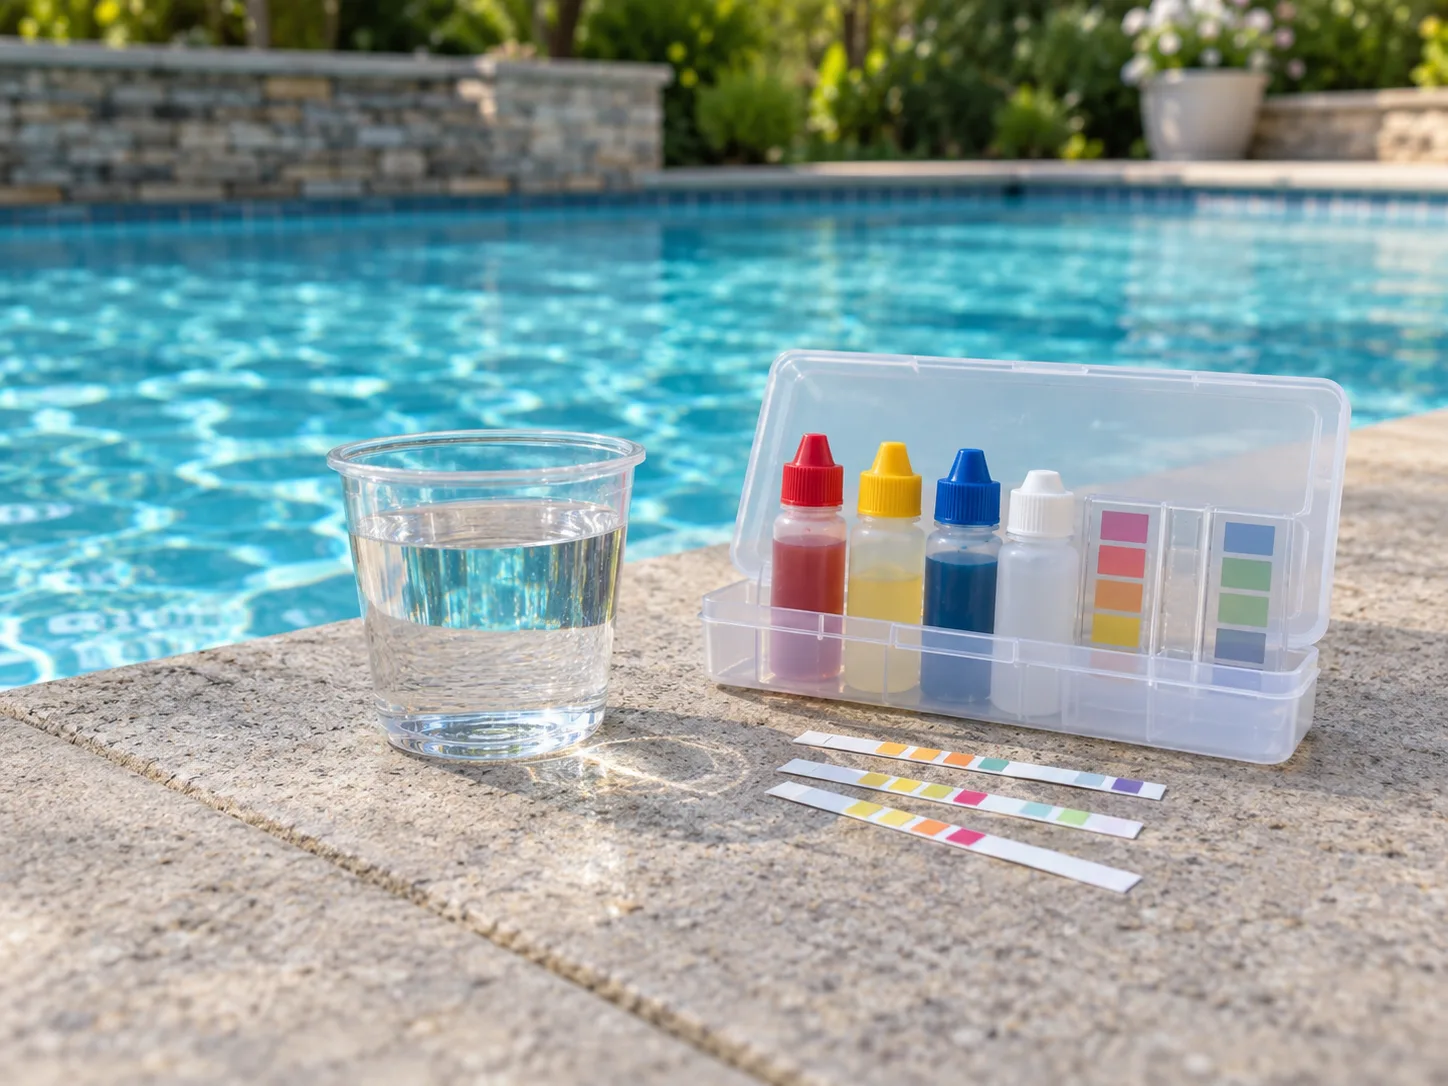
A bucket and timer let you measure the real flow. A pool water test kit or test strips can help check the values your local authority requires; use a method that can measure the specified range, not just a broad color chart. A soft hose hanger or restraint can keep the inlet from drifting, but avoid sharp clamps or heavy objects that might scrape a liner, pinch the hose, or strain the pool wall. Keep children and pets away from the open pool and hose route.
Step 1: Route the hose to a lower outlet
Walk the entire path before filling the hose. The outlet must finish lower than the pool’s current water surface; the greater the drop, the more likely the siphon is to flow well. Choose a smooth route with few bends and no kinks, and keep the discharge end where you have permission to release the water.
The hose can pass over the pool rim, but do not route it over sharp metal or a rough edge that could cut or flatten it. Keep it away from walkways, extension cords, pool equipment, and gates. If the outlet is close to the house, move it well away from the foundation and watch where the soil slopes. Before you begin, confirm the receiving area can absorb the volume at the rate you measured or expect.
Step 2: Fill the hose completely underwater
Lay the hose out along the planned route, then lower it into the pool a section at a time until water fills the entire length. Keep feeding it underwater so air can escape from the far end. A hose that looks full but holds an air pocket may not start, or may lose its siphon shortly after release.
When the hose is full, keep the pool end submerged and close the outlet end with a hose cap or your palm. Move the closed end over the pool wall and down to the approved outlet without letting the water column drain out. Do not start a siphon by sucking on the hose; pool water is not drinking water and may contain treatment chemicals. The same basic fill-and-release method appears in Carlton Pools’ siphon instructions.
If the hose is too long or stiff to submerge in one motion, use a suitable way to fill it completely with clean water while keeping both ends controlled, then carry the full hose without letting air enter. The simple submersion method is easier when the hose fits in the pool. Do not partially fill it and expect gravity to remove the air for you.
Step 3: Release the outlet and start the siphon
Place the outlet at the selected low point while keeping it open and clear of debris. If the discharge route has a receiving pipe or cleanout, use it only if your utility permits pool water to enter that system and tells you how to make the connection; a household drain is not a blanket approval. Keep any required air gap or separation as directed by the authority.
Uncap or uncover the outlet and watch the first few feet of hose. Water should move continuously without gulping or spurting. If it does not, close the outlet, re-submerge the line, and check for an air pocket, a kink, or an outlet that is not low enough. Do not repeatedly shake a partly filled hose or raise the outlet above the pool surface while trying to force it to start.
Step 4: Secure the inlet at the level you want
The submerged end controls how low the pool can drain. To remove only a few inches, hold the inlet a few inches below the starting waterline; as the pool surface falls to the opening, air enters and the siphon stops. To remove more, lower the inlet, but only as far as the pool manufacturer or service professional says is appropriate.
Keep the intake opening underwater and away from the liner, floor fittings, skimmer openings, and steps where it could snag. Secure it with a soft hanger or a helper who can monitor it rather than a sharp clamp. A hose end that drifts to the surface breaks the siphon; one that rubs the liner can cause damage while the water level is falling.
Step 5: Watch the flow and stop the siphon
Stay nearby and check both ends and the discharge area every few minutes at first. Confirm that water is still flowing, the inlet remains submerged, the hose has not flattened or kinked, and the ground is not pooling or eroding. If water approaches a wall, basement window, septic area, neighboring lot, sidewalk, or storm inlet, lift the pool end out of the water to stop the siphon and move the outlet before restarting.
To stop at a target level, lift the submerged end above the water surface or raise the outlet end above the pool’s waterline. Either action breaks the continuous water column. If you plan to restart later, keep the hose from draining completely and re-prime it if air enters. Do not leave an unattended siphon running through the night; a slow flow can still move thousands of gallons and cause damage before you notice.
Fix a siphon that will not start or keeps stopping
If nothing flows, check the simplest causes first: the outlet may not be low enough, the hose may contain air, the outlet may still be capped, or the pool end may have lifted above the water. Refill the whole hose underwater and lower the outlet before you release it. A longer hose with a smaller inner diameter, a closed nozzle, or a sharp bend also adds resistance.
If flow starts and then sputters, look for air entering at a loose coupling or a damaged section. Check whether the inlet is near the surface or has moved against the pool wall. If the outlet is submerged in a receiving pipe, water may be backing up; stop and use only the arrangement your local utility approves. Do not force the connection or seal the hose into a sewer opening.
If the hose runs but too slowly, shorten the route if possible, remove unnecessary fittings, smooth out bends, and lower the outlet only if the new destination remains approved and safe. If you cannot get enough elevation drop, the pool’s volume is too large for the time available, or you need to control a large discharge rate, a pump or pool-service visit is a better tool.
Protect the house, yard, septic system, and neighbors
A siphon has no automatic shutoff, so the main property risk is sending more water to one spot than it can absorb. Do not place the outlet against a foundation, retaining wall, basement window, septic tank, drainfield, slope, or newly planted bed. Keep discharge on your property and slow or stop the flow as soon as you see ponding, erosion, soft ground, or water moving toward another lot.
Do not drain into a septic system unless its manufacturer and local health department say the volume and chemistry are acceptable. A pool can contain far more water than a household fixture normally sends to a septic tank in a day. Fairfax County specifically warns against draining salt-pool water into septic systems, and its discharge page also advises avoiding standing water and runoff across neighbors’ property. Use that as a prompt to check local septic guidance, not as a substitute for it.
Keep the hose from becoming a trip hazard and make sure the outlet cannot swing toward a street drain if it slips. If you have to pause, pull the inlet from the water and coil the hose out of walkways. Never leave the pool open and unattended around children while you are checking the discharge site.
Conclusion
A garden hose can siphon pool water when the line is completely full, the pool end stays submerged, and the outlet remains lower than the water surface. Plan the route, measure actual flow, position the inlet at the stopping level, and monitor the hose and receiving ground until you shut it off.
The harder decision is whether the pool should be lowered and where its treated water may go. Check the manufacturer before draining an above-ground pool, use a pool professional for full in-ground drainage, and get current stormwater or wastewater instructions for your location before the first gallon leaves the pool.