7 Gardening Tasks to Start Now for Spring
Get your garden ready for spring with a climate-aware checklist for soil testing, pruning, seed planning, tools, containers, mulch, and cleanup.
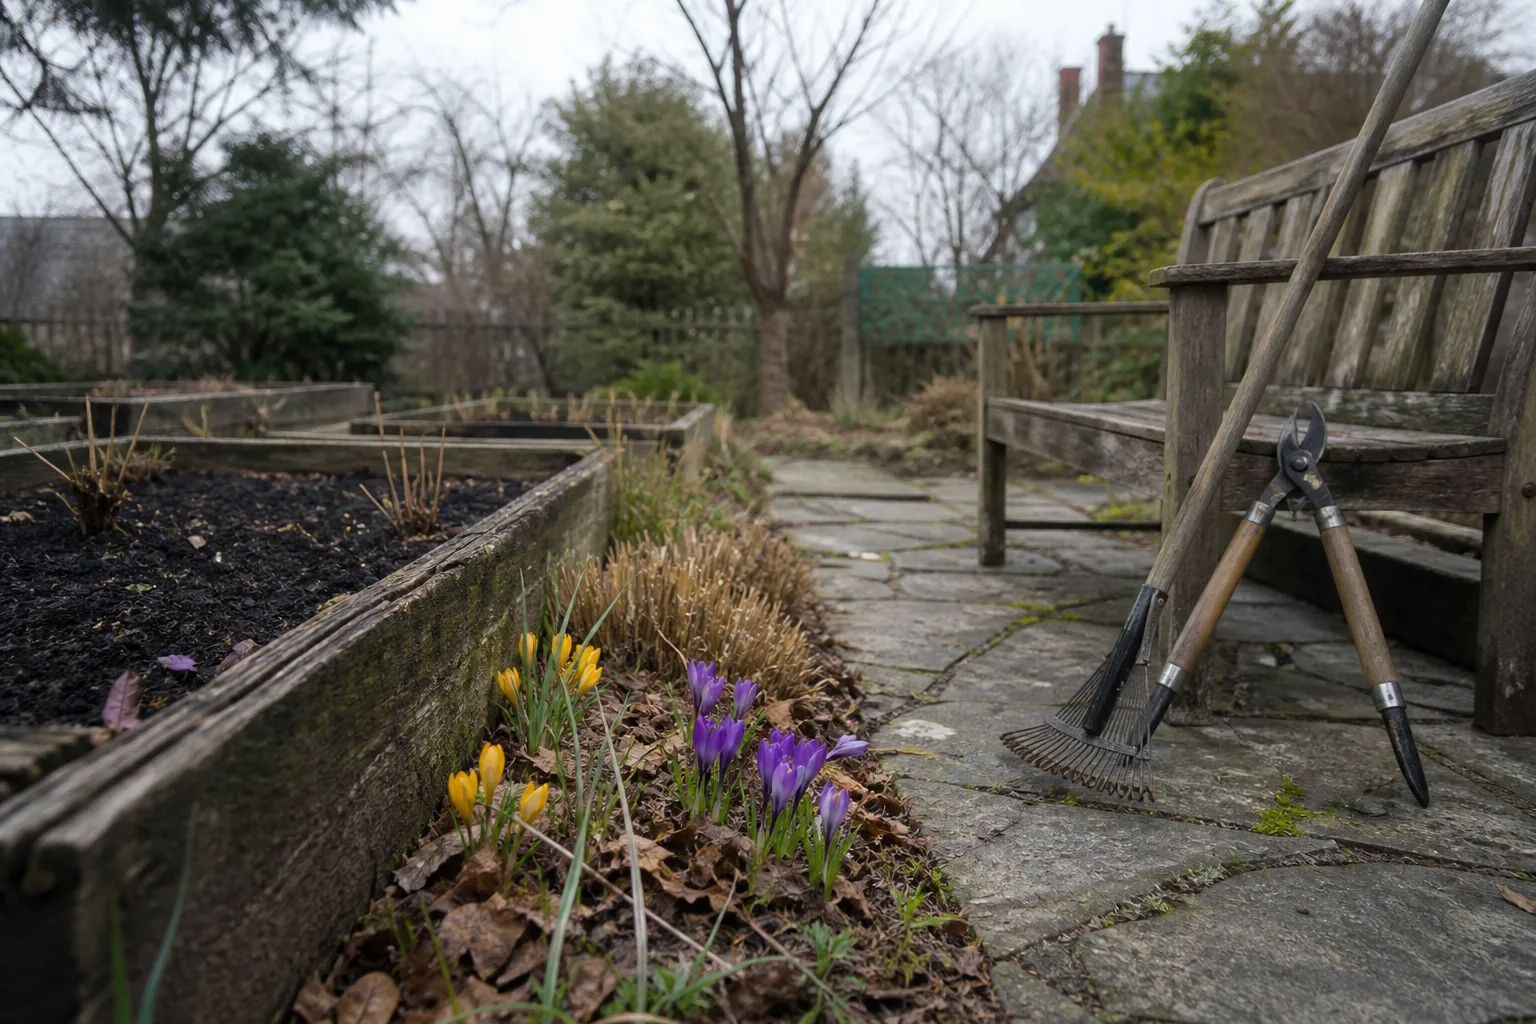
The best spring garden work often begins before the garden looks ready for it. You can plan from indoors, order plants before the good choices disappear, test soil, and service tools while beds are still dormant. When you do go outside, the right cue is not a date on the calendar; it is soil that is workable, plants that are at the right growth stage, and weather that will not undo the job overnight.
This list gives you seven high-return tasks and the boundaries that make them safer. Use it in late winter or the first stretch of spring, adjusting the timing to your last frost, rainfall, elevation, and the plants already growing in your yard.
What “now” means in different climates
“Now” might mean late winter in a cold continental climate, January in a mild coastal garden, or the start of the dry season somewhere with little frost. Rather than assigning one universal week, use three checks: can you work the soil without smearing it into a dense ribbon, are the plants still dormant or only beginning to push growth, and is a hard freeze likely immediately after the task?
If your soil is frozen, saturated, or sticky underfoot, stay on paths and do the indoor work first. Utah State University Extension advises incorporating organic matter only when soil is not wet because working wet ground can create compaction and hardpan, especially in clay. That one rule prevents a great deal of spring “preparation” from making the bed harder to grow in.
In warm-winter regions, the garden may already be growing while a colder region is still dormant. That shifts the sequence: prune and plant by what the individual plant is doing, not by what a northern checklist says should happen. A local extension service, frost-date record, and the plant’s bloom habit are more useful than a generic month name.
Task 1: Audit last season before planning
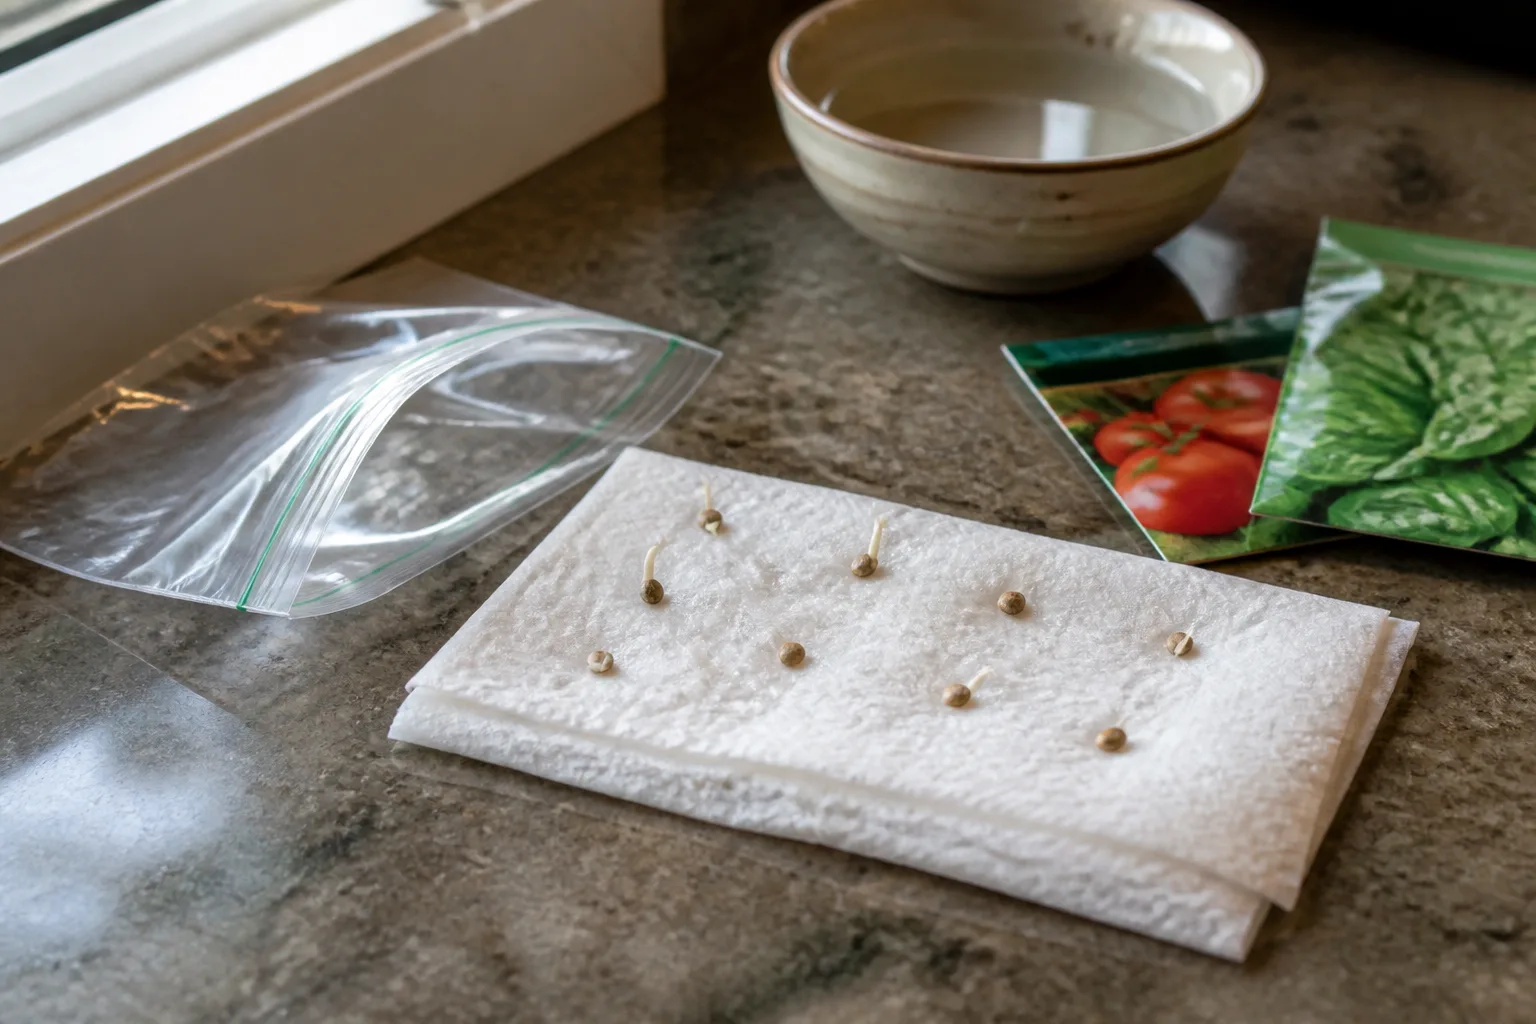
Planning is the easiest task to start today, and it has an unusually high payoff because it stops you from buying plants for the same empty spot that failed last year. Gather phone photos, seed packets, plant tags, and any notes you made during the season. Look for repeated patterns: a bed that dried out, a corner that stayed wet, a color gap in midsummer, a vegetable that was shaded by August, or a container that needed water twice a day.
Do not try to redesign everything at once. Make three short columns—keep, change, and test. “Keep” might include a reliable herb border or a perennial that carried pollinators through a quiet period. “Change” might be moving a sun-hungry plant away from a fence shadow. “Test” is where you record ideas that need a small trial rather than a full-bed commitment, such as a new annual, a different mulch, or a crop succession.
Turn photos into a planting brief
A useful photo review answers four questions: what was flowering when the garden felt empty, where did foliage hide a path or window, which plants looked healthy without constant intervention, and what problem appeared more than once? Put the answers on one page. That page becomes your filter at the nursery and keeps a beautiful plant from becoming an expensive mismatch.
Record the actual site conditions beside each proposed change. Note morning versus afternoon sun, exposure to wind, irrigation reach, mature plant width, and whether roots from a tree are competing in the bed. If a plant needs consistently moist soil but the only open site is under a roof drip line, the answer is not more fertilizer; it is a different plant or a different site.
Build a bloom and harvest sequence
Many gardens look full in one month and vacant the next because every plant was chosen for the same peak. Mark the approximate flowering or harvest window for what you already grow, then add one or two candidates for the gaps. Spring bulbs, early perennials, shrubs, annuals, and herbs do not need to peak together to make the garden feel continuous.
The same idea works in a vegetable bed. Reserve space for a second sowing of quick crops rather than filling every row on the first warm weekend. A simple succession plan is more useful than a long wish list because it tells you where the next crop goes after peas, radishes, lettuce, or another short-season planting finishes.
Task 2: Order seeds, bulbs, and scarce plants with a list
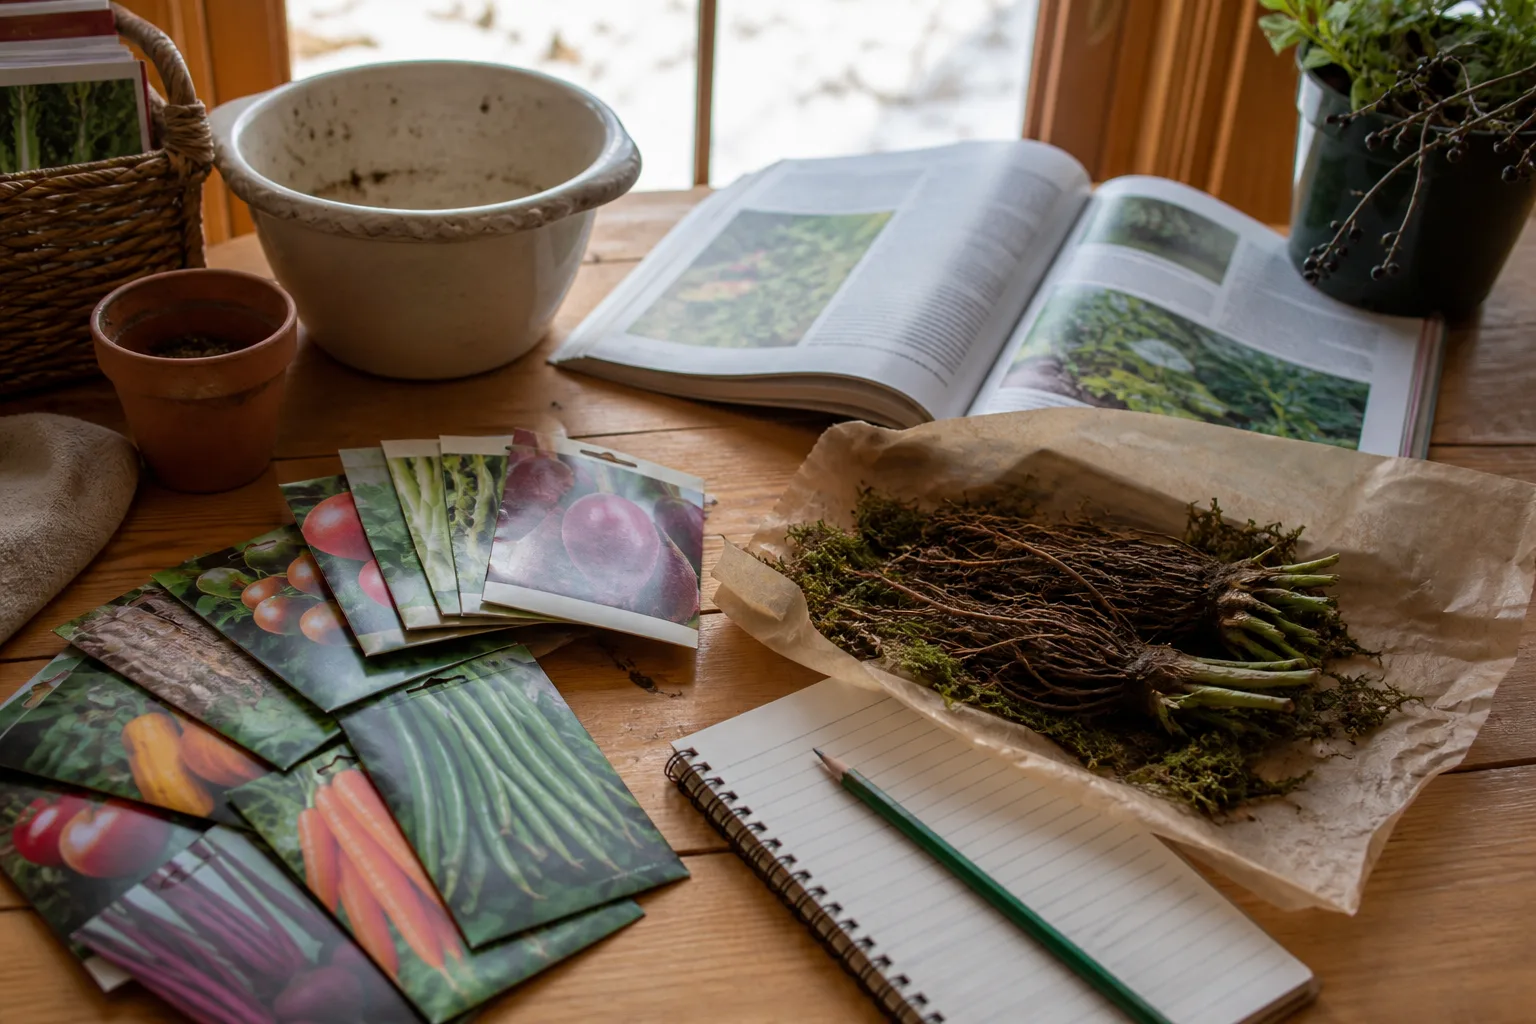
Once the plan is clear, check availability early. Popular seeds, unusual bulbs, bare-root plants, and specific cultivars may be sold out by the time the soil is ready. Ordering early is useful only when it is tied to a site and a planting window; a packet of seeds that needs full sun is not a bargain if your available bed is shaded by a newly leafed tree.
Use a three-part shopping list: must have, good substitute, and do not buy unless the site changes. The substitute category is a practical safeguard. If a preferred tomato, perennial, or bulb disappears, you can choose a cultivar with similar height, bloom time, moisture tolerance, or mature spread instead of making an impulse purchase that breaks the design.
Match purchases to site constraints
Before placing an order, check the plant’s mature size, hardiness range, light requirement, bloom season, drainage preference, and whether it is suited to containers or in-ground soil. Treat hardiness zones as a winter-survival clue, not a promise that a plant will thrive. Heat, humidity, wind, summer drought, soil pH, and drainage can be the limiting factor even when winter temperatures are acceptable.
Also confirm the planting date. A seed packet’s “start indoors” instruction is not a signal to start immediately; it is a timing instruction that usually works backward from a local transplant date. Keep seeds cool, dry, and clearly labeled. For bulbs and bare-root plants, follow storage and planting directions from the supplier rather than leaving them in a warm garage until spring is fully underway.
Task 3: Test soil before adding amendments
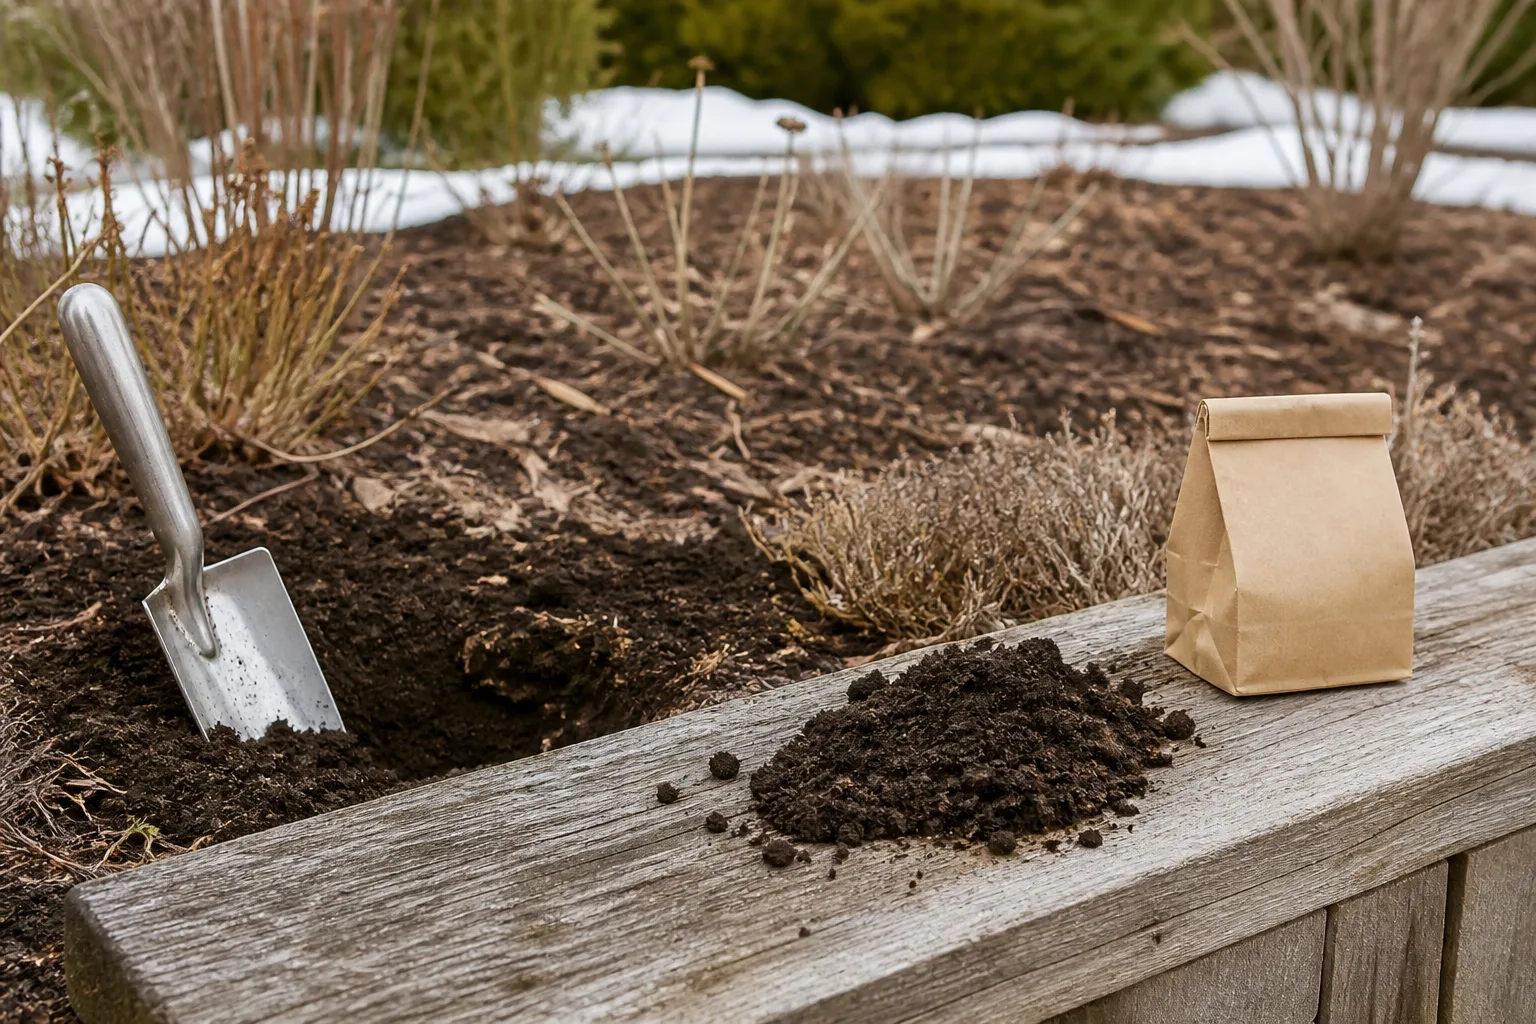
Soil testing is the task that prevents the most confident-looking mistake: adding a little of everything. A soil test can reveal pH, available nutrients, and sometimes salinity or organic matter concerns. It turns “the plants look hungry” into a more specific decision about whether the problem is fertility, drainage, compaction, plant selection, or something else.
Penn State Extension describes soil testing as the reliable way to understand what nutrients a garden soil needs. Its sampling guidance also makes the important point that a single scoop is not representative of a whole bed. Sample several places in the root zone, combine them, and submit a mixed sample according to the laboratory’s instructions.
Take a representative soil sample
For a standard garden bed, use a clean plastic bucket and a trowel or soil probe. Avoid a metal container that could contaminate the sample. Take roughly eight to ten small samples from random spots in the same growing area at about six to eight inches deep, keeping unusual areas—such as a compost pile edge, path, or recently fertilized patch—out of the general sample.
Mix the scoops thoroughly, break up clumps, remove stones and roots, and let the mixed soil air-dry on clean cardboard or a tarp. Submit the amount your lab requests; Penn State’s basic procedure describes about one to two cups. If you have a lawn, vegetable bed, raised bed, and ornamental border, sample them separately because they have different histories and different nutrient demands.
Use results instead of guessing with compost
Compost is valuable, but “organic” does not mean “apply without limits.” Utah State University Extension explains that organic matter can improve structure, moisture retention, aeration, and workability, while also warning that composts and manures can add phosphorus and potassium. Excess nutrients can move into water or build salinity, so test before making repeated heavy applications—especially in raised beds that receive fresh compost every year.
Use the report’s rate and the amendment’s label rather than copying a neighbor’s quantity. In general, a thin annual top-dressing is easier to manage than a dramatic dump, and finished compost is safer around established plants than fresh manure. Never use sand as a quick fix for clay; the texture and amount can make the bed worse. Most importantly, do not dig or till while the soil is wet. If it forms a shiny smear or your boots leave deep, sticky footprints, wait.
Mulch is a separate job from amending soil. A surface layer of compost, leaf mold, or another suitable mulch can suppress weeds and reduce moisture loss, but it should not bury crowns or touch woody stems. The RHS guidance on organic mulch recommends applying it in late winter or early spring when soil is moist but not frozen or soggy, with at least about two inches over bare soil and a clear gap around trunks and stems.
Task 4: Clean and sharpen tools
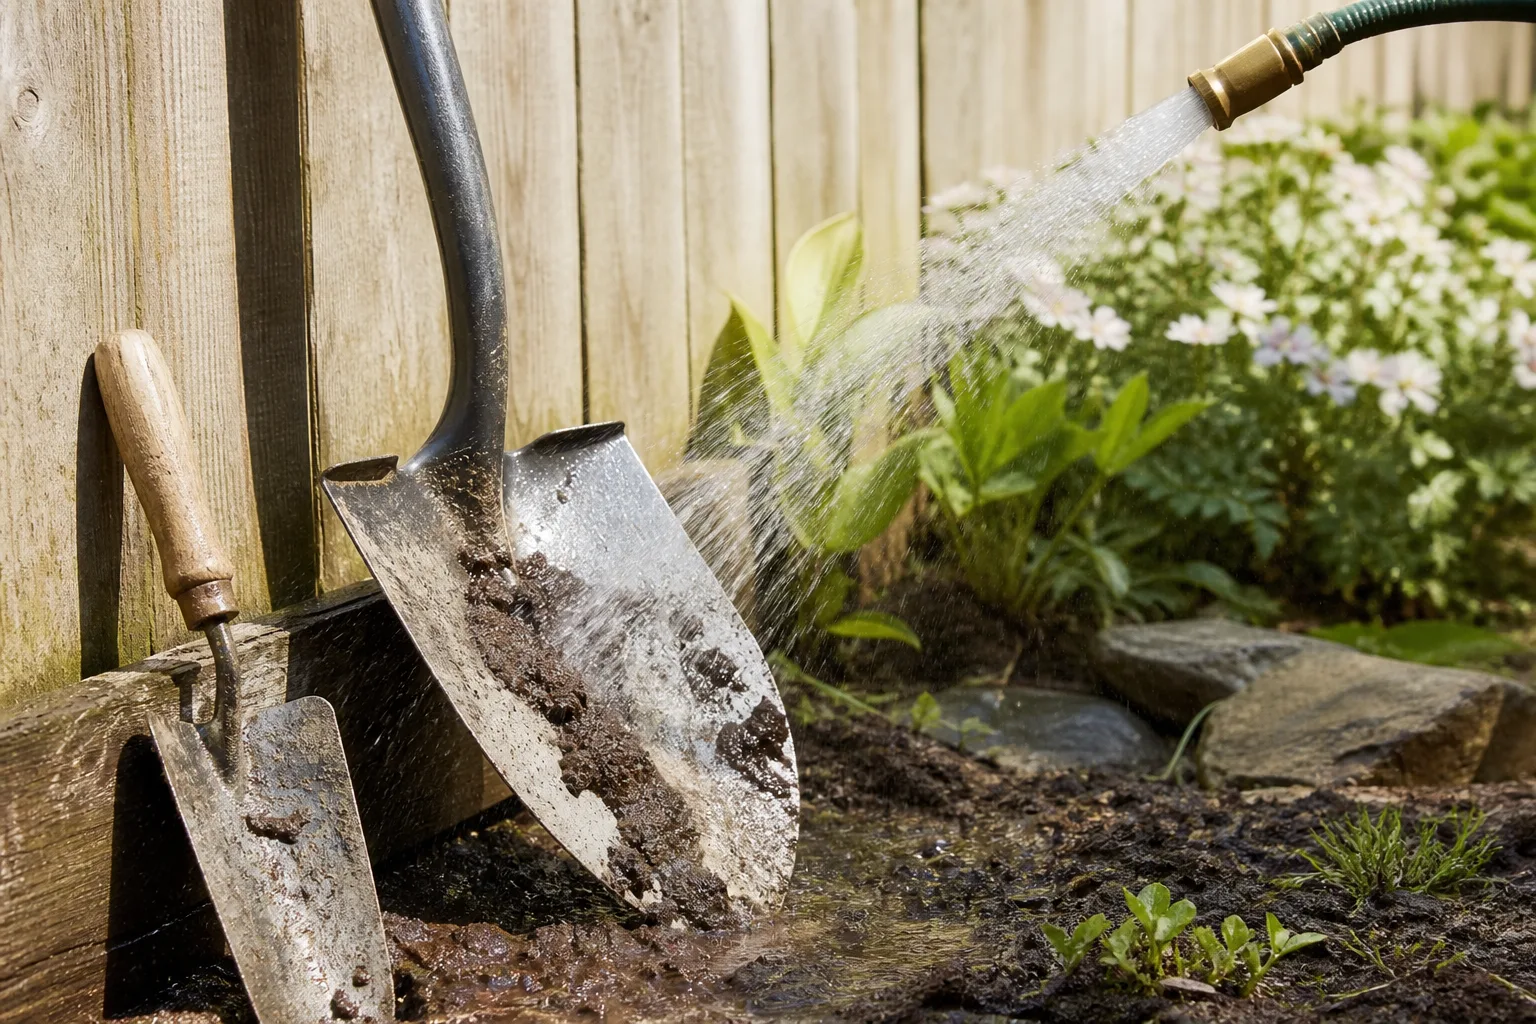
A tool check is more than spring housekeeping. Soil on a spade can move pathogens between beds, sap can make pruners drag, and a dull blade crushes tissue instead of making a clean cut. Lay out the tools you actually use—hand pruners, loppers, shovel, spade, fork, hoe, trowel, rake, hose fittings, and gloves—and sort them into keep, repair, and replace.
Start with cleaning. Brush dry soil from blades, shafts, and joints, then wash what needs washing and dry it completely. The RHS tool-cleaning guidance notes that clean, well-maintained tools work better and are safer, and that cleaning and sterilizing equipment helps control the spread of plant diseases and viruses. Occasional oil on clean metal and a drop at a pivot can prevent rust and stiffness, but follow the product label and wear gloves when using oil or wire wool.
Sanitize tools that touched diseased plants
Normal dirt removal is not the same as sanitation. If a pruner touched visibly diseased foliage, cankered wood, suspect roots, or contaminated potting material, brush off debris first and then use a suitable disinfectant according to its label. Give the product the required contact time before wiping and drying the blade. Do not pour disinfectant into garden soil or a waterway.
Sharpen only after the blade is clean, so you can see whether it is nicked, bent, or damaged beyond a home repair. The RHS sharpening guide recommends sharpening the angled side of a secateur blade and avoiding the flat side that provides the cutting bite. A file is appropriate for many hoes and spades; a diamond tool or whetstone suits some pruning blades. If a blade is badly damaged or you are unsure of its geometry, a tool shop is safer than grinding away metal.
Finish by tightening loose fasteners, checking springs and locks, replacing cracked handles, and storing tools dry. Coil hoses without kinks and test shutoff valves before the first hot week. A ten-minute inspection now can keep a planting day from turning into a trip to buy a replacement.
Task 5: Prune only what is safe for this window
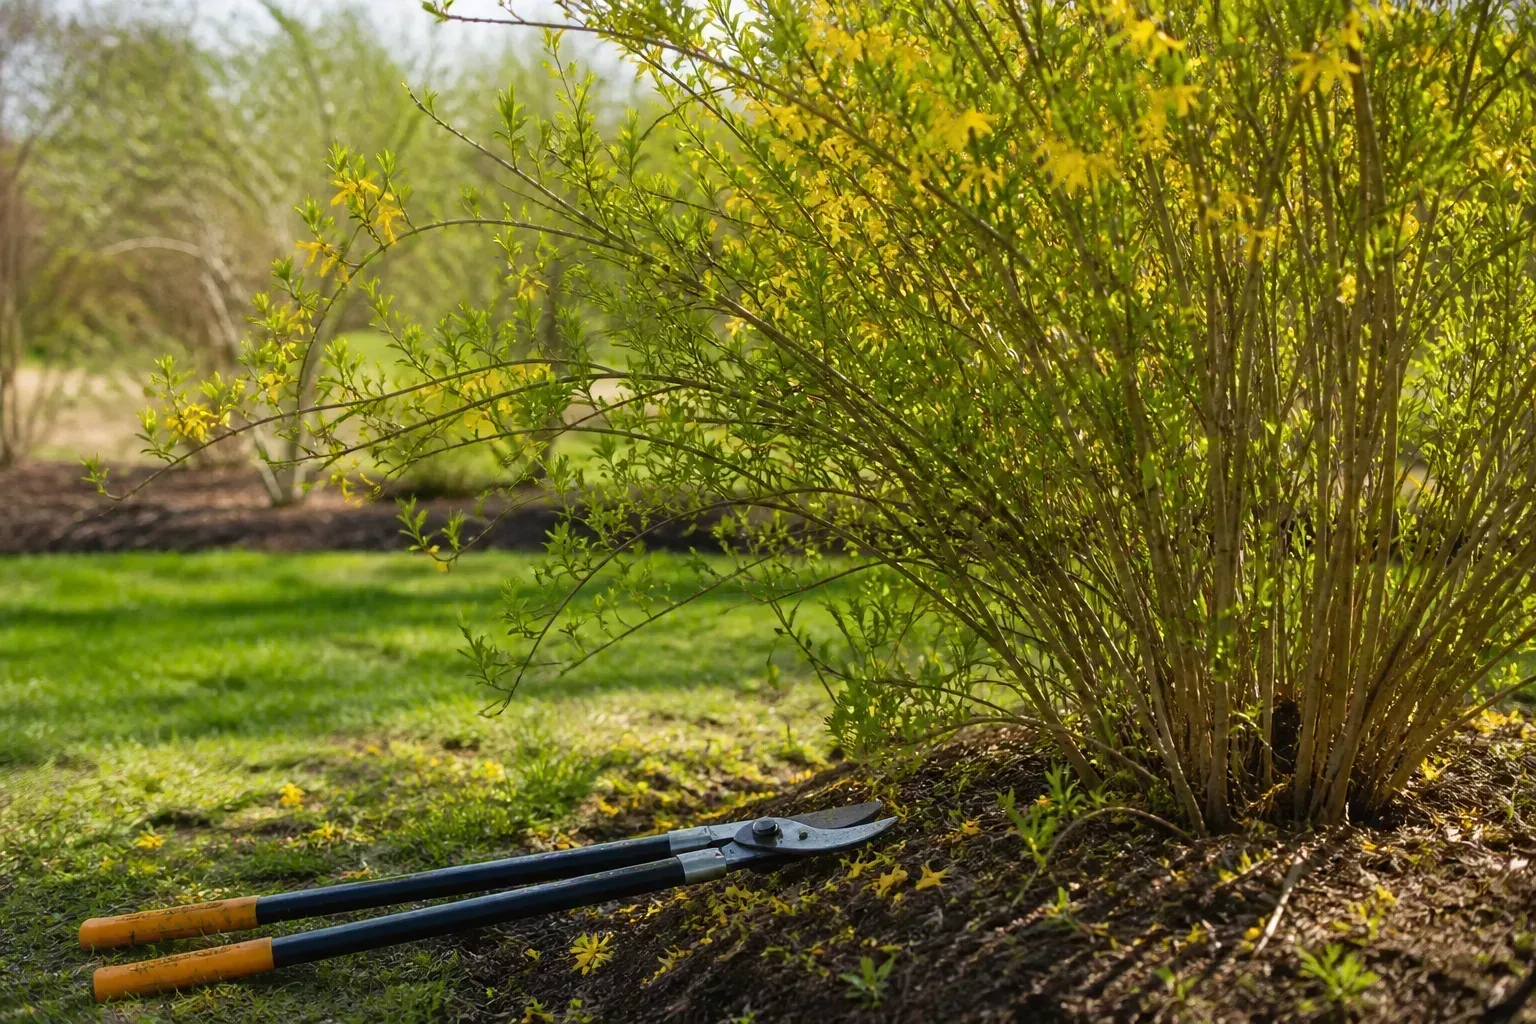
Pruning is not a general “make it smaller” task. It is a cut made for a reason—removing dead or dangerous wood, correcting a crossing branch, improving light and airflow, renewing an overgrown shrub, or shaping a plant for a specific space. Decide the reason before picking up the saw, then identify the plant and learn whether it flowers on old wood or new growth.
Dead, broken, rubbing, or clearly diseased wood is usually the safest place to begin, provided you can make the cut without climbing beyond your equipment or working near utilities. Remove a damaged branch back to healthy wood or to a suitable branch collar; do not leave a long stub and do not flush-cut into the trunk. For large limbs, trees near structures, or work that requires a chainsaw or ladder, hire a qualified arborist.
Choose pruning by plant and purpose
If a shrub flowers in spring on buds formed the previous year—many forsythias, lilacs, and other spring-flowering shrubs—hard pruning before bloom can remove the display. Let it flower, then prune soon afterward if it needs shaping. Plants that flower later on new-season growth often tolerate a dormant or early-growth pruning window, but the species still matters. The RHS February jobs guide and the BBC Gardeners’ World spring checklist both separate seasonal pruning jobs rather than treating every shrub alike.
Do not prune because a branch looks inconvenient in a winter photo. First check for flower buds, wildlife use, grafts, suckers, and the plant’s natural habit. Avoid shearing a shrub into a dense outer shell when the real issue is a few old branches inside. For ornamental grasses and herbaceous perennials, wait until you can see the new growth and leave healthy stems standing if they provide winter structure or habitat.
Make fewer, better cuts. Clean the blade between plants when disease is possible, step back after each cut, and stop when the original problem is solved. If you cannot name the plant or the purpose of the cut, put the pruners down and mark it for later identification.
Task 6: Clean containers and prep growing space
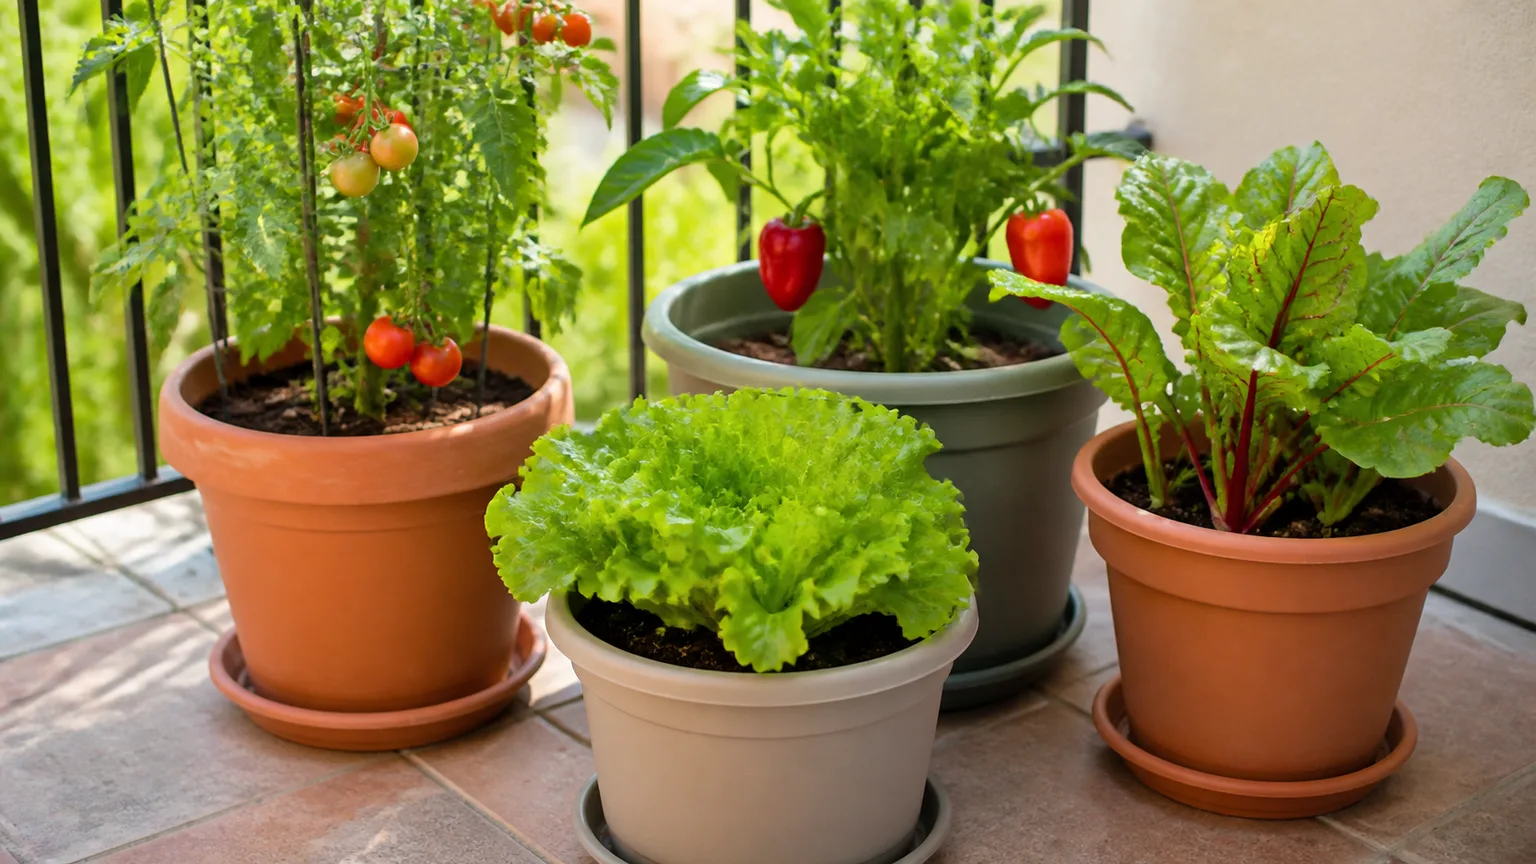
Containers are small growing systems, so last season’s residue matters. Empty old pots, remove root balls and crusted fertilizer, scrub the inside and outside, and check every drainage hole. A pot that held a diseased plant deserves more careful cleaning than a pot that held a healthy annual, and porous materials may retain salts or pathogens longer than glazed plastic.
Do not automatically reuse exhausted potting mix for seedlings. It may be compacted, depleted, salty, or carrying pests. If you reuse it, follow a crop-appropriate guidance source and refresh it with clean materials; for seed starting, fresh sterile or properly prepared mix is the more predictable choice. Wash saucers, trays, plant labels, and greenhouse surfaces while there is time to let them dry.
Make containers ready to plant
Group containers by their future job: sun-loving annuals, thirsty herbs, drought-tolerant plants, or shade perennials. Match the pot size to the plant’s root system rather than filling a huge container with wet mix around a small root ball. Confirm that each pot has an unobstructed drain hole and that the chosen location allows excess water to escape.
Use this reset to solve last year’s recurring problem. If a pot dried out by midday, a larger volume, a less porous pot, a moisture-retaining mix, or a less exposed location may help. If it stayed soggy, improve drainage and choose a plant that tolerates the conditions rather than watering more carefully forever. Place saucers where they protect a surface without leaving the pot base standing in water.
In beds and borders, walk the layout before you start digging. Repair edging, stakes, trellises, cold frames, and irrigation connections. Mark bulbs or perennials that are still underground so you do not slice through them while removing a weed. The goal is a growing space that is ready to receive plants, not an empty space stripped of every bit of useful cover.
Task 7: Leave useful winter habitat while removing hazards
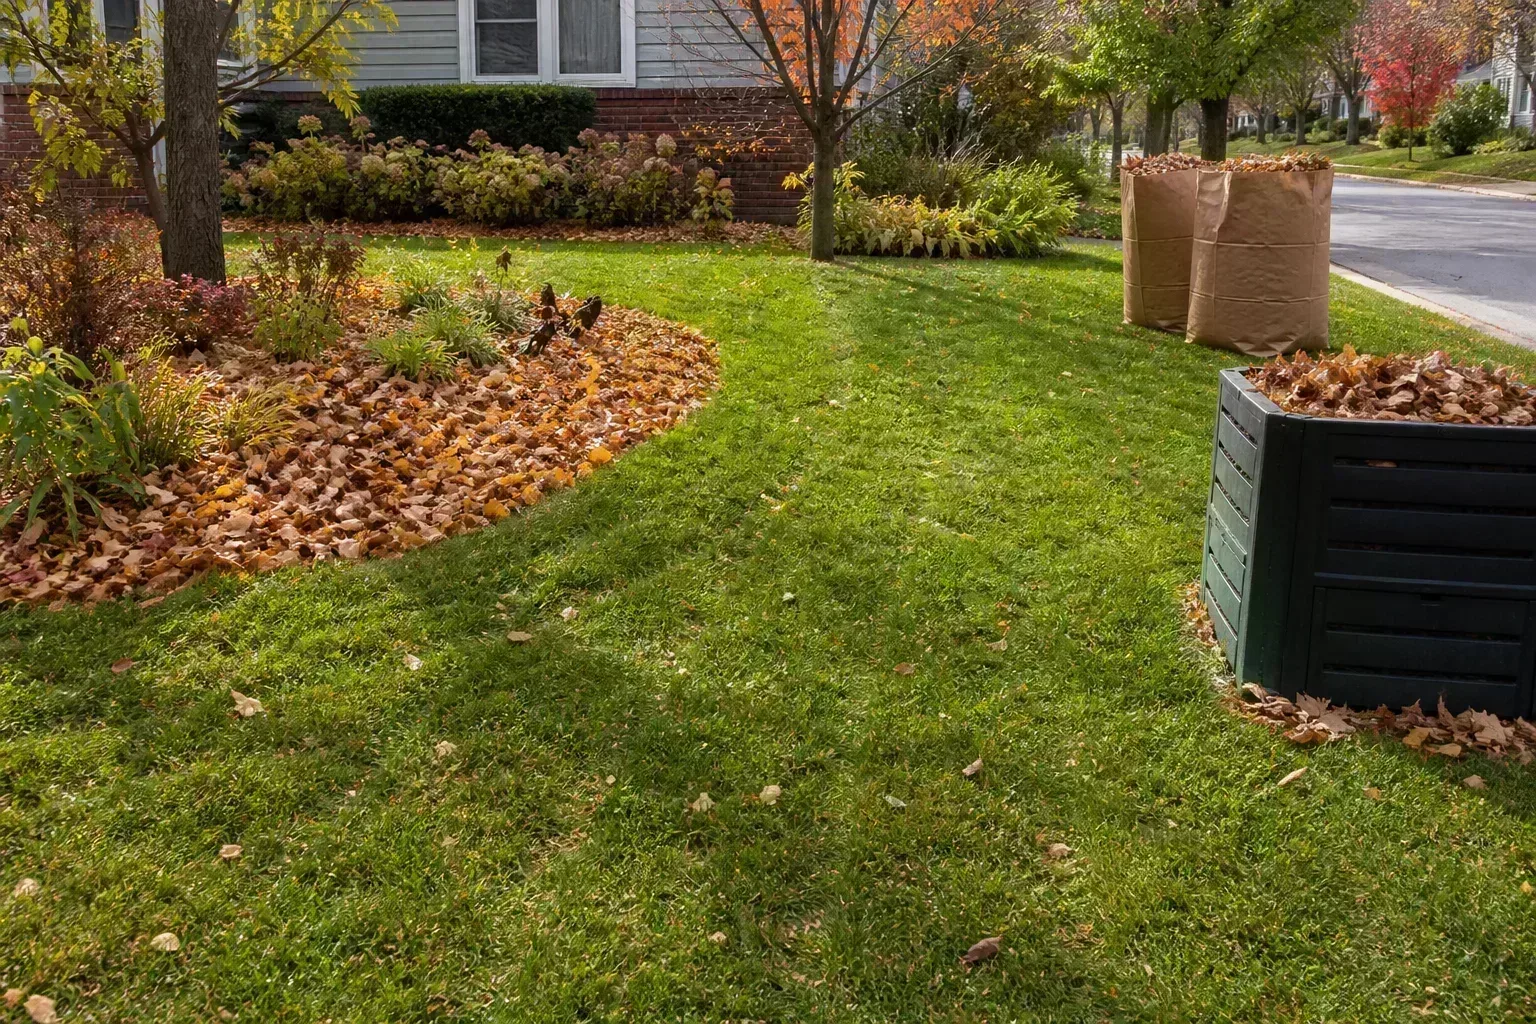
Spring cleanup is where good intentions can do the most unintended damage. Remove what threatens plant health or safety: diseased foliage, slimy debris pressed against crowns, invasive weeds before they seed, storm-damaged branches, and leaf mats that are smothering lawn or new growth. Leave healthy stems, seedheads, and some leaf litter where they provide cover, food, or overwintering habitat.
The RHS notes that cleaning fallen leaves, diseased growth, and debris can reduce pests and disease, but also cautions that too much tidying can discourage wildlife. That is the useful middle ground: sanitation in the places that need it, habitat in the places that can keep it.
What to remove now vs. what to leave
Remove diseased plant material from beds and dispose of it in the way your local waste program recommends; a cool backyard compost pile is not a universal treatment for every disease. Pull perennial weeds before laying mulch. Clear leaves from drains, roof valleys, paths, and lawn areas where a thick wet layer blocks light and air.
Leave a portion of healthy leaf litter under shrubs, along a back border, or in a designated wildlife patch. Keep hollow stems and seedheads until new growth makes their condition clear, then cut them high enough to avoid damaging emerging crowns. If appearance matters at the front entrance, tidy that narrow zone and keep a looser, later-cleaned area elsewhere.
Do not burn or shred unknown plant debris into the garden. Do not rake aggressively over emerging bulbs, ground-nesting areas, or a bed that is still frozen. And do not treat every insect you see as a pest: early-season beneficial insects and pollinators are part of the garden’s working system. When in doubt, identify first.
A two-pass spring-garden checklist
Think of preparation as two passes instead of one exhausting cleanup day.
Pass one: do now or indoors. Review photos and sketch the bed. Check seed, bulb, and plant availability. Order only what fits the site. Submit soil samples. Wash, disinfect, sharpen, and repair tools. Empty and scrub containers. Remove only obvious hazards and diseased debris. Write down plants you need to identify before pruning.
Pass two: wait for the right cue. Work beds only when soil is workable. Add compost or mulch at the rate and depth your soil and plants can use. Prune after confirming the plant’s bloom habit. Cut back grasses and perennials when new growth shows where the crown is. Finish selective cleanup when the garden is waking up, not just because a warm afternoon feels like spring.
This order also protects your budget. Soil results may change what you buy. The site audit may eliminate a plant from your list. A tool repair may save a purchase. And leaving a healthy layer of habitat means less hauling, less replacement mulch, and more time spent on the part of gardening you actually enjoy.
Conclusion
The most useful gardening tasks to start now for spring are the ones that make later decisions easier. Review what worked, plan around real site conditions, reserve plants that fit, test soil before feeding it, service tools before cutting, prune according to the plant, reset containers, and clean selectively.
You do not need to finish the whole garden in one weekend. Start with the indoor audit and soil sample, then take your tools outside on the next dry, workable day. By the time spring growth accelerates, you will have a clearer plan, fewer preventable problems, and a garden that still has room for the wildlife and natural structure that make it feel alive.



