The 6 Rules for Arranging Plants in a Living Room
Learn how to arrange plants in a living room with six practical rules for light, scale, texture, color, pathways, safe pots, and a display that stays easy to care for.
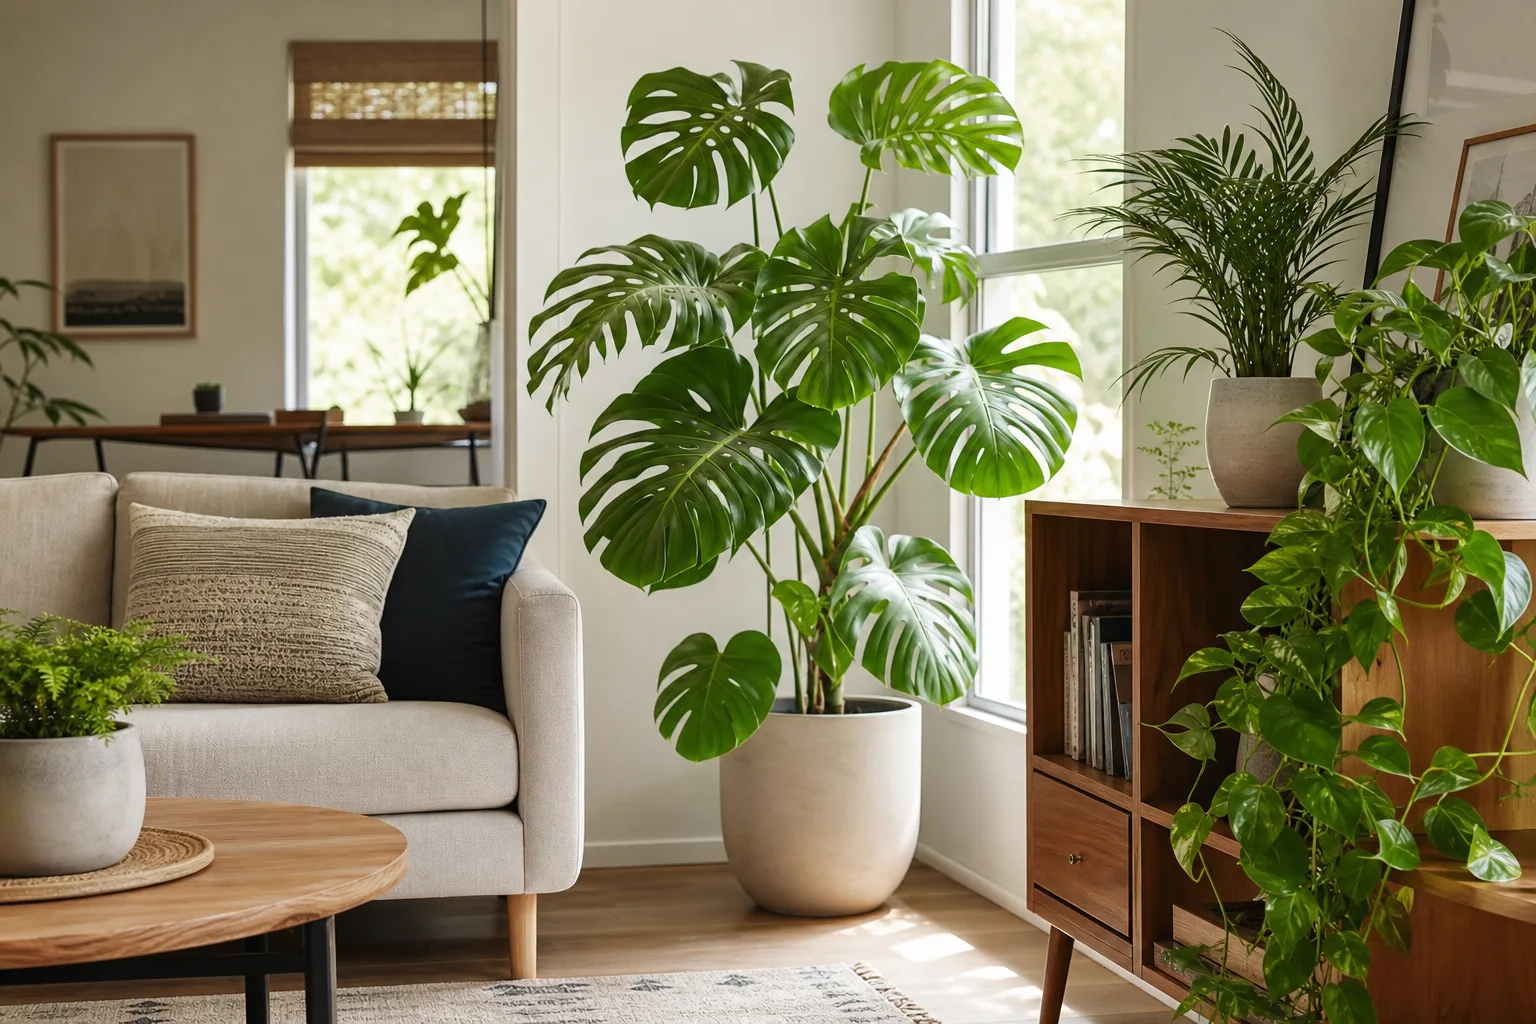
The best living room plant arrangement is not the one with the most pots. It is the one that makes the room feel balanced while giving every plant a workable place to live. That means a bright window may be the right home for one plant and the wrong home for another, even when both look perfect beside the sofa.
Use the six rules below in order. First map light and movement, then create a composition with one anchor, layered heights, contrasting foliage, restrained color, and intentional lines. Finish by checking drainage, stability, access, and how the plants are actually responding.
Start with a light-and-traffic map
Before choosing a plant stand or shifting the coffee table, mark the room’s usable zones. Look at the windows in the morning and afternoon, note where curtains or nearby buildings reduce light, and identify the routes people use to reach the sofa, door, media console, and windows. A plant that looks beautiful in a walkway will eventually be bumped, and one placed in a dark corner may become a stretched version of the plant you bought.
Measure the room before moving a pot
Take a quick photo from the doorway and from the main seat. These are the two views that matter most: the arrival view tells you whether the display creates a clear focal point, while the seated view tells you whether leaves block artwork, conversation, the television, or the view outside. Mark the footprint of a potential floor plant with painter’s tape or folded newspaper before carrying a heavy pot across the room.
Treat the area in front of a window as a gradient rather than one uniform light zone. Glass, sheer curtains, exterior shade, and the distance from the pane all change what reaches the leaves. A plant can be “near a bright window” and still receive much less usable light once it sits behind a sofa or several feet into the room.
The same map helps you choose the display’s scale. If the room has a large empty corner but only a narrow passage beside it, a tall, upright plant can fill the corner without spilling into the route. If the room is already dense, a single tabletop plant or a wall shelf may add life without stealing floor space.
Read the plant, not the label alone
“Low light,” “indirect light,” and “bright light” are useful starting categories, not precise measurements. The RHS houseplant lighting guide explains that houseplants vary in whether they need full sun, bright indirect light, or shade. Use the plant’s mature shape, growth speed, and light tolerance alongside the room map before you make a visual decision.
Light also changes the shape of the plant over time. The RHS explains that plants grow toward a light source and that low light can produce tall, spindly growth. So if a plant begins leaning toward the window or develops long gaps between leaves, the arrangement is giving you useful feedback. Turn the pot gradually, move it closer to suitable light, or add a properly positioned grow light; do not keep pruning away the evidence while leaving the cause unchanged.
Care labels also flatten important differences between species. For a concrete example, the NC State Extension Plant Toolbox profile for dracaena lists dappled sunlight, deep shade, and partial shade among its recorded light conditions, so “works in a living room” still needs to be translated into the light available in your particular room.
Rule 1: Build clusters with one visual anchor
A cluster works when the eye can understand it quickly. Start with one plant that carries the most visual weight—perhaps a broad-leaved monstera, a tall dracaena, or a full fern—then add smaller plants that support it rather than competing with it. Think of the group as an anchor, a bridge, and a counterweight: the anchor establishes height or mass, the bridge connects it to the surface, and the counterweight fills the lower or opposite side.
The Gardening Know How guide to displaying houseplants shows why walls, ceilings, and floors can all take part in a display. A cluster does not have to mean three pots squeezed onto one table; it can be three related placements that occupy one visual neighborhood without crowding one another.
Use the rule of three as a starting point
The rule of three is useful because an odd-number group usually feels less rigid than a matched pair. The number is not magic. What matters is that the plants differ enough in height, outline, or leaf texture that the group reads as a composition rather than a row of duplicates.
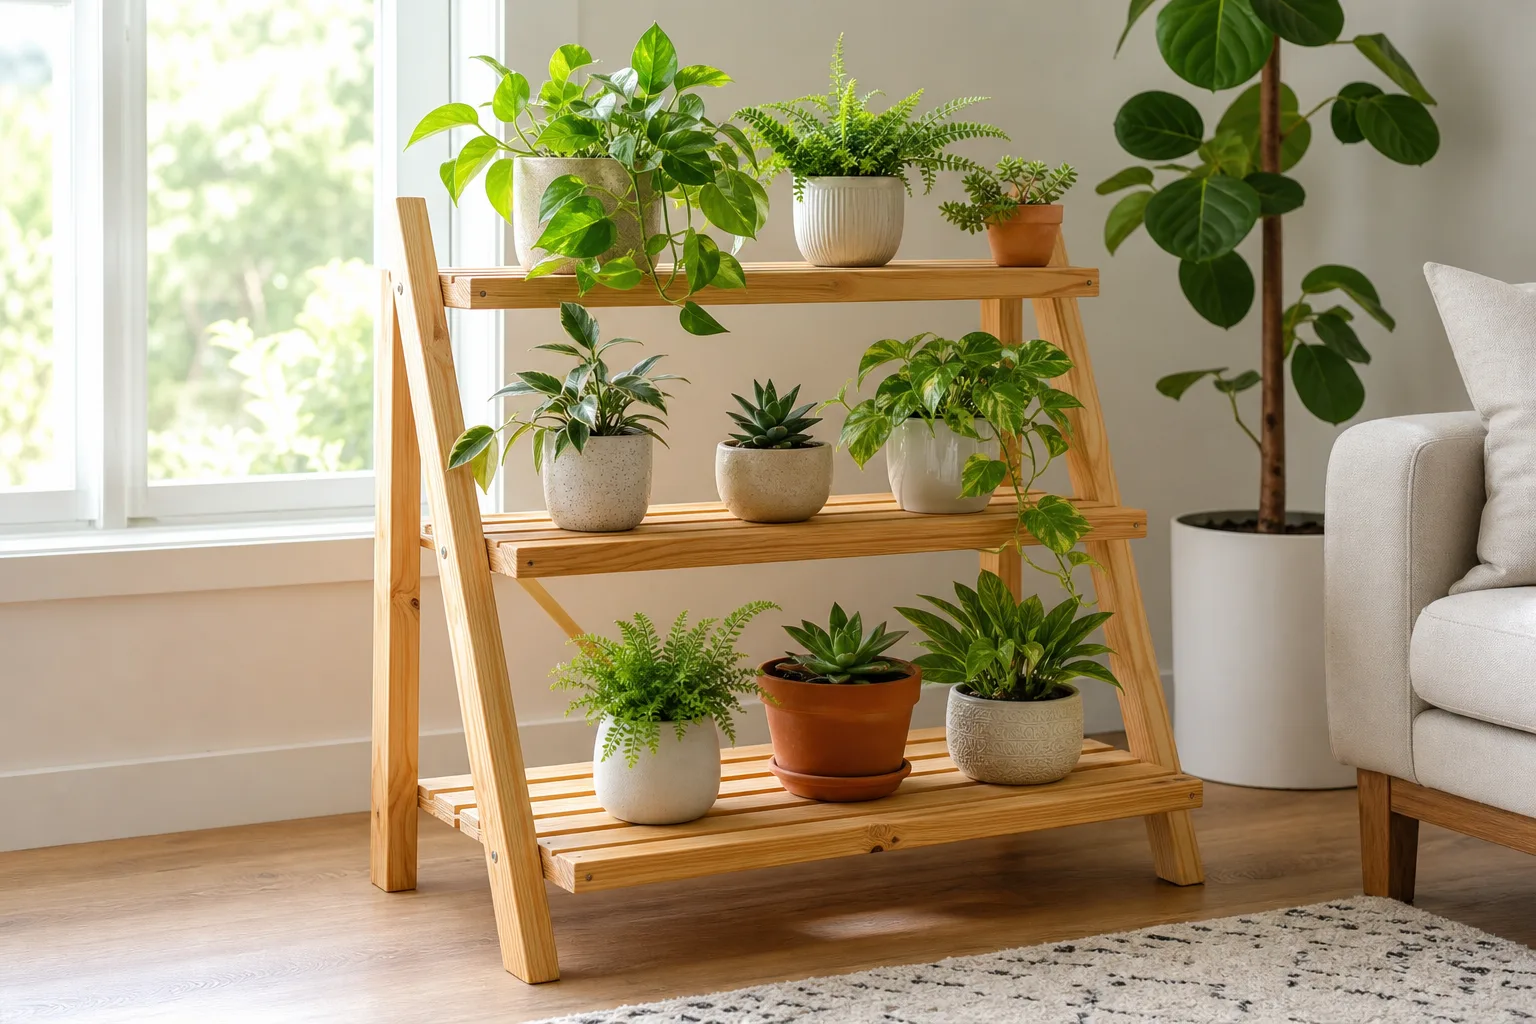
For a shelf, try one medium plant with an upright silhouette, one smaller plant with rounded or narrow foliage, and one trailing plant that softens an edge. On the floor, use a tall plant, a middle-height plant on a low stand, and a small pot that visually closes the gap. Leave a little breathing room between canopies so each plant remains identifiable.
Group plants with broadly similar light and watering needs when possible. This reduces the number of separate care routines, but it does not mean the pots should touch or share permanently wet air. Keep enough space to inspect stems and soil, wipe leaves, rotate pots, and remove one plant quickly if pests appear.
Know when a single plant is better
One strong specimen often looks more deliberate than a cluster in a small living room. Use a single plant when the pot already occupies a large footprint, the leaves have a dramatic silhouette, or the room has one obvious corner that needs an anchor. A fiddle-leaf fig, rubber plant, or mature palm can be the room’s punctuation mark; adding two small pots beside it may only make the corner feel busy.
The exception is a visually light plant. Fine, feathery foliage can disappear against a large sofa or blank wall, so a small group or a taller stand may give it enough mass. The fix is not automatically “buy more plants.” Try a contrasting pot, a raised level, or a darker background first.
Rule 2: Layer height without blocking the room
Living rooms look flatter when every plant sits at the same level. Use the room’s vertical volume by combining floor plants, stands, shelves, and—when the structure and hardware are safe—hanging baskets. The goal is a staggered rhythm, not a wall of leaves that hides the room’s architecture.
Use floor, stand, and shelf levels
Build a three-level composition with a clear tallest point, a middle layer, and a low or trailing layer. The tallest plant usually belongs in a corner, beside a substantial piece of furniture, or near a window where its silhouette can be seen without blocking the glass. The middle layer can sit on a plant stand or console, while the low layer fills the visual gap near the floor or edge of a table.
Plant stands are useful because they raise foliage into the sightline and create separation between pots. BBC Gardeners’ World Magazine’s guide to indoor plant stands notes that stands come in one-pot and multi-tiered forms and can improve access, airflow, and use of limited floor space. Choose the stand for the plant’s eventual size and the pot’s loaded weight, not just for the empty stand’s appearance.
Do not stack height for its own sake. A tall stand directly beside a tall floor plant can create one heavy column, while three identical shelves can look like storage. Offset the heights slightly and let one form overlap another only where the overlap improves the composition and does not hide leaves or make watering awkward.
Keep shelves and hanging plants practical
Shelves are excellent for small pots and trailing plants, especially when floor space is limited. Use a shelf that is anchored for the load, keep the pot away from the front edge, and check that a trailing vine will not catch on a person, lamp, curtain, or ceiling fan. A shelf above a sofa should be treated as a structural decision first and a styling decision second.
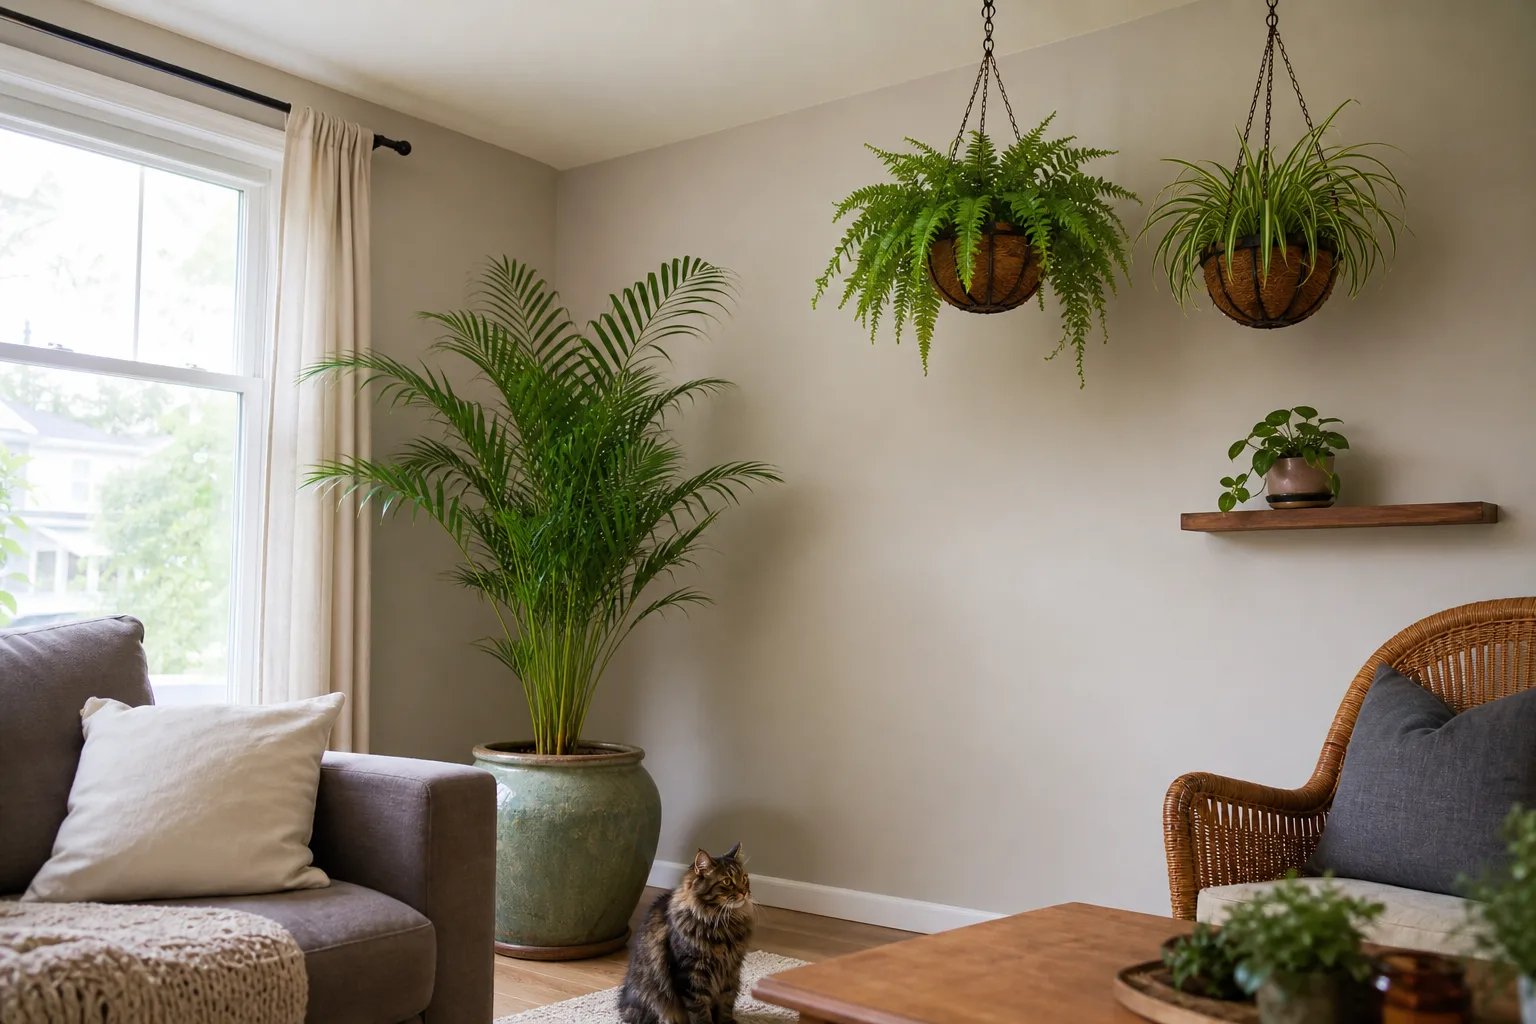
Hanging plants can lift the eye and frame a window, but they are harder to water without drips. Keep a stable route to the basket, use a container that can hold a saucer or a controlled watering method, and leave enough clearance that the plant will not brush people as it grows. If you cannot reach it safely for inspection and watering, it is not in a good location no matter how polished the photograph looks.
Rule 3: Mix leaf texture and silhouette on purpose
Texture is what keeps a plant arrangement from becoming a green blur. Broad, split, or glossy leaves carry visual weight; narrow, strappy leaves create direction; fine fronds add airiness; and trailing vines extend the composition beyond the pot. Choose two or three different leaf behaviors, then repeat one element—such as a leaf color or pot finish—to keep the grouping coherent.
Start with the furniture. A room filled with woven baskets, boucle upholstery, layered rugs, and carved wood may already have a lot of tactile information, so a simple upright plant can act as a calm counterpoint. In a minimal room, one sculptural plant with large or architectural leaves can supply the detail that décor is missing.
Silhouette matters as much as texture. A round tabletop plant beside a round lamp can create an accidental echo, while a vertical plant beside a low cabinet can sharpen the room’s shape. Look at the arrangement in outline by turning off the room’s decorative lights or squinting at the doorway view; if every plant merges into the same blob, change the height or form before adding another pot.
Avoid putting several plants with the same broad, horizontal leaves together unless the goal is a single mass. Repetition can be effective, but it should look intentional. A broad-leaved anchor paired with a narrow-leaved bridge and a trailing counterweight usually creates more depth than three plants with identical habits.
Rule 4: Let color echo the room, not match it
Green is not one color. Deep glossy foliage can ground pale upholstery, silver or blue-green leaves can cool a warm wood room, and variegated foliage can connect a plant display to a patterned cushion or artwork. Use the room’s existing palette as a guide, then allow the plants to provide a small contrast rather than demanding that every pot and leaf match.
Choose one repeated color cue and one deliberate difference. For example, several warm terracotta or woven containers can link a wood-and-cream room, while a single dark pot gives the display a visual stop. If the foliage is already highly variegated, keep the containers quiet; if the plants are mostly solid green, use pot texture or a controlled accent color to create interest.
Color should never overrule light. A plant with dramatic variegation may need brighter conditions to keep its pattern strong, while a shade-adapted plant may be a better choice for a dim corner even if its leaves are less colorful. If a display only works when a plant is forced into the wrong light, change the plant or the styling element instead of sacrificing its health.
Rule 5: Use plants to lead the eye and frame the architecture
Plants can create a visual path through a living room. A tall upright plant can draw the eye from the floor toward wall art; a trailing vine can soften a hard shelf line; and a plant beside a window can make the transition between glass, wall, and furniture feel less abrupt. Use growth direction to support features that already matter rather than hiding them.
Keep a little negative space between foliage and artwork, mirrors, lamps, and television screens. The plant should frame the feature, not become a competing outline directly on top of it. A clean gap also makes it easier to dust, turn the pot, inspect leaves, and notice when new growth is reaching somewhere it should not.
Pair trailing and upright forms
Trailing and upright plants make a natural counterpoint. Put the upright form lower and let the vine descend from a shelf, or raise the upright plant on a stand while keeping the trailing plant low so the lines cross gently. Avoid placing a trailing plant where its stems will be mistaken for cords or where pets and children can pull them from a shelf.
Use the window and furniture edges as invisible guides. A vine that falls toward the open side of a bookcase can make the whole unit feel softer; one that falls across a cabinet door will turn a styling choice into a daily annoyance. If you want a more symmetrical room, repeat the height or pot color on the opposite side rather than duplicating the exact plant.
Rule 6: Protect pathways, surfaces, and care access
The arrangement is only successful if the room still works. Keep plant leaves out of the path where people turn, sit, or carry drinks, and do not let a pot narrow the route to a window, heater control, outlet, or door. A tall plant should not become a blind corner that hides a pet, child, or tripping hazard.
Give every pot a maintenance route. You should be able to reach the soil, lift or slide the container safely, wipe leaves, and check for pests without dismantling the entire display. If a plant needs to be carried to a sink or shower for watering, make sure there is a clear way to remove it; a beautiful arrangement that is never watered correctly will not stay beautiful.
Pot safely and water without damage
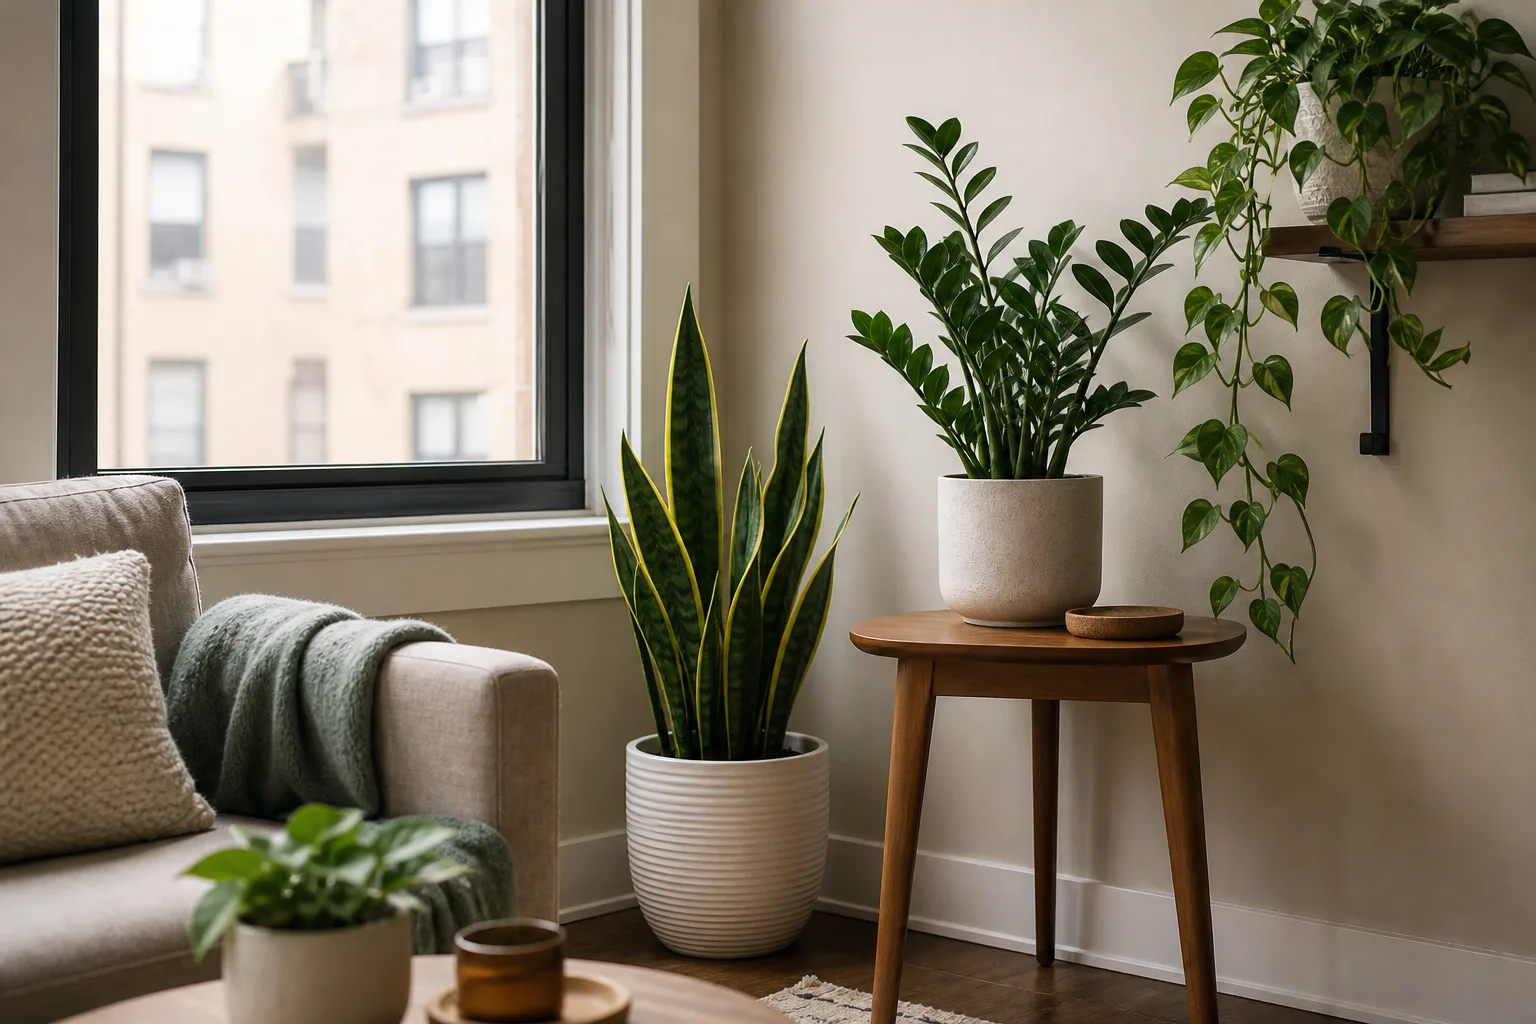
Keep a plant in its nursery pot when possible and use the decorative pot as a cachepot. A drainage hole lets excess water escape, but it also means the pot needs a saucer or a watering location that can handle runoff. The Family Handyman guide to arranging indoor plants makes the same practical point for plant stands, coffee tables, and large floor containers: protect the surface and keep the pot stable.
On wood, stone, or painted furniture, use a waterproof saucer that is wider than the pot base and check underneath it after watering. Do not leave a thin puddle hidden inside a basket or cachepot. Empty collected water after the soil has drained, and lift the container occasionally to make sure moisture has not been trapped against the surface.
Put heavy pots on the lowest stable level. A lightweight decorative basket can disguise a nursery pot, but it does not make an unstable arrangement safe. In homes with pets or young children, verify the species before placing it within reach and use tip-resistant furniture or wall hardware for anything elevated.
Reassess after two weeks
Do not judge the final placement only on installation day. Over the next two weeks, watch for a plant leaning strongly, leaves bleaching or scorching, soil staying wet much longer than expected, or traffic repeatedly brushing the foliage. These are layout signals as much as care signals.
Photograph the room from the doorway once a week. Compare the plant’s silhouette, the clear route, and the amount of visible negative space. If a plant is healthy but visually disappears, raise it or give it a stronger background. If it is stretching, move it toward better light or use supplemental light rather than compensating with a larger decorative pot.
Use a five-minute placement test
Before you commit to a new arrangement, run this quick sequence with an empty pot, a box, or the plant still in its nursery container:
- Light: Is this the right light category for the plant, and will curtains or seasonal sun change the answer?
- Sightline: Does the plant improve the view from the doorway and the main seat without covering art, a screen, or the window?
- Scale: Does its mature height and spread balance the nearby sofa, cabinet, or wall, or is it visually too small or too dominant?
- Route: Can someone walk past, open a door, reach an outlet, and carry a watering can without brushing or tipping it?
- Care: Can you check the soil, rotate the pot, clean leaves, and remove the plant for watering without dismantling the room?
If the answer to any item is no, change the location before changing the plant. This test keeps style and horticulture in the same conversation. It also prevents a common mistake: buying a plant for an empty corner, then spending months trying to make an unsuitable corner work.
Fix the common arrangement mistakes
Every pot is the same height. Raise one or two plants, lower another, or move the group onto a stand with staggered levels. The goal is not a staircase of identical pots; it is a readable rhythm with one dominant point.
The display is attractive but too far from the window. Move shade-tolerant plants into the deeper zone and reserve the brightest spots for plants that need them. If the room cannot supply enough light, use a grow light that can be positioned safely and accept that this becomes part of the care setup.
The cluster feels crowded. Remove one plant and look again. If the composition improves, keep the spare elsewhere or rotate it seasonally. More foliage does not always create more impact; negative space is what lets a good silhouette register.
The plants look like a row of products. Vary the depth as well as the height. Pull one pot forward, set another slightly back, change one container’s texture, or let a vine break the line. Keep a shared element—color, material, or care zone—so the arrangement still feels related.
Watering has become a chore. Consolidate plants by care access, not only by appearance. Put the pots that need frequent inspection where you can reach them, and keep heavy or drip-prone containers away from delicate furniture. A display that is easy to maintain will look more intentional over time because you will actually maintain it.
The room feels smaller after adding plants. Pull foliage away from the narrowest route, use one tall plant instead of several medium ones, and move trailing growth upward. Let one wall or window remain visually open. Plants should create depth, not seal every edge of the room.
Conclusion
To arrange plants in a living room well, start with the conditions people usually skip: where the light falls, how people move, how large each plant will become, and how you will water it. Then build the look with one anchor, varied heights, contrasting textures, restrained color, and growth lines that frame the room’s best features.
The six rules are a decision system, not a rigid decorating formula. Use an odd-number cluster when it adds rhythm, choose a single specimen when it gives the room enough weight, and move or replace any plant that cannot thrive in the spot you want. Finish with the five-minute test and a two-week check-in, and your arrangement can stay both beautiful and genuinely livable.



