How to Press Roses: Book, Flower Press, or Microwave
Learn how to press roses with a book, a wooden flower press, or a microwave press. Choose the right bloom shape, avoid browning, and know when petals are dry.
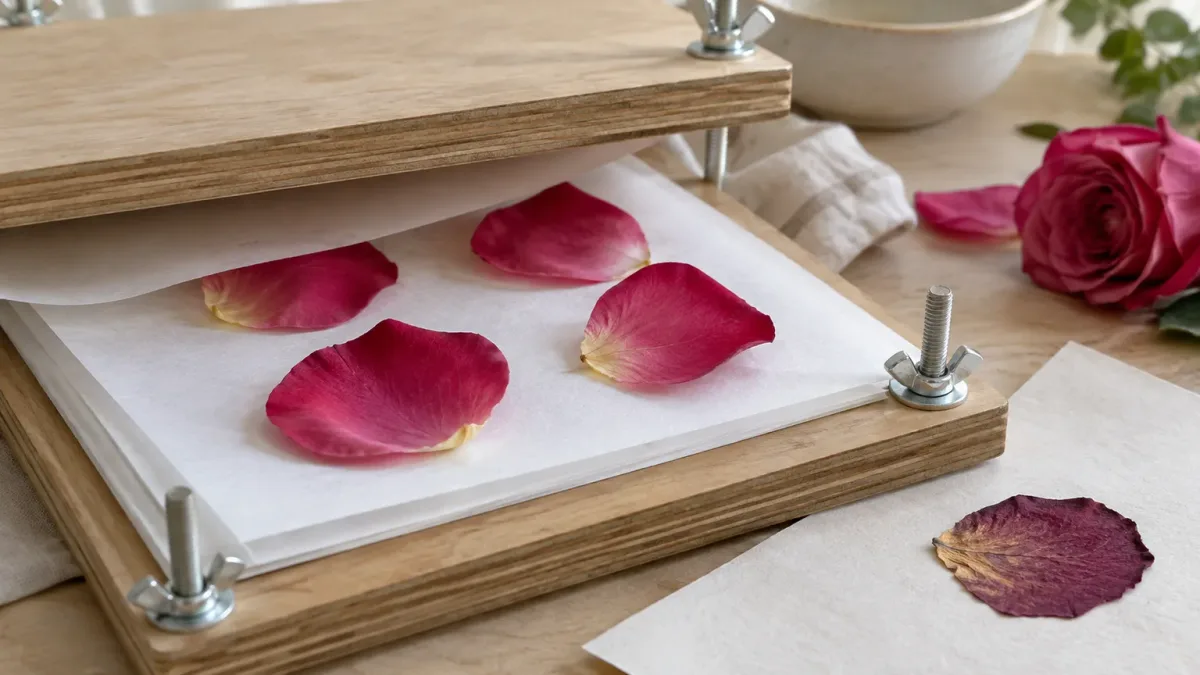
To press a rose, sandwich a dry bloom or its petals between smooth absorbent paper, then hold the layers flat with steady weight until the flower is papery and dry. A book is the easiest option for one or two blooms, a wooden flower press gives you more space and even pressure, and a microwave press shortens the wait when you can check it carefully. The best choice depends on the rose: a small, open flower may flatten whole, while a dense many-petaled rose usually turns out better when you press its petals separately.
Pressing removes moisture while flattening the flower, so the rose will not keep its three-dimensional shape. If the rounded form matters more than a flat silhouette, choose a different preservation method; pressing is best for cards, bookmarks, framed art, and other projects where a thin botanical layer is useful.
Choose a pressing method by the result you want
All three methods rely on the same basics: a rose that is not wet, paper that can take up moisture, and pressure that stays even. A microwave press uses heat to speed the drying stage, but it also gives you less room for error. Traditional methods take longer and make it easier to preserve several blooms together.
| Method | Best fit | What to expect |
|---|---|---|
| Heavy book | One or two petals or a small bloom; a first try with household materials | Slow and simple; use a book you can protect from stains |
| Wooden flower press | Several roses, repeated projects, or layers that need even pressure | Adjustable and reusable; inspect and replace damp paper |
| Microwave press | Small petals or blooms for a quick craft | Fast but easy to over-dry; use only a press rated for microwave use |
For a keepsake rose, choose a slower method unless you have already practiced with a similar flower. It gives you time to arrange each petal and see how the color changes. Use the microwave for a small test batch, not the only surviving bloom from an important occasion.
Start with the right rose and the right shape
A rose is not a flat flower by default. Its layered petals fold around a central core, and that thickness can hold moisture long after the outside looks dry. Decide what you want the finished piece to show before you pick up scissors: an intact outline, the separate petals, or a flower-and-leaf sprig.
Harvest and prepare a dry, fresh bloom
Choose a rose that is fresh and unbruised, ideally just before or around full bloom. Pick garden flowers after dew has evaporated and avoid harvesting wet blooms; the University of Maryland Extension’s flower-pressing guide recommends selecting good-quality material after the morning dew has dried. RHS herbarium pressing guidance also advises collecting plant samples in dry weather, since extra moisture makes the pressing job harder.
If you are pressing a cut-flower rose, remove it from water and gently blot any surface moisture. Do not press a bloom that has started to turn translucent, feel slimy, or shed petals; it is already breaking down and may brown or decay in the paper. Keep a selected rose out of direct sun while you prepare the materials so it does not wilt before it is arranged.
Trim away the stem and any leaves you do not want in the design. If you are keeping a short stem or a few leaflets, remove thorns and flatten the leaves separately so they do not overlap the bloom or one another. Make a quick note of the rose’s original color and variety if known; pressed petals can shift in shade, and a note helps you remember what the fresh flower looked like.
Decide whether to press the head, petals, or a sprig
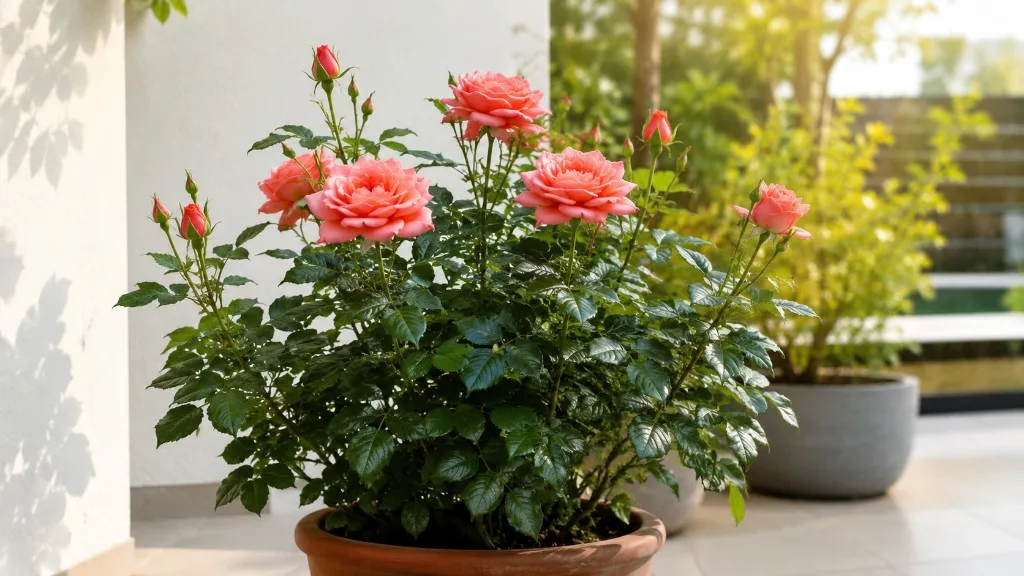
A small single or semi-double rose is the best candidate for pressing intact because it has less bulk through the center. Many shrub roses and other simple blooms are easier to press than a densely layered florist rose. The University of Maryland Extension notes that flat flowers and single-petal roses are among the easiest to press, while multipetal roses need longer and closer attention. For large rose heads, Gardeners’ World’s guide to drying flowers suggests choosing smaller blooms or breaking the flower apart because large heads are difficult to dry in one piece.
For an intact-looking flower, remove a few of the innermost petals if the center is very thick, then gently fan the outer petals into a flat rosette. You can also press the rose as a face-down silhouette, but do not expect every layer to remain distinct. For the most dependable result, separate the petals and press them in a loose pattern; you can rebuild a rose shape after everything is dry.
A leafy sprig can be pressed beside the rose, but a full woody stem is too thick for a flat press. If a stem is part of the composition, keep only a short, thin section and press it separately. The thinner and more open the arrangement, the more evenly it will dry.
Press roses in a book
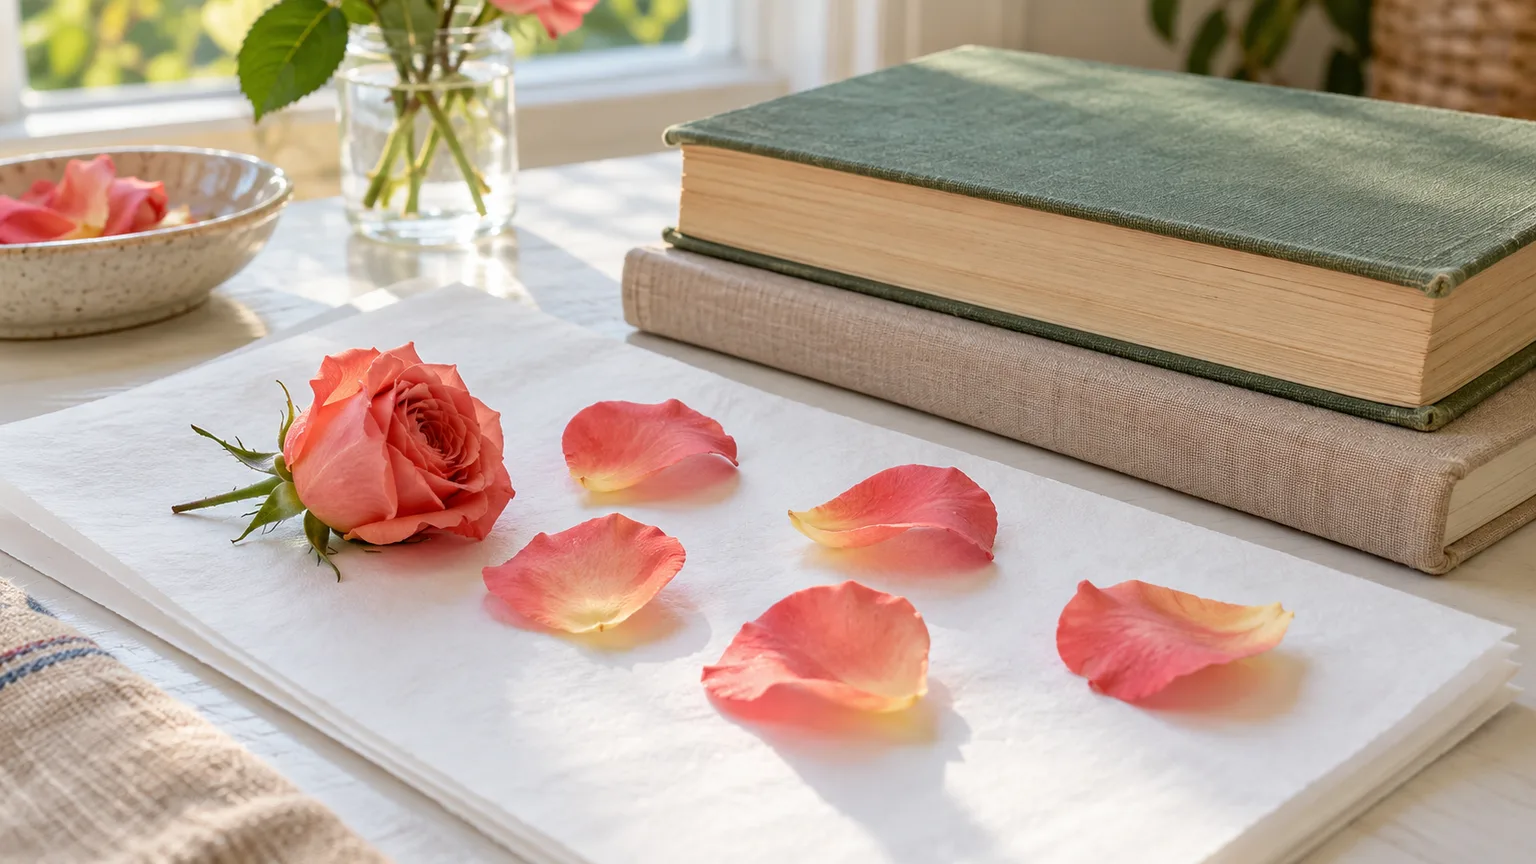
The book method is inexpensive and works well for a small trial. Use a large, heavy hardback that you do not mind dedicating to craft work: rose pigments and moisture can stain pages, so a favorite or valuable book is a poor choice. The extension guide recommends placing flowers between absorbent sheets and adding paper barriers if you are protecting the book.
The book-method workflow
- Open the book on a stable table and place a smooth sheet of copy paper or blotting paper over the page. Avoid textured paper towels, which can leave a pattern on petals, and waxed paper, which holds moisture rather than drawing it away. The University of Maryland Extension describes smooth, absorbent paper as a way to speed drying and warns that paper towels and waxed paper can cause problems.
- Set the rose or petals on the paper with space around each piece. Arrange a whole bloom face down for a simple silhouette, or place petals one at a time with their curled edges opened out. Leave at least a small gap between pieces so they do not dry stuck together.
- Cover the flowers with another smooth sheet, then close the book gently. If the rose is damp or bulky, add more absorbent sheets above and below it so moisture does not reach the pages.
- Stack another flat, heavy book on top if the first book is not heavy enough to hold the pages evenly. Keep the stack on a level surface where it will not be bumped.
- After about a day, check whether the papers nearest the flower feel damp. Change them for dry sheets if needed, working gently so the petals stay in place. Recheck after several days, then give the rose time to finish drying before trying to lift it.
The Royal Horticultural Society’s book method uses heavy books and paper, then leaves the flowers in a warm, dry place for two to four weeks. Treat that as a useful planning range, not a deadline: the center of a layered rose may need longer than an individual petal. Do not pry a half-dry flower free to see what it looks like; damp petals can stretch, wrinkle, or tear when handled.
Use a wooden flower press for more control
A screw press is helpful when you have several roses or want the pressure to be consistent from corner to corner. It usually has two flat boards, bolts or straps, and layers of cardboard and absorbent paper. A purpose-made press also makes it easier to open one layer for a paper change without disturbing the rest of the stack.
Build an even stack and tighten it evenly
Start with dry boards, cardboard, and blotting paper. Place a board on a flat work surface, add a layer of corrugated cardboard, then a paper sandwich with the rose arranged inside it. Cover with paper and another cardboard sheet before starting a new flower layer. Keep rose heads and petals separated; crowding creates thick spots that dry at different rates.
Continue alternating cardboard, paper, flowers, and paper until the press is loaded, then place the second board on top. Tighten each wing nut gradually and evenly so one side does not pull down harder than the others. Aim for firm, level contact, not so much force that the petal edges are crushed or pushed into ridges.
Set the press in a dry room with gentle air movement. Check the outer paper after the first day and replace it if it feels damp; then inspect periodically. The RHS herbarium’s pressing instructions describe an early paper-and-card change and regular checks for botanical specimens. That is useful for roses too, especially for a thick head, but handle the flower only when you need to change the paper or correct its position.
Use a microwave press when speed matters
A microwave press can dry small rose petals much faster than a book or wooden press, which makes it useful for a card or a same-day test. Its limits matter: a dense rose head can heat unevenly, and a few seconds too long can leave petals brittle, browned, or scorched. This is the method to use when speed is more important than preserving a whole, layered bloom.
Heat in short intervals and let steam escape
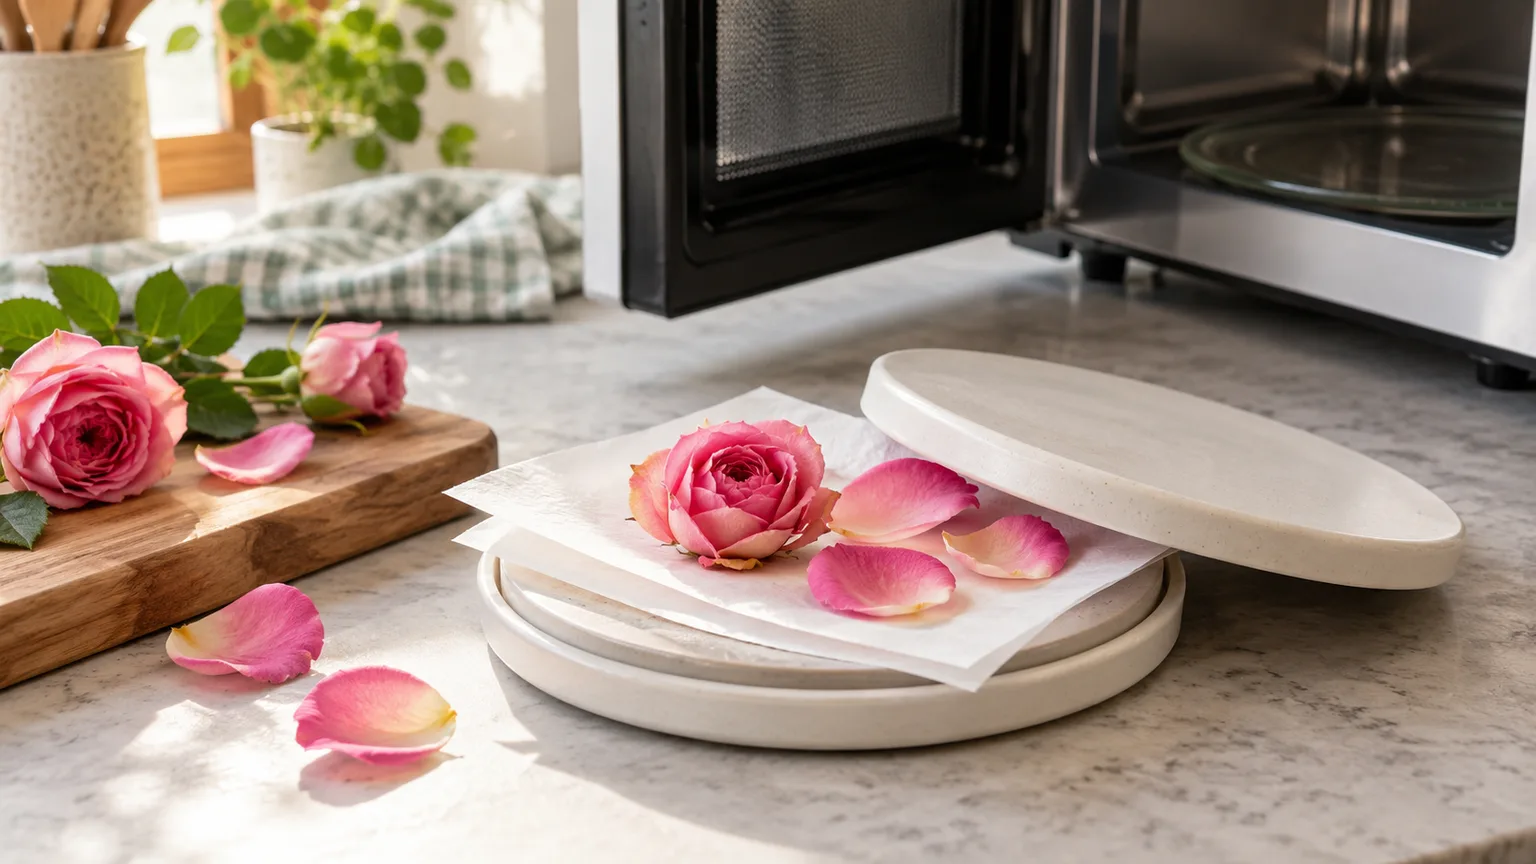
Use a commercial microwave press only if its maker identifies it as microwave-safe. For a tile-style press, the University of Maryland Extension guide describes nonmetallic ceramic tiles with copy paper and absorbent layers; metal bolts or hardware do not belong in a microwave. Follow the instructions for your particular press and microwave wattage rather than applying one time to every setup.
- Place a few separated rose petals or a small, thin flower inside the press. Remove thick inner petals from a larger rose instead of trying to microwave a packed center.
- Close the press as directed, set it on a microwave-safe surface, and use the shortest interval given by the manufacturer. If the instructions allow choosing a starting point, use a short pulse at reduced power rather than a long continuous run.
- Let the press cool before opening it. Release steam away from your face, and check the petals for damp spots, curling, or scorching.
- Repeat in brief intervals only if the petals remain moist. A petal can continue to dry as it cools, so do not judge it while it is hot.
- When the petals feel dry and papery, stop. Let them cool fully before moving them to a rigid, flat storage sheet.
The RHS guide to pressing flowers and leaves also describes a low-heat iron method, but that is a separate technique with a hot surface; if you use it, keep the iron away from children and follow an adult-supervised setup. A microwave press is not an invitation to use an ordinary wooden press or any object with unknown materials in the appliance.
How long roses take to press and how to check them
Book and wooden-press methods usually take weeks, while a microwave press may take minutes of short heating intervals. General guidance from the RHS gives two to four weeks for book-pressed flowers, and Gardeners’ World gives a one-to-four-week range for pressing. Roses vary within those ranges: separate petals can finish sooner than a full head with a dense center, and a humid room slows the process.
Use touch and appearance rather than the date alone. A finished petal should feel light, flat, and papery; it should not feel cool, soft, or flexible at its thickest point. Lift one test piece carefully with tweezers. If it bends, springs back, or feels tacky, return it to fresh dry paper and leave it longer. If it breaks cleanly like a dry leaf, it may be ready, though thin petals are naturally fragile.
When you change paper, label the outside of the book or press with the date and the rose or occasion. That small note prevents unnecessary opening and helps you compare one trial with another. If several petals from the same rose differ in thickness, let the thickest piece set the finish date for the group or remove the dry petals and continue pressing the damp ones separately.
Fix common pressing problems before they spread
A rose is browning or smells musty. This often means that moisture stayed trapped in the flower or paper, though bruising, age, and natural pigment change can also affect color. Open the press, separate any material that smells off, replace damp sheets, and give healthy petals more airflow. Do not close a musty rose back into the same damp paper or use it in a keepsake project before it is fully dry.
The center is soft but the outside petals are crisp. The flower head is drying unevenly because the center holds more material than the edge. Remove the dry outer petals with tweezers and continue pressing the soft center with fresh paper, or take apart another rose and press its petals individually. For the next bloom, use a smaller flower or remove some inner petals before pressing.
Petals are wrinkled, ridged, or marked. The paper may be textured, a petal may have folded under itself, or the stack may have had uneven pressure. Smooth the petal before closing the press and use clean, smooth paper; textured paper towels can imprint their pattern. If the petals are already dry, a wrinkle is usually permanent, so use it as part of a natural arrangement rather than trying to flatten it with a new burst of heat.
A petal tears or sticks when you lift it. It may still be damp, or it may have adhered to a rough surface. Slide a thin palette knife or tweezers under the broad base and lift slowly instead of pulling at a narrow tip. If it resists, close the press again and let the petal dry further. The Fine Gardening account of pressing flowers emphasizes leaving flowers undisturbed until they are dry, since early handling can damage them.
Keep rose color as true as possible
No pressing method freezes a rose’s exact fresh color. Some pigments shift as petals dry, pale roses can yellow or become translucent, and deep reds or purples may turn darker or less even. The outcome depends on the rose, the age of the bloom, how quickly moisture leaves, and the light the finished flower receives. There is no universal color chart that predicts the final shade for every variety.
If color matters, press one spare petal first and use the result to decide whether to press the rest of the rose. Choose an unblemished bloom, start while it is still fresh, spread petals so they are not overlapping, and replace wet paper before moisture sits around them. These choices improve your odds; they do not guarantee that the pressed flower will match the living one.
Once dry, keep the rose away from direct sunlight. Fine Gardening’s practical guide recommends hanging pressed-flower art out of direct sun and storing unused flowers away from light. A frame can reduce handling and dust, but a sunny wall will still fade delicate material over time. If you are preserving a sentimental rose, make two sets when possible: one to display and one to keep flat in a dark folder.
Handle, mount, and store pressed roses
Pressed petals are fragile, especially at their thin edges. Move them by supporting the broadest part with tweezers, a small artist’s spatula, or the edge of the paper they dried on. Do not slide one petal across another; dry petals can catch and split even when the flower feels firm.
Before gluing anything, arrange the composition on a clean backing without adhesive. Try a few layouts and take a photo so you can recreate the design if a petal moves. For a keepsake or herbarium-style display, acid-free paper is a sensible backing choice; the RHS herbarium guidance uses acid-free paper and neutral-pH materials for mounted specimens.
Rebuild a bloom from its petals
Lay the largest outer petals in a loose circle, with each edge slightly overlapping the next. Add smaller petals toward the center, turning each one so its natural curve creates a shallow cup. Leave a small gap at the center rather than forcing a tightly packed ball; that keeps the finished rose looking light instead of like a flat stack.
Use tiny dabs of a suitable paper adhesive on the petal bases, not across the entire surface. Let each layer set before adding the next, and test the glue on a spare petal first because wet adhesive can mark thin tissue. A reconstructed flower will look stylized rather than botanically identical to a fresh rose, which is part of the charm of a pressed-flower design.
Store the flowers flat and away from light
For a short wait before crafting, place each rose between clean, dry sheets and keep the pile in a rigid folder or shallow box. Add a stiff board above and below so the petals cannot bend when the container is moved. Label the rose and the date on the outside, not directly on the flower paper.
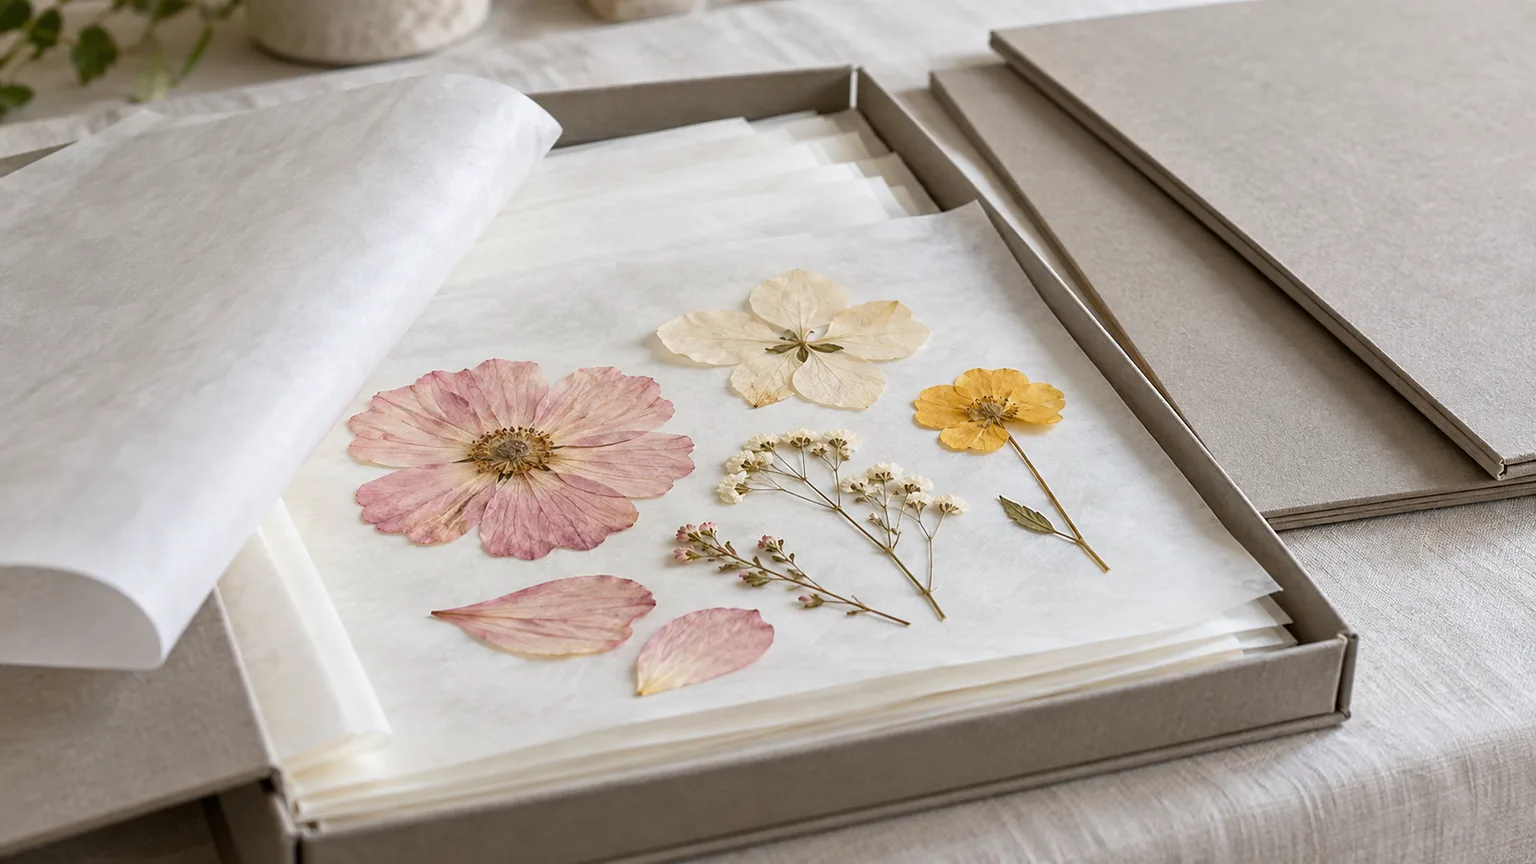
Keep the container in a dry cupboard, away from a sunny window, bathroom, or damp basement. Make sure every petal is fully dry before sealing the folder or box; trapped moisture can soften the flower again. A thin sheet of acid-free tissue between finished specimens helps prevent rubbing, while a dark storage location slows light-related fading.
Conclusion
The simplest way to press roses is to sandwich a dry bloom or its petals between smooth absorbent paper and weigh the layers evenly. Use a book for a small, low-cost trial, a wooden flower press for repeat work and several layers, or a microwave press for a few small petals when you can monitor each short cycle.
Choose small blooms for a whole-flower silhouette and separate dense roses into petals when you want the most reliable flat result. Replace damp paper, wait for a papery feel before lifting, and store the finished flowers flat and out of direct light. A rose may change shade as it dries, but careful preparation gives you a delicate keepsake without forcing the flower into a shape it cannot hold.



