How to Prune an Apple Tree in 7 Simple Steps
Learn how to prune an apple tree in seven clear steps, choose the right dormant-season window, protect fruiting spurs, and restore a neglected canopy gradually.
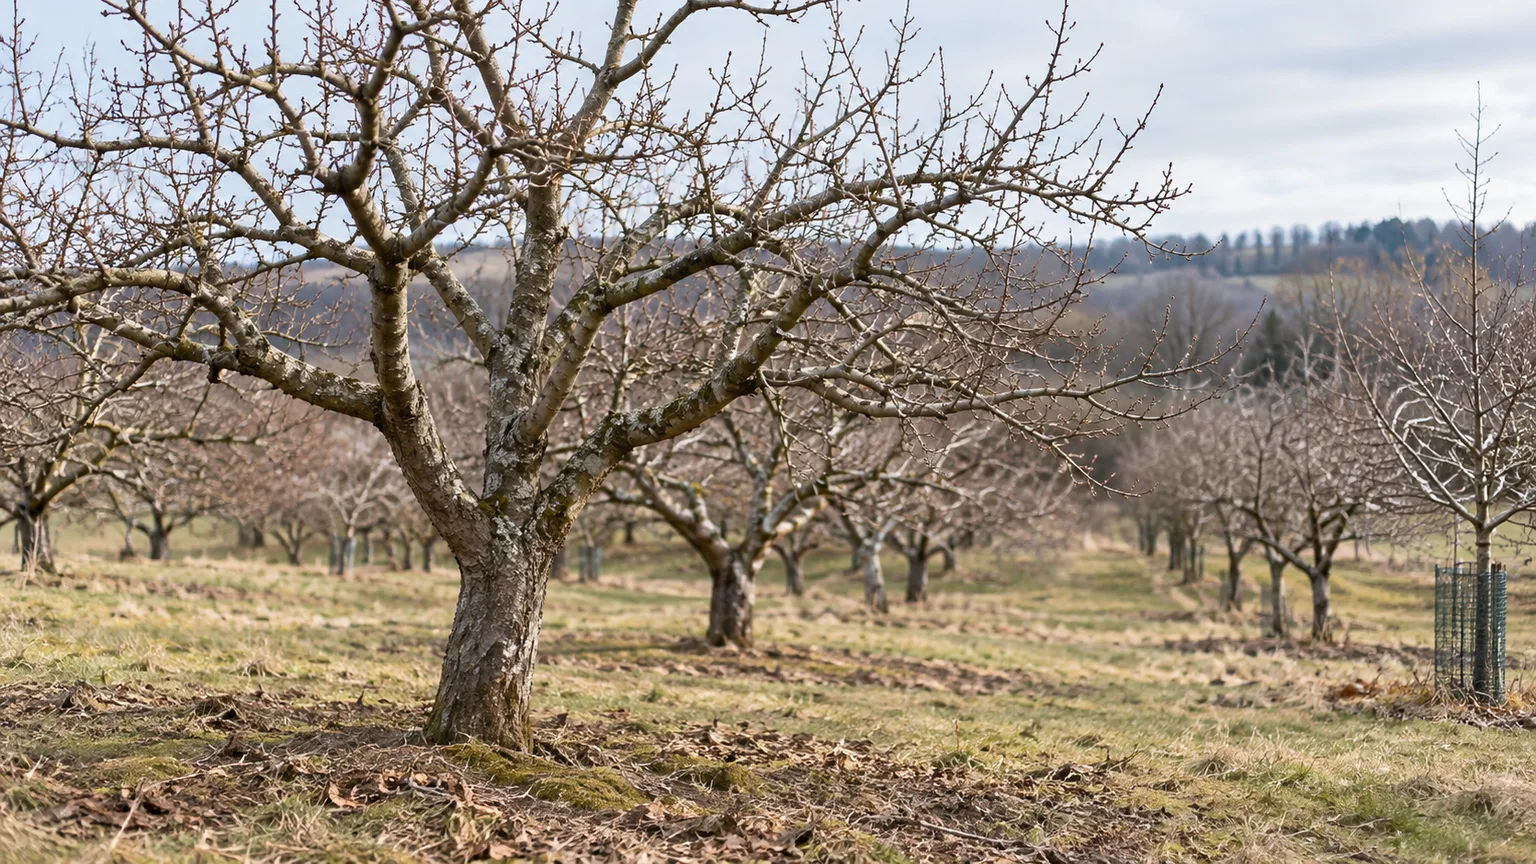
An apple tree that has been ignored for years usually needs a gradual renovation, not a drastic one-day haircut. The safest first session removes hazards and the worst crowding, then leaves enough healthy leaf- and fruit-bearing wood to support recovery. If the tree is sound, you can improve its shape over two or three dormant seasons.
Start by deciding what kind of tree you have and what you can reach safely. A free-standing apple tree, a wall-trained espalier, and a compact cordon do not share the same pruning routine; this guide focuses on a neglected, free-standing tree in a home garden. If yours is trained against wires, follow that form’s seasonal method rather than reshaping it into a round orchard tree.
When to prune an apple tree
For a free-standing apple tree, do the main structural pruning while it is dormant, after the harshest winter weather has passed and before buds begin to swell. In a cold-winter area, late winter is often the practical window: you can see the branch structure without leaves, but the new cuts are not exposed during the coldest part of the season. Utah State University Extension recommends dormant pruning after the coldest part of winter and before spring bud swell; the calendar differs by climate, so use your local extension’s timing.Utah State University Extension
A trained cordon or espalier is a different job. The Royal Horticultural Society distinguishes free-standing trees, which are pruned in winter, from trained apple trees, which are generally pruned in late summer to restrict growth and improve fruiting.RHS renovation pruning Avoid treating those forms as interchangeable. If an apple tree has fire blight or another active disease, follow disease-specific local guidance for timing, cut placement, and tool sanitation instead of automatically making a routine winter pass.
Decide what the tree needs before cutting
Take one slow lap around the tree before you pick up a saw. Look from all sides, including from a few steps back, and note the trunk, the main limbs that are still vigorous, large dead or broken branches, rubbing points, and shoots rising straight up through the crown. Look for short, knobby fruiting spurs along older branches; they are easy to mistake for expendable clutter, but many apple varieties carry flowers and fruit on this short spur wood.Fine Gardening
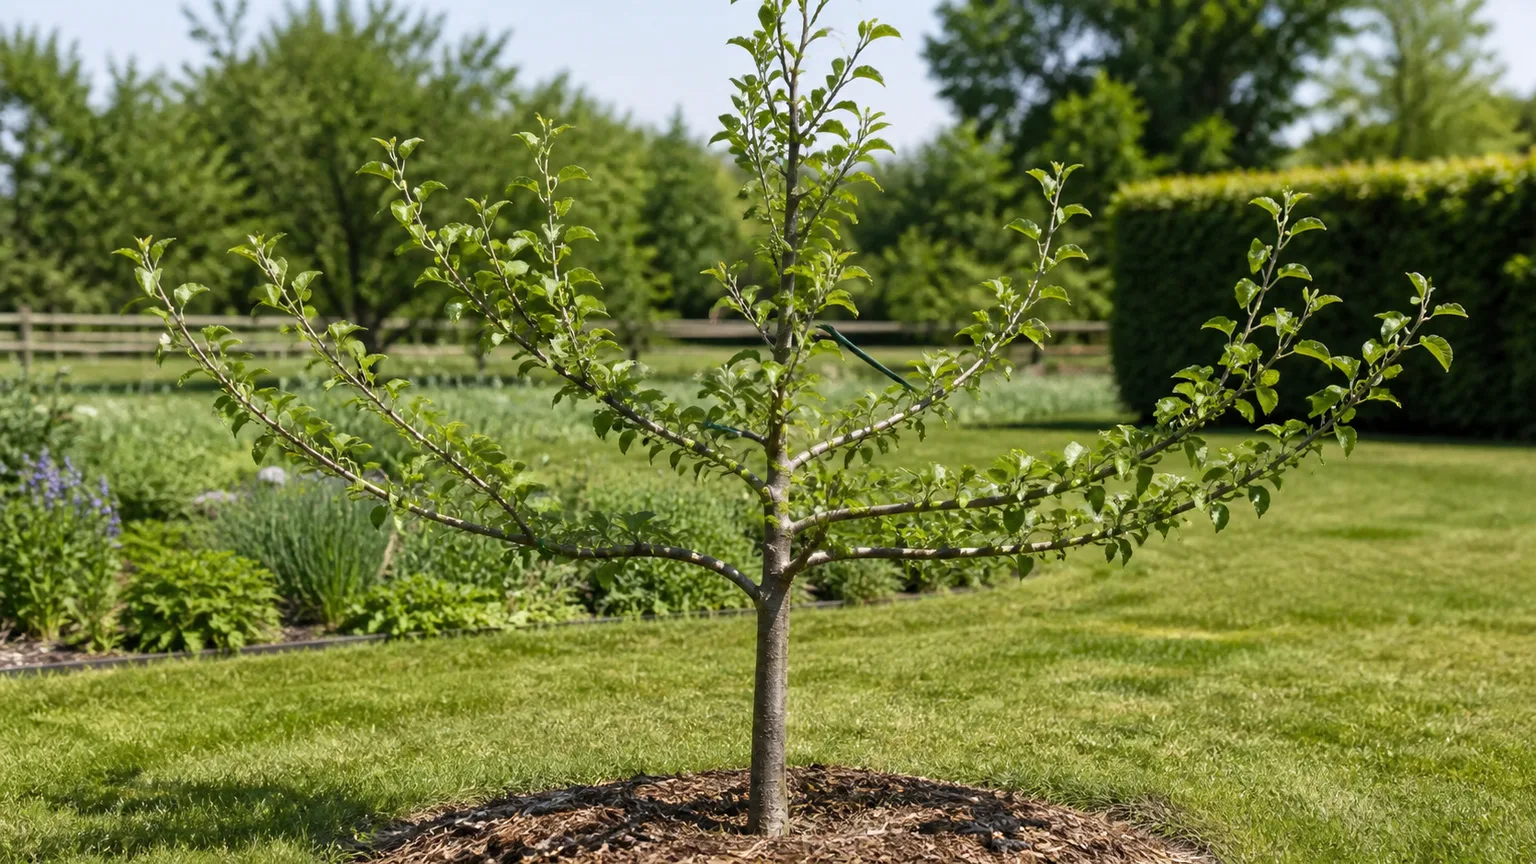
Decide on one useful result for this year: removing a hazardous limb, opening a dark center, lowering a branch that blocks access, or beginning to restore the framework. Don’t try to solve every problem in one visit. Before you cut a live branch, point to the branch that will remain and picture the tree after the cut; if you cannot explain why that branch should go, leave it for now.
Step 1: Set a safe, achievable renovation plan
First decide whether the tree is a good candidate for renovation. A sturdy trunk and several healthy main limbs with live buds or recent growth are promising signs. A hollow, badly cracked, leaning, or mostly dead tree needs an arborist’s assessment before you assume pruning will make it safe; an apple tree with a sound trunk but too little vigor may also recover slowly. The RHS recommends checking both health and structural safety before renovating a large, old tree.RHS renovation pruning
Choose the tree’s existing form as your starting point. Many free-standing apple trees are trained to a central leader with tiers of outward-growing scaffold limbs; others have an open-centered framework. Preserve a sound established structure instead of forcing a new shape by removing a major leader or every interior branch. For a central-leader tree, keep the strongest continuation of the trunk and make upper branches shorter than the lower framework so they do not shade it. For an open-centered tree, keep several well-spaced main limbs around the trunk and clear only the crowded center.
Before making large cuts, set a stop point for the session. For a neglected tree, that usually means a first-year correction, not a finished tree. If the planned work involves standing on a ladder, leaning into the canopy, or cutting a heavy limb overhead, stop and call a qualified arborist; a pruning plan is not worth a fall or an uncontrolled branch drop.
Step 2: Remove dead, broken, and clearly diseased wood
Begin with wood that cannot contribute to recovery. A dead twig snaps or has dry, loose bark; a dead branch often lacks live buds and may be brittle. Broken limbs, branches with badly split unions, and clearly diseased sections should be removed before you judge the healthy framework, because they can hide the tree’s shape and complicate later cuts. If a branch is so large that it is heavy or overhead, leave it to a professional.
A dead twig can be removed with hand pruners. For a larger branch, cut just outside its branch collar—the slight swelling where it joins a trunk or another limb—rather than shaving the trunk smooth or leaving a long stub. This preserves the tree’s natural boundary around the wound. Do not coat ordinary pruning wounds with paint or sealant; the RHS no longer recommends wound paint for these cuts.RHS renovation pruning
Do not diagnose a disease from one discolored patch and then cut deeply into the canopy. Canker, fire blight, and winter injury can look different and require different timing or sanitation. If you see a shepherd’s-crook shoot, sunken cankers, bacterial ooze, or expanding dead bark, identify the problem with a local extension service first. Utah State Extension notes that fire-blight pruning in its region requires cuts well below visible symptoms and careful tool disinfection; that is a disease-specific instruction, not a rule to apply to every apple-tree cut.Utah State University Extension
Step 3: Remove suckers and selected water sprouts
Cut away shoots growing from the base of the trunk or below the graft union. These rootstock suckers do not belong to the fruiting variety above the graft and compete with the tree you are trying to maintain. Remove them at their origin when they are small; don’t leave a short stub that can resprout.
Water sprouts are vigorous, upright shoots that grow from older limbs or the trunk, often after a heavy pruning. Remove ones that shoot into the center, crowd a stronger branch, or compete with a leader. But do not automatically strip every upright shoot. If an old limb is missing and a well-positioned young shoot could become its replacement, keep one healthy candidate and manage its direction rather than removing it with the rest. New water sprouts can be rubbed off while still soft in late spring or early summer; removing them at that stage is less likely to trigger another flush than cutting the same vigorous shoot during dormant pruning.Utah State University Extension
Step 4: Choose the permanent framework branches
Identify the sturdy limbs that will carry the tree’s canopy and crop before thinning smaller branches. Favor branches with broad, strong unions and space between them, pointing in several directions around the trunk. In a central-leader system, scaffold limbs are distributed at different heights rather than clustered at one point; a wide angle to the trunk is usually stronger than a narrow, upright fork. Utah State Extension describes a conical central-leader form with horizontal scaffold branches as a way to admit light and keep the lower canopy productive.Utah State University Extension
The exact number of scaffold limbs is not a quota. Purdue’s renovation guidance suggests selecting roughly six strong framework branches, but the right number depends on the size and history of the tree.Purdue Extension On an old apple tree, keep the best-positioned, healthy limbs and remove the most damaging competitors over time. Do not remove every branch below an arbitrary four-foot mark: low limbs may still carry fruit and protect the trunk. Remove a low branch if it is shaded, damaged, in the way, or too weak to be useful—not just because it is low.
Step 5: Resolve crossing, rubbing, and inward growth
Where two branches cross or rub, keep the one with the better union, direction, and access to light. Remove the other back to a side branch or its branch collar. A rubbing wound will not improve as both limbs get thicker, but it rarely helps to remove a sound scaffold just because a small twig passes near it; choose the specific branch that creates the conflict and make one clear cut.
Next, remove larger limbs that grow toward the center and shade the remaining framework. Work from the largest structural conflicts to smaller ones, then step away and look through the canopy again. A few crossing shoots can often be corrected; removing every inward-facing twig in one pass can leave large empty gaps and overexpose older limbs. The RHS recommends retaining the better-positioned branch in a rubbing pair and pruning tall limbs back to an appropriately strong side branch rather than leaving bare stumps.RHS renovation pruning
Step 6: Open crowded areas while preserving fruiting wood
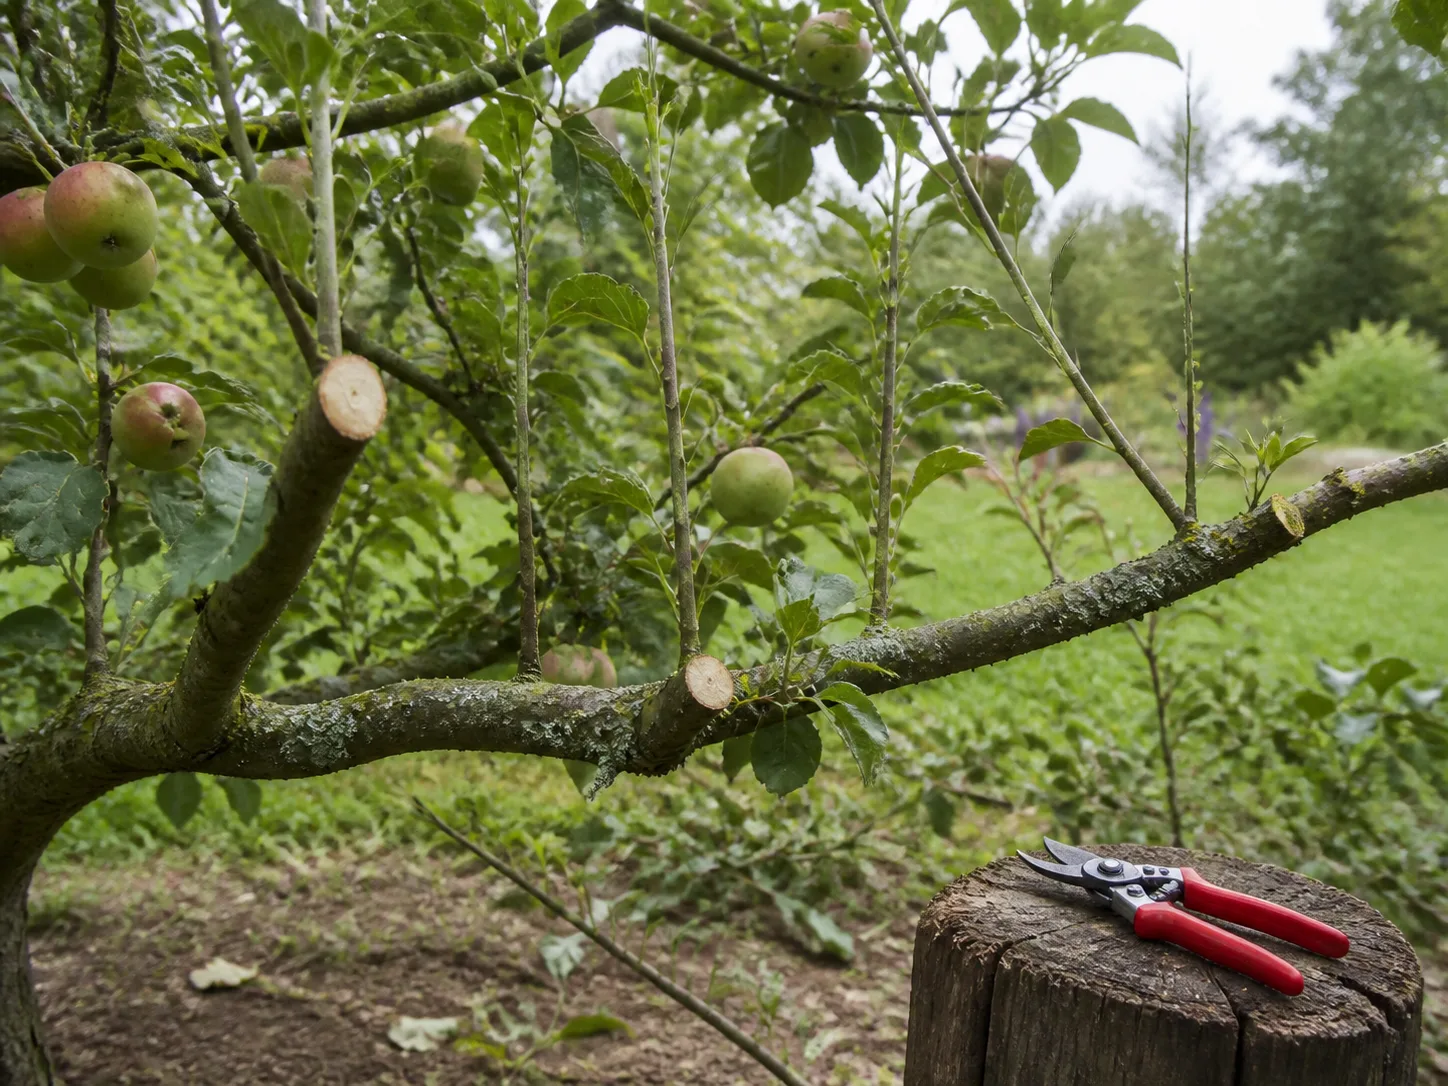
Thin clutter only where it blocks light or air from useful branches. Apples commonly produce fruit on short, stubby spurs along older wood, so look for those compact buds before removing a branch that appears bare or unproductive. Fine Gardening’s fruit-tree primer highlights this distinction between spur-bearing apples and fruit trees that crop on long new shoots.Fine Gardening A healthy, well-lit spur-bearing branch is often more valuable than a vigorous water sprout with no flowers.
Aim for a canopy that is open enough for light to reach its interior and lower branches, not a hollow shell with the trunk exposed all around. You should be able to see some sky through the tree, but an open view straight through every part is not the goal. Preserve healthy branches that point outward and have room to expand; remove or shorten the ones that stack on top of one another. A little shade protects limbs and fruit from sudden sun exposure, especially when a tree has been dense for many years.
Don’t remove every downward-growing branch by default. Some older limbs bend under fruit weight and may be productive, while others hang so low that they drag, break, or block access. Decide by condition and position. If an old spur-bearing limb is crowded with thin, exhausted growth, renewal can be gradual: keep its strongest side branch, then replace older sections over later seasons rather than cutting the whole limb back to bare wood.
Step 7: Lower height with reduction cuts, not topping
If the top is too tall to manage, shorten selected branches to a strong side limb that points outward and has room to grow. The side limb should be at least about one-third the diameter of the branch being removed; a tiny twig cannot reliably take over a large branch and may die back or trigger a cluster of water sprouts. The RHS uses this one-third rule for renovation cuts and warns against removing oversized limbs unless necessary.RHS renovation pruning
Do not flat-top the tree by cutting the leader or several large limbs at the same height. That heading cut breaks the branch’s dominance and often produces a dense flush of upright shoots around the cut, making the tree harder to manage the following year. Utah State Extension also warns that topping prompts vigorous top growth and recommends making thinning cuts back to a scaffold for reducing overlapping laterals.Utah State University Extension
Height reduction is a gradual change. If the only usable cut would leave a massive wound, a long bare stub, or a limb too large for you to control, leave it for a professional or spread the work across seasons. A tree that remains somewhat taller but keeps its healthy framework is better than one reduced quickly to an unstable set of stubs.
Make each cut where the tree can respond well
Apple pruning uses two different actions: removing a branch entirely and reducing a branch to a smaller side limb or bud. A thinning cut removes a shoot or limb at its origin, while a reduction cut shortens it to a suitable lateral. Heading a branch back to an arbitrary point can stimulate shoots below the cut, so use it only when you have a clear bud or lateral to direct the new growth. Utah State Extension distinguishes thinning cuts, which remove a shoot at its junction, from heading cuts, which tend to stimulate new shoots below the cut.Utah State University Extension
Sharp bypass pruners are for small shoots; loppers handle branches still within their rated capacity; a pruning saw is for larger limbs. Don’t twist loppers or force pruners beyond their cut size. A crushed or torn branch end is harder to keep clean than a smooth cut. Wear eye protection and gloves, keep bystanders outside the drop zone, and work from the ground whenever possible.
Remove branches with a collar cut
Find the branch collar at the base of the limb and the branch bark ridge along the top of the union. Make the final cut just outside the collar, leaving its swelling intact. Cutting flush to the trunk removes the wood that helps the tree close over the wound; leaving a long snag creates dead wood that can die back. Both errors make a rougher, larger wound than necessary. Purdue and the RHS both advise cutting to the collar without removing it.Purdue Extension RHS renovation pruning
A hand pruner can make a single cut through a narrow shoot. For a heavy branch, use the three-cut method so the falling limb does not peel bark down the trunk: first make a shallow undercut several inches out from the trunk; then cut down from above a little farther out to remove the branch’s weight; finally remove the remaining stub just outside the collar. Keep your body out of the branch’s path. If the limb is too heavy to control or would require a ladder, stop instead of trying the technique at height.
Shorten a branch to a side limb or outward bud
To reduce a branch, choose a healthy lateral that is large enough to continue the branch’s role, then cut just beyond the junction. For a small shoot with no suitable side branch, cut just above an outward-facing bud so the next shoot is directed away from the center. Avoid making repeated heading cuts at the ends of every scaffold; each one can create a tuft of vigorous shoots and renew the crowding you are trying to solve.
The cut should be clean and positioned so the remaining bud or lateral is not damaged. You do not need to angle every cut at 45 degrees; the right target is the branch collar for a removal cut or the selected lateral/bud for a shortening cut. If you are unsure whether a branch can be safely shortened, leave it until you have identified a strong replacement point.
Keep the first year’s cuts within a sensible limit
A neglected apple tree may look as if it needs half its canopy removed, but the tree’s ability to respond is part of the pruning decision. Purdue recommends removing no more than about 30 percent of an overgrown tree in a year, while the RHS sets a 25-percent canopy limit and advises spreading more extensive renovation over two or three years.Purdue Extension RHS renovation pruning For a home gardener restoring a dense tree, use roughly one-quarter of the living crown as a conservative ceiling; if reaching a good shape would require more, mark the next cuts and return in a later dormant season.
Estimate the live canopy you plan to remove before you start. If your marked cuts would leave most of one side bare or expose long sections of scaffold limbs, you have likely planned too much for one year even if exact percentages are hard to calculate. Removing dead wood is different from removing living crown, but several large dead limbs can still create substantial wounds and a safety problem. The percentage is a guardrail, not permission to make a large cut that weakens the trunk or scaffold.
Leaving some imperfect growth for next year is often the better outcome. Heavy dormant pruning shifts the balance toward vigorous new vegetative growth; a thicket of water sprouts can replace the clutter you just removed. A slow renovation also preserves more fruiting spurs and gives you a chance to see which saved branches respond well before you make permanent cuts around them.
Clean up, monitor shoots, and plan year two
Pick up cut branches after the session. If a limb showed a suspected disease, dispose of it according to local extension advice rather than leaving it beneath the tree or putting it into an ordinary home compost pile. Keep tools sharp, and clean them between cuts if you are removing confirmed infectious wood; routine disinfecting of every healthy cut is unnecessary and may corrode tools.
Expect the tree to send new shoots below large dormant cuts, particularly near the top and on exposed scaffold limbs. In late spring or early summer, rub off or cut out young shoots that crowd the center, compete with the leader, or rise in dense clusters. If one shoot is positioned to replace a damaged limb, keep it and guide it; don’t make the mistake of removing every new shoot just because it appeared after pruning. Utah State Extension recommends removing unwanted water sprouts when they are still succulent, which helps avoid stimulating another flush of growth.Utah State University Extension
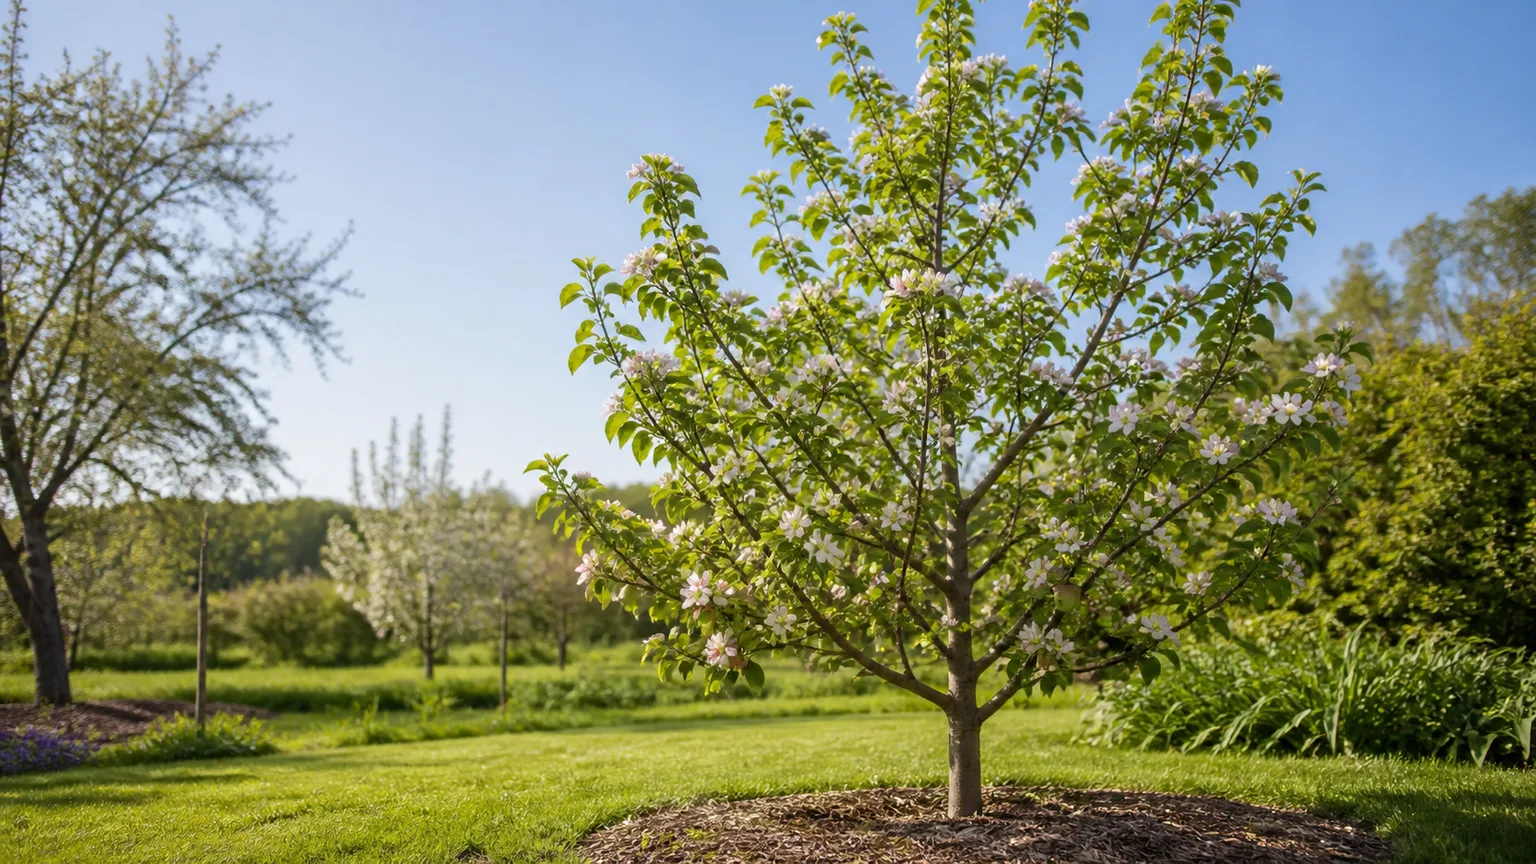
Keep expectations realistic for the next harvest. A more open crown can improve light distribution, but hard pruning can reduce the amount of fruiting wood and may lead to a smaller crop before the tree settles into its new shape. In spring, observe where buds break, whether a scaffold has weak or crowded growth, and whether the center is still shaded. Write down the next few cuts rather than guessing next winter; renovation works best as a sequence of small corrections, not a dramatic reset every few years.
Know when the work needs an arborist
Call a qualified arborist if the trunk is cracked or hollow, a large scaffold has a weak union, a heavy branch hangs over a roof or path, or the job requires you to cut above shoulder height from a ladder. A professional can assess whether a large old tree is structurally sound before you remove its biggest limbs. That matters because pruning can reduce weight in one part of a crown while leaving other limbs exposed to wind and stress.
Replacement may be the more practical choice if the tree is mostly dead, the trunk is failing, the tree is badly mismatched to its space, or the only way to bring it down to a manageable height would be repeated removal of very large branches. Pruning can improve the shape and access to fruit, but it cannot turn a vigorous, large-rootstock tree into a dwarf tree. If the tree is healthy and has family or heritage value, a multi-year renovation is often worth considering; if its location makes safe harvesting impossible, get professional advice before investing in years of pruning.
Conclusion: take the canopy back in stages
Prune an overgrown apple tree by removing the most hazardous and obstructive wood first, protecting its sound scaffold branches and fruiting spurs, and shortening tall limbs to strong laterals. Make collar cuts cleanly, never top the tree to a flat height, and stop before the yearly live-canopy limit is reached. A patient two- or three-year renovation usually gives a neglected tree a better chance to rebuild a useful, open canopy than one severe cut session.



